
Pattern Reviews, Sewing Hacks, Tips & Free Patterns
The Sewing Blog

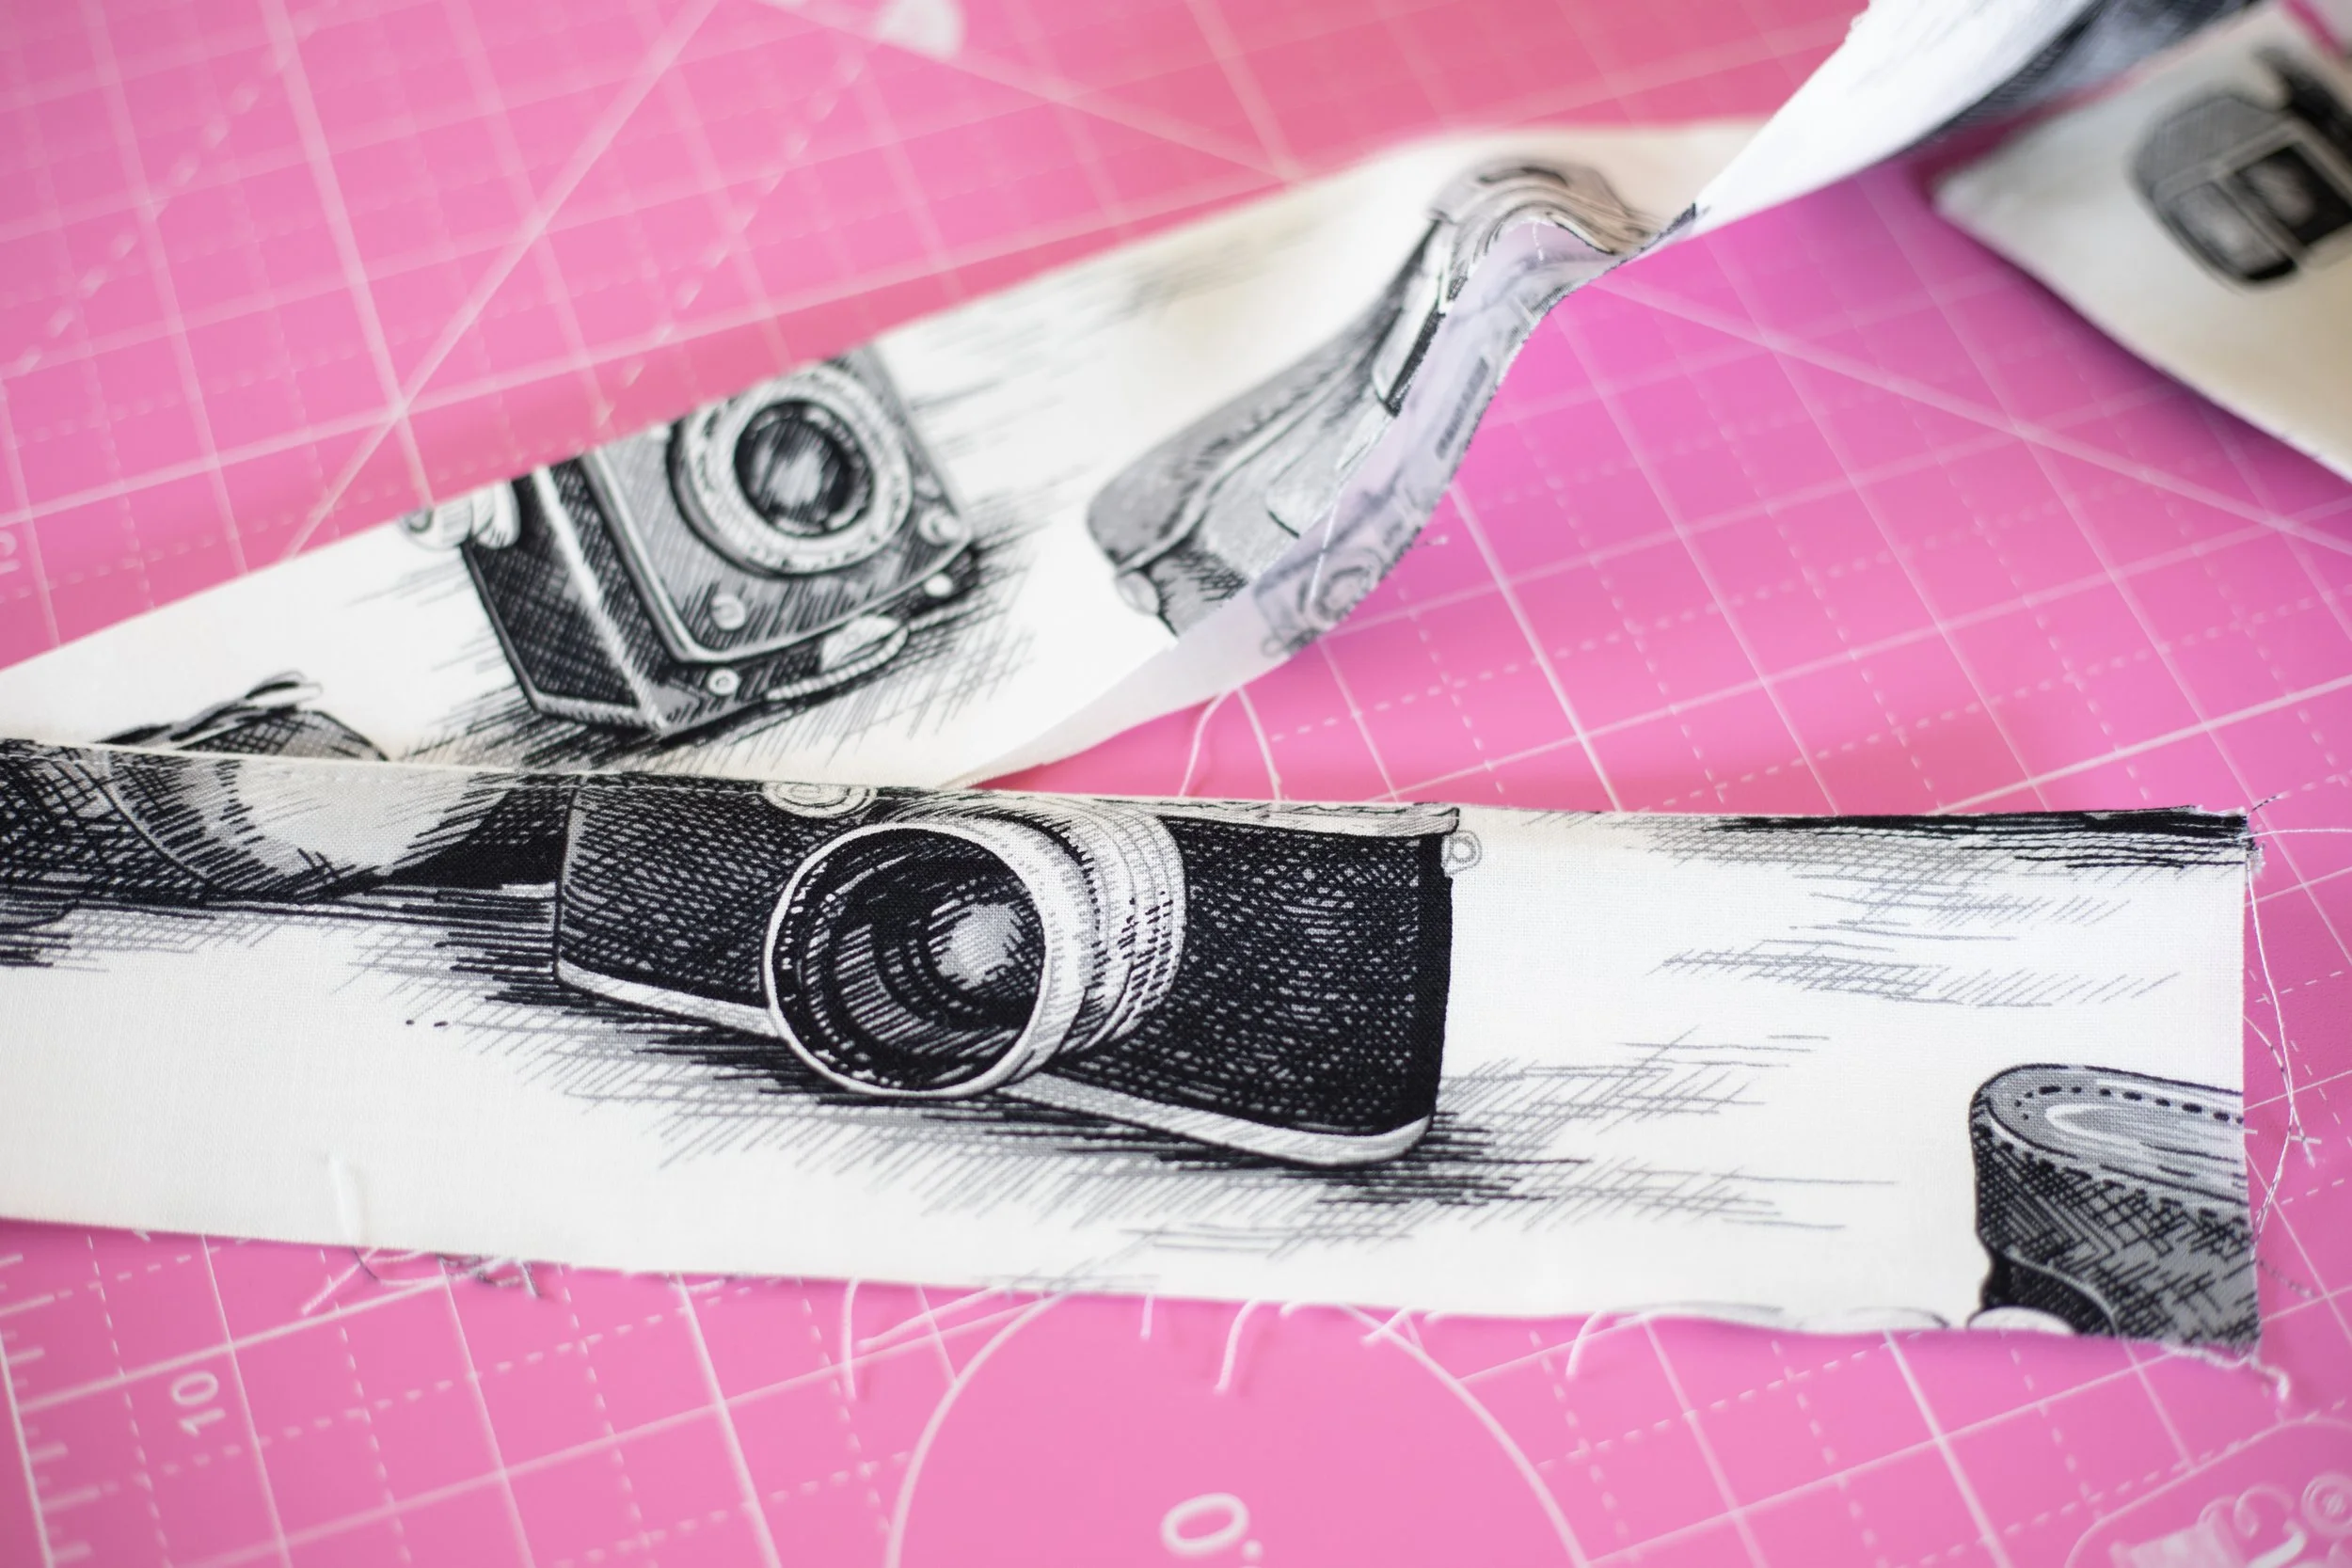
A Photographer Skirt
Sew an easy skirt. No zipper needed! It has an elastic back and flat front. It’s cute and comfortable. Add some pockets too!

Camera fabric for a new skirt.
If you’re anything like me, you have many hobbies and interests. I love sewing, gardening, farm animal-ing, photography, cooking (sometimes, ha!), and Netflixing. As a photographer who sews, I have the skills to make my clothing in exciting prints that speak to me.
Novelty prints are my favorite. So, when I saw this fun camera fabric at Hobby Lobby, I bought the remainder of the bolt. I planned on making a skirt and hoped I had enough left for a few other small projects. Hint: I’m going to make another bag using leftover pieces.
This tutorial is super simple. We’re going to make a gathered skirt. It requires 2 yards or less of fabric. Since “Cove Cove,” aka the 2020 pandemonium, I’ve gained a few pounds. Elastic waistbands are my best friend, so I made the waistband with elastic in the back. The front has a flat waistband. Business in the front, party in the back!
Interested in making one? Let’s go.
What You Need:
2 yards of fabric
1” Elastic, measuring half the width of your waist, plus 1” for overlap
Matching thread
Sewing machine
Scissors, a chalk marker, ruler, etc.
Pins or clips
Safety pin to thread the elastic
Measuring tape
Pencil and paper to create your pattern
Scrap fabric for pockets
Pocket pattern piece
Pockets
If you don’t want to self-draft a pocket piece, here are a couple of easy ways to find a pocket pattern.
Grab a pocket piece from another sewing pattern you already own. Most skirt, dress, and pants patterns usually have a pocket. Check your envelopes to find an in-seam pocket pattern piece.
Look online for a free PDF one. A quick Pinterest or Google search will give you lots of patterns.
Cut 4 pieces from some matching or contrasting fabric scraps. Sometimes it’s fun to have colorful pockets. Use solids, patterns, polka dots, or cut animal print fabric for your pockets. Make it fun!

Pocket pattern and yellow fabric for the pockets.
Skirt Instructions
Measure the length from your waist to your leg (calf, above, or below your knee) that you want your skirt, then add 2-4” for a hem. I wanted to make mine 20” long. So, I cut my fabric 22” long. I used quilting cotton that was roughly 44” wide. I cut my fabric 22” by 44”.
Cut 2. This will be your front and back.
My waist is 35”, so this created a lightly gathered skirt. If your waist is larger, you will have less gathers. If you like lots of gathers you might need more fabric. If your waist is smaller, you will have more gathers.

Pinning the pockets to the front of the skirt.
I measured 1.5” down from the top and made a notch. This is where you want your pocket to be placed. This is customizable, depending on how tall or short you are.
Pin the pocket RST to the front of the skirt. Then sew using a 1/4”-3/8” seam allowance. Press open. Repeat on the other side.
Do the same for the back skirt piece. You will now have two pieces that look like rectangles with floppy elephant ears.
Place front and back pieces RST, and pin the side seam starting at the bottom, going around the pockets, and up to the top. Sew in that order, sewing around pocket pieces. Use a 5/8” Seam allowance.
As an extra precaution, I do a few extra back-and-forth stitches at the corners where I pivot for my pockets.
I chose yellow pockets to match the branding for my photography business. I usually wear this skirt when I have a vendor show or meet a new client. It’s a fun conversation piece.

Sew around the pinned pocket. It will get pressed and tuck away nicely within the skirt seam.
You inseam pocket should look something like the one below. Yes, I used the selvedge of my fabric and we all know that’s a big no-no. Shhh, don’t tell anyone.
The pocket is tucked inside nice and neat.

Secret yellow pocket.
Gathering your skirt.
Sew 2 rows of stitching along the top with a 5-7mm length. Pull to gather the skirt. Go slowly so you don’t break a thread.
Waistband Fun
Time to sew the waistband. This part is a little more tricky than a regular waistband. You’re going to gather the back with a piece of elastic while leaving the front flat. It gives a nice look while adding comfort.
Cut the front waistband strip half your waist measurement, plus 1” for seam allowance. If your waist is 30”, cut the piece 16”.15”+1”=16”. Use a 1/2” seam allowance for the waistband. I like easy math.
I made my waistband 2.5” tall, this is completely customizable for you and what you want.
Example: Cut 2 front strips 16” wide by 2.5” tall.
Add interfacing to one strip, this will be the outer piece.
Sew right sides together, along the top long edge, only. Press open.
Making your waistband.
For the back waistband piece, you’ll cut 2 strips the same height, 2.5” (or your preferred height) by the fabric width measurement.
I cut mine 2.5” by 35”. The width can be fudged a little here, it’ll be gathered anyway. Sew along the top with the 2 pieces facing RST, just like you did with the front waistband. Press open.
Pin and sew the short sides of the waistband pieces together, creating a super-duper long loop. Press the seams open.

Pin the waistband to the skirt gathers, starting at the side seams.
Pin your waistband strip to the skirt along the gathered top.
Pin at the side seams first.
Then, pin the front waistband piece along the front skirt.
Fold the back piece in half and mark it with chalk. Pin that to the center back of the skirt. This can be finicky because you’re pinning 2 gathered pieces to each other, go slow and it’ll work out. Use lots of pins or clips.
You can hand sew the waistband- which is the correct way but, hand sewing is not my favorite thing. I turn the edge under on the inner waistband and pin it from the outside, making sure I catch the seam.

Pin from the outside and remove the pins as you stitch in the ditch.
Tricky Part of the Waistband
Stitch in the ditch when sewing the waistband. This means keeping your needle in the area where the waistband and skirt meet up. It’s a hidden stitch.
Make sure to leave a 2” gap in the side seams for inserting your elastic.

Use a bodkin or safety pin to insert your elastic.
Use a safety pin or bodkin to insert your elastic into the waistband. Insert through one open side seam.
When you get to the other side, stitch over the side seam to lock the elastic in place. Repeat on the other side. Gather back fabric evenly, then stitch to close the openings.
You are “locking” the elastic in place by sewing over it, on the side seams. The elastic will only go in the back of the skirt.


The front looks nice and flat, the back is gathered for comfort.

Closer look at the gathered back waistband.

Front waistband is flat.
The hem is the easy part. Fold your hem up however much you want1-2”, then press, then fold up again 1-2”. Pin, and stitch using a 3-3.5mm stitch length. I chose to do a shorter hem here, but I usually do a 2” hem.
I love my skirt! I made this to wear when I have events for my photography business. I usually pair it with a yellow top to match my branding. It’s simply perfect!
What do you think? Do you plan on making a skirt with elastic in the back? I call it a mullet skirt. Business in the front, comfort in the back. LOL
Happy sewing,
Annette

Back of the skirt hanging on my dressform.
Front of the skirt on the dressform.

Simplicity 1587 1940s Vintage-Style Dress
I love my newest 1940s dress made with the Simplicity 1587 pattern and fabric from JoAnn. It has an authentic feel and style to it.

Howdy doodily! It’s been some time since I last wrote a blog post. I do have an excuse though, I had to switch platforms from one host to another and that was soul-sucking in itself. Then, I decided to update each and every blog post. Why!? Why would someone do that? Annnd, after that was all said and done, I enrolled in another photography class at the local college- which was brain cell killing as well. Oh, and to top it all off, I thought it was a good idea to open up a photography business. Yep, I’m officially a photographer now. I do portraits. I’m not your typical portrait photographer though. I create photos with magic and whimsy in them. If you’re in Southern California (or Monterey County, where I often travel) and are interested in photos, or know someone who might be, I invite you to check out my site. Whew! It’s been a huge whirlwind but, I’m finally hopping back into the sewing life. So, here we go!
Let’s start with a dress I made 1.5 years ago. I needed a dress for a friend’s wedding in San Diego. I wanted something with a 1940s feel to it. I had a pattern and bought two different fabrics. I loved the pattern so much, that I wanted to make two dresses. Spoiler alert: I didn’t end up making my first pattern choice.
Cue the Rabbit hole of sewing. And, patterns. And, muslins.

The First Dress
This dress was made in a short amount of time so, I didn’t photograph the whole process. This blog post is more of a “this is my dress I made” rather than a tutorial on how to make the dress.
I started with a Sew Over It dress pattern I had in my stash for years. Years, I tell you. I made a muslin and did a FBA and it didn’t fit. I thought I did something wrong, and made a whole new FBA and muslin. Nope, it still didn’t fit right. Something was way off. I went to the trusty ole Youtube and Google machine and found that most sewists had a similar issue. It fit funky. So, I went back to the drawing board and pattern rabbit hole.
The Final Dress
I discovered the Simplicity pattern and snagged one in my size range at ye olde JoAnn. I made a quick bodice muslin and it fit! So, I whipped the dress up in less than 24 hours. Ha! I told you I needed it for a wedding. This is the first garment I’ve ever sewn in a short time frame. I finished it minutes before leaving for the wedding.
The only issue I had was the yoke. Yokes can be finicky sometimes and this was no exception. I sewed it and ripped it out a few times. In the end, I didn’t care about the puckers anymore. Shhh, don’t tell the sewing Gods.
It has an easy pleated neck tie, gathered sleeves, a drop waist, and is comfy. It’s not the most flattering or form fit, however, it does look like a true 1930-1940s vintage style dress. I paired it with some 1940s-style booties from Payless Shoes Source, RIP. Looking back, I wish I had worn some different shoes. But, San Diego along with all of southern California was getting dumped on by all the rain in the world that weekend, so boots were worn out of necessity. Puddles and ballet flats don’t pair well.
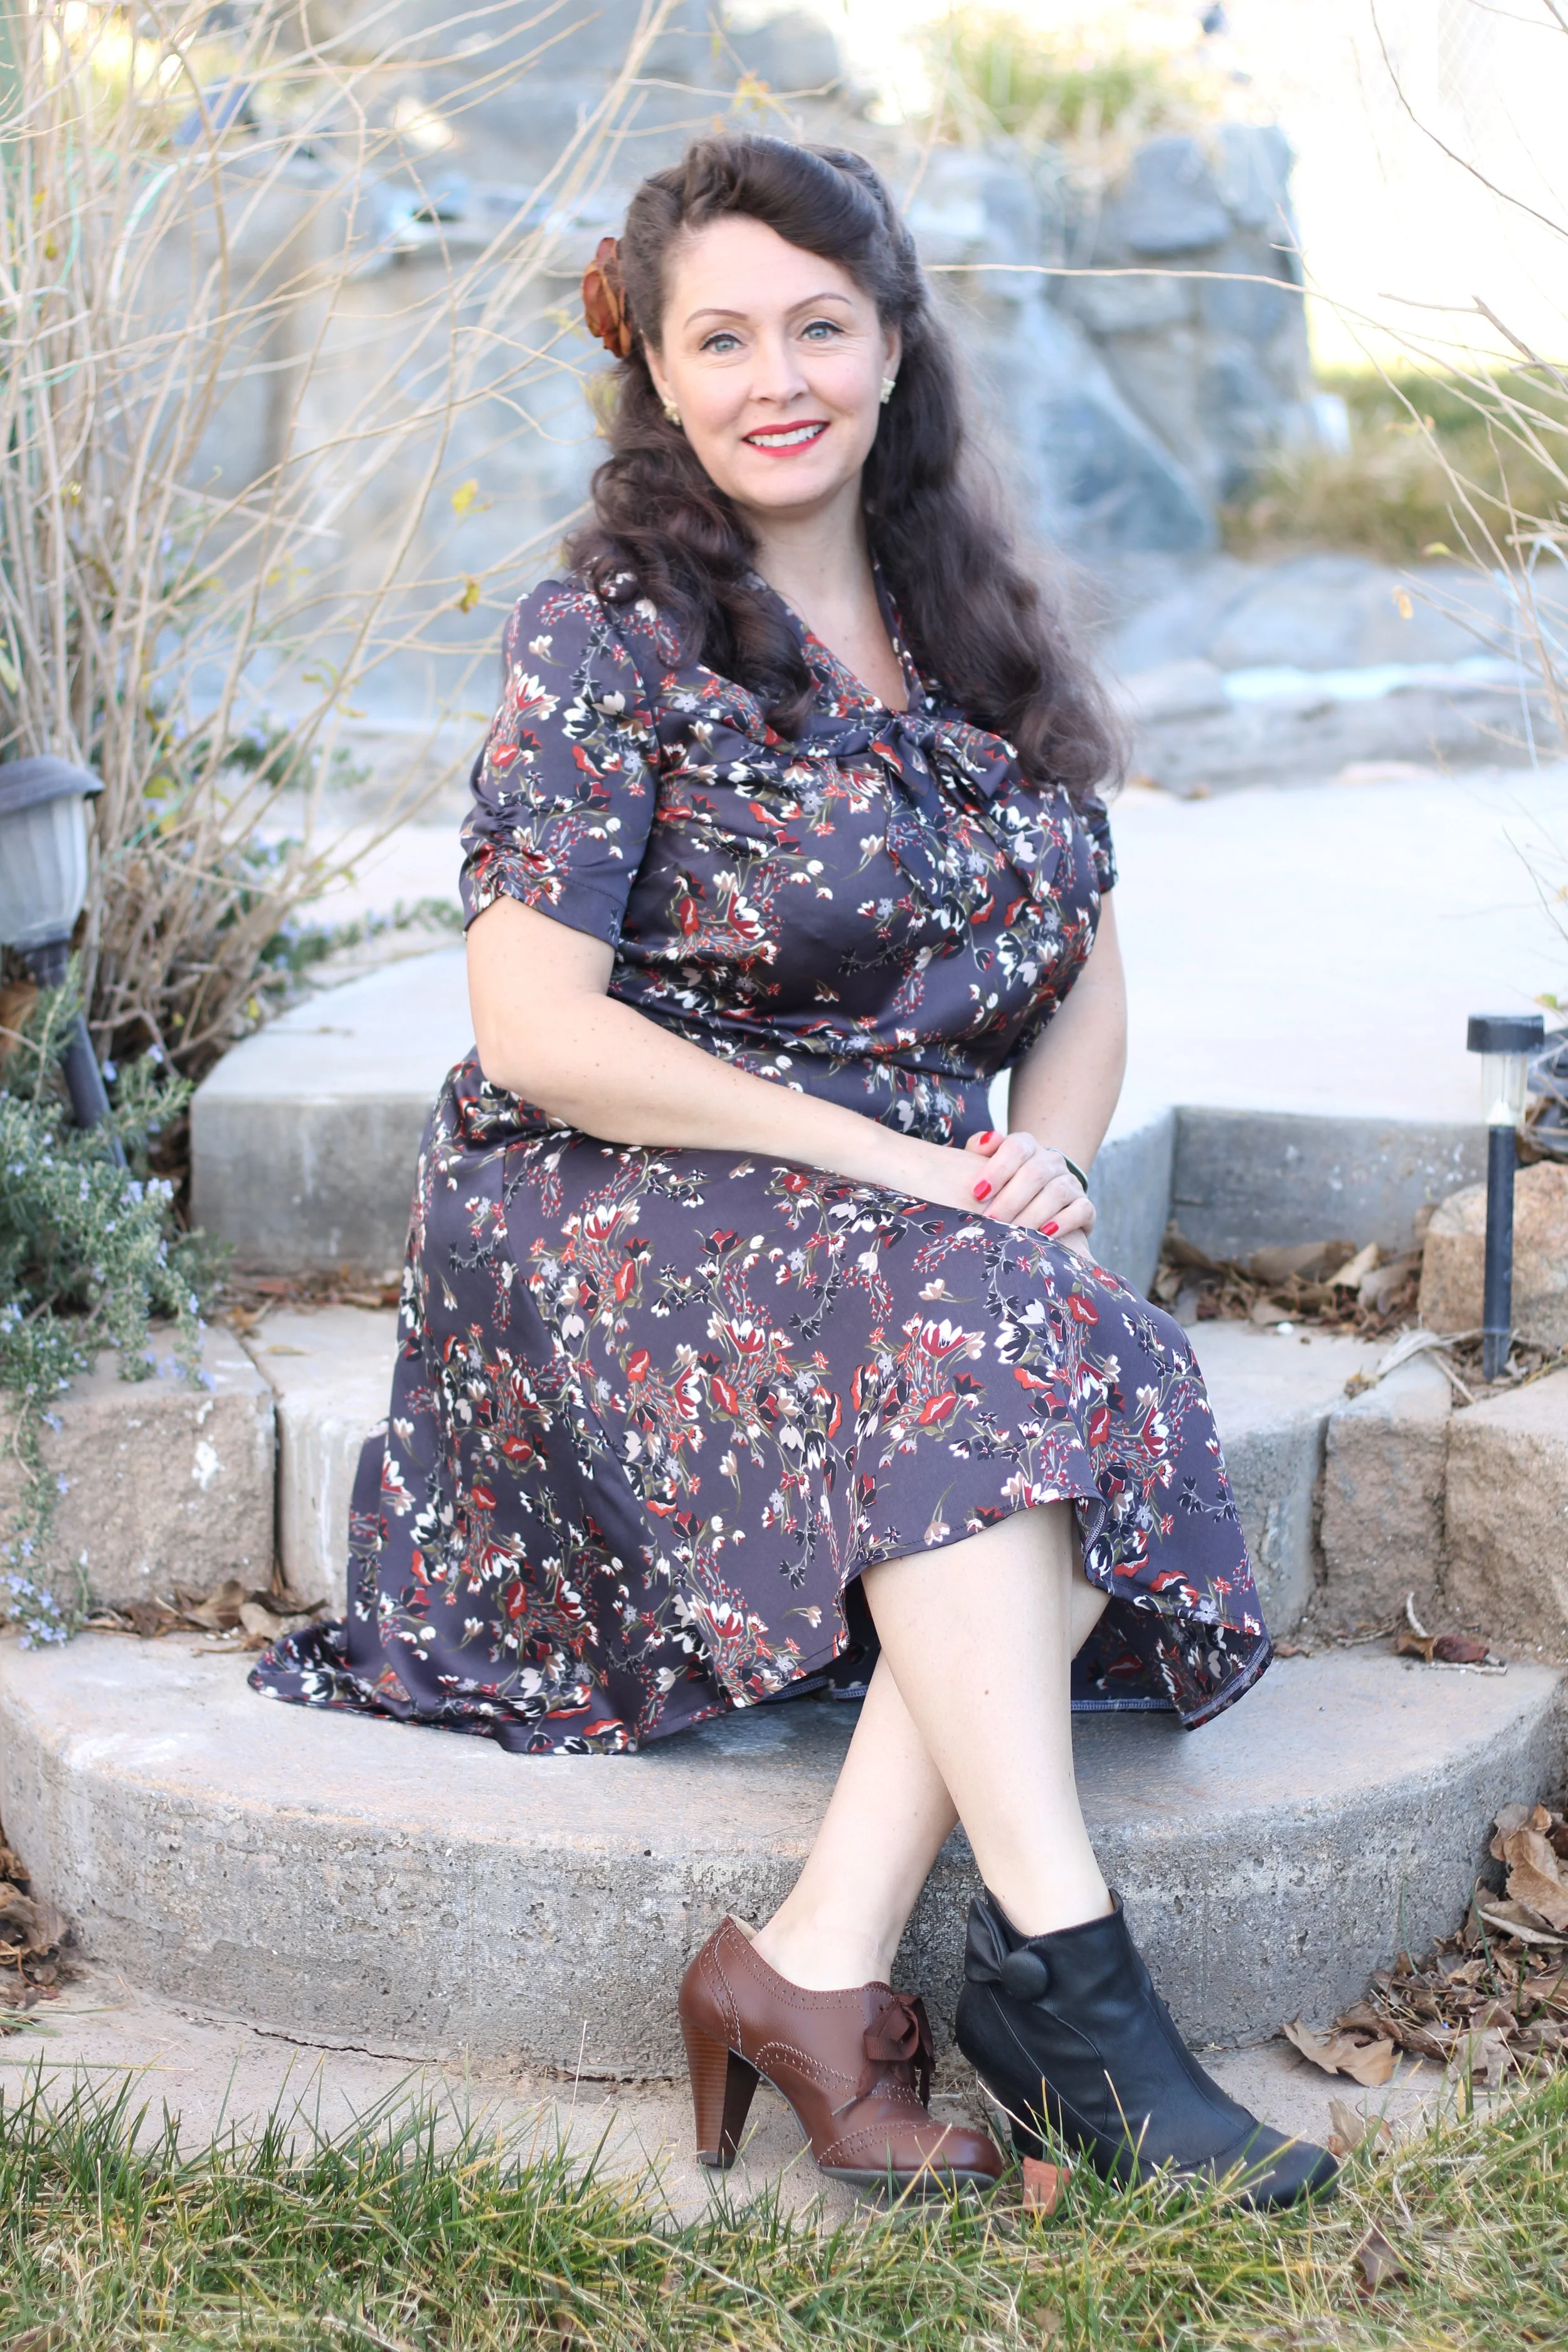
Ignore my 2 different shoes. I was deciding which one to wear and forgot to change before taking some photos.

Awkward pose and view of the cute necktie.

Look at the easy gathered sleeve. You make this with a small piece of elastic.

The cute peephole button in the back. I love this dress! The button is a burgundy covered button I had in my button jar.

Hope you give this dress pattern a try if you’re searching for an authentic 40s-style dress. It is easy to sew and fits well.
No, I never did make the second dress with my other fabric (both were purchased from JoAnn). Maybe that’ll be next up on the sewing table, right after I finish a new purse, more flared shorts, and wide-leg trousers. Ha!
Please share in the comments your favorite 1940s dress pattern. I’m always on the lookout for new ones.
Thanks for popping by,
Annette

Sewing A Barbie Dress
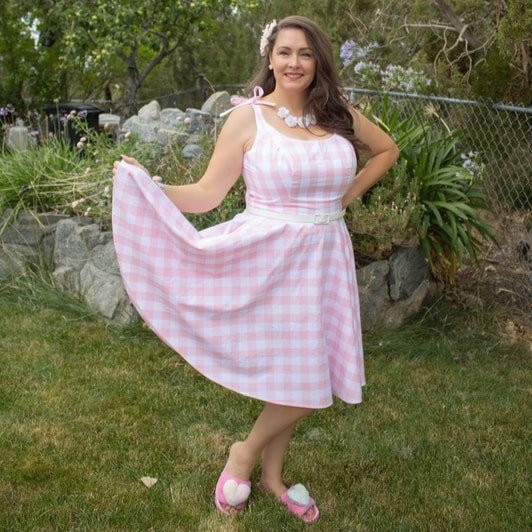
Hi Barbie! Sew your own Barbie dress with Gertie’s new Barbara Bodice pattern from her patreon. It’s an updated B6453 version. Pink and white gingham fabric and this pattern created a replica of the barbie dress from the movie.
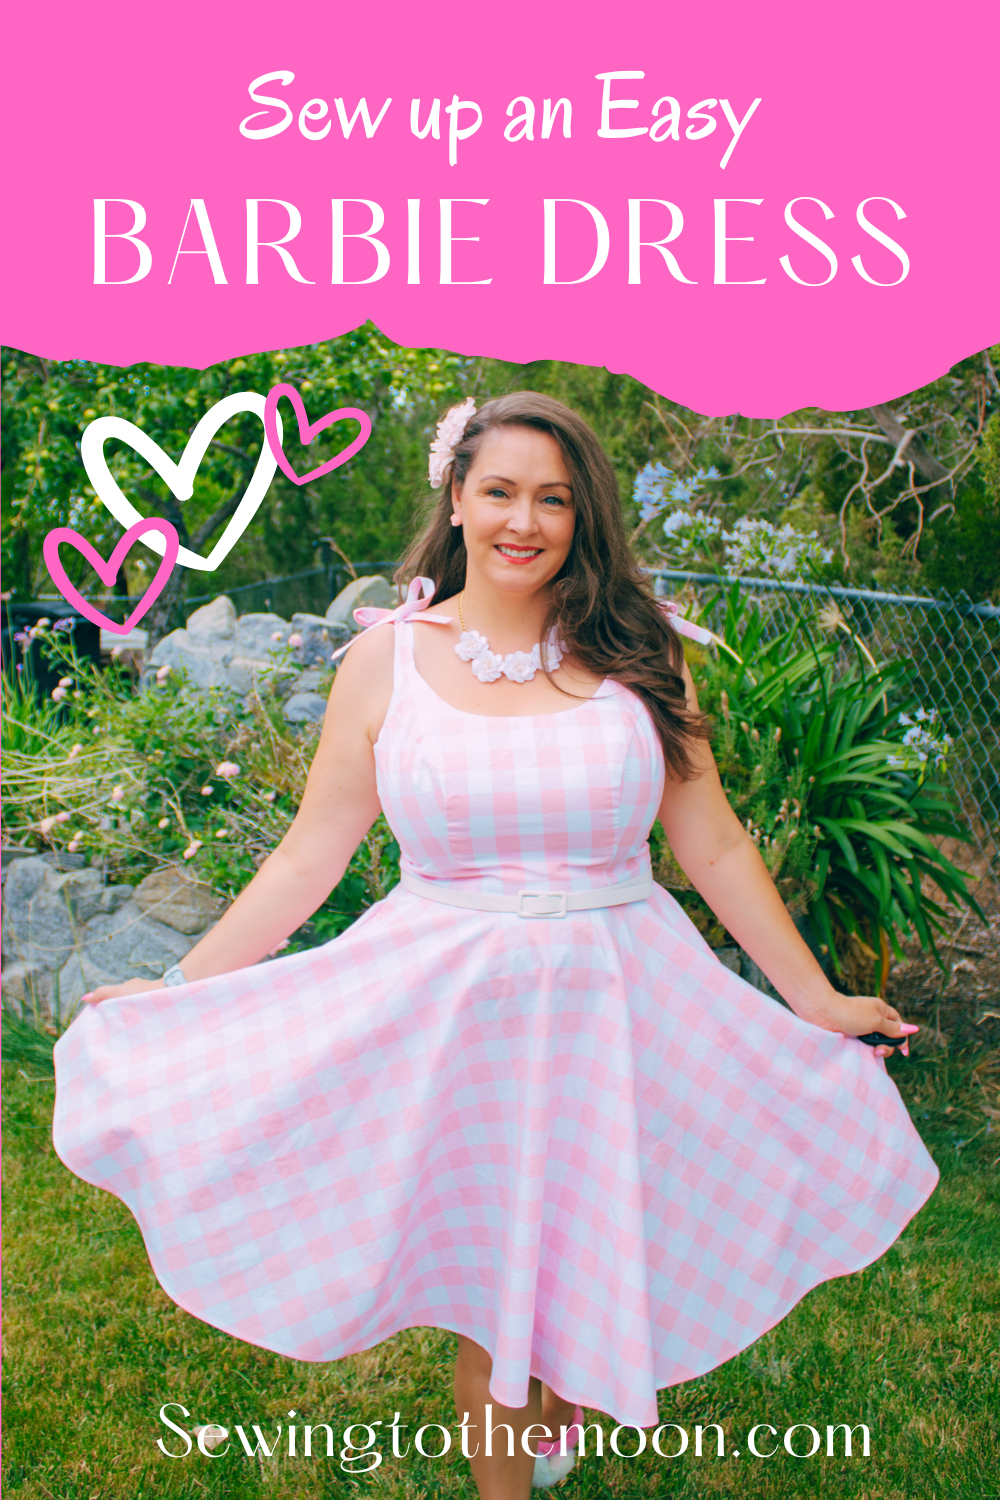
Hi Barbie! Have you noticed the pink phenomenon that is spreading all over the world? It's a whole Barbie craze! And, I'm here for it. Gimme aaallll the pink. Have you seen the movie? I saw it twice. I made a dress and had to share it with you. Yay for Barbie sewing!
Barbie Dress. Check! Pink fuzzy slippers. Check!
I grabbed the Barbara Bodice pattern from Gertie's Patreon. If you aren't a member, run, don't walk, and join now! She gives so much over there, even at the base level. The Barbara bodice is the updated version of her original Butterick 6453.
This isn't a sew-along, but it's more of a show and tell. I want to show you the Barbie movie-inspired dress. If you've made a Barbie dress, shorts, PJs, or other inspirational item, tag me. I want to see what you made. I've seen a few goth Barbie outfits that are super fun too.
Let's dive in!

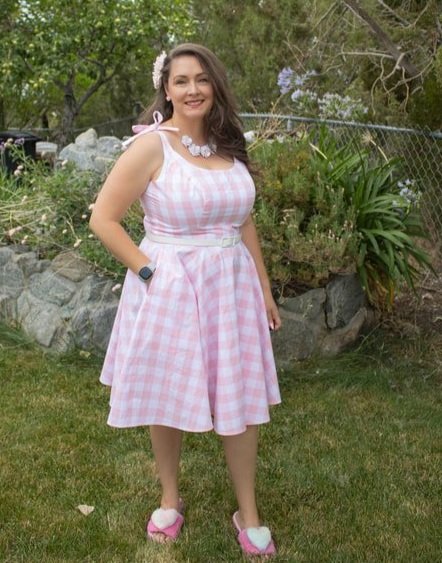
Feeling fabulous!
Barbara Bodice
My thoughts on the Barbara bodice might not be the popular opinion. But, I much prefer the Butterick 6453. I like how the back fits me. It has a simple dart. The Barbara has a 2-piece back pattern. It's fine enough, but seems to be extra.
Barbara has different cup sizes, which is awesome!! No more figuring out your FBA. For the busty gals, this is a huge plus! However, my bodice didn't fit, as flawlessly as the Butterick 6453. I had some extra armpit room, which is weird. I like the FBA I created for the Butterick pattern better. I plan on making another Barbara (I didn't make a mock-up for my Barbie dress) and I'll play with the pattern, fit, and sizing.
Gertie included 2 strap options with the Barbara Bodice. Self-tie straps that are thin, and wide gathered straps, for bra strap coverage. I opted to use the thin self-tie straps, and they covered my wide bra straps well enough.
The Barbara doesn't have any facings, it's fully lined, which I'm a huge fan of! I definitely love the pattern and am a huge fan. Both the Butterick 6453 and Barbara come together so easily and are fun to sew. It's the perfect last-minute dress pattern. But, I'm still on the fence if I'm over the moon happy with the Barbara.
Have you sewn it? If so, have you compared the two patterns side by side? The general consensus I've seen across the interwebs is that the Barbara is wonderful. But, as I've gone down the pattern-making black hole, I've become more of a pattern snob kabob.

Thinner straps that you can tie into a bow. Easy and cute.

The new scoop back is pretty too.
Skirt Stuff
Gertie also created the Barbie movie skirt pattern to go with the bodice. It's a full box pleat skirt that uses aalll the fabric. When I ordered my fabric, I ordered 4 yards. However, the skirt alone uses over 4 yards. So, I went with plan B.
I opted to draft my own circle skirt, and of course, I added roomy pockets. I actually prefer circle skirts over gathered ones anyway. I have a fuller tummy and appreciate less fabric in that area. Plus, circle skirts are just fun!
I've been learning pattern making as I mentioned above, and I'm taking it one step at a time. If you're interested, check out Tricia, she's the best teacher! And, her motto is "You don't need to be good at math for pattern making". Which I'm all about because mathing is hard. Haha :D

Self drafted circle skirt.
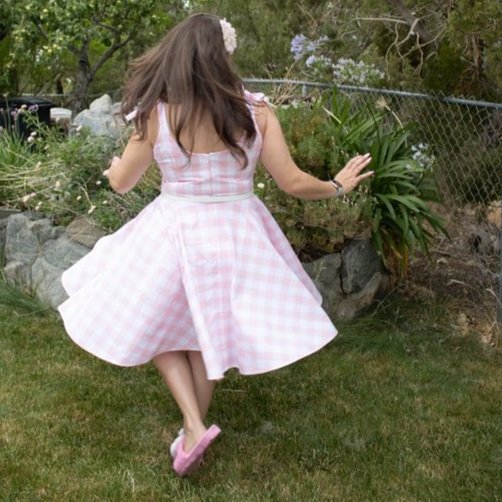
Welp, that's it. Do you love the dress? I sure do. I feel so girly in it and it'll be a February staple as well. I plan on wearing tights and a sweater, or a long sleeve underneath it.
Not a Barbie fan? You can sew a 1950s-style swimsuit instead. It's the Bombshell and it's flattering on everybody.
Have you ever been interested in making a quilt? Read my blog post and you can sew one up in about a week.
Thanks for hanging out today. Happy sewing of all things pink!
XOXO,
Annette