
Pattern Reviews, Sewing Hacks, Tips & Free Patterns
The Sewing Blog
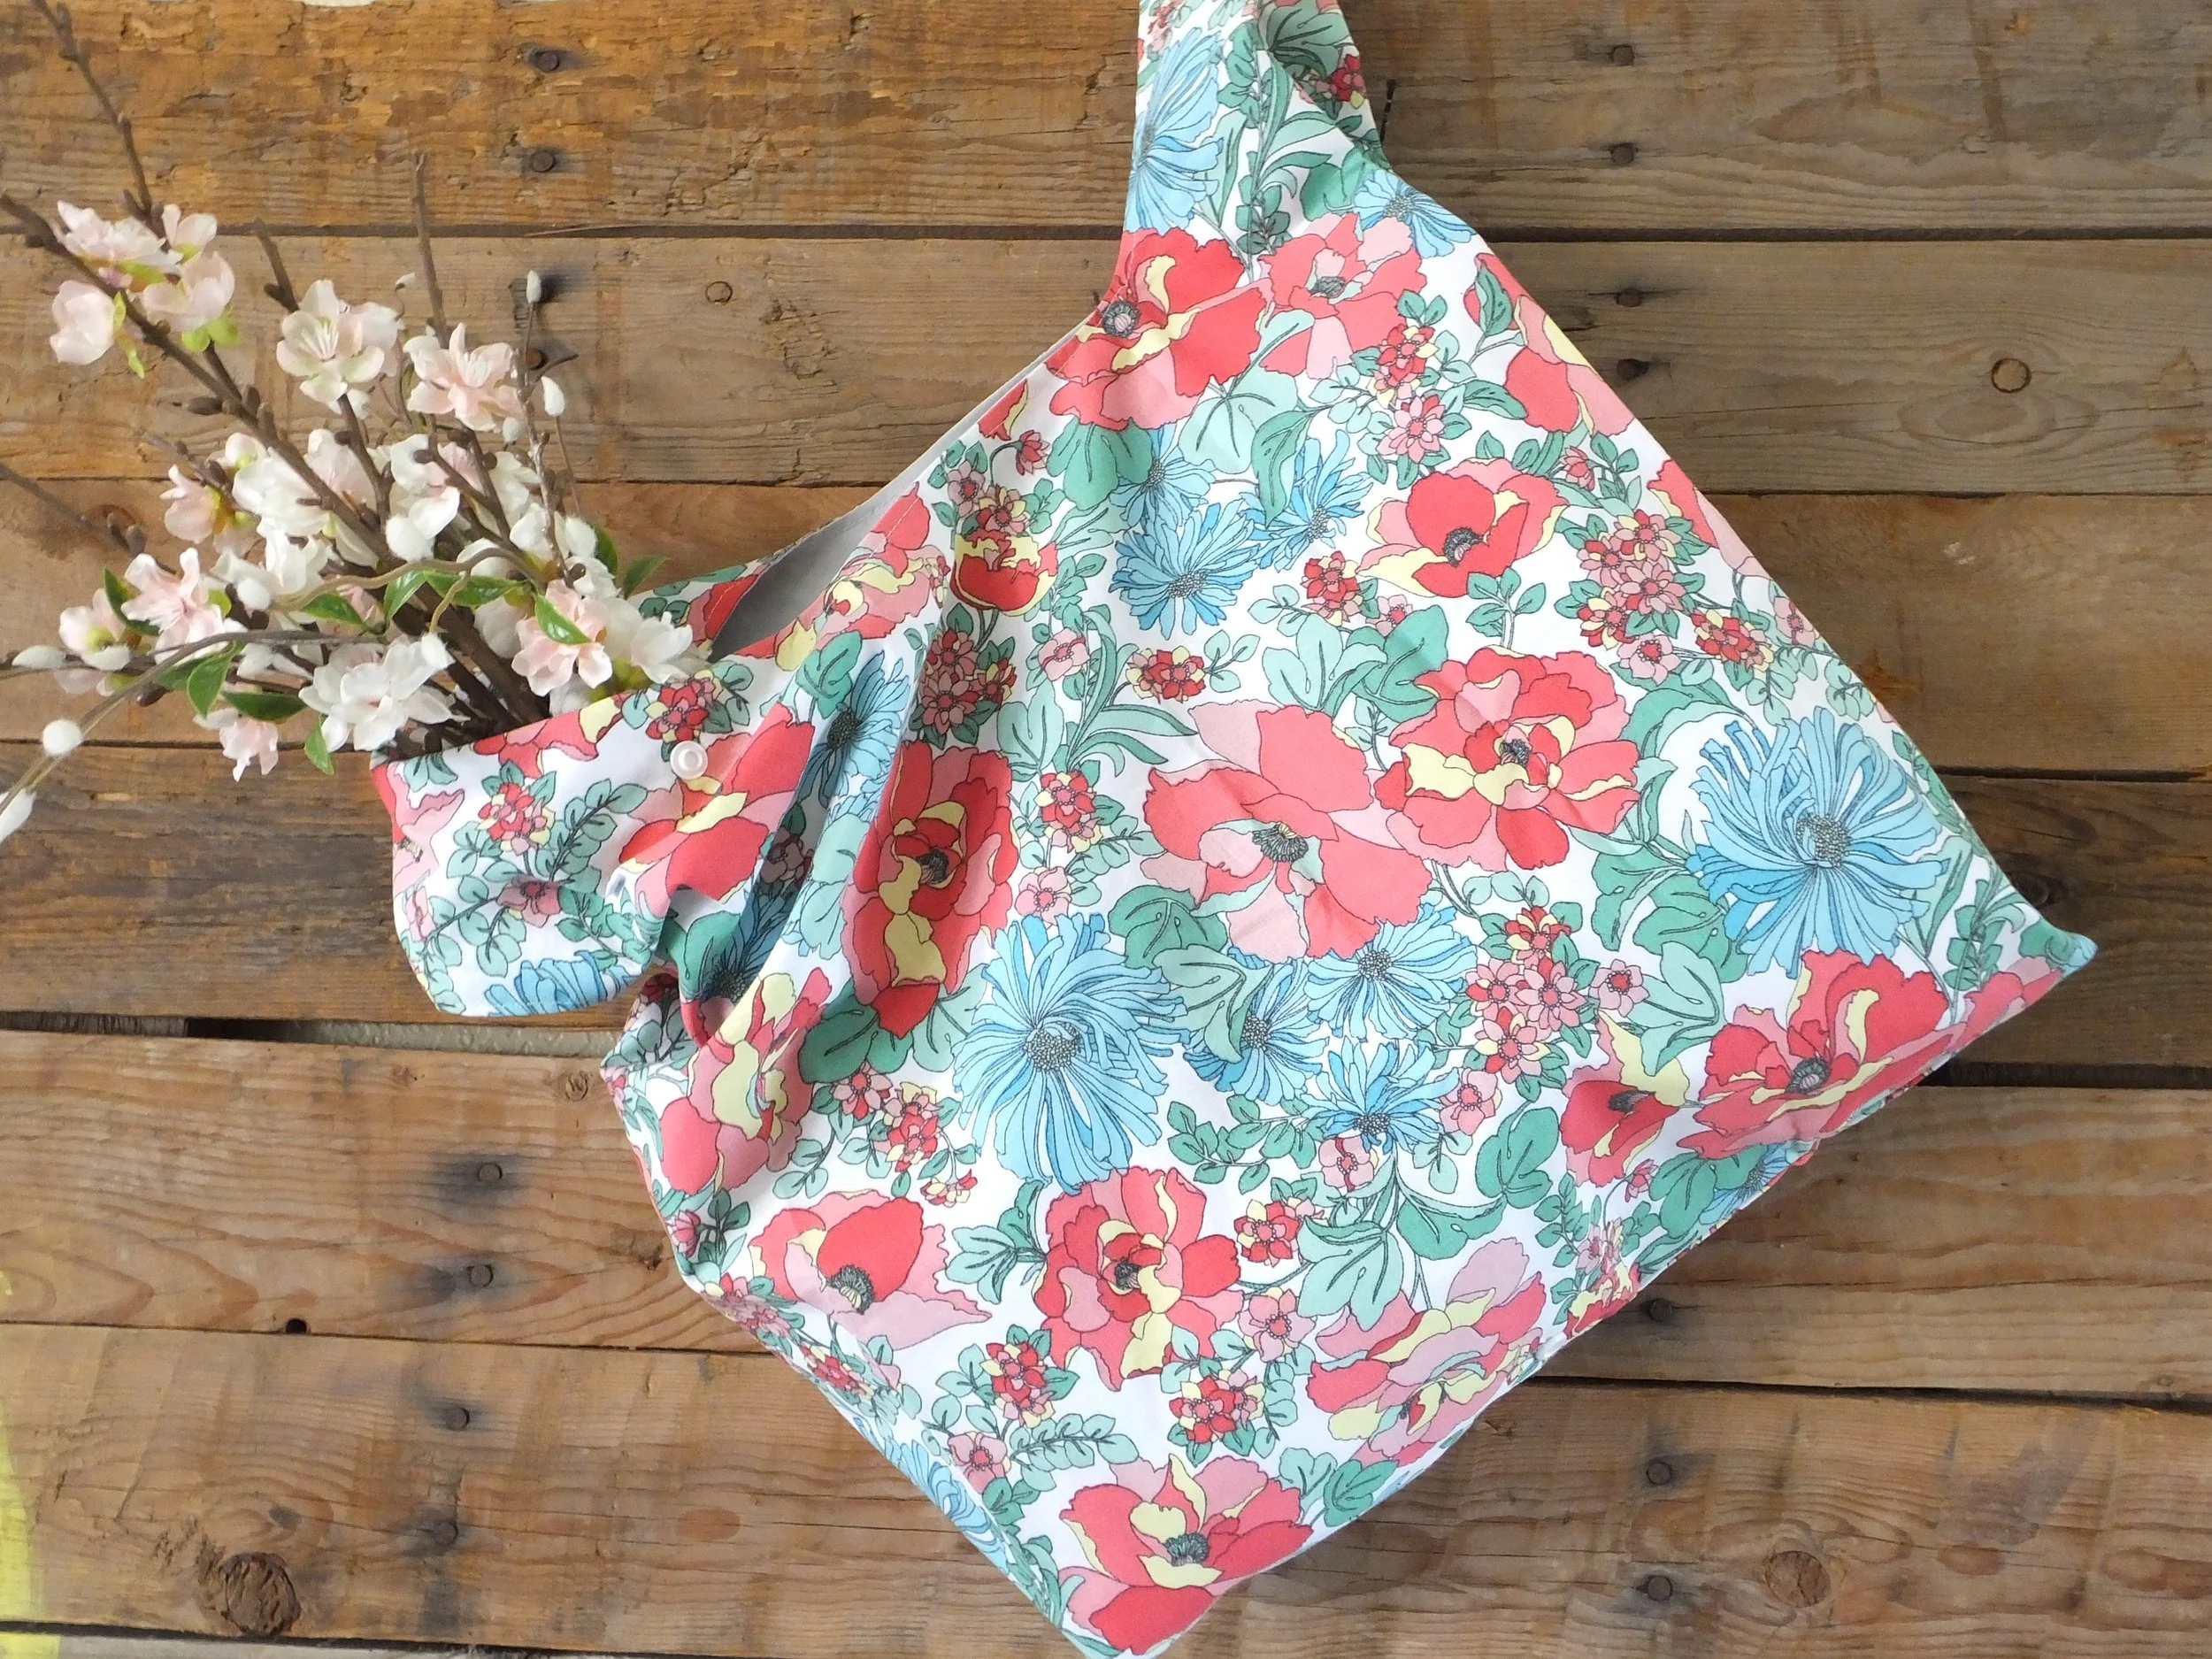
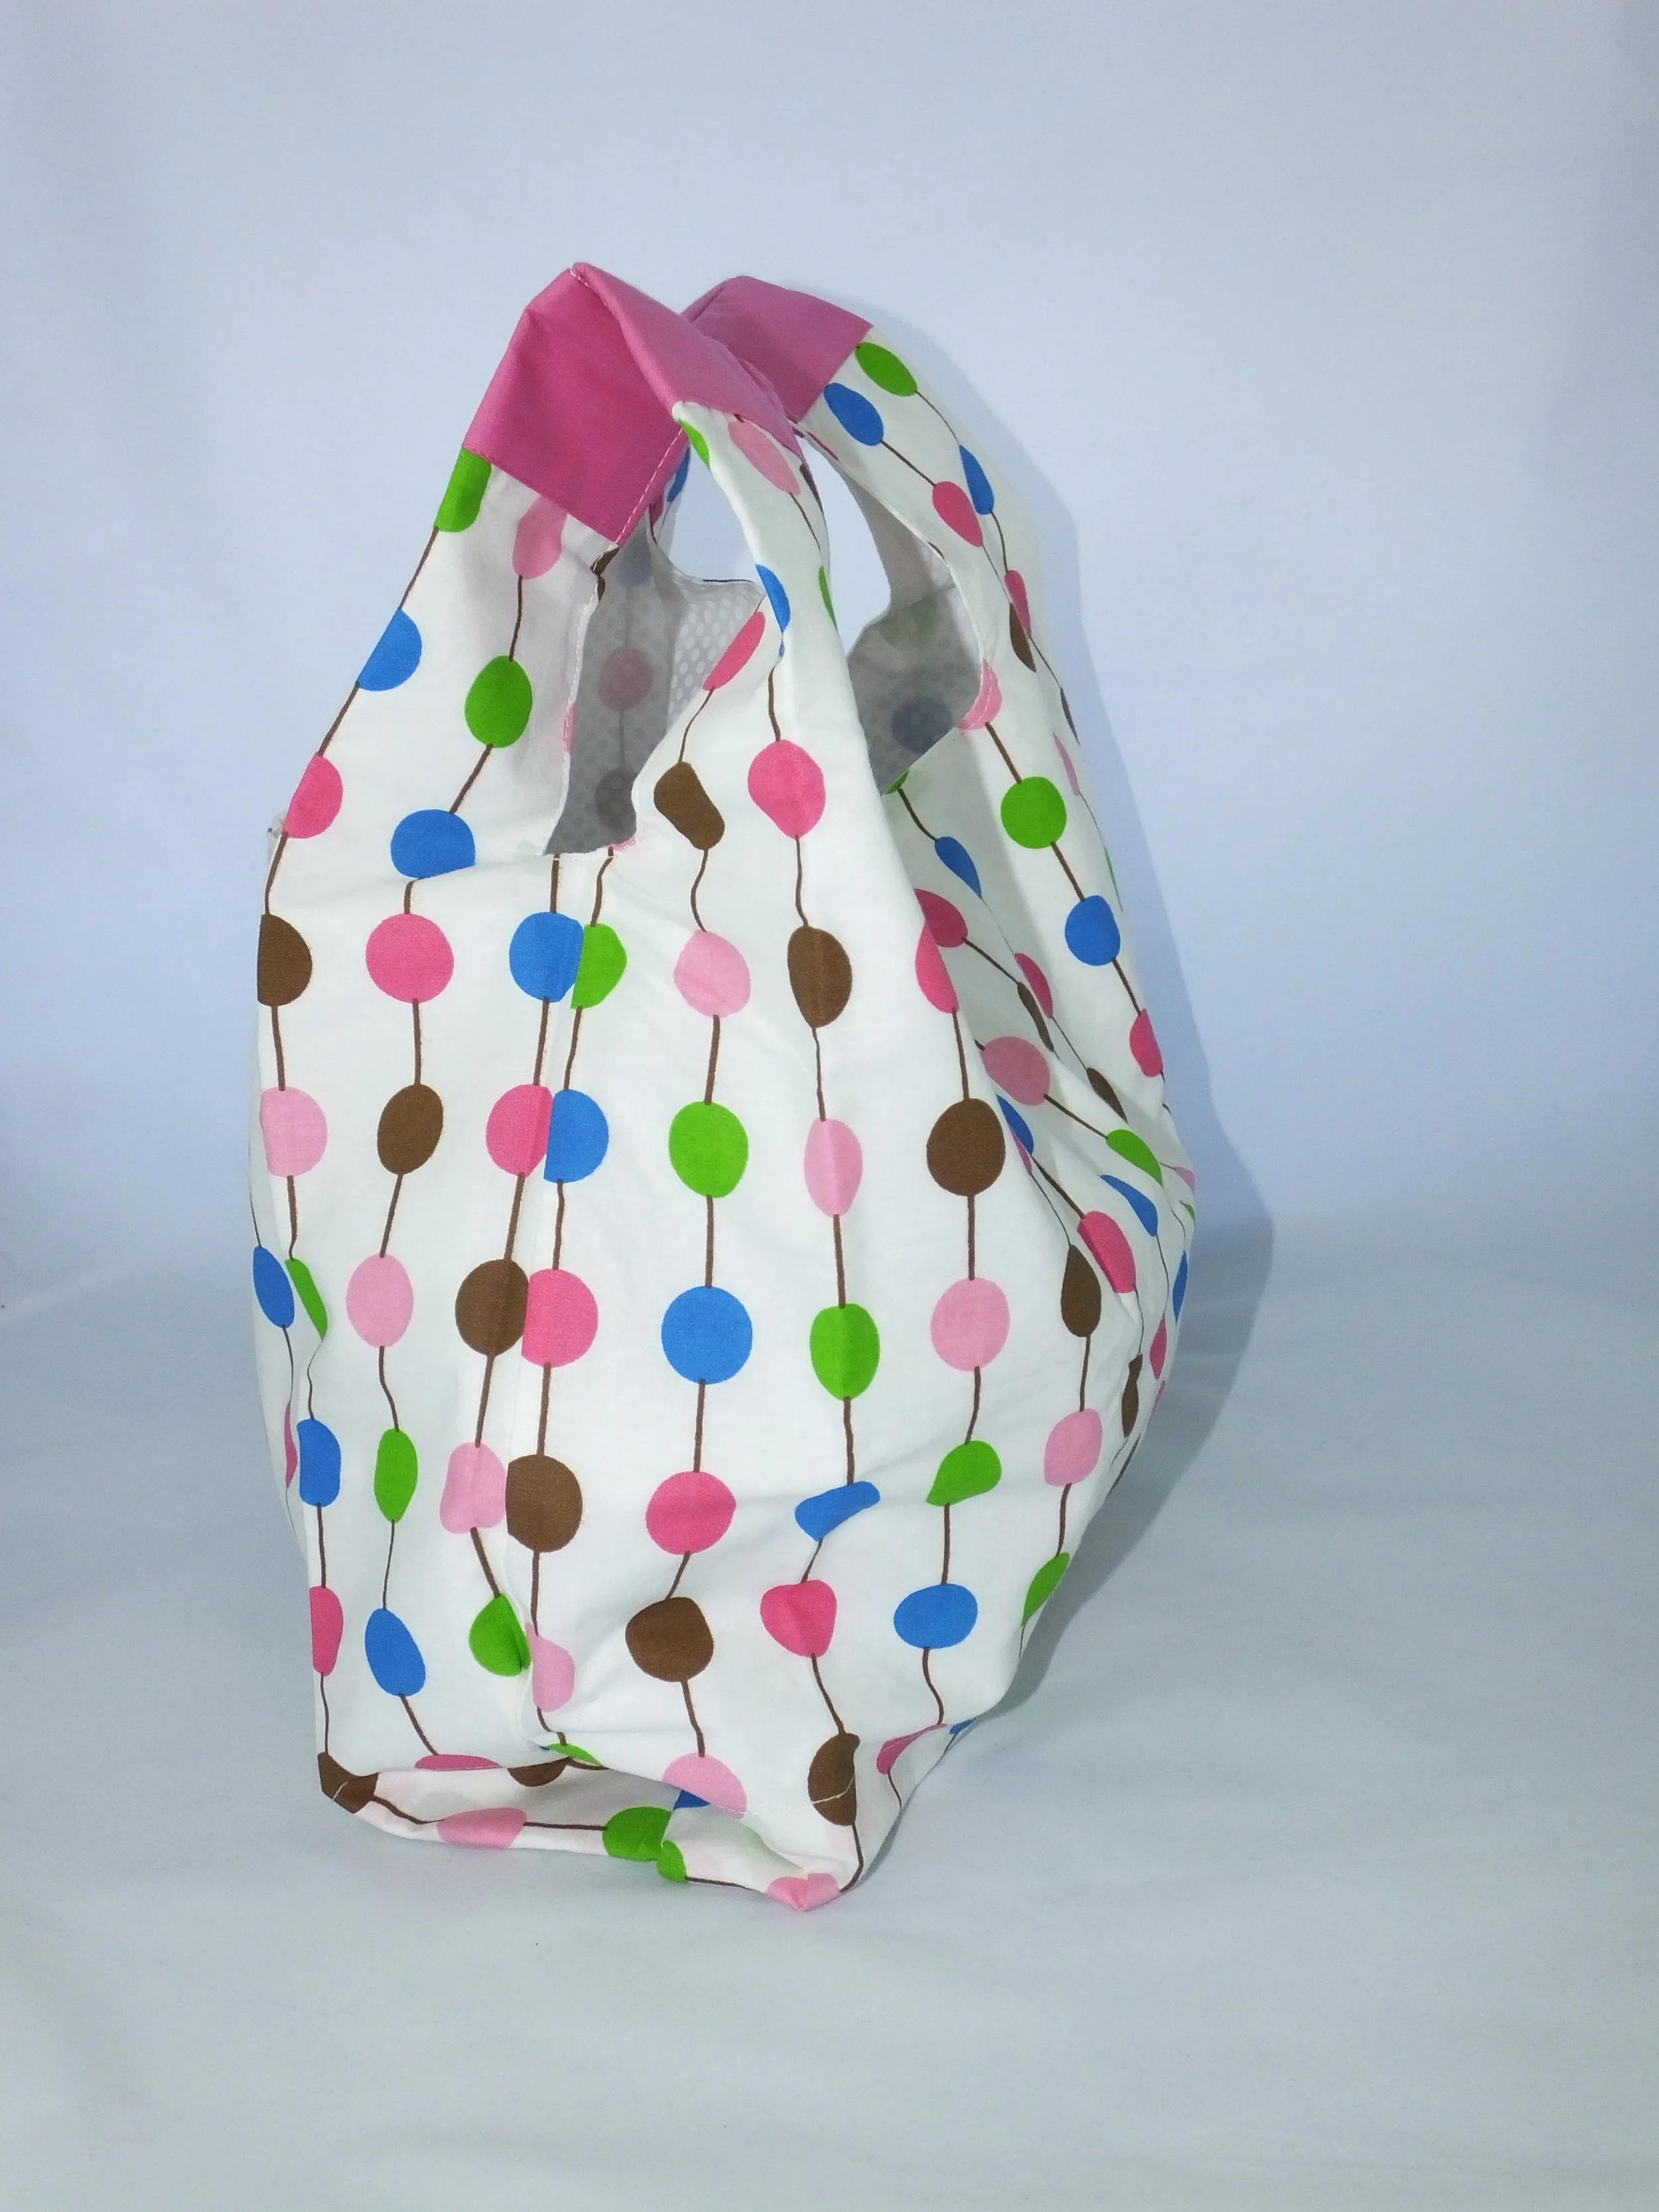
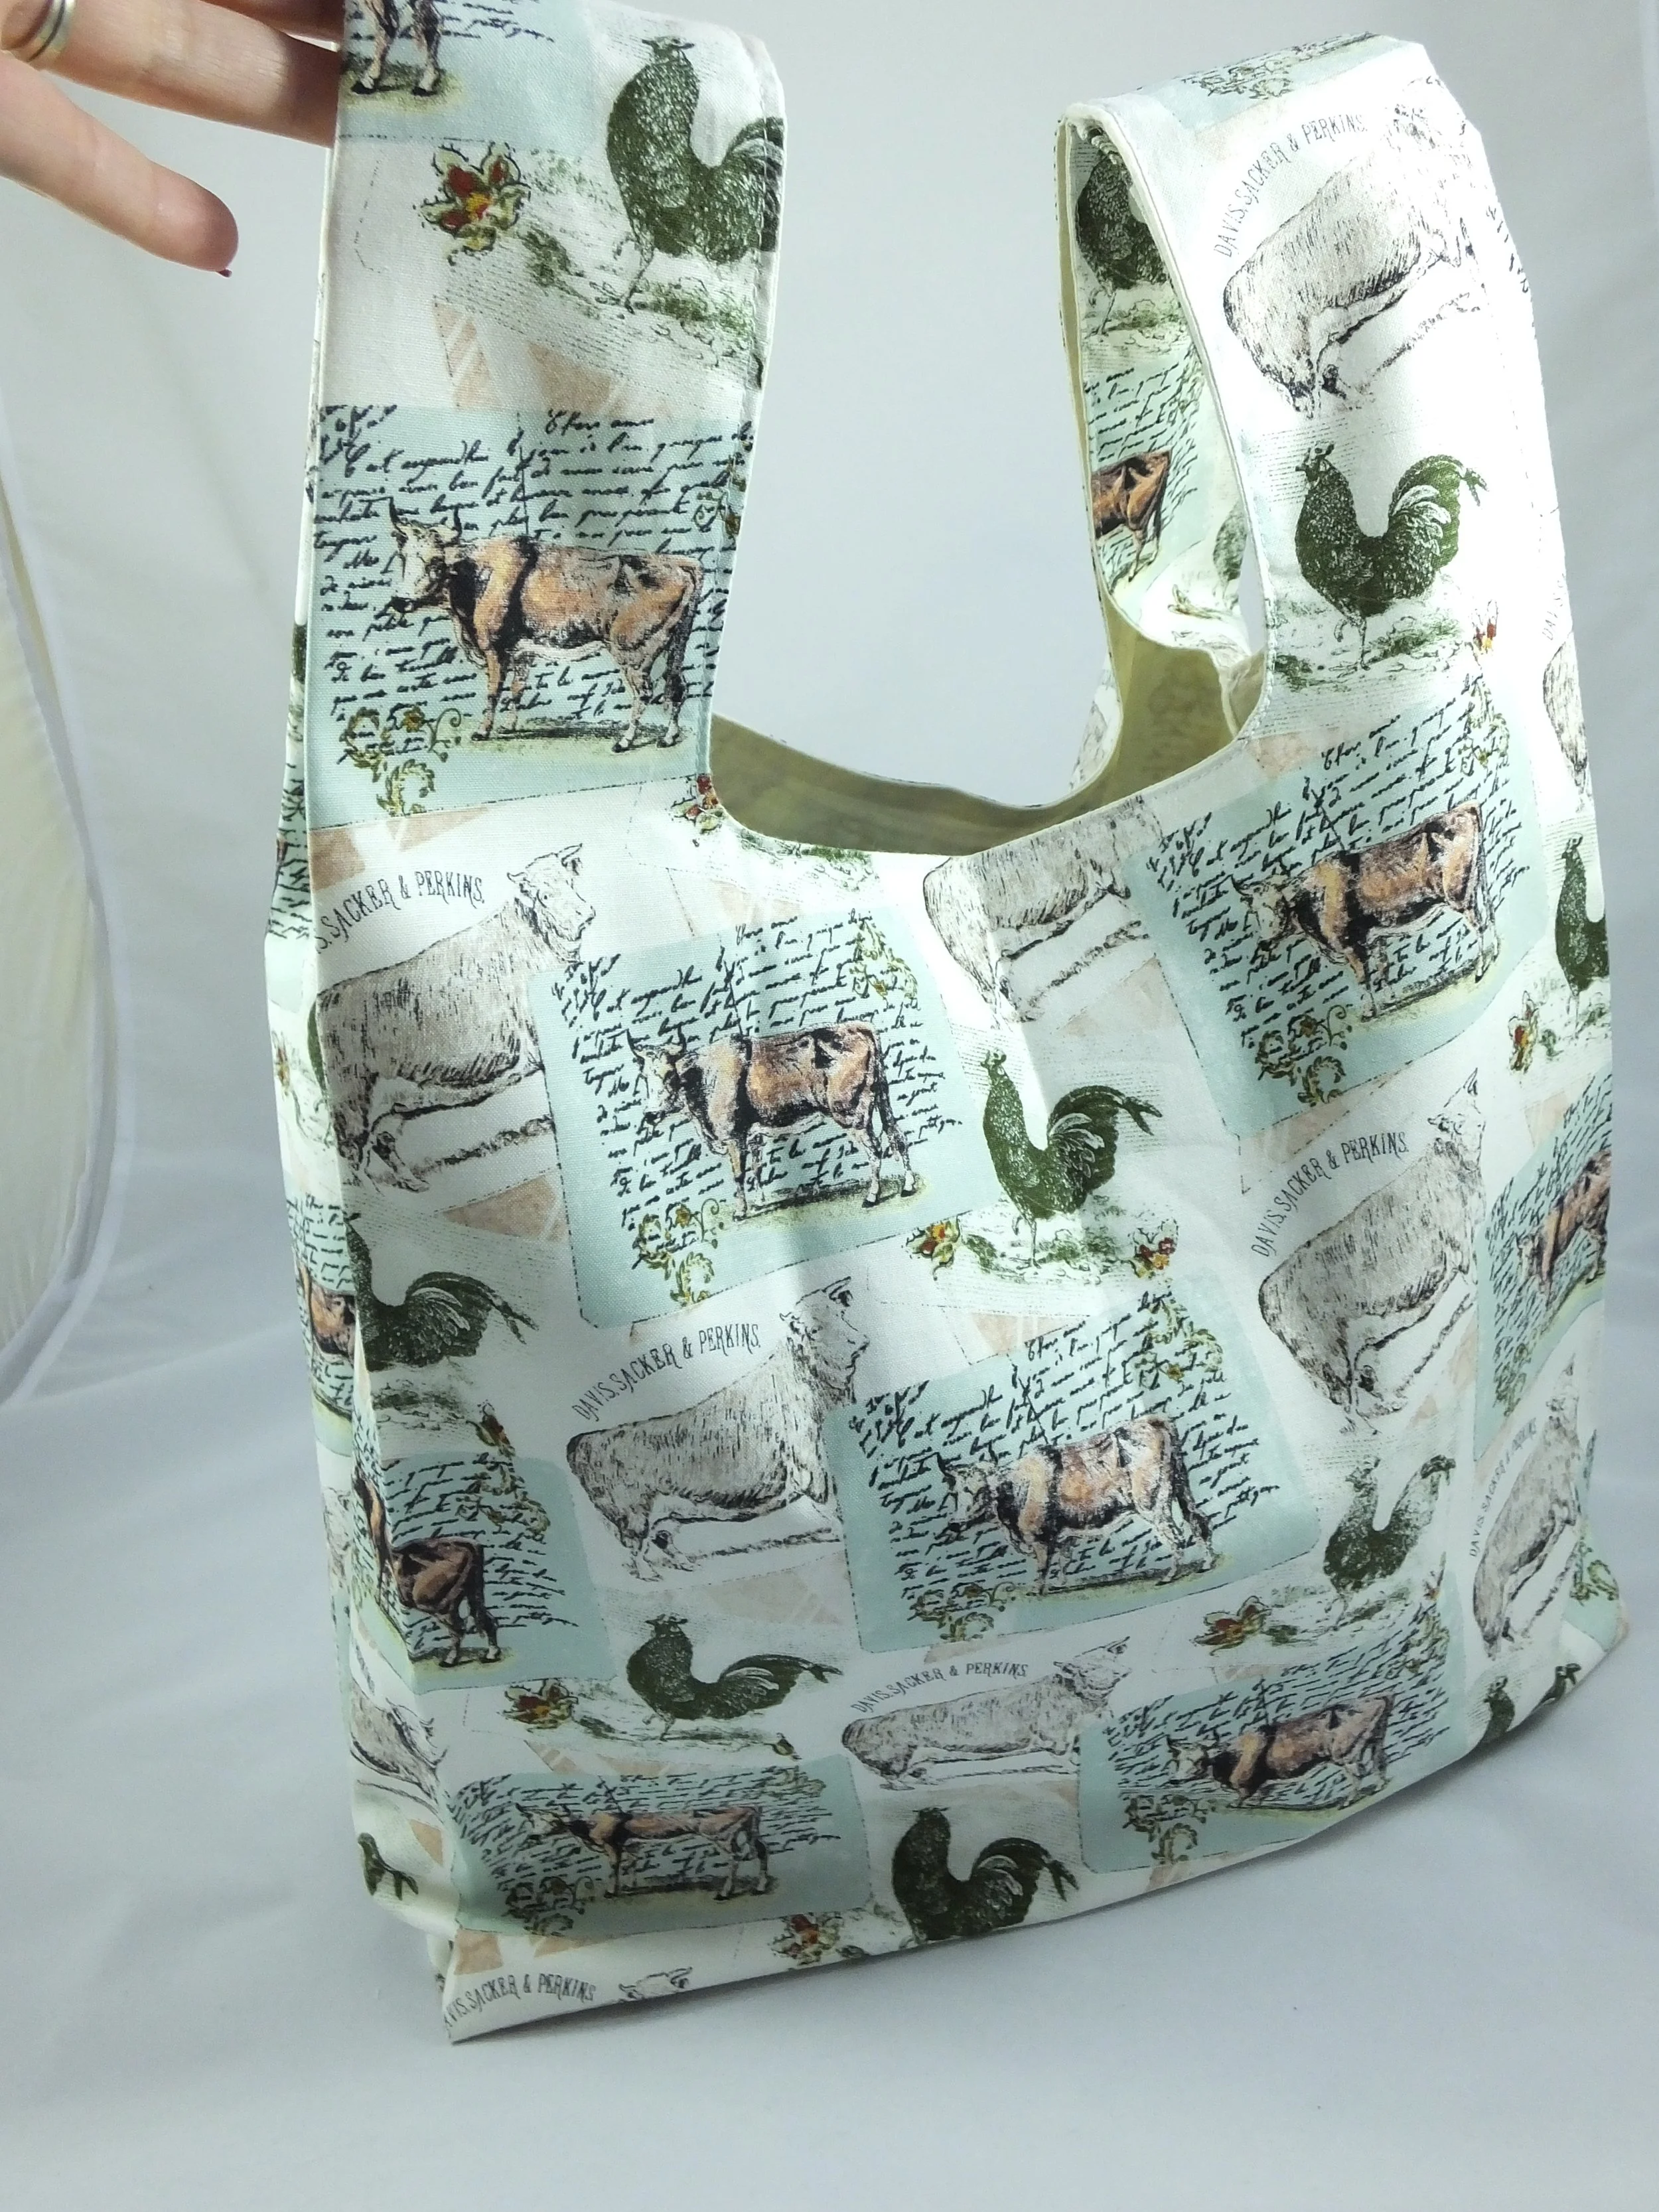
We’re Sew Over Plastic! Make a Bag to Use at the Grocery Store or Farmers Market
Sew your own reusable bag. It folds up small enough to keep in your handbag. DIY sewing pattern for beginners.
Sewing can feel frivolous at times. And, at other times, it can feel like a real superpower!
I like to sew with purpose. It’s probably part of the reason I’m not a huge quilter. Making a quilt for the bed, yes! Making some sort of thing to hang on a wall, nope.
And, reusable items are even better!! If I can make something that has purpose and can be used over and over and over, sign me up!
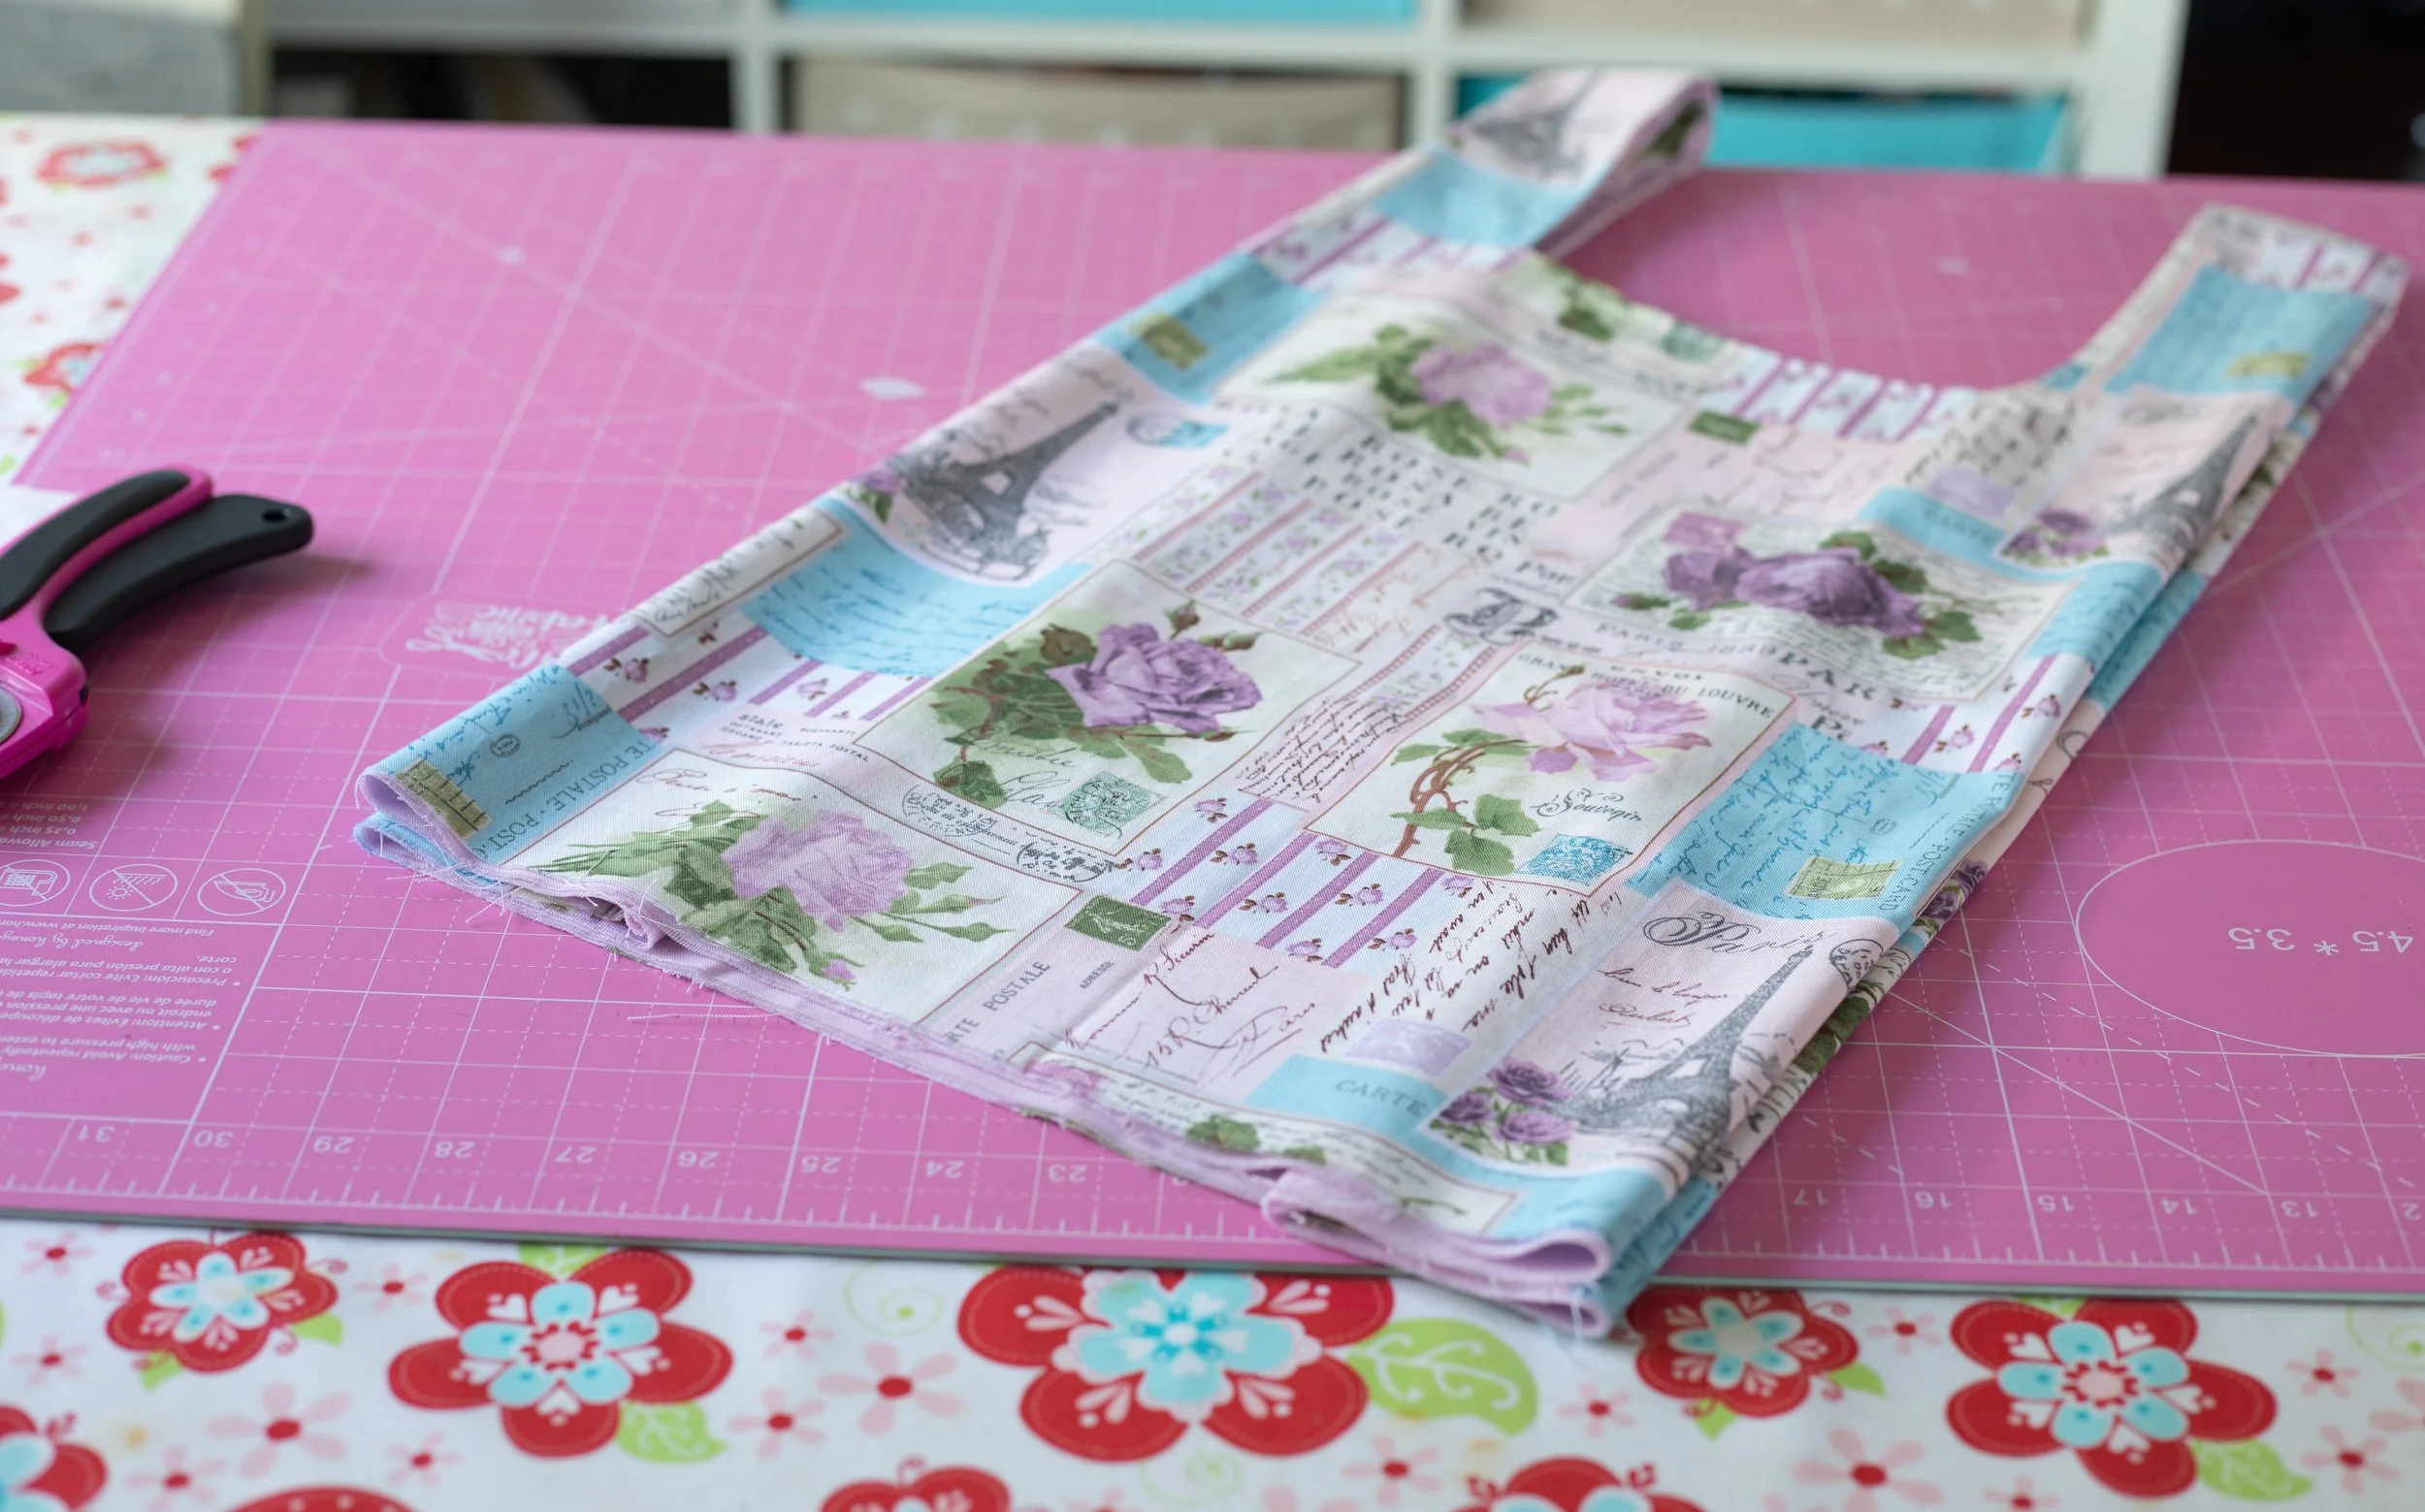
Let me introduce you to the Tote-ally Awesome bag.
It takes less than a yard to make. And, it has one simple pattern piece!
Excited? I knew you would be. Oh, and bonus, I include SNAP instructions if you’d like your bag to stay folded neatly inside your purse. This is completely optional, but it’s nice to have.
From fabric to function, let’s get sewing!
The pattern resembles a tank top, sorta. But, you aren’t wearing this.
GATHER YOUR SUPPLIES
PDF pattern and Instructions zip file. *If you can’t open that file, scroll down below.
2/3 yard of quilting cotton fabric for the outer
2/3 yard of lining fabric (more about choosing this later)
Matching thread
Pins or clips
Sewing machine
Scissors
A printer for printing out your pattern, tape, and non-fabric scissors
*Optional snap, snap tool, and interfacing scrap piece
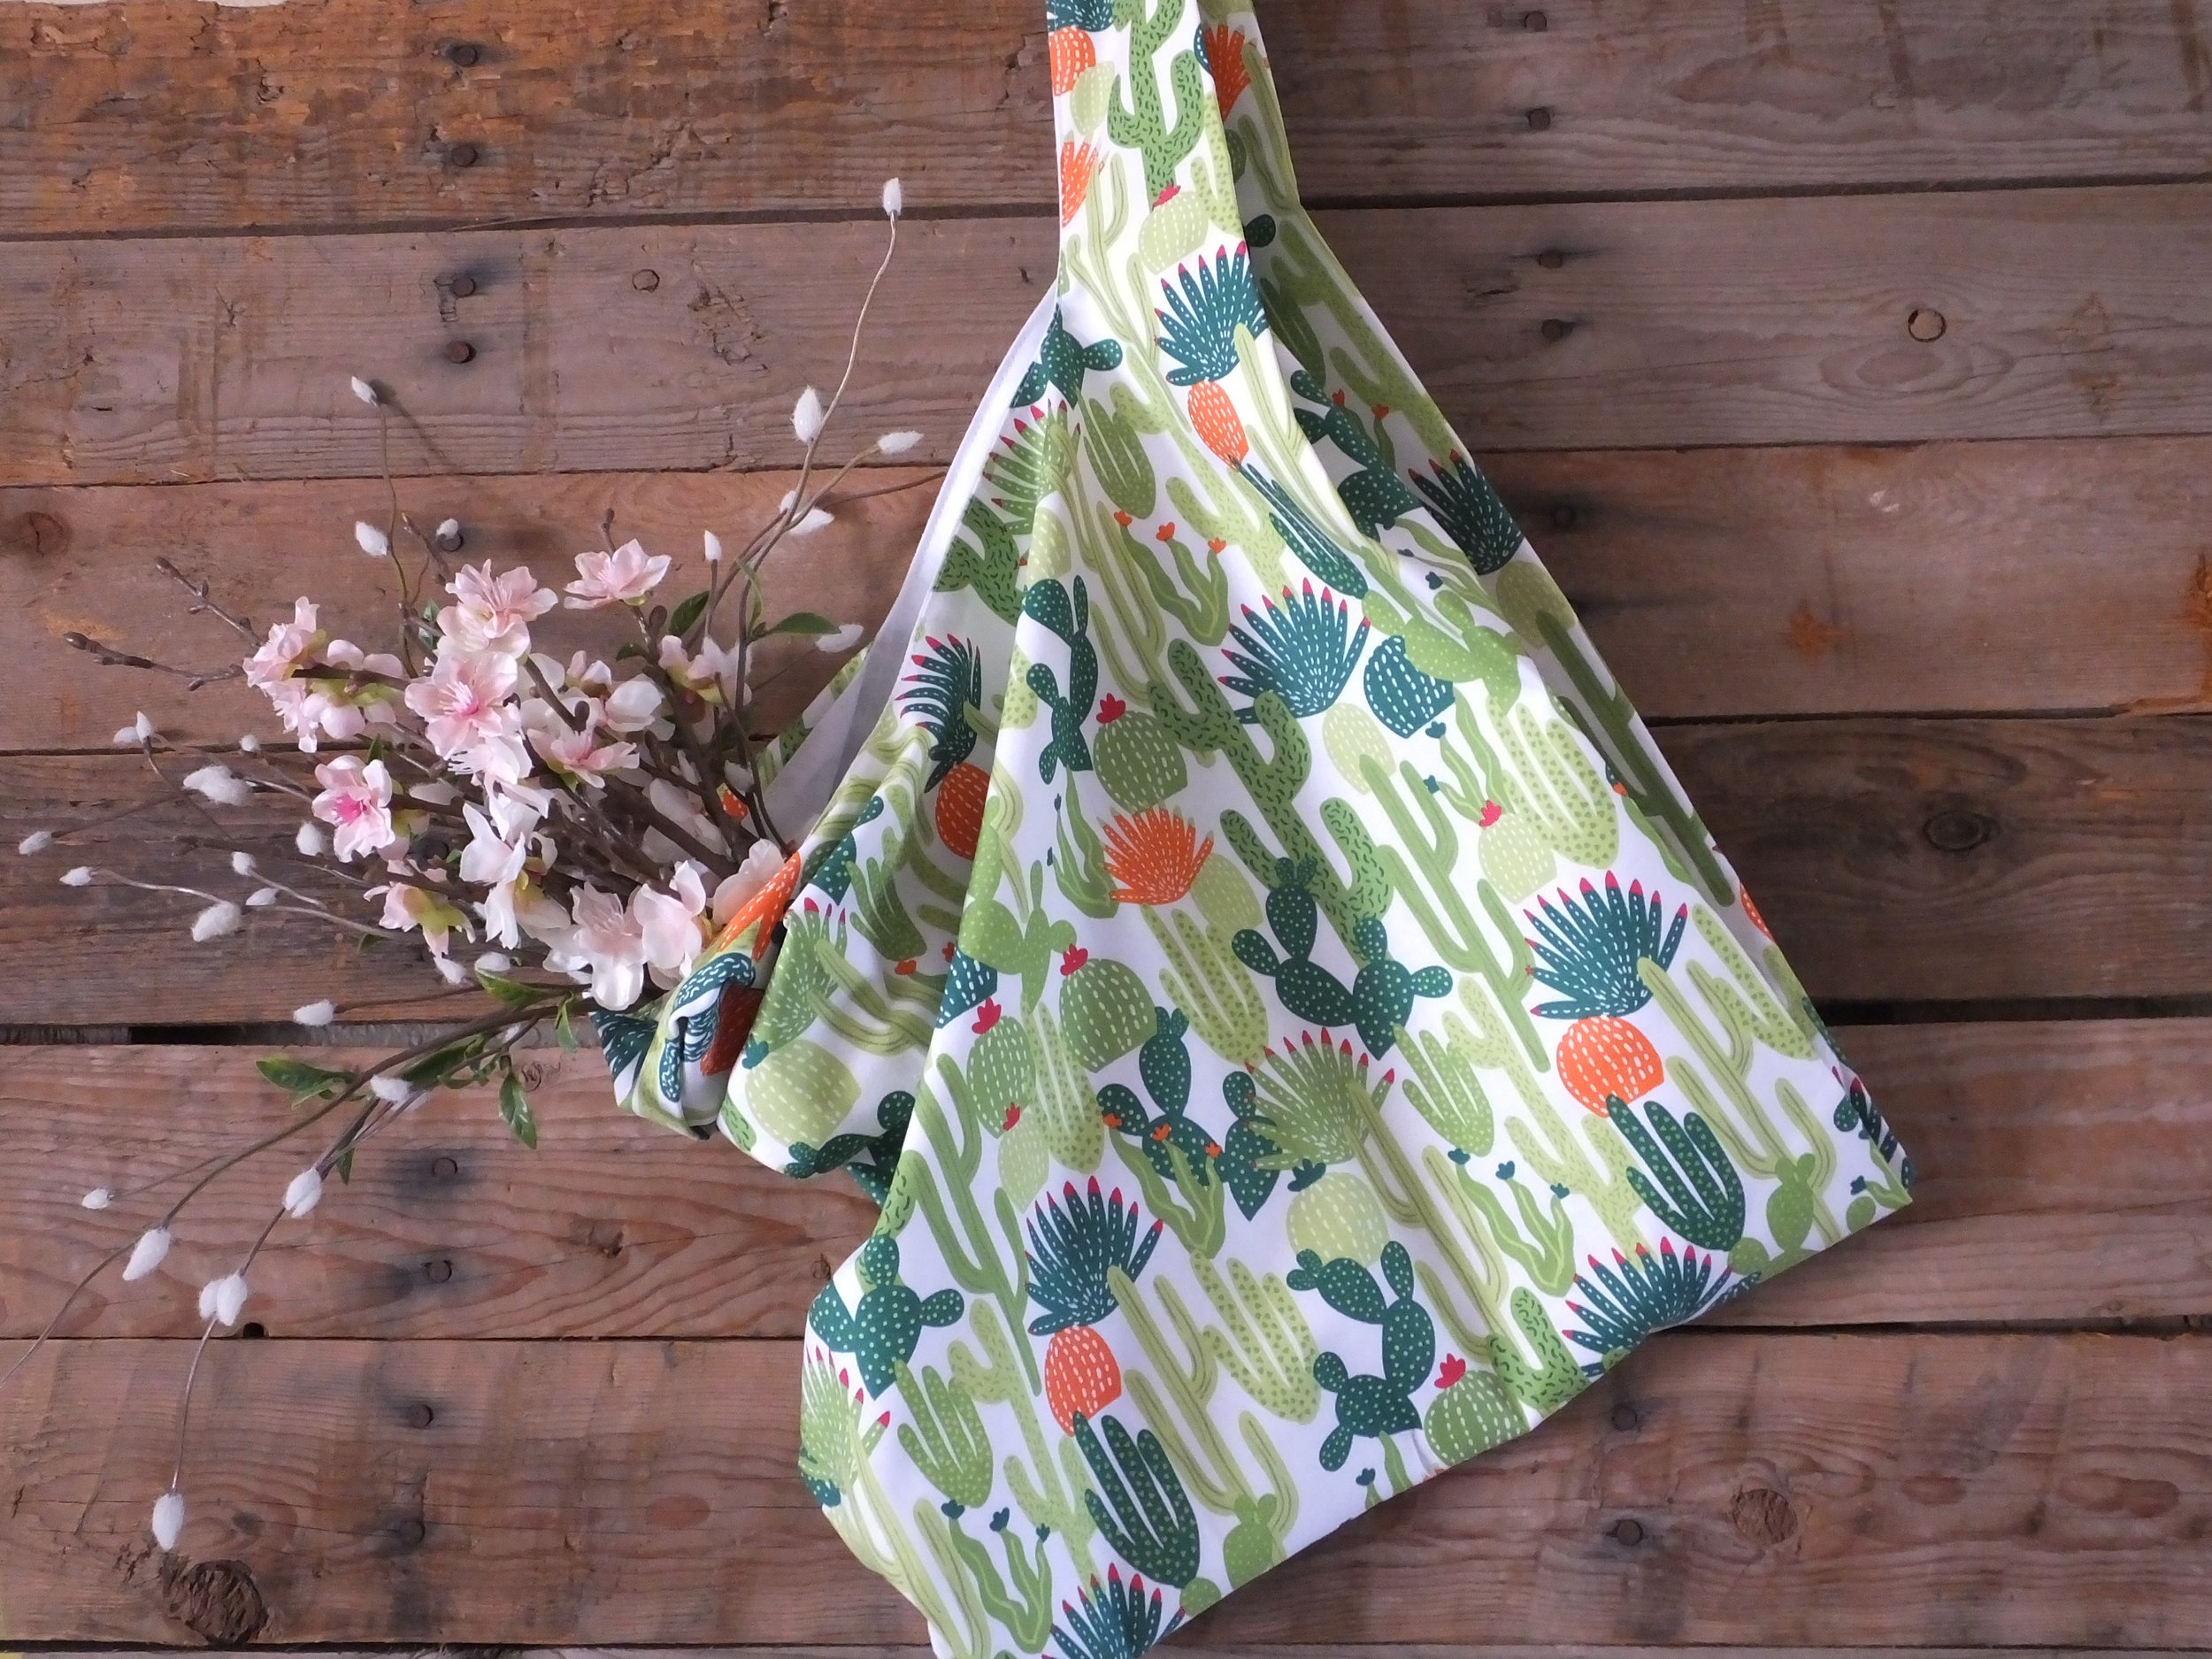
Cactus fabric version.
PDF INSTRUCTIONS
Your downloadable pattern will need to be unzipped; every computer and program is different. If it still doesn’t work, you need to download each file separately. Here is pattern 1, pattern 2, pattern 3, and the Instructions. Sorry, I’m technology-challenged, and Squarespace won’t let me upload a file to make it easy for you. Womp-womp.
You will then need to print it. Don’t resize it unless your printer settings aren’t set to 100%. Each pattern piece is about the size of an 8.5”x11” piece of paper.
Print your pattern pieces.
Line the shapes up and overlap along the dotted line. Tape together.
Cut out the bag pattern.
It should measure about 23.5” tall by 10.25” wide after being taped and cut out.
So far, so good?
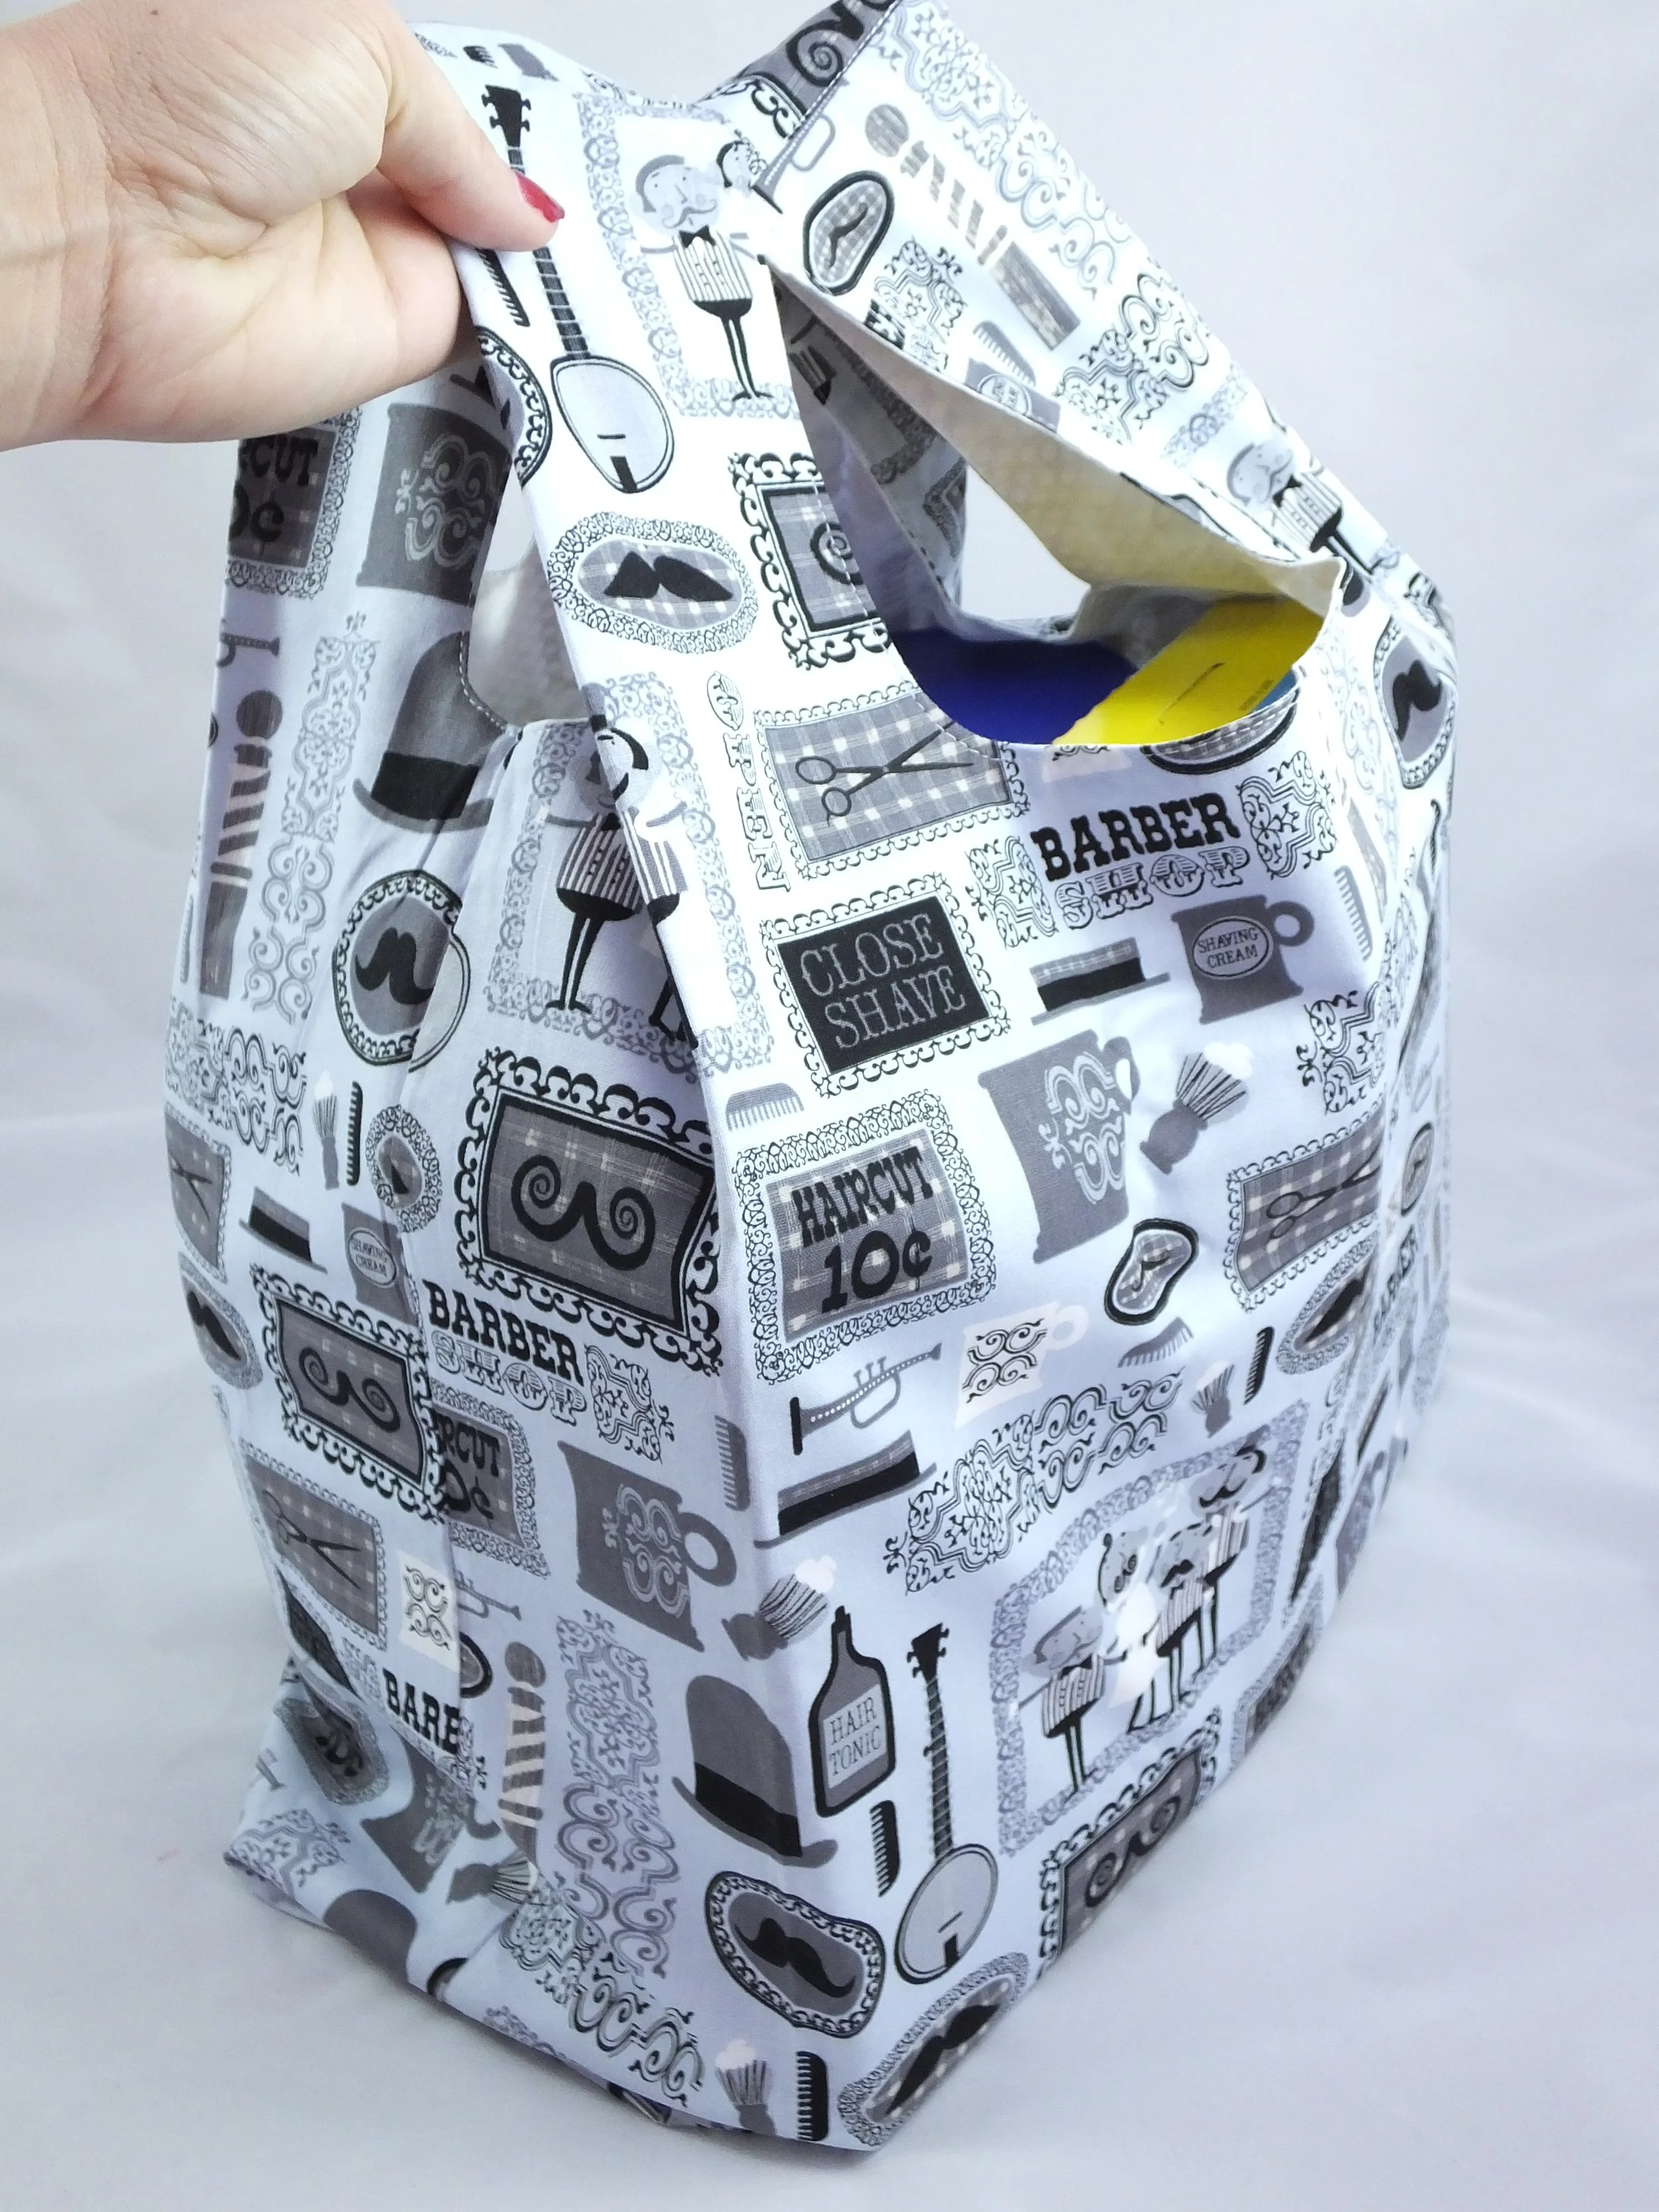
Barbershop fabric version I made for men.
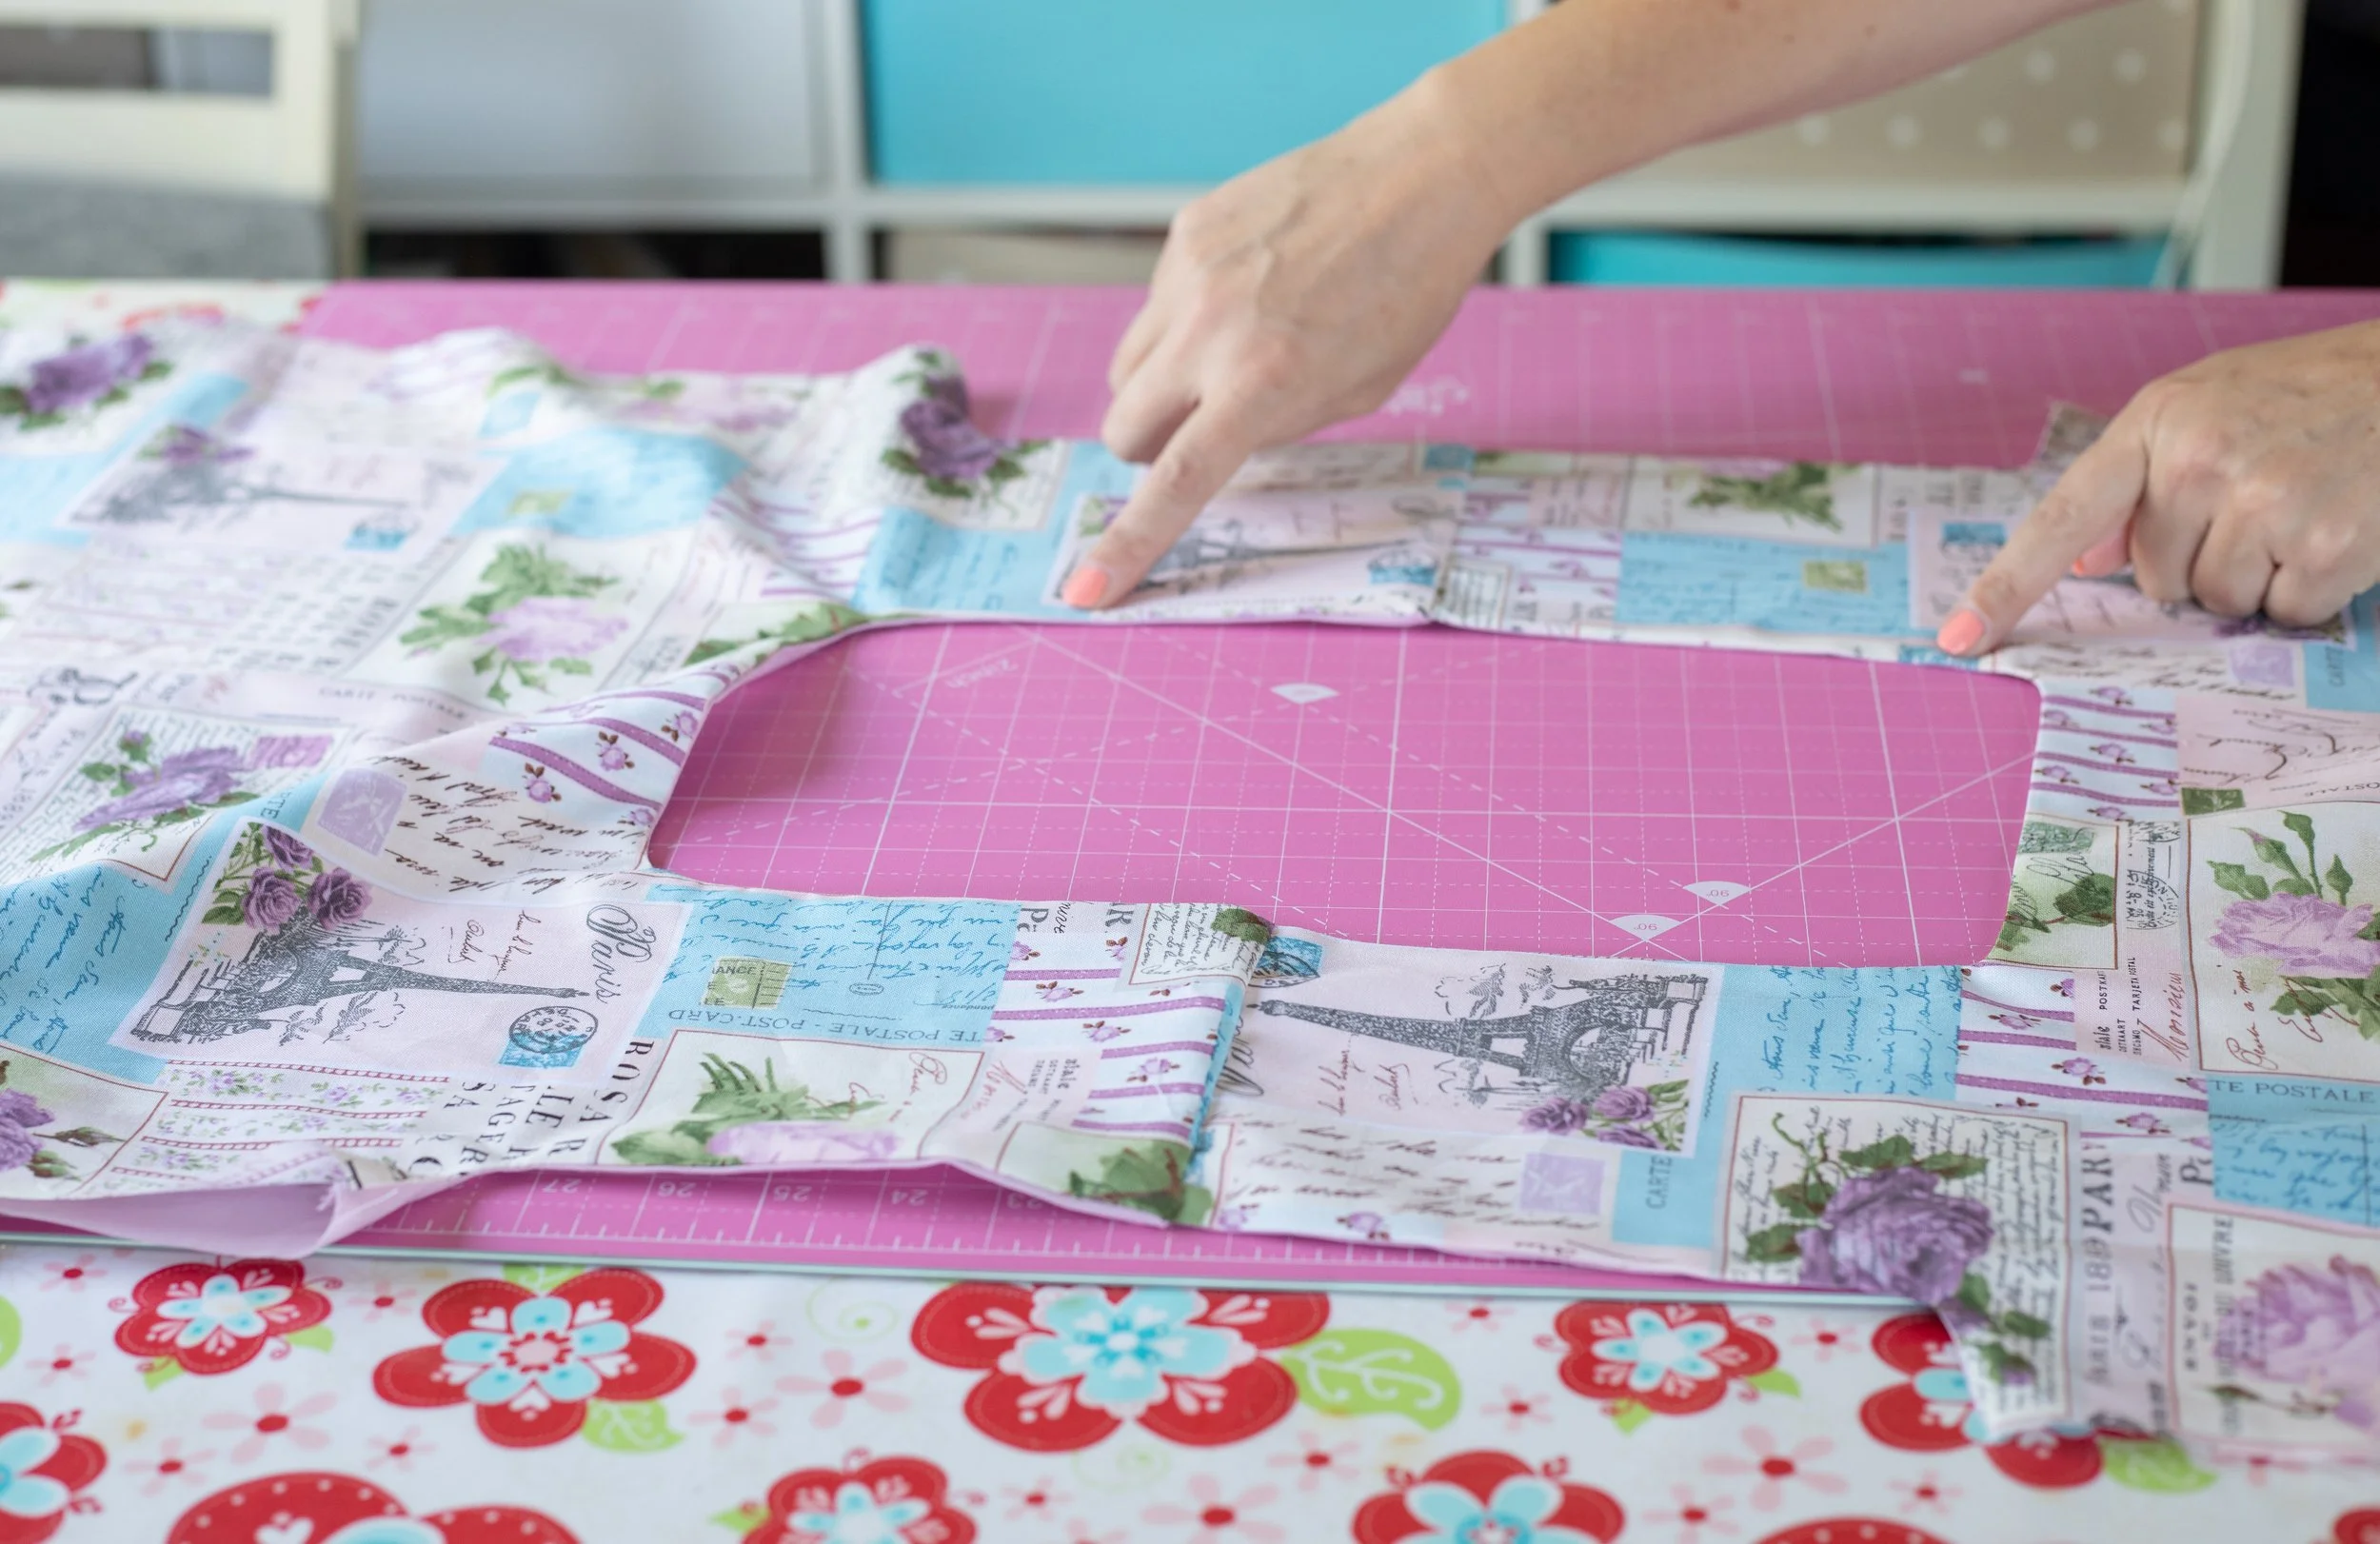
CUTTING OUT THE PATTERN
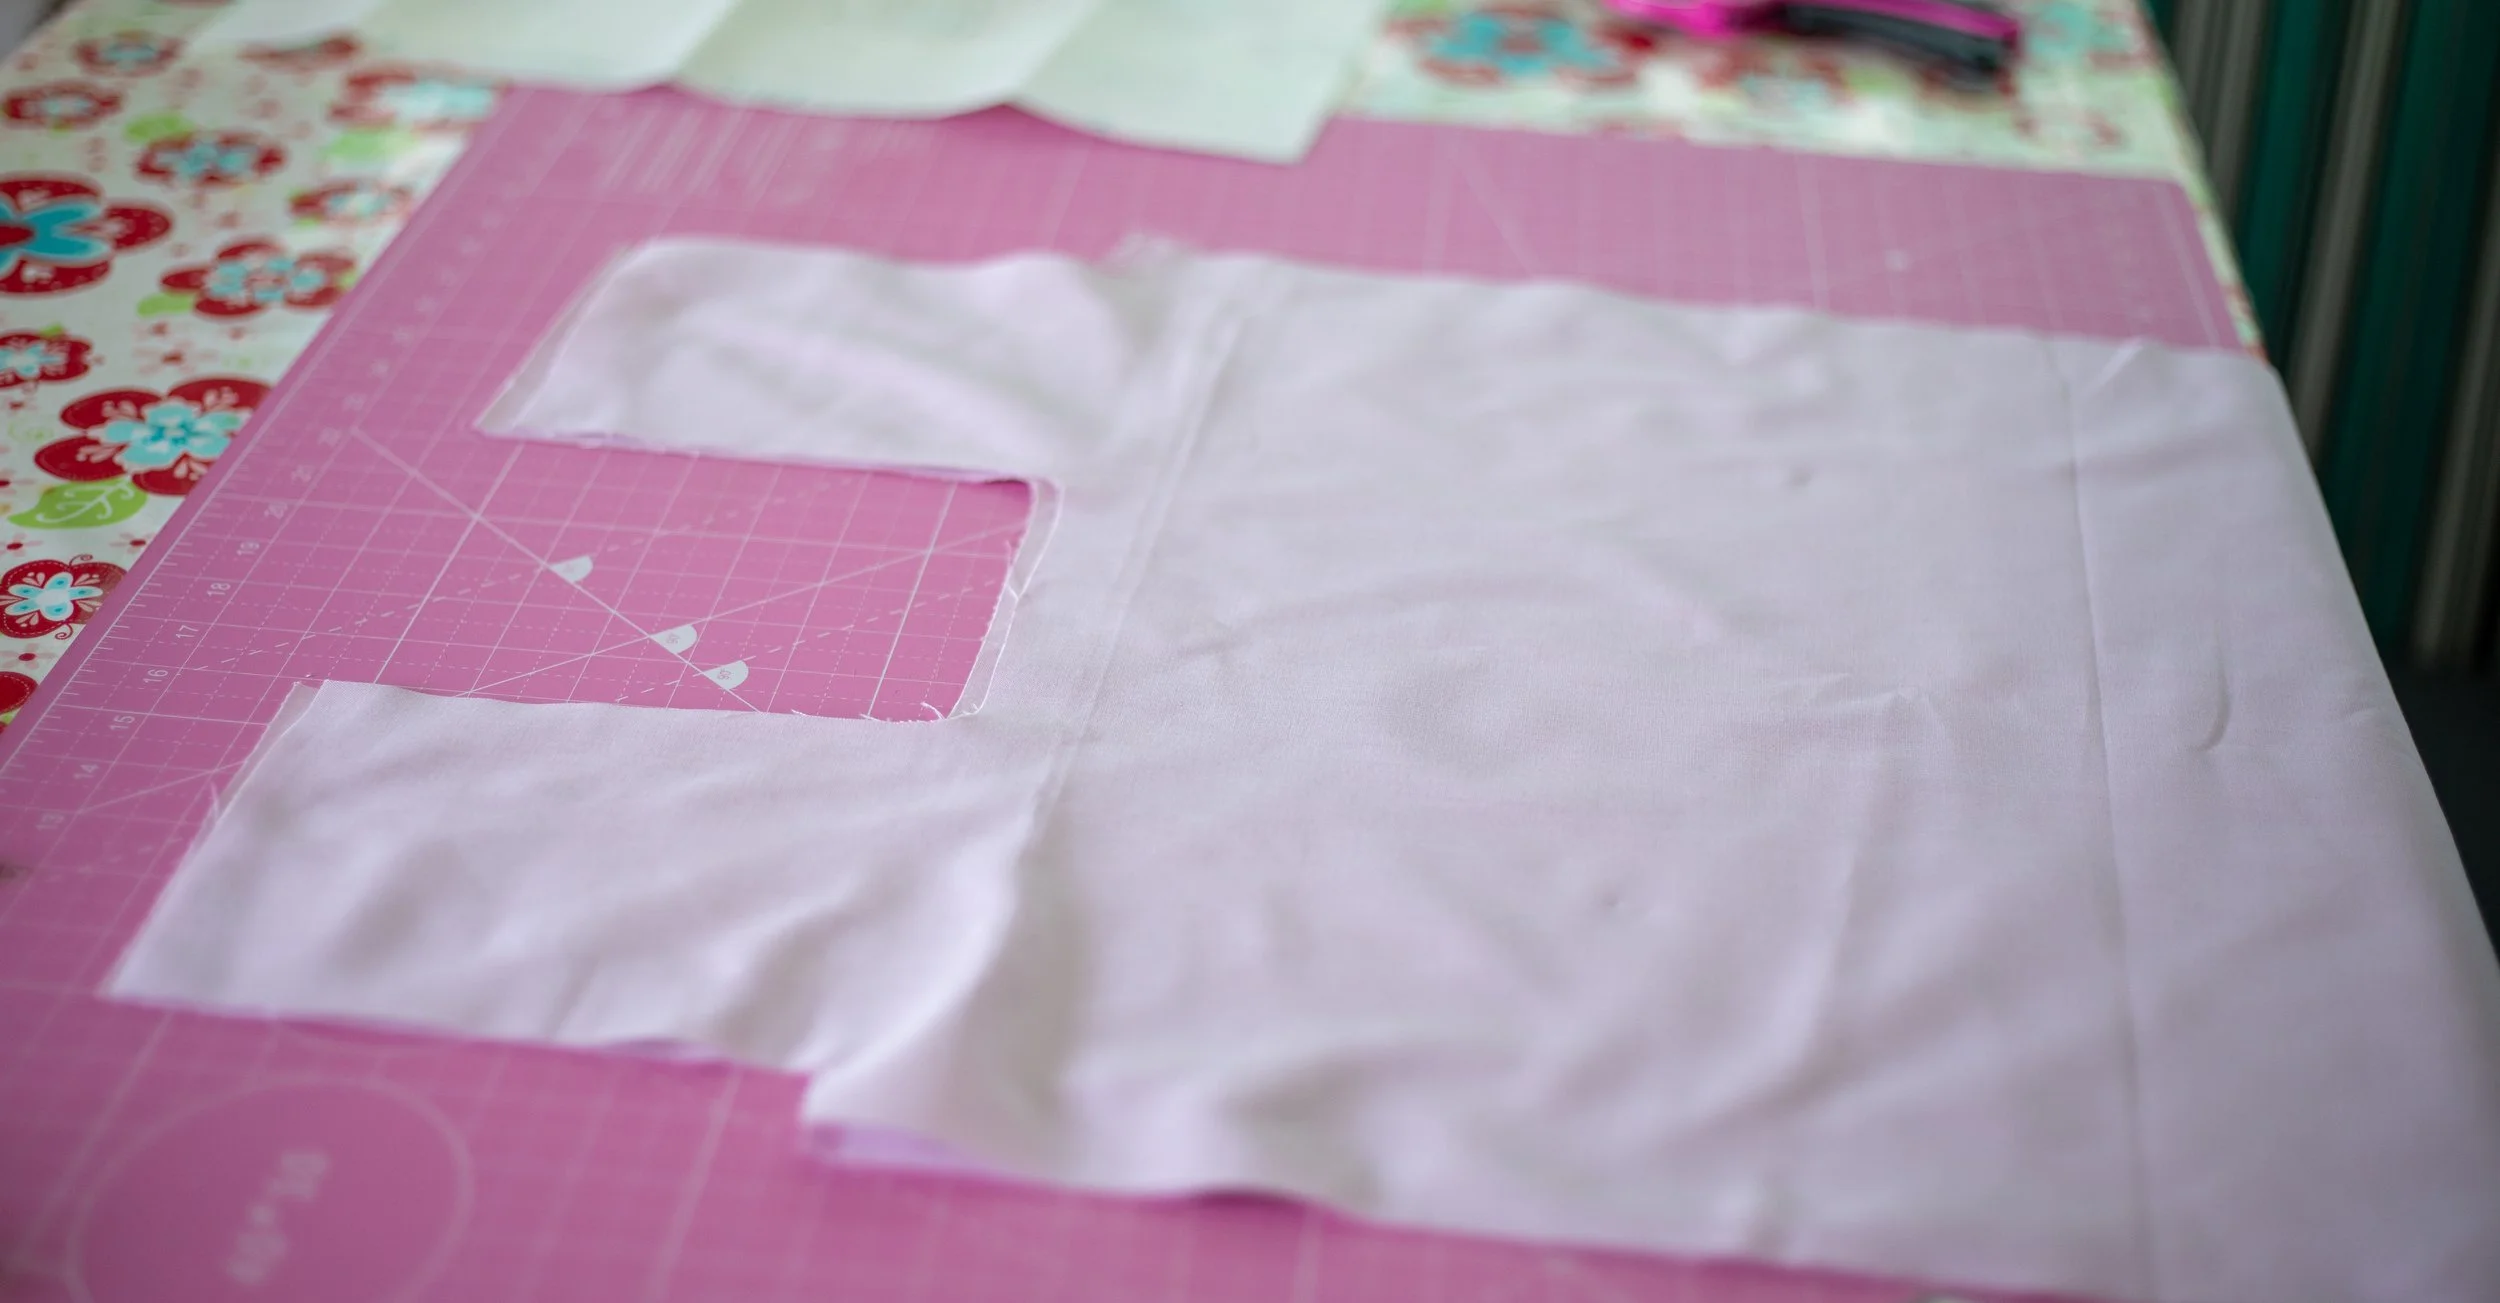
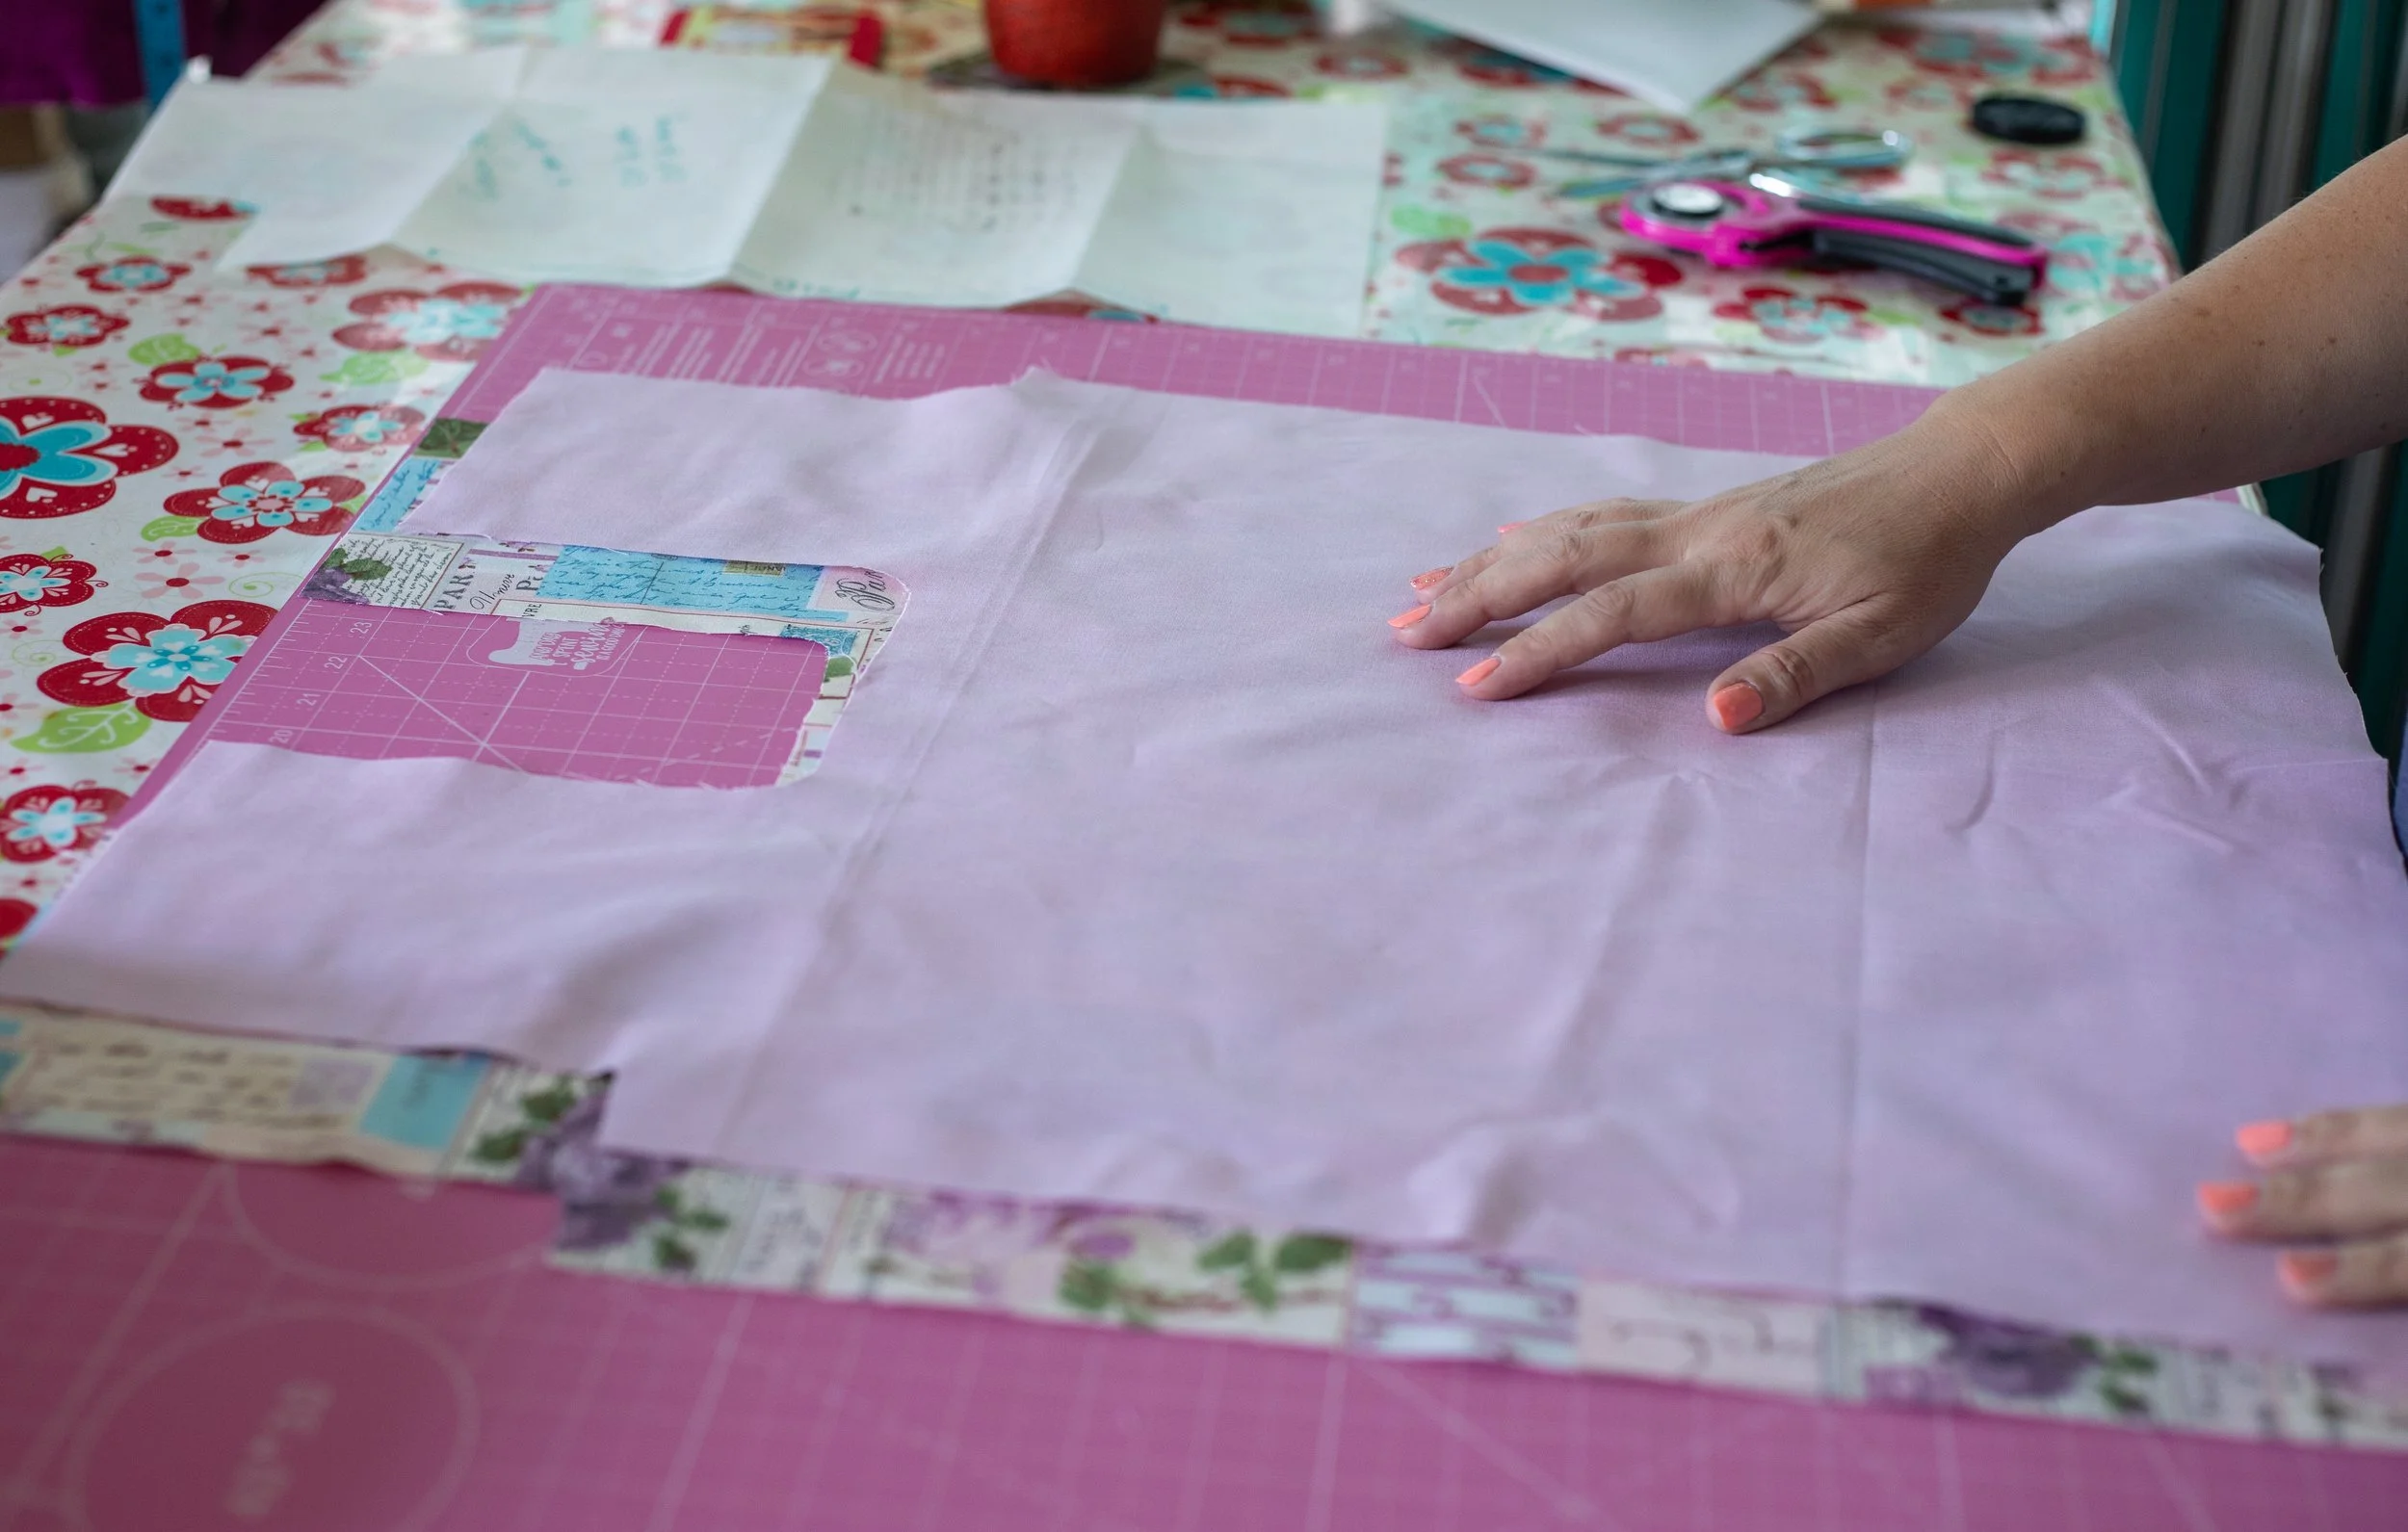
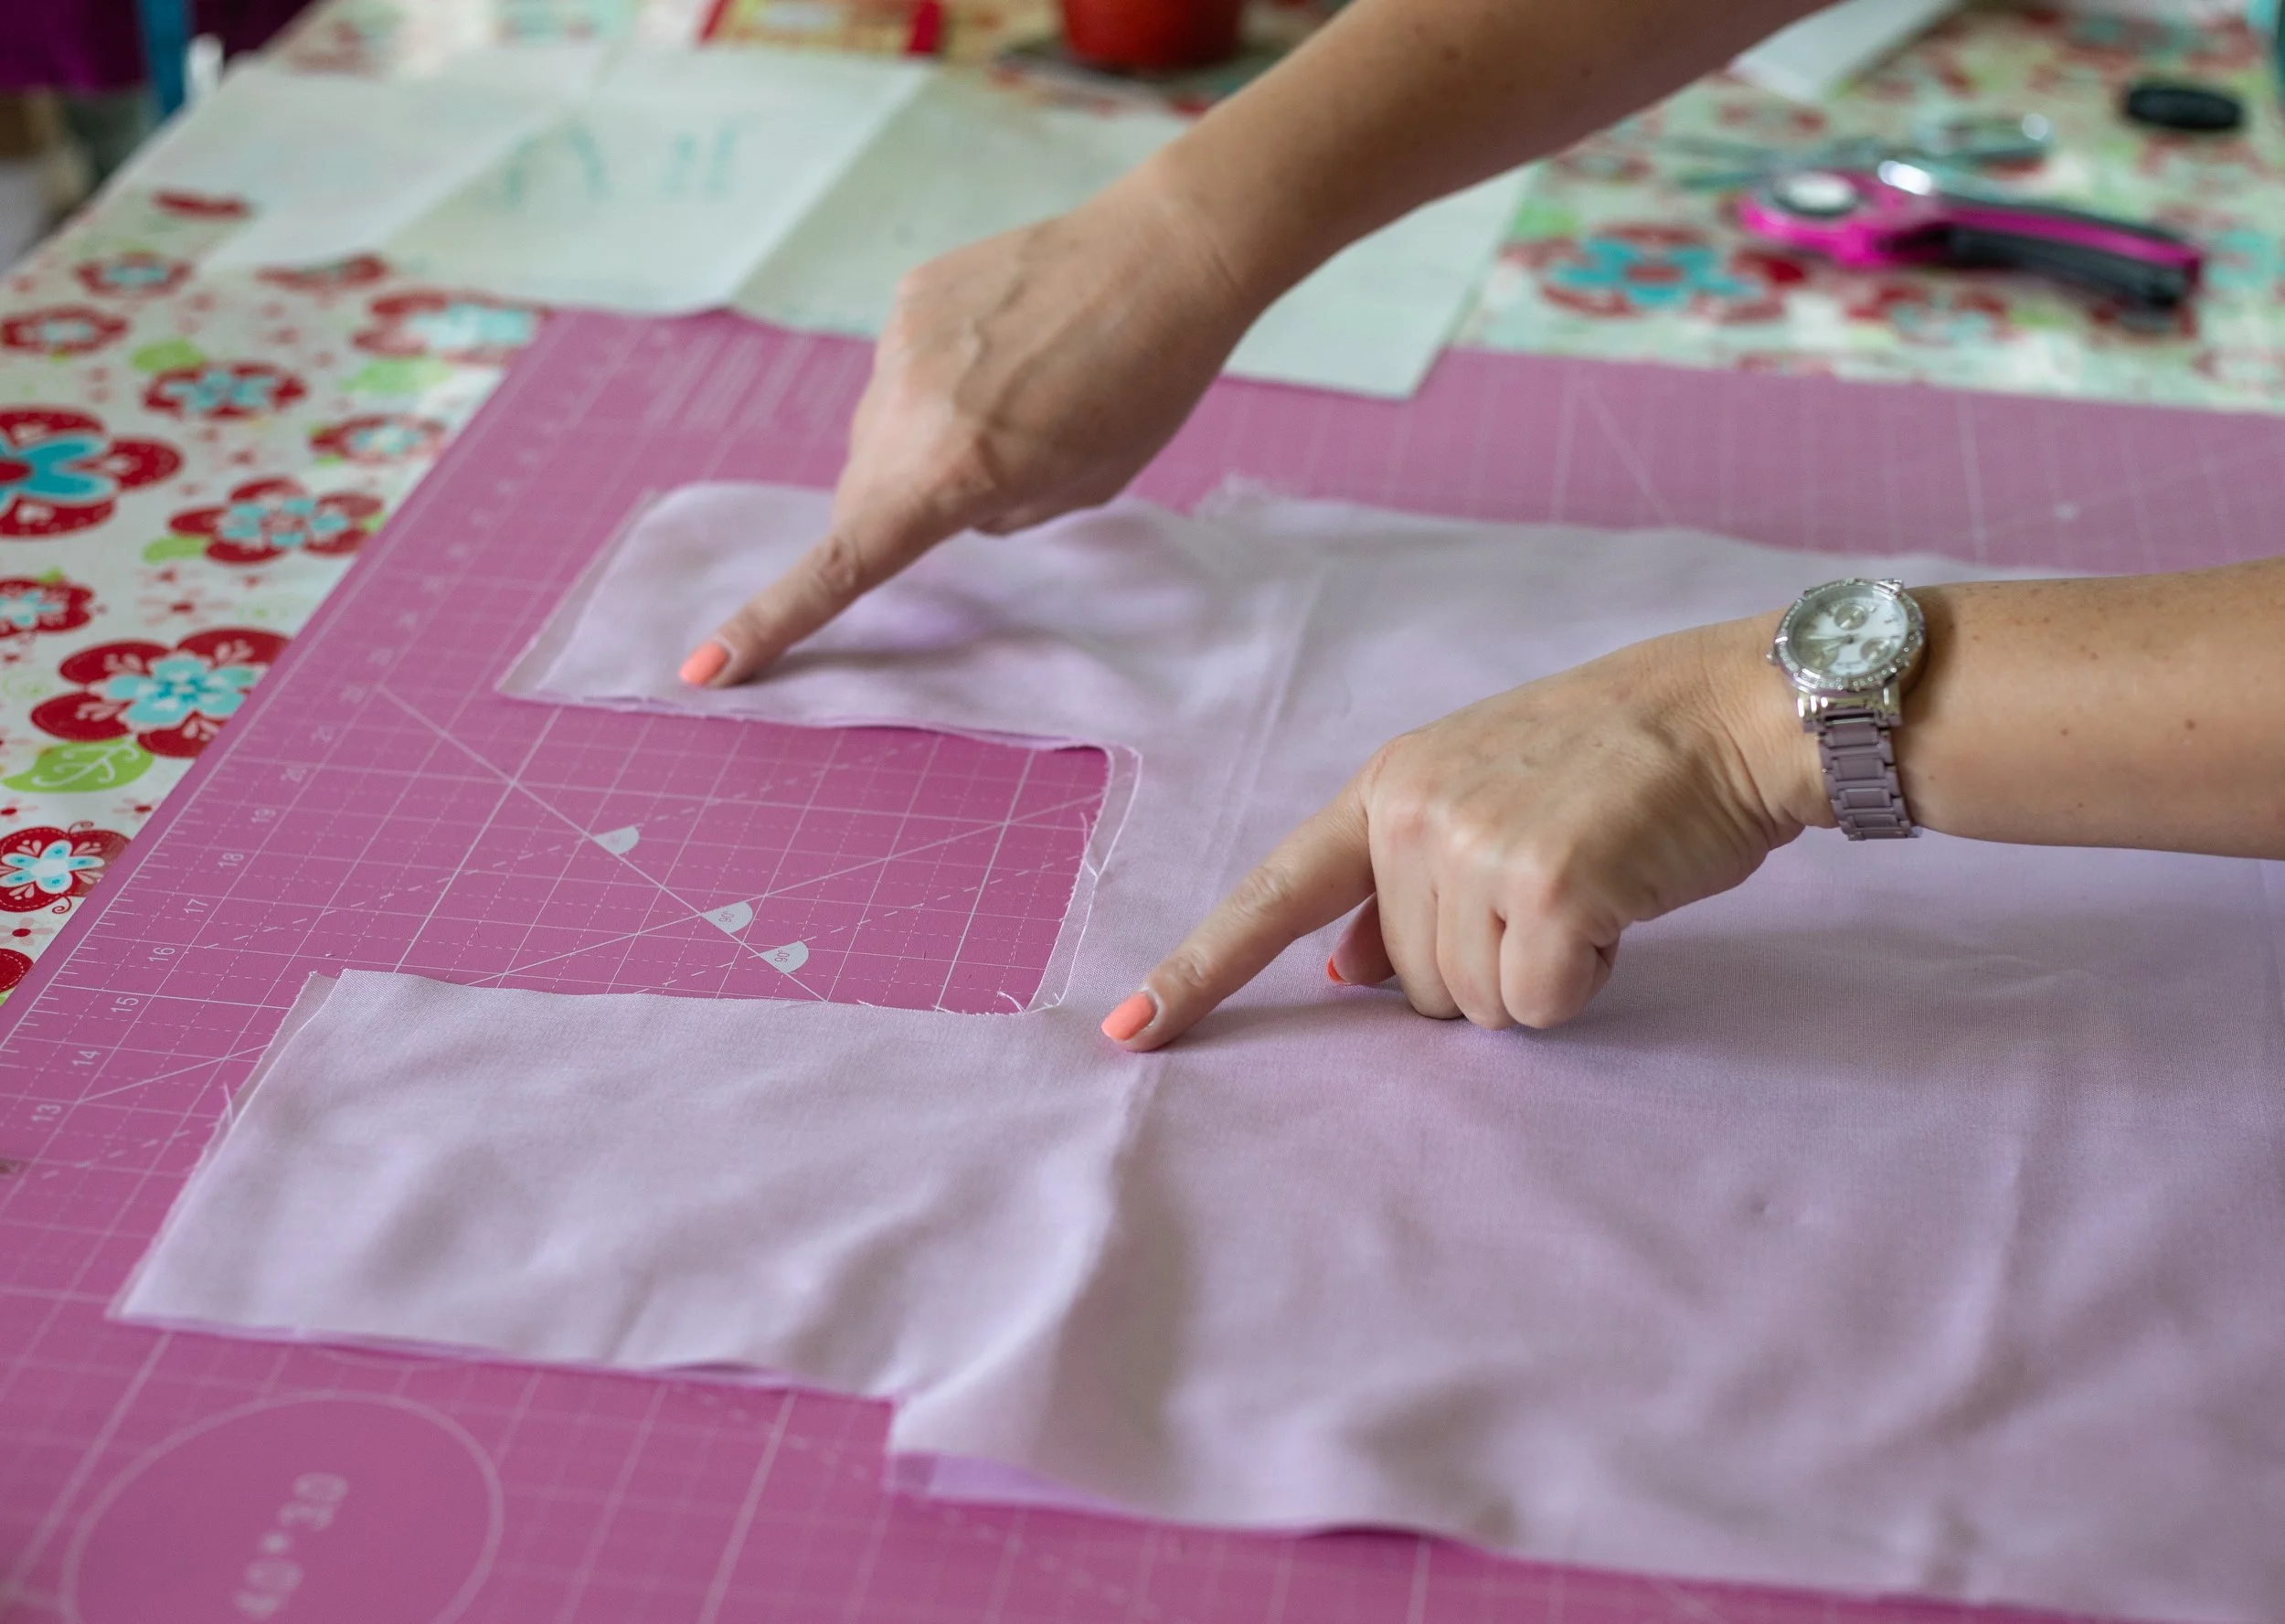
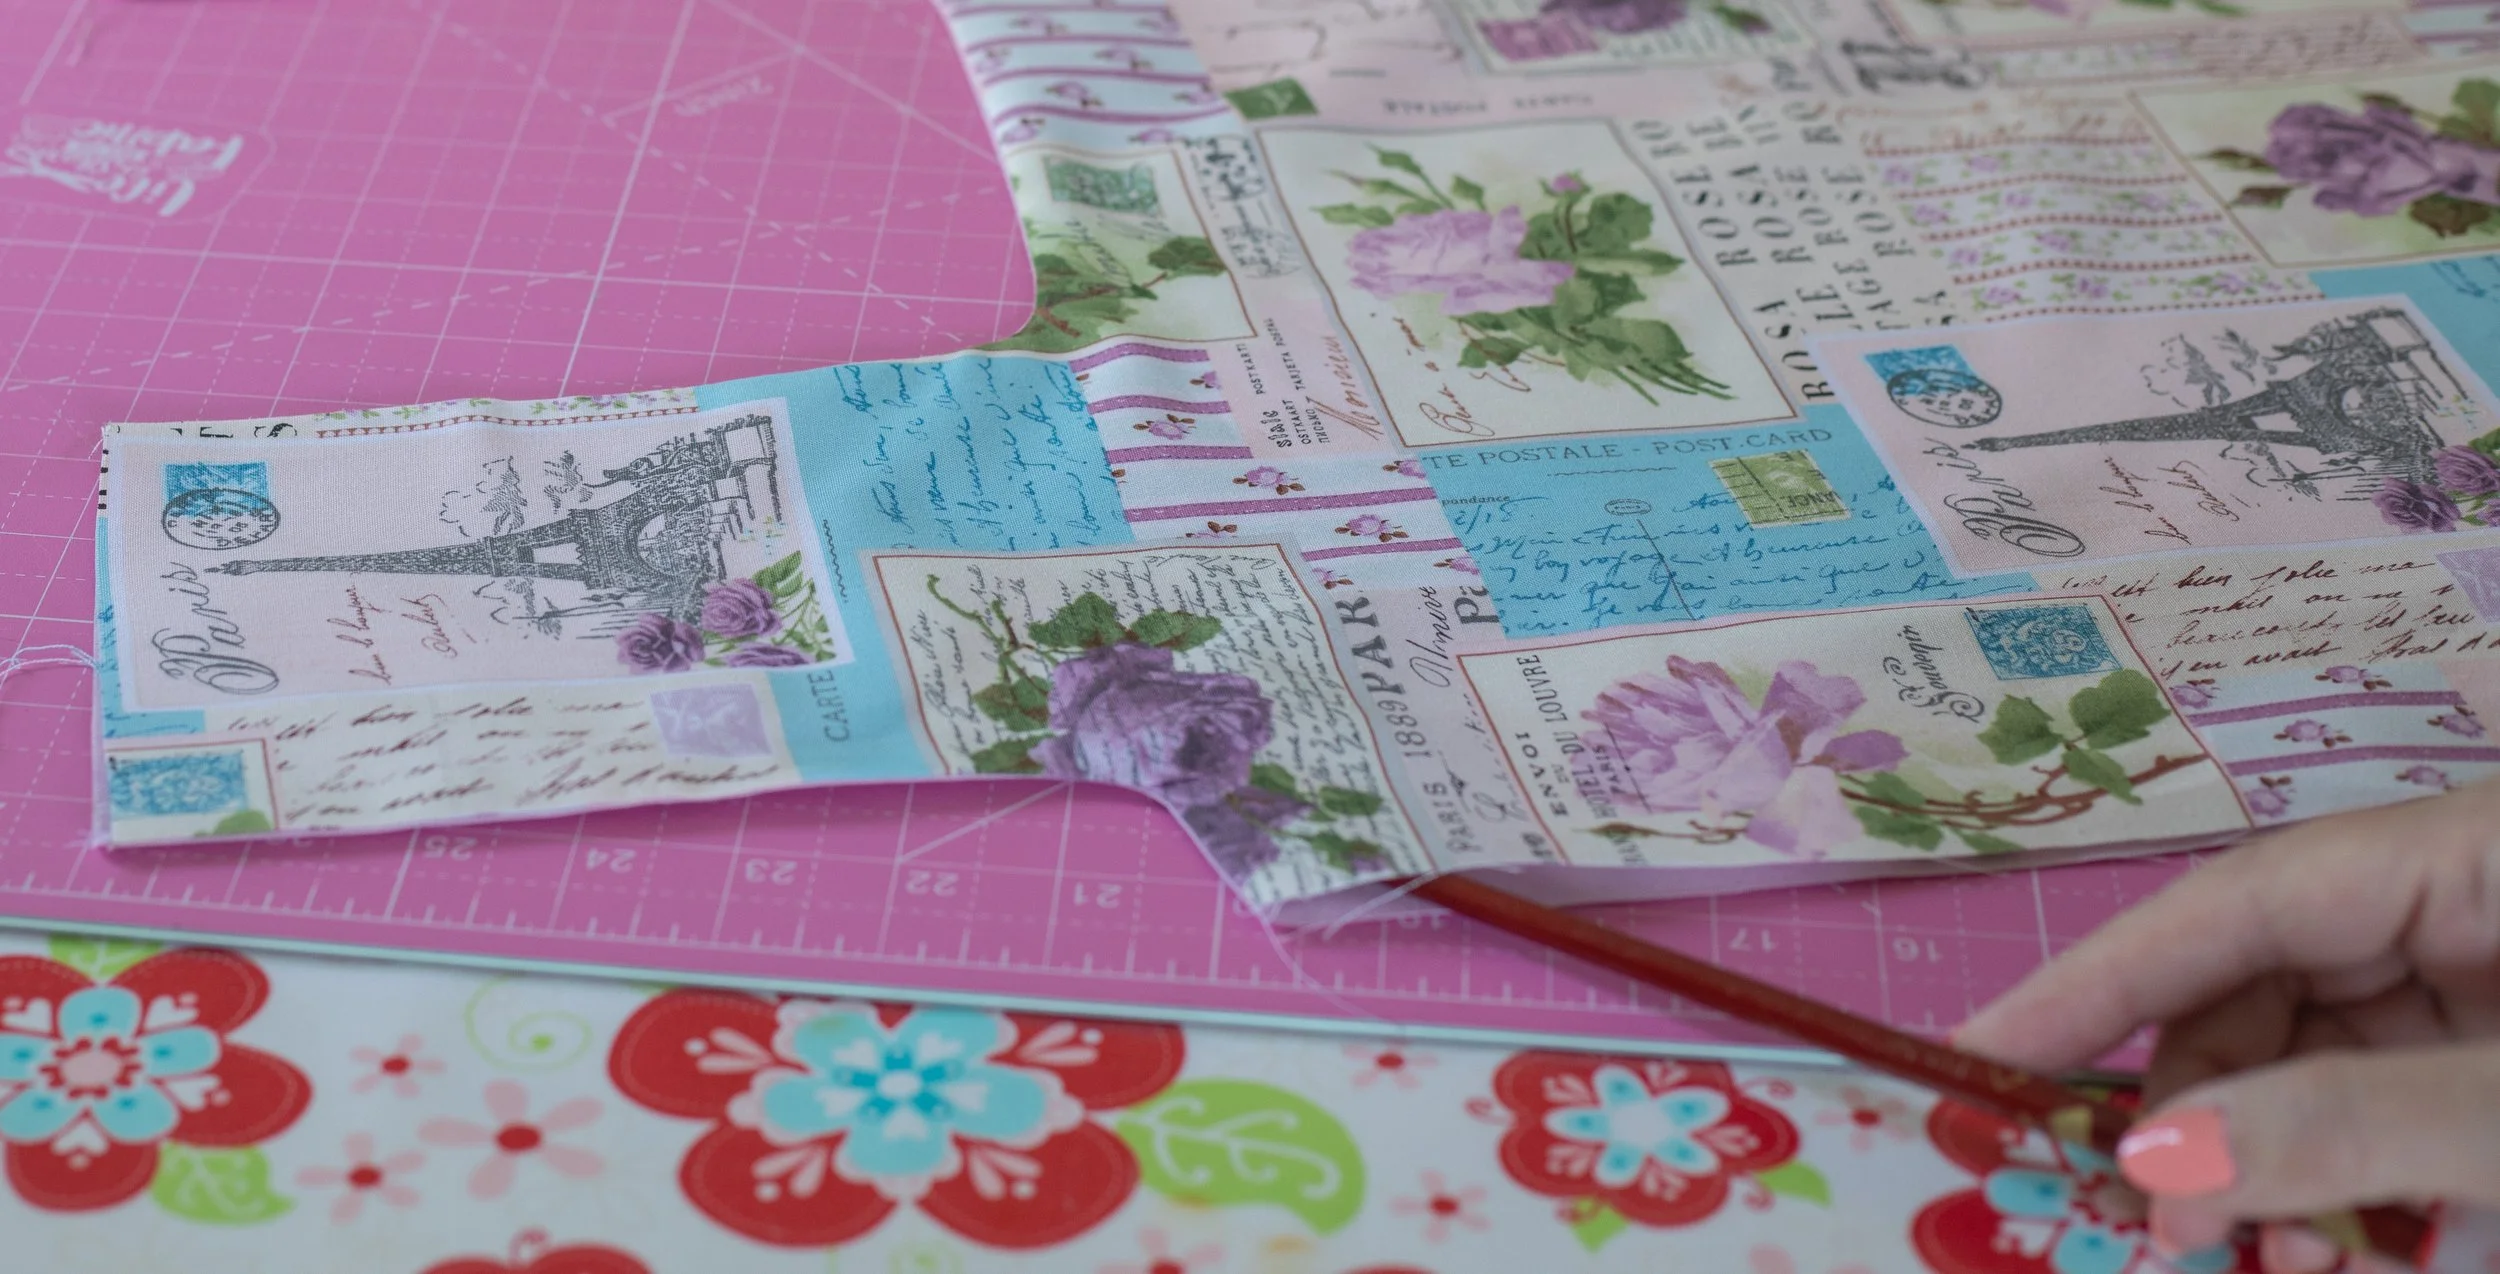
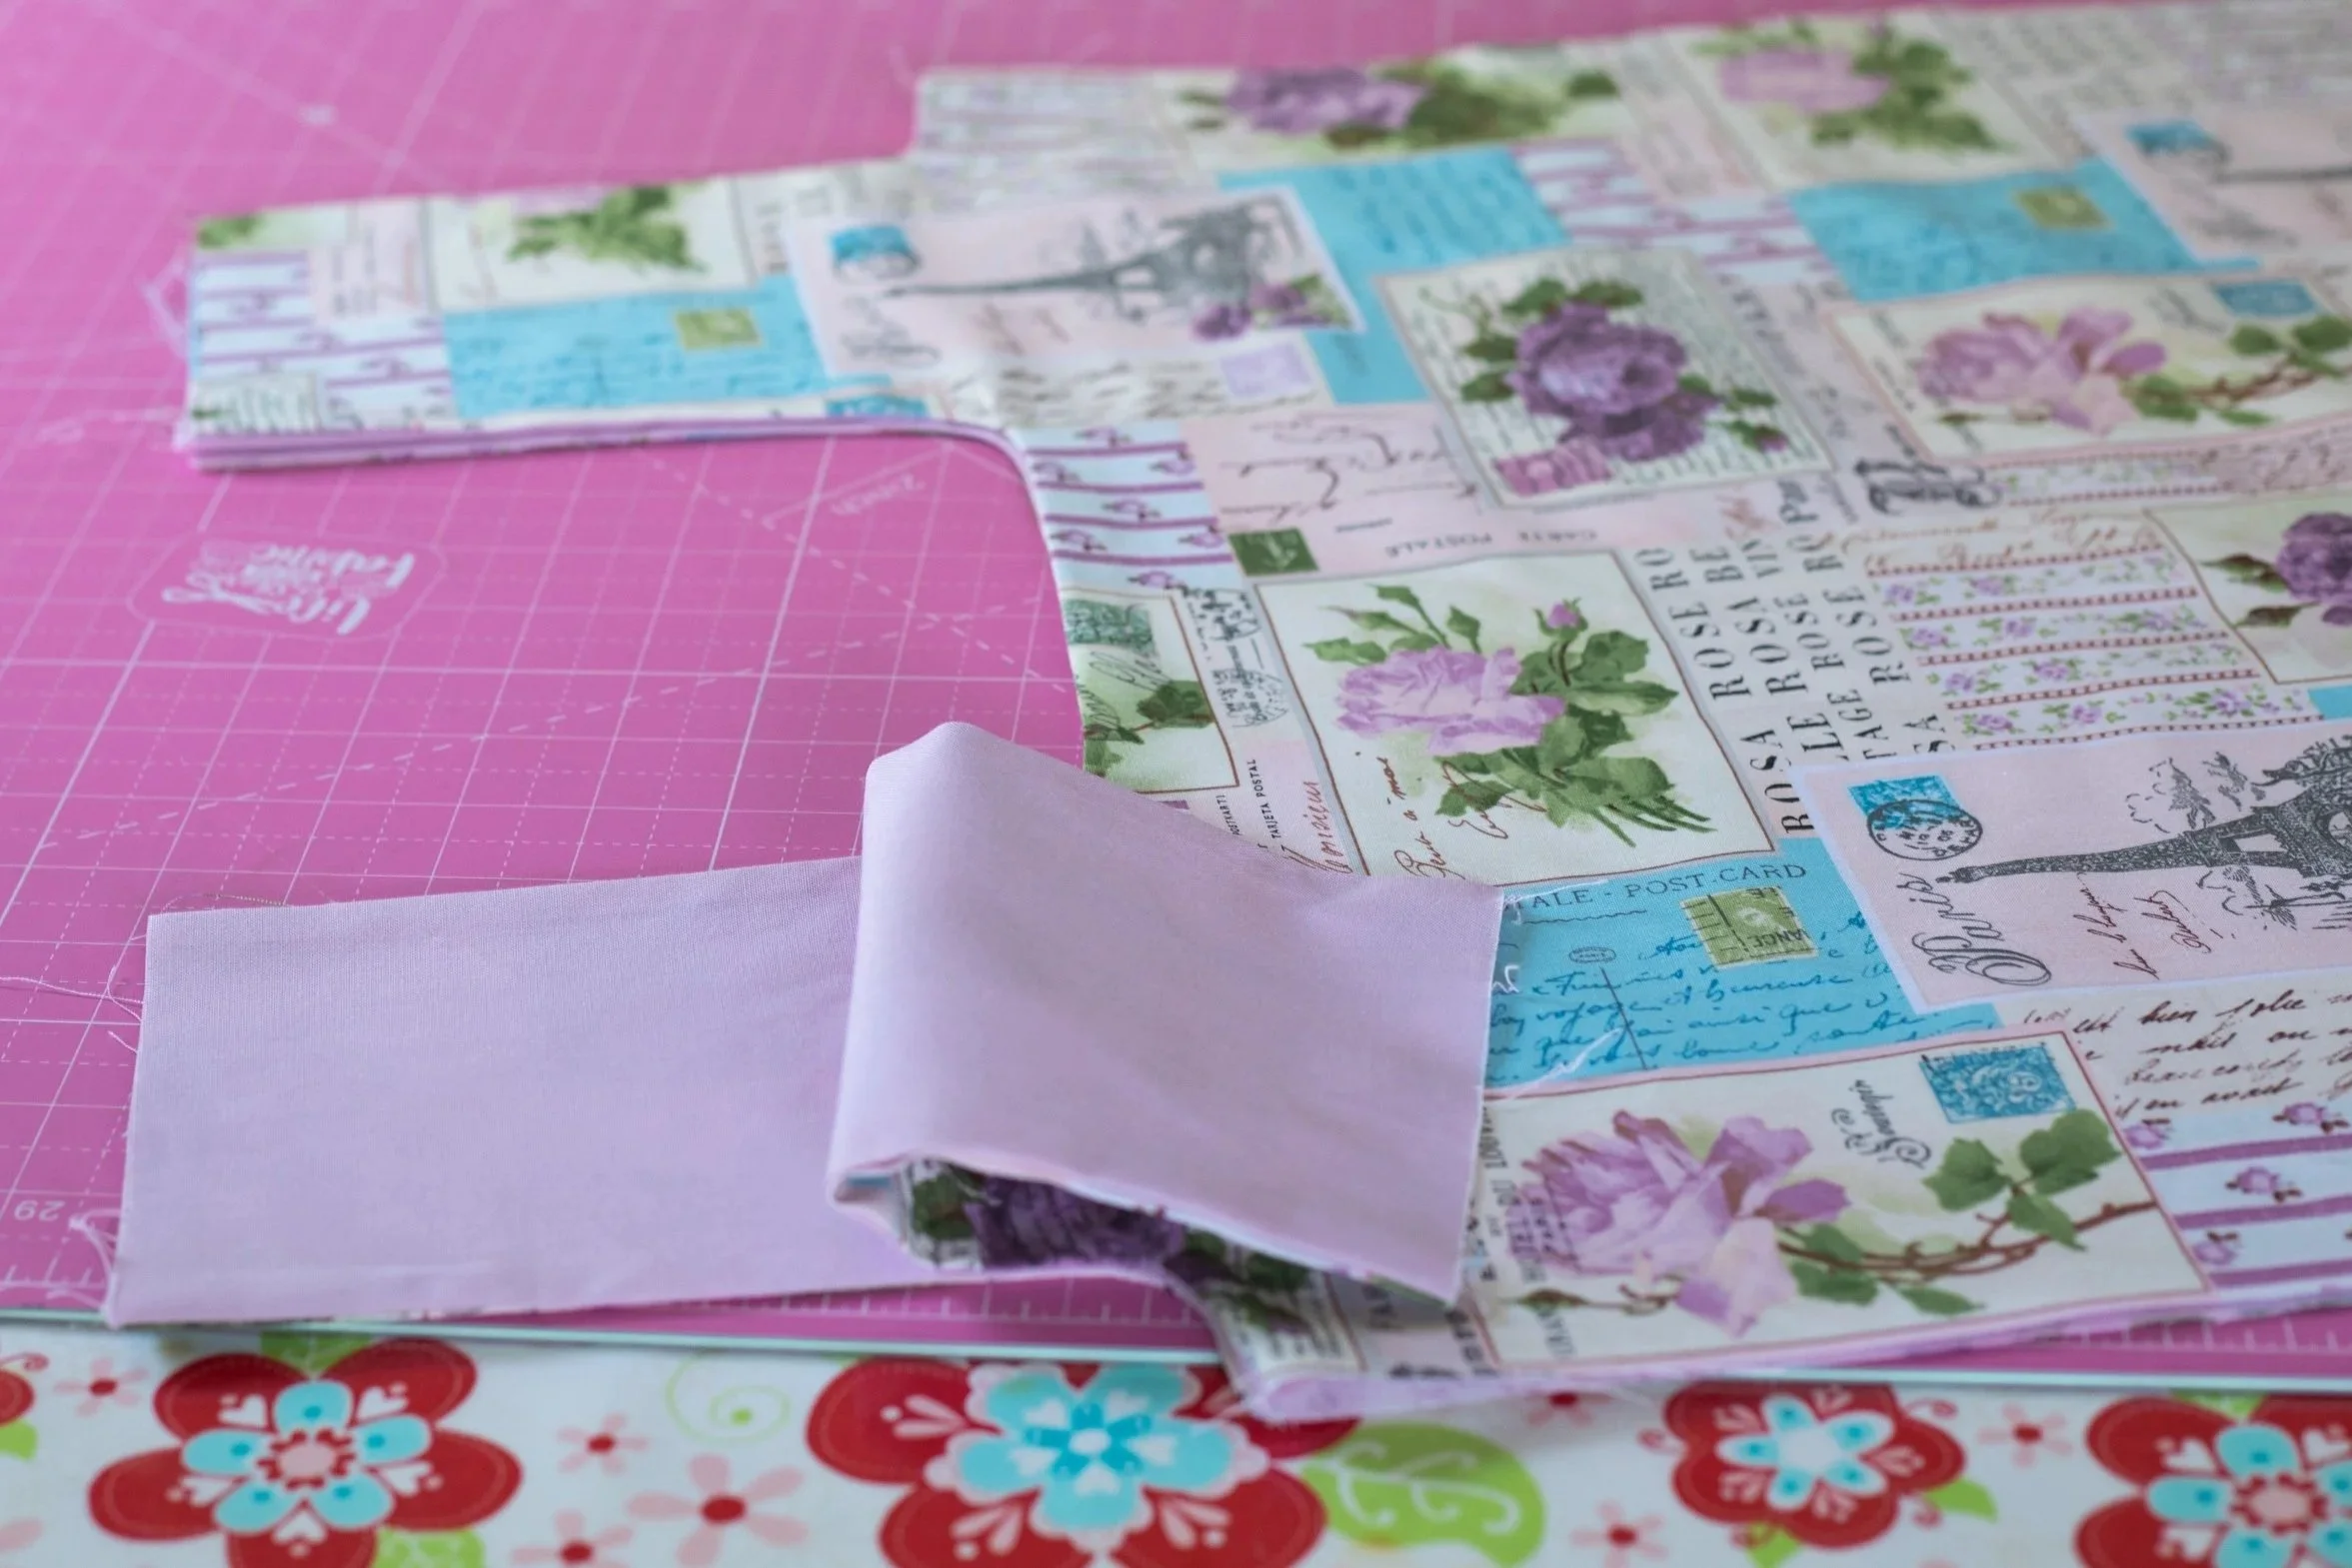
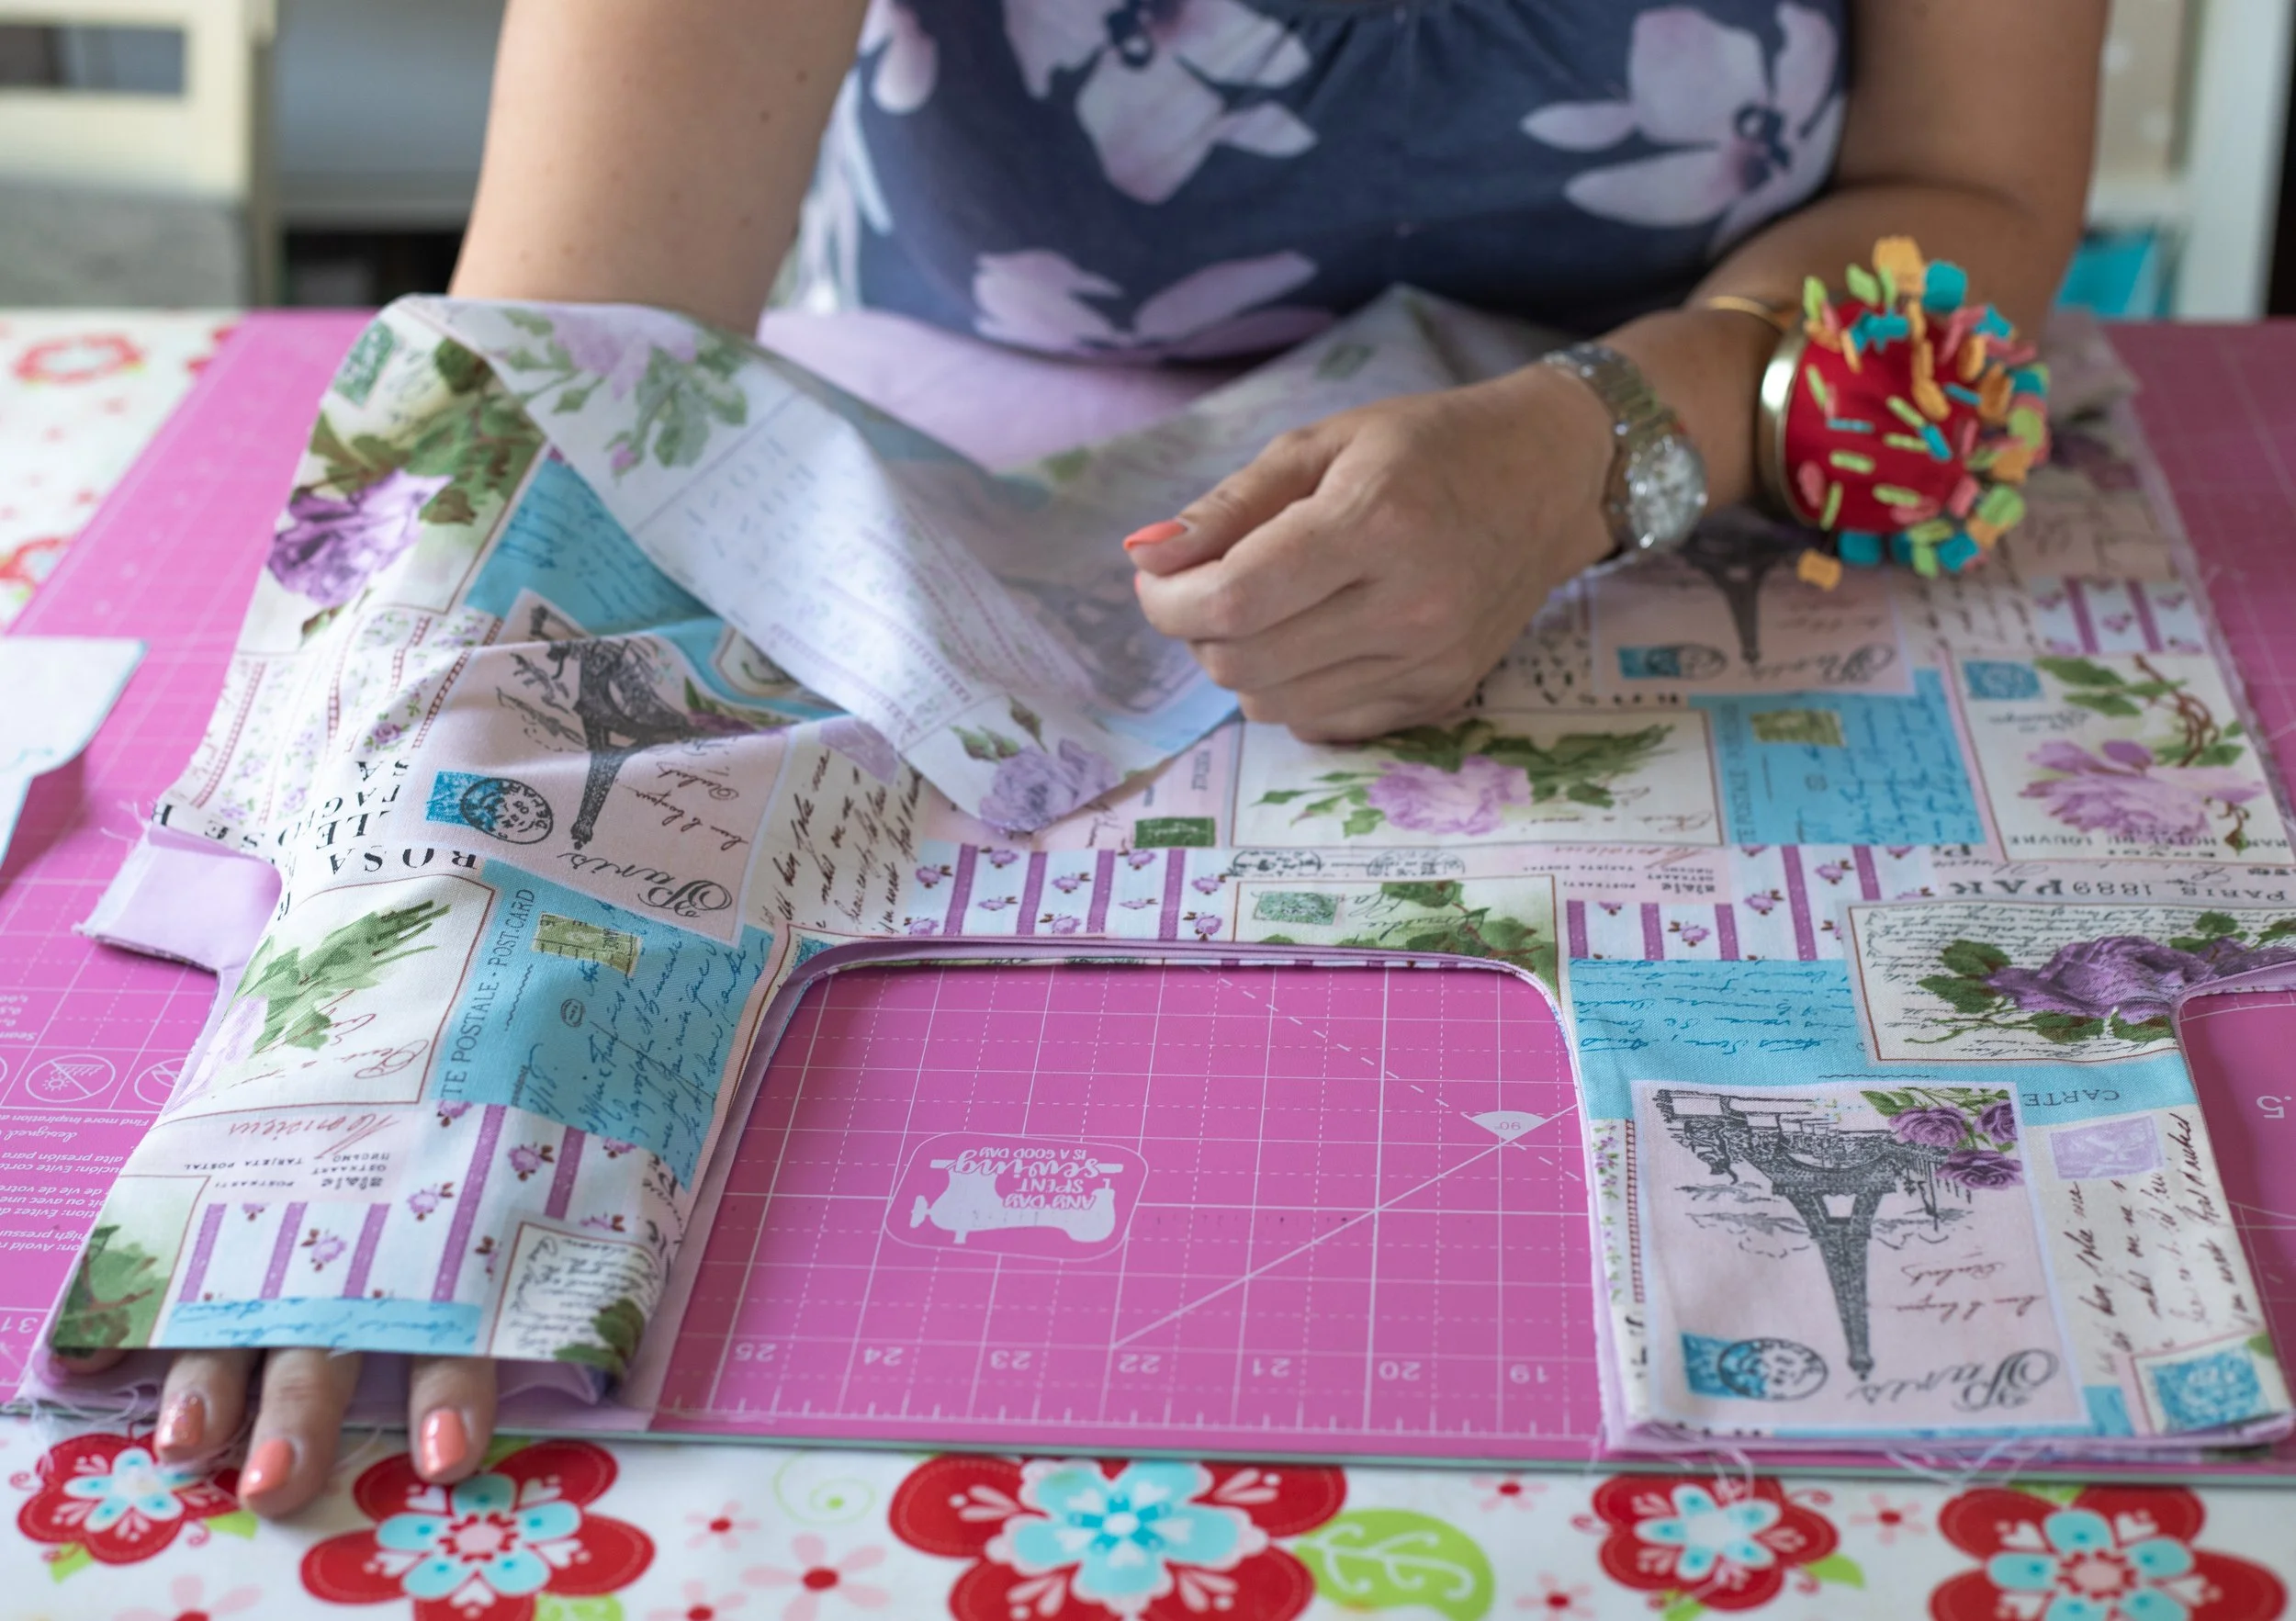
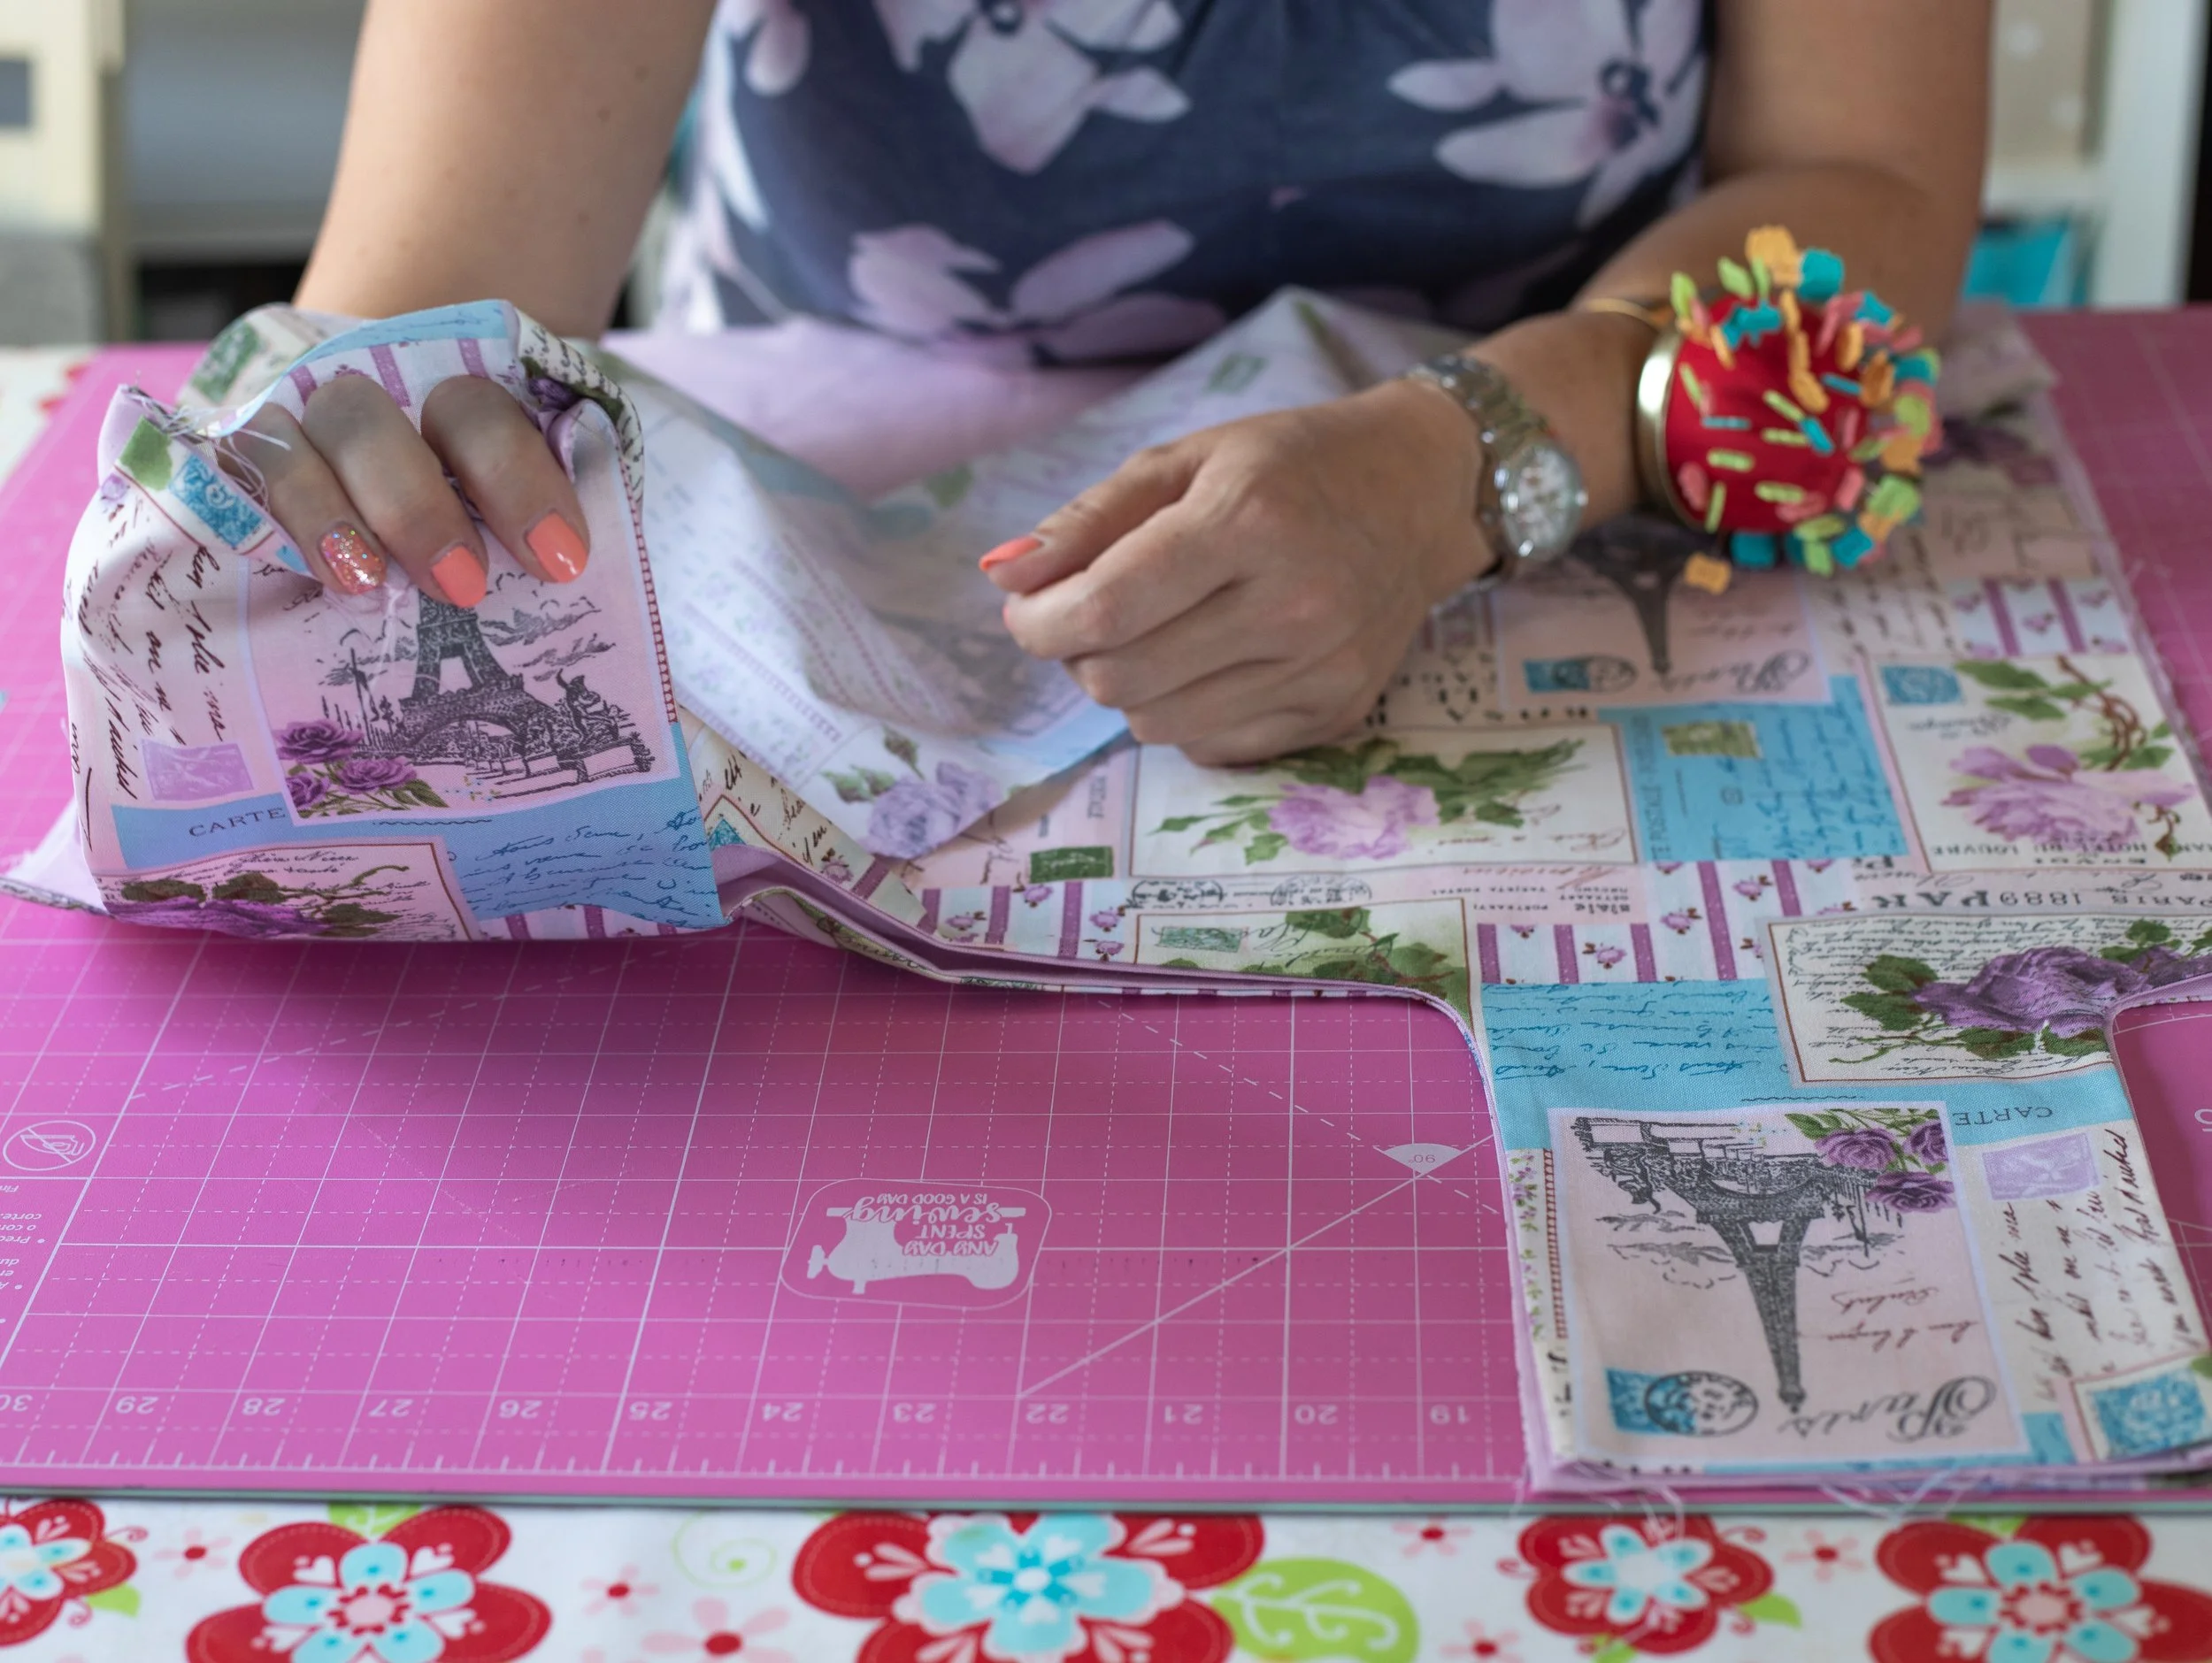
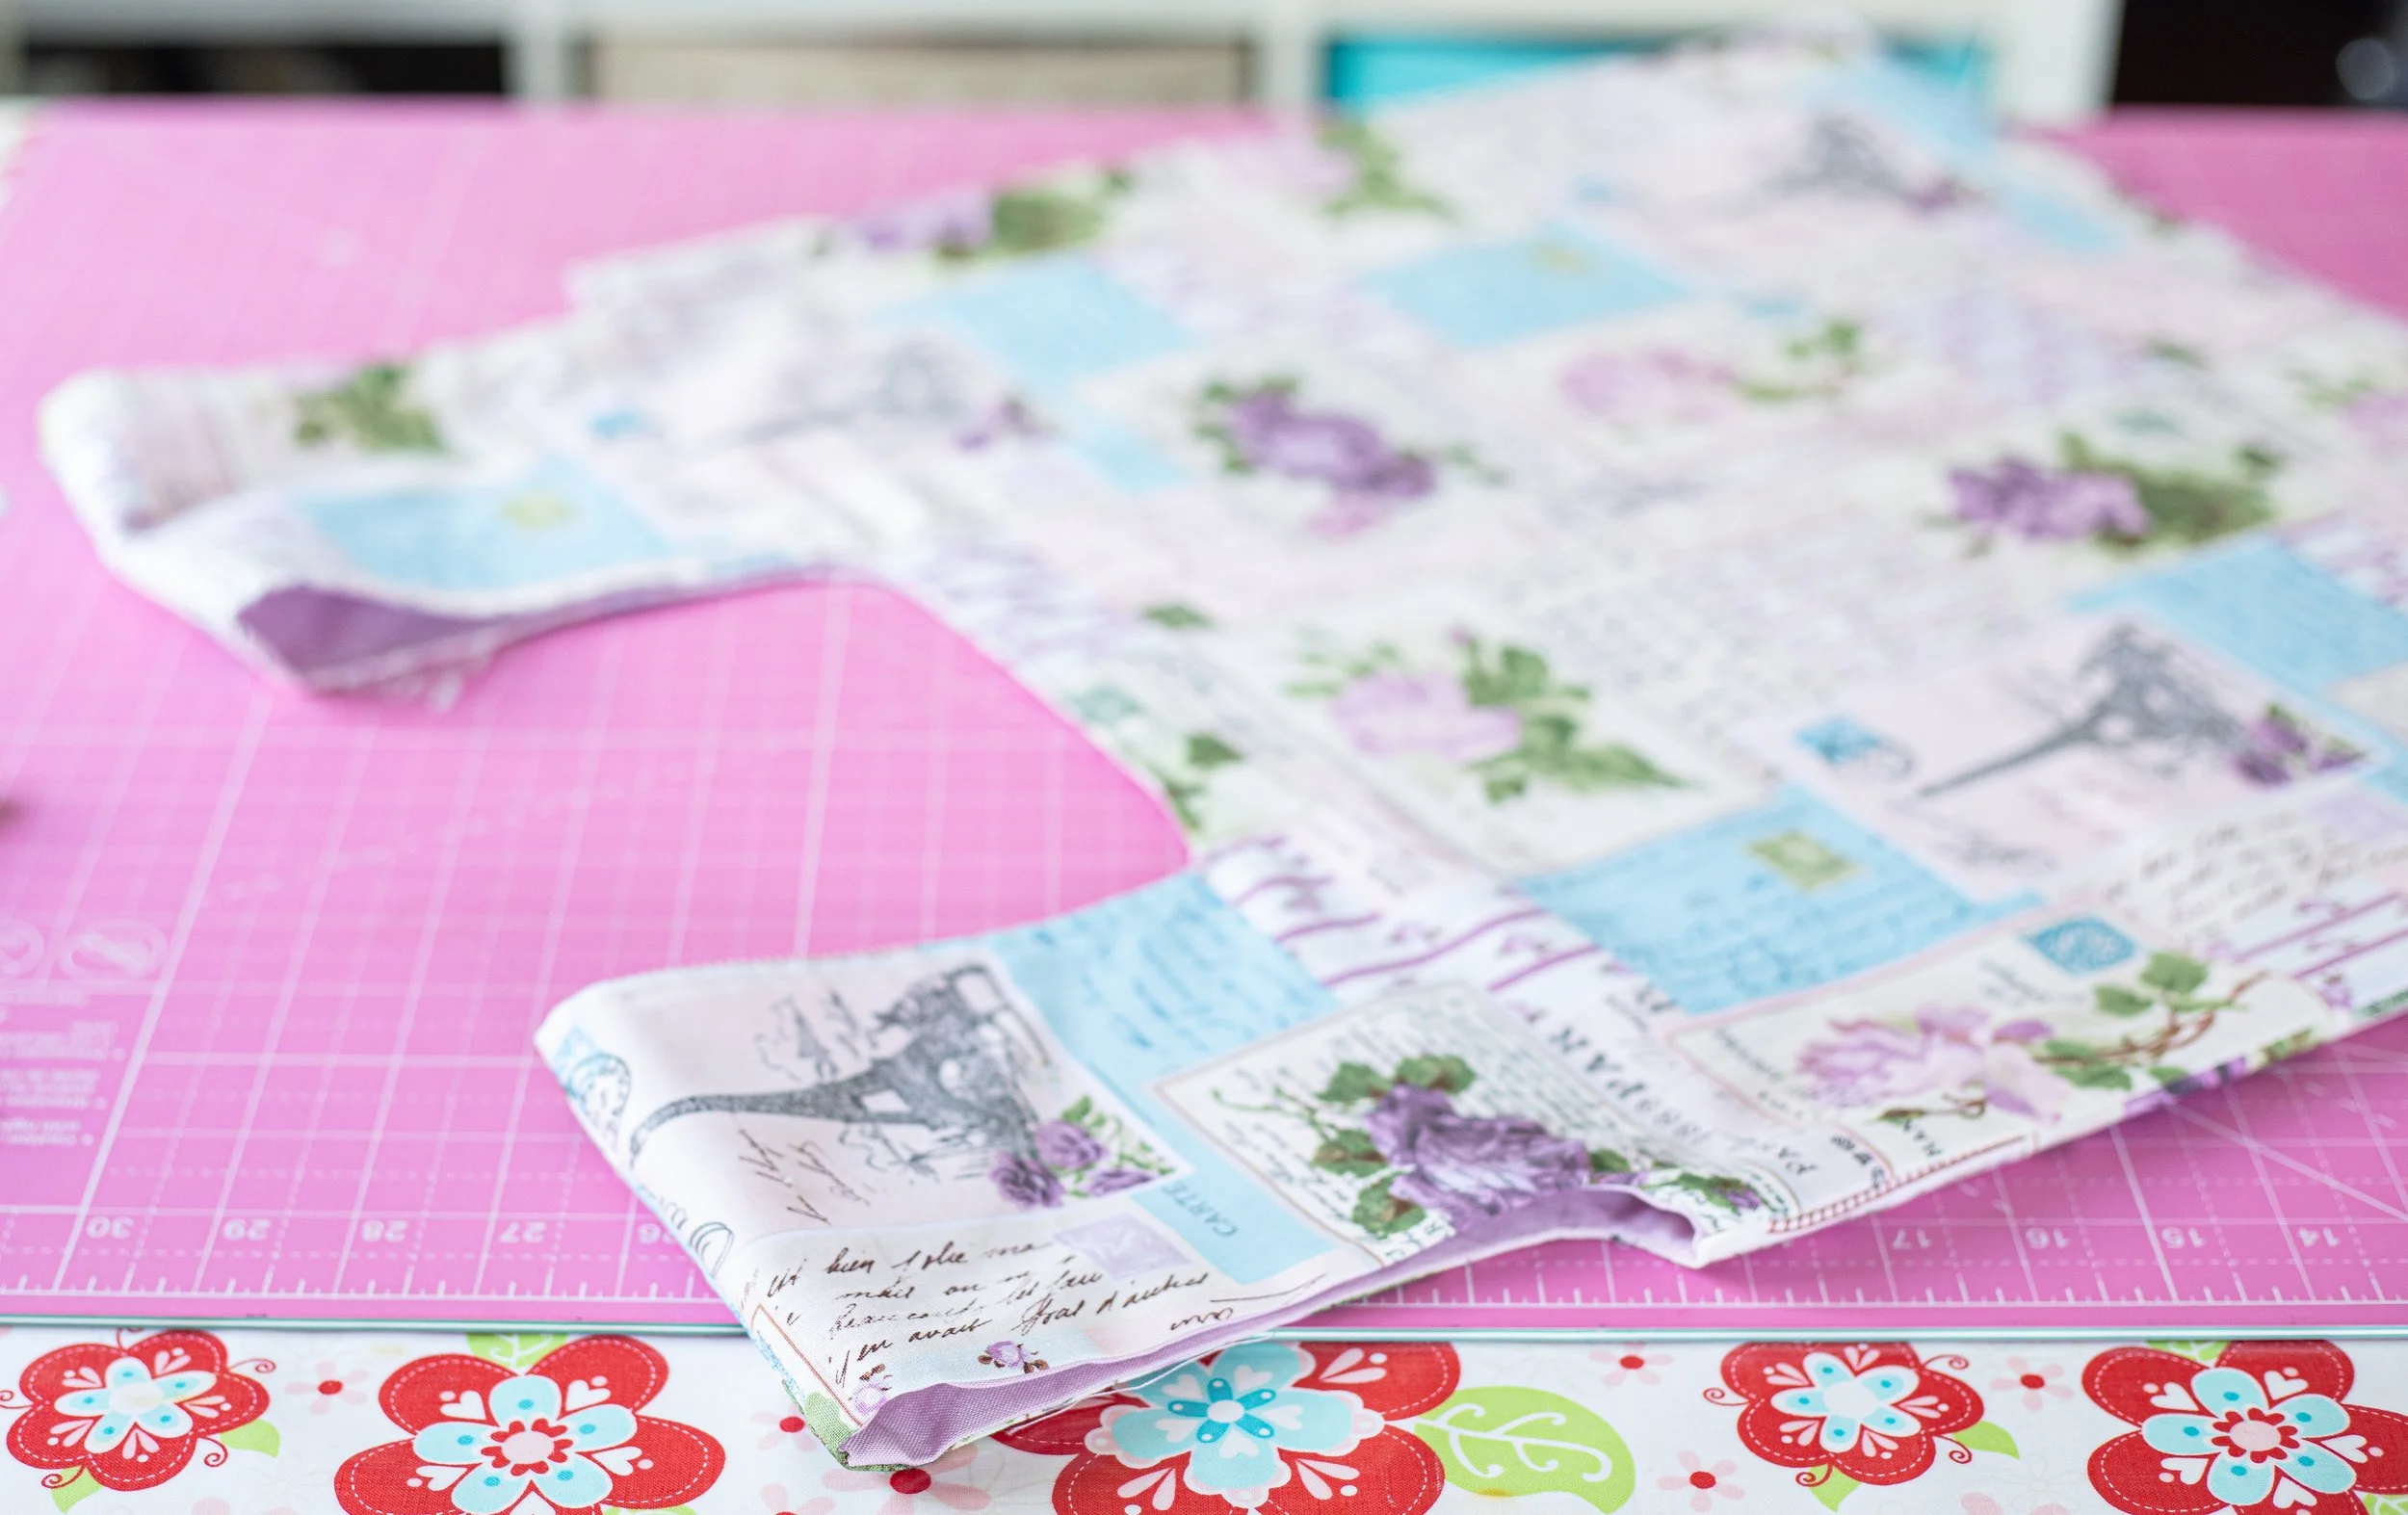
After your pattern piece is ready, you’re going to trace it onto your fabric. You’ll cut 2 pieces of each fabric— 2 linings and 2 outers.
FOLD your fabric by bringing the selvedge edge to the middle.
Place the pattern piece on top of the fabric, along the fold. You will have just enough space.
Place pattern weights on top or use pins in the fabric to keep it from shifting.
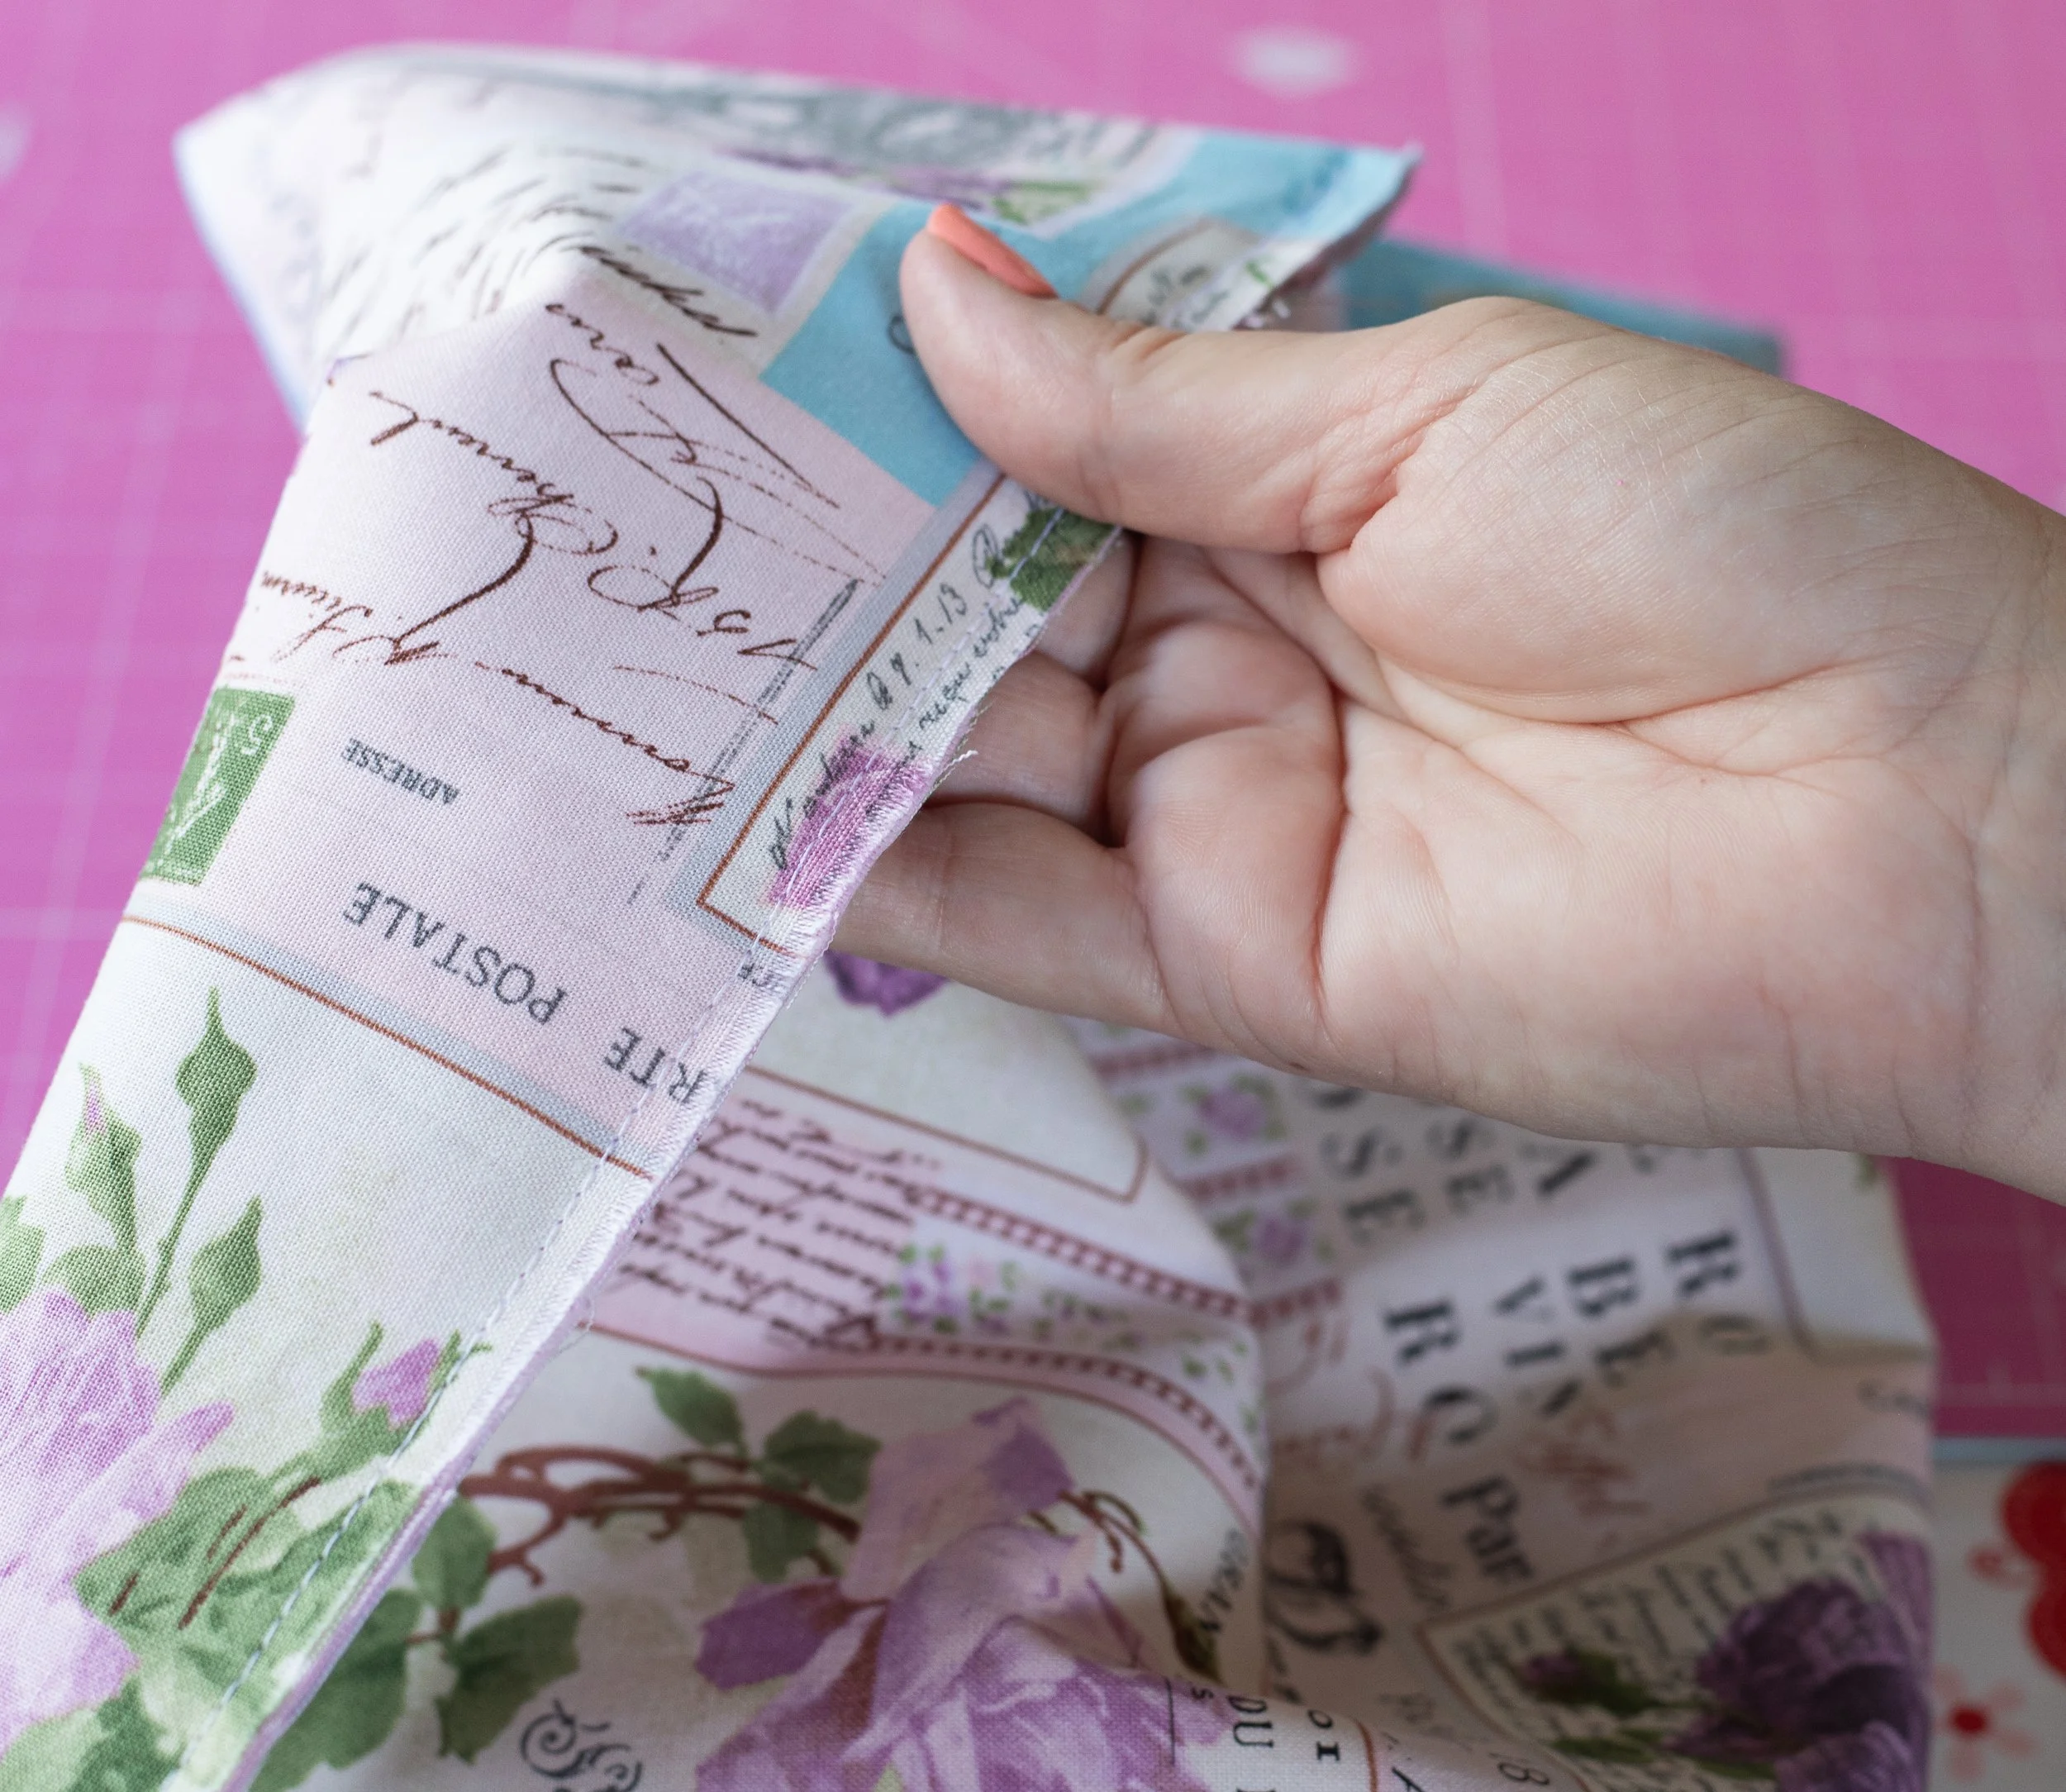
Use chalk, a fabric marker, or other marking tool to trace around the pattern. *Please be precise; it makes a big difference in the turning-out method we’ll use later.
Set that piece aside, then repeat with the other side of the fabric. These will be your outer pieces.
Repeat for the lining fabric.
Your lining fabric should be thin if you plan on folding this bag. If you don’t want to add the optional snap to keep it folded together nicely, use whatever fun fabric you have for the lining.
I often like muslin or the colorful thin stuff from the bargain fabric section. You know the fabric, it’s thin and cheap, and you can’t imagine anyone actually using it for something nice. Haha!!

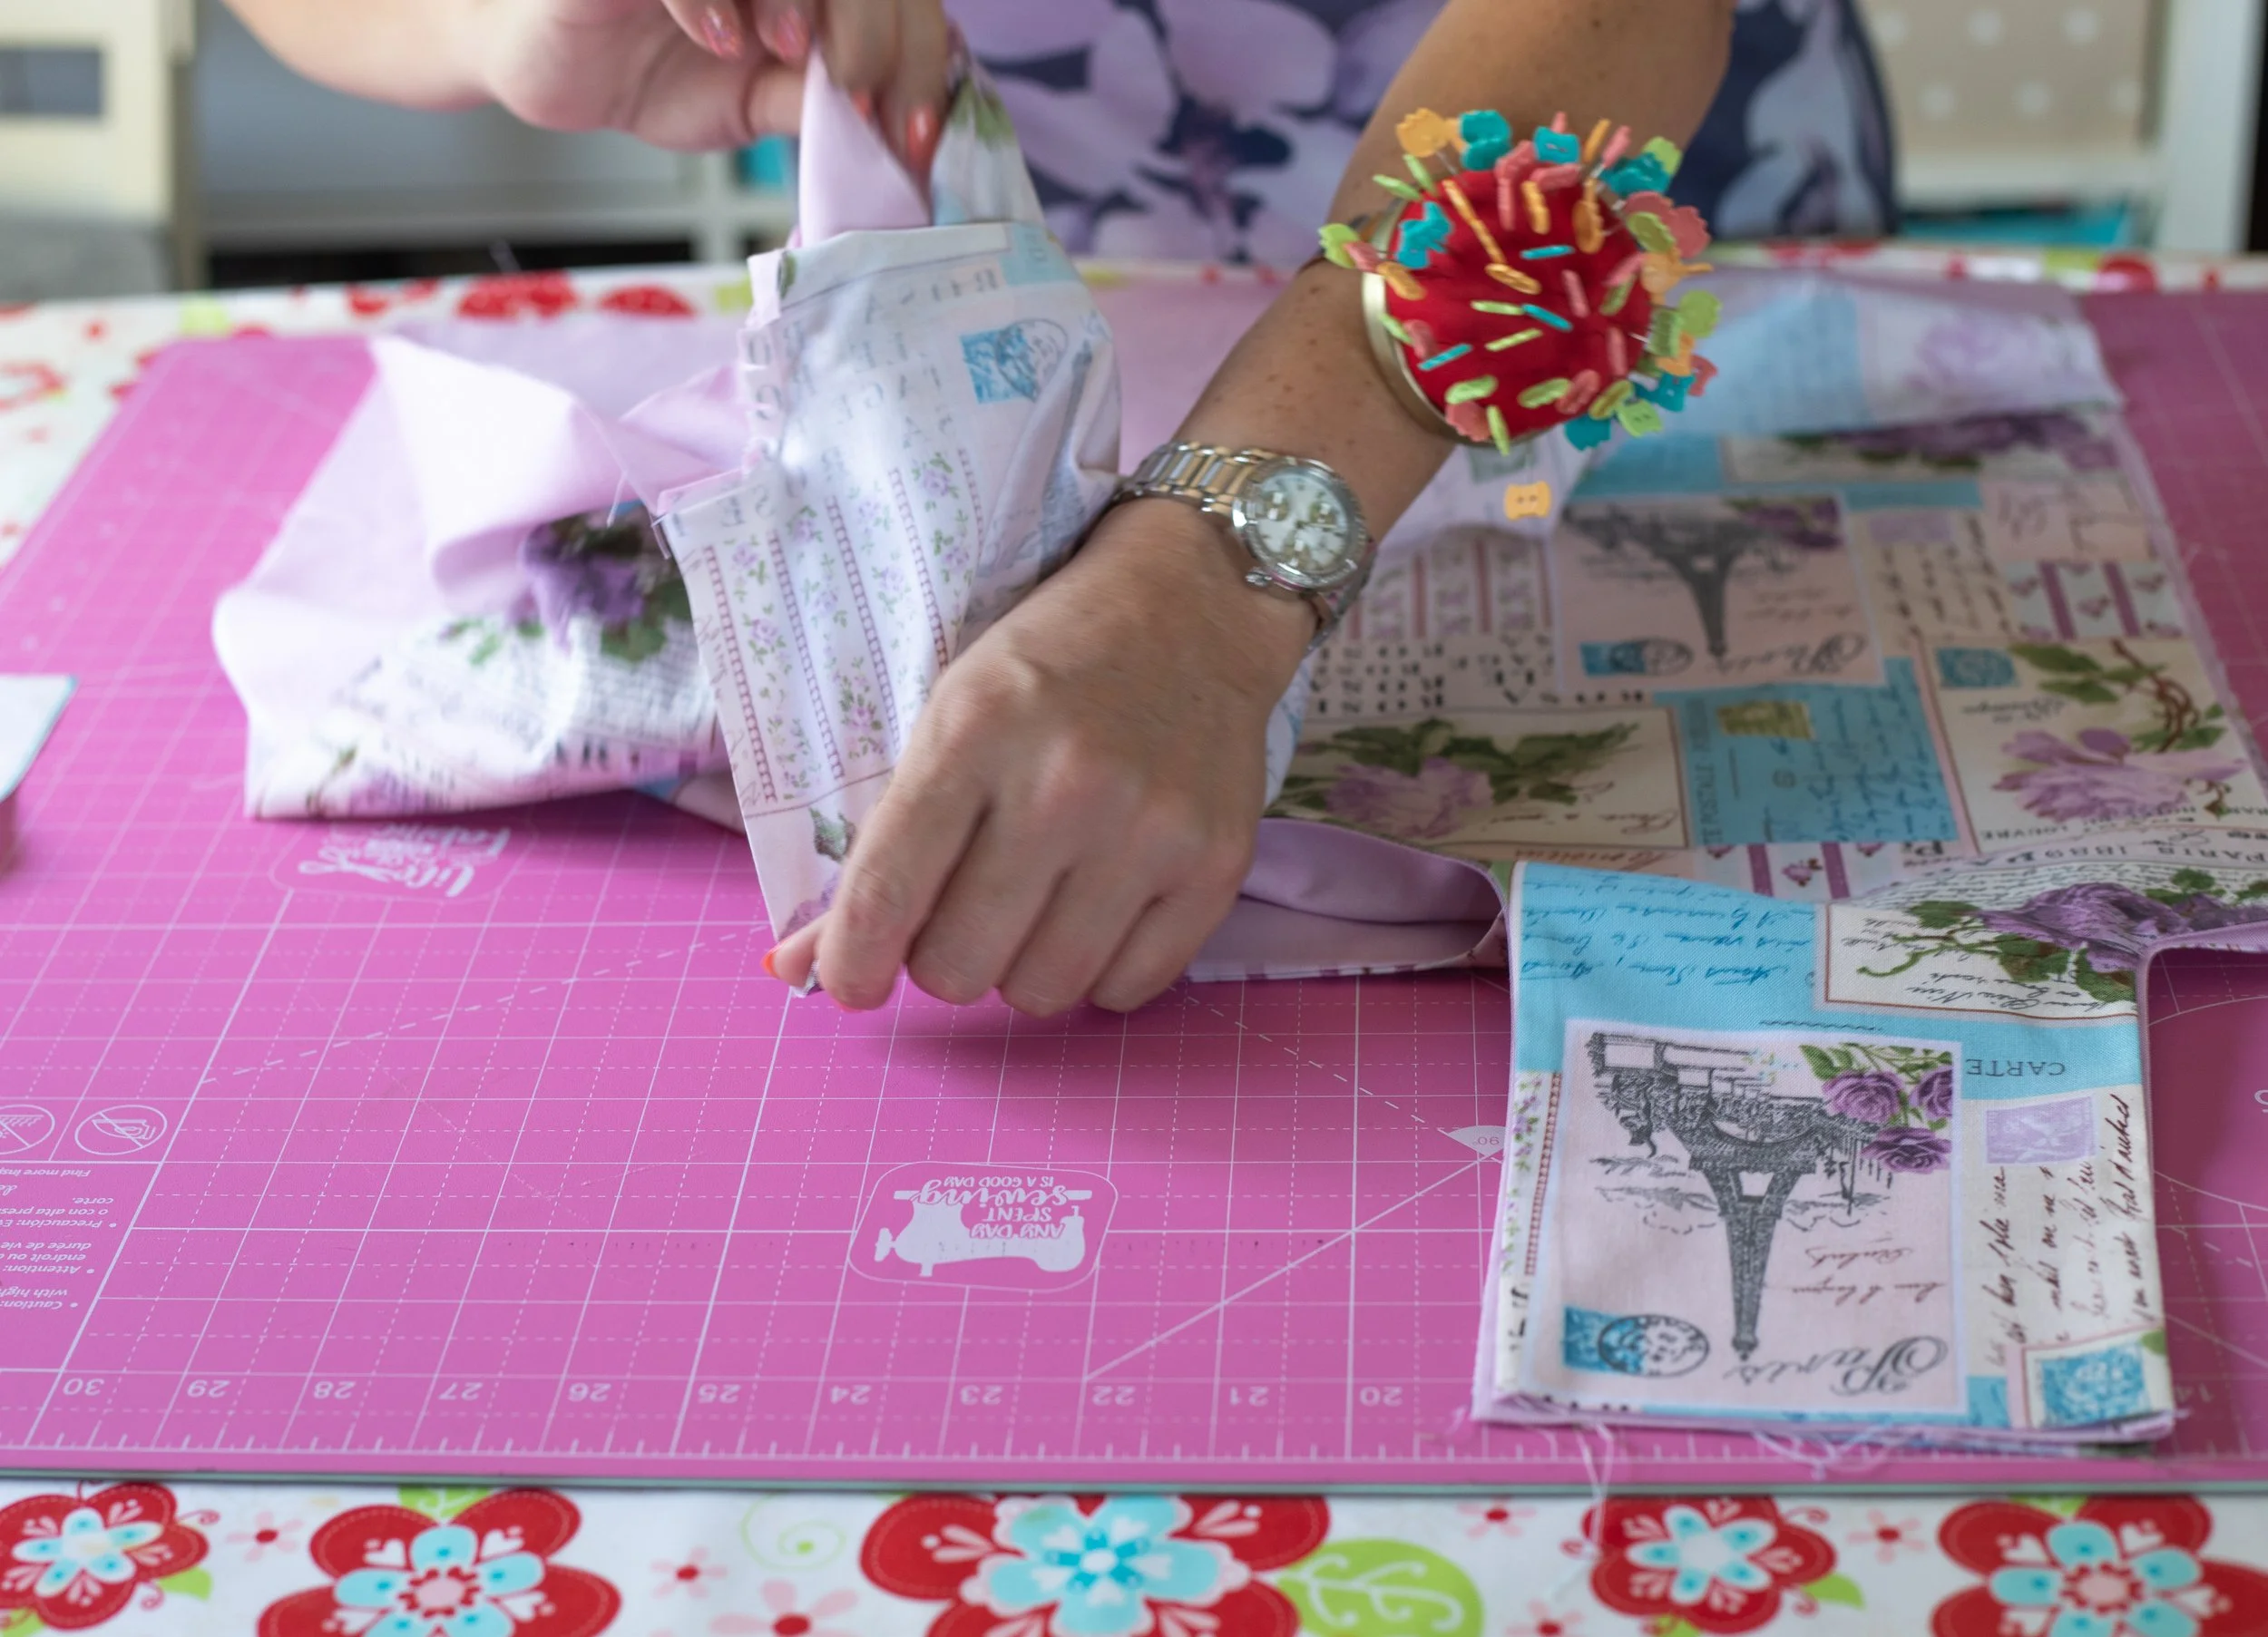
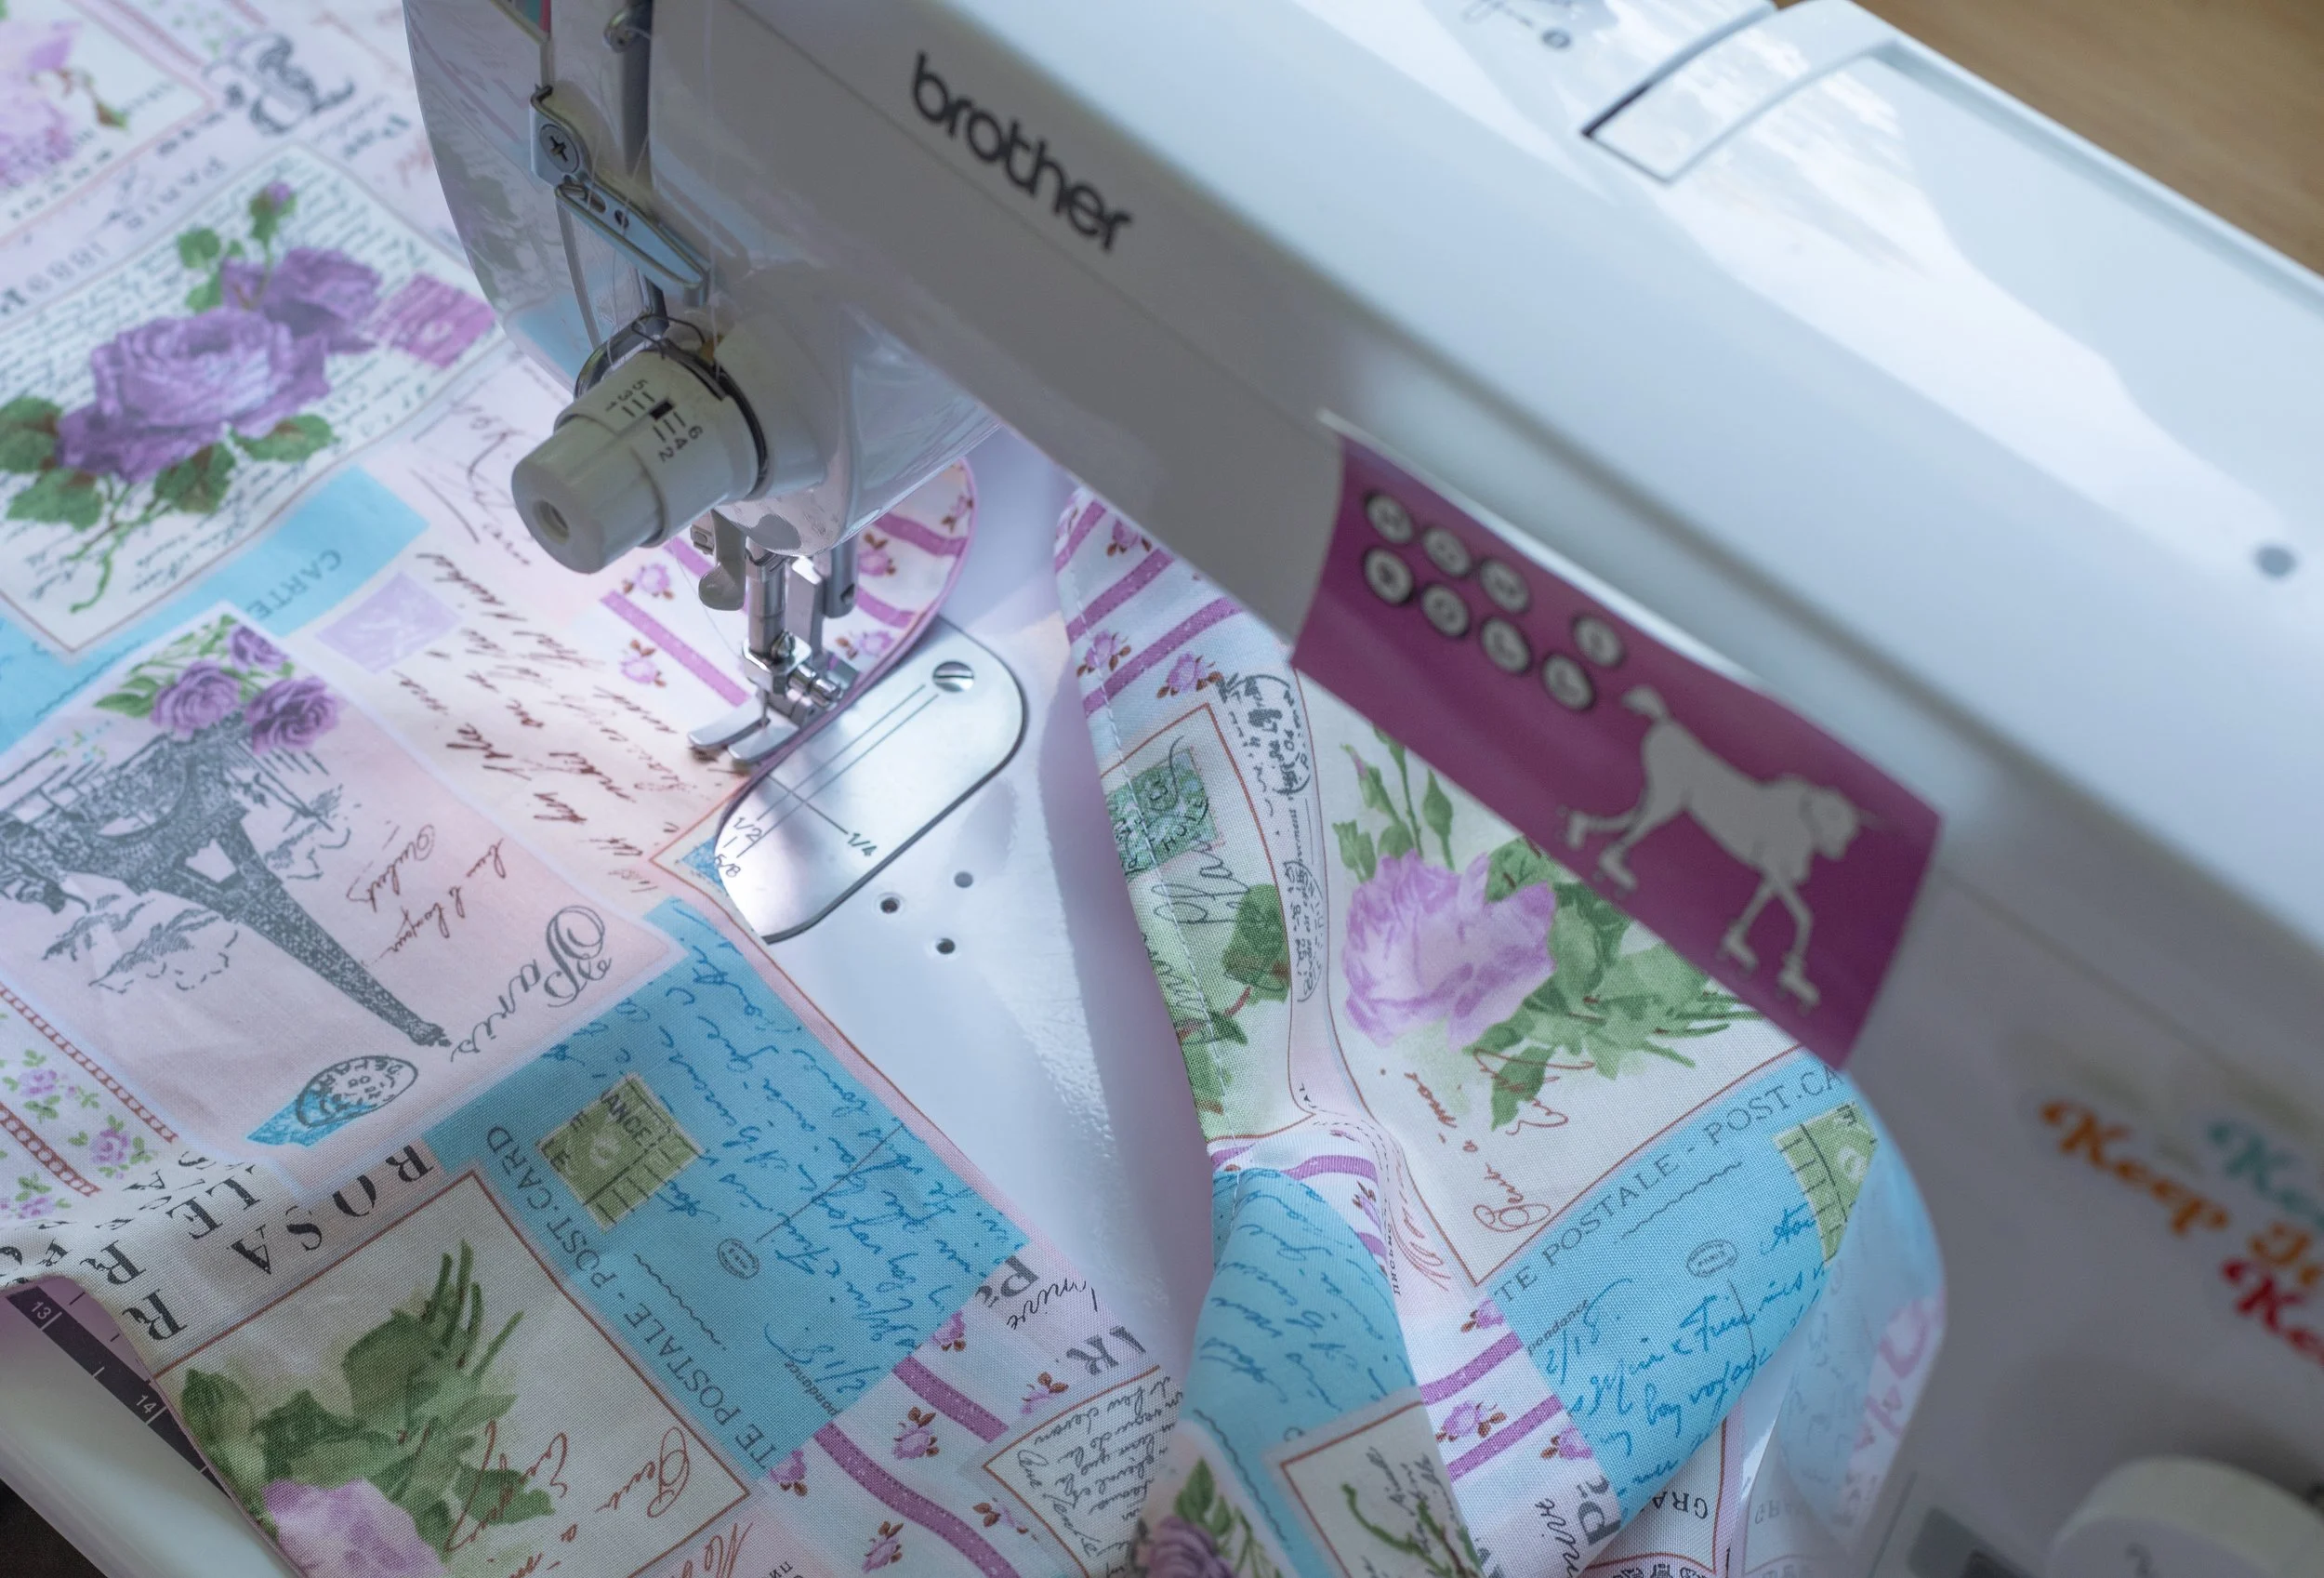
Time to sew.
SEWING TIME
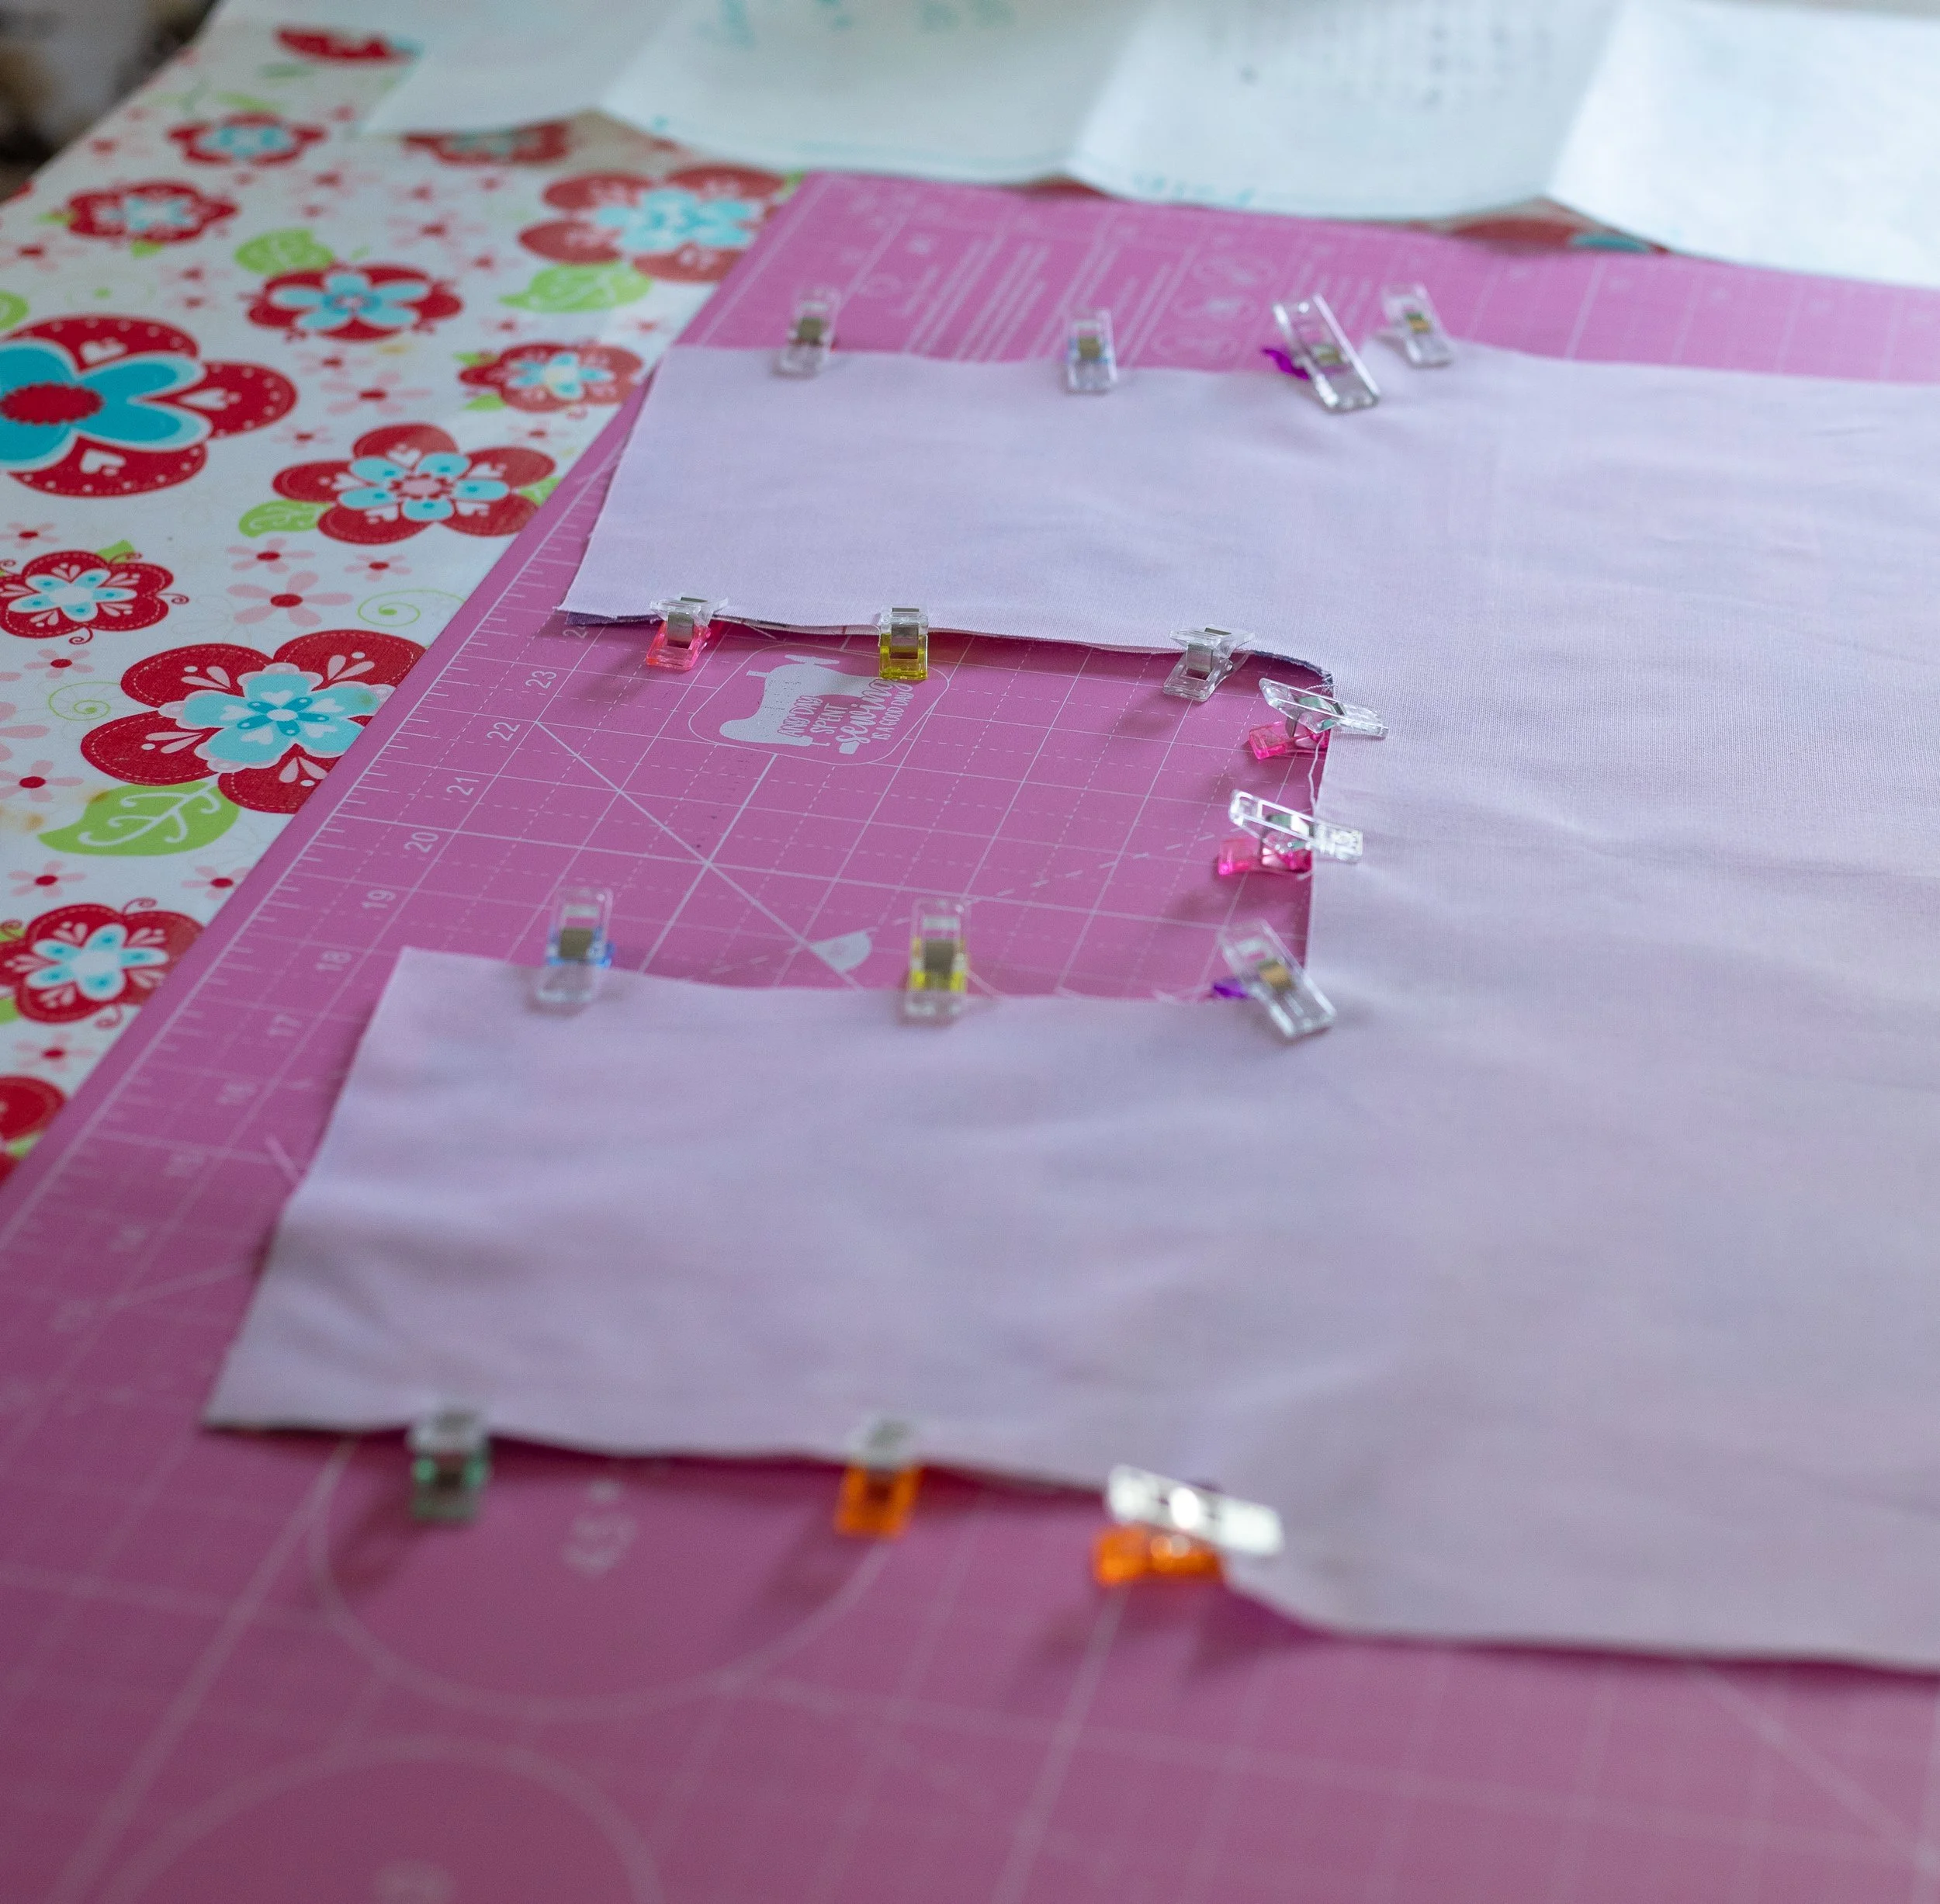
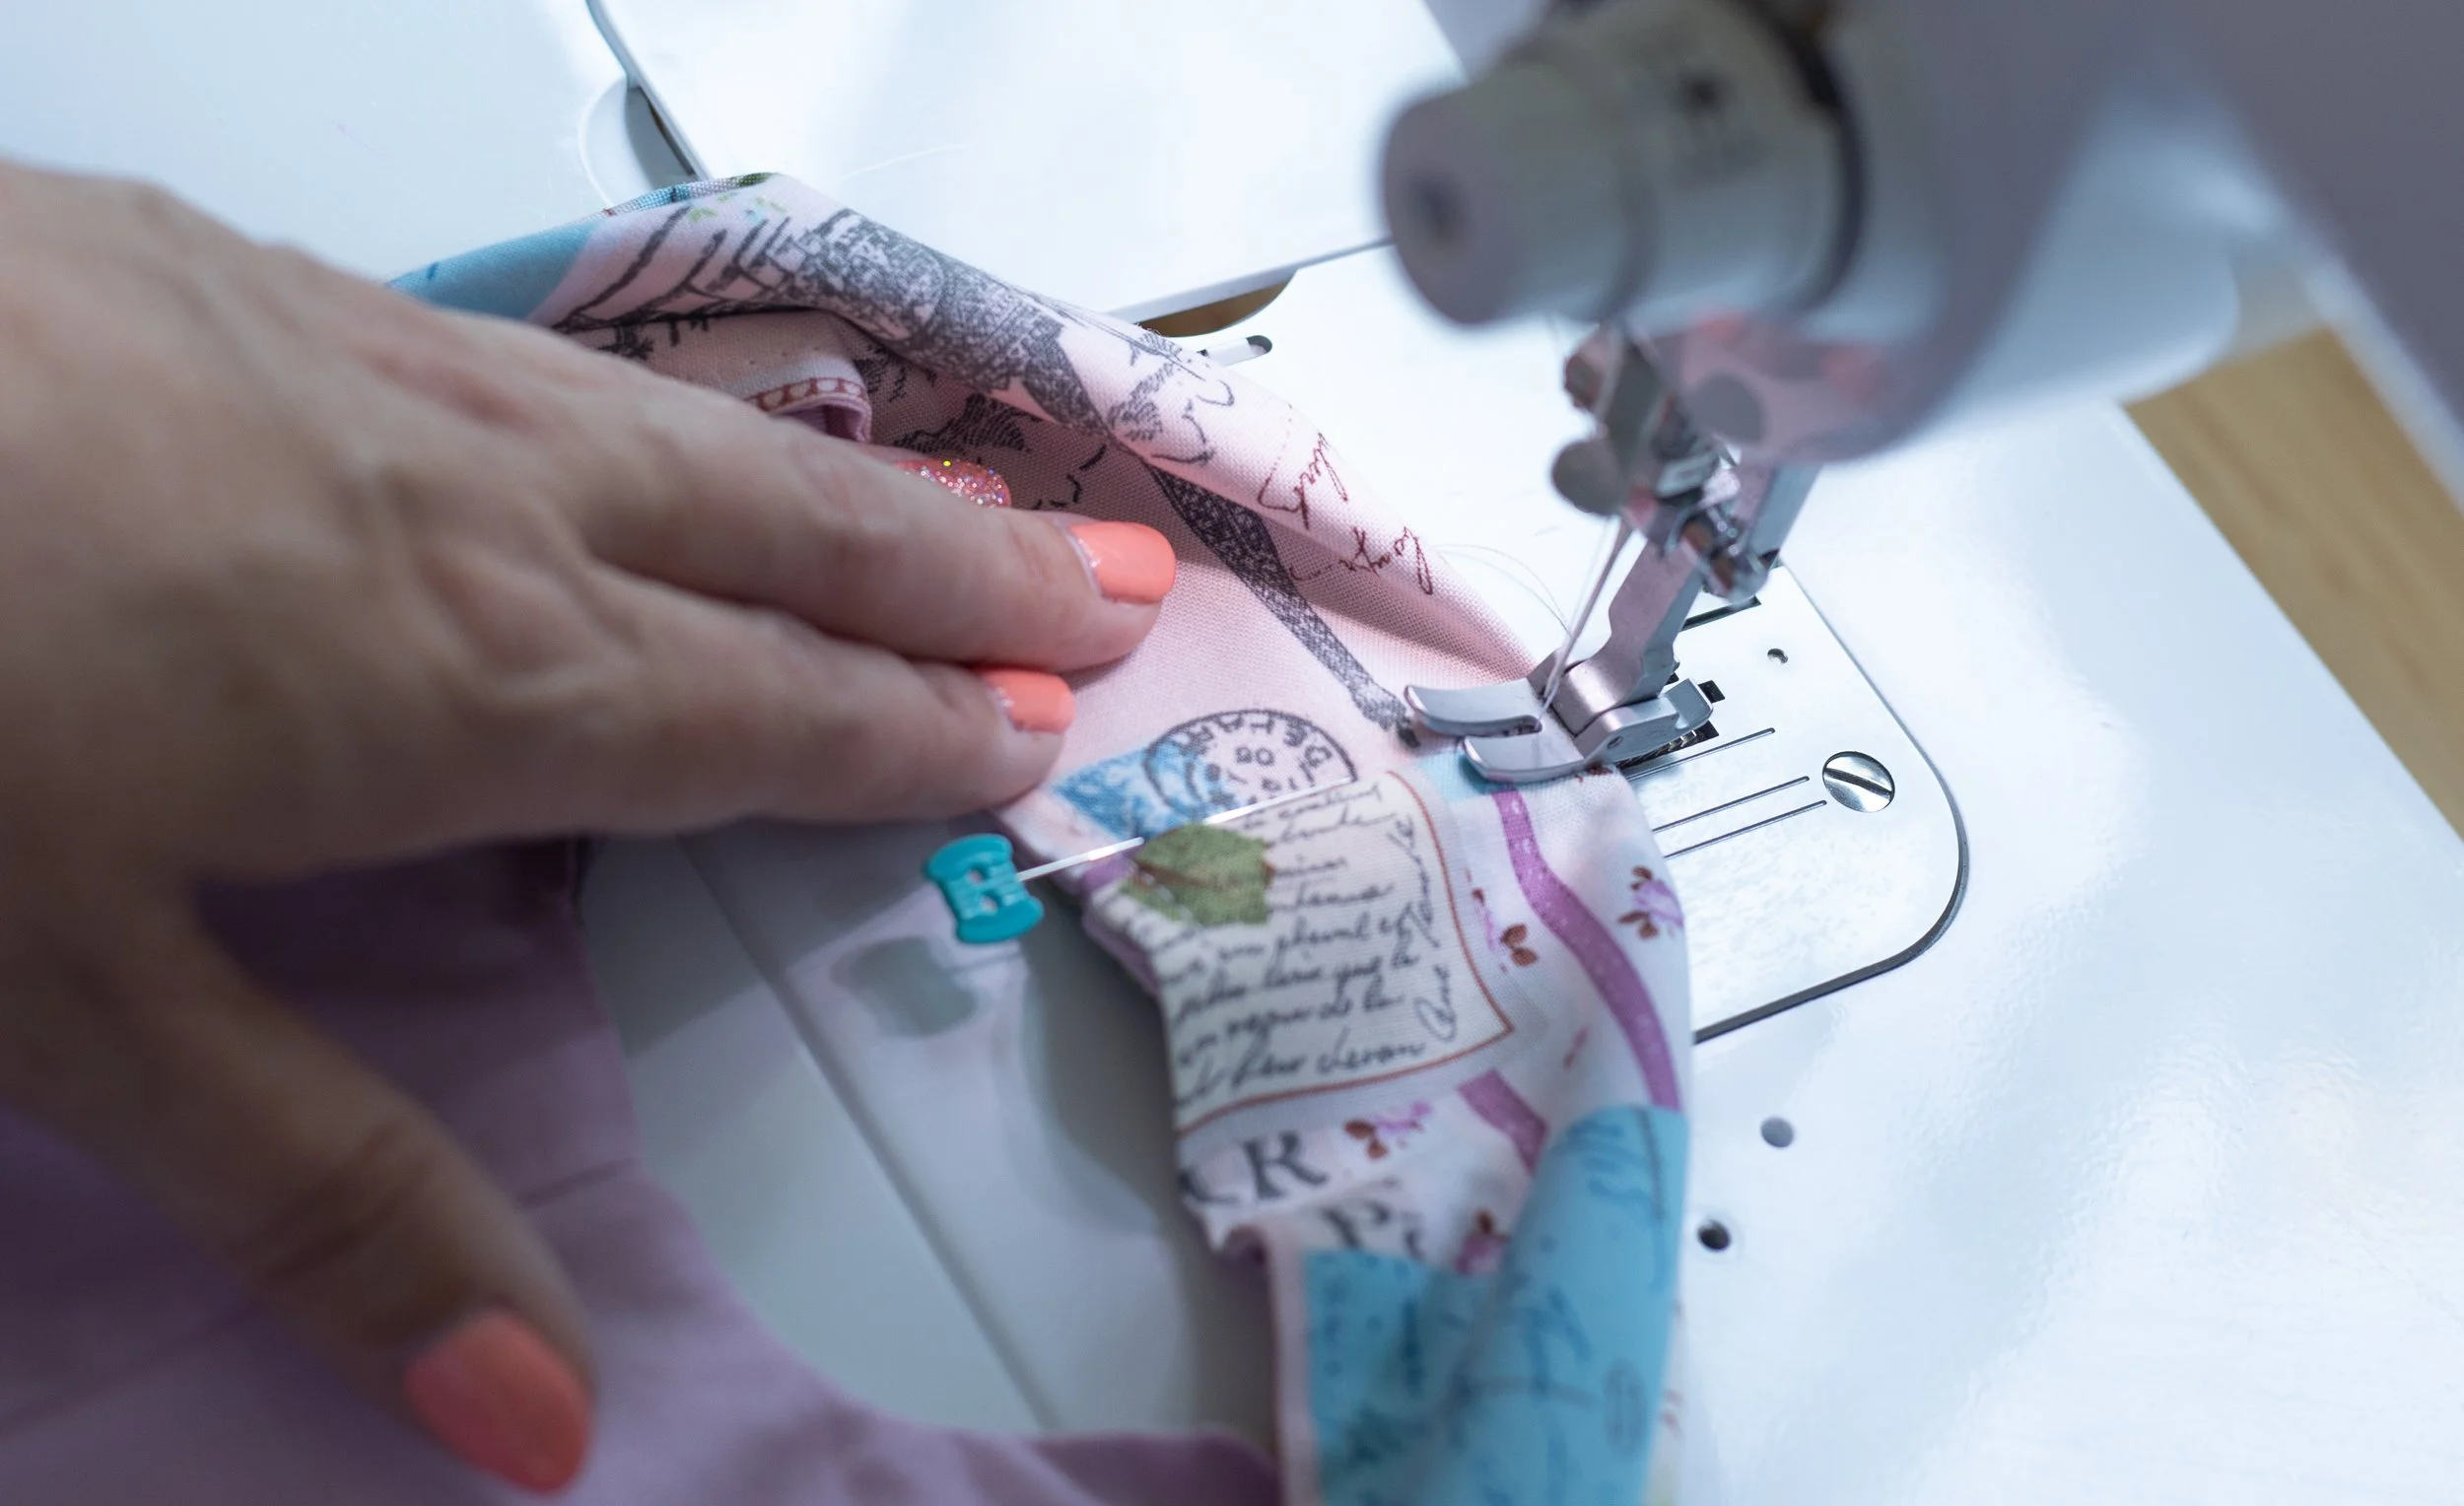
Pin one outer piece to one lining piece, RST (right sides together)
Pin or clip along the “U” and short sides. These will eventually become the handles. I’ll refer to them as handles as well.
Sew using a 1/4” seam allowance and 2.5mm stitch length.
Start from the top and go down. Backstitch at the beginning and end.
Repeat for other lining and outer fabric pieces.
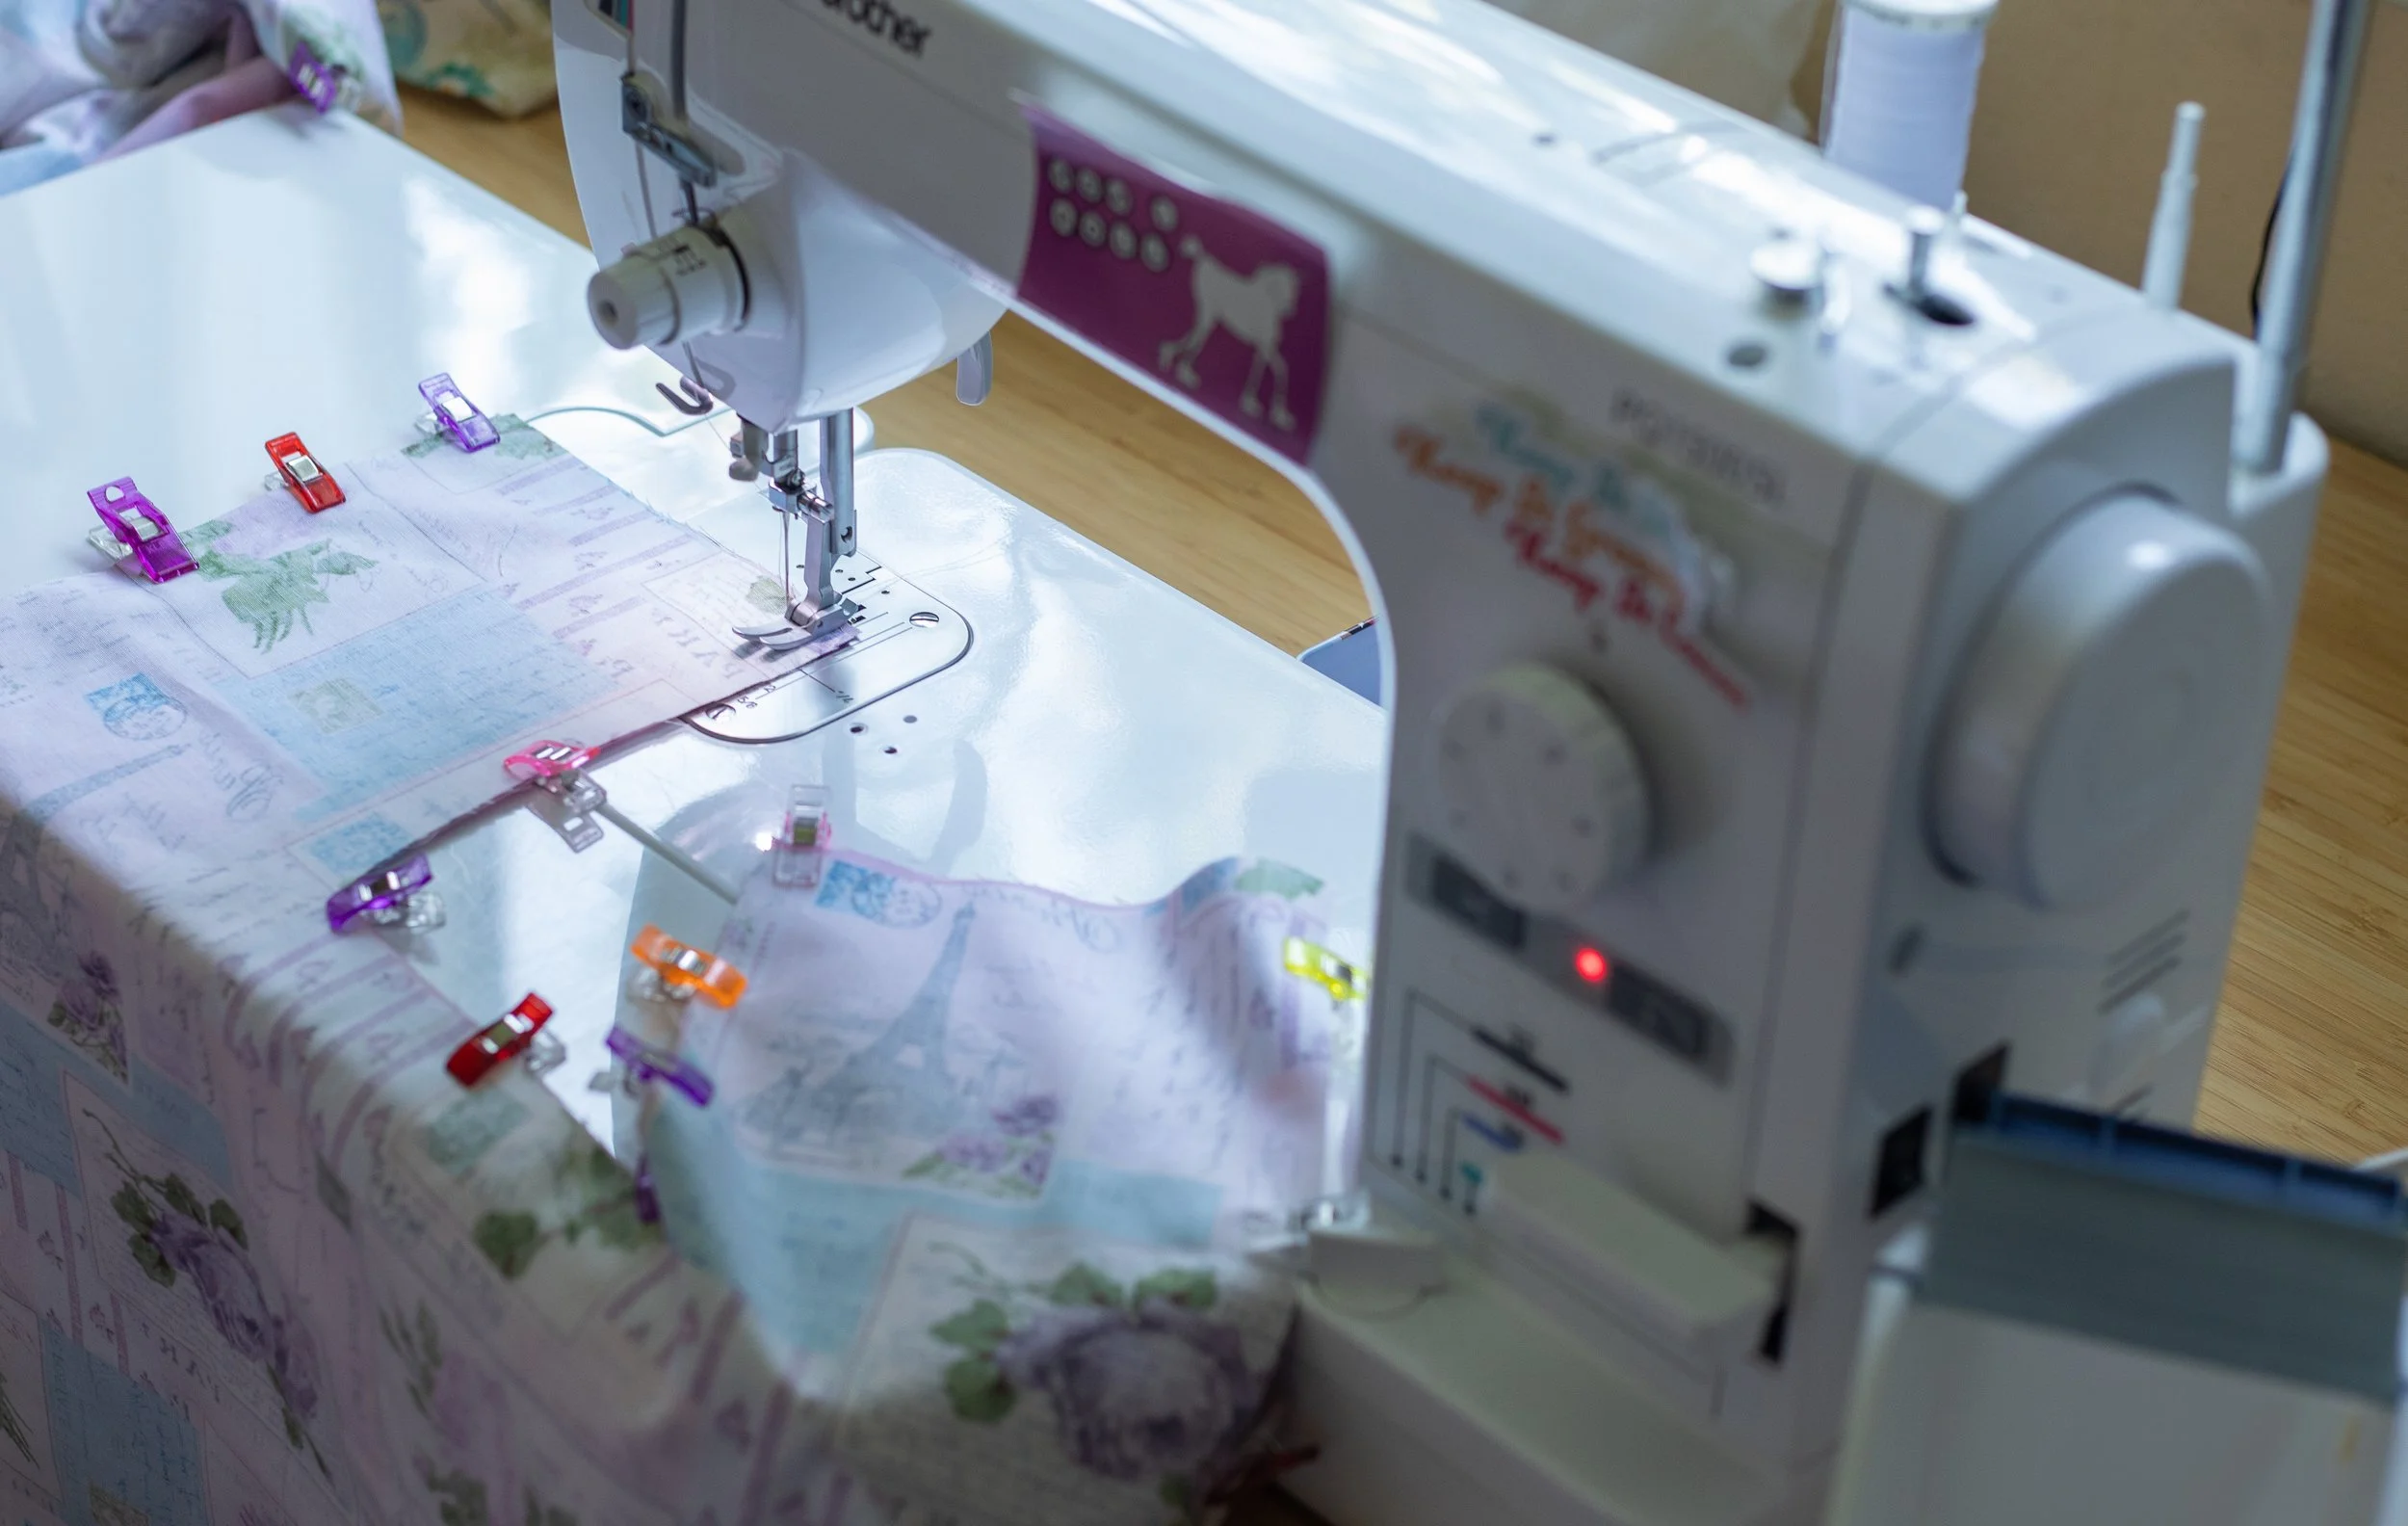
Sew along U curve. Then, around short curved edges.
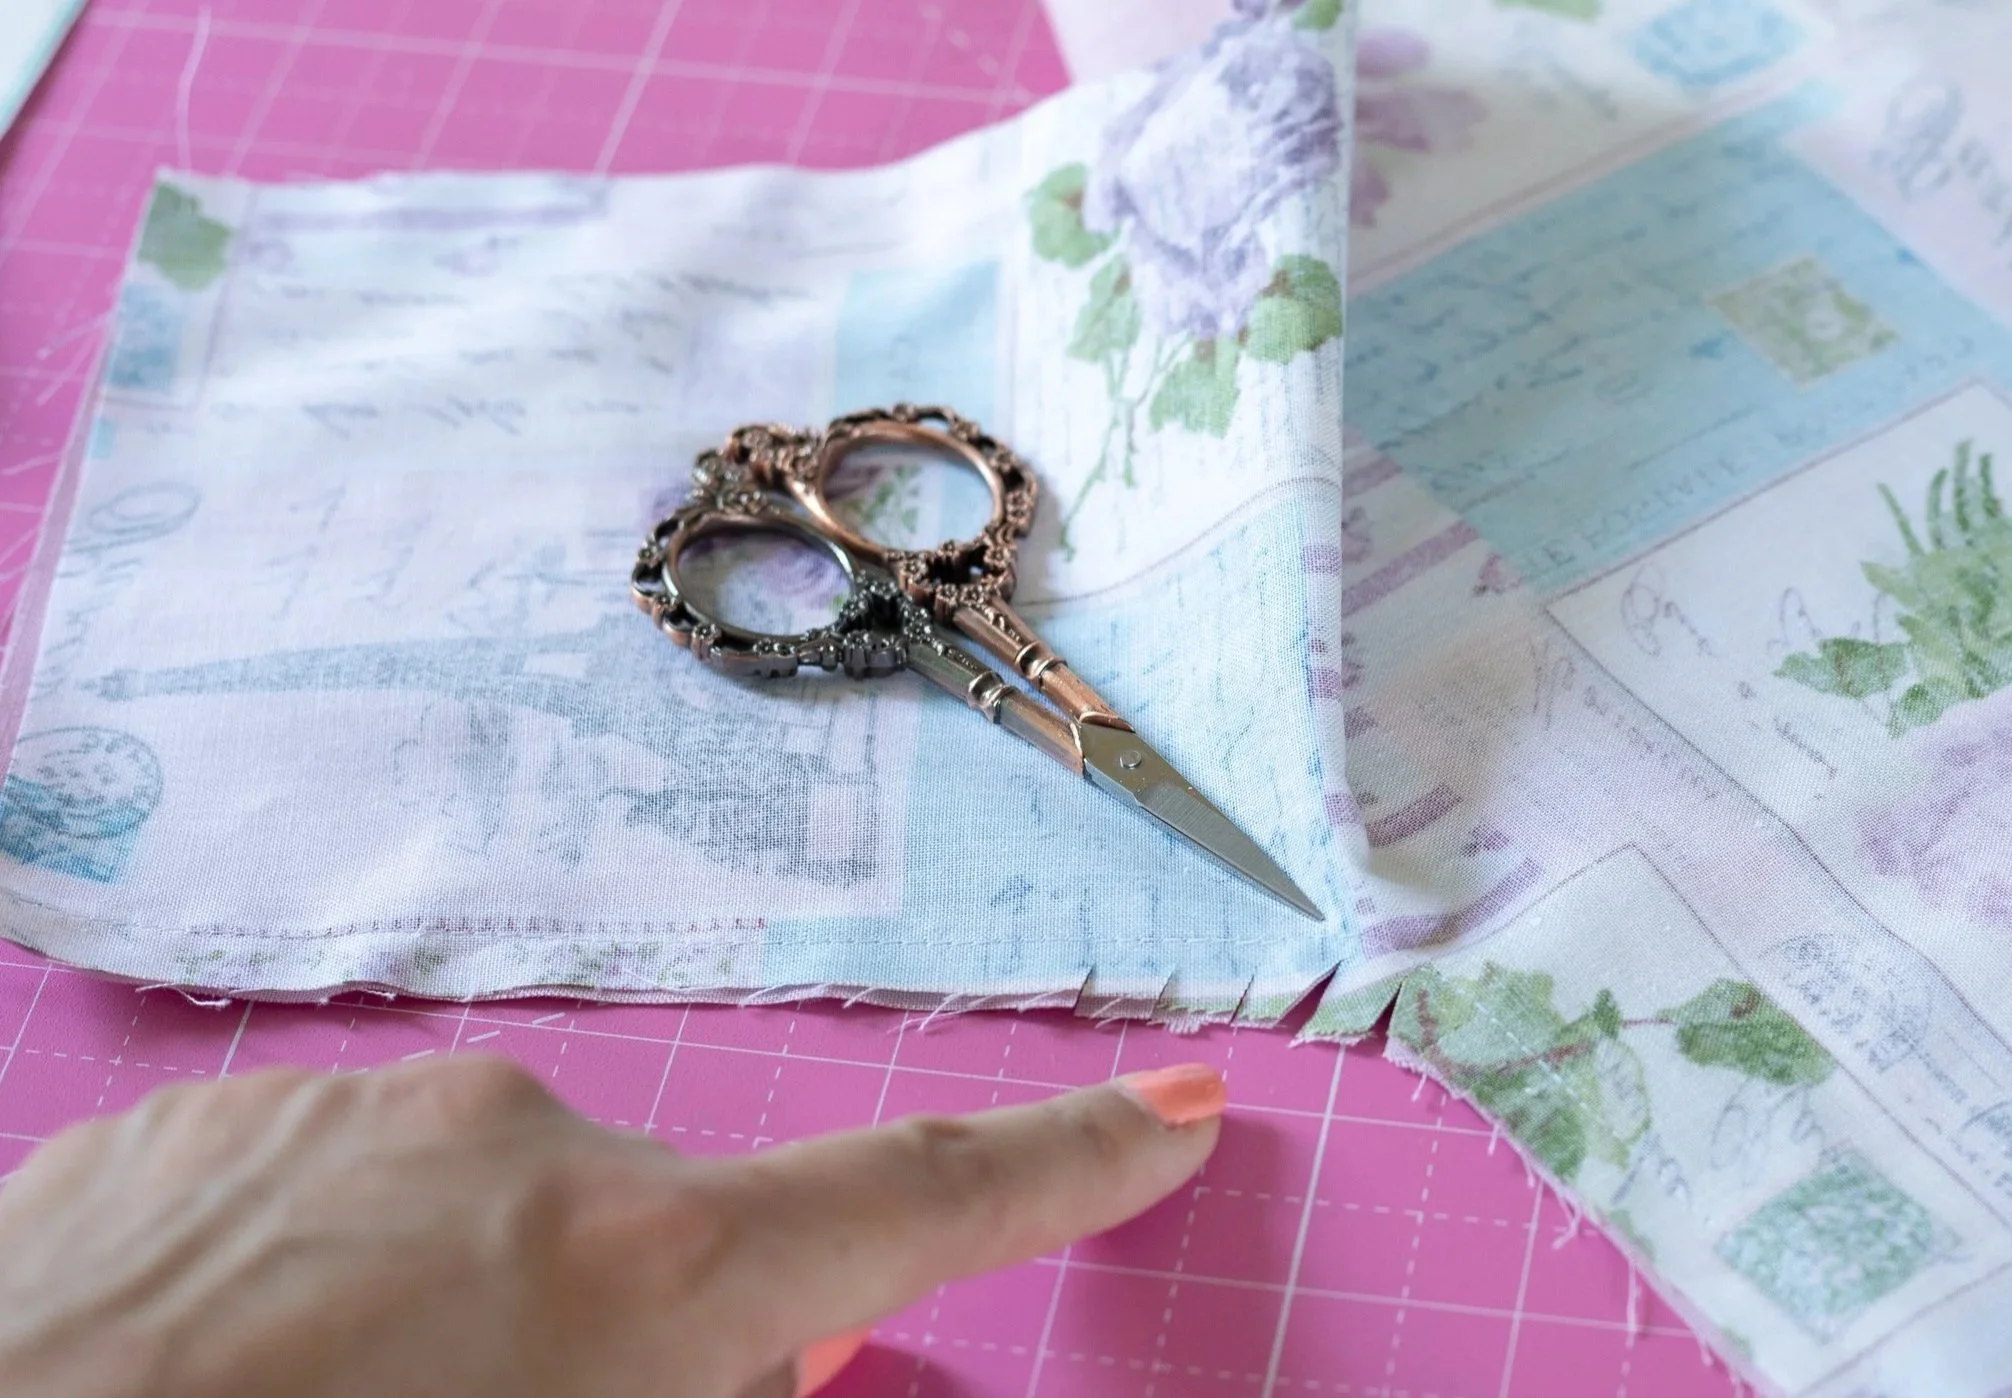
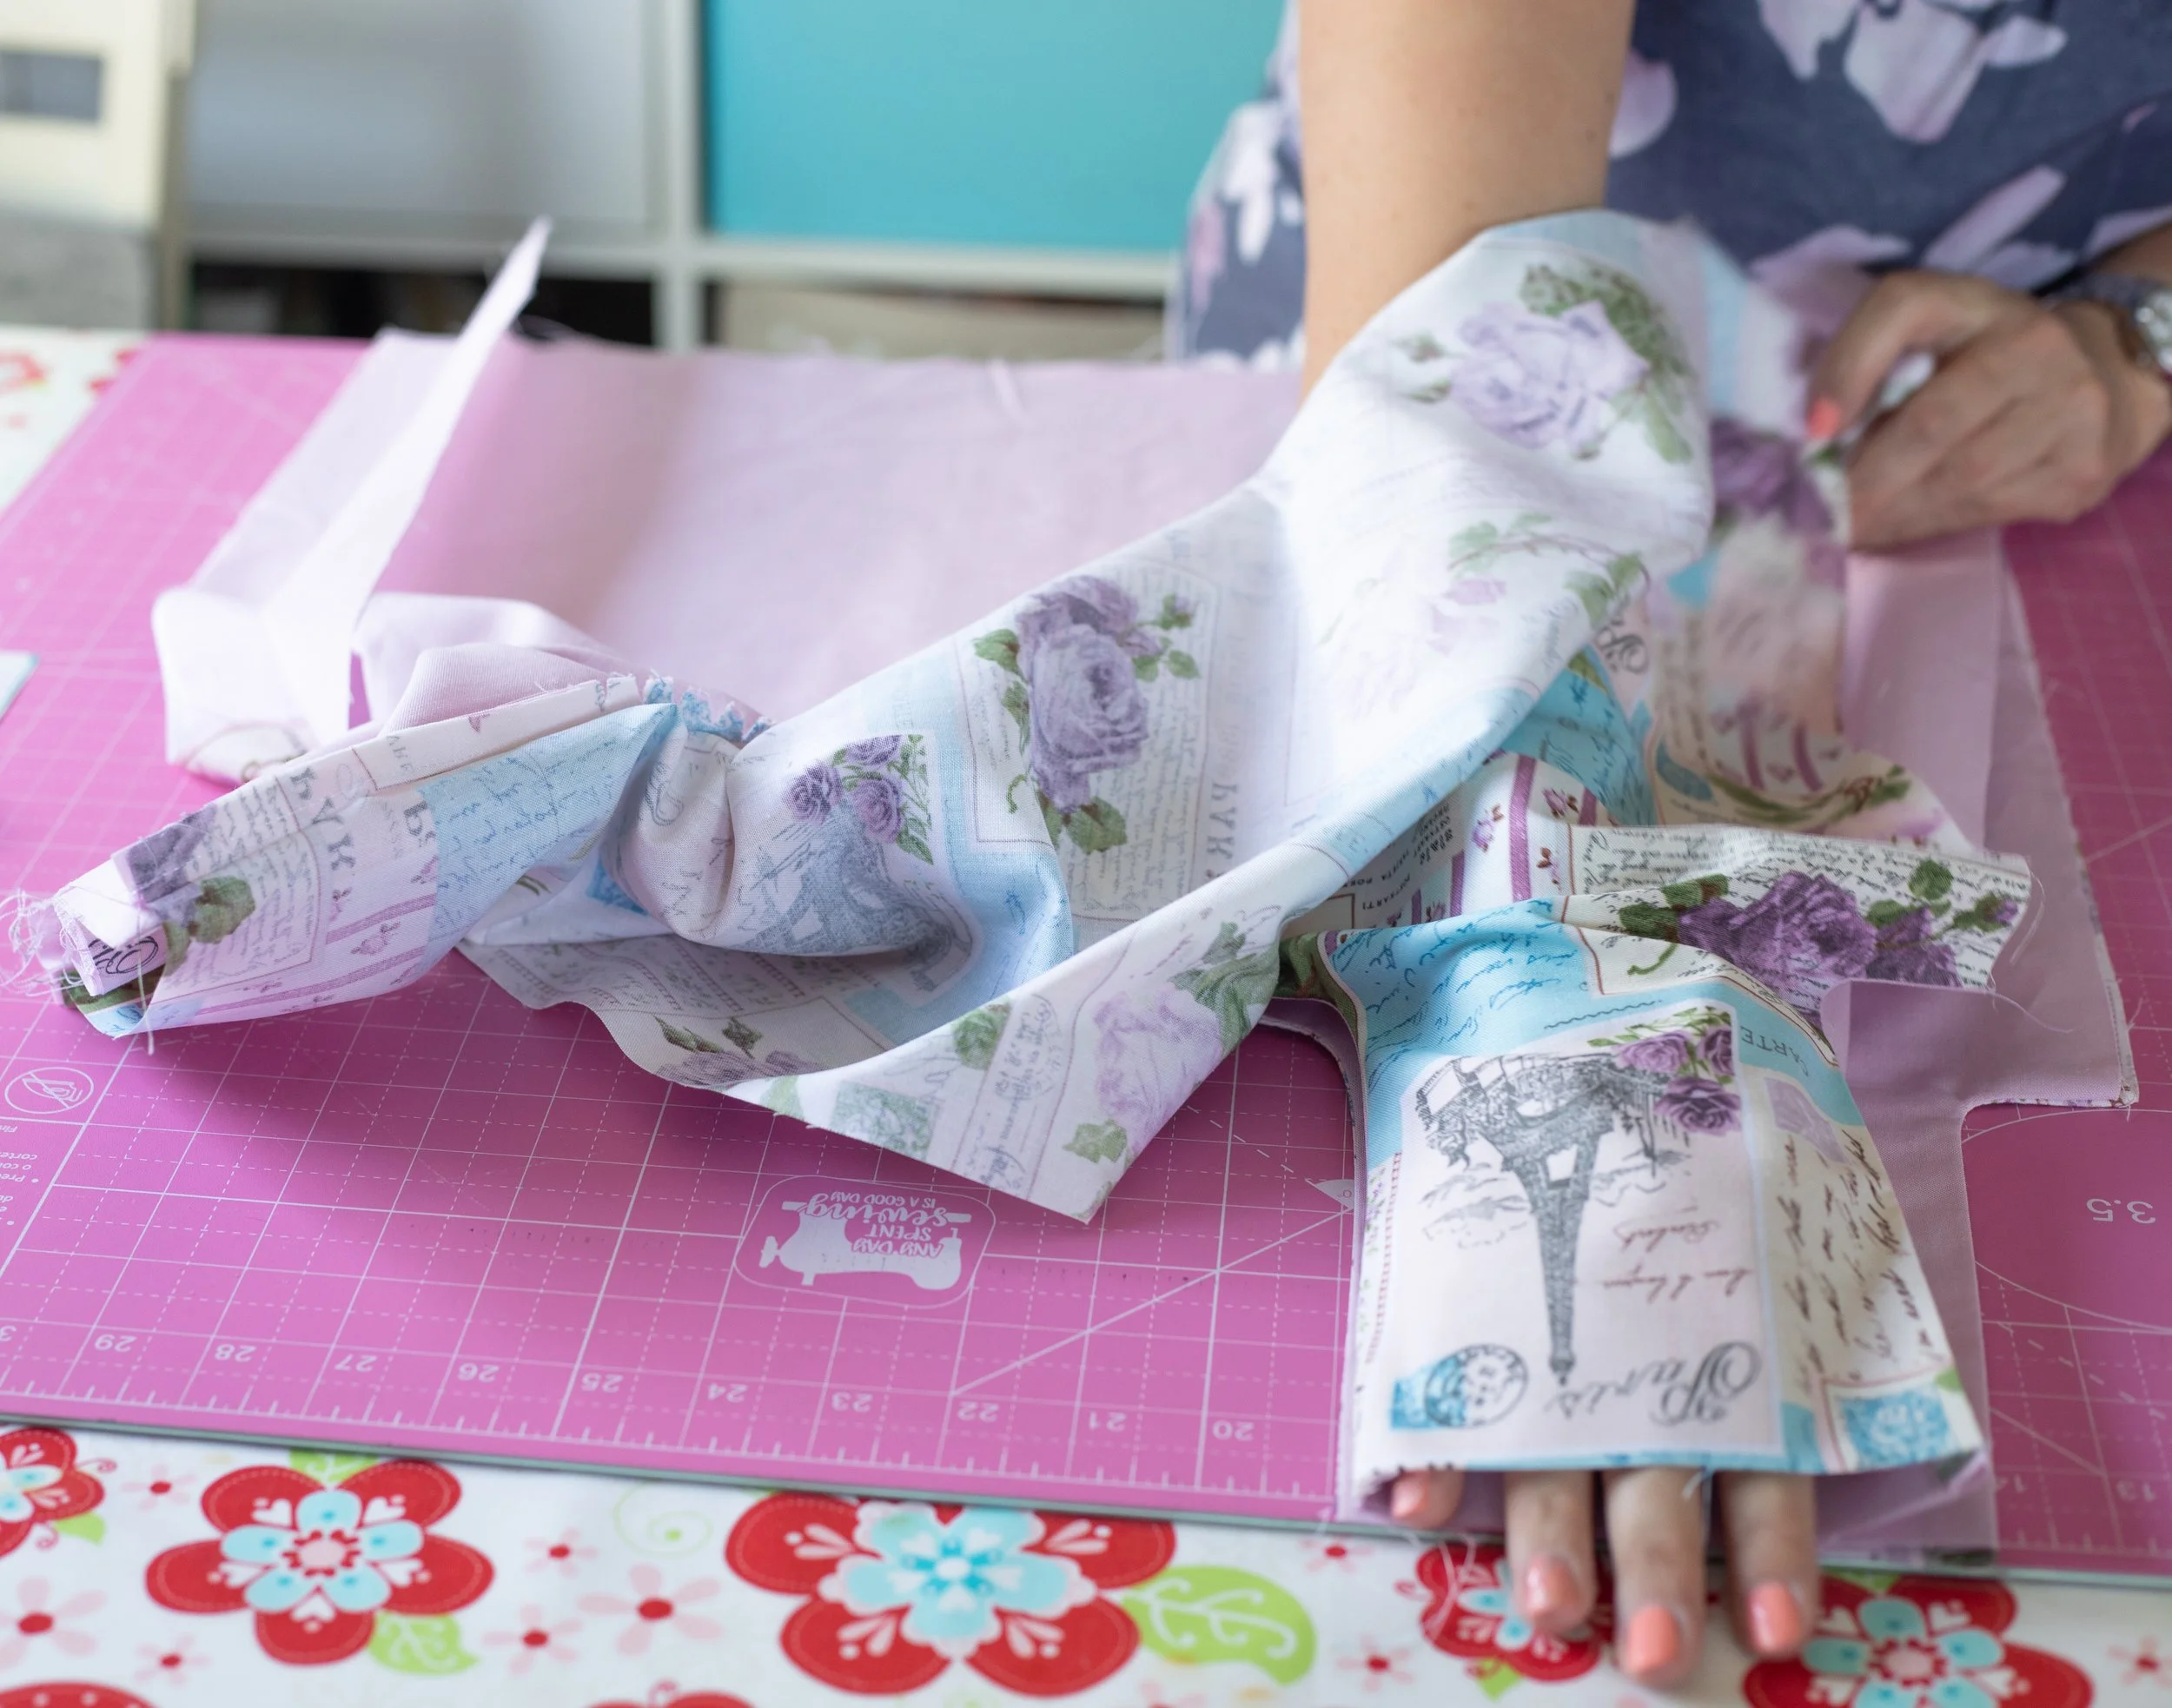
Clip your curves!
This is important and will make your handles look nice and neat.
Be careful not to clip through the stitching.
Chopsticks are the best sewing tools. Smooth out the curves.
Place front and back together, lining to lining.
Your chopstick is a great tool to use here; use the point to help open up the seam while you press. You want your seams nice and flat.
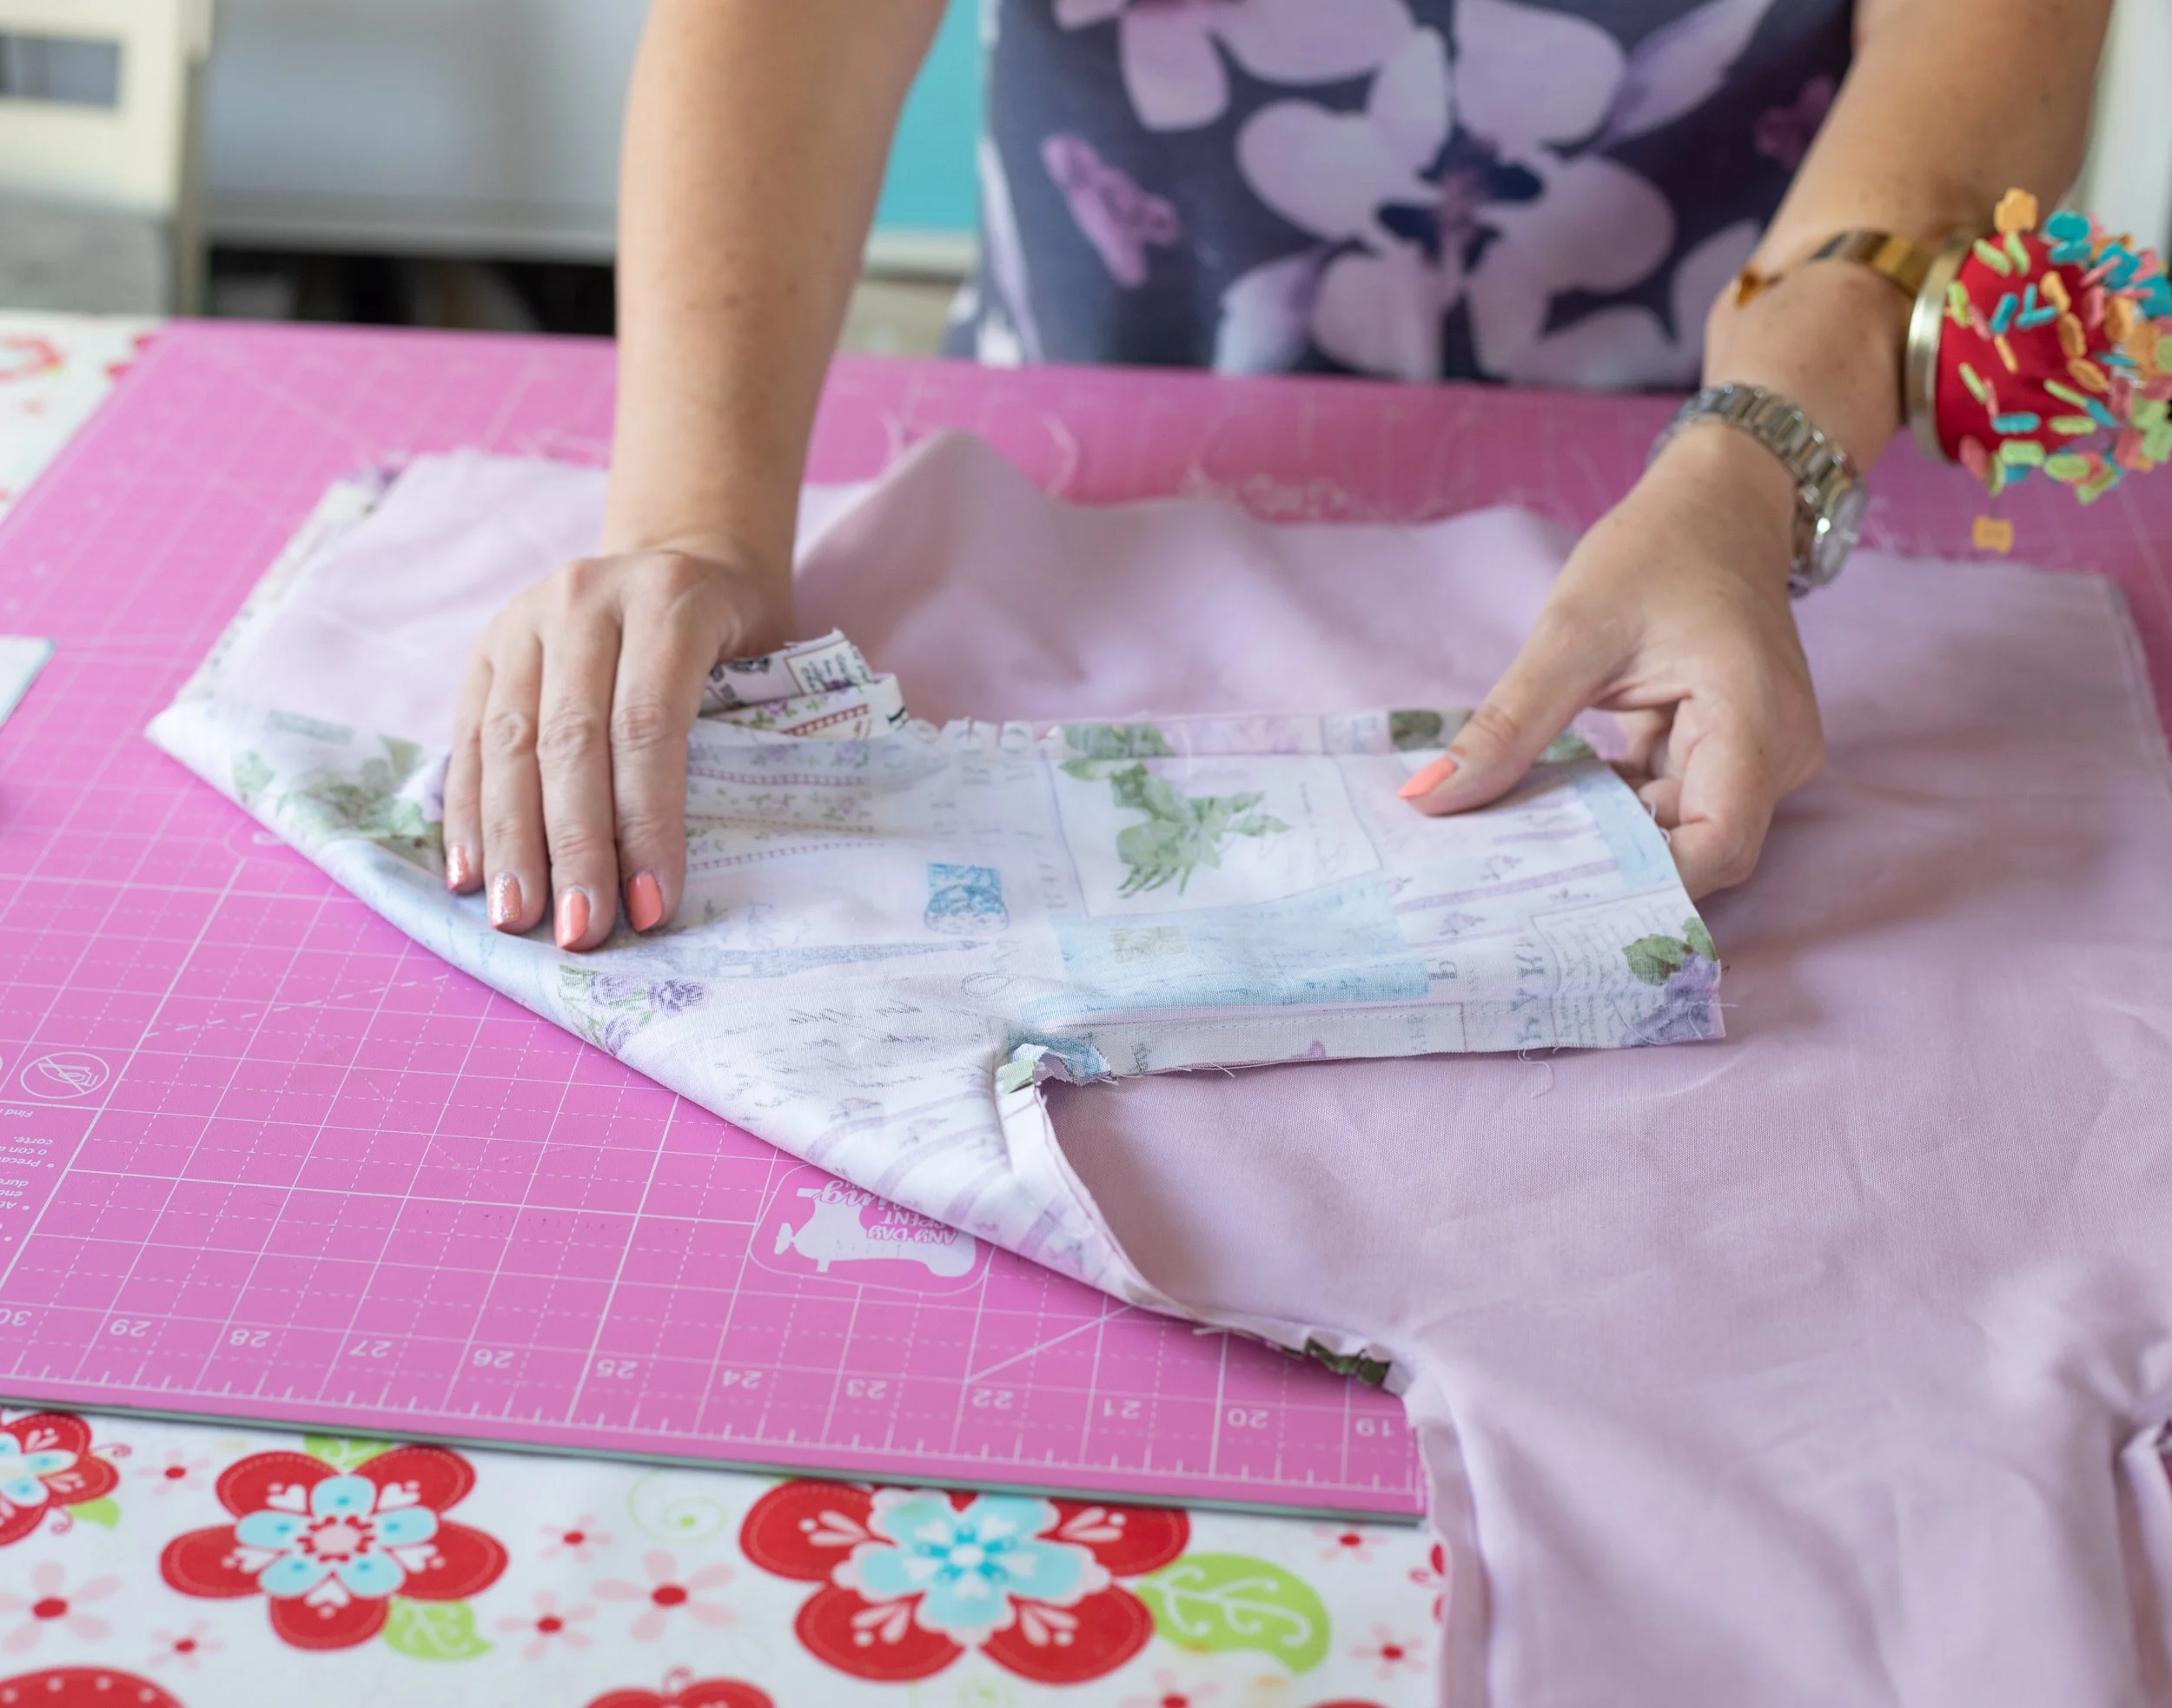
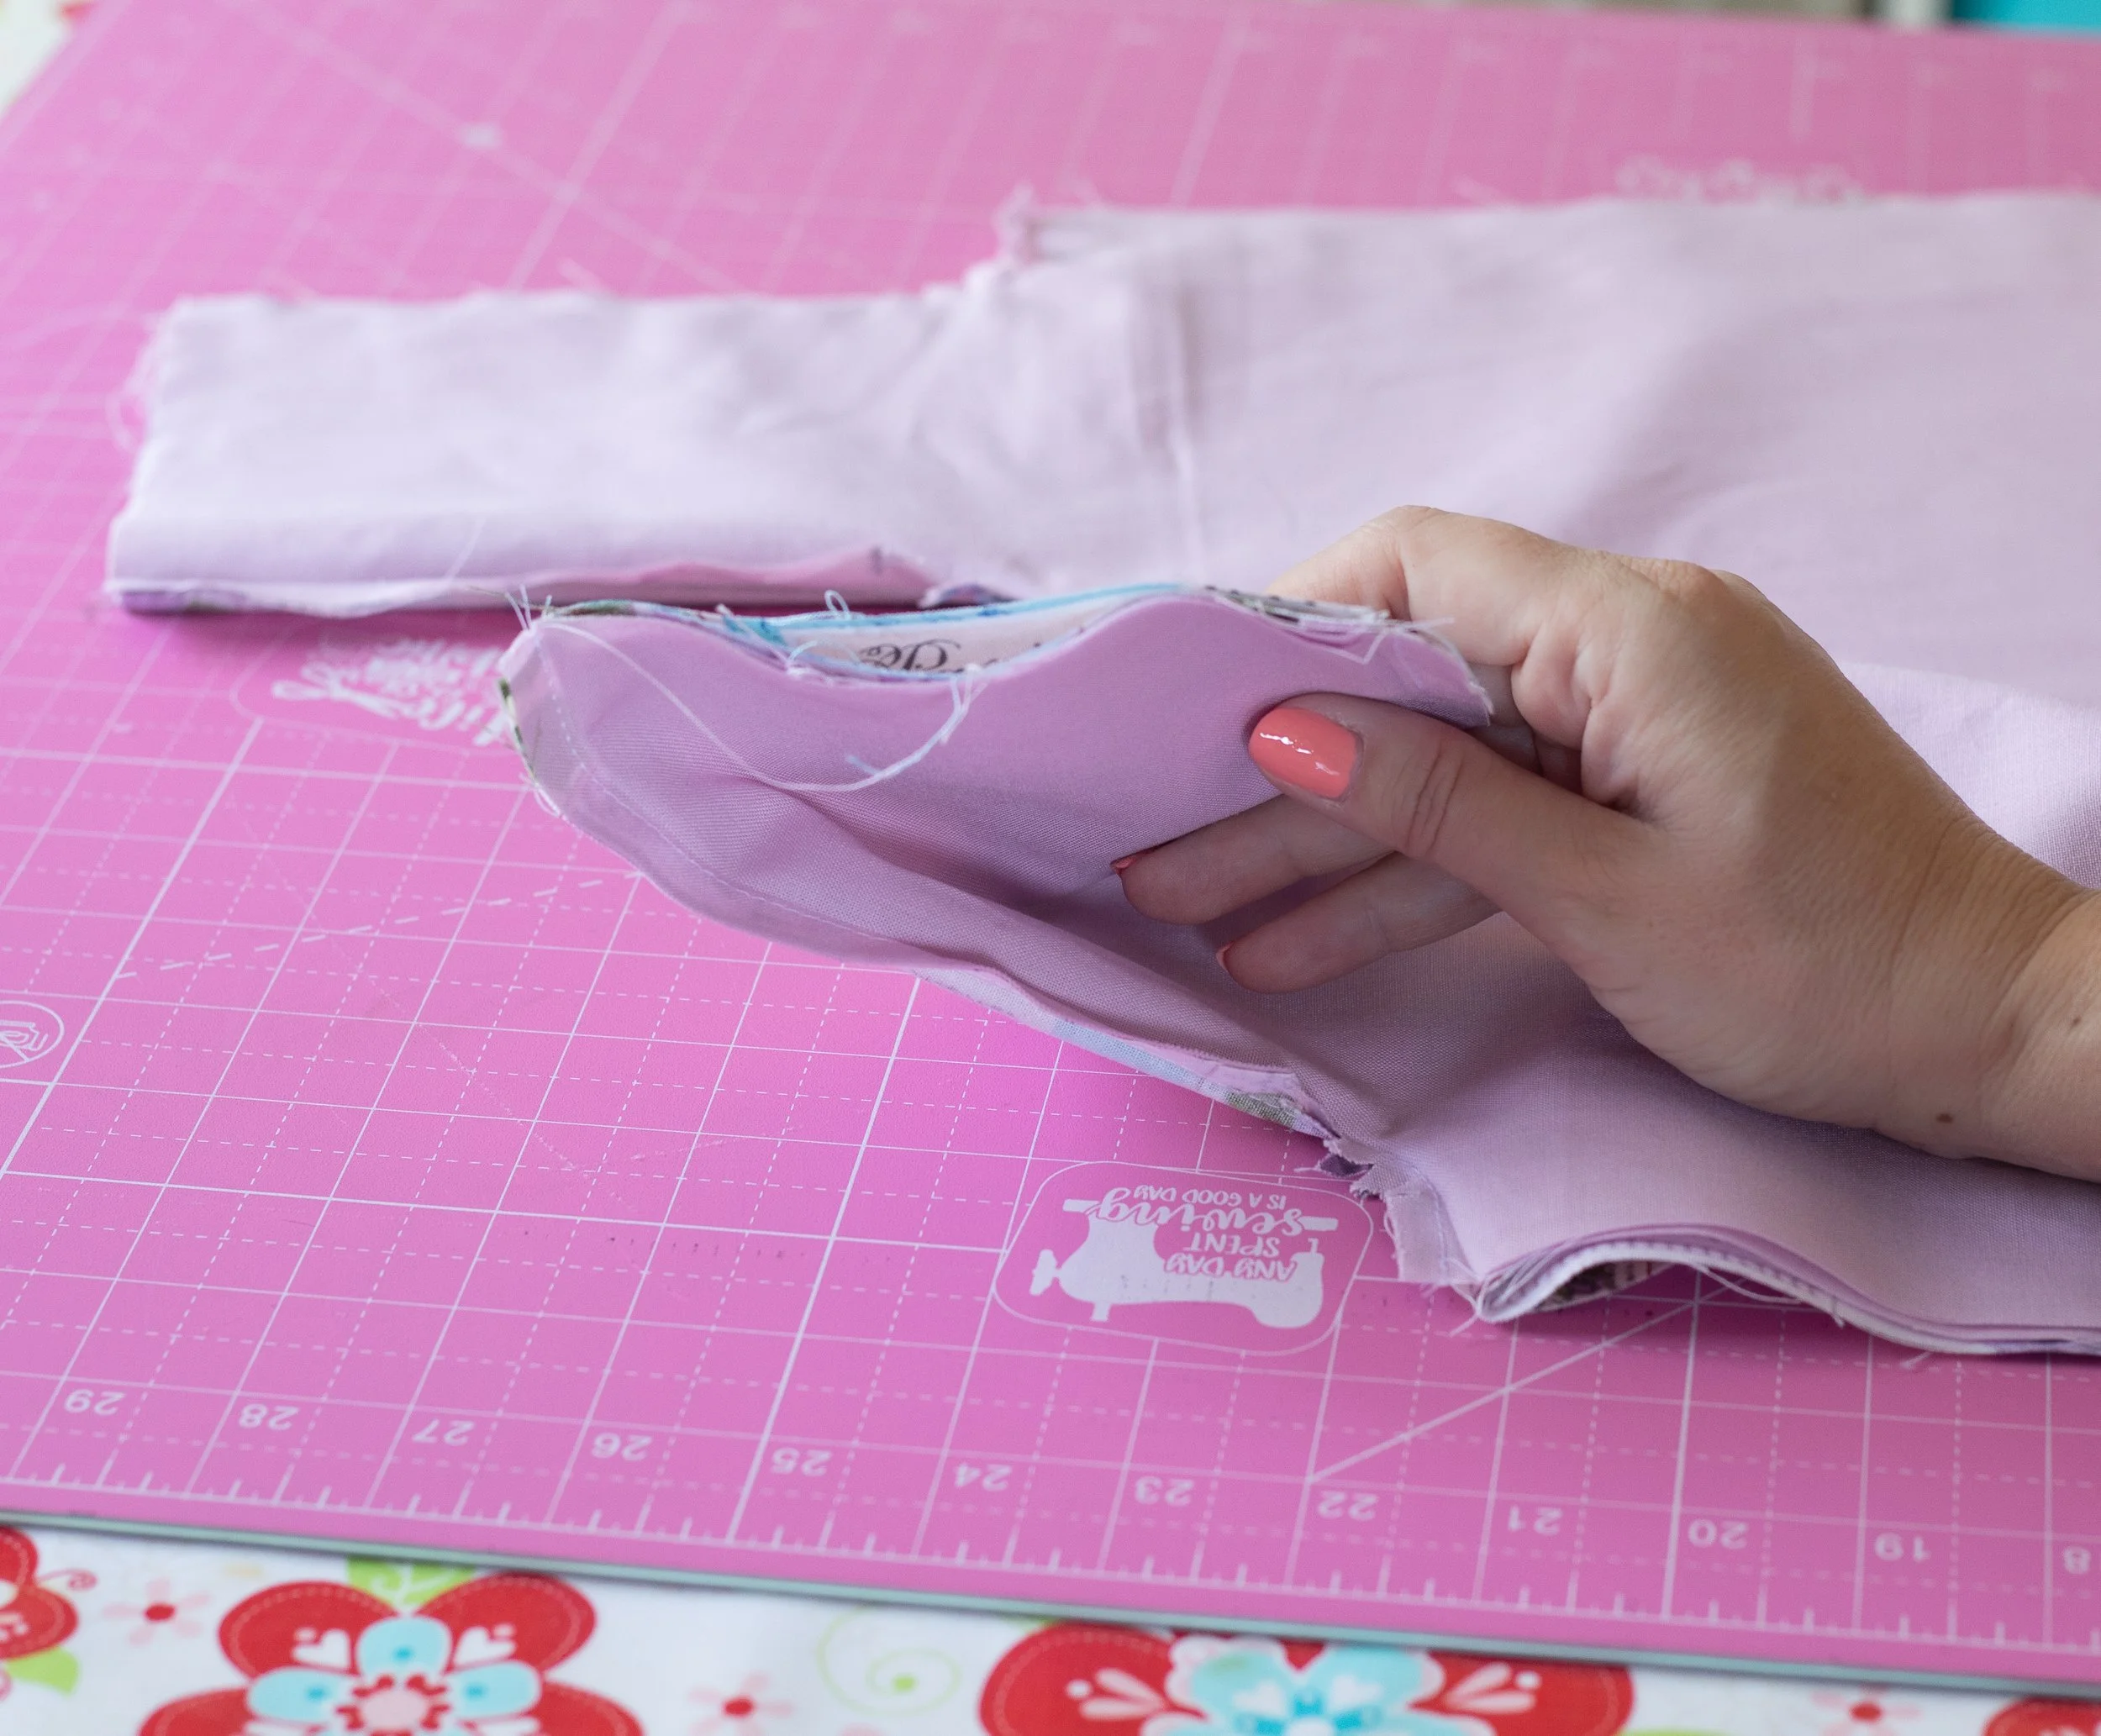
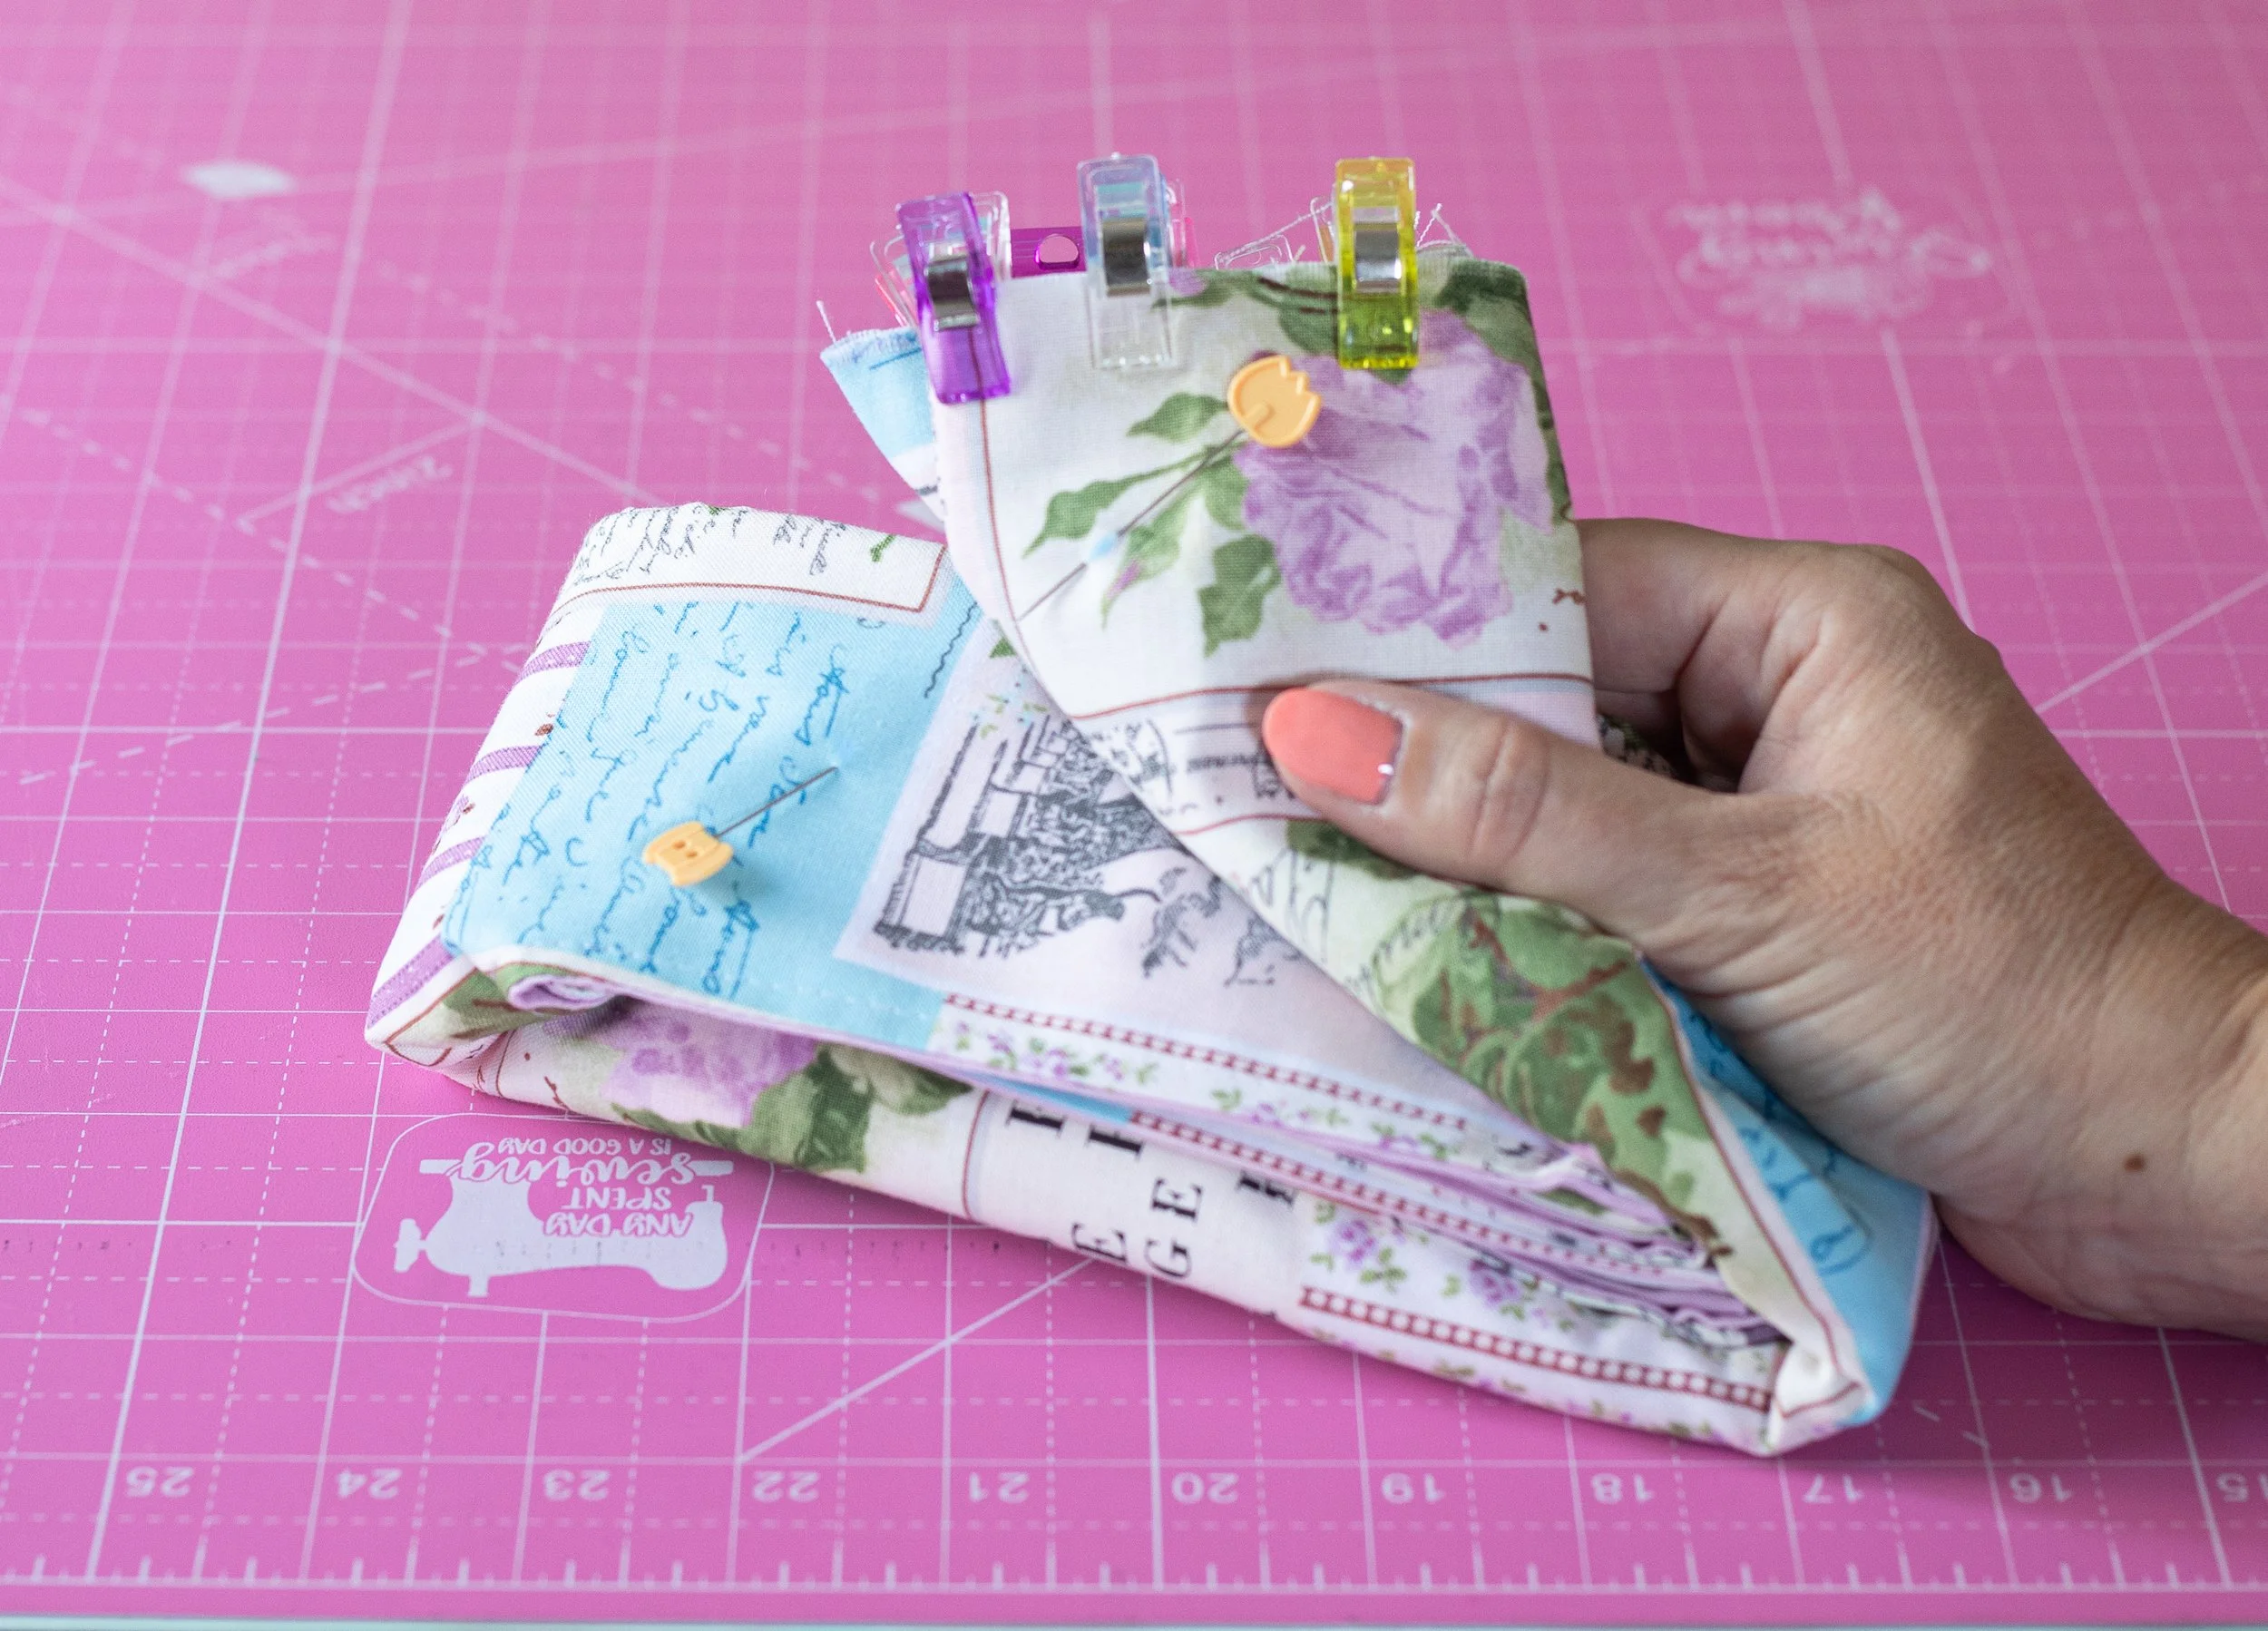
Now is where the MAGIC happens. This is similar to the “burrito method”.
Place the front and the back of the bag together, making sure the linings are touching. Make sure all the layers are even and flat.
Reach into the handle and grab the bottom 3 layers, and pull through the handle hole. It will be inside out now. Repeat for the next handle.
Flatten and smooth everything out. You should see all four layers of your handle.

**If the handles aren’t as flat and smooth as you’d like, you have a few options.
Option 1: Unpick the side seam and increase/decrease the seam allowance to make the handles nest nicely. Resew those few stitches.
Option 2: Fold a tiny pleat on the lining side.
Option: Pull slightly as you sew over the top of the handles—this is my method.
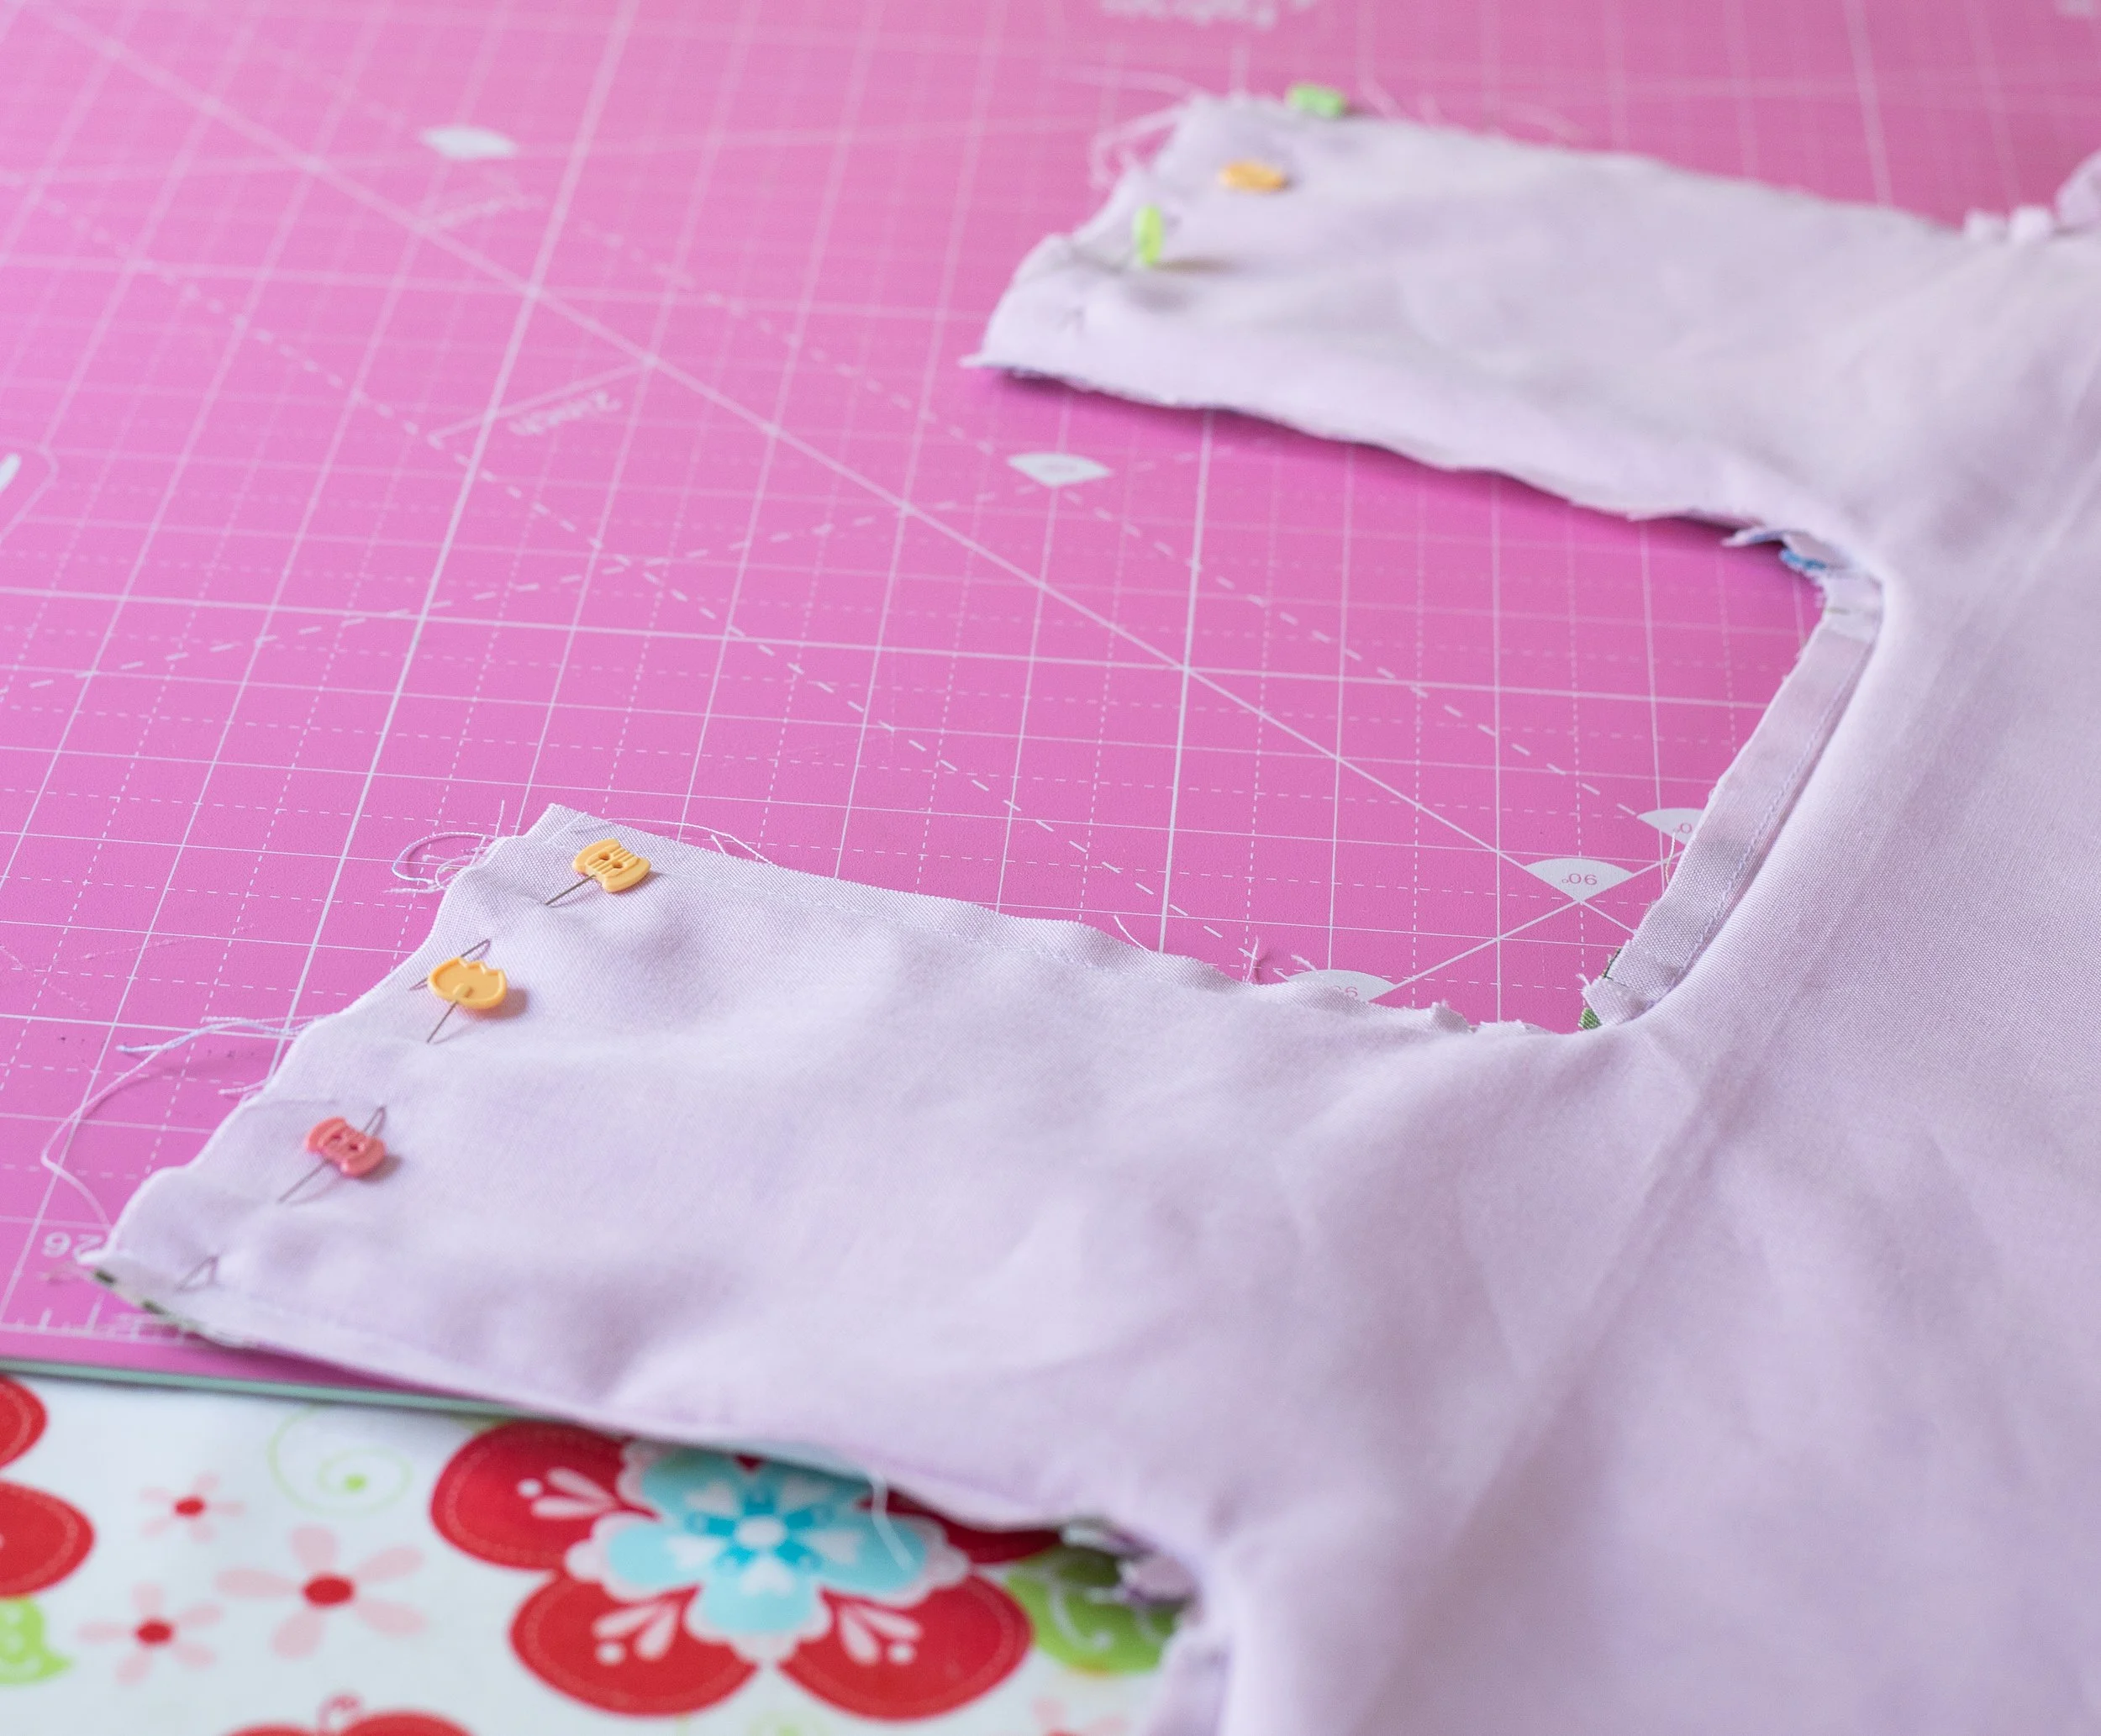
Pin tops of handles and sew.
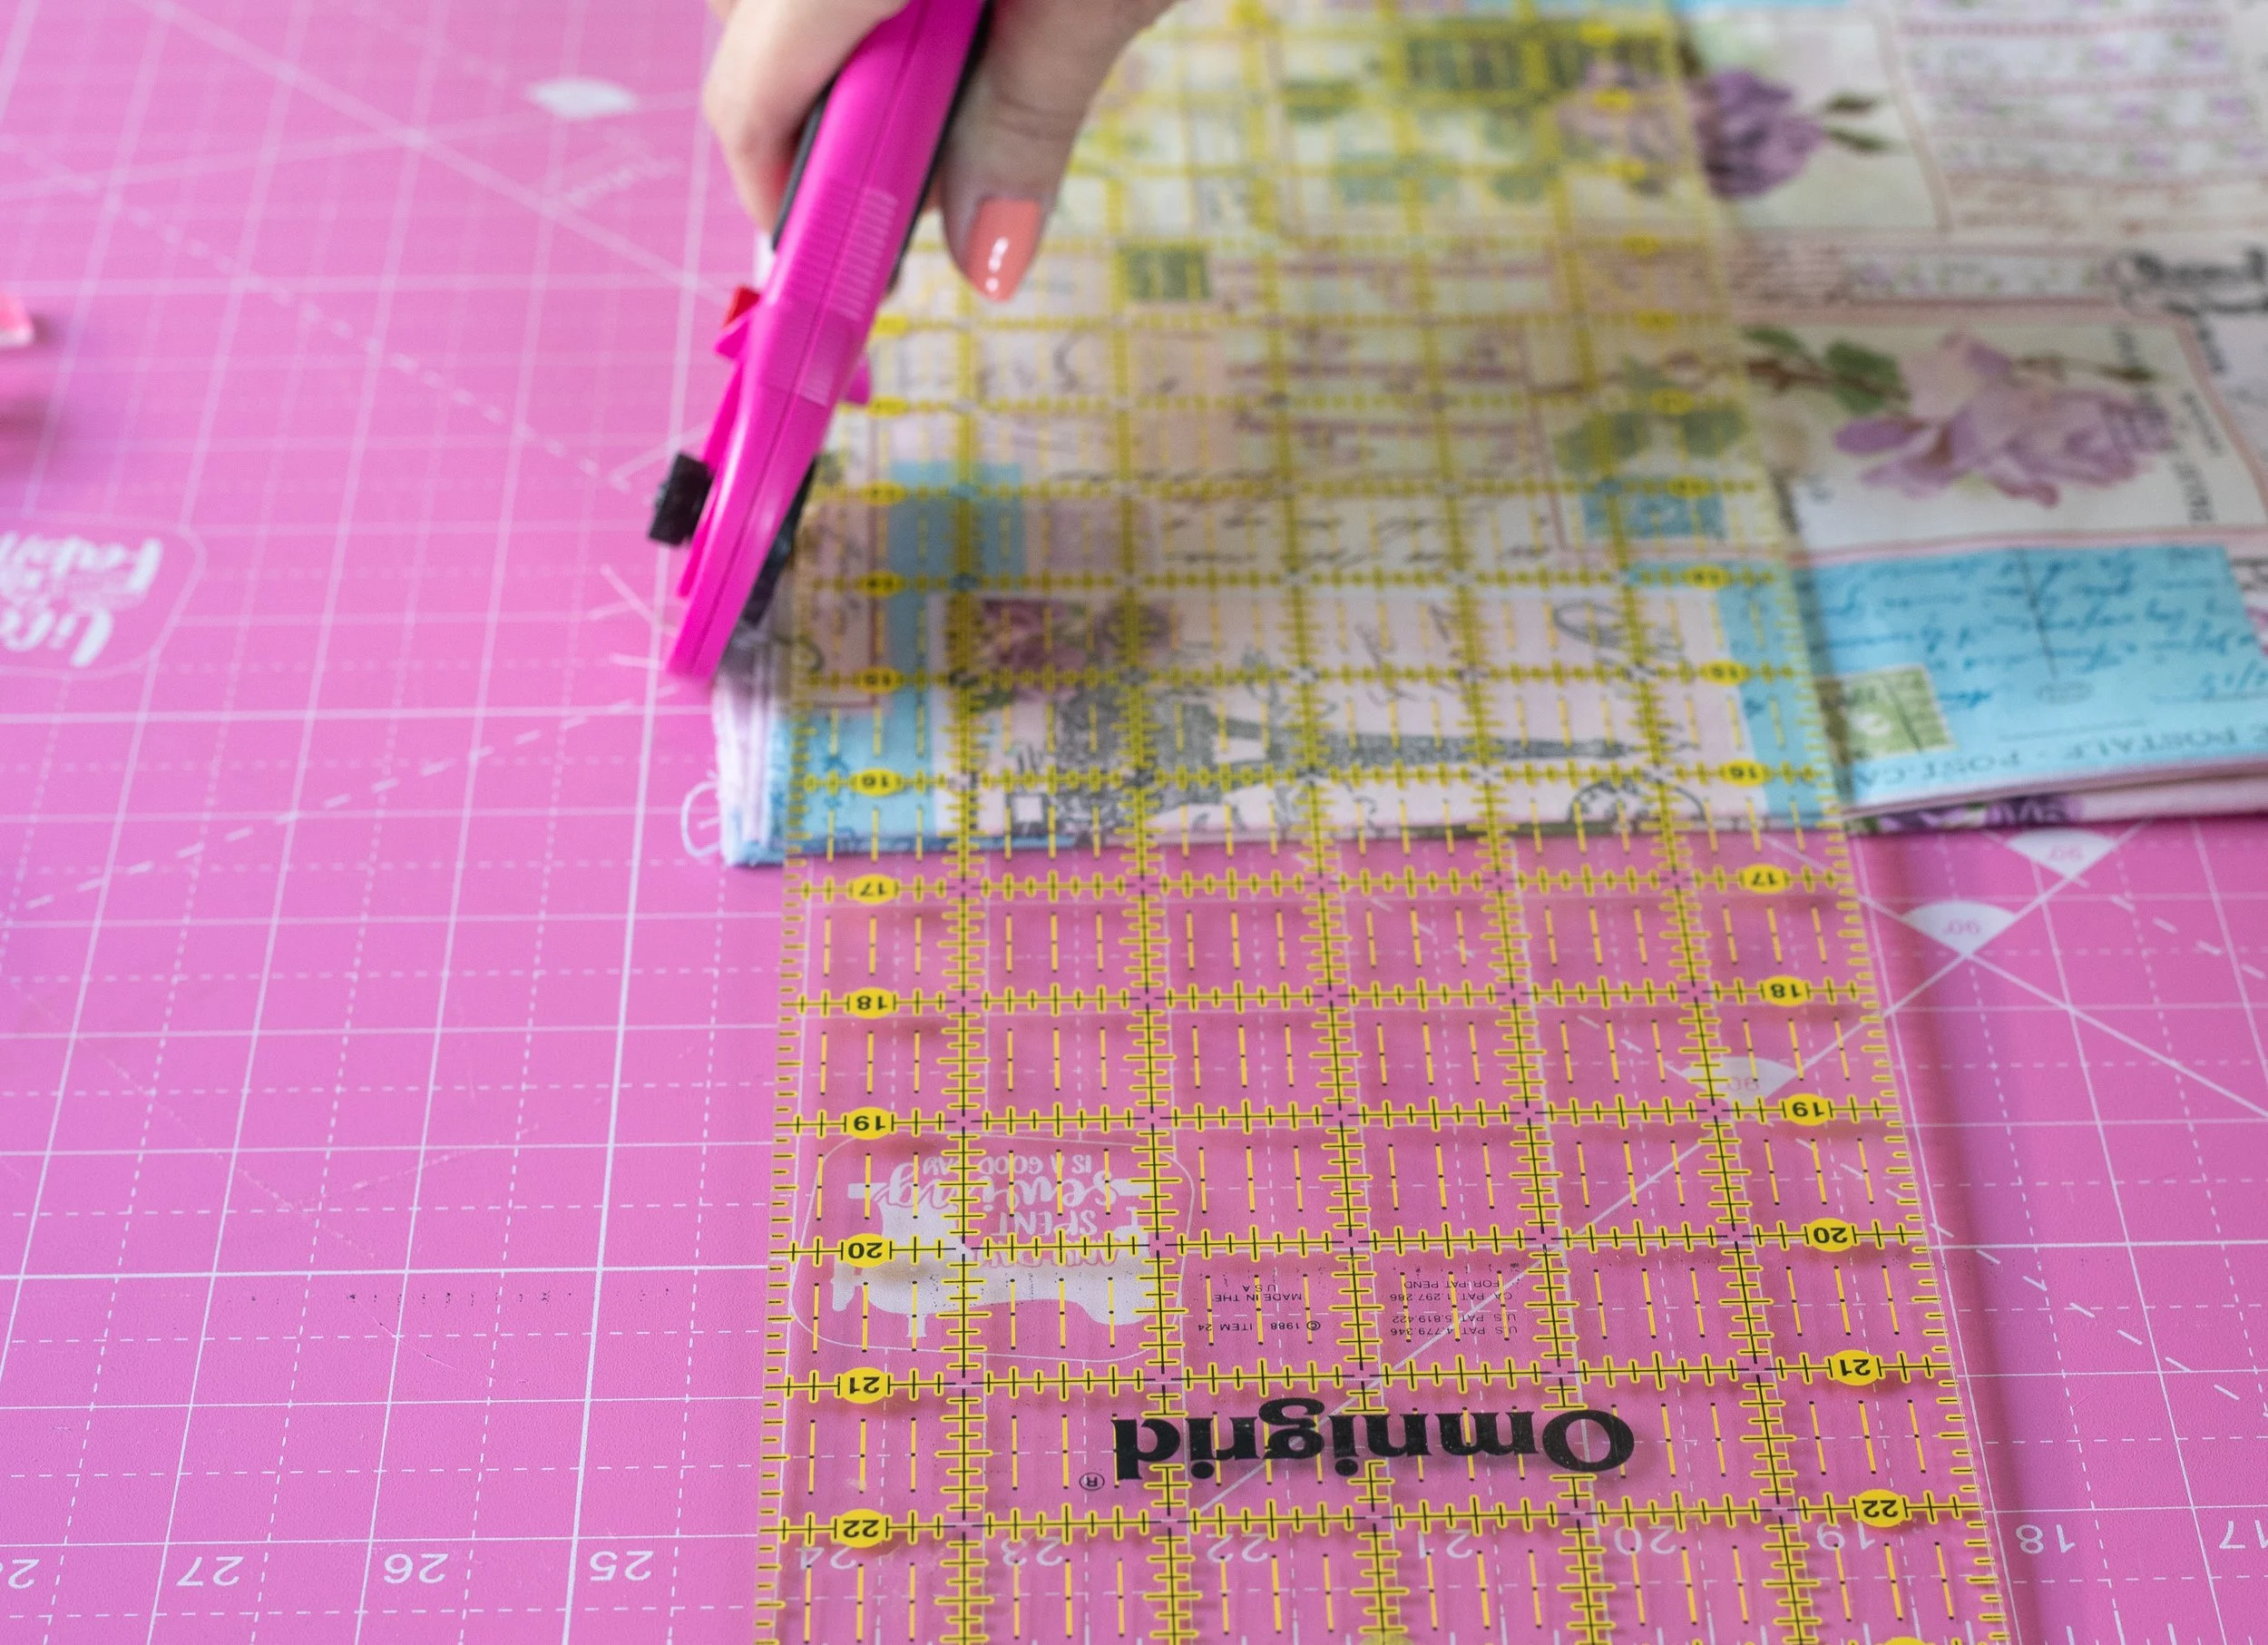
Pin the top handle layers together. Make sure all 4 layers are even. If they are uneven, trim a little off the top using a ruler and rotary cutter.
Sew from one edge the the next, across the top. Backstitch at the beginning and end.
Handle Layers
Make sure all four layers are sewn and showing. If you need to, run another row of stitches to catch each layer.
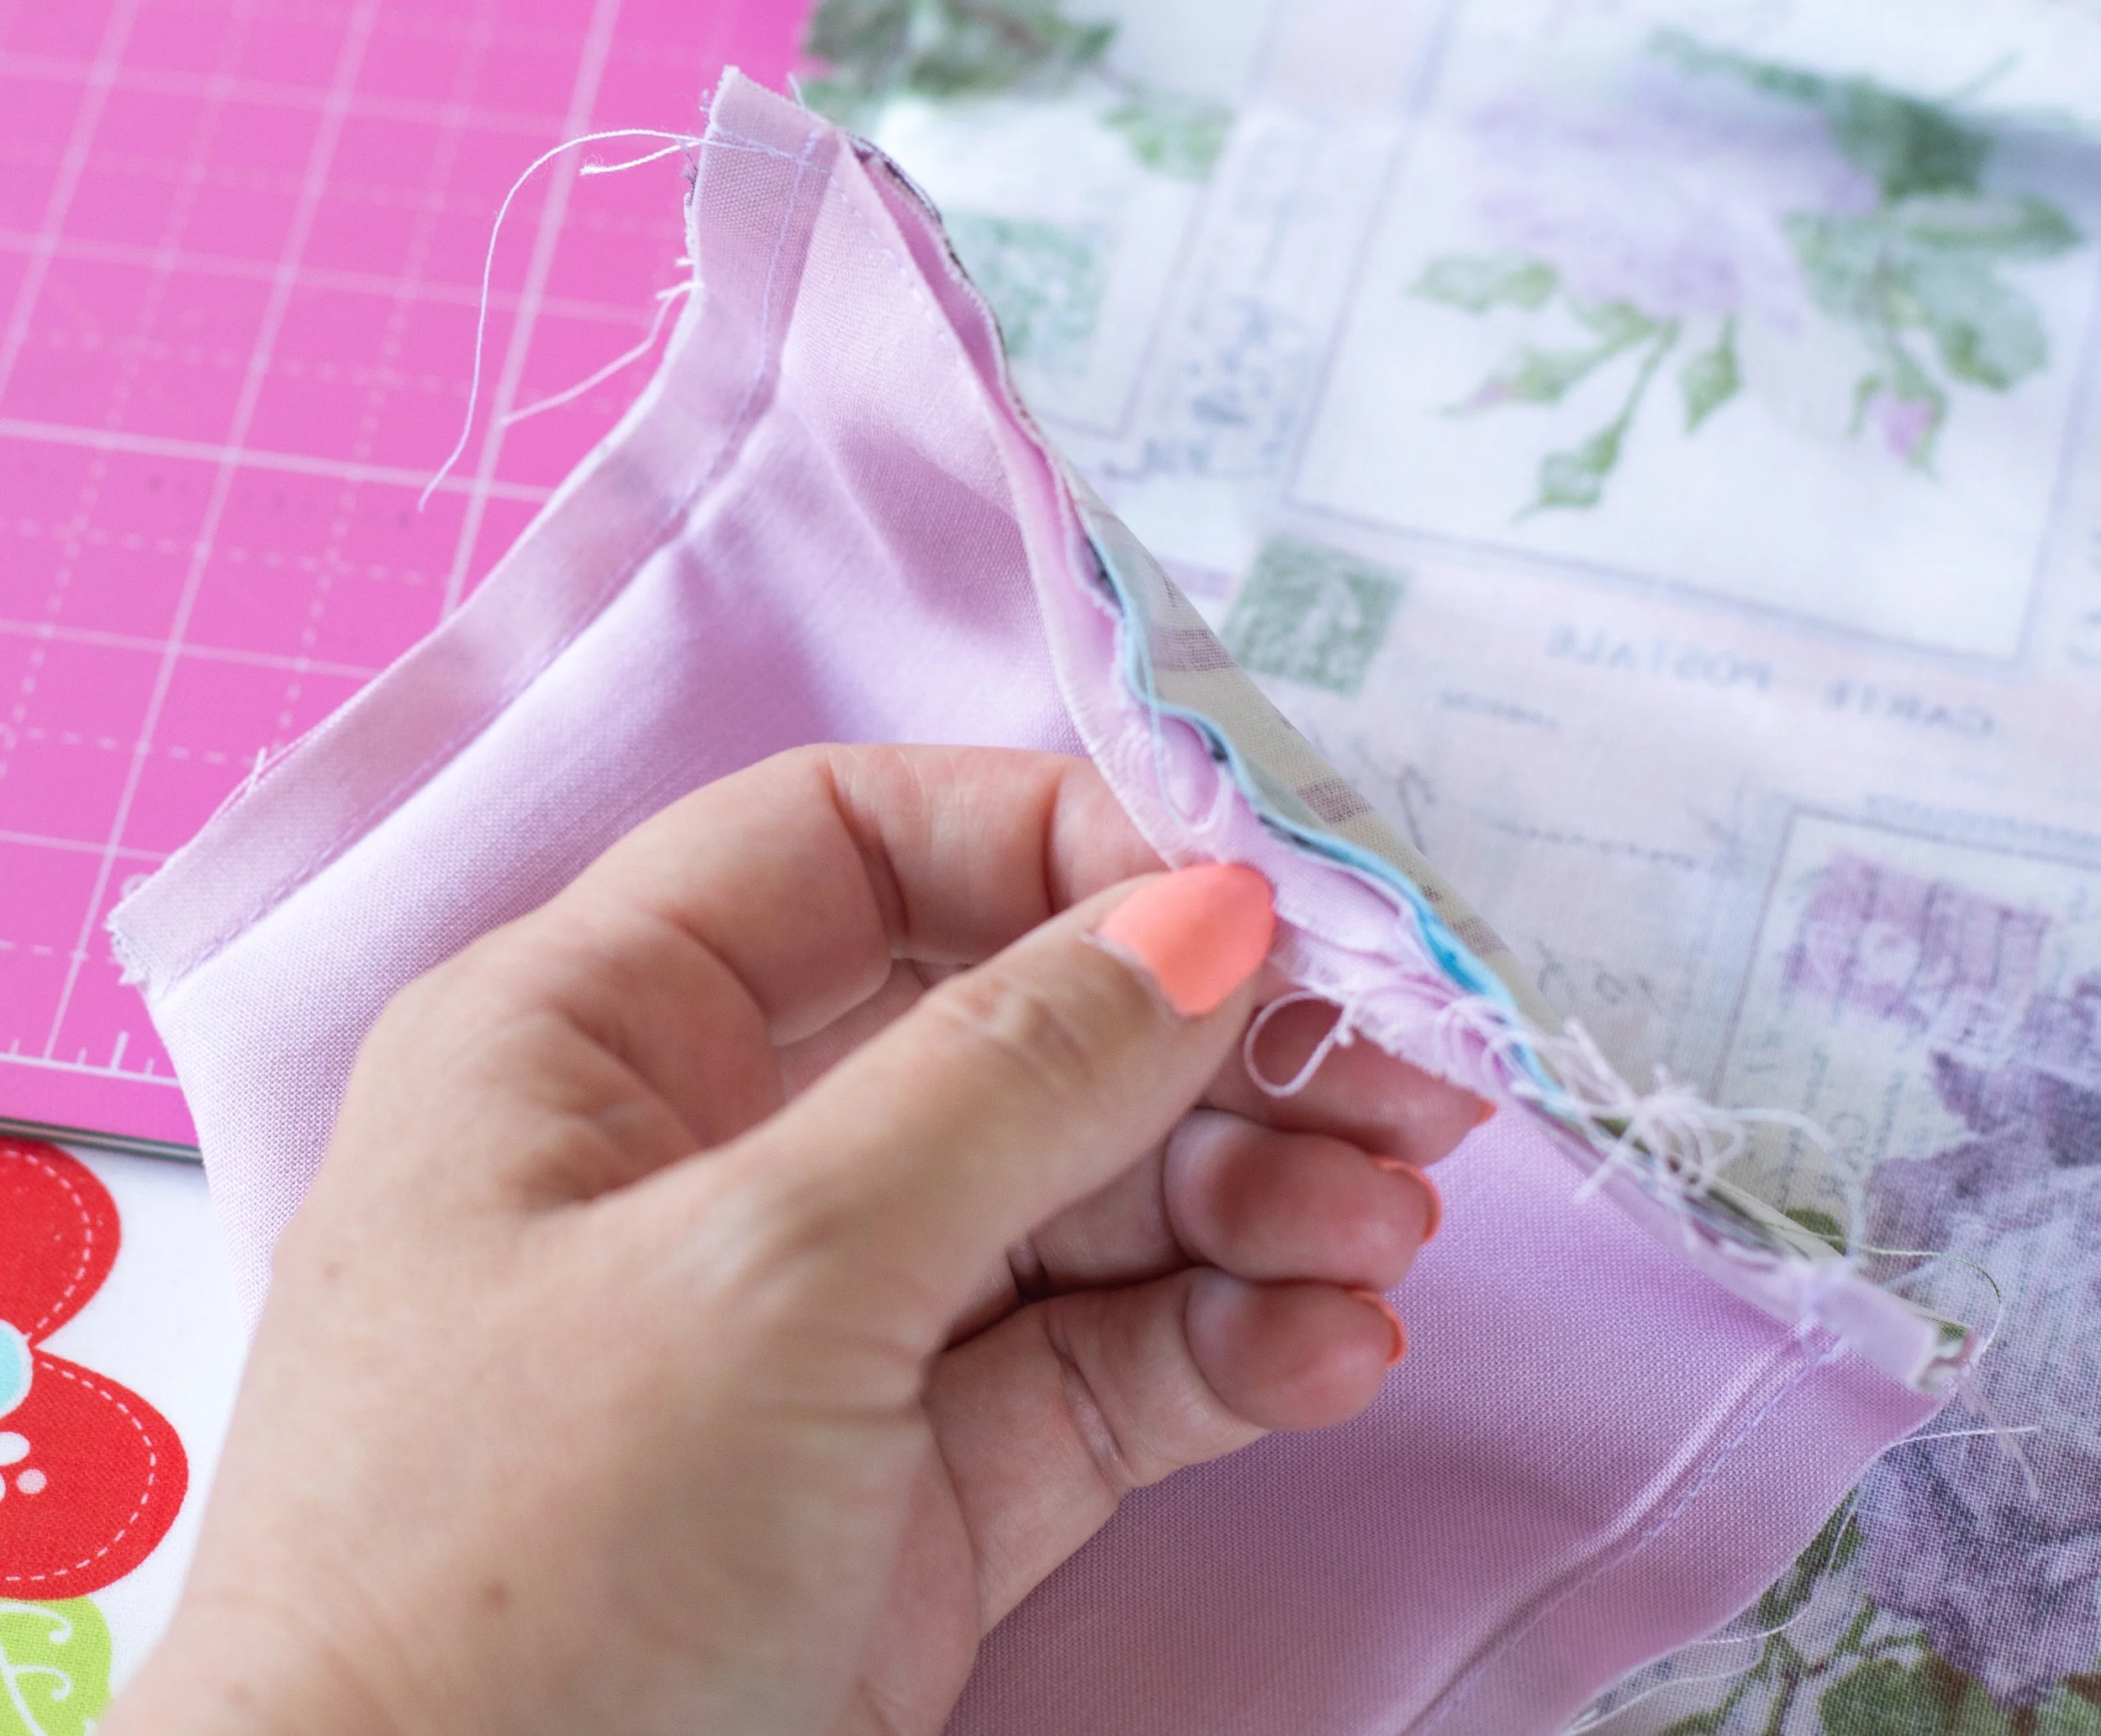
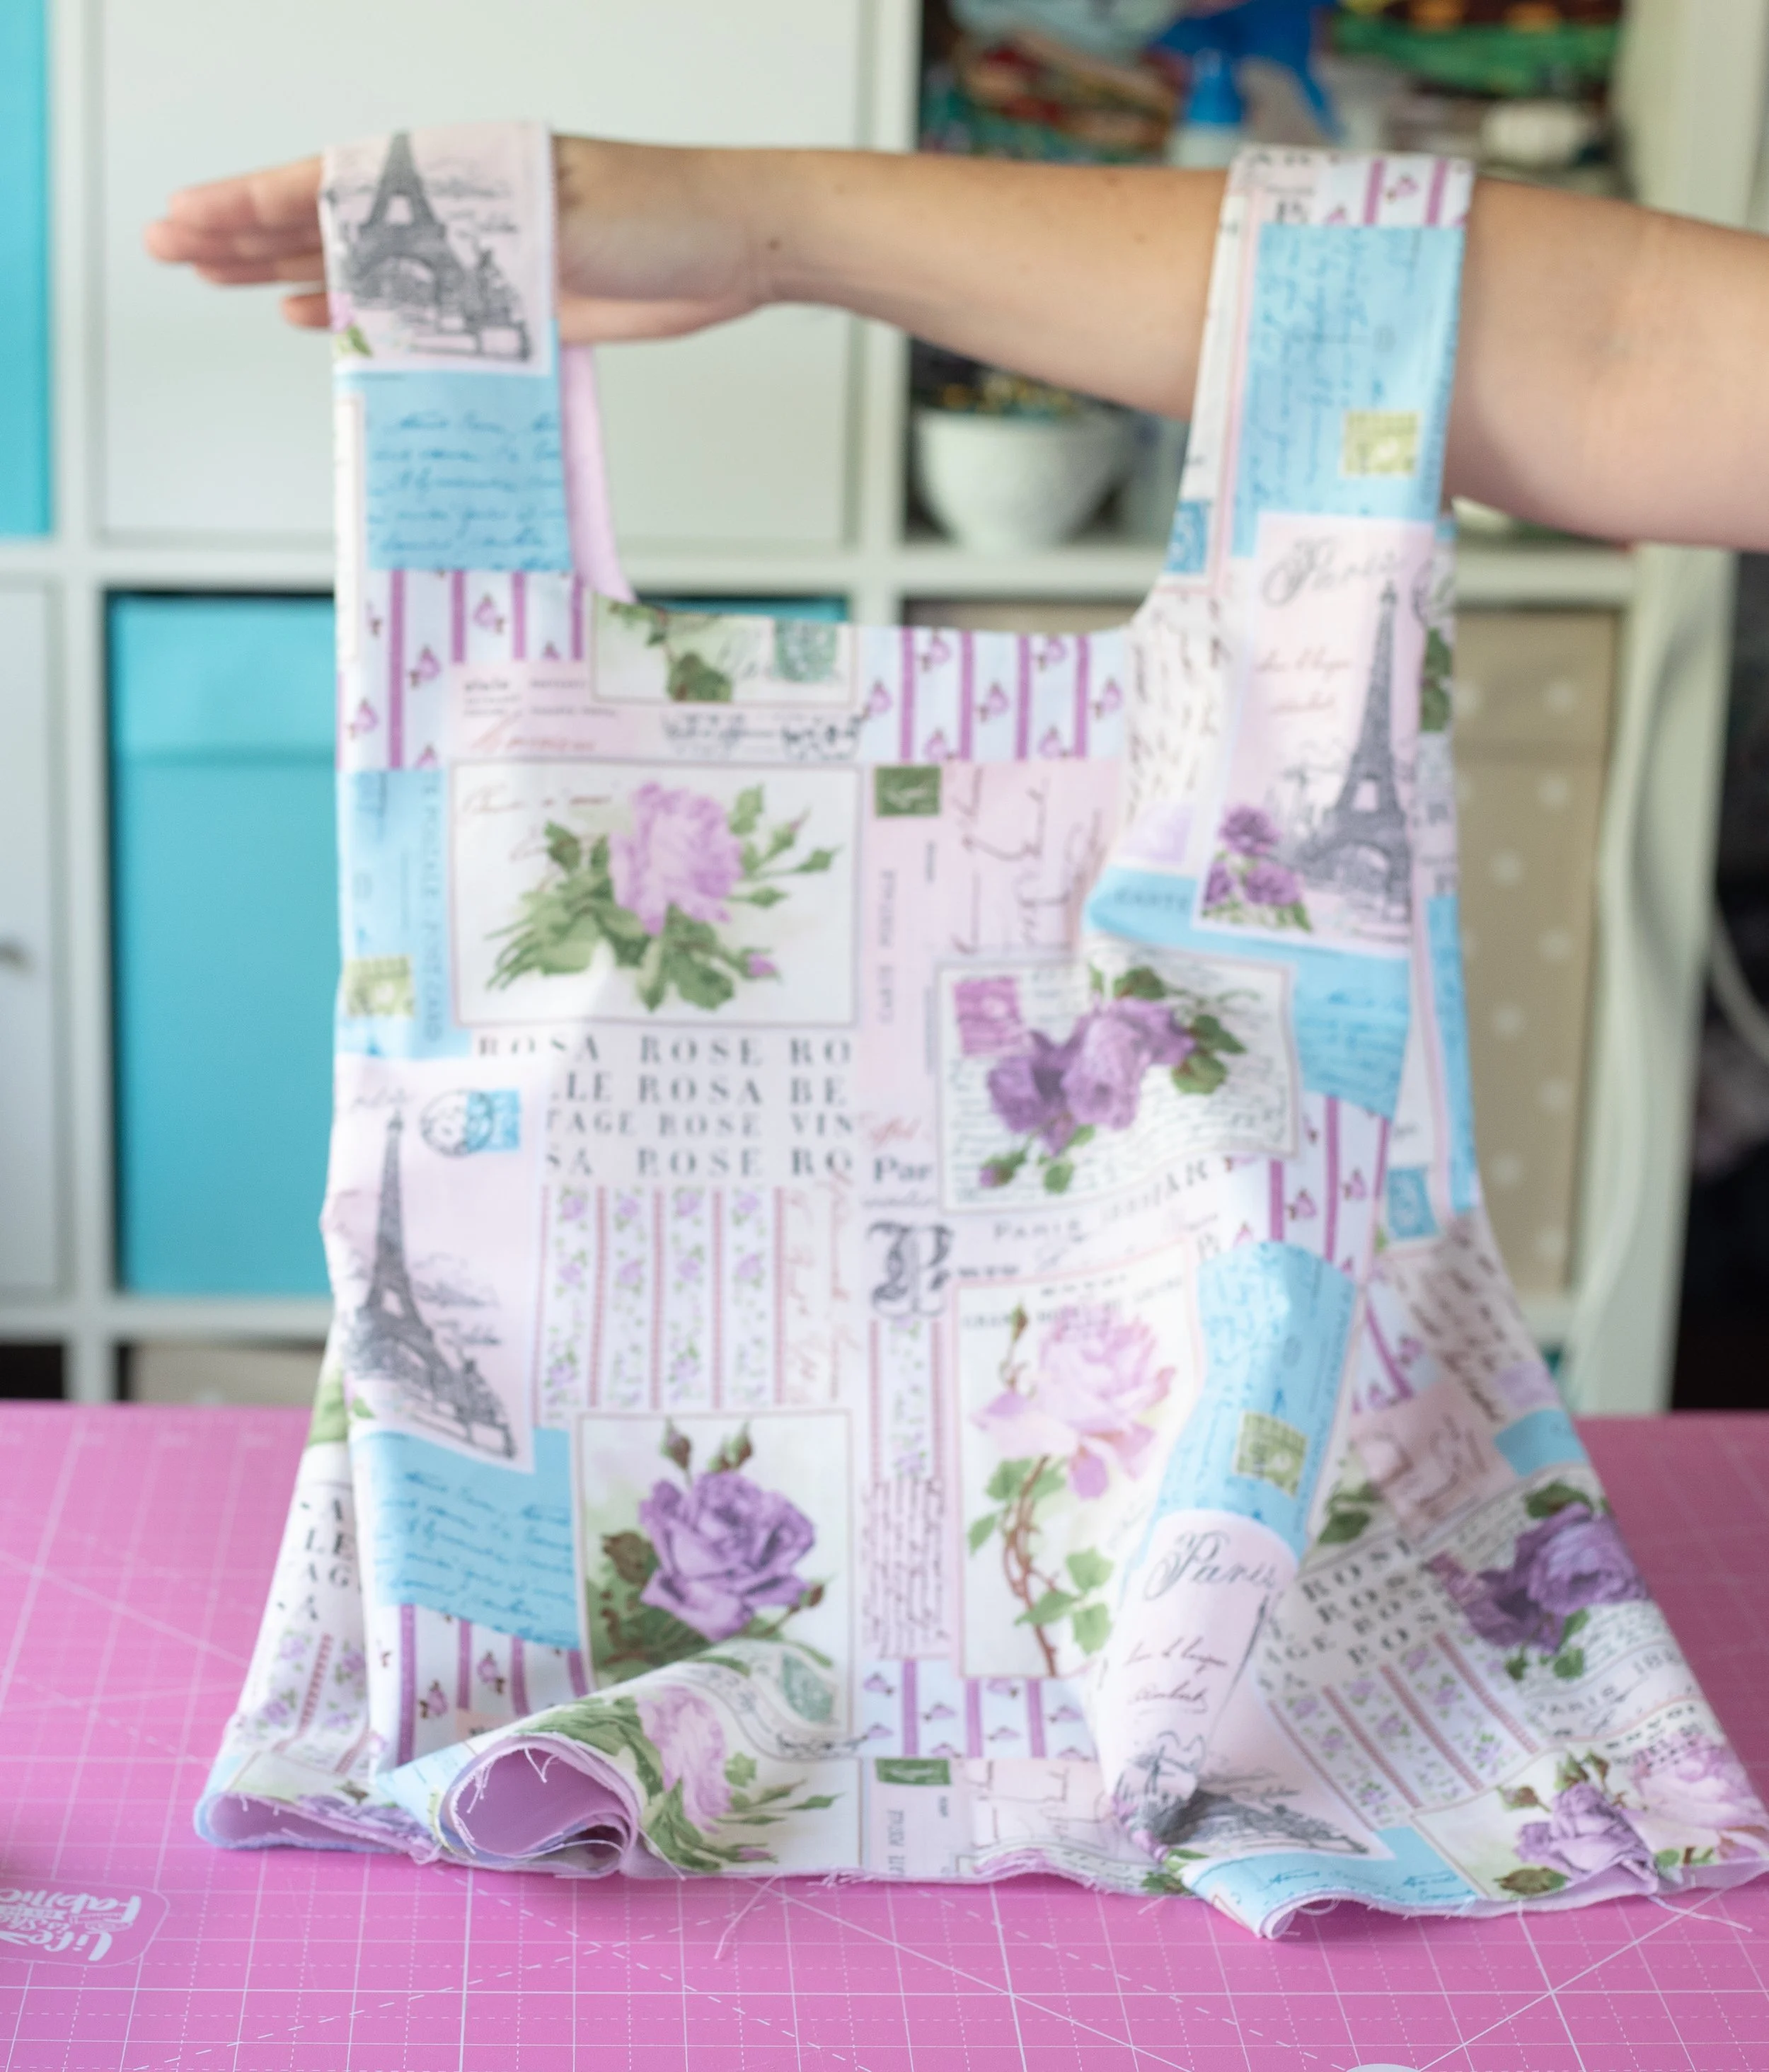
Pull the fabric right side out. This is the most rewarding part. It’s fun, magical, and full of wonder!
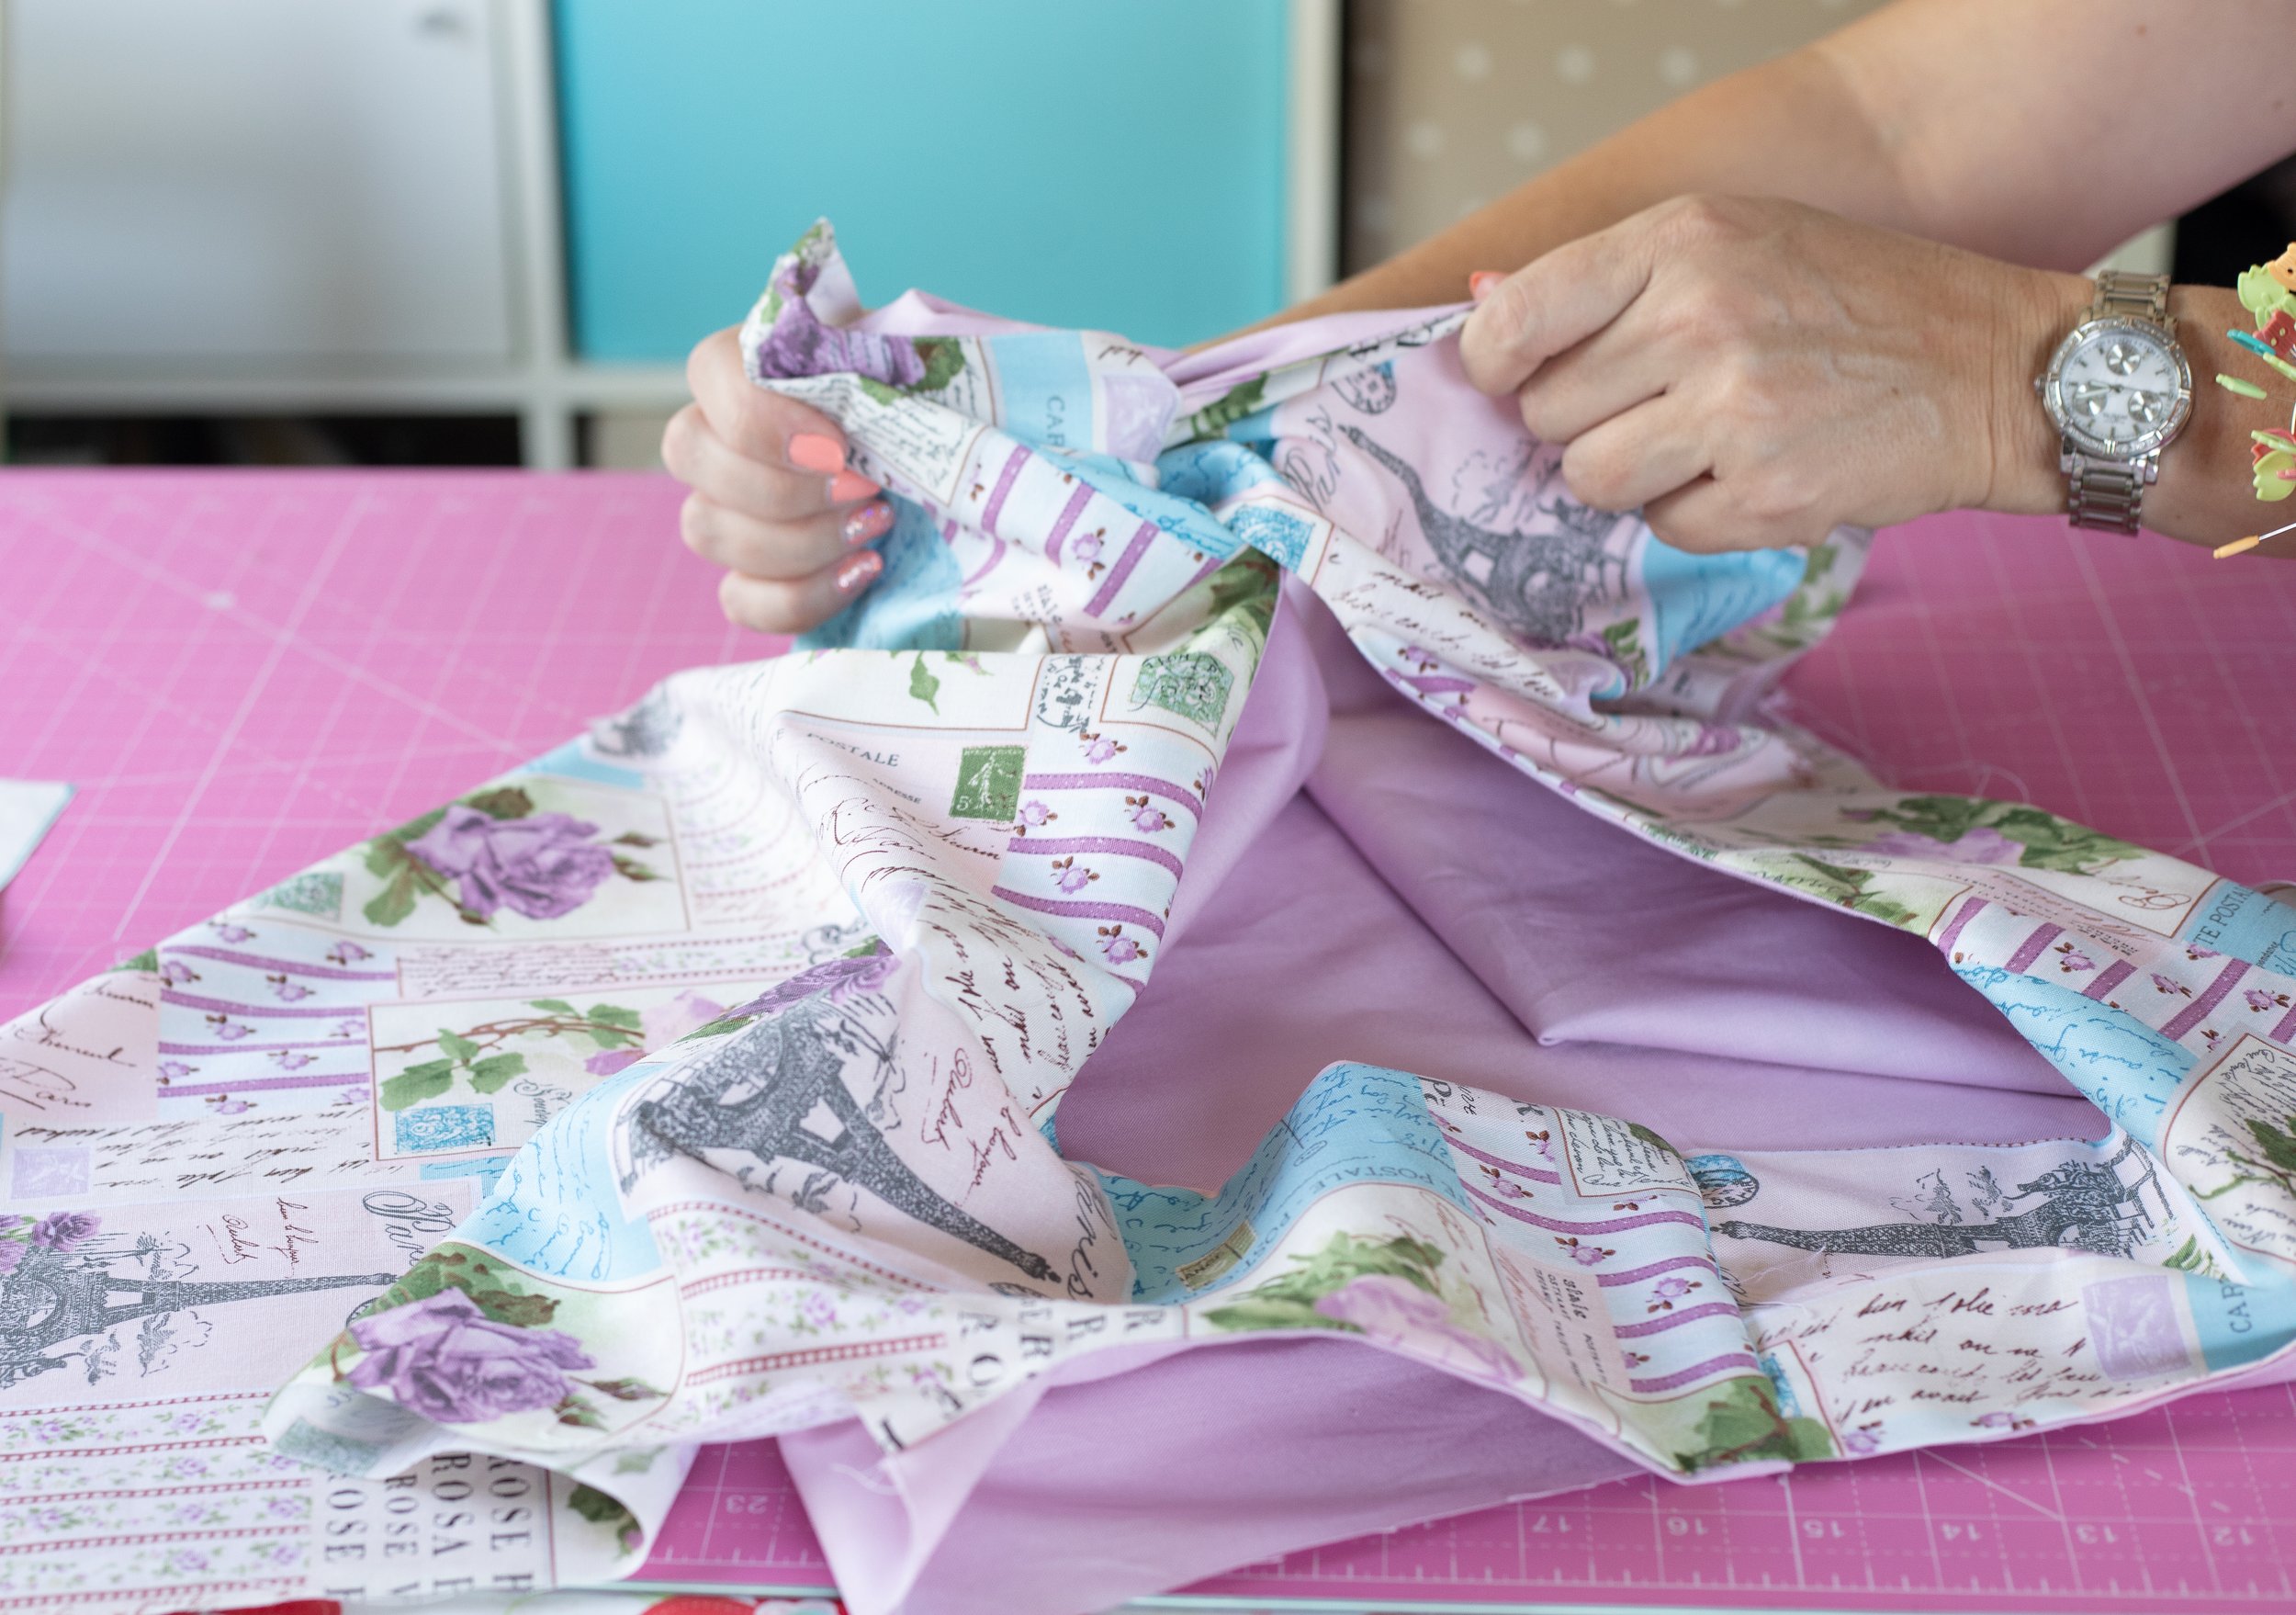
Pull the bag out carefully.
Top Stitch around the hole.
After the bag is pulled out, smooth everything out, press seams flat, then top stitch around the opening.
Use a longer stitch length for topstitching, 3.0-3.5mm. It looks nicer.
Top stitch around the opening.
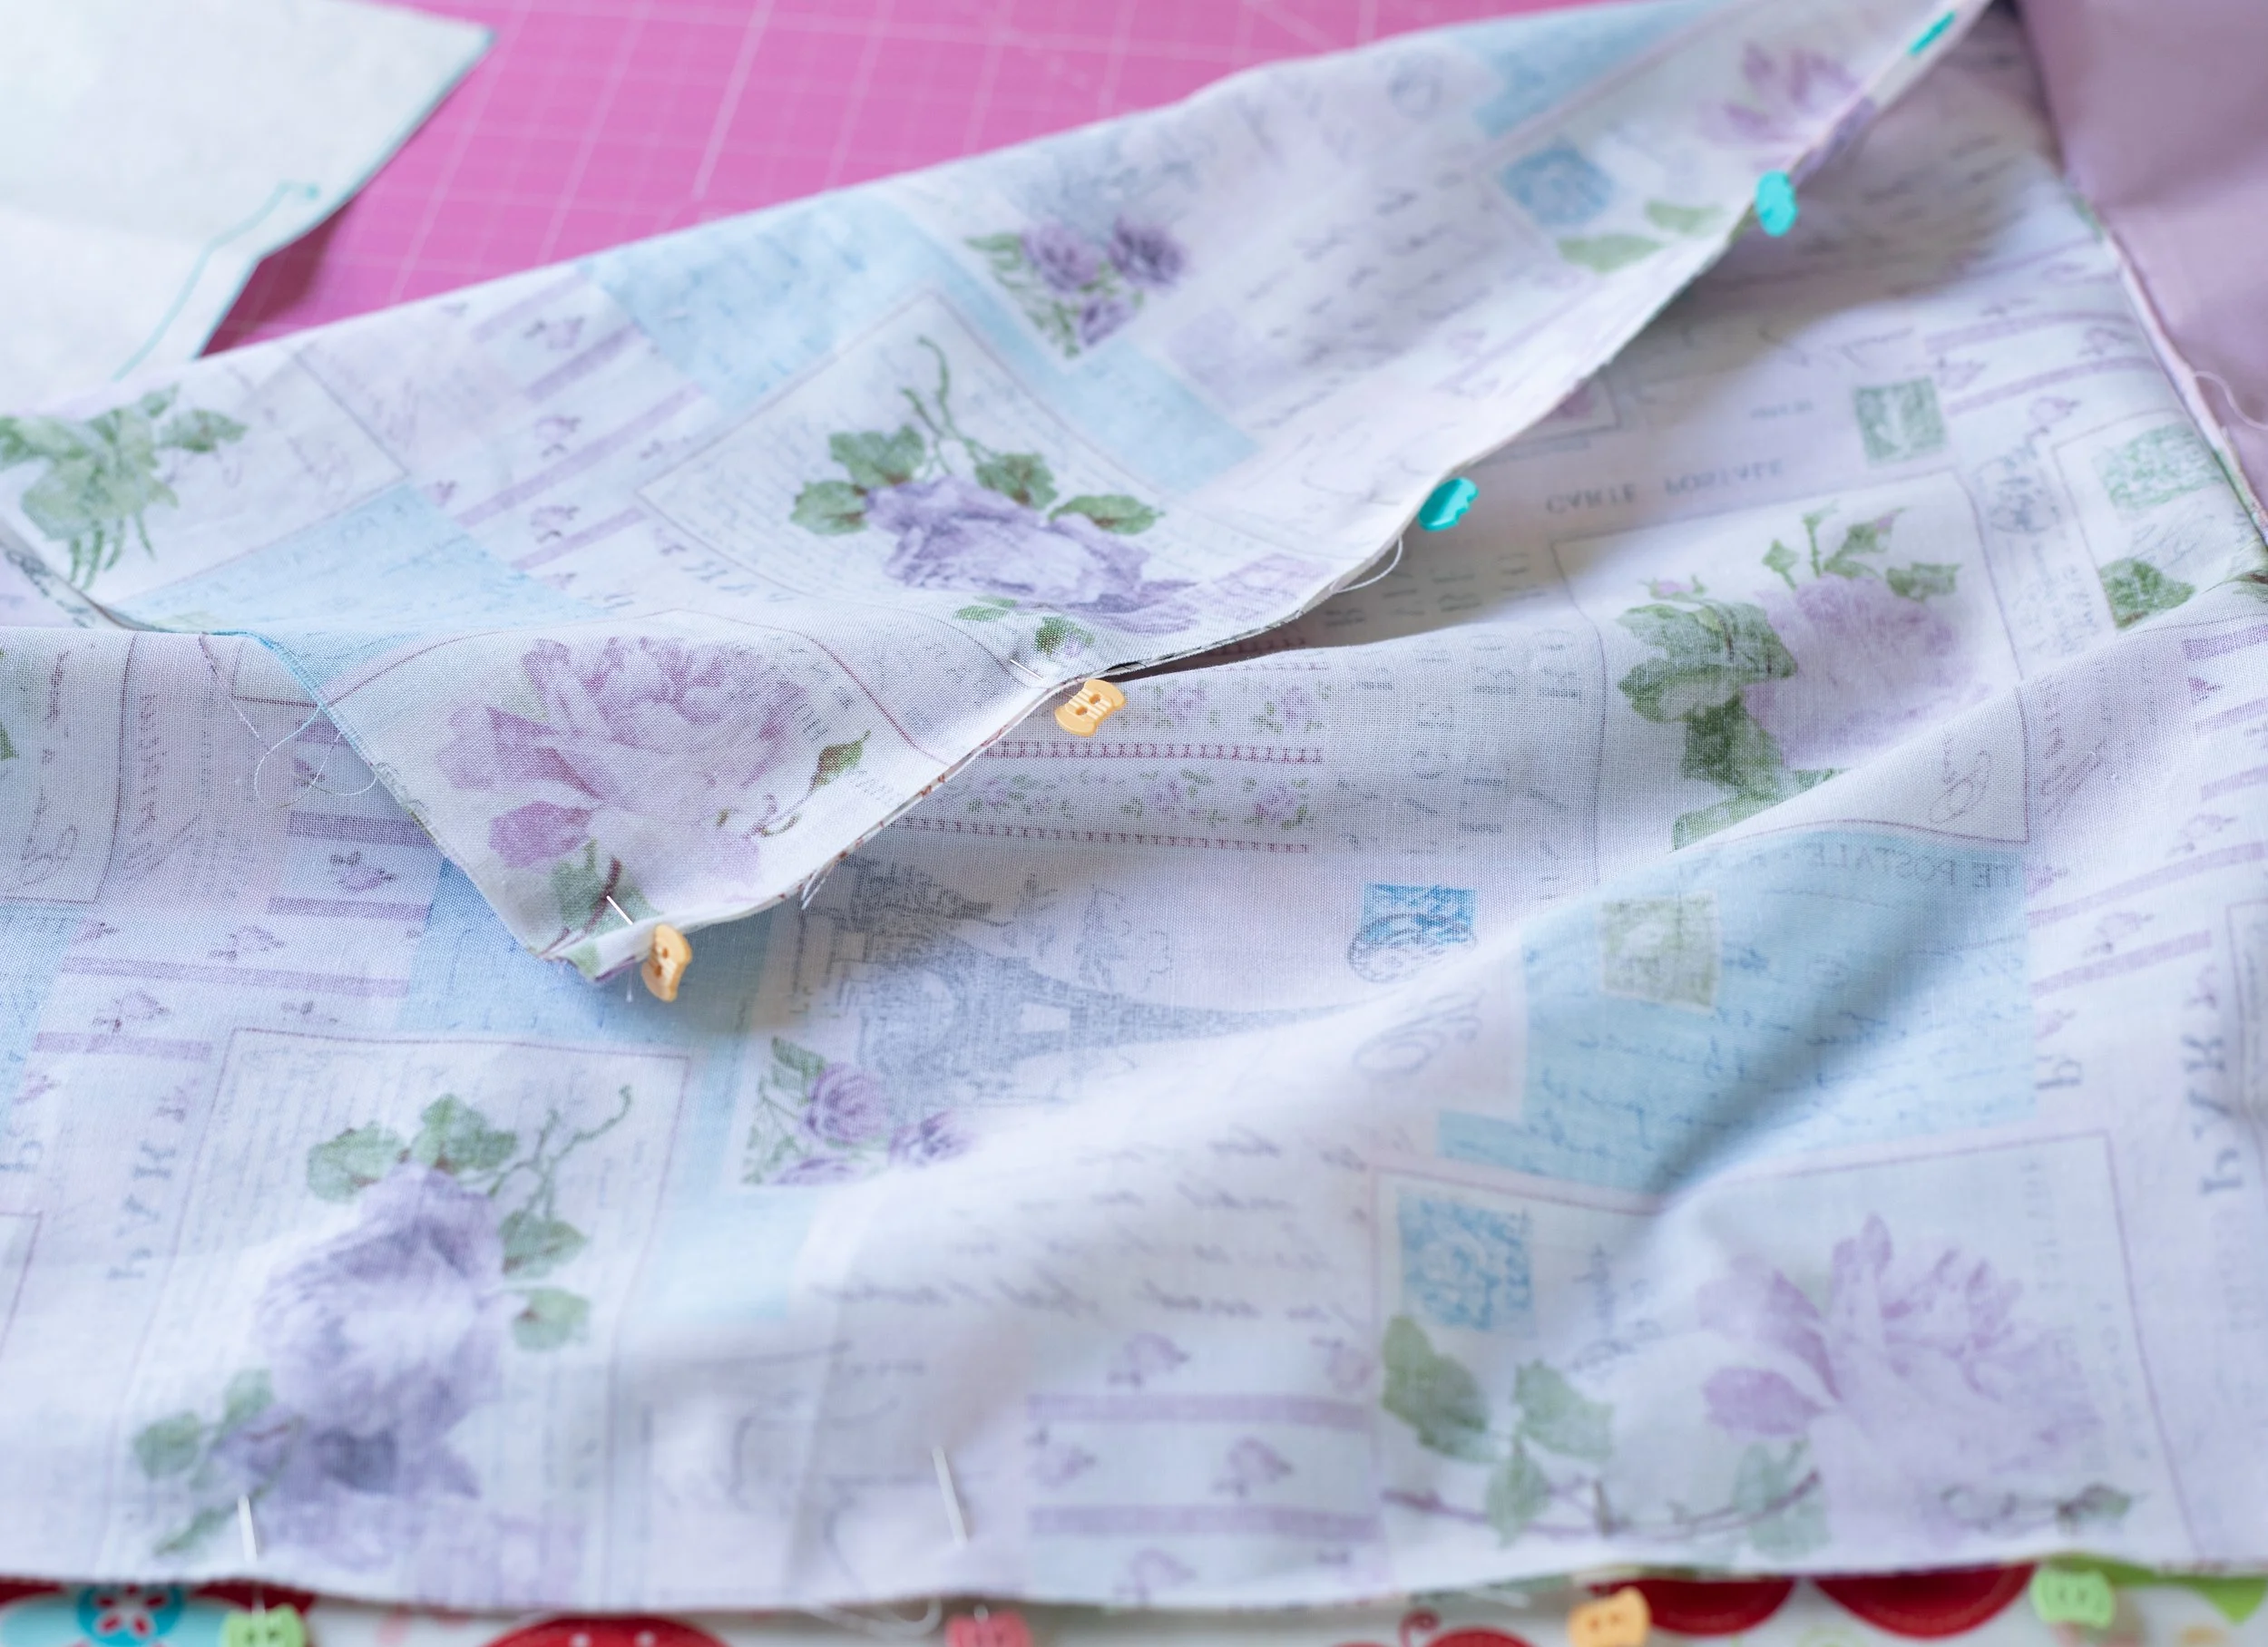
Now you’ll sew the side seams together. Flip one side over the other, handles tucked inside.
Pin Lining to lining. Pin the Outer fabric to the outer fabric, along the sides.
Starting from the handle seam is the easiest for pinning; make sure to line up the edges and the bottom.
Sew one side, backstitch at the beginning and end.
Repeat for the other side.
Turn the bag right side out and give it a good shake as if opening a trash bag. Threads will fly!
It looks more like a bag now.
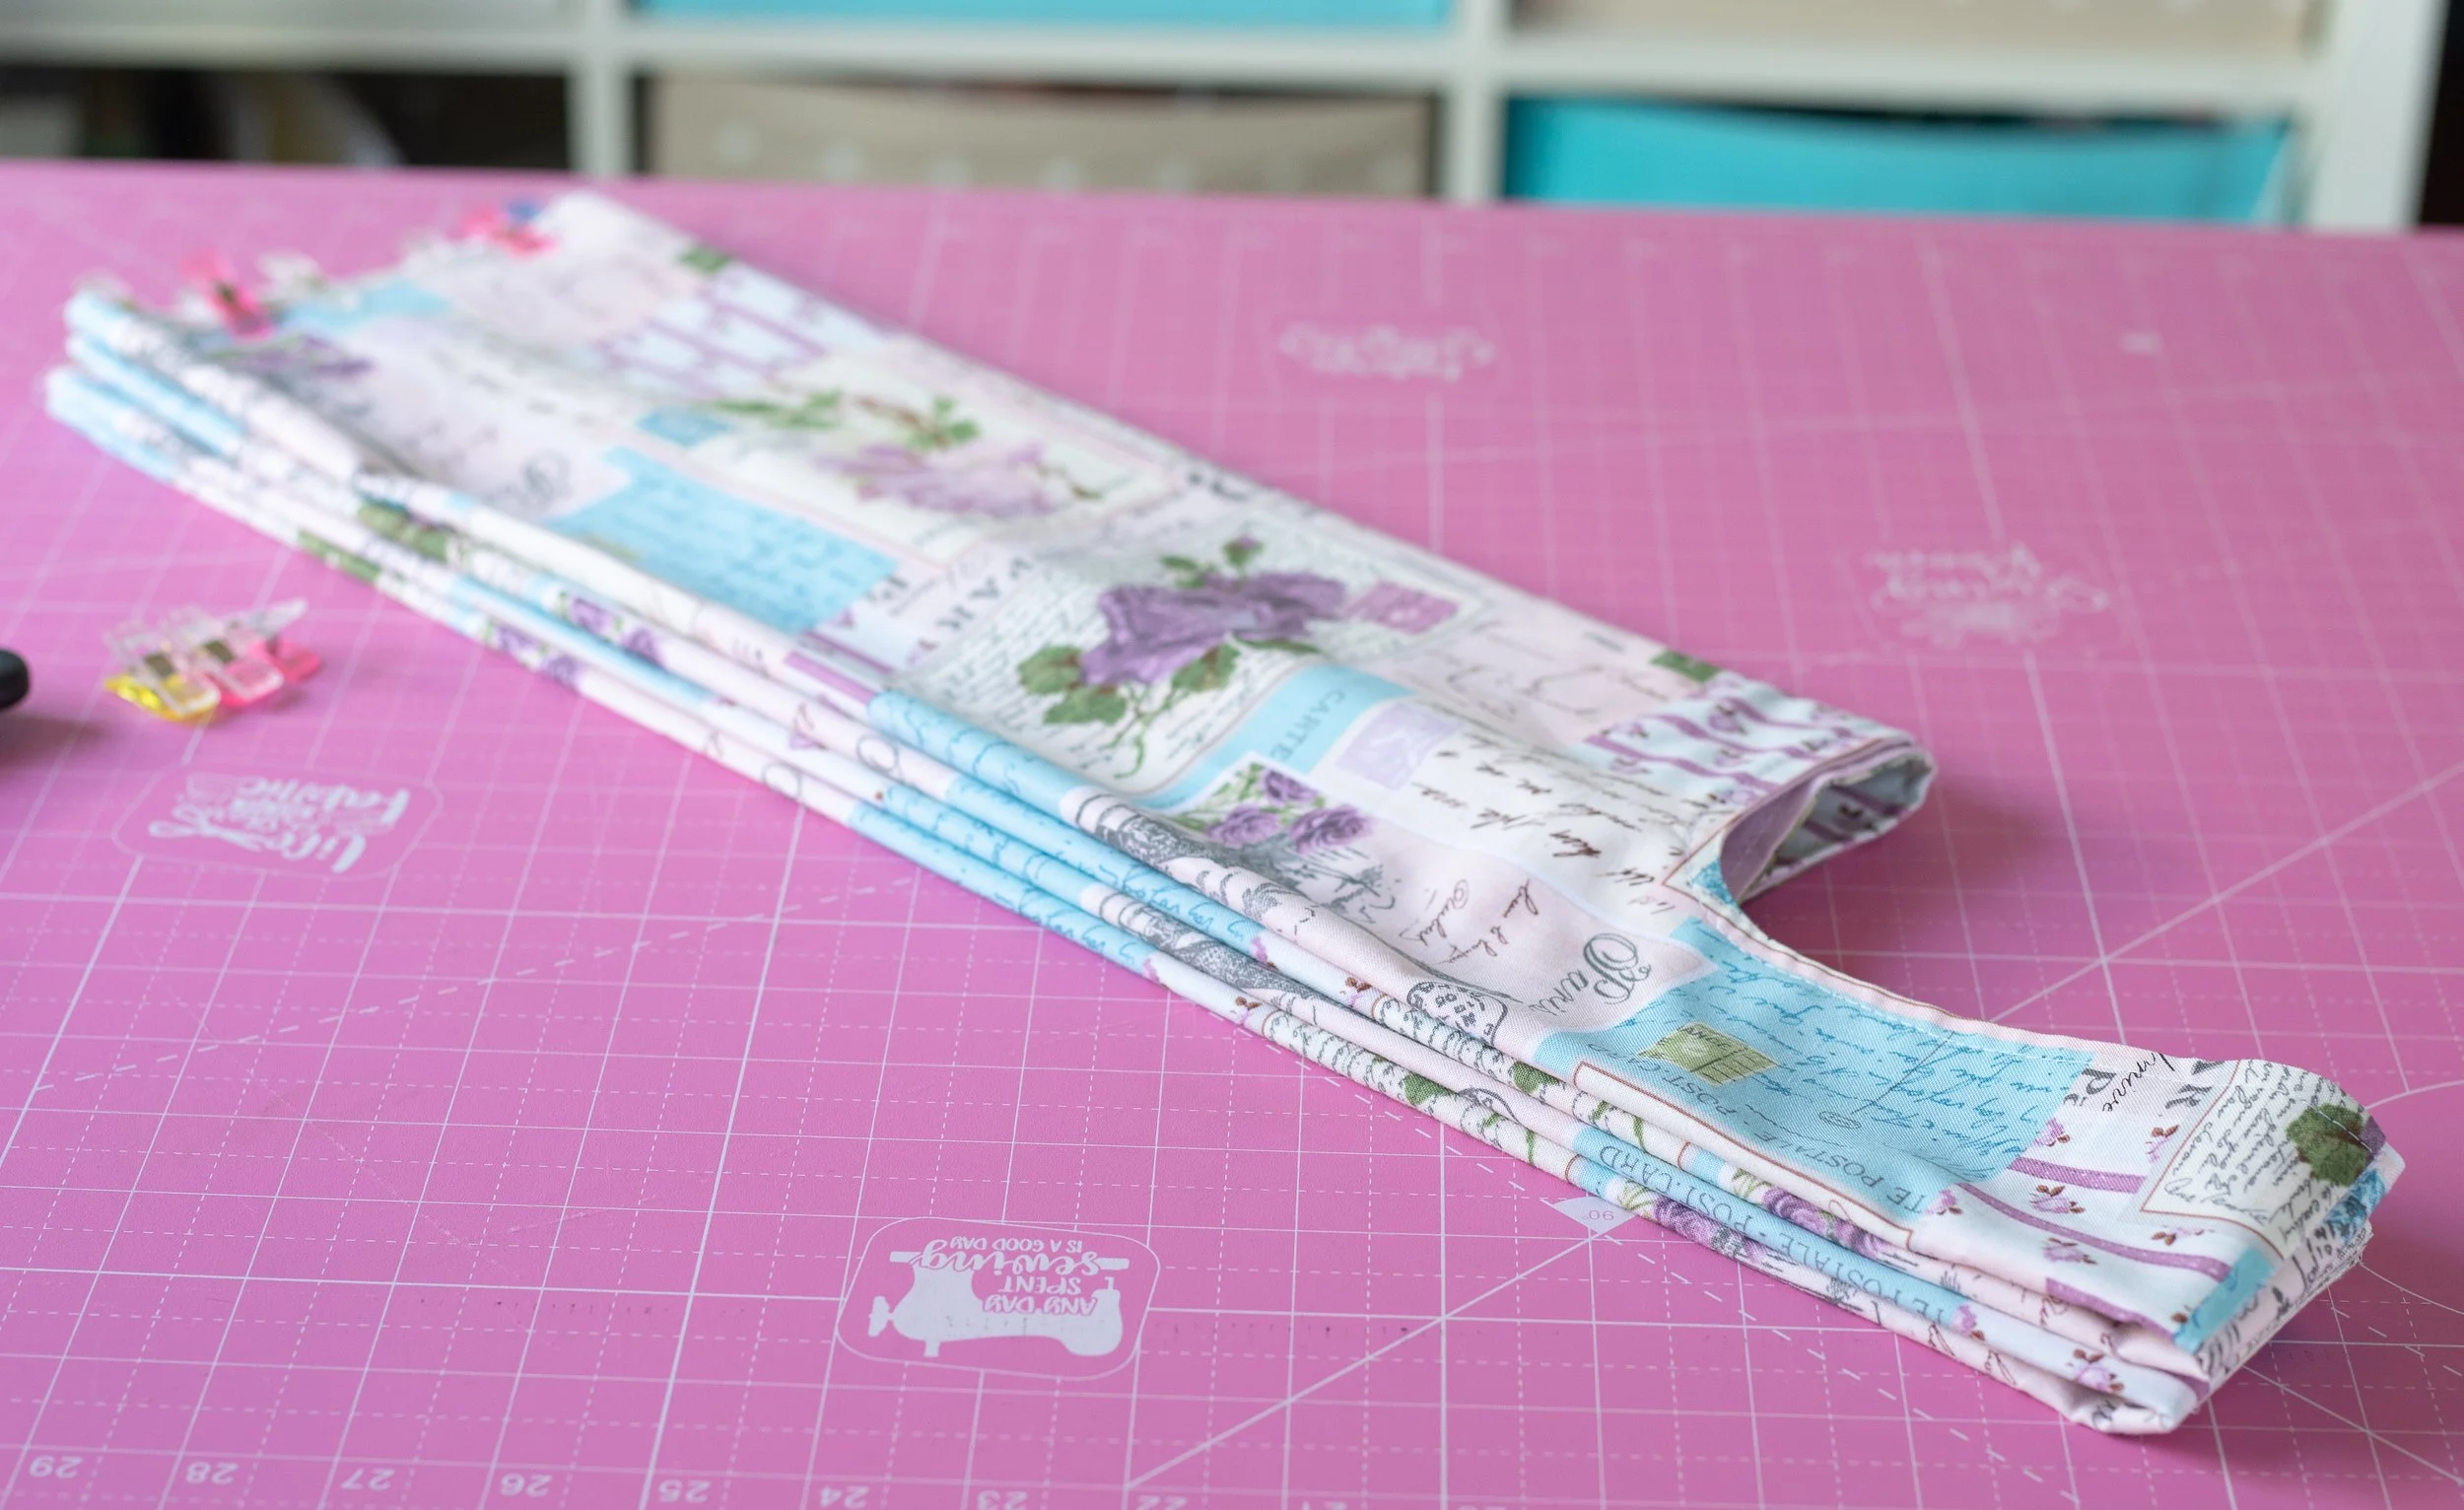
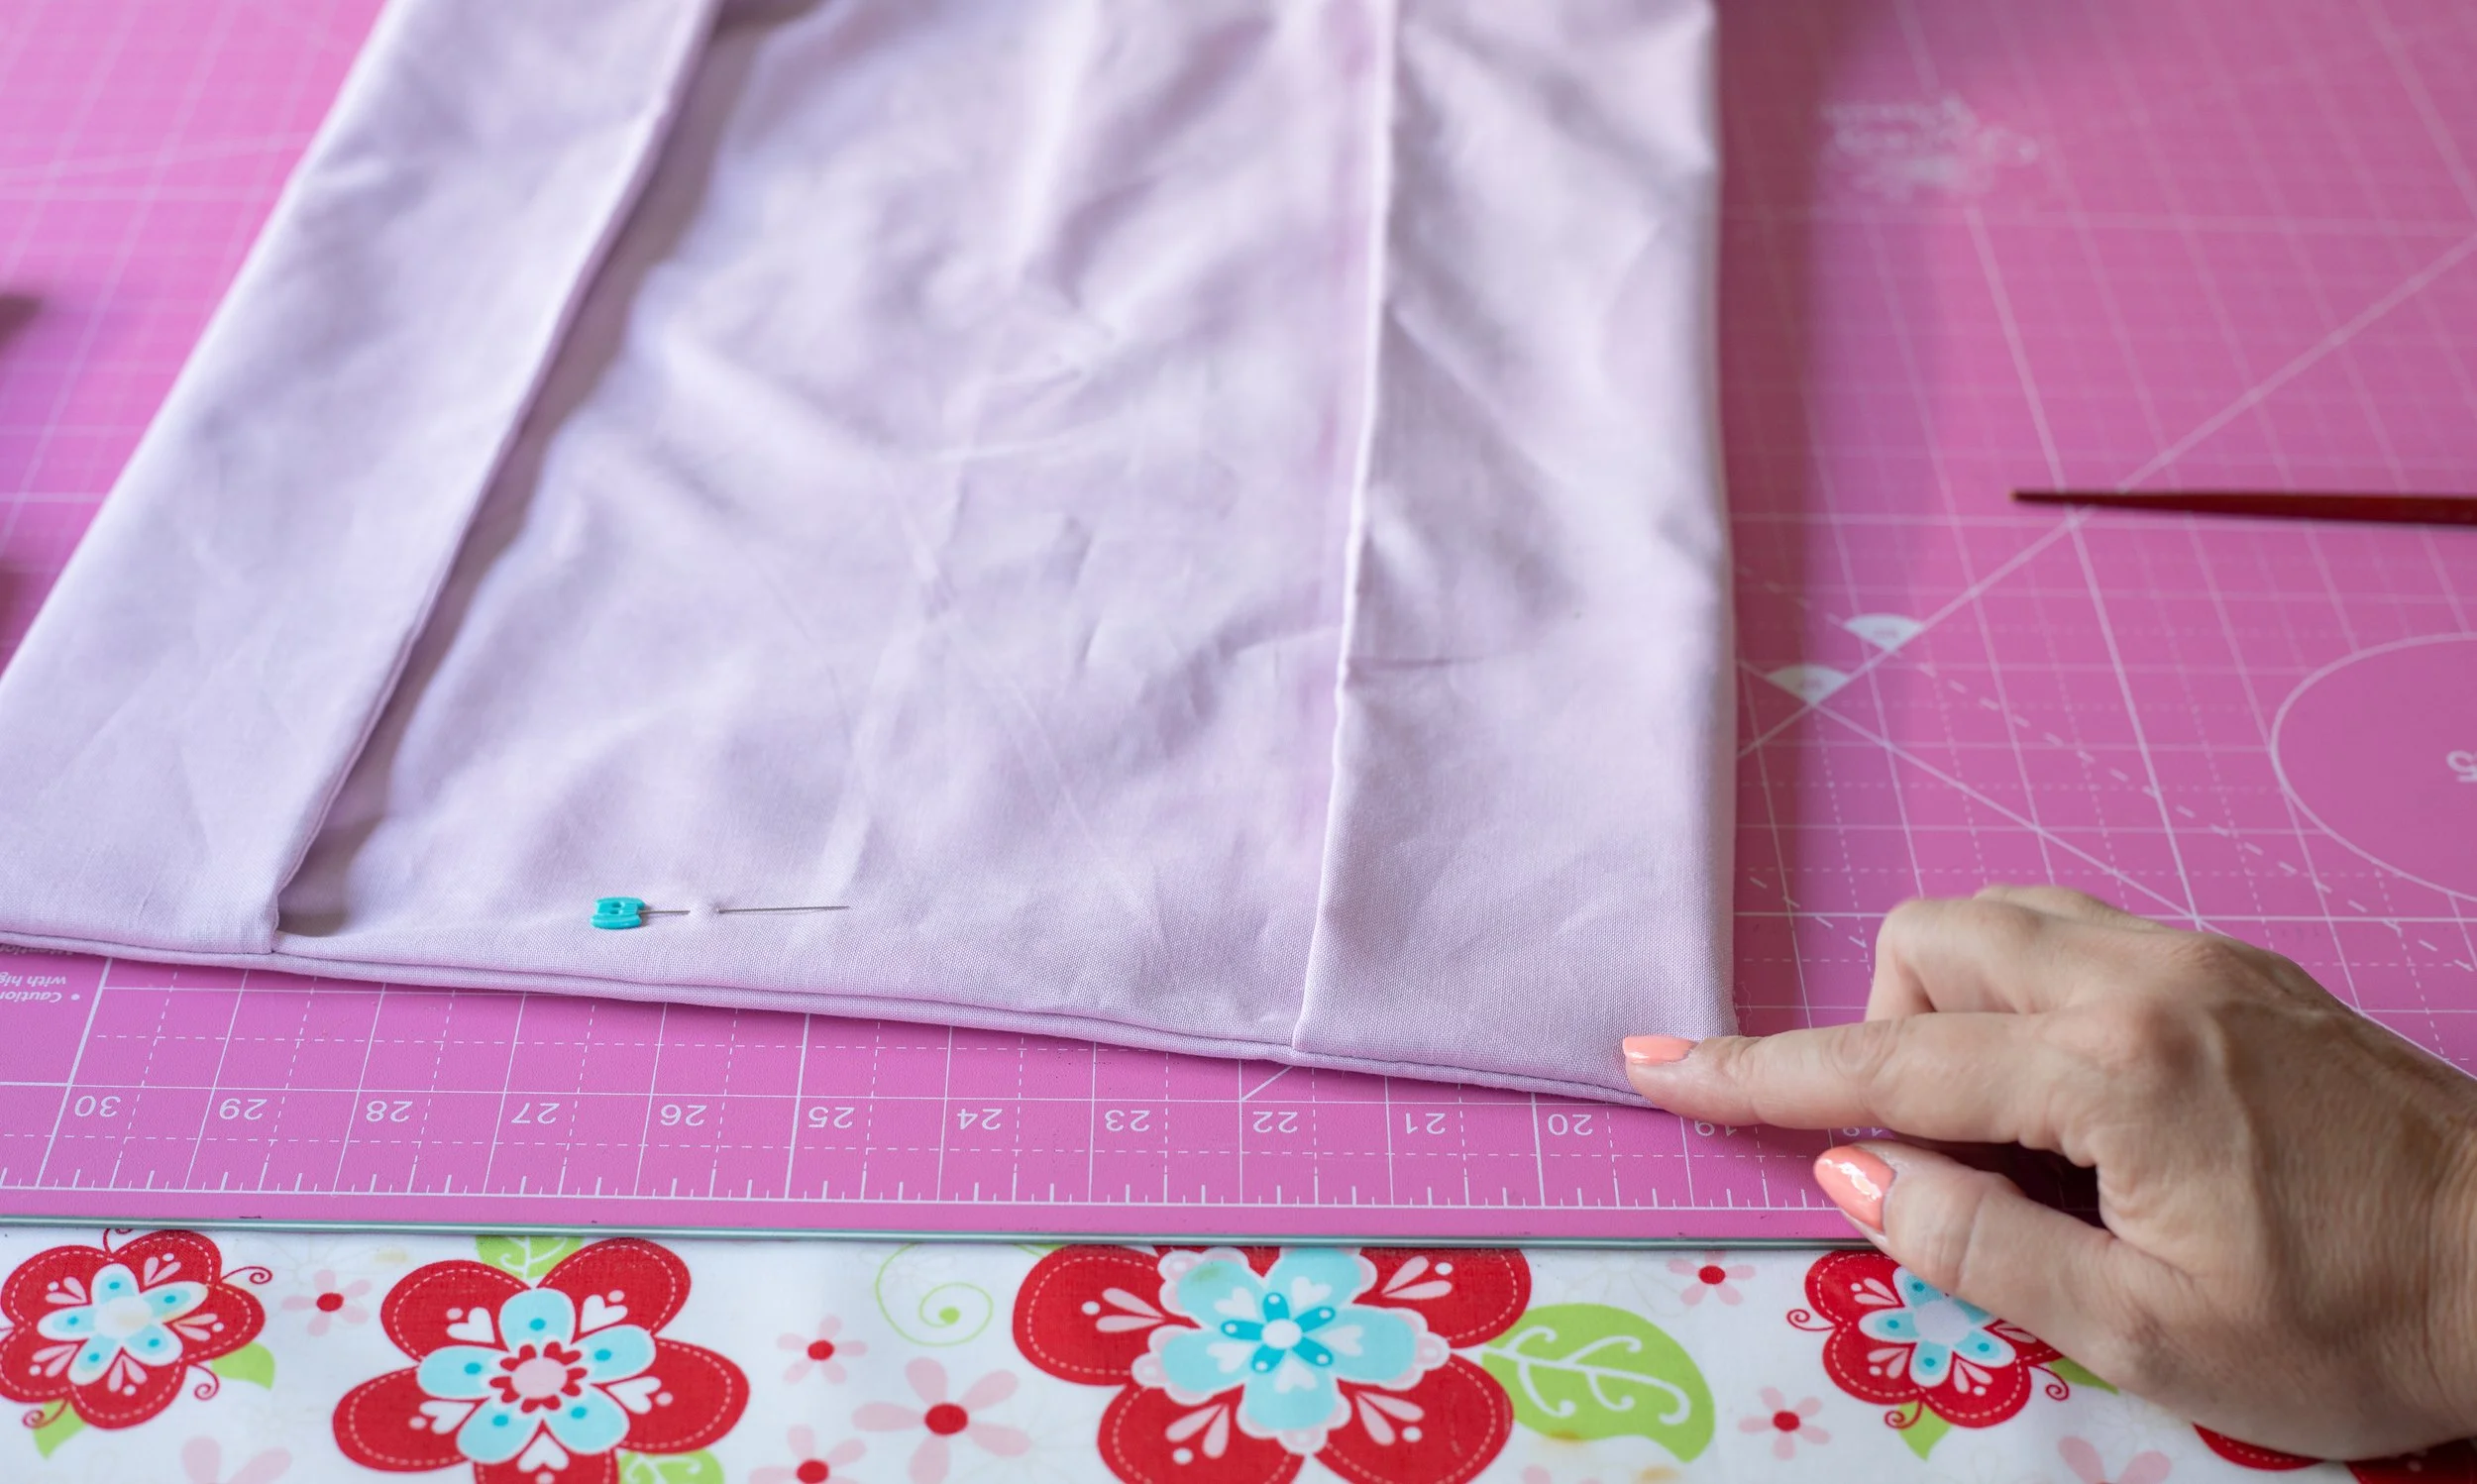
Next up is creating the gusset. This is an internal fold for expanding the bag size.
Fold the handle in half, matching the seam line. This makes the handle narrower and easier to hold. Use pins or clips.
Sew a few rows of stitches over the seam, stitch in the ditch style.

Making the handles.
Sew a few rows of stitches across the seam. Stitch in the ditch.
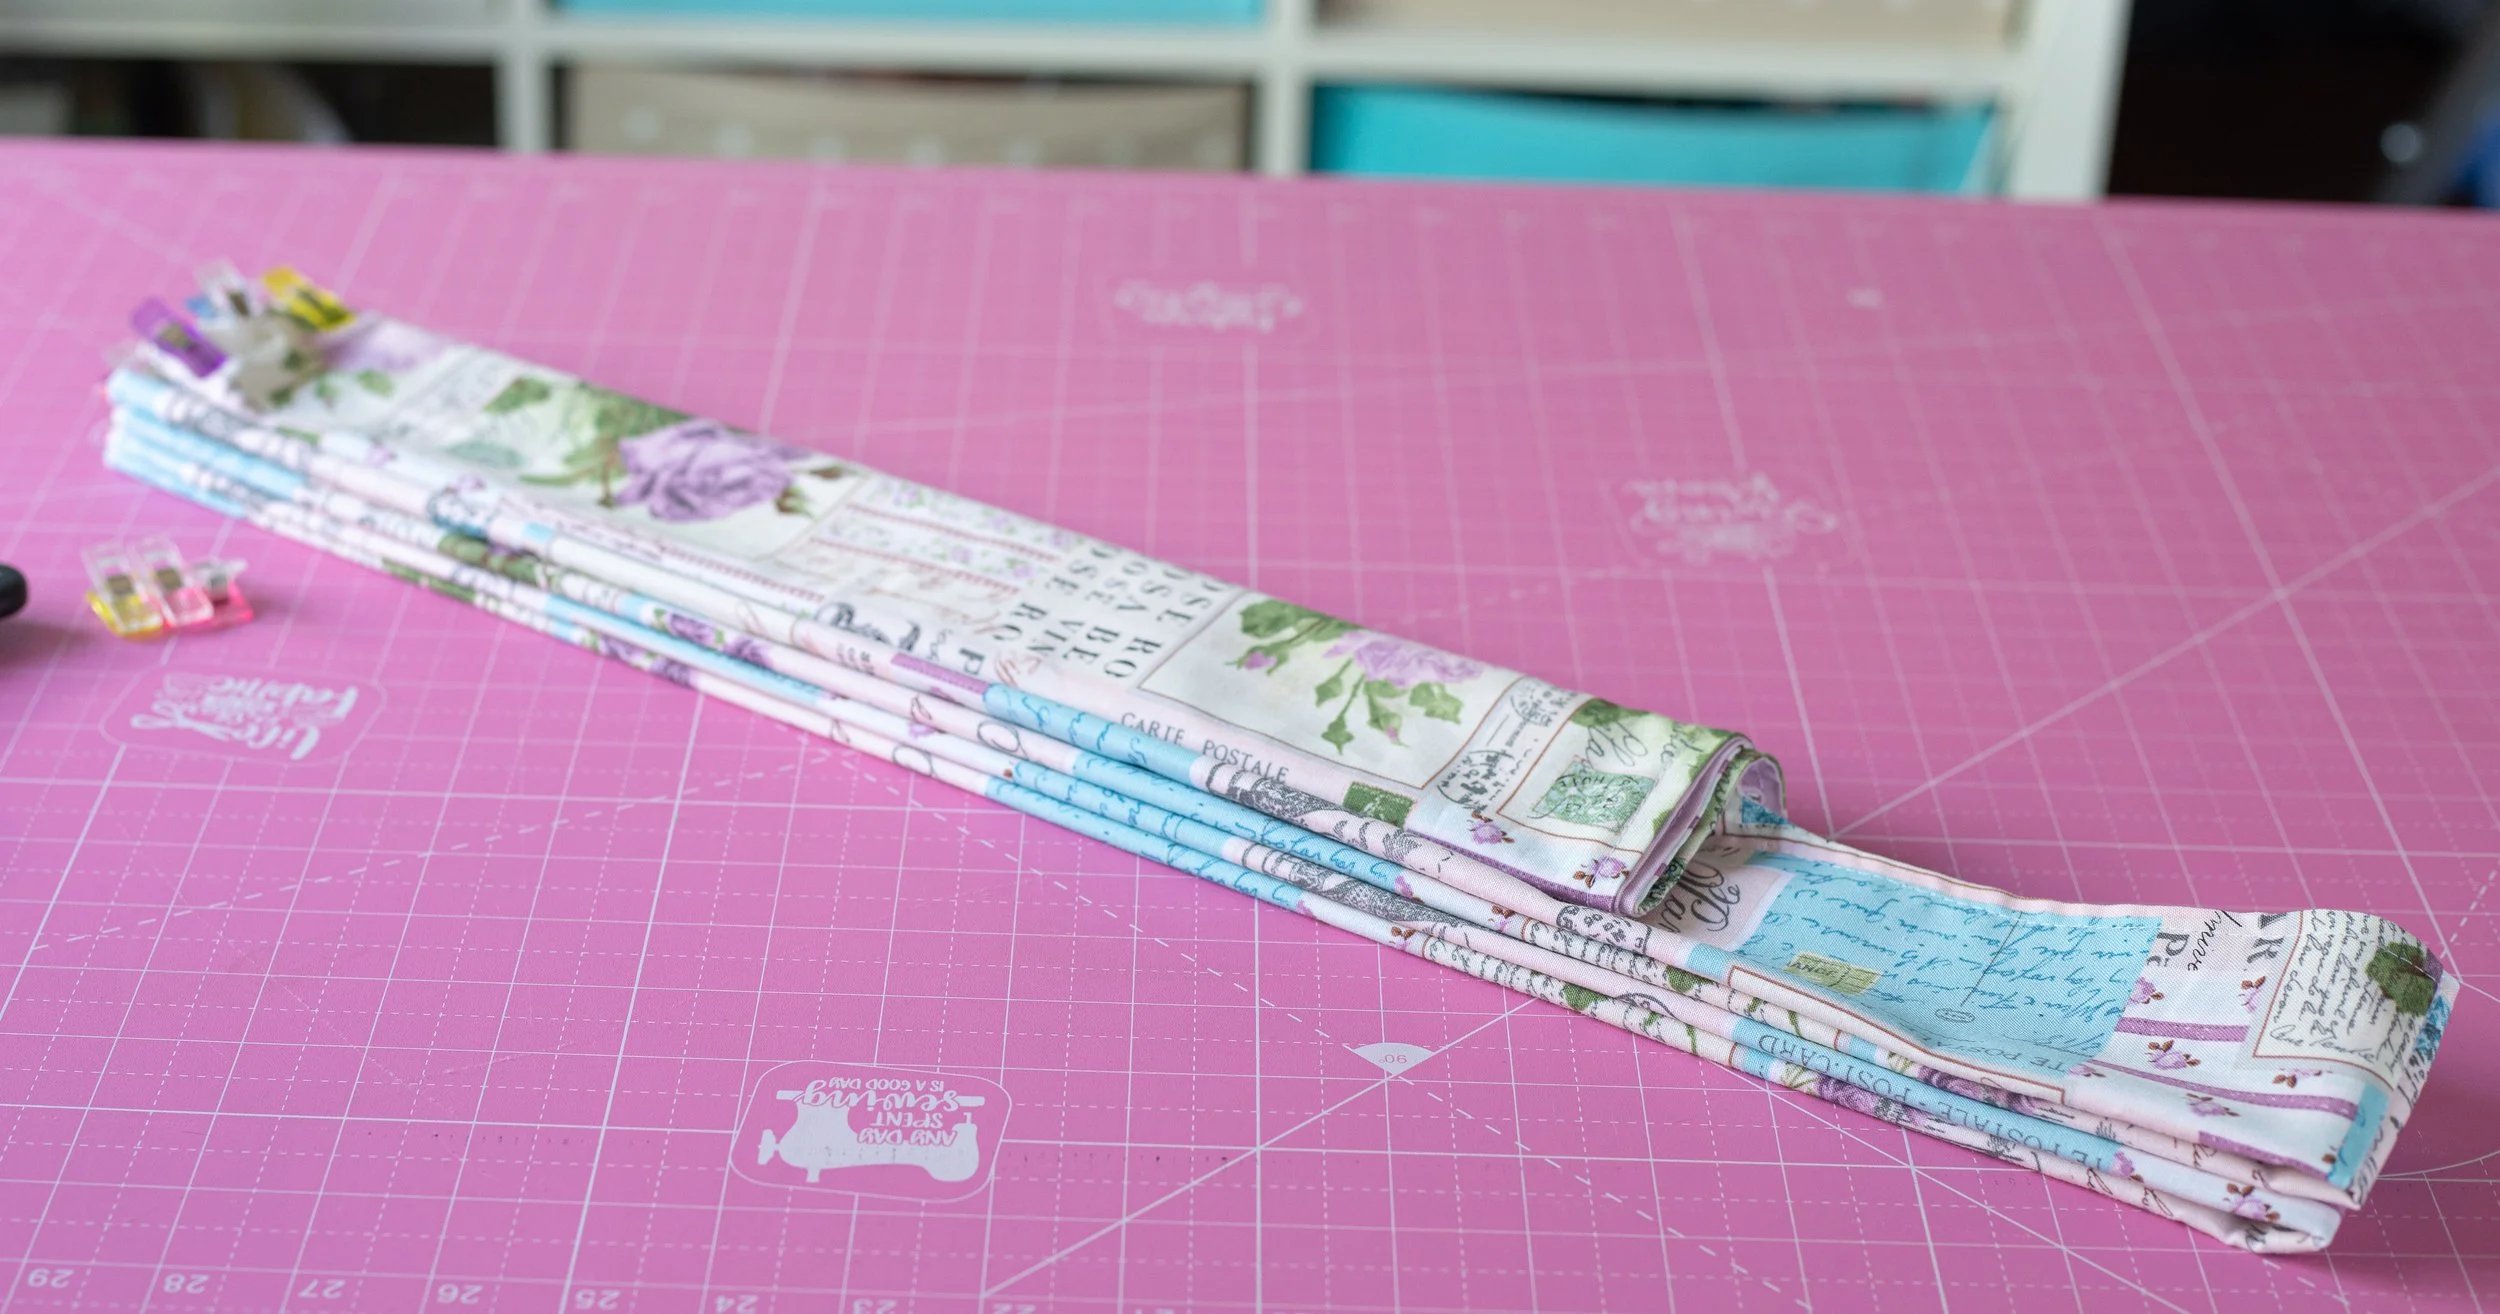
Slide the bag over your arm and let the bag hang, it will naturally form the gusset for you.
Carefully slide it off and onto your table, keeping the folds in place.
I apologize for the blurry photo, but you get the idea.
Put your arm through the handles and let the bag hang, naturally.
You might have to mess with it a little, but try to make the folds even. Press.
Next up is the optional snap. If you want to skip this step, scroll down past this part. If you would like to add a snap, keep reading.
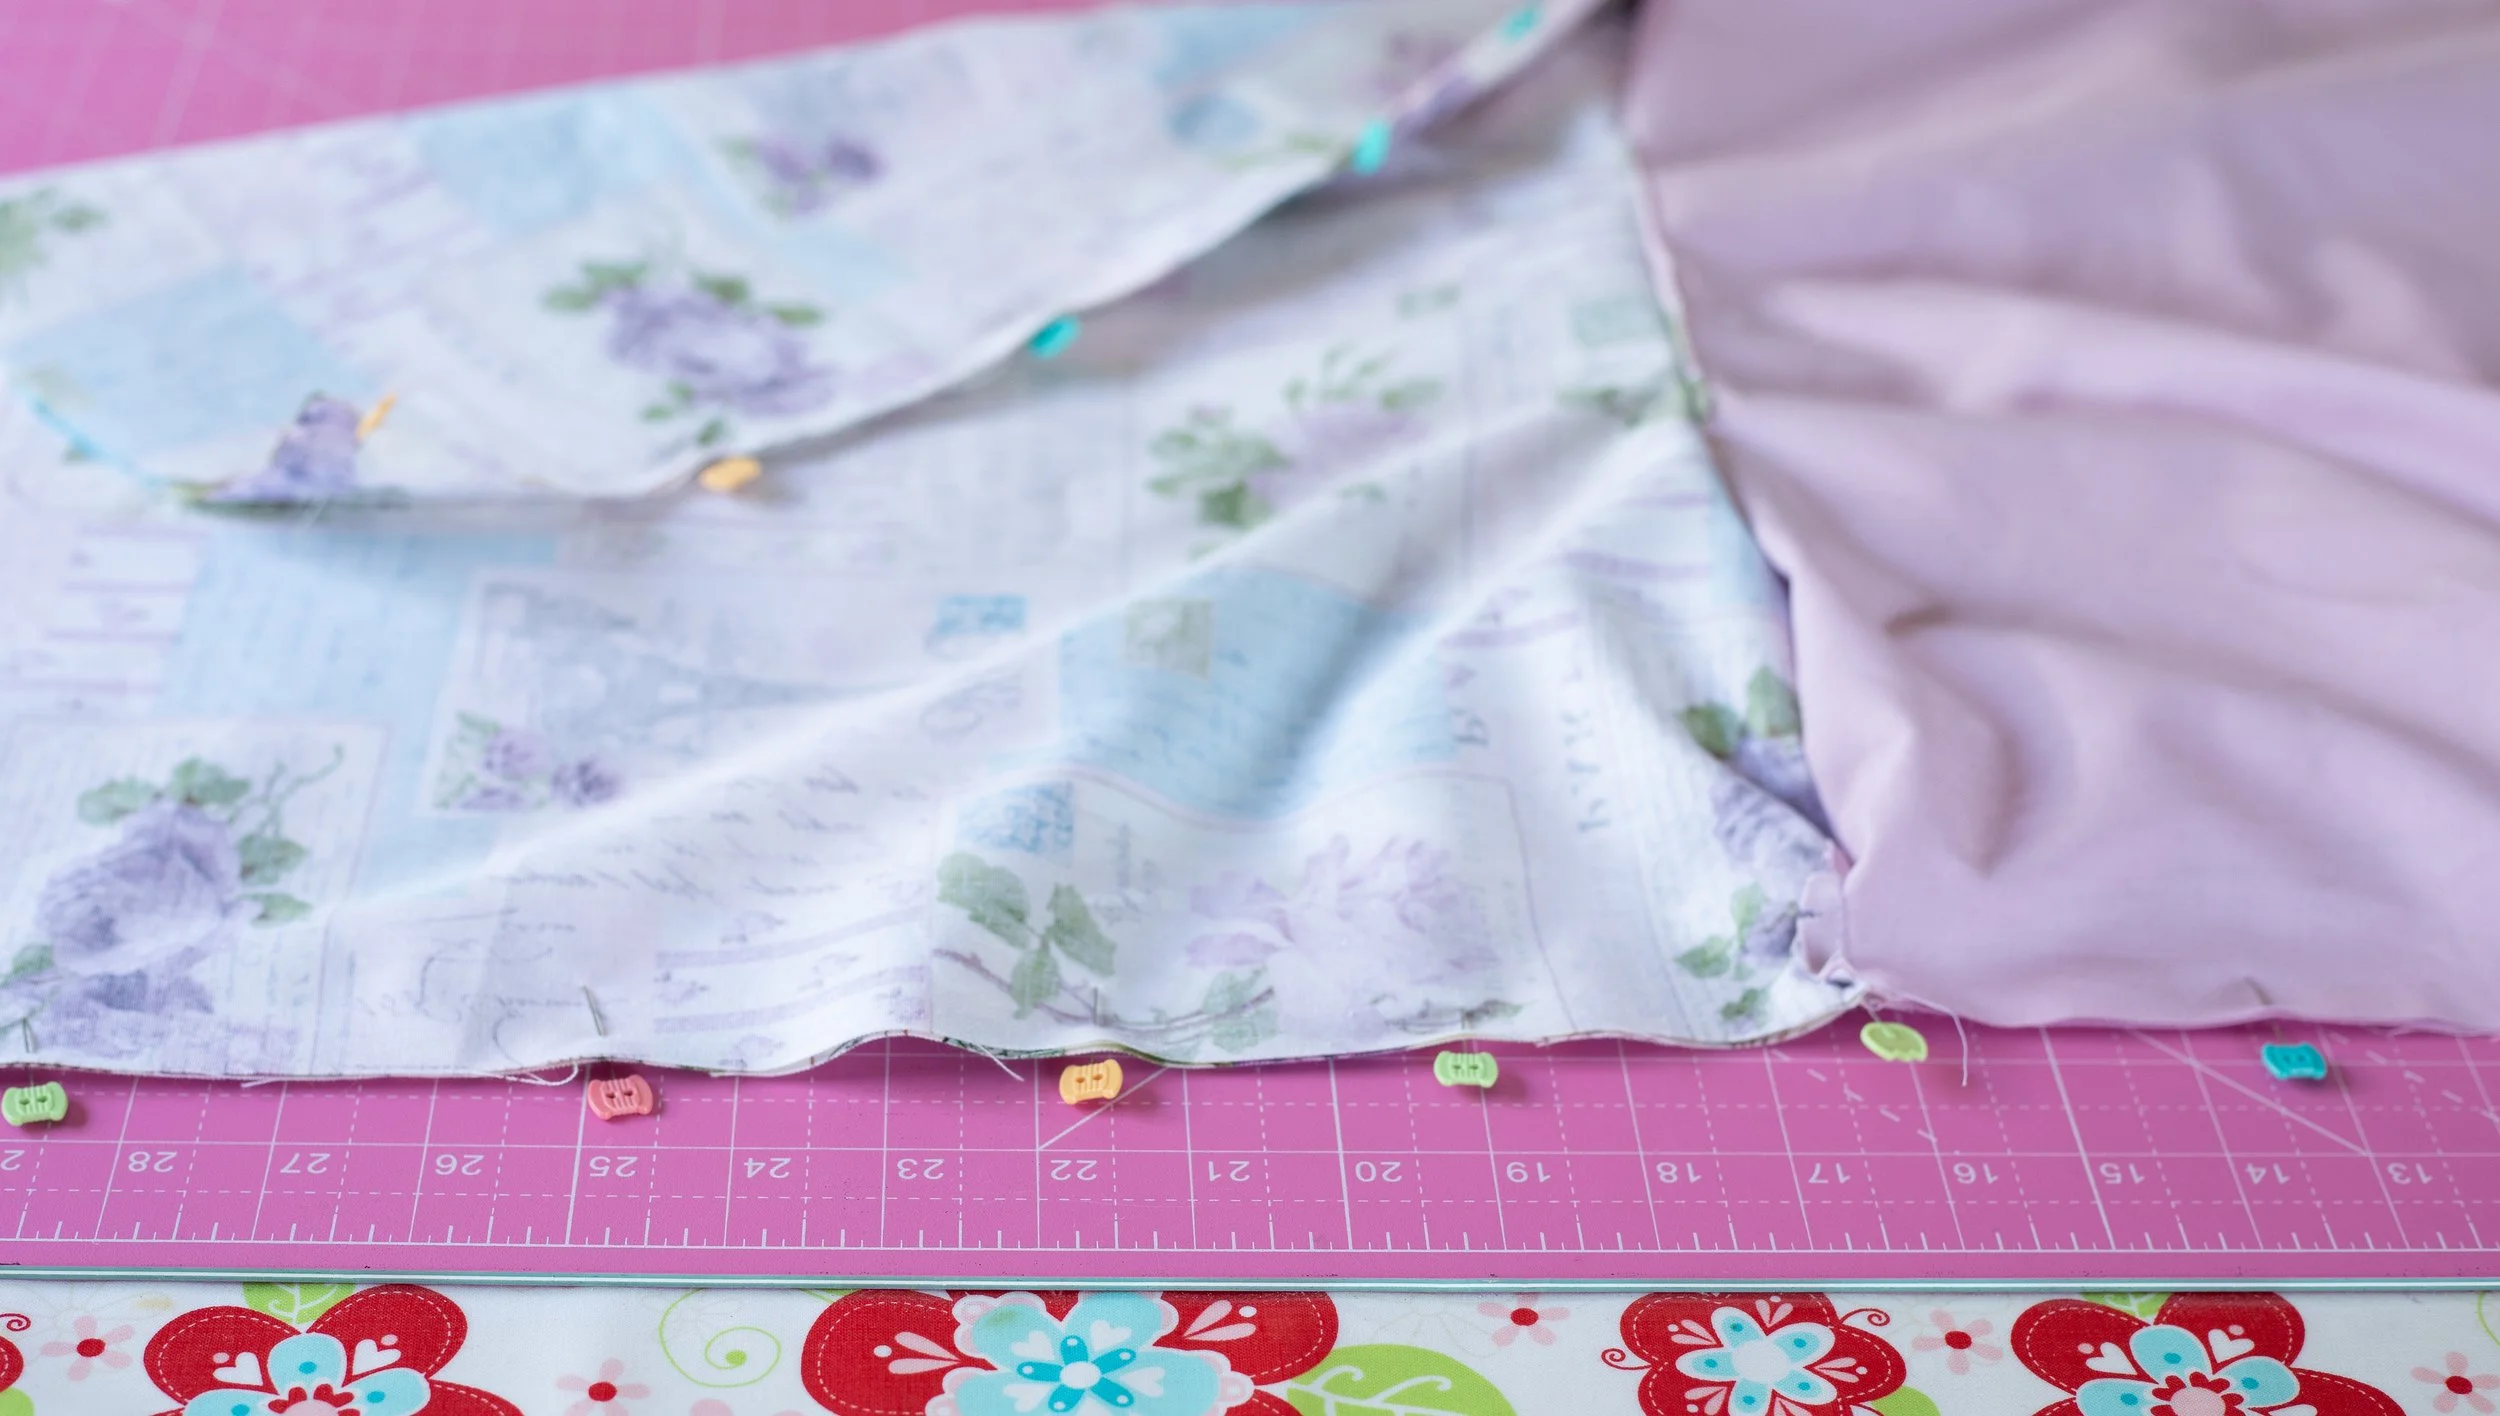
Even up the bottom edge, if needed.
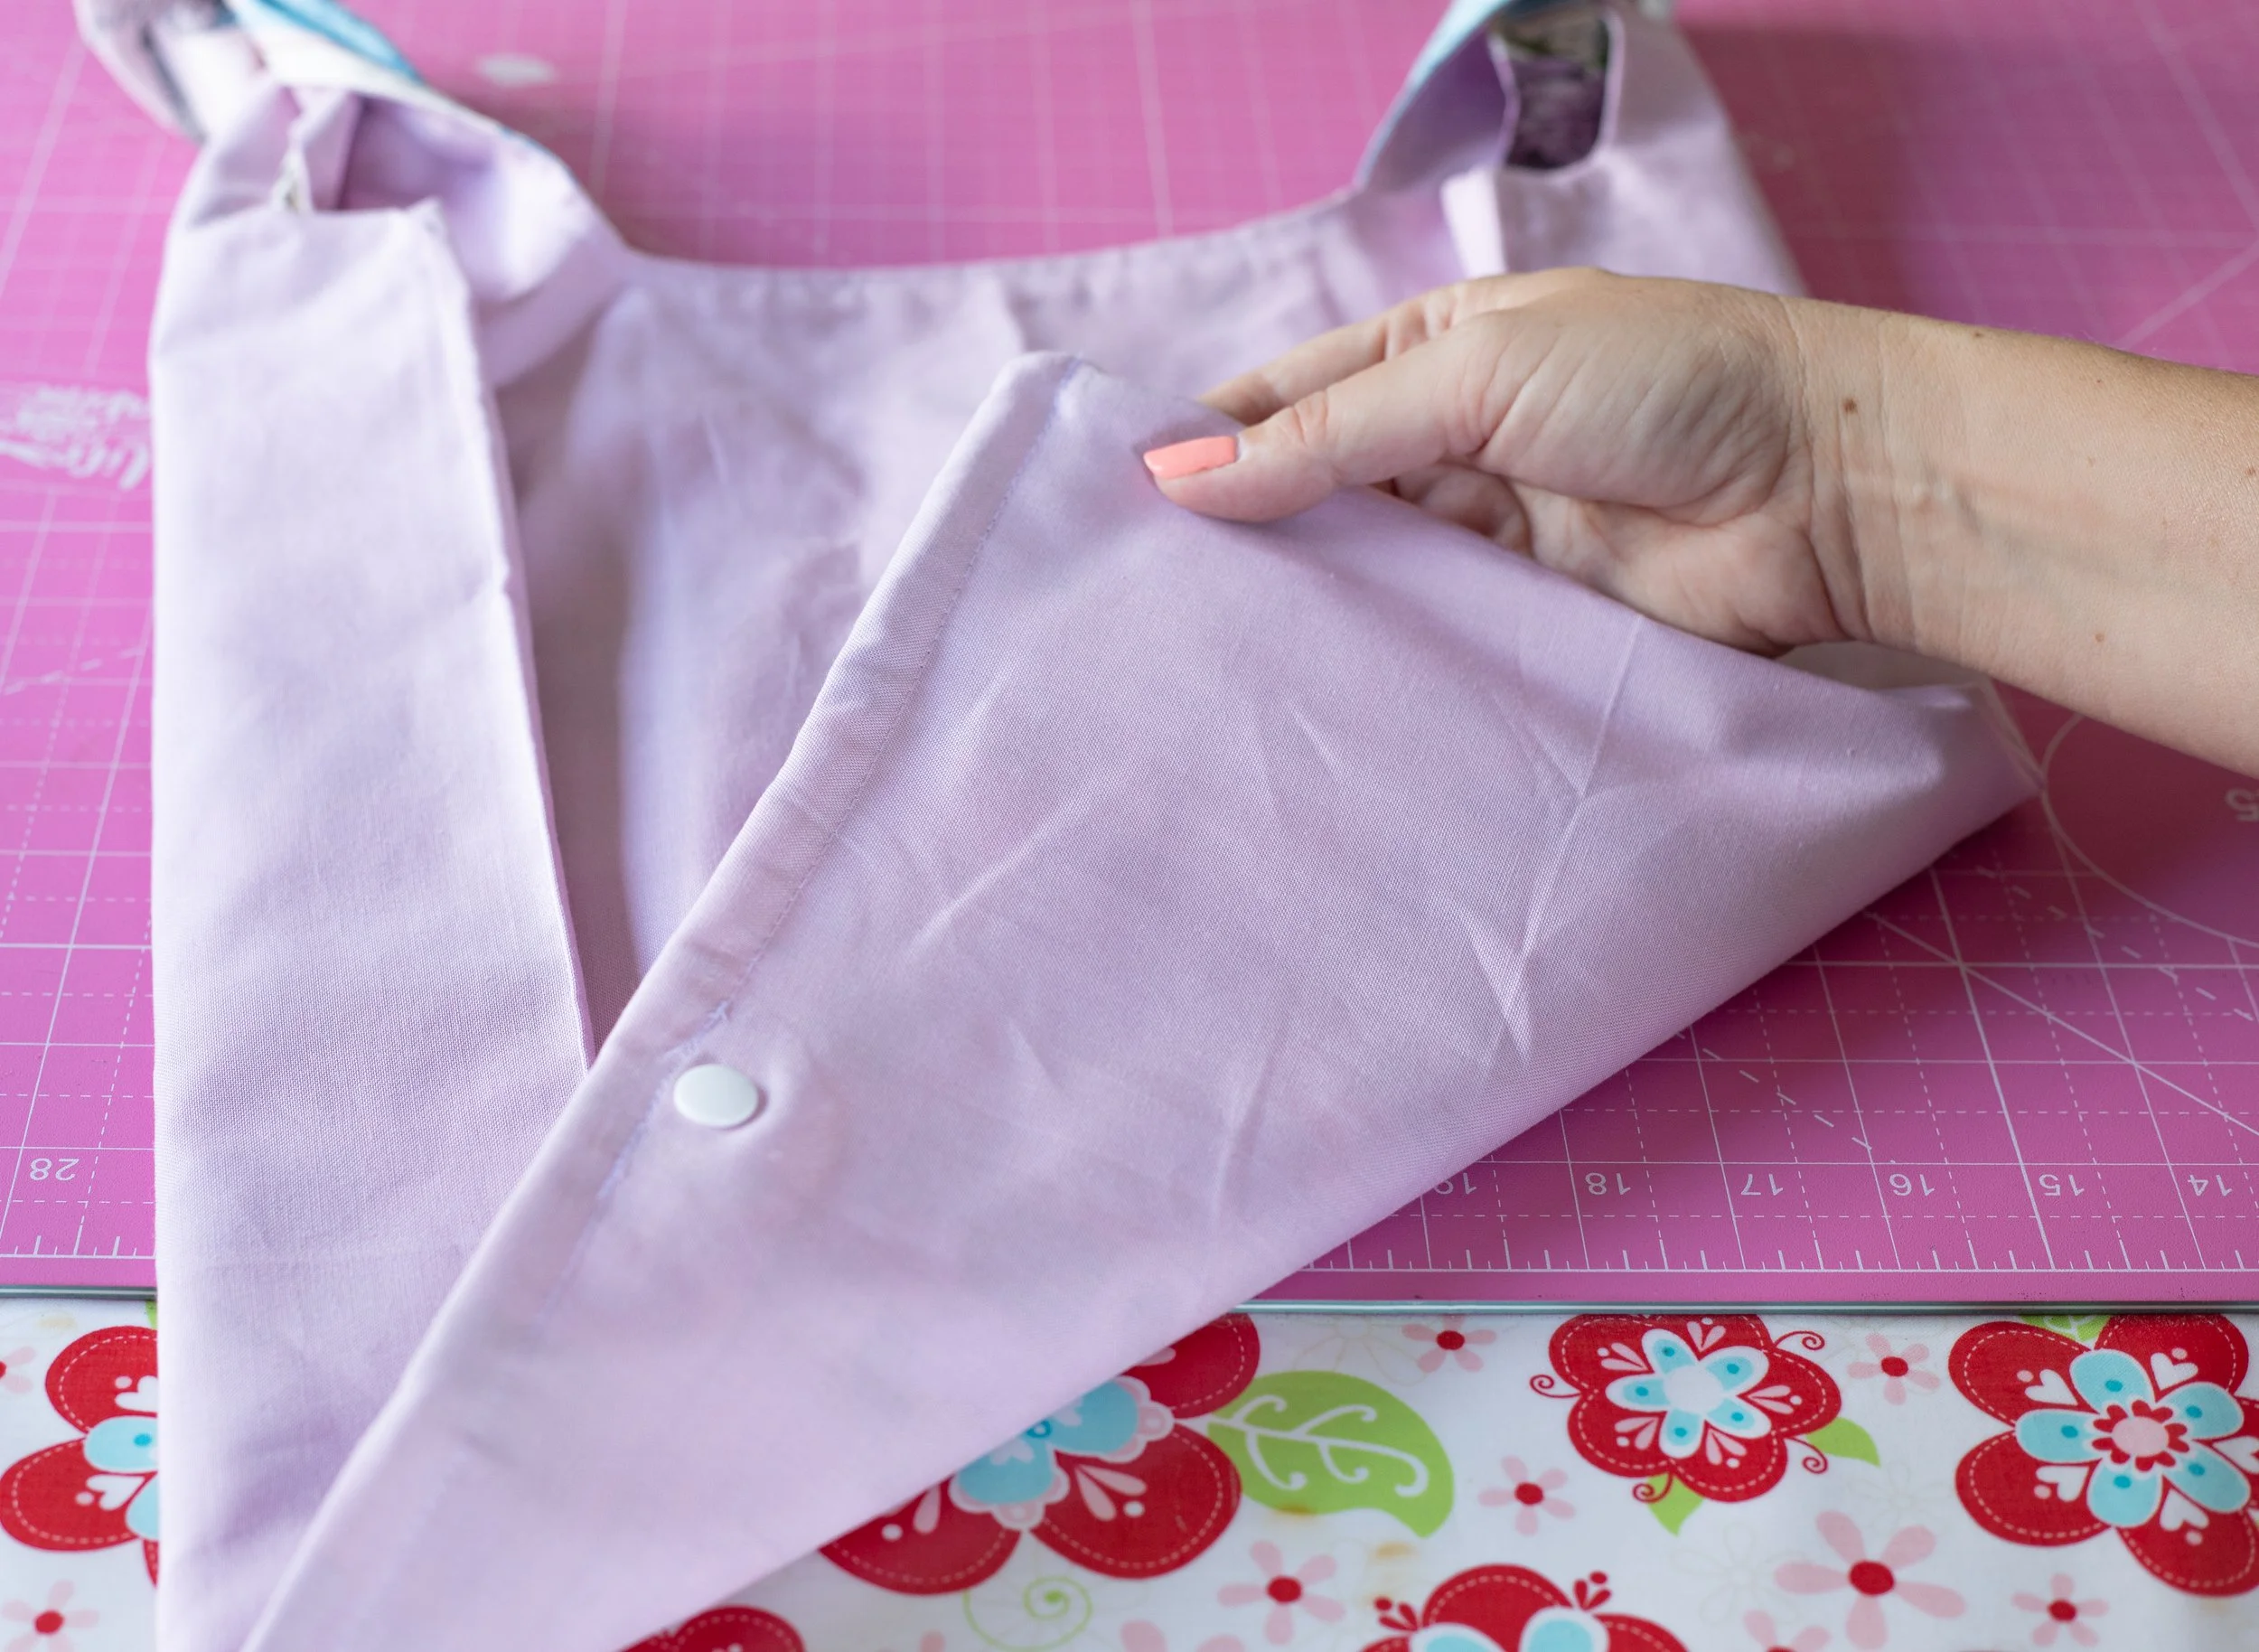
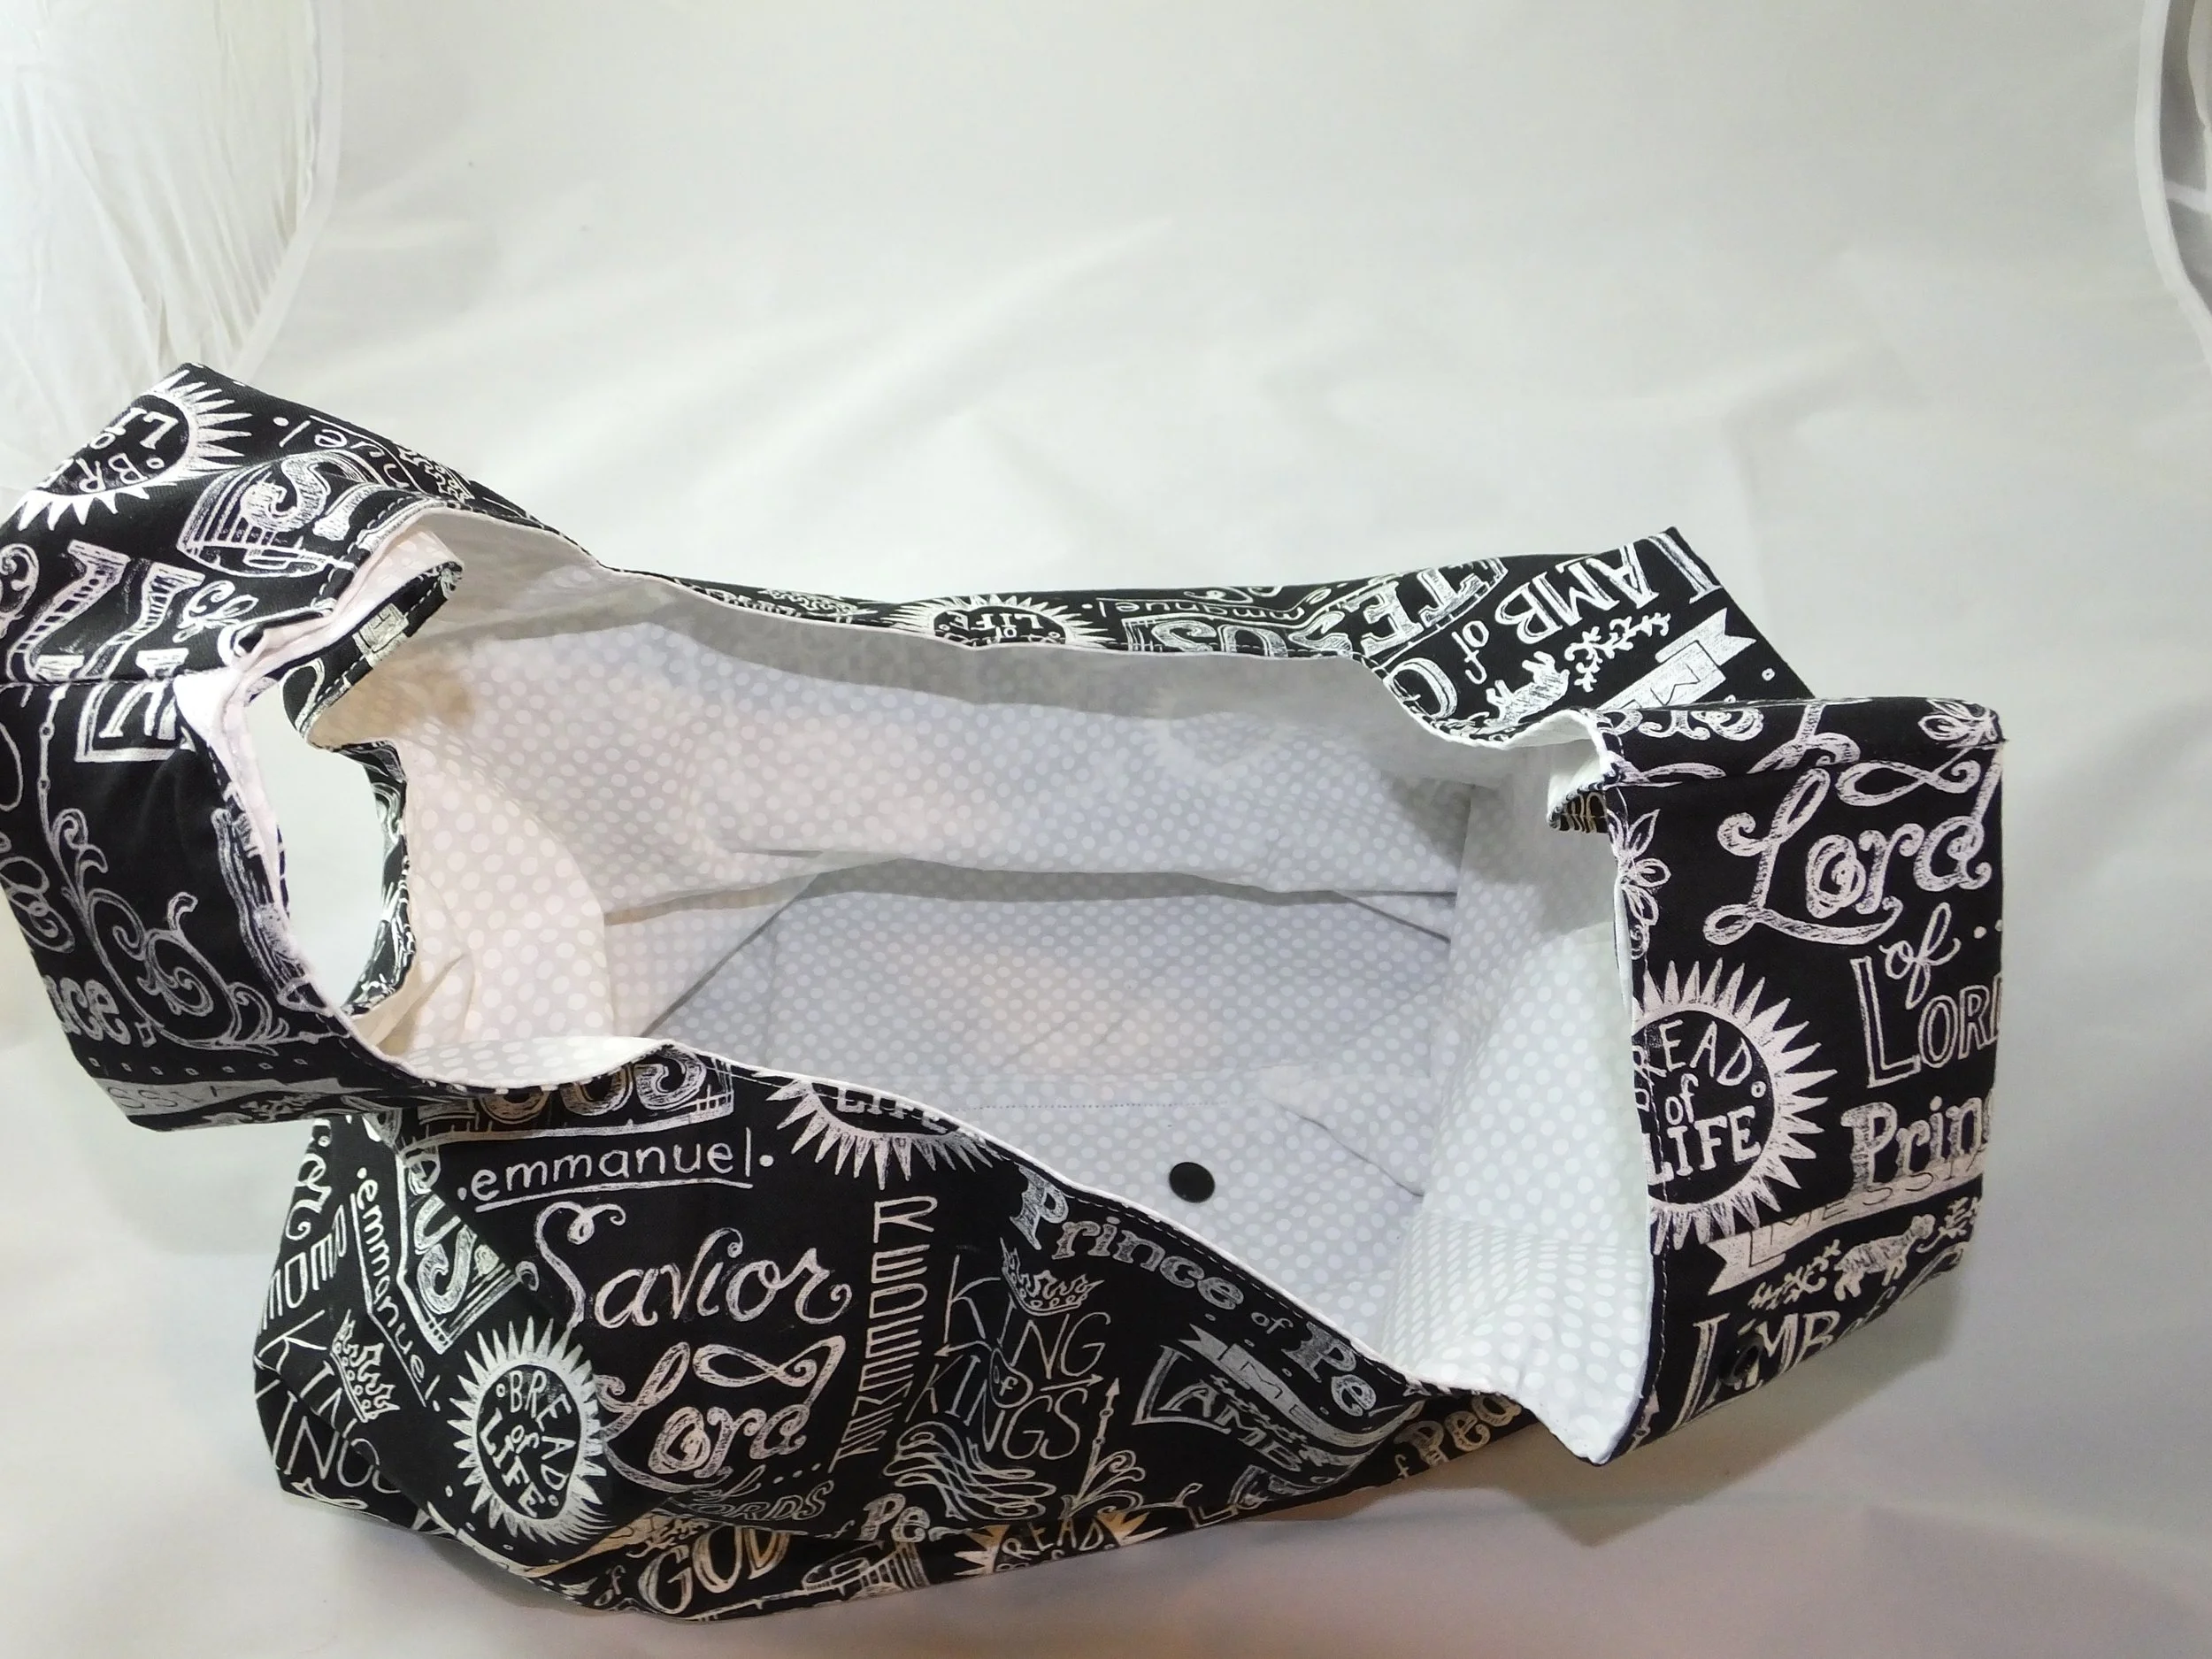
ADDING A SNAP
Use clips to keep all the bottom layers together. You have to fold it to figure out where the snap will go. So, this helps keep the layers together.
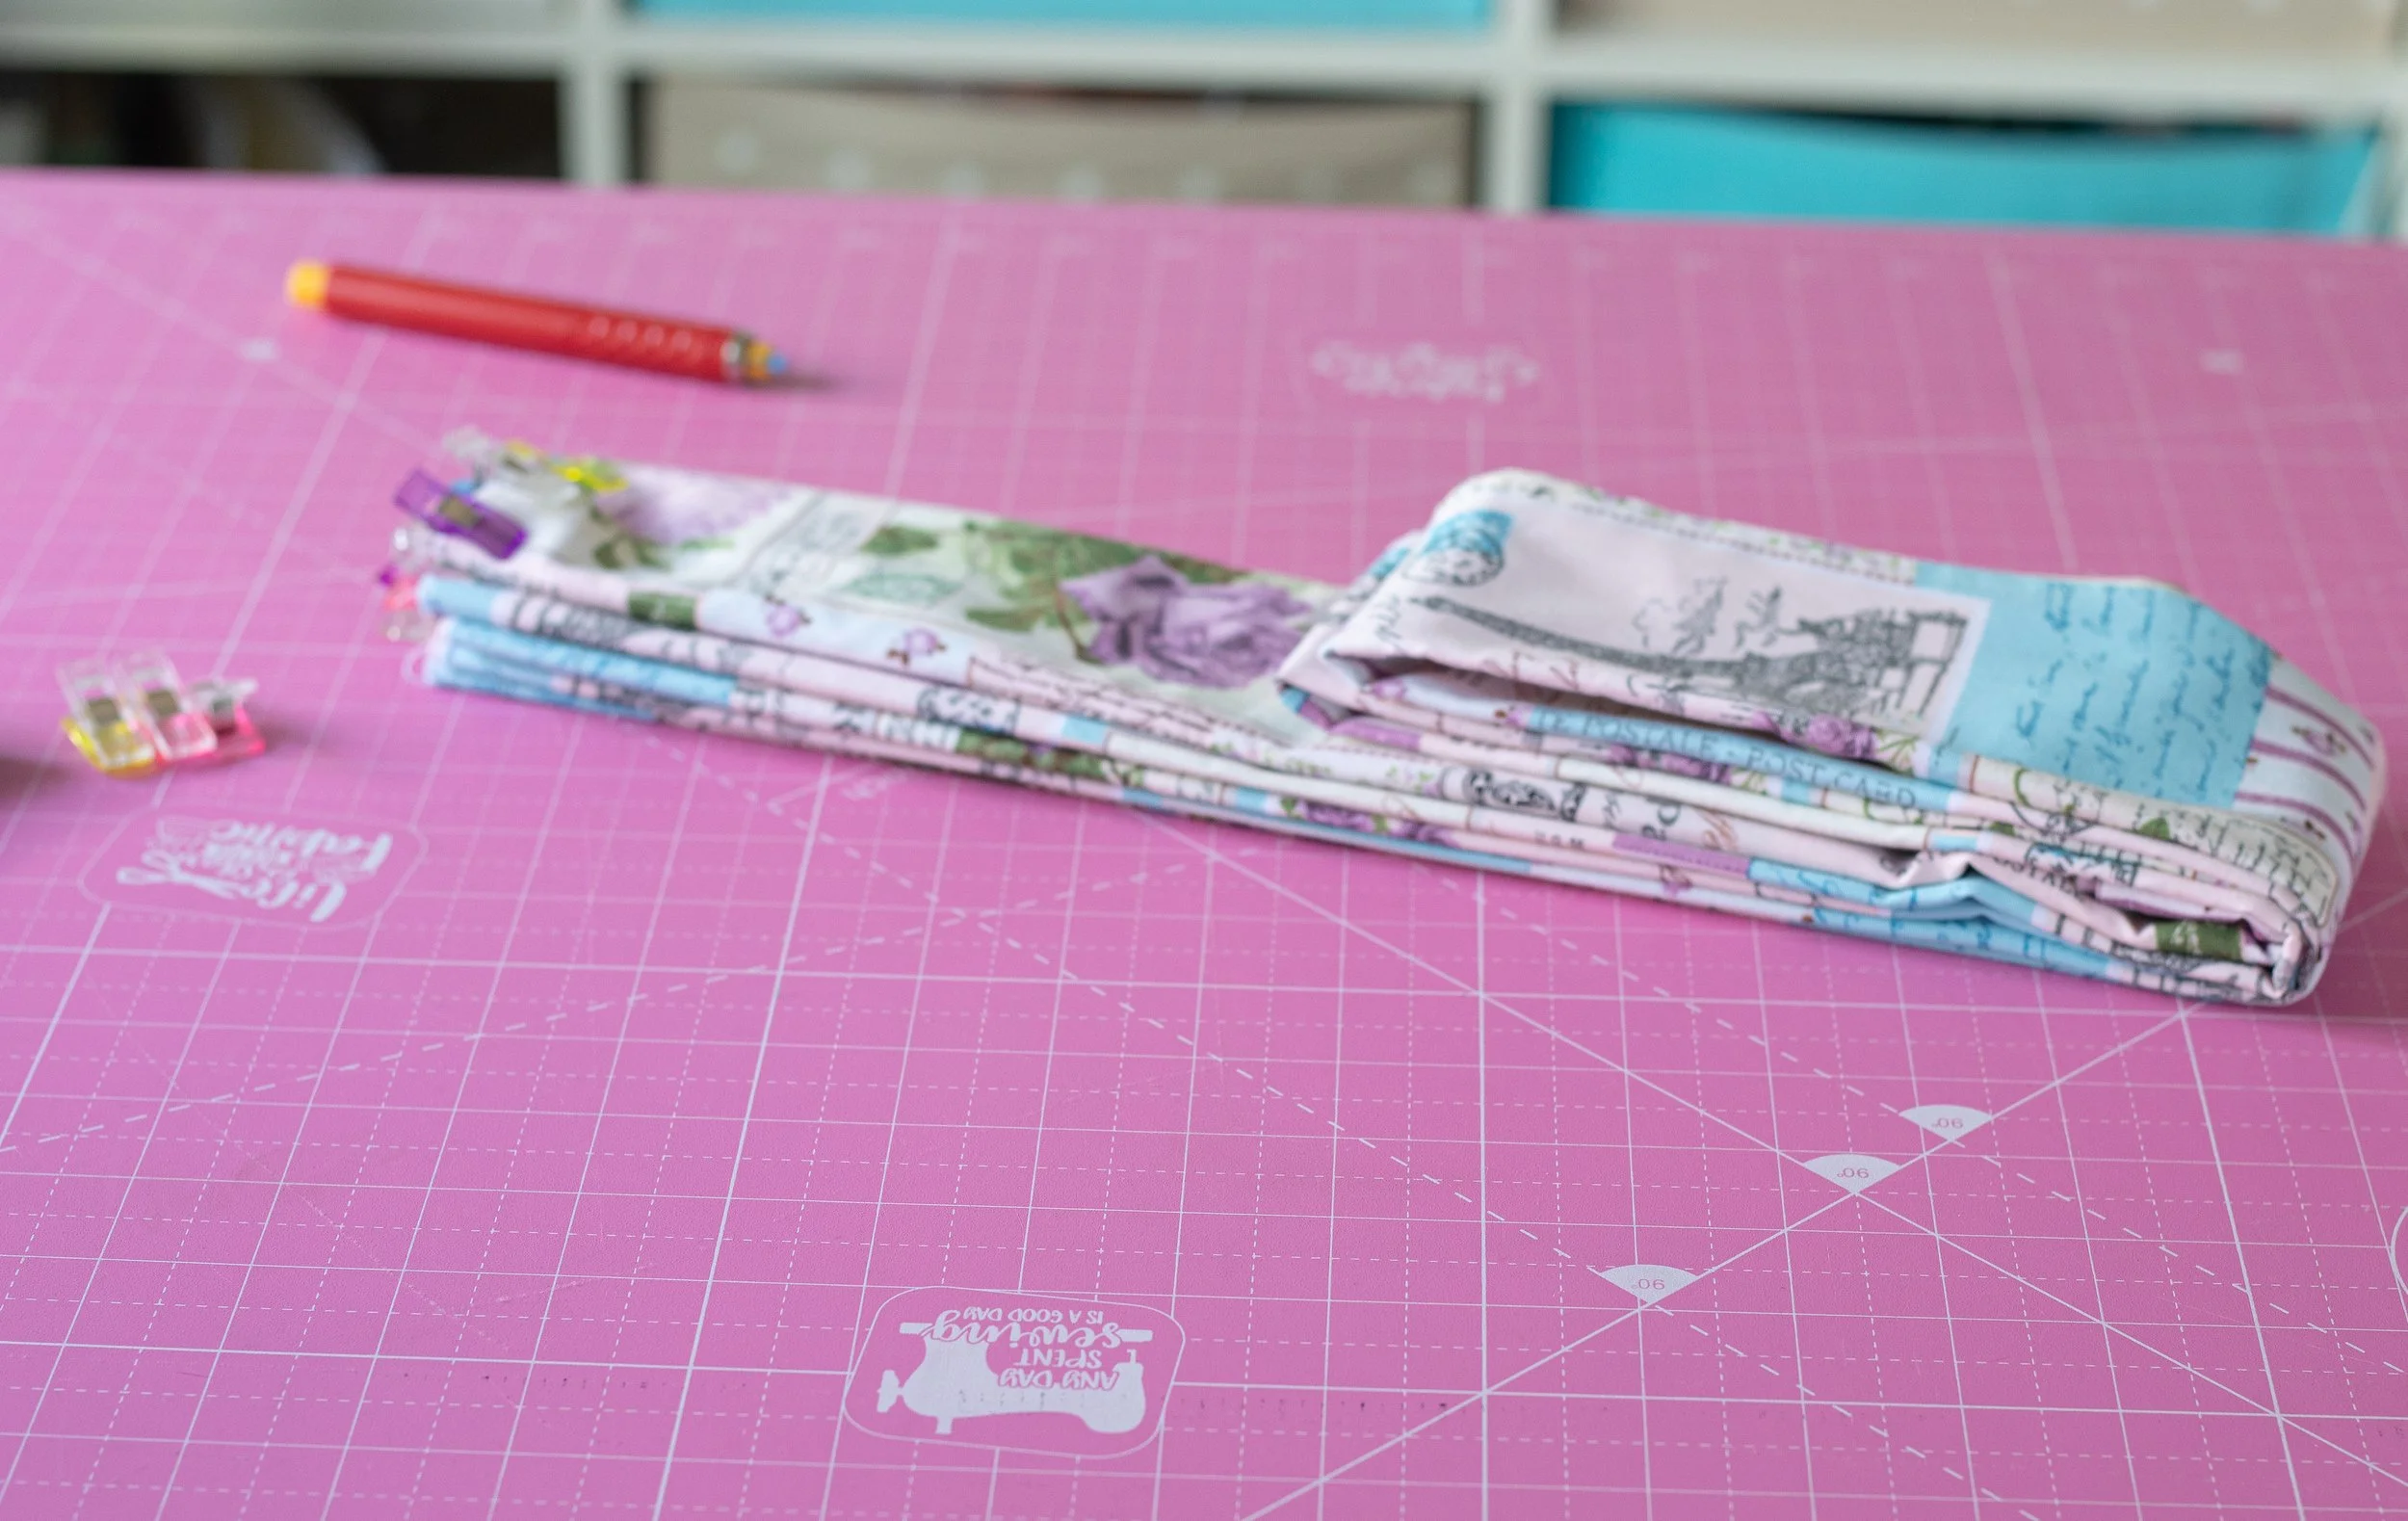
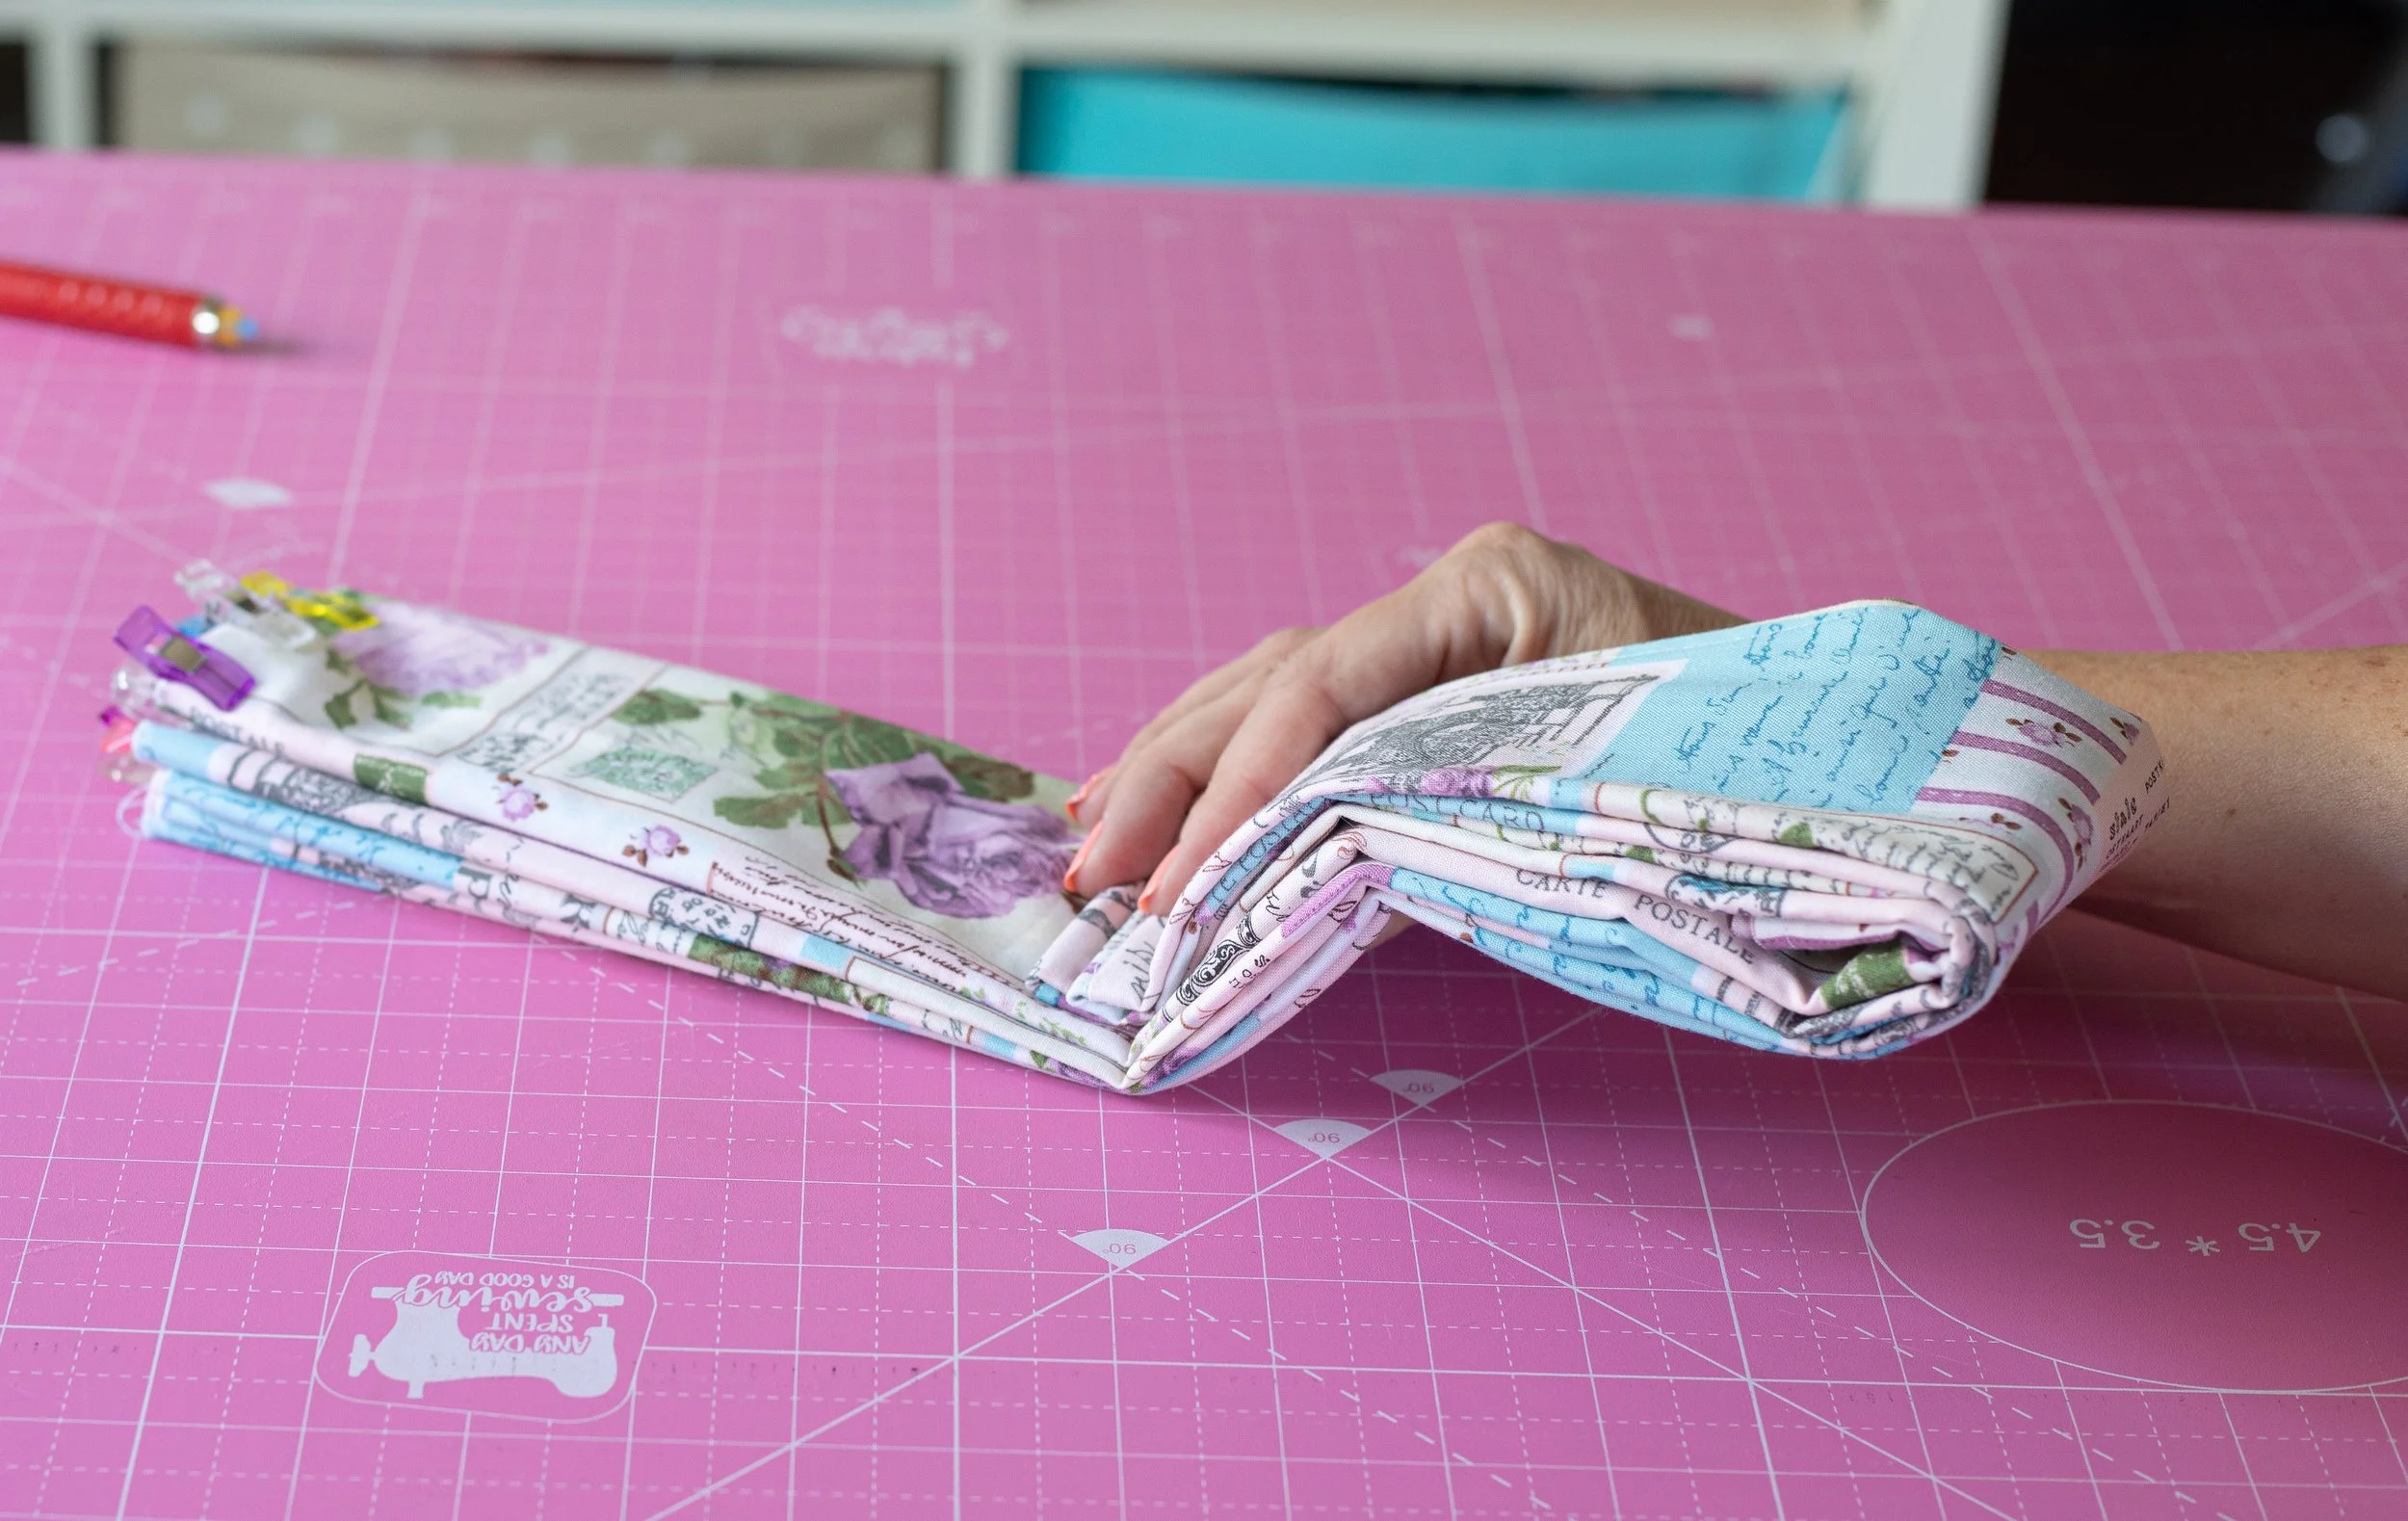
Fold in half longways, like a hot dog. Fold in half again, like a super skinny rectangle.
Next, you’ll fold the bag into thirds.
Fold the handles towards the middle, then, fold over again.
This folding method keeps the handles neatly inside. If you fold it opposite, the handles flap around all willy-nilly.

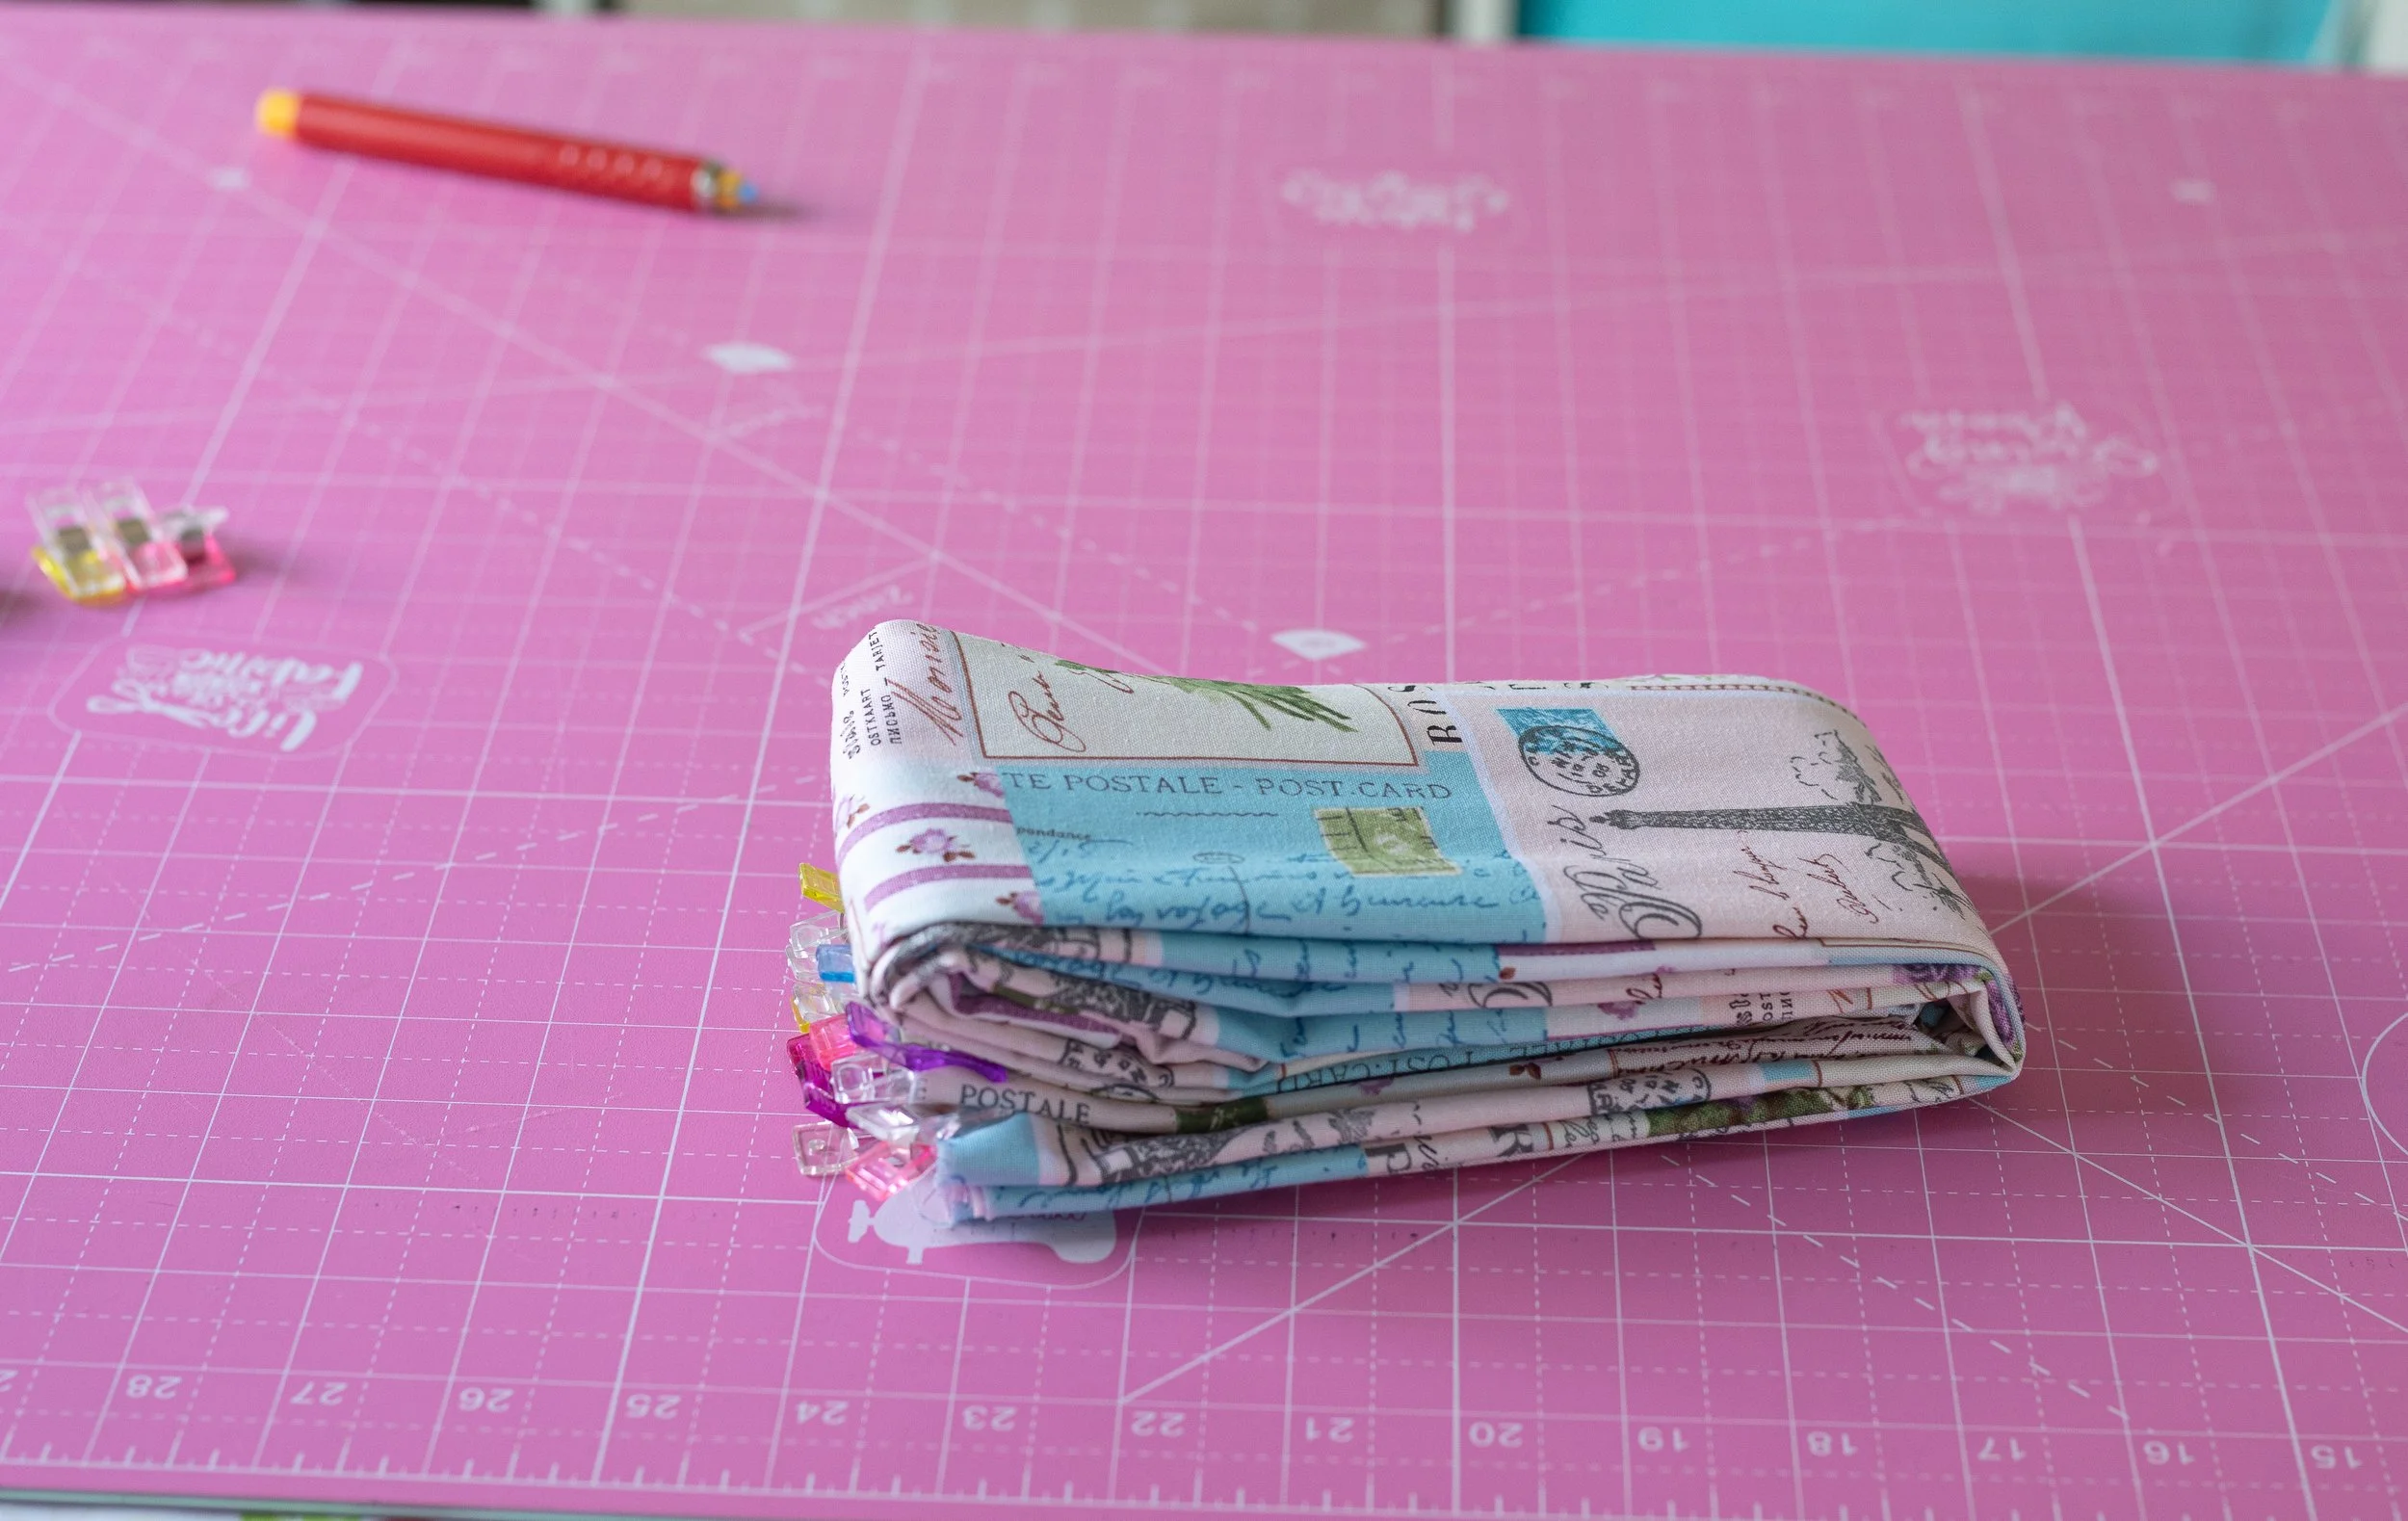
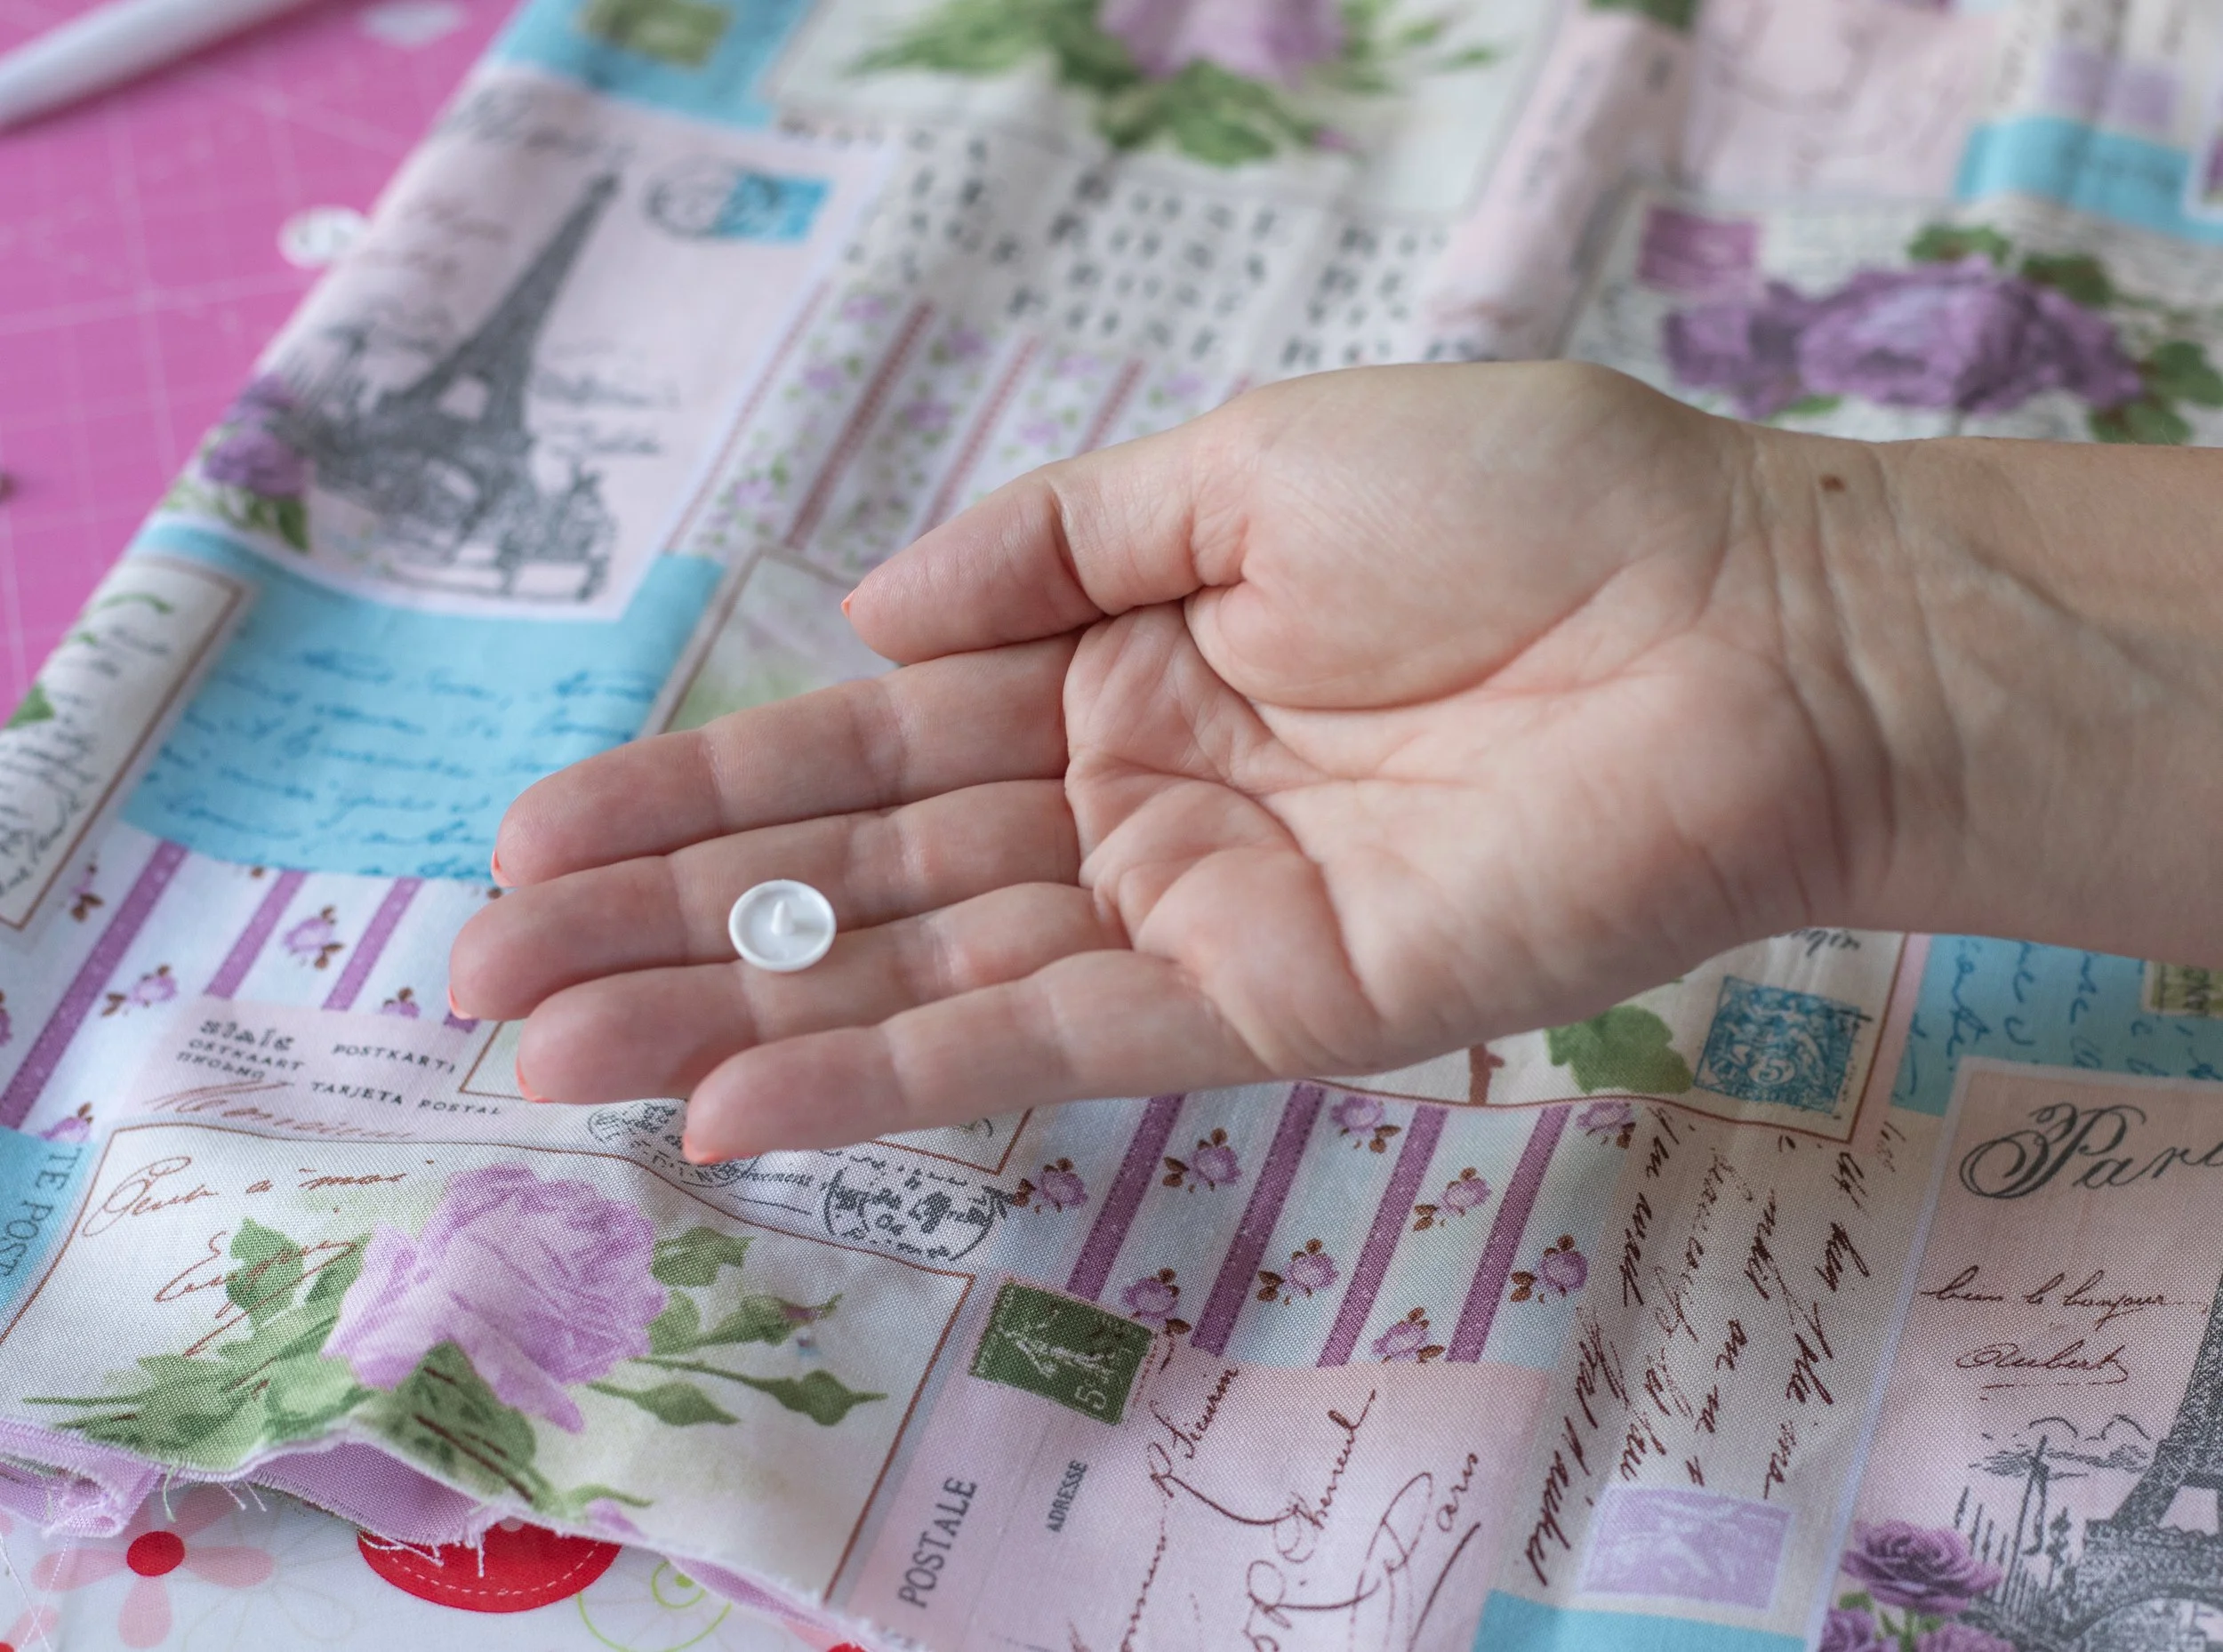
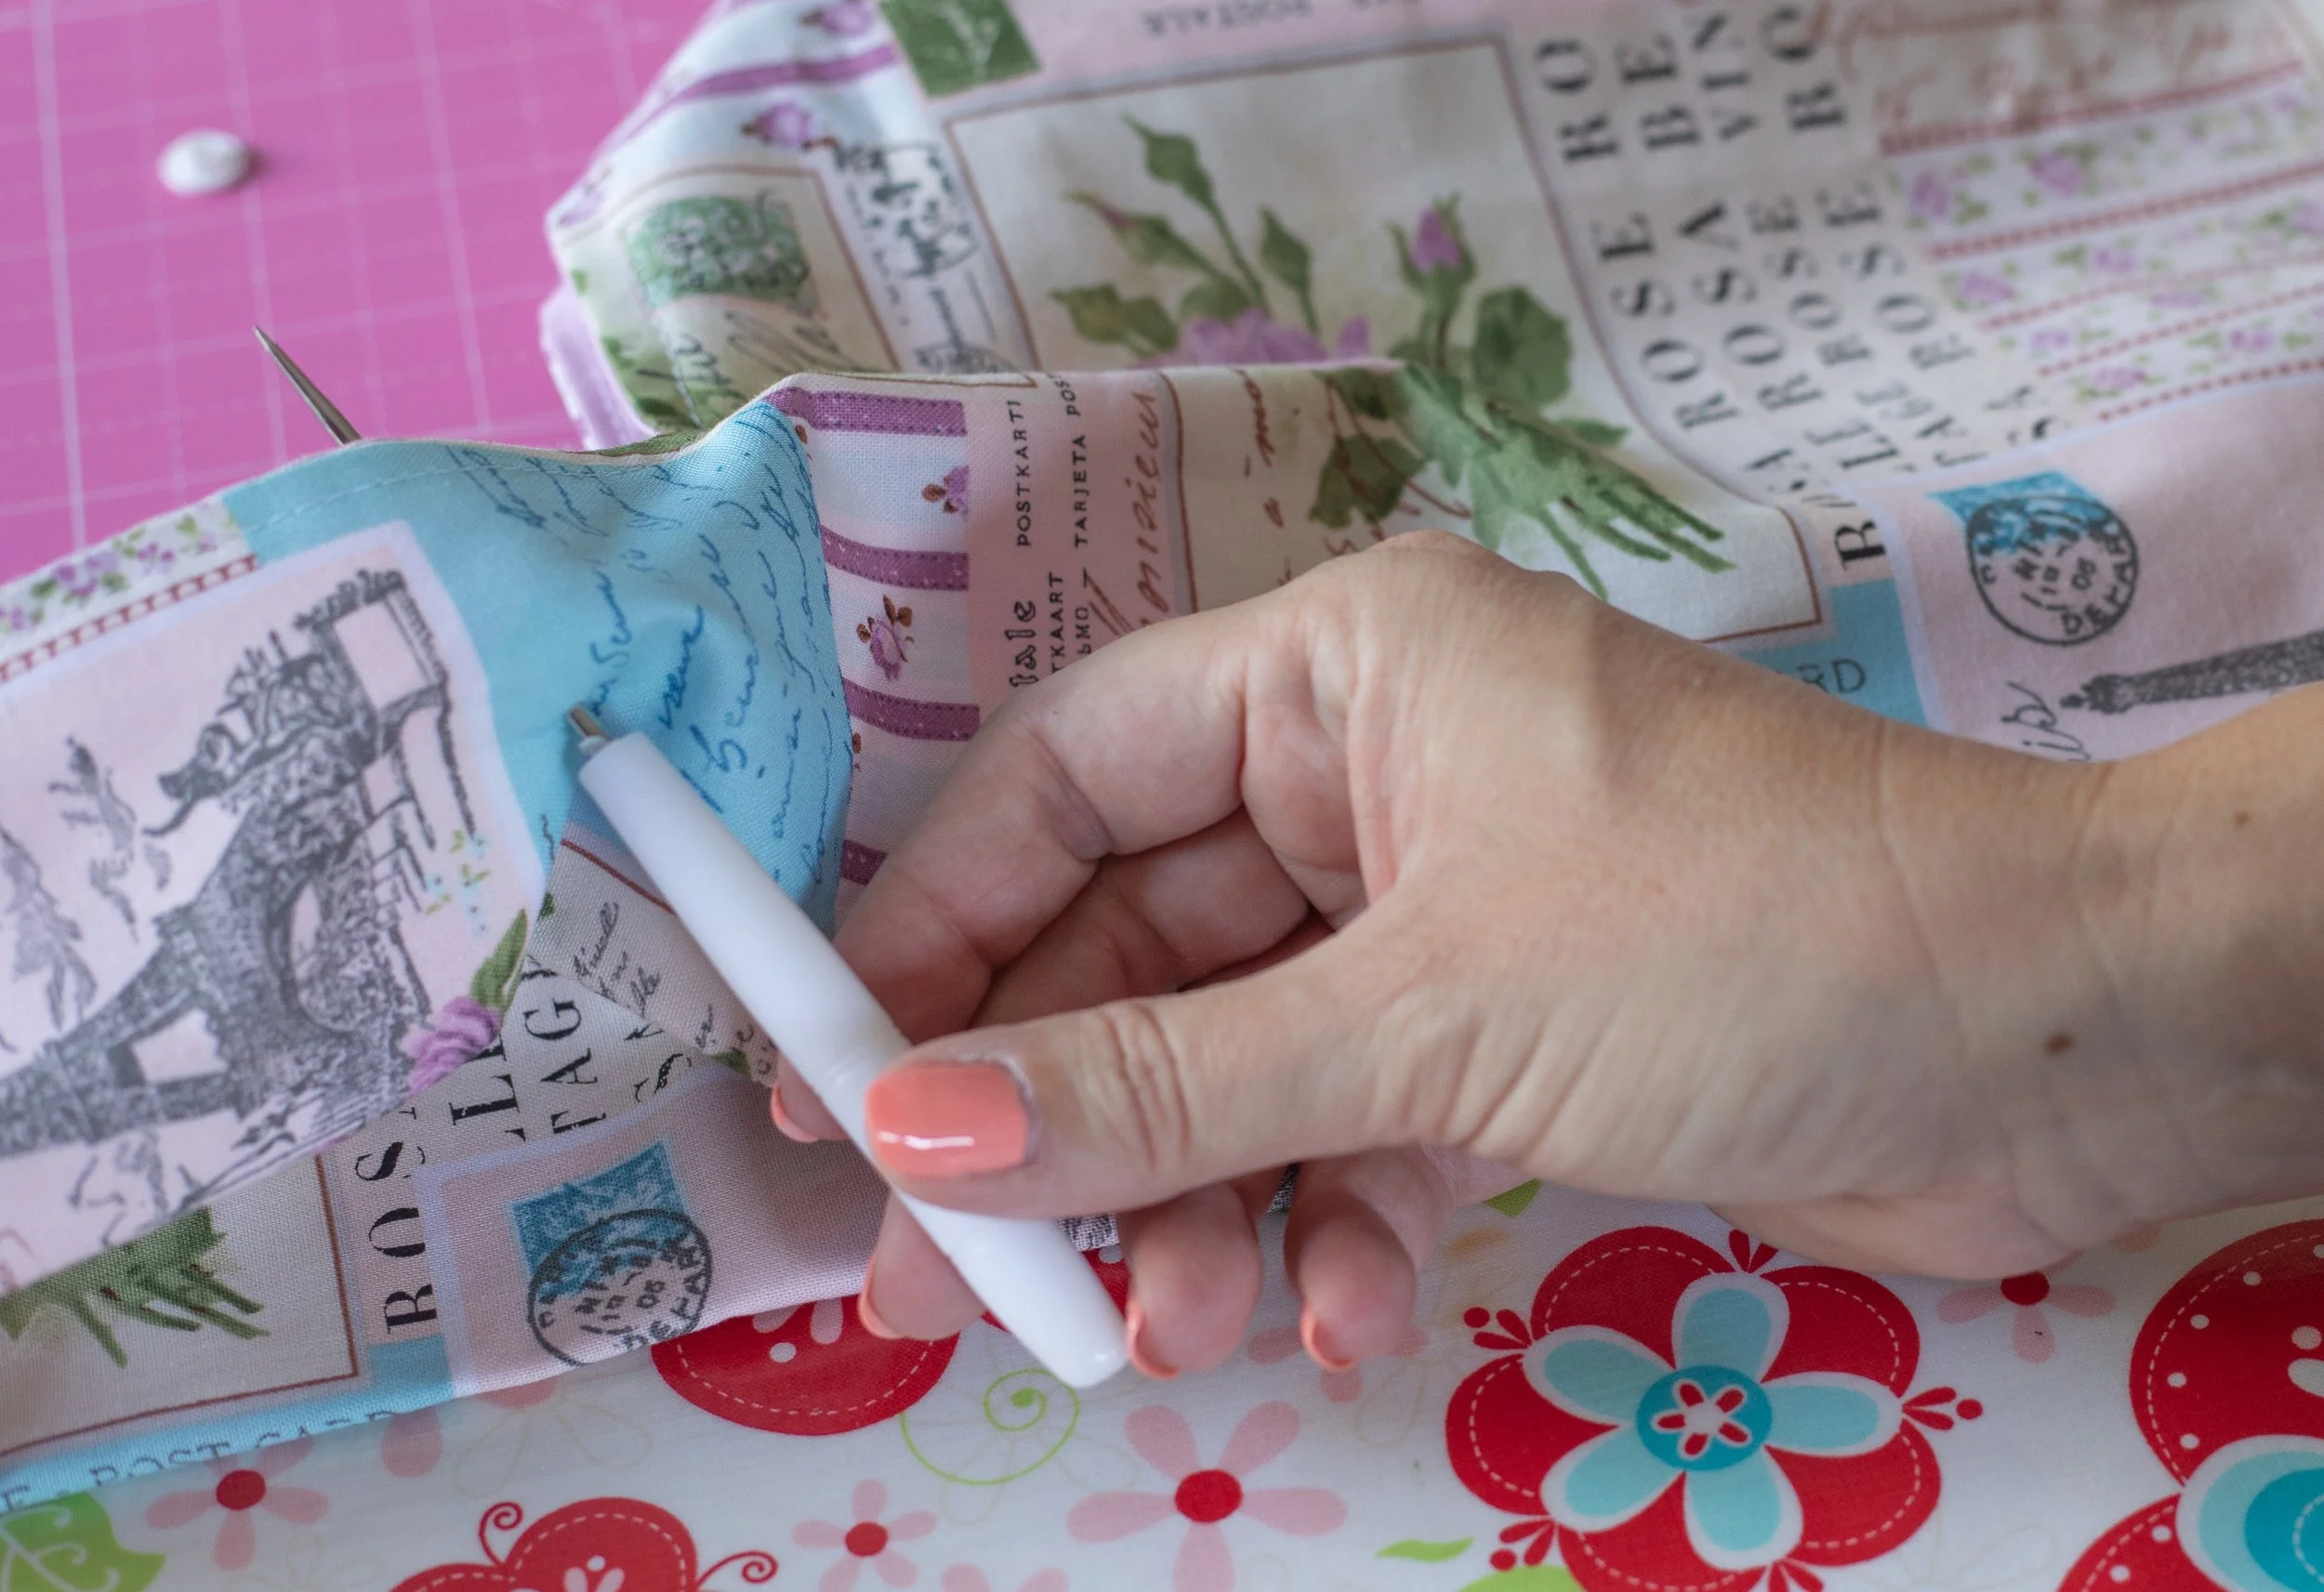
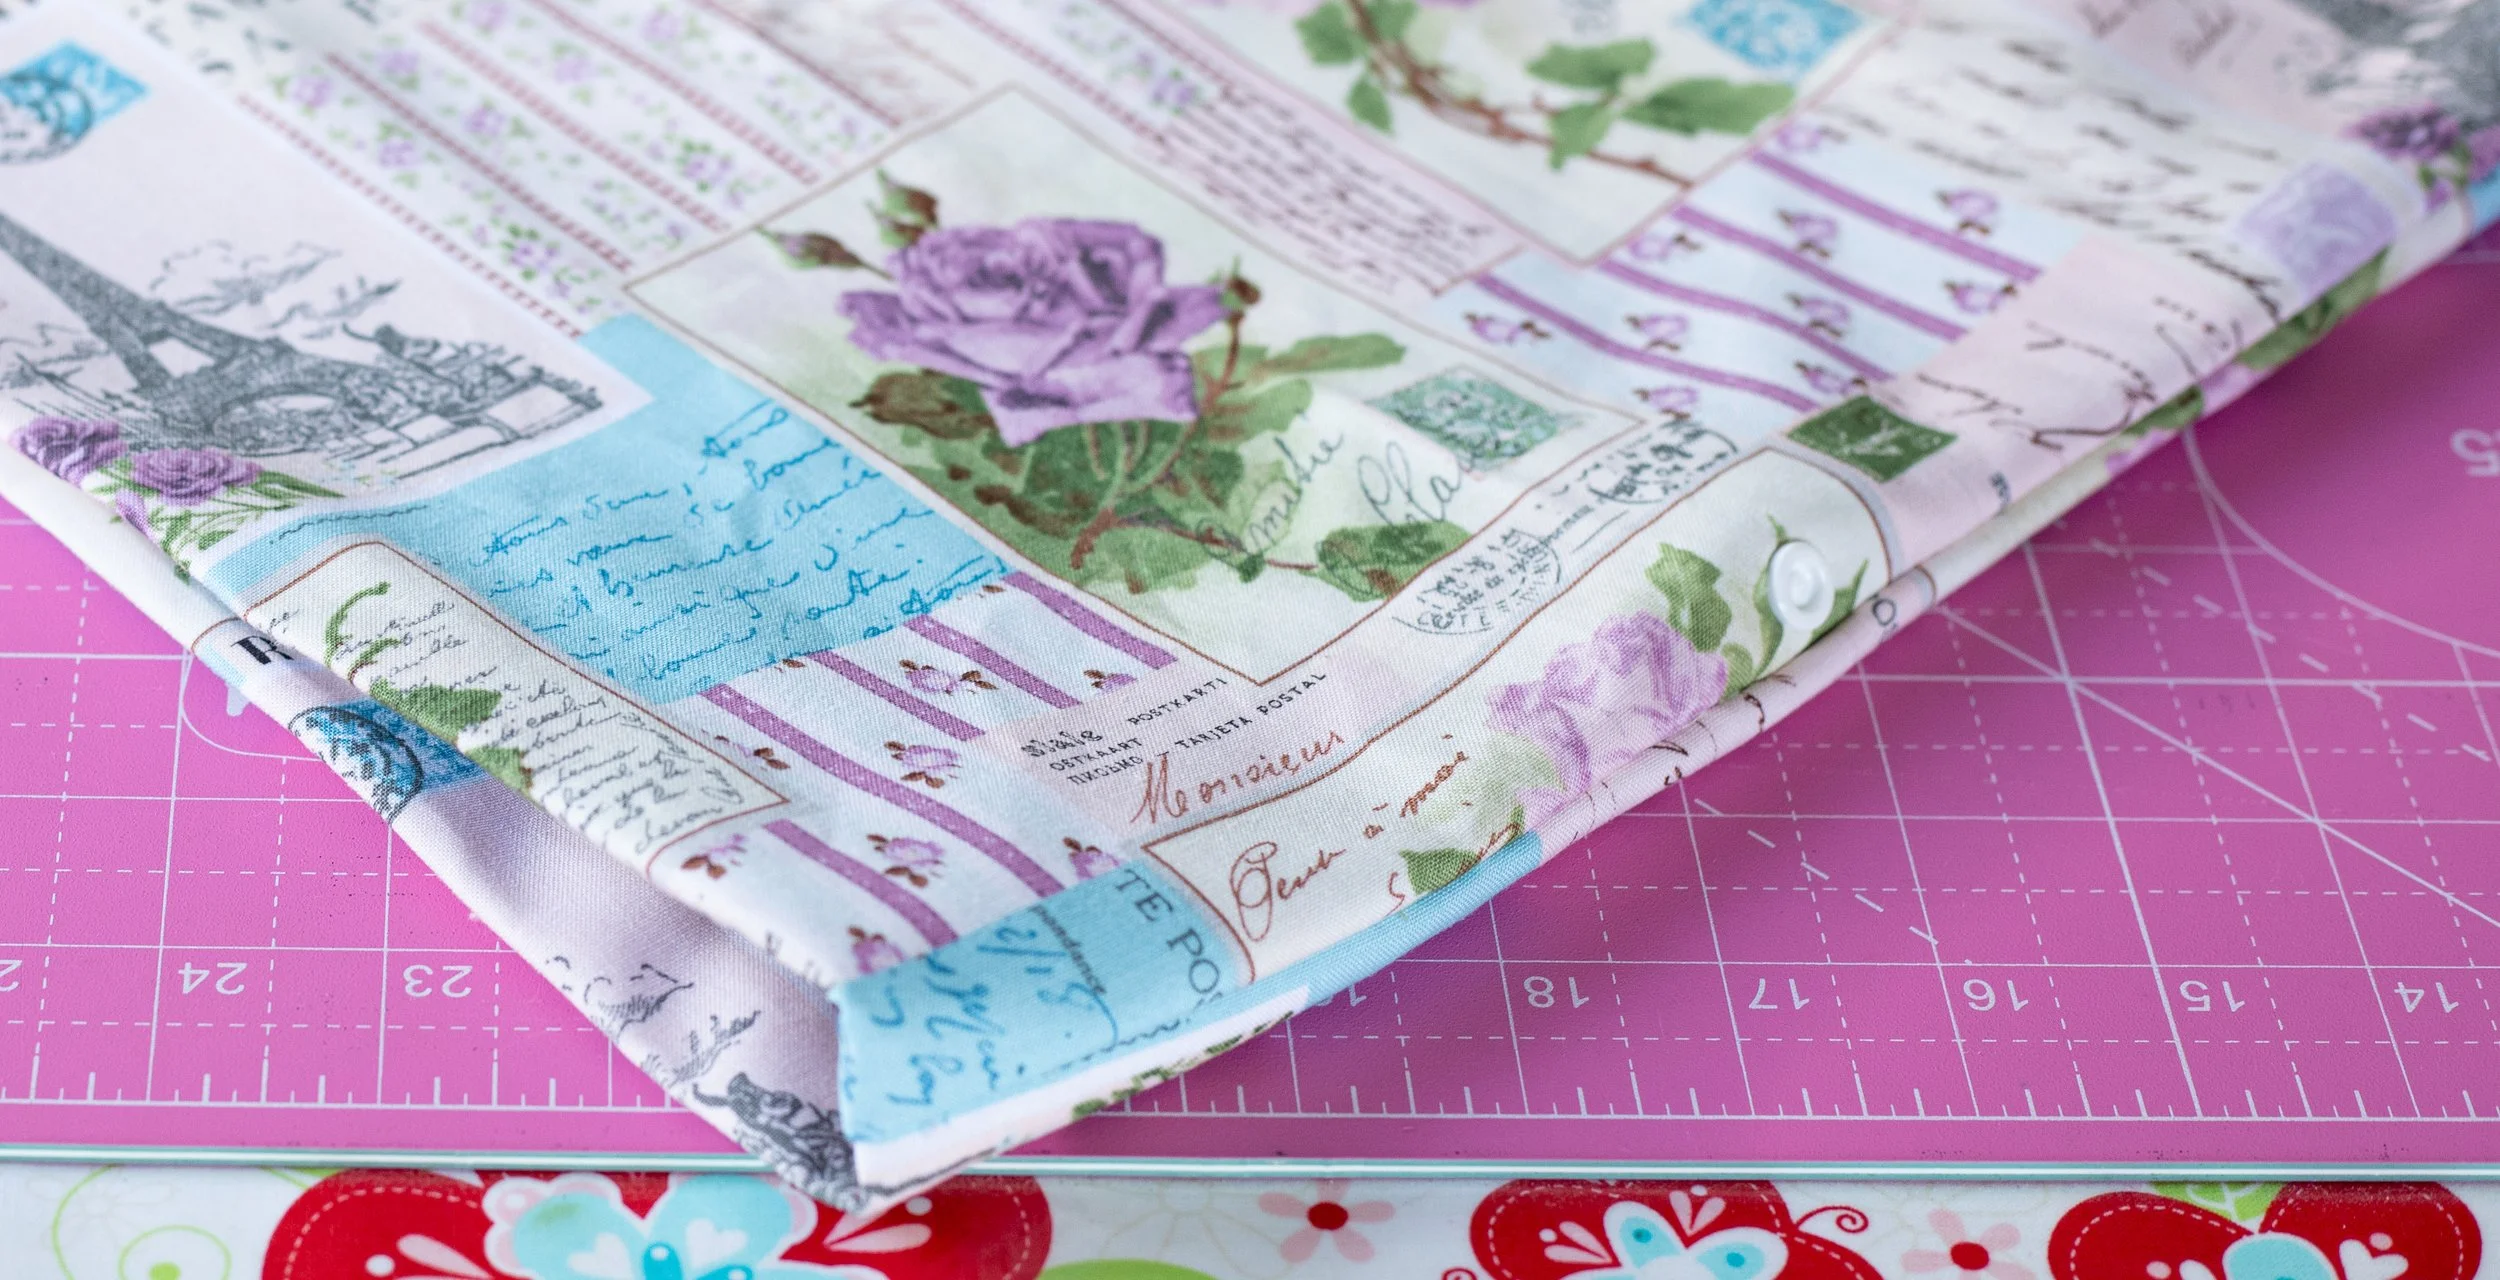
Next, grab a chalk pen or something similar. You will mark where the snaps need to be inserted.
I use chalk, then pins to mark the spot. You are marking the area where the fabric meets. You will insert a snap on each part.
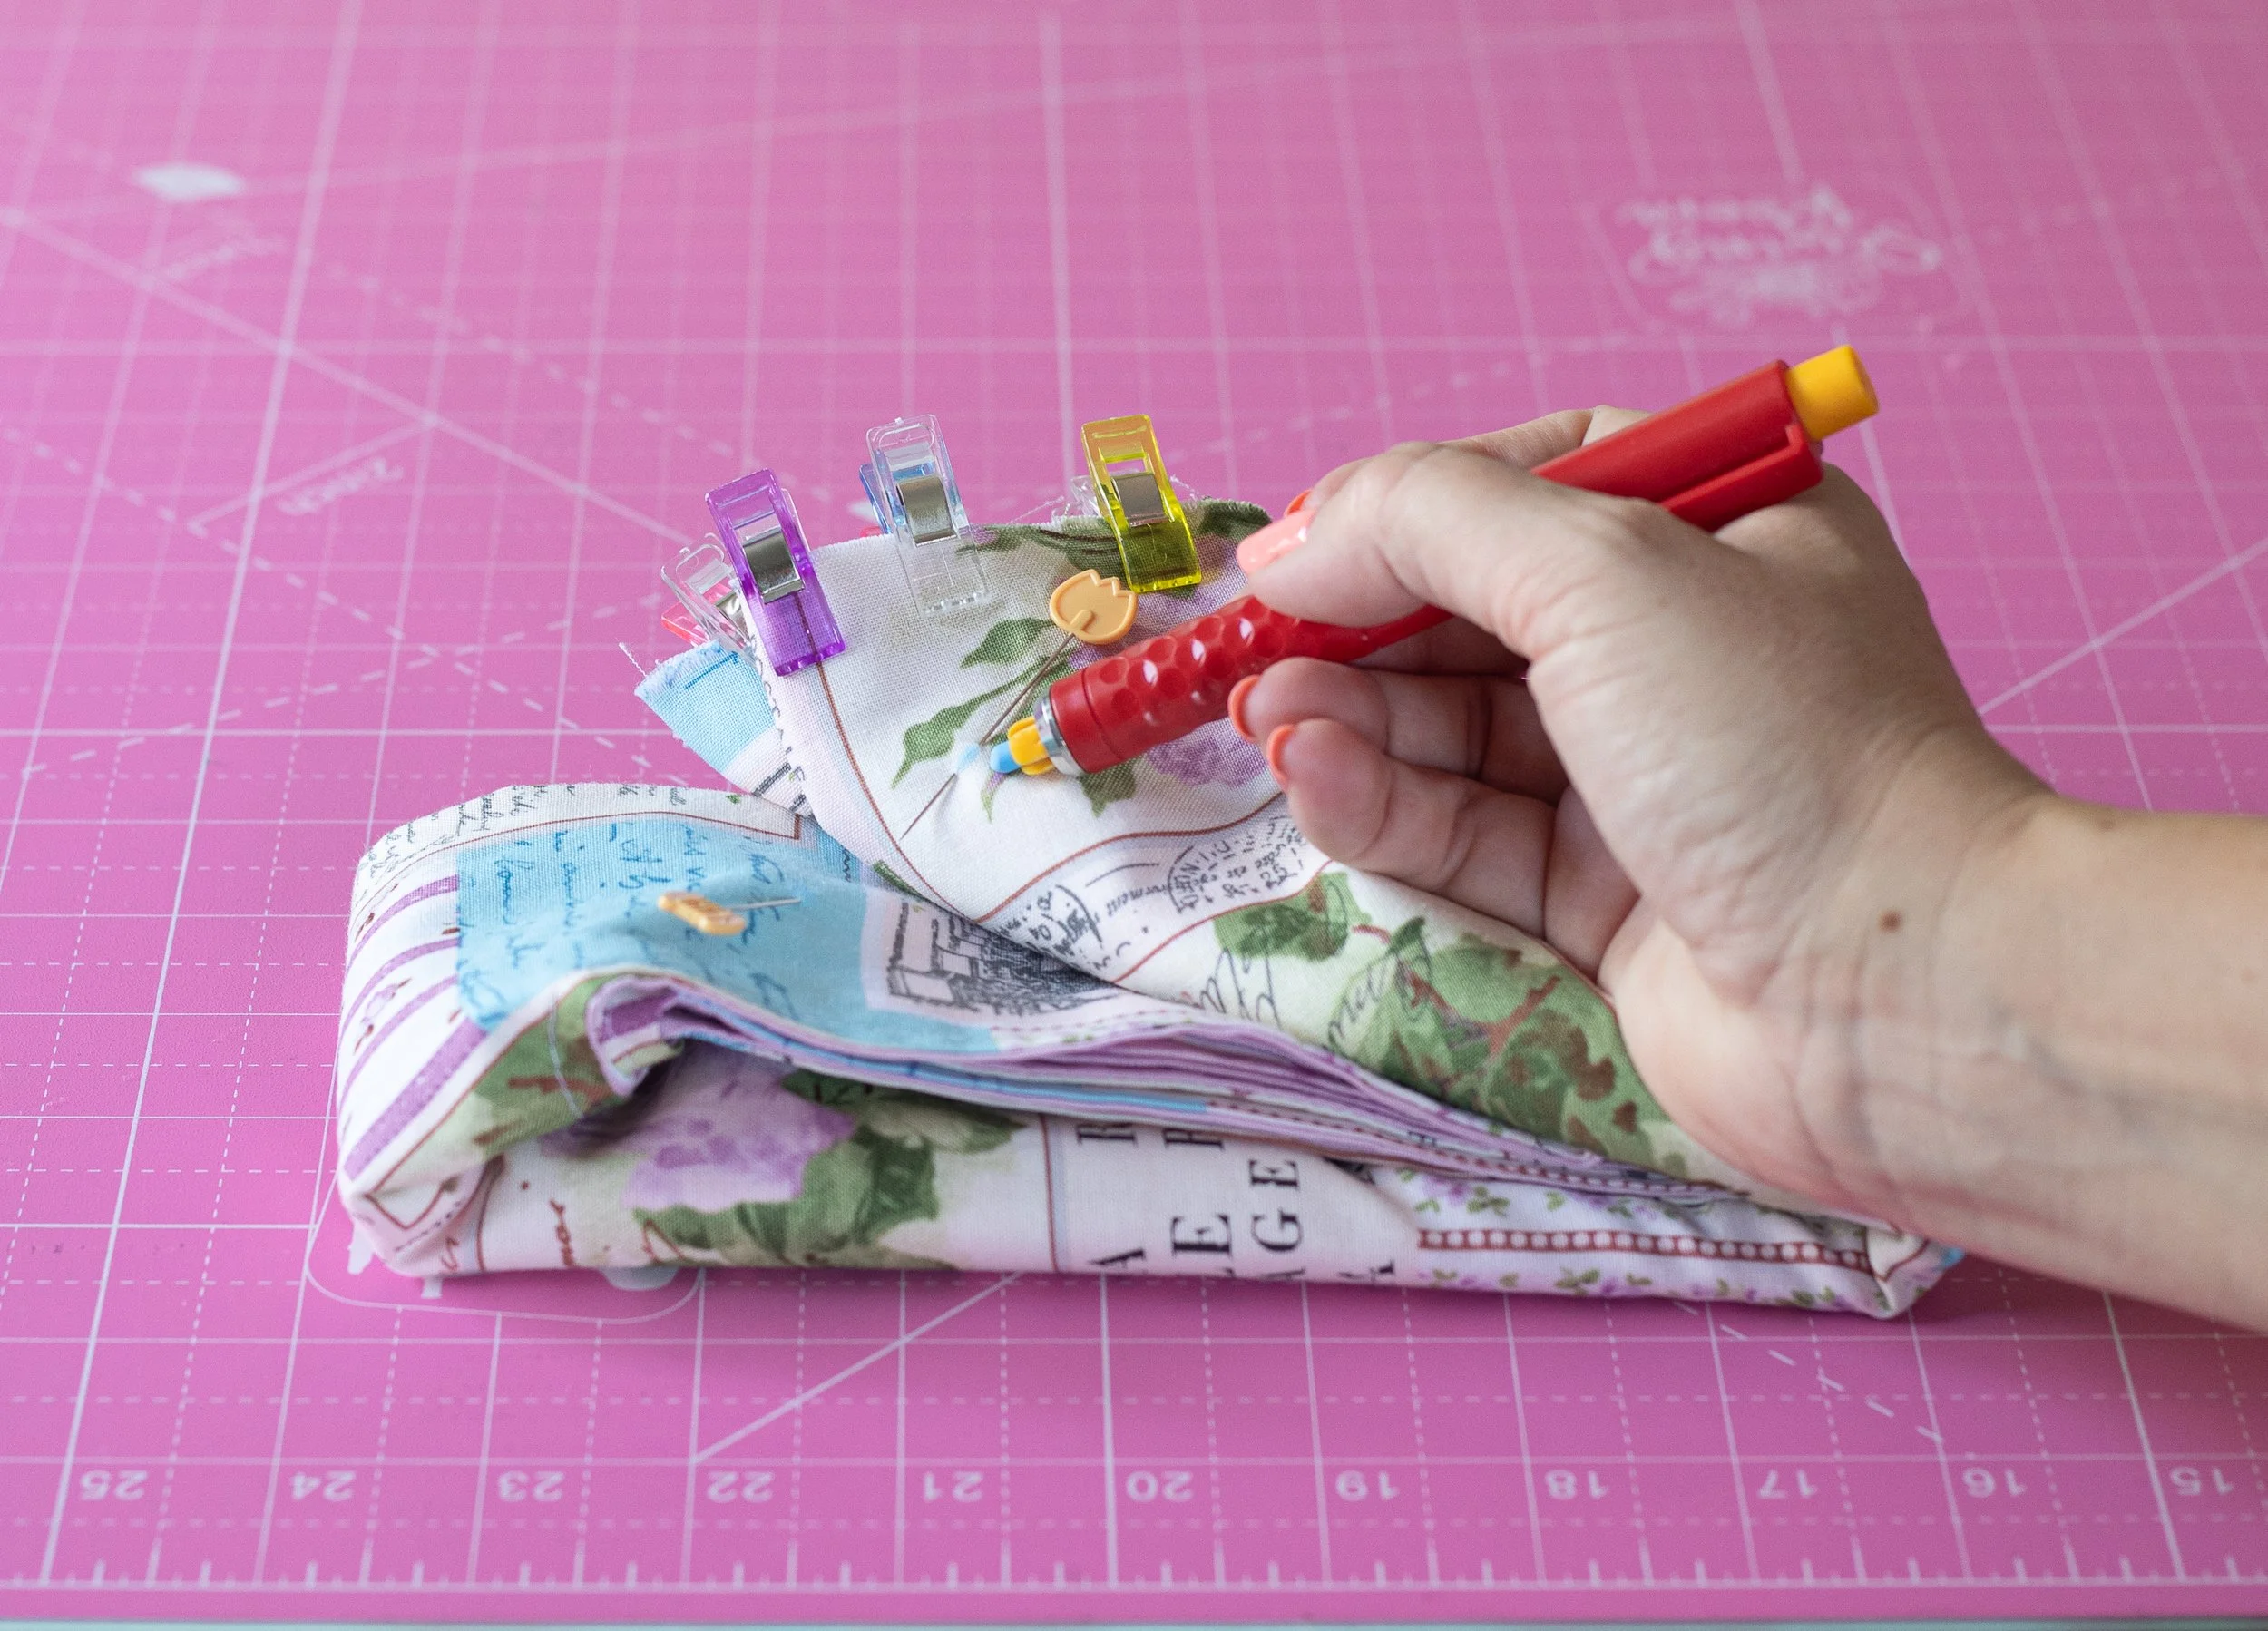
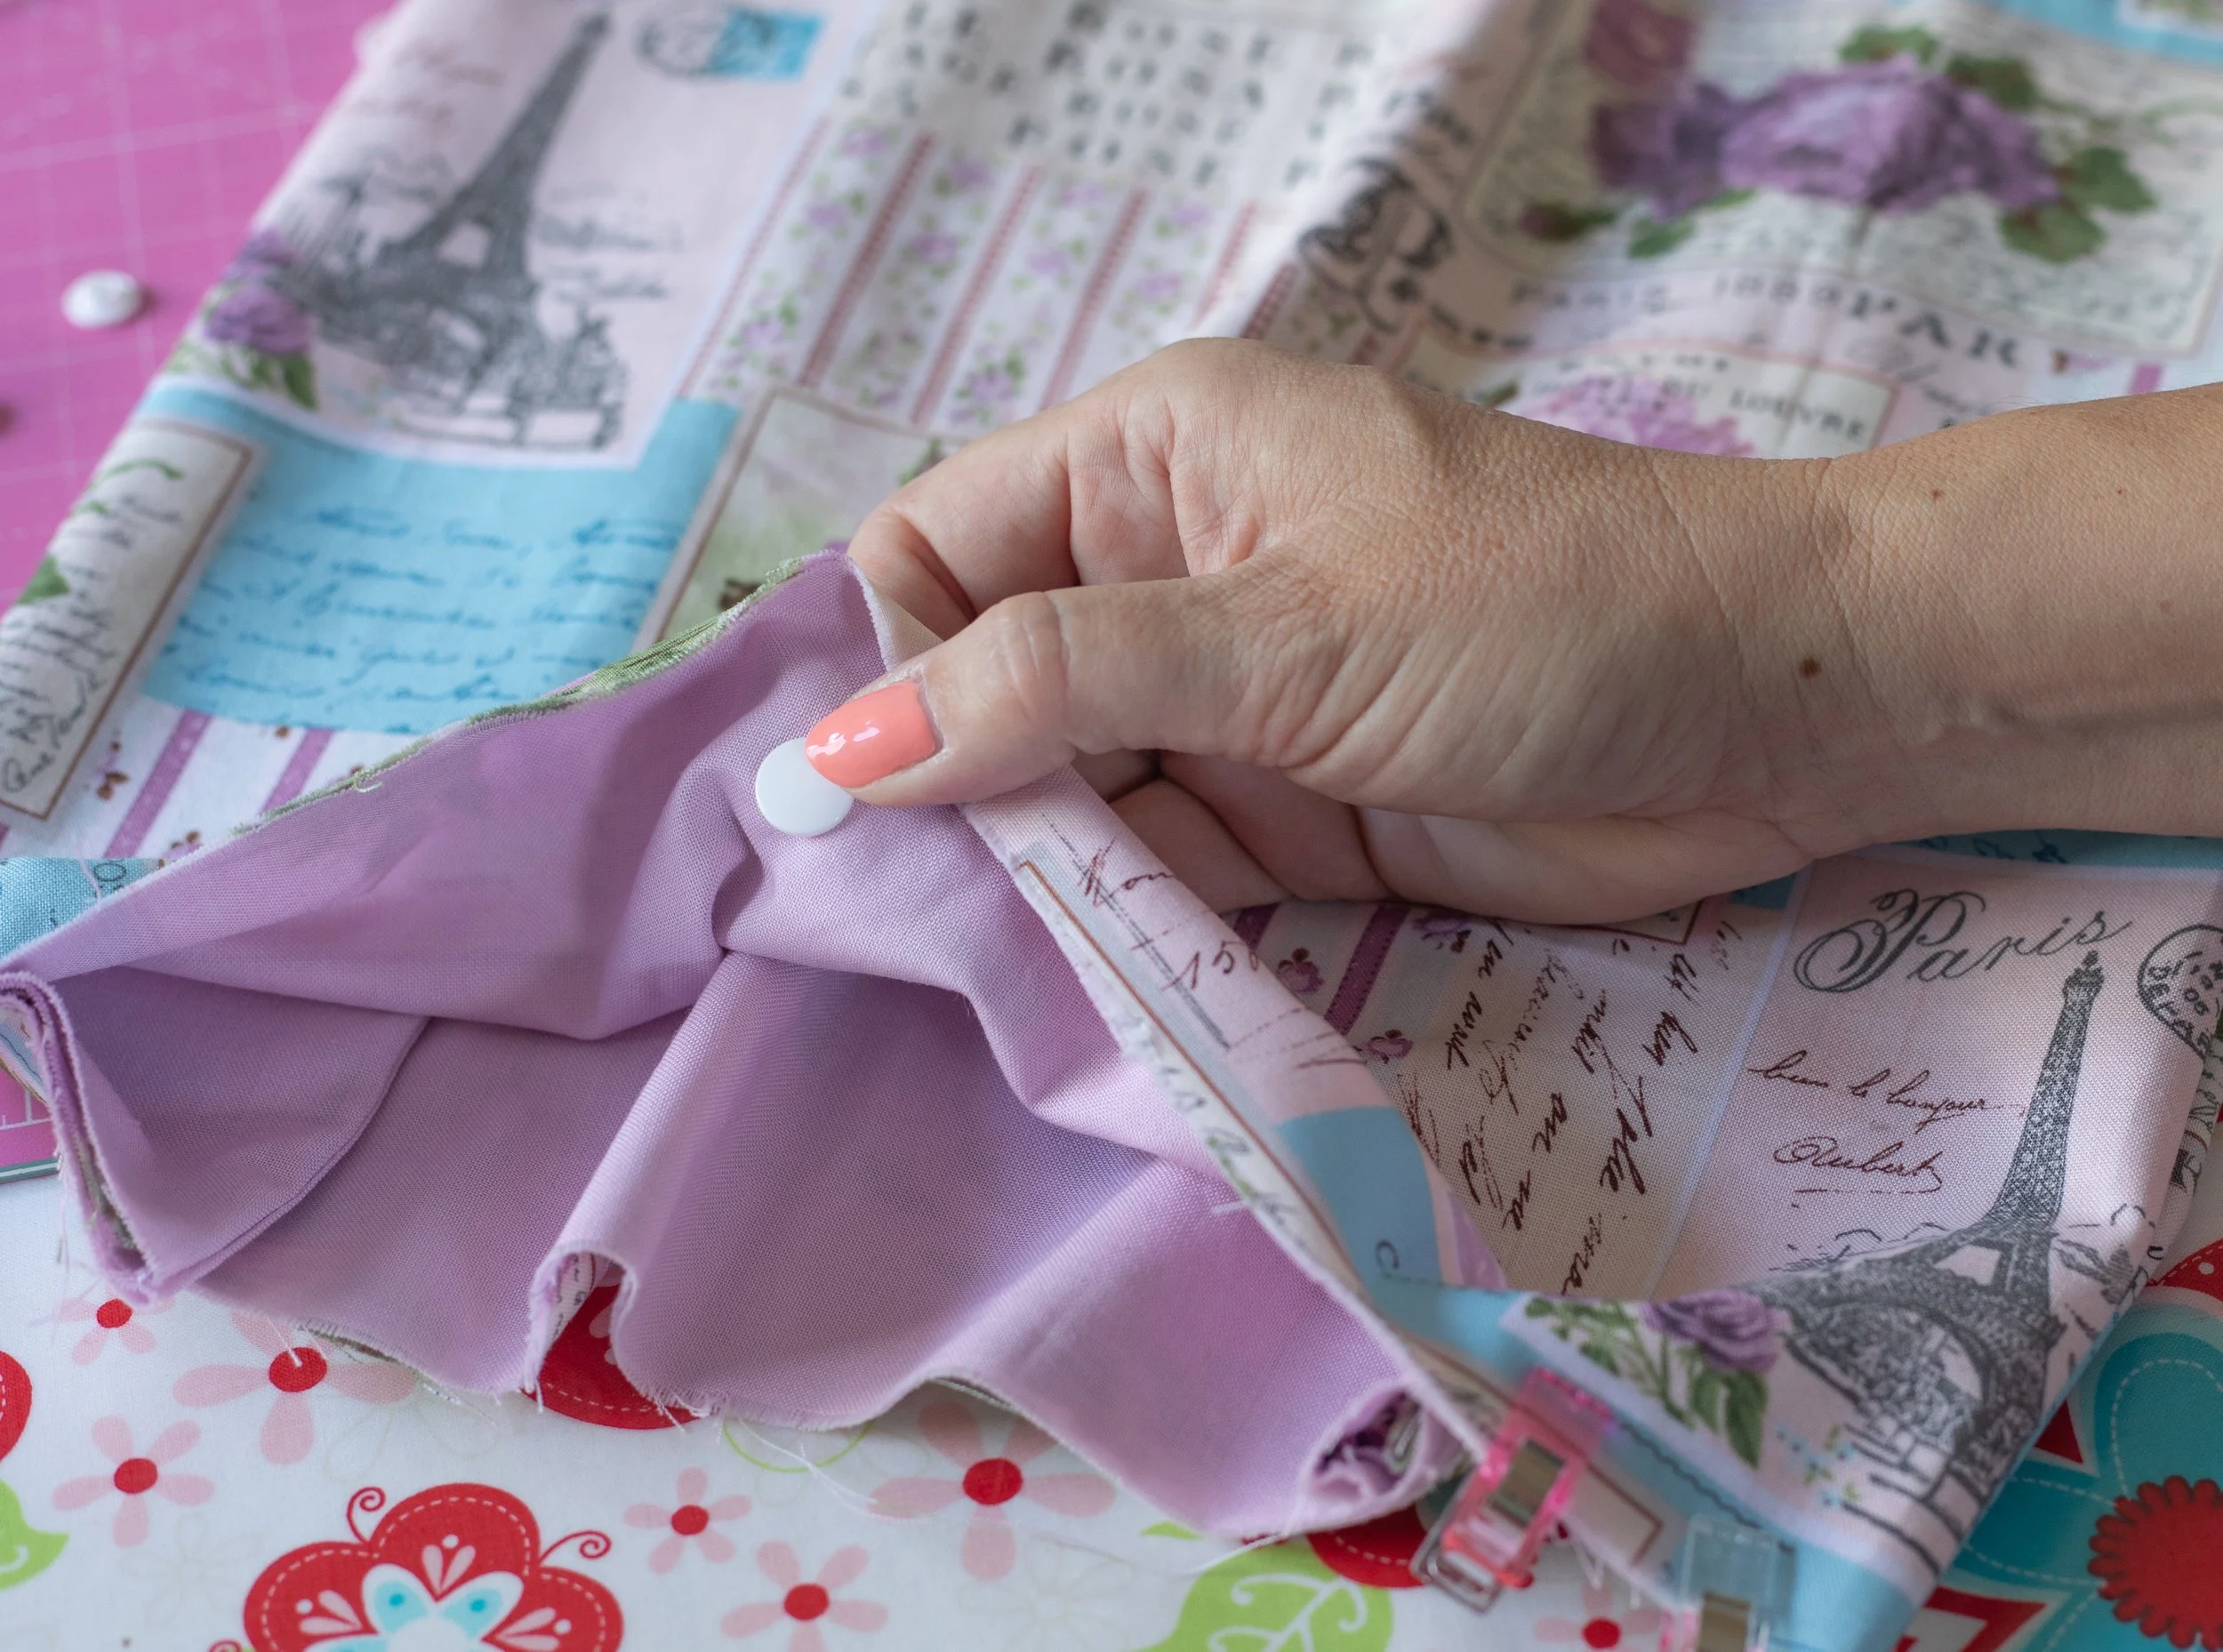
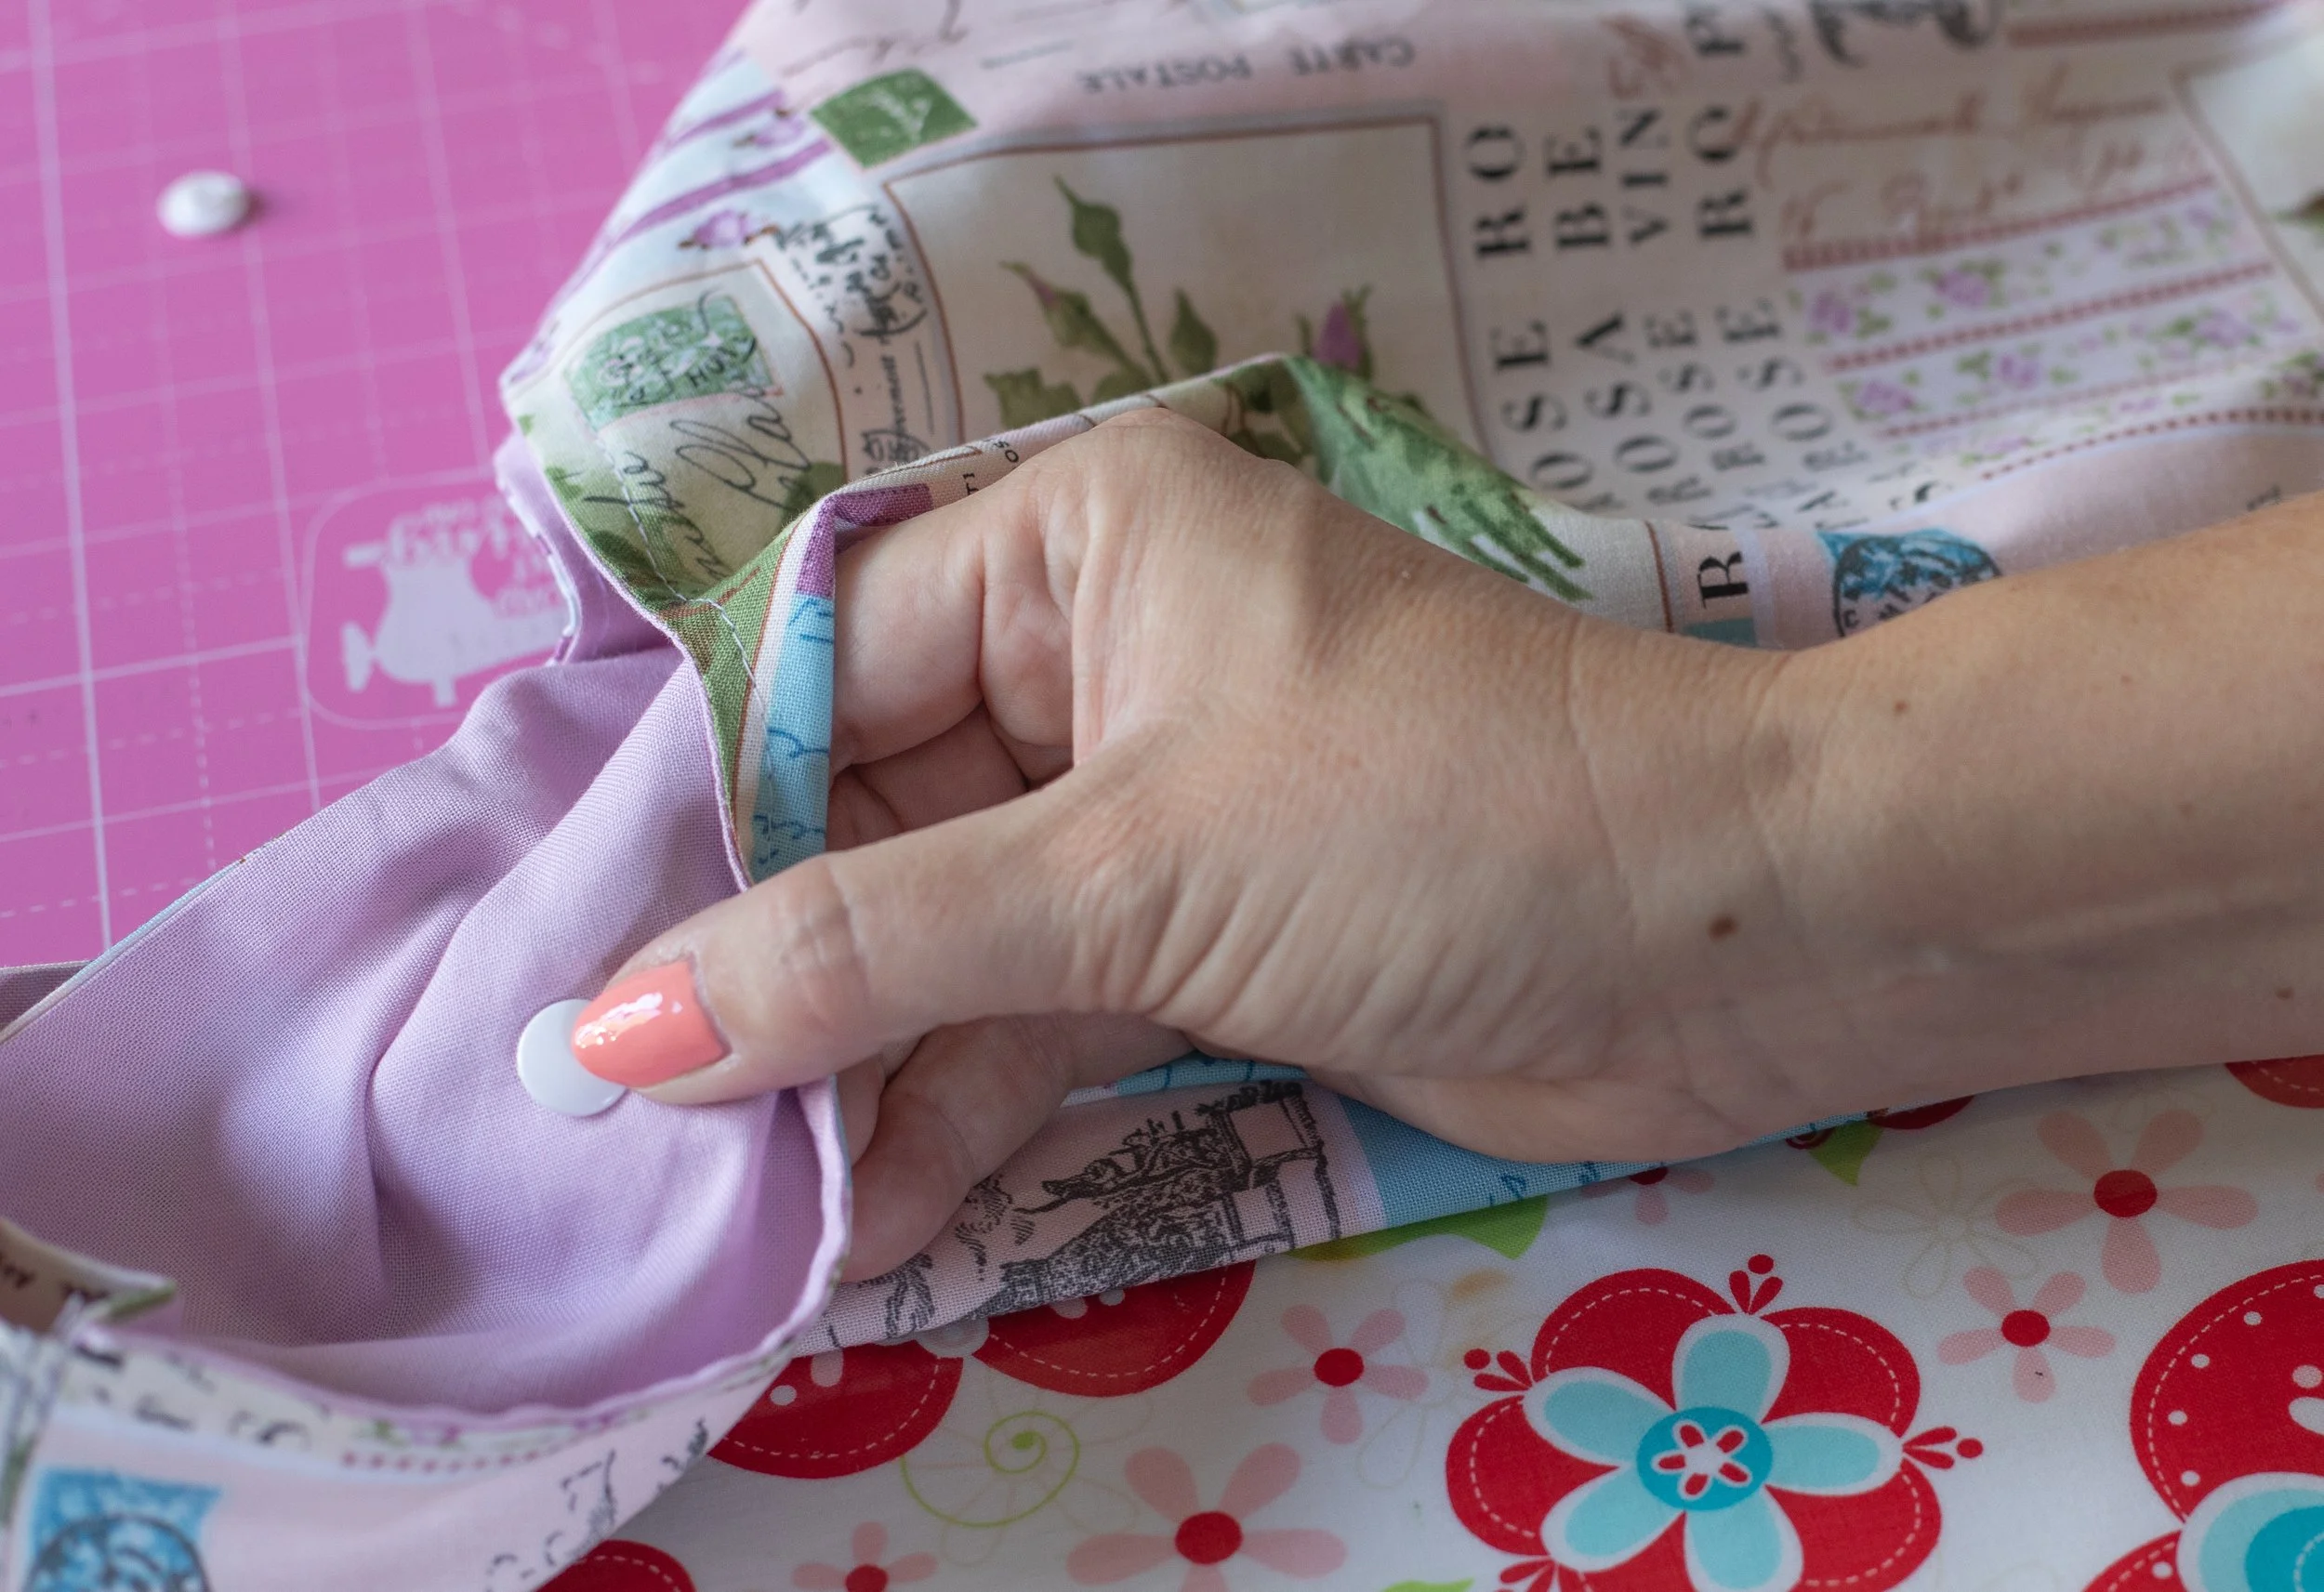
Unfold the bag and grab a tiny scrap of interfacing—about 1” in size, and your KAM snap tool.
Apply your interfacing to the wrong side of the fabric, sandwiching the scrap piece between the lining and outer.
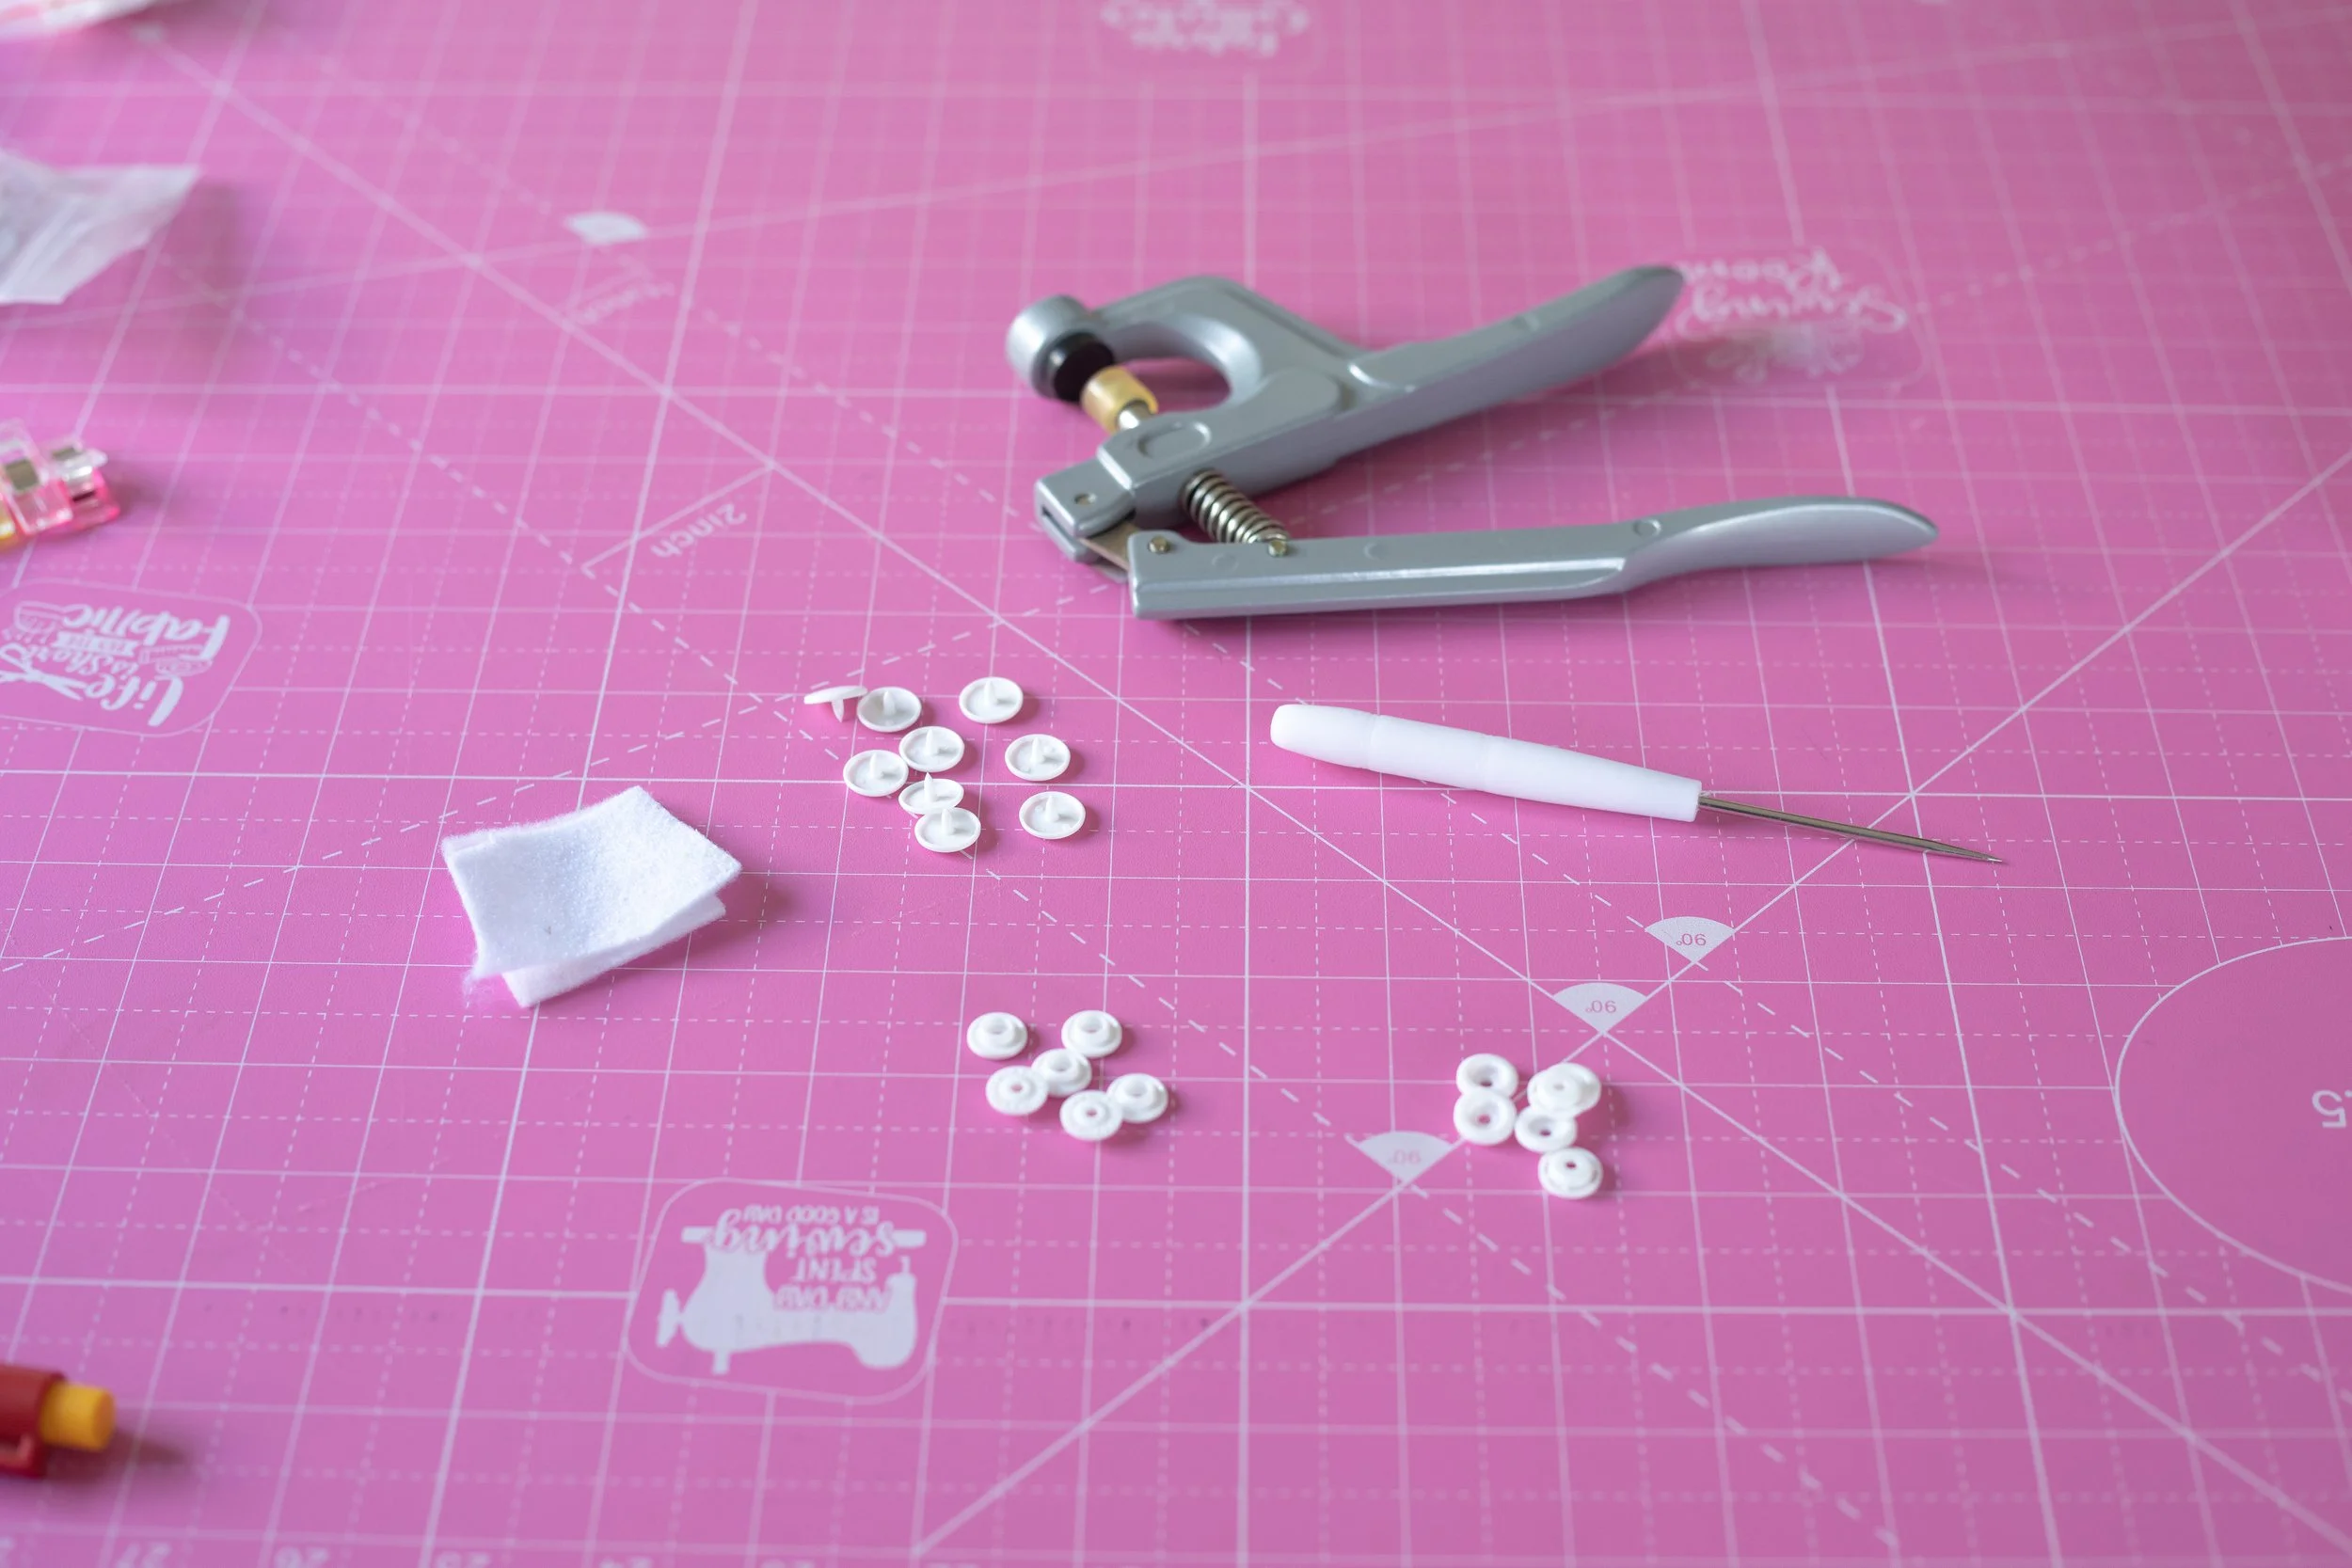
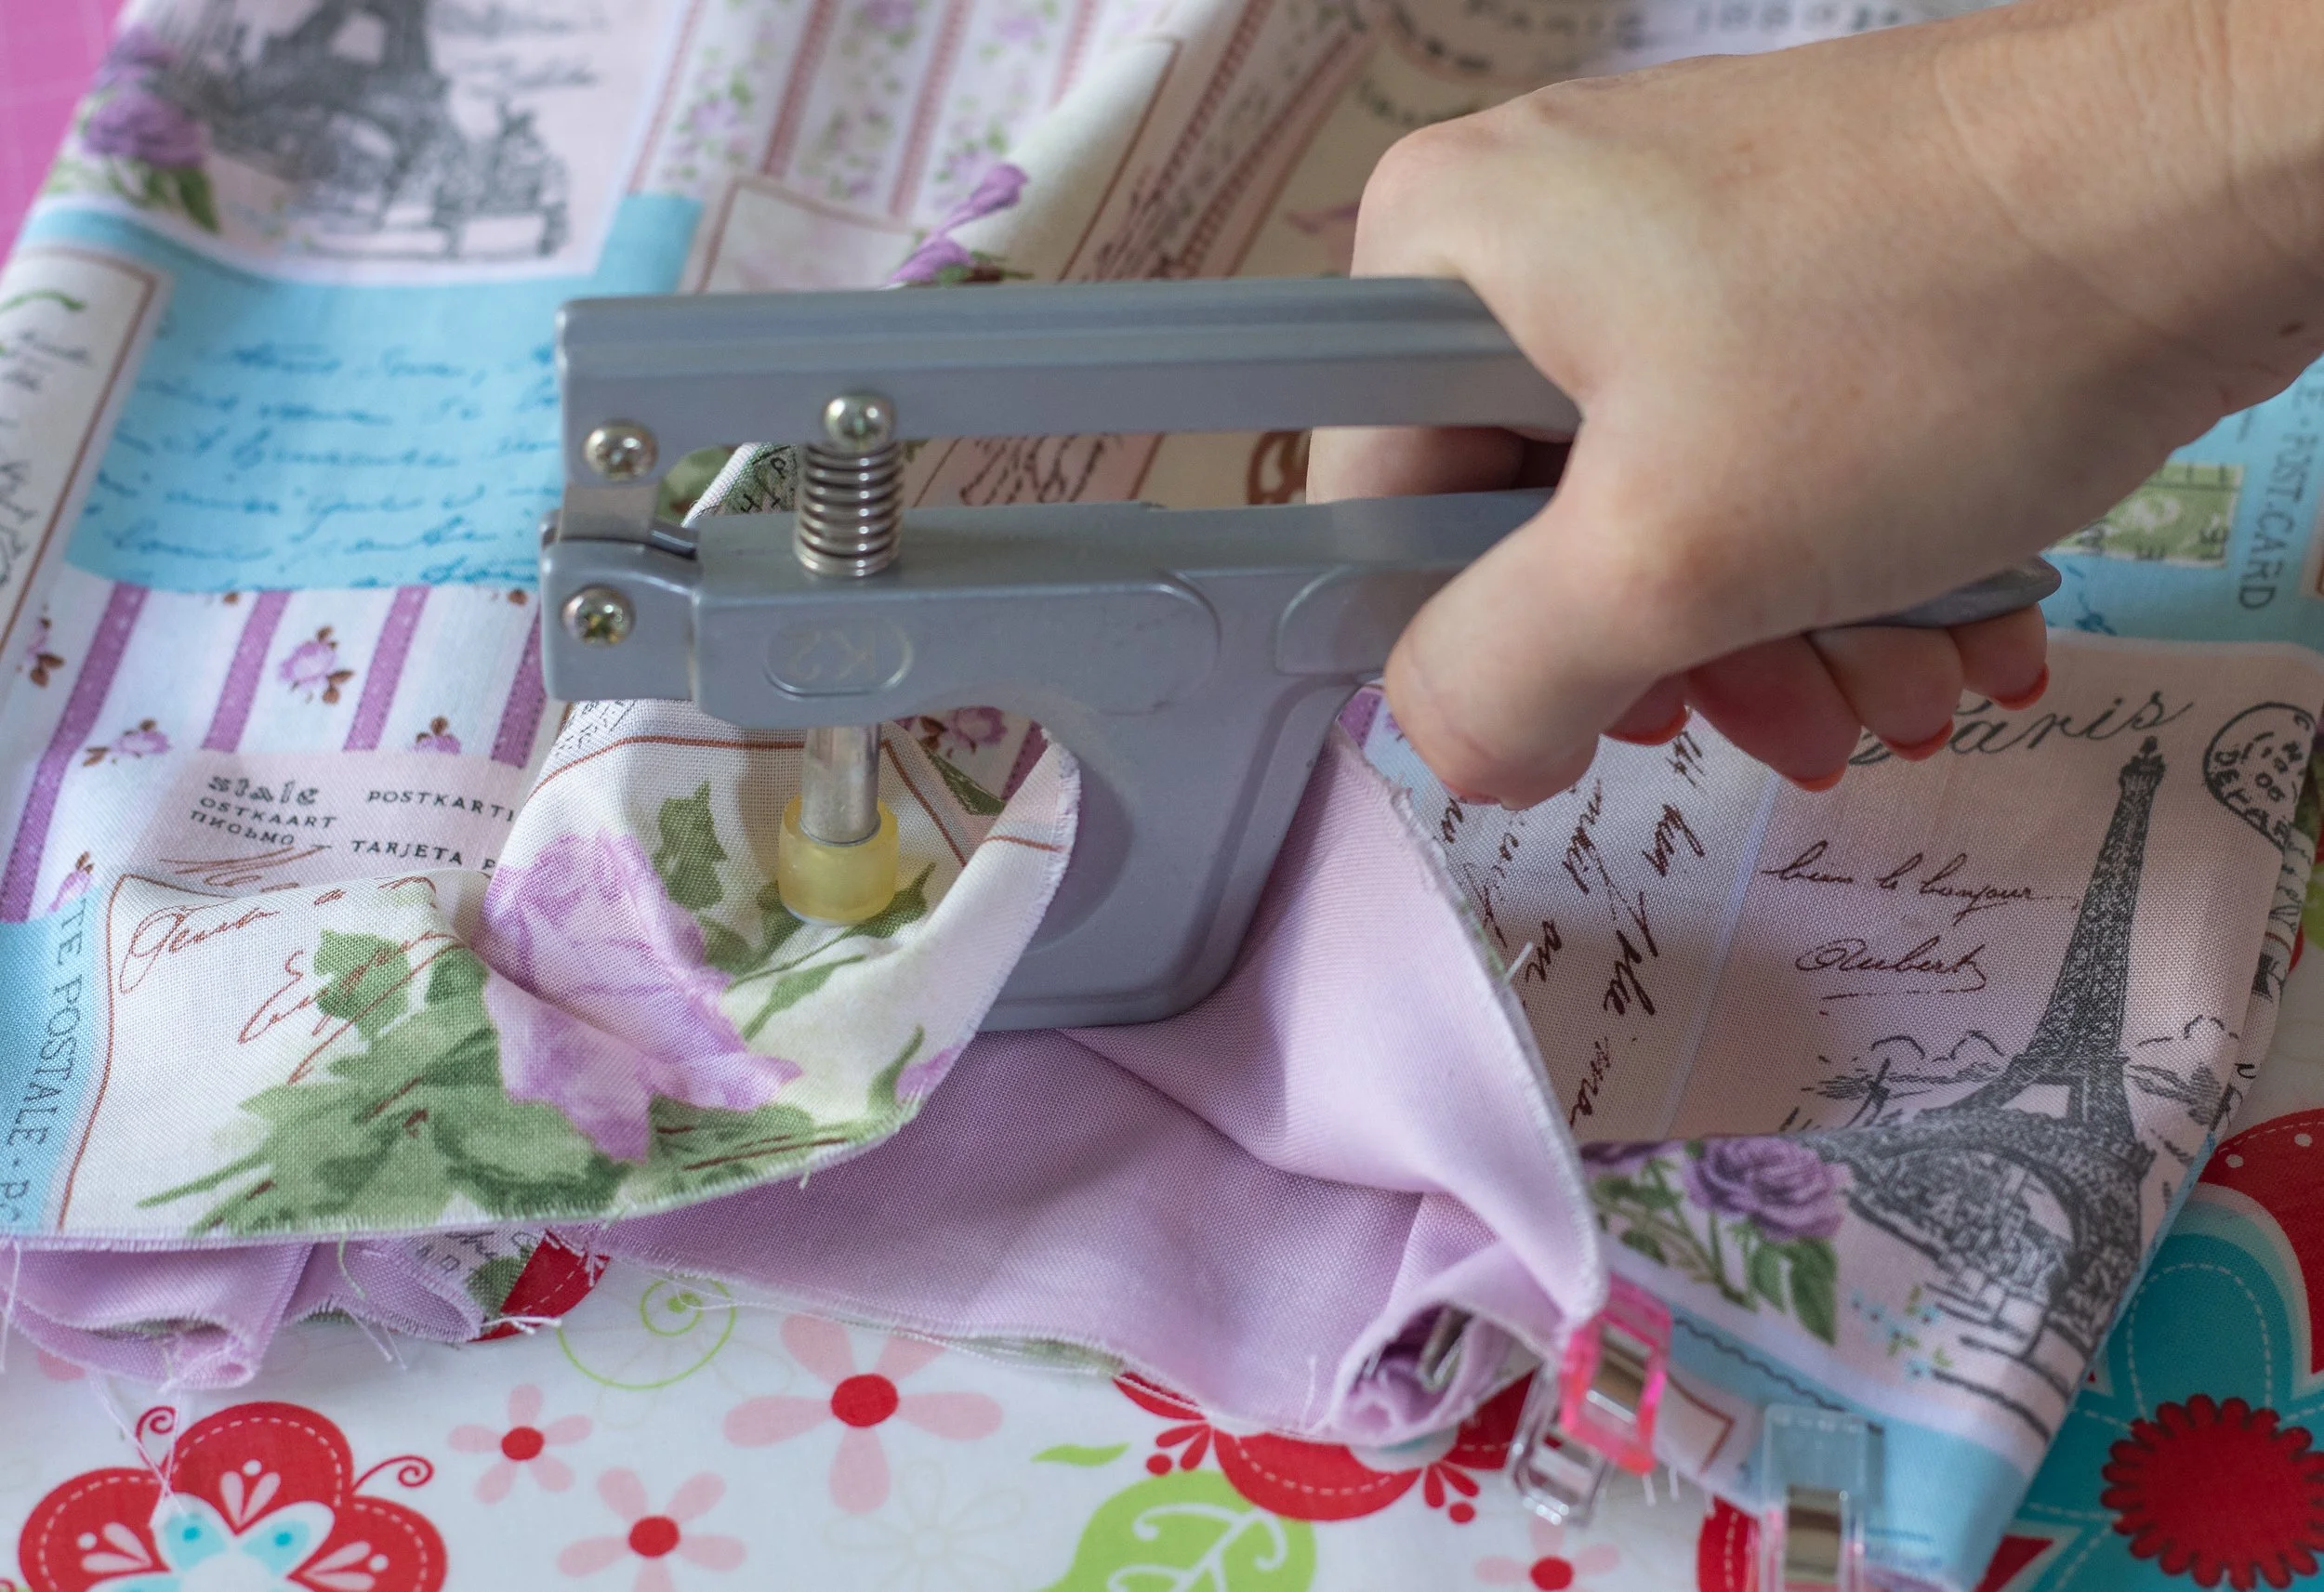
KAM snap kit.
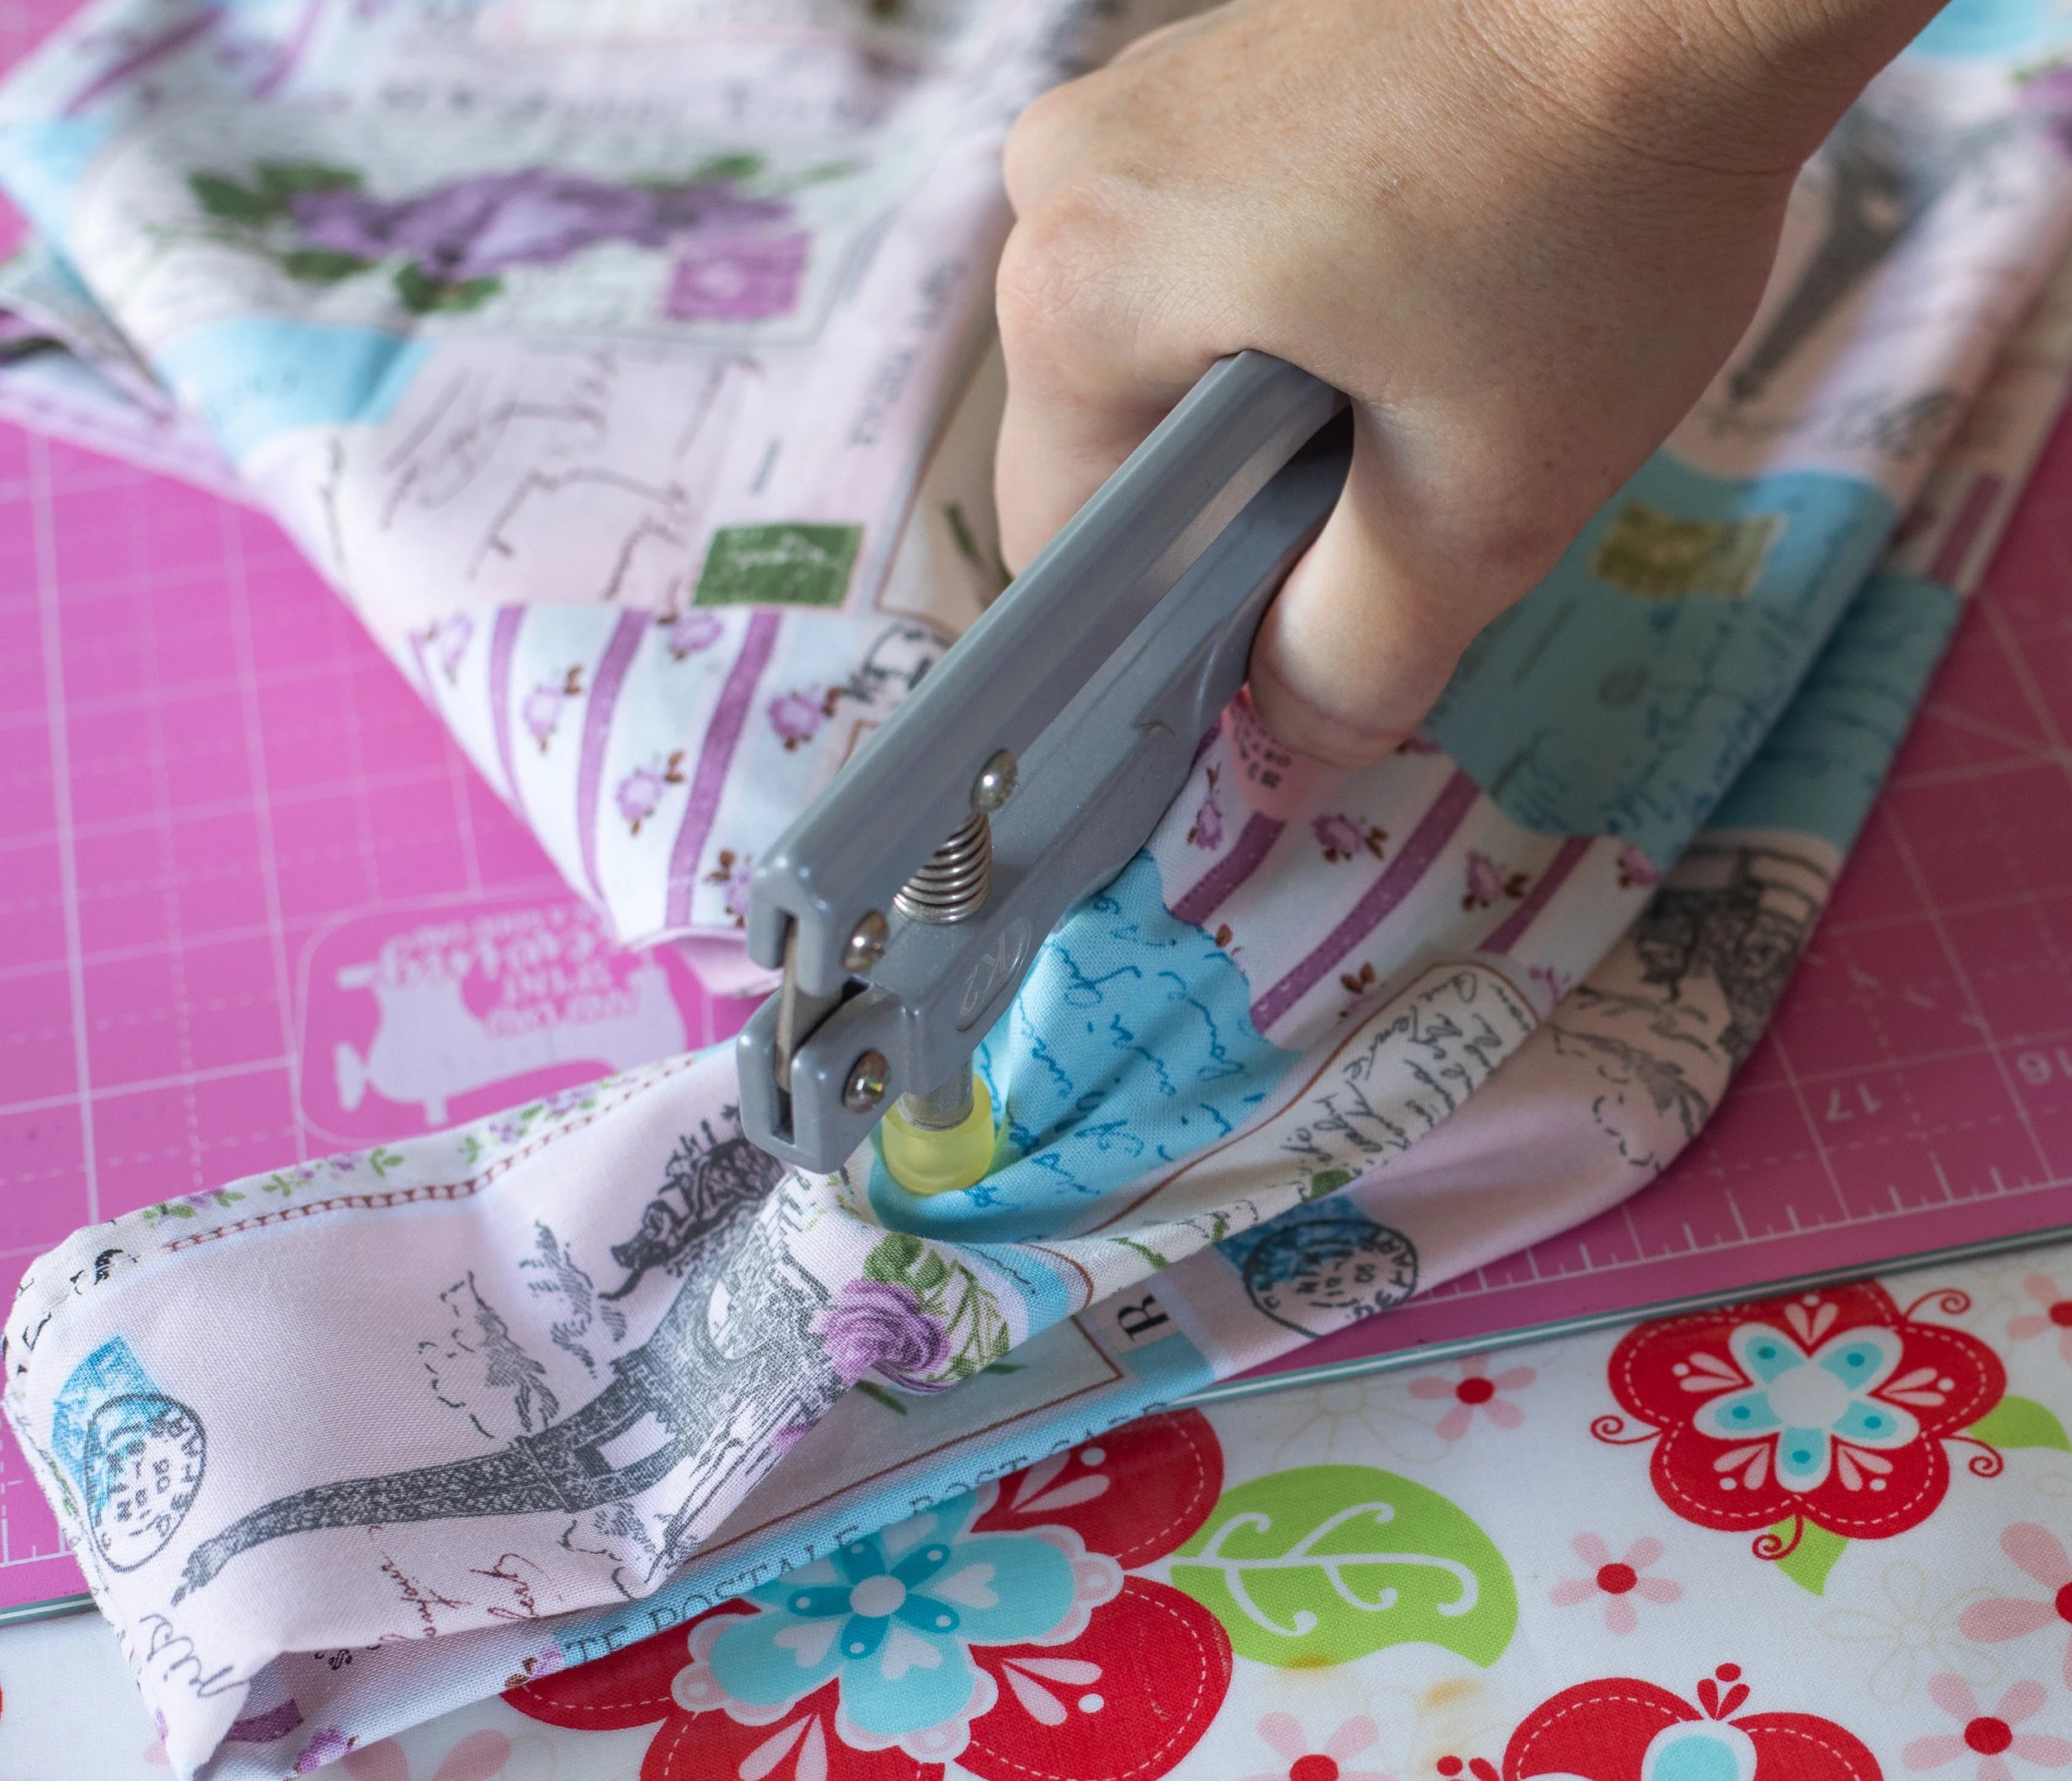
Use the awl to make the hole. Apply your snaps according to the instructions.
Apply one snap about 2.5 +/-” from the bottom. (Make sure you have enough room to sew the bottom hem)
Apply the second snap-up near the handle area.
This might seem silly to insert the snap after the bag is practically together. However, I have made over 100 of these bags to sell in my Etsy shop, at craft fairs, and to gift to friends and family. This is the only way that works. I don’t know why.
Maybe I live in an alternate universe? Who knows.
This is the easiest time to insert the snap. Every fabric has different thicknesses, and I’ve run into issues when inserting them earlier in the bag-making process.
I show how I insert the snap below, but I didn’t go into details because everyone has different snap maker tools. I prefer the KAM snaps. If you’d like to see how they insert their snaps, click here.
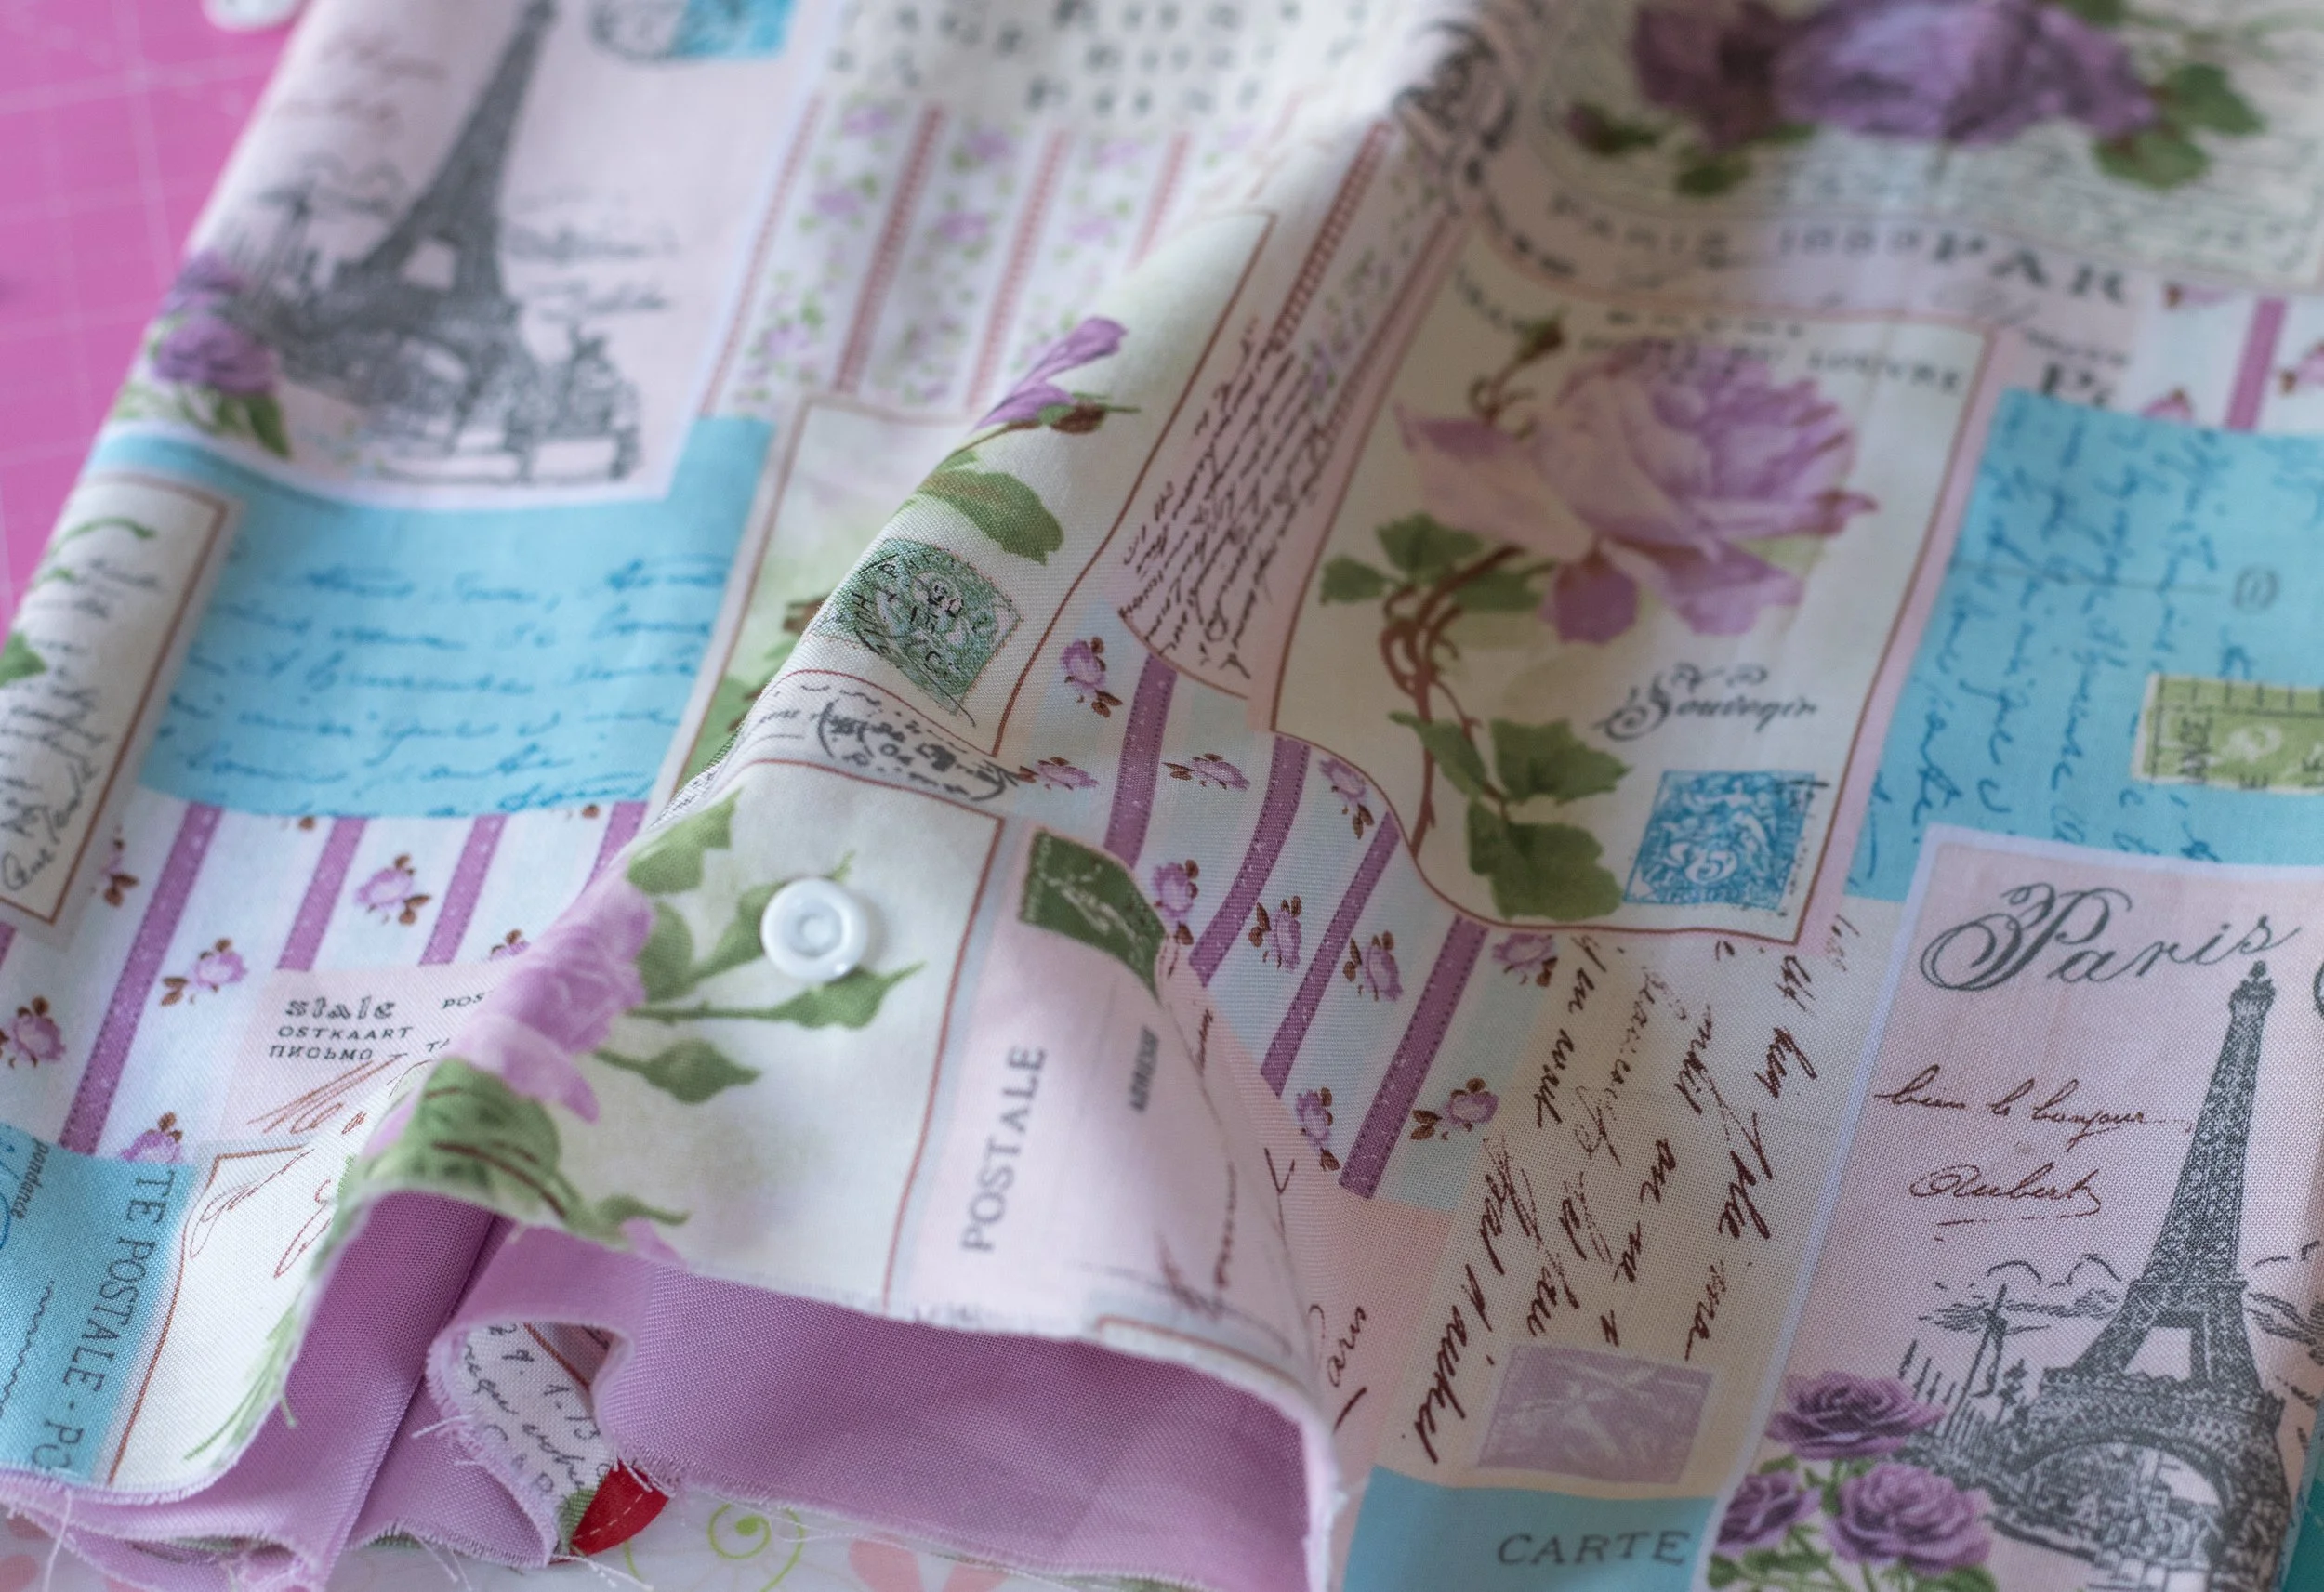
Snap insertion is complete!
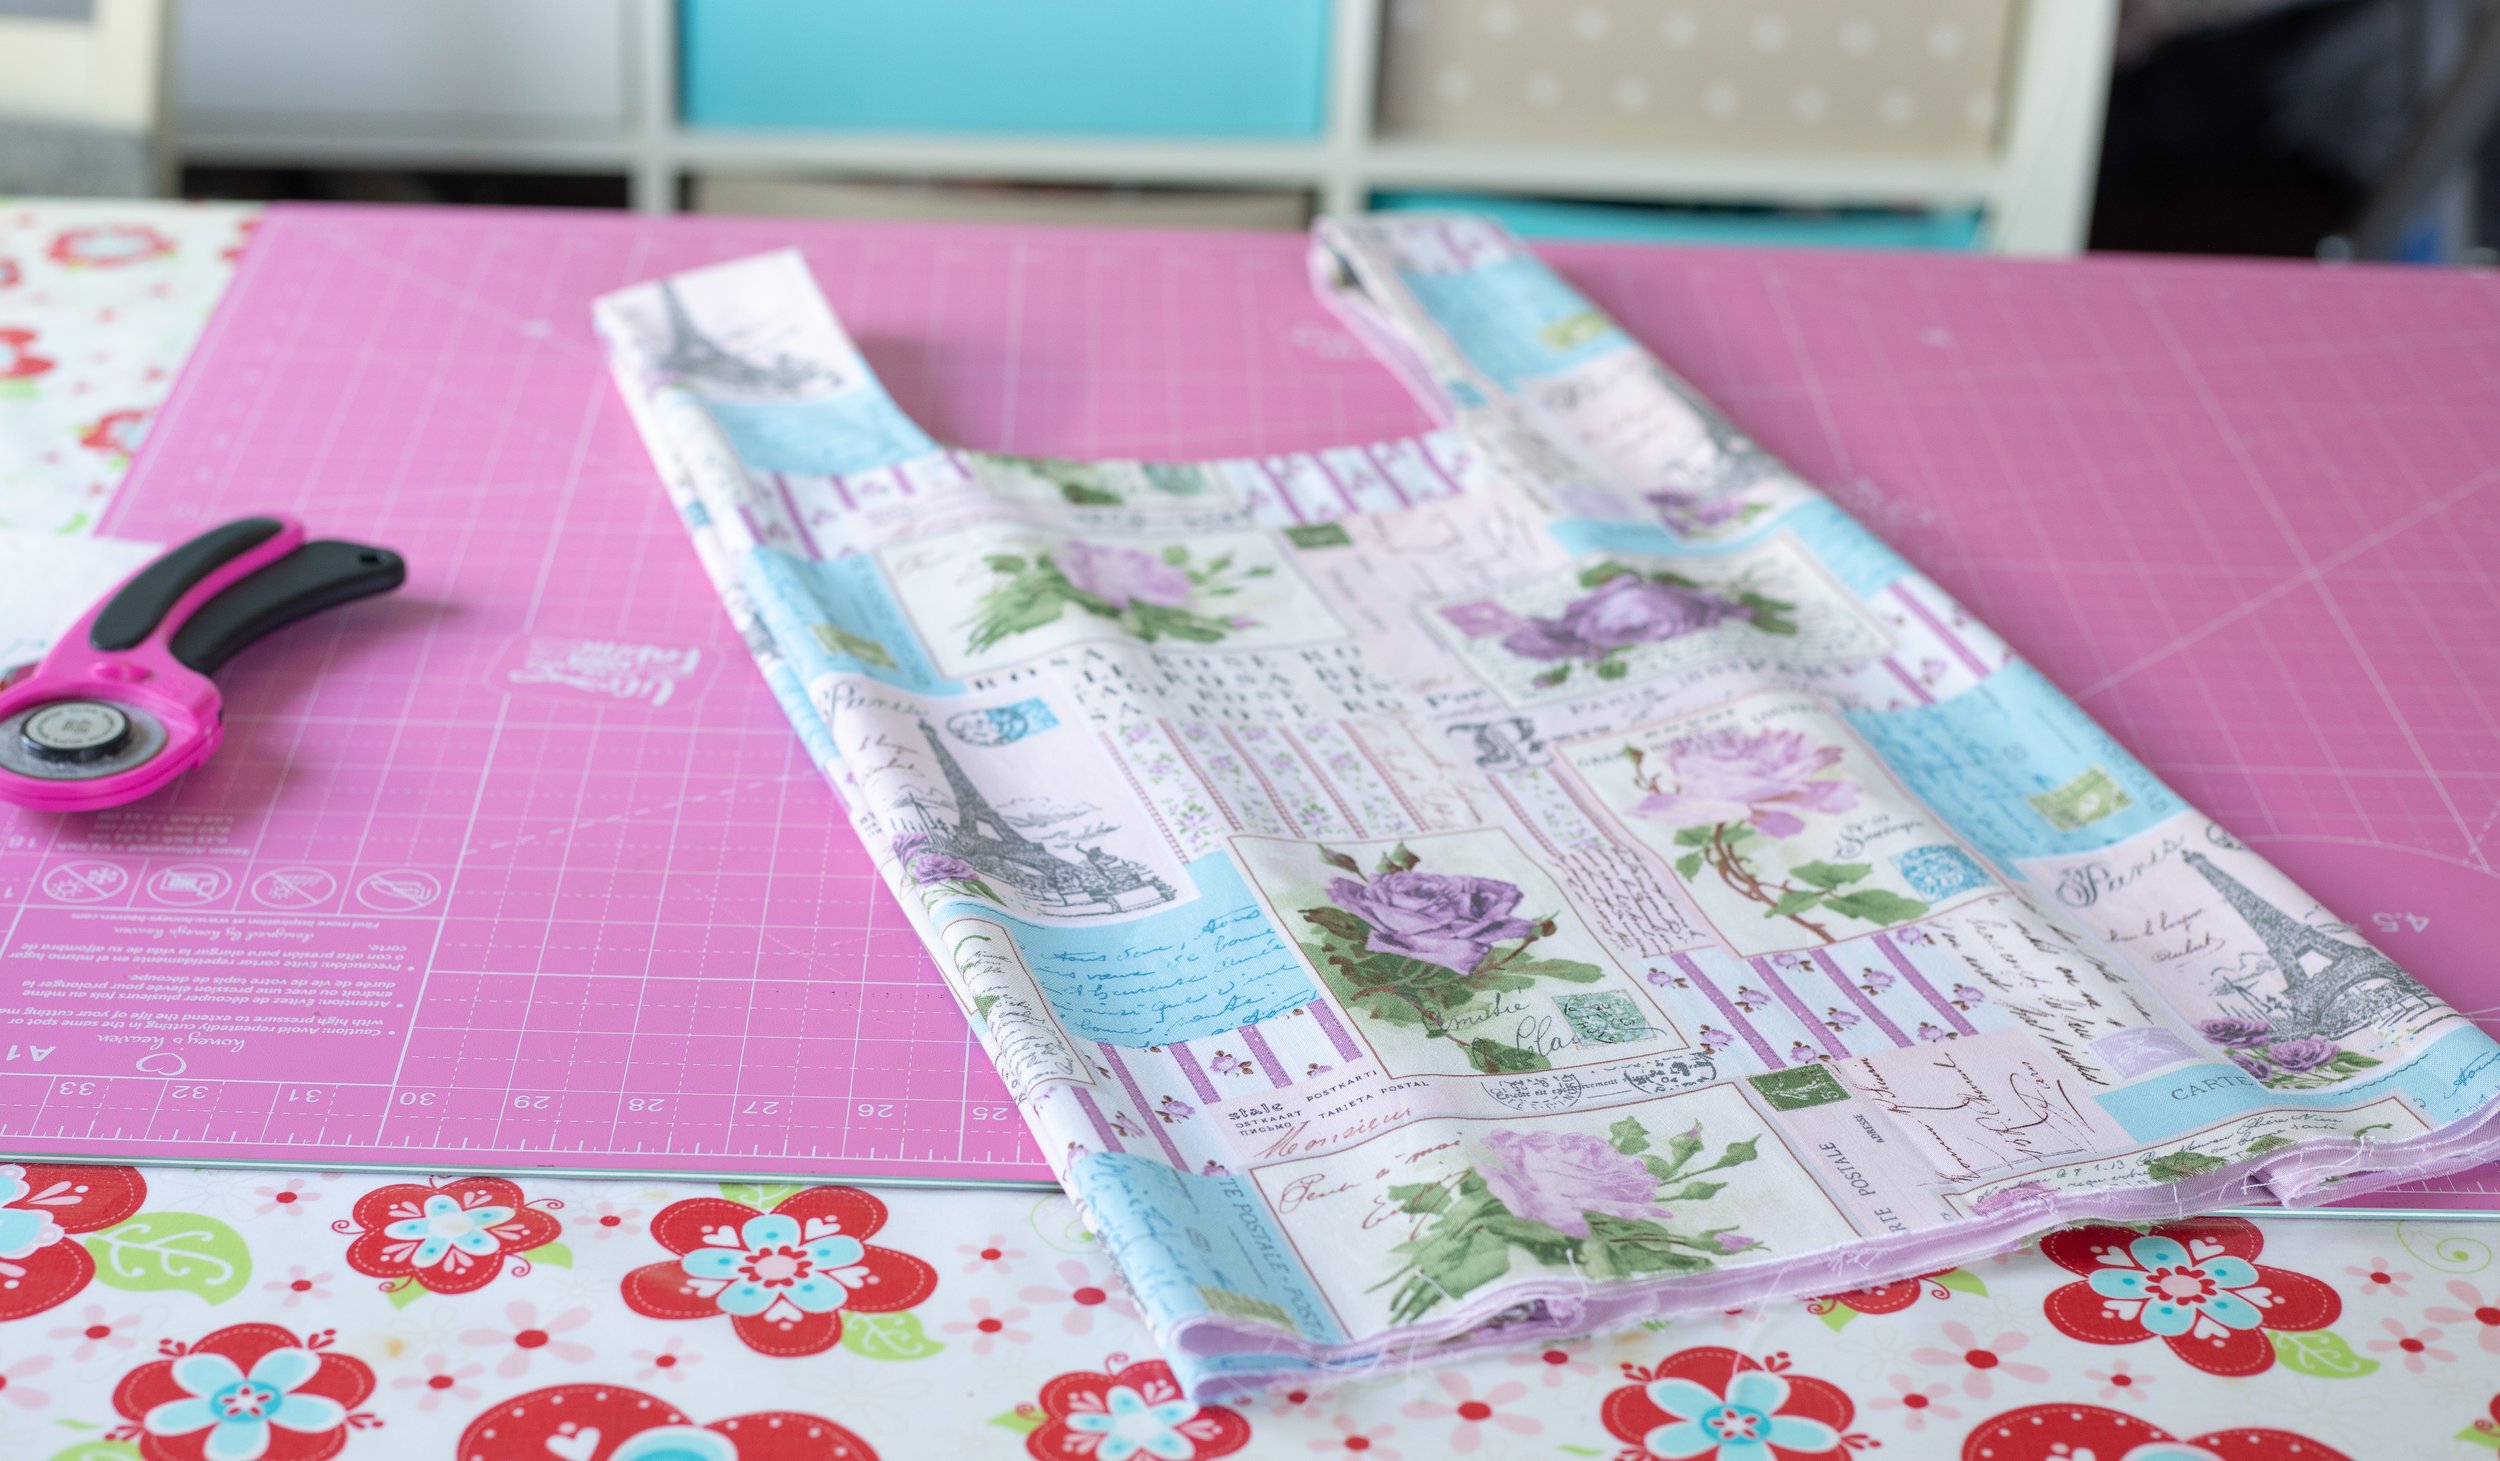
Next up is the hem.
IT’S HEMMER TIME
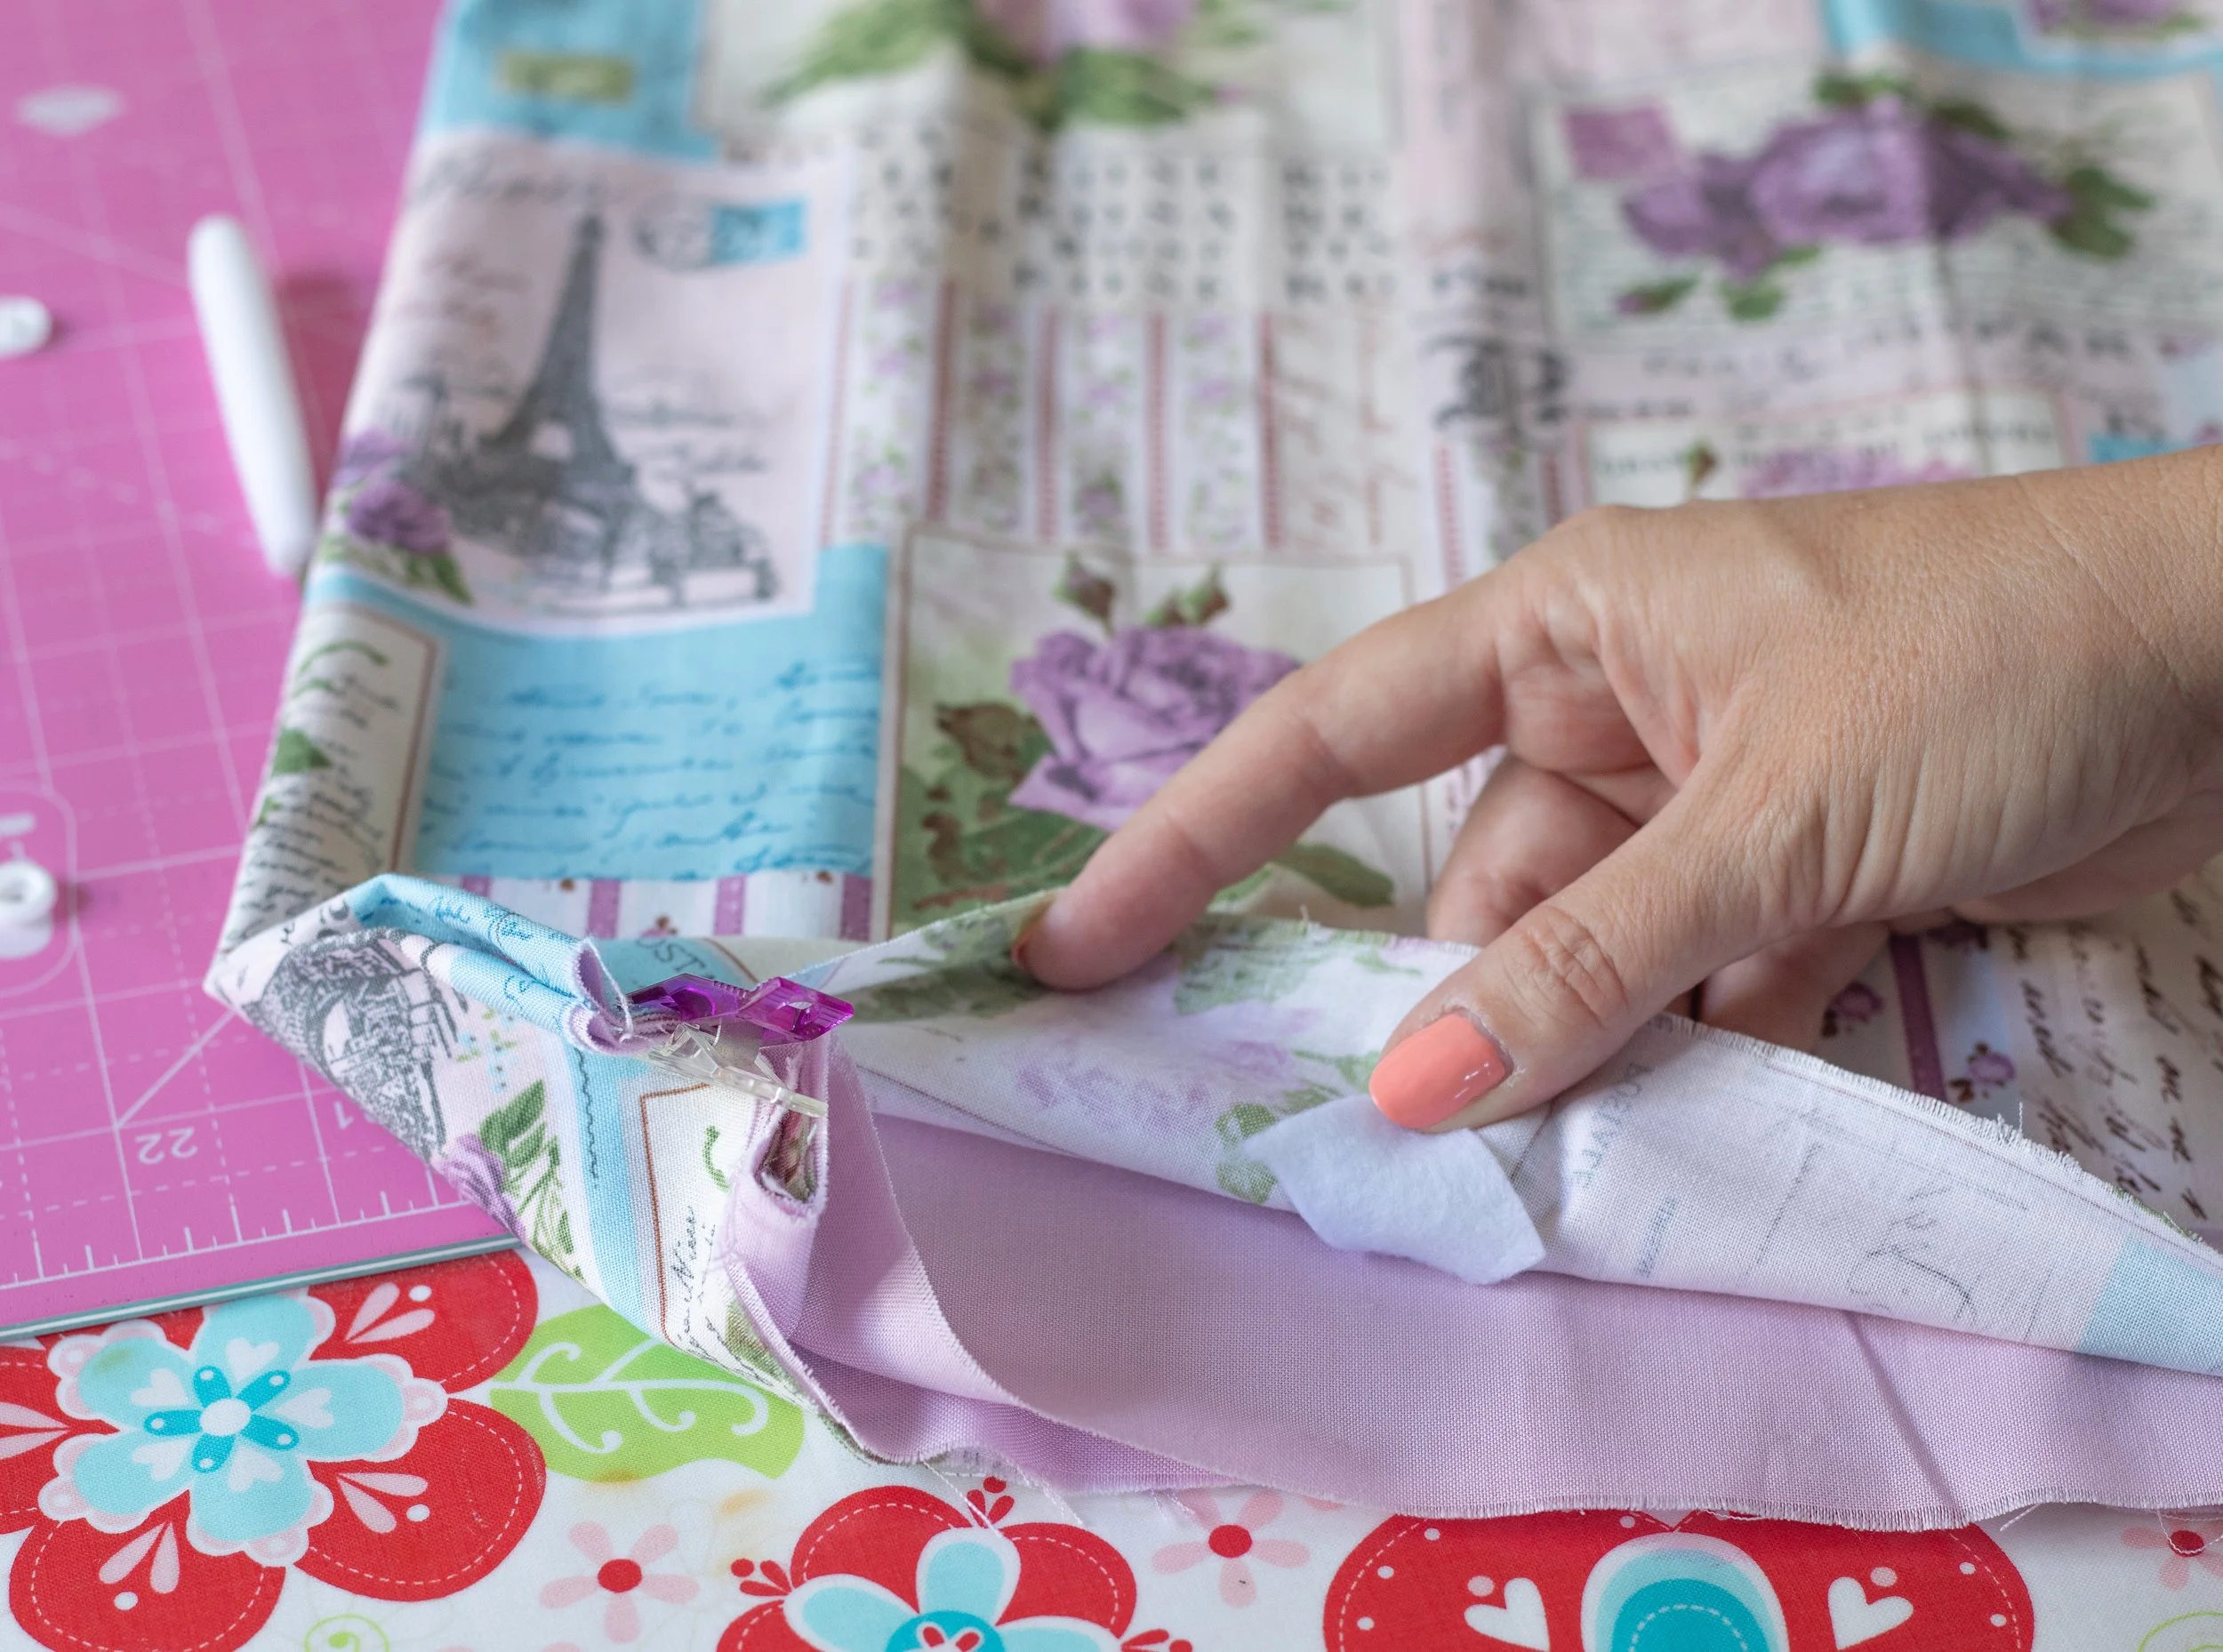
You’re going to make a French seam for the hem. It’s a double hem and will feel backwards and wrong at first, but the raw edge gets enclosed, I promise.
Clip the bottom edge and sew across, catching all the layers, on the right side.
Sew a scant seam across the raw edge on the right side of the fabric.
Pin or clip the bottom edge and sew across. Be sure to catch all layers.
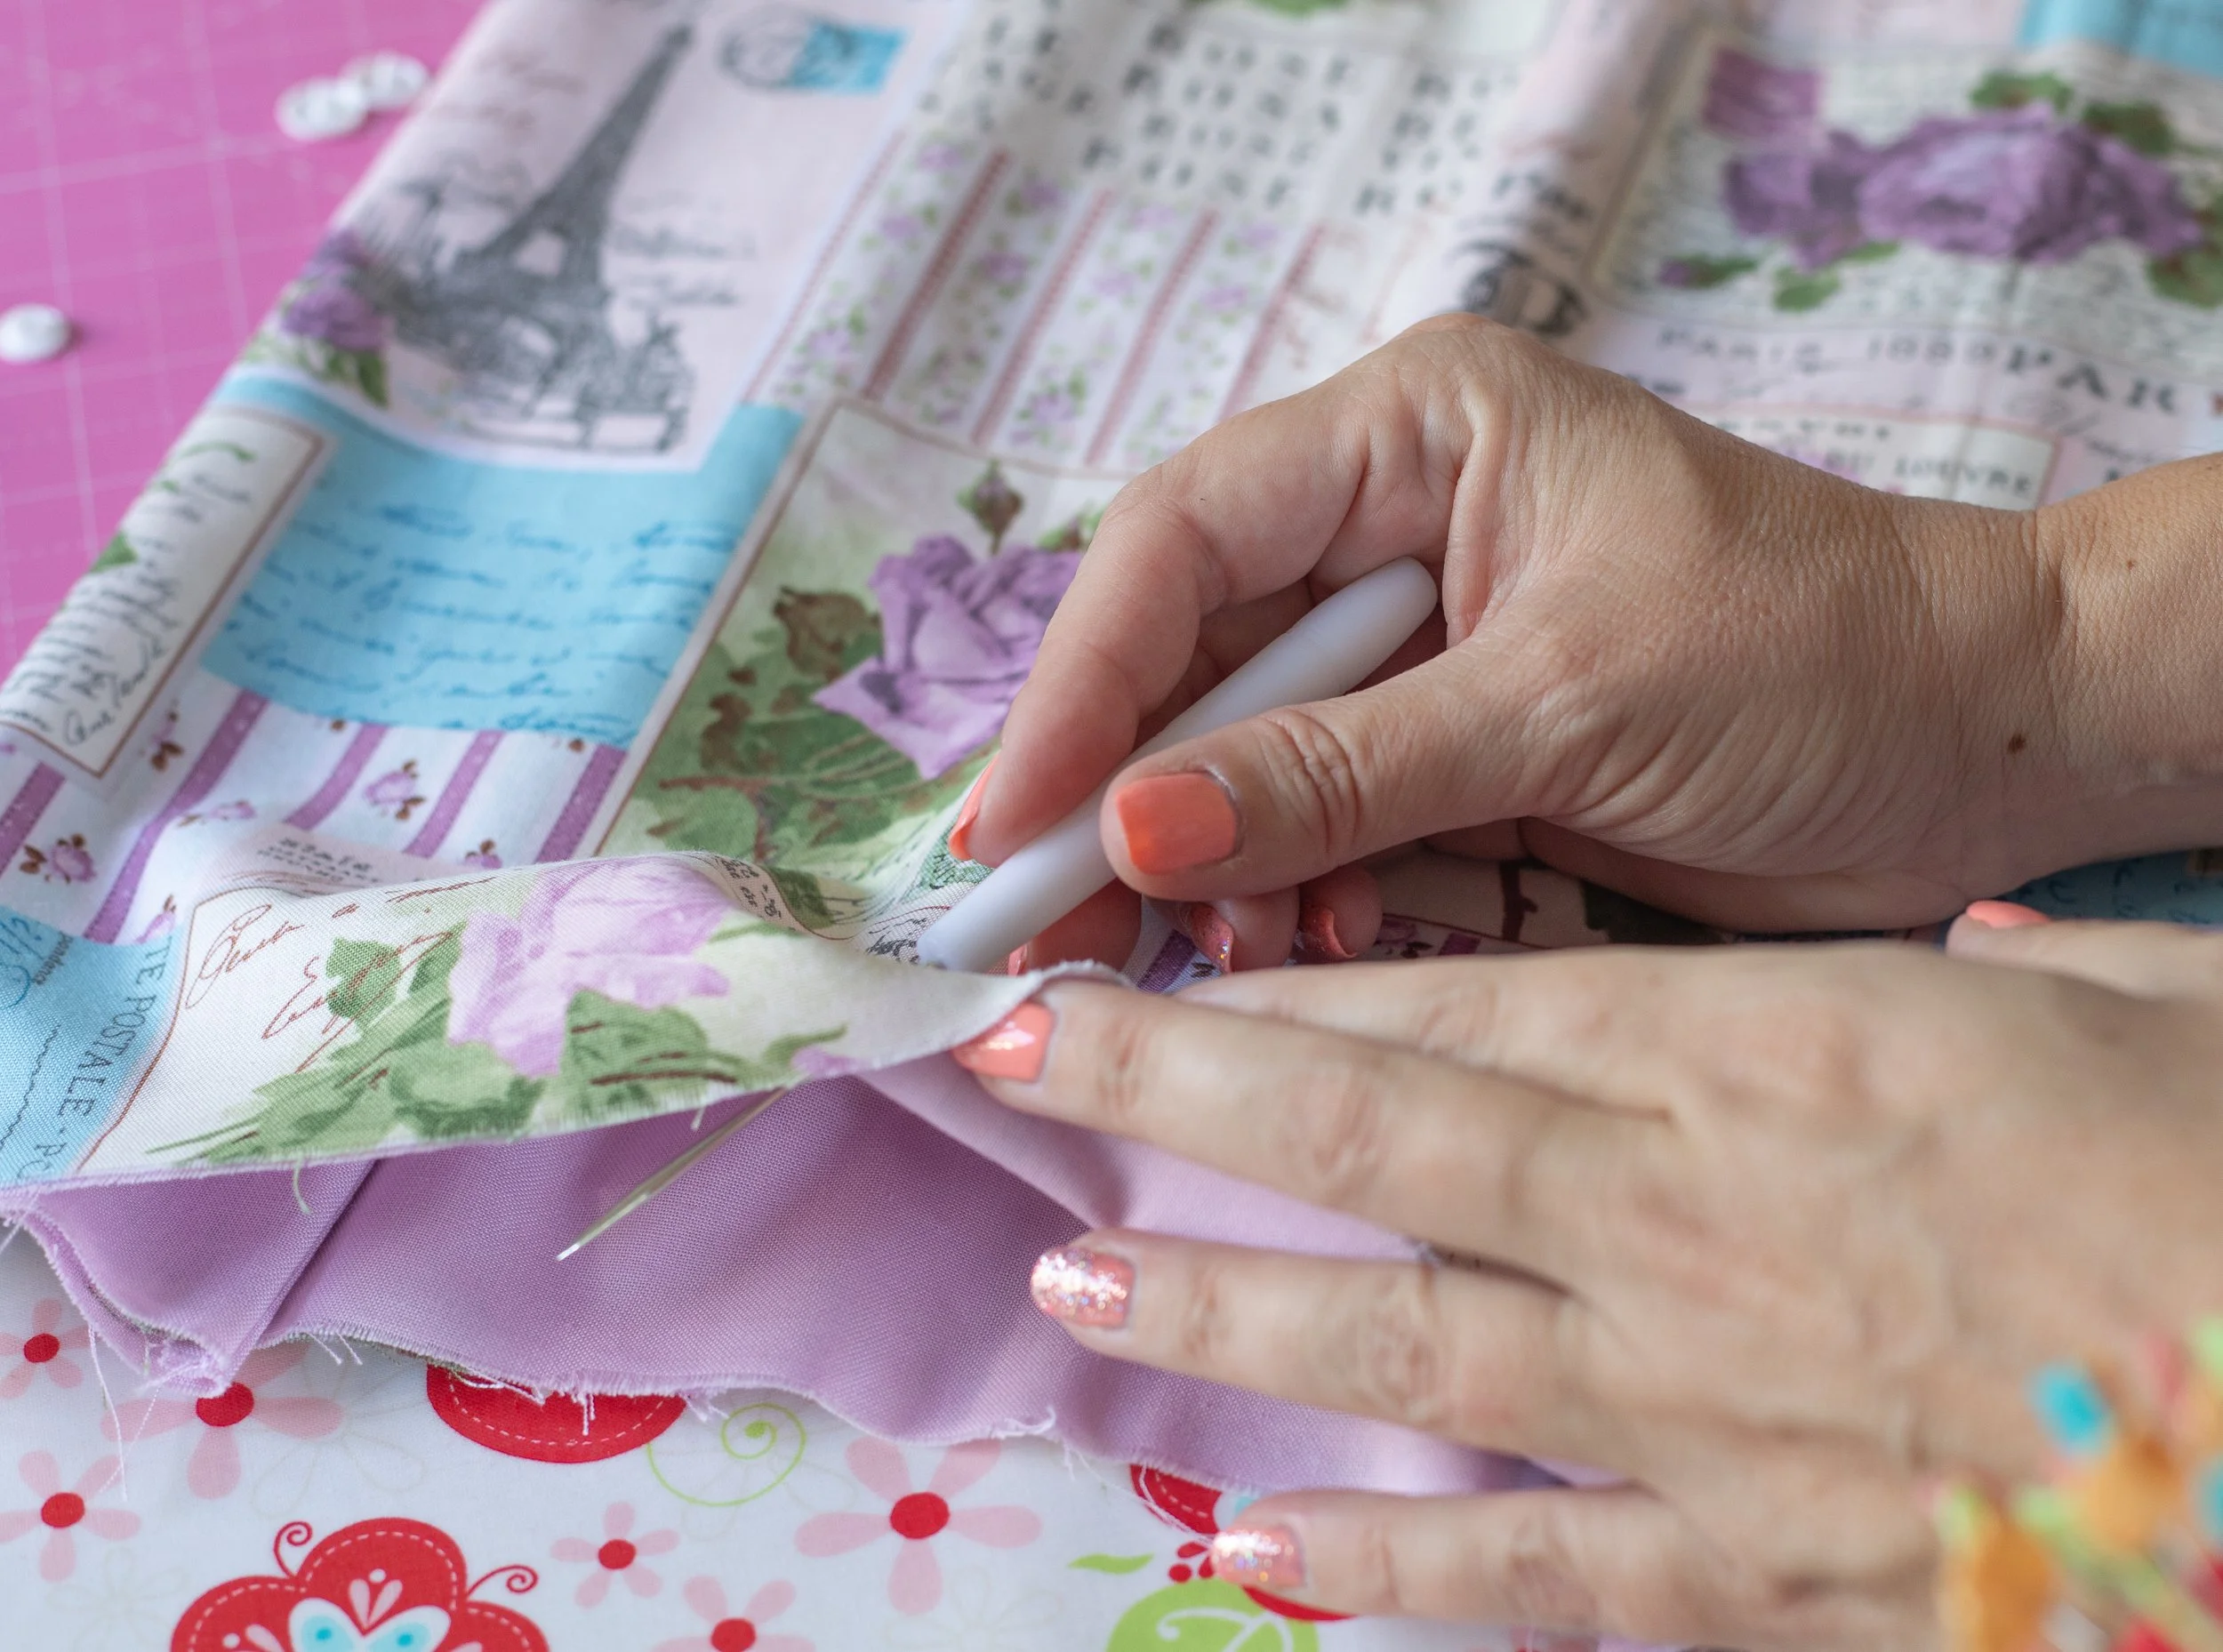
You’ll then flip the bag inside out.
Poke out corners
Flatten with a hot iron, and sew again across the bottom using 5/8” seam allowance. It’s important to enclose the raw edges.
Sew across the bottom using 5/8” seam allowance.
I prefer to sew it with the folded side up.
I stick a pin right where the snap is to make sure I don’t sew over it. It’s gonna be close!
Ta-da! The French seam is done.
The inside looks nice and clean. I did get a little close to the snap, oops!
If that happens, pop on your zipper foot and it should be easier. But, go slow.
Got a little too close to the snap.
And, just like that, your beautiful reusable, foldable, washable bag is finished!! Hooray!
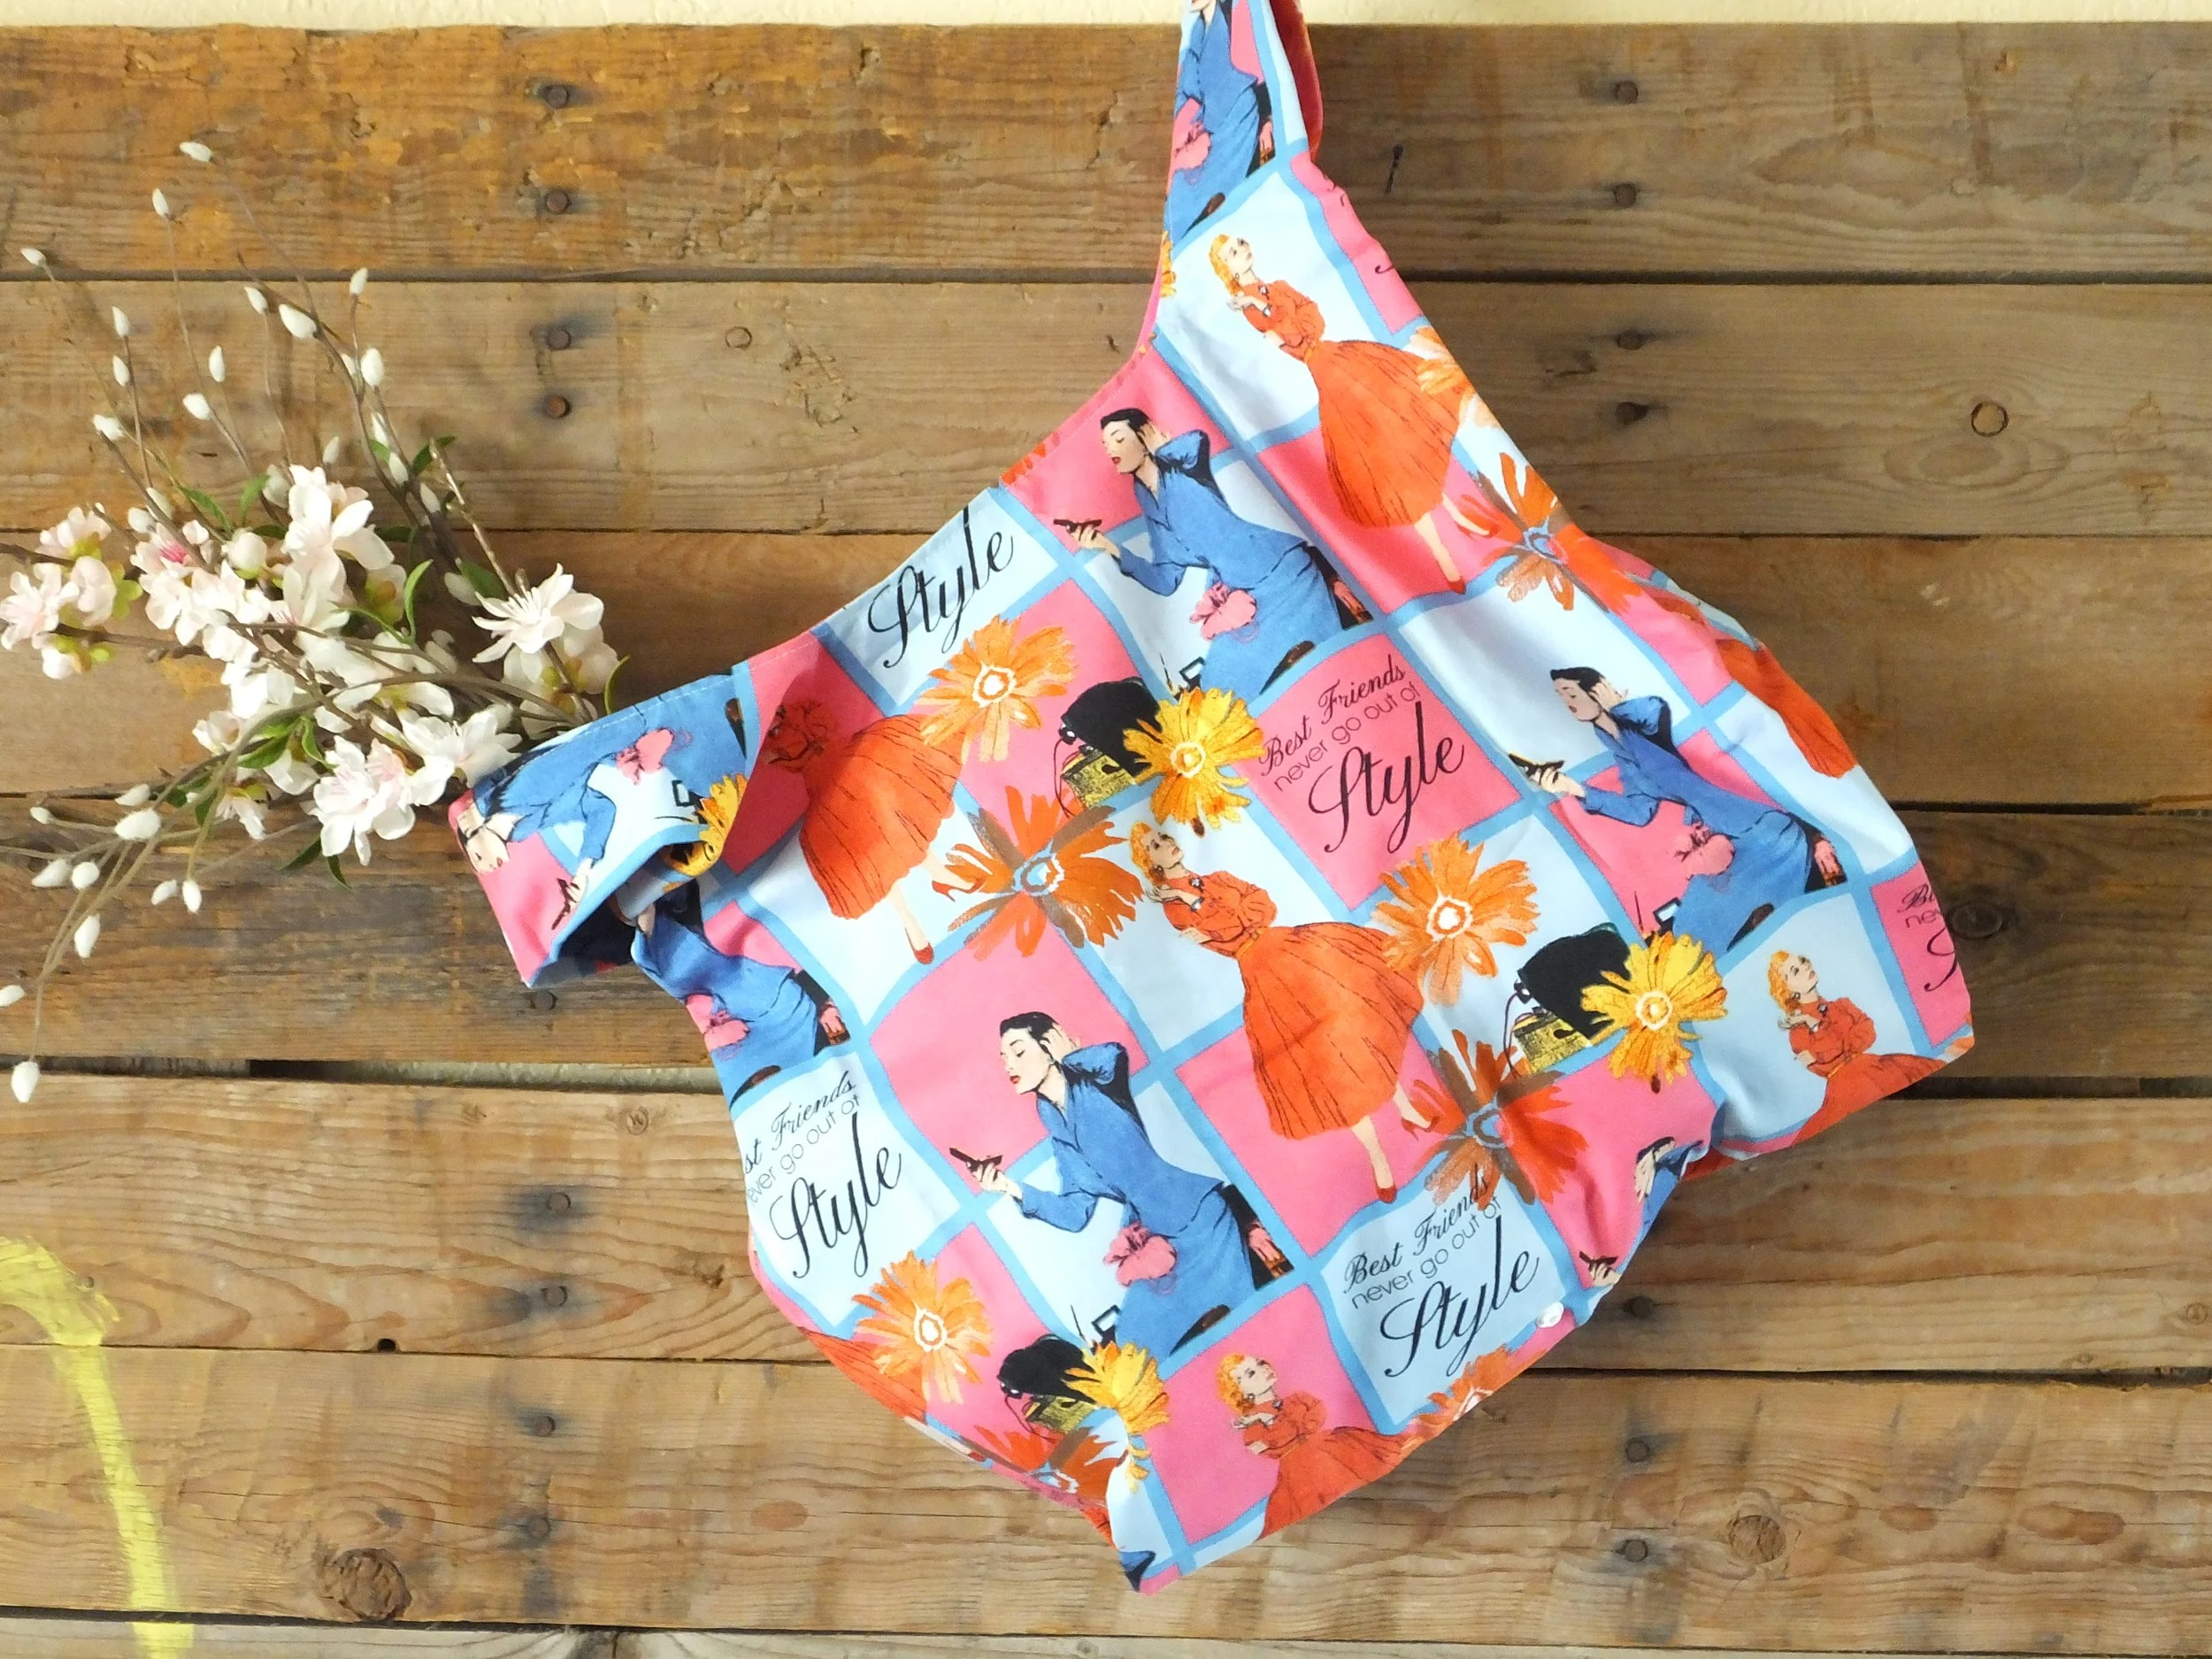
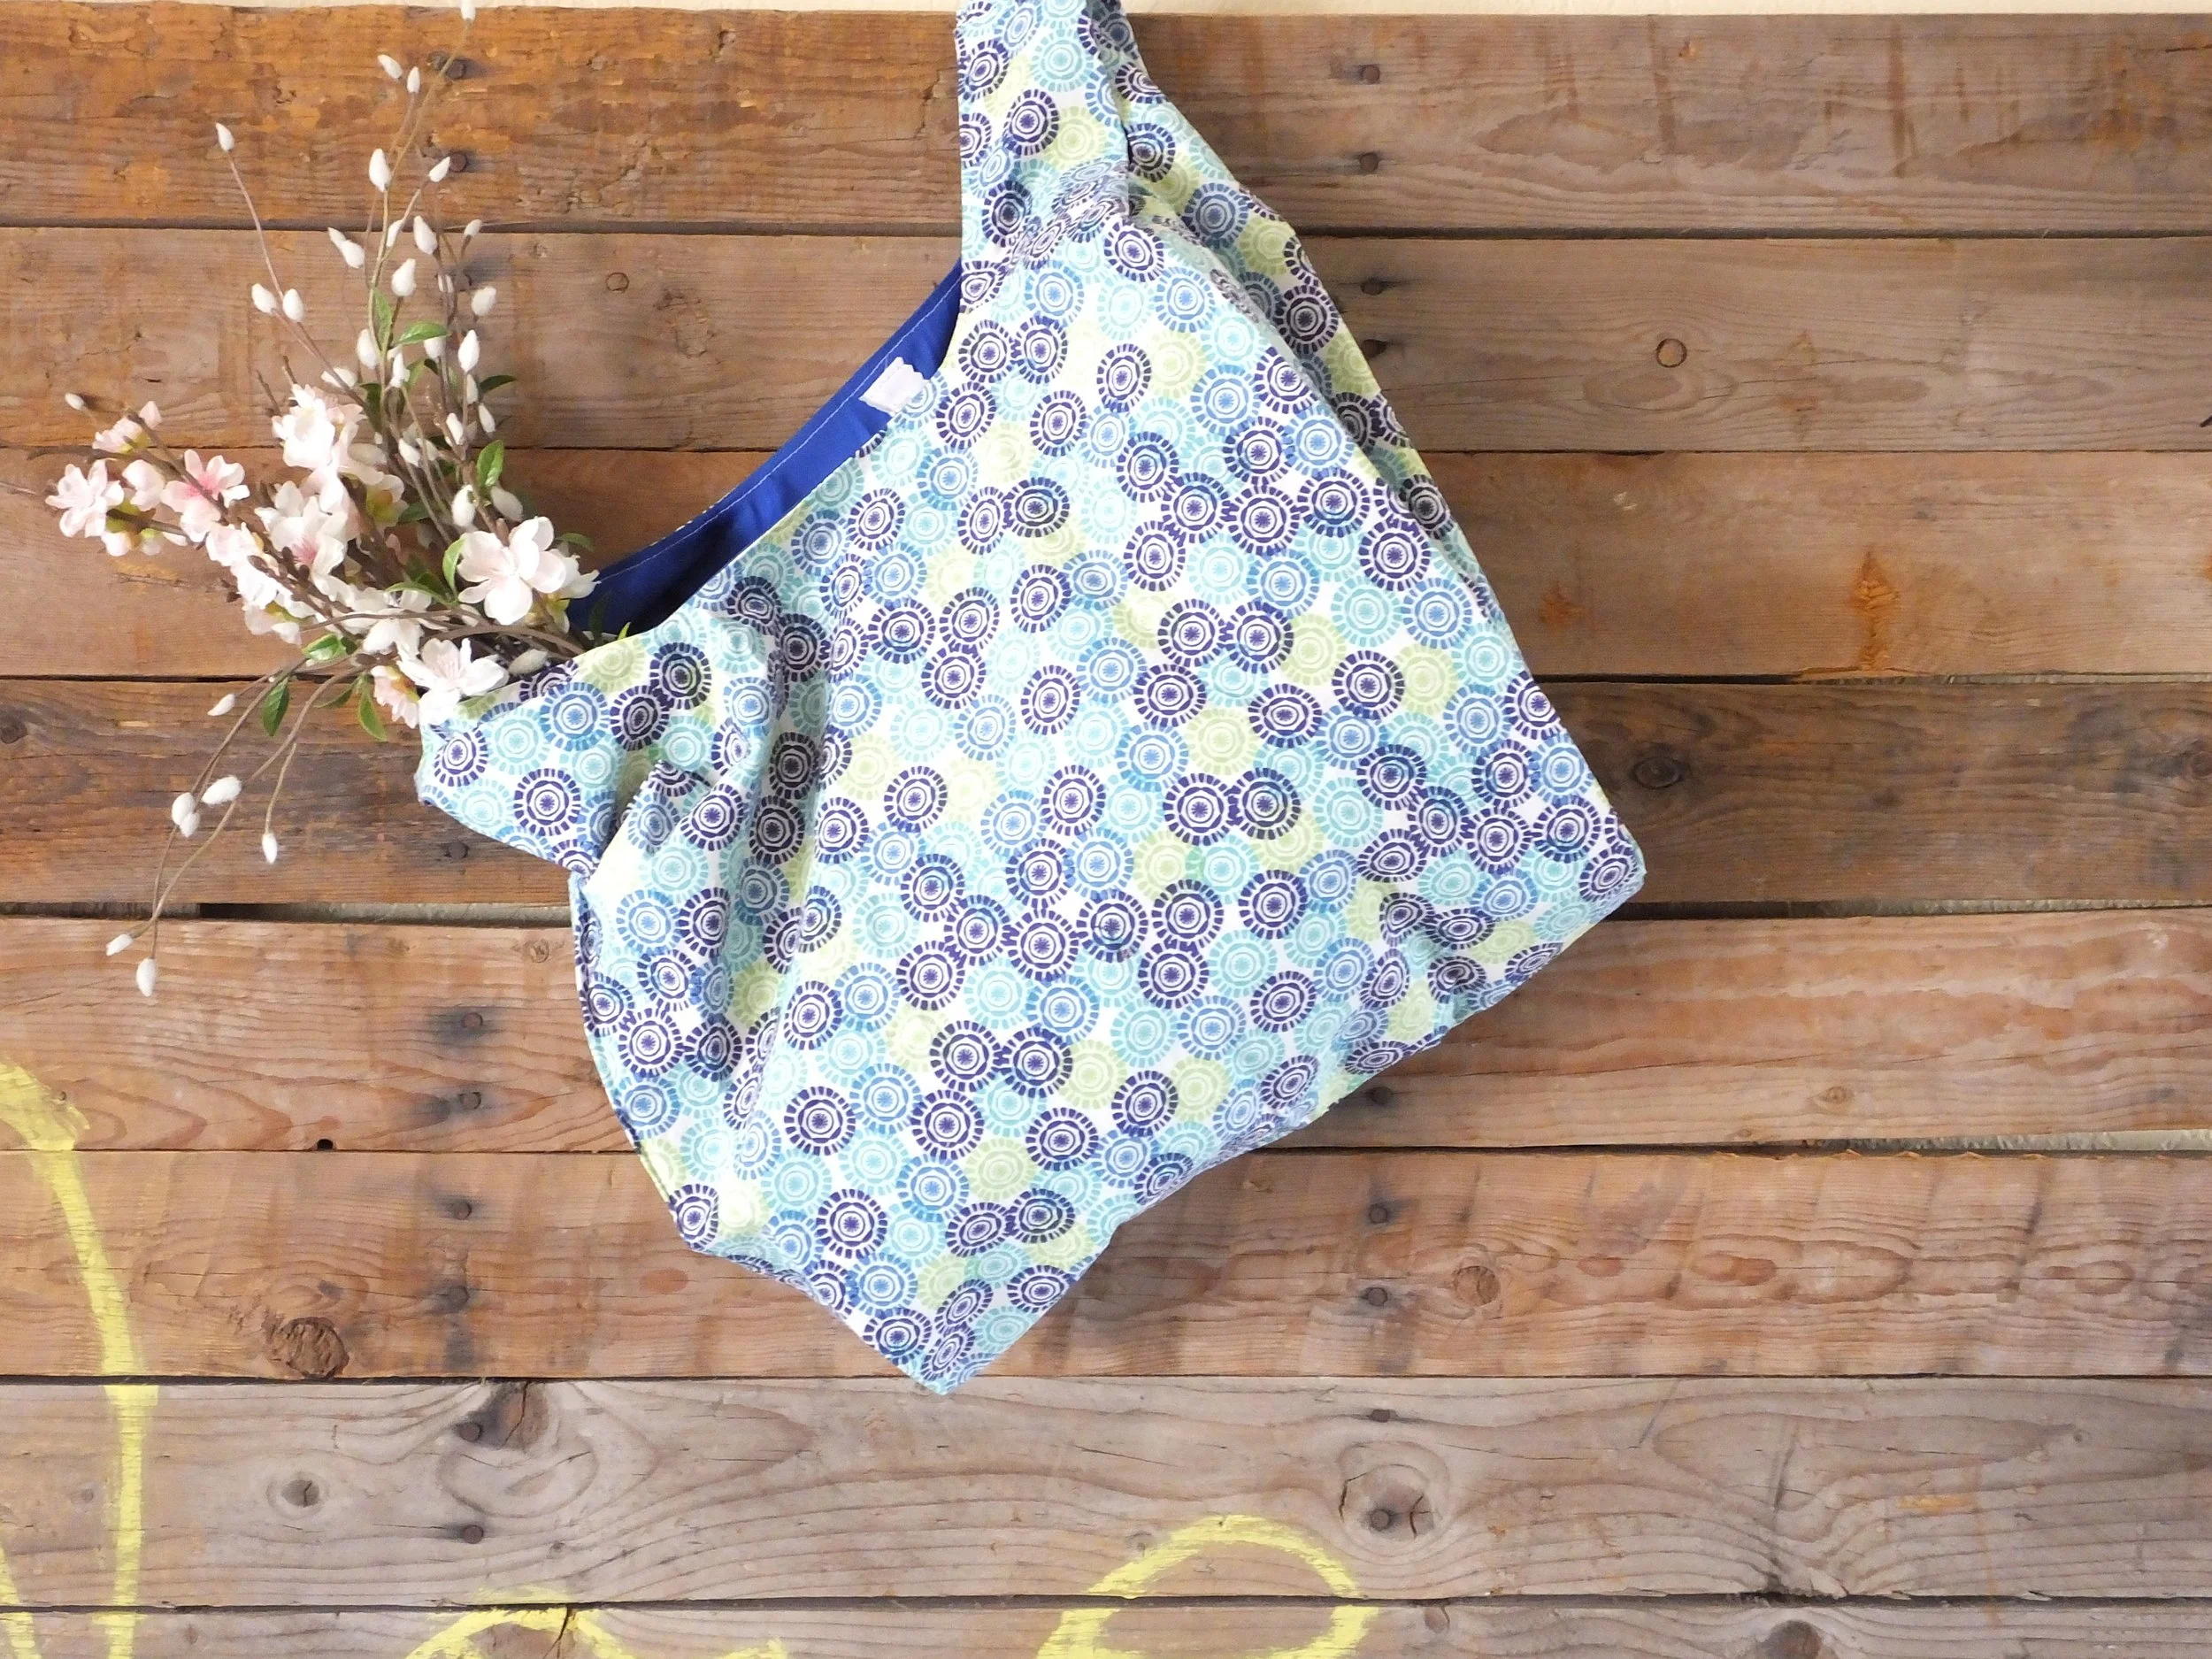
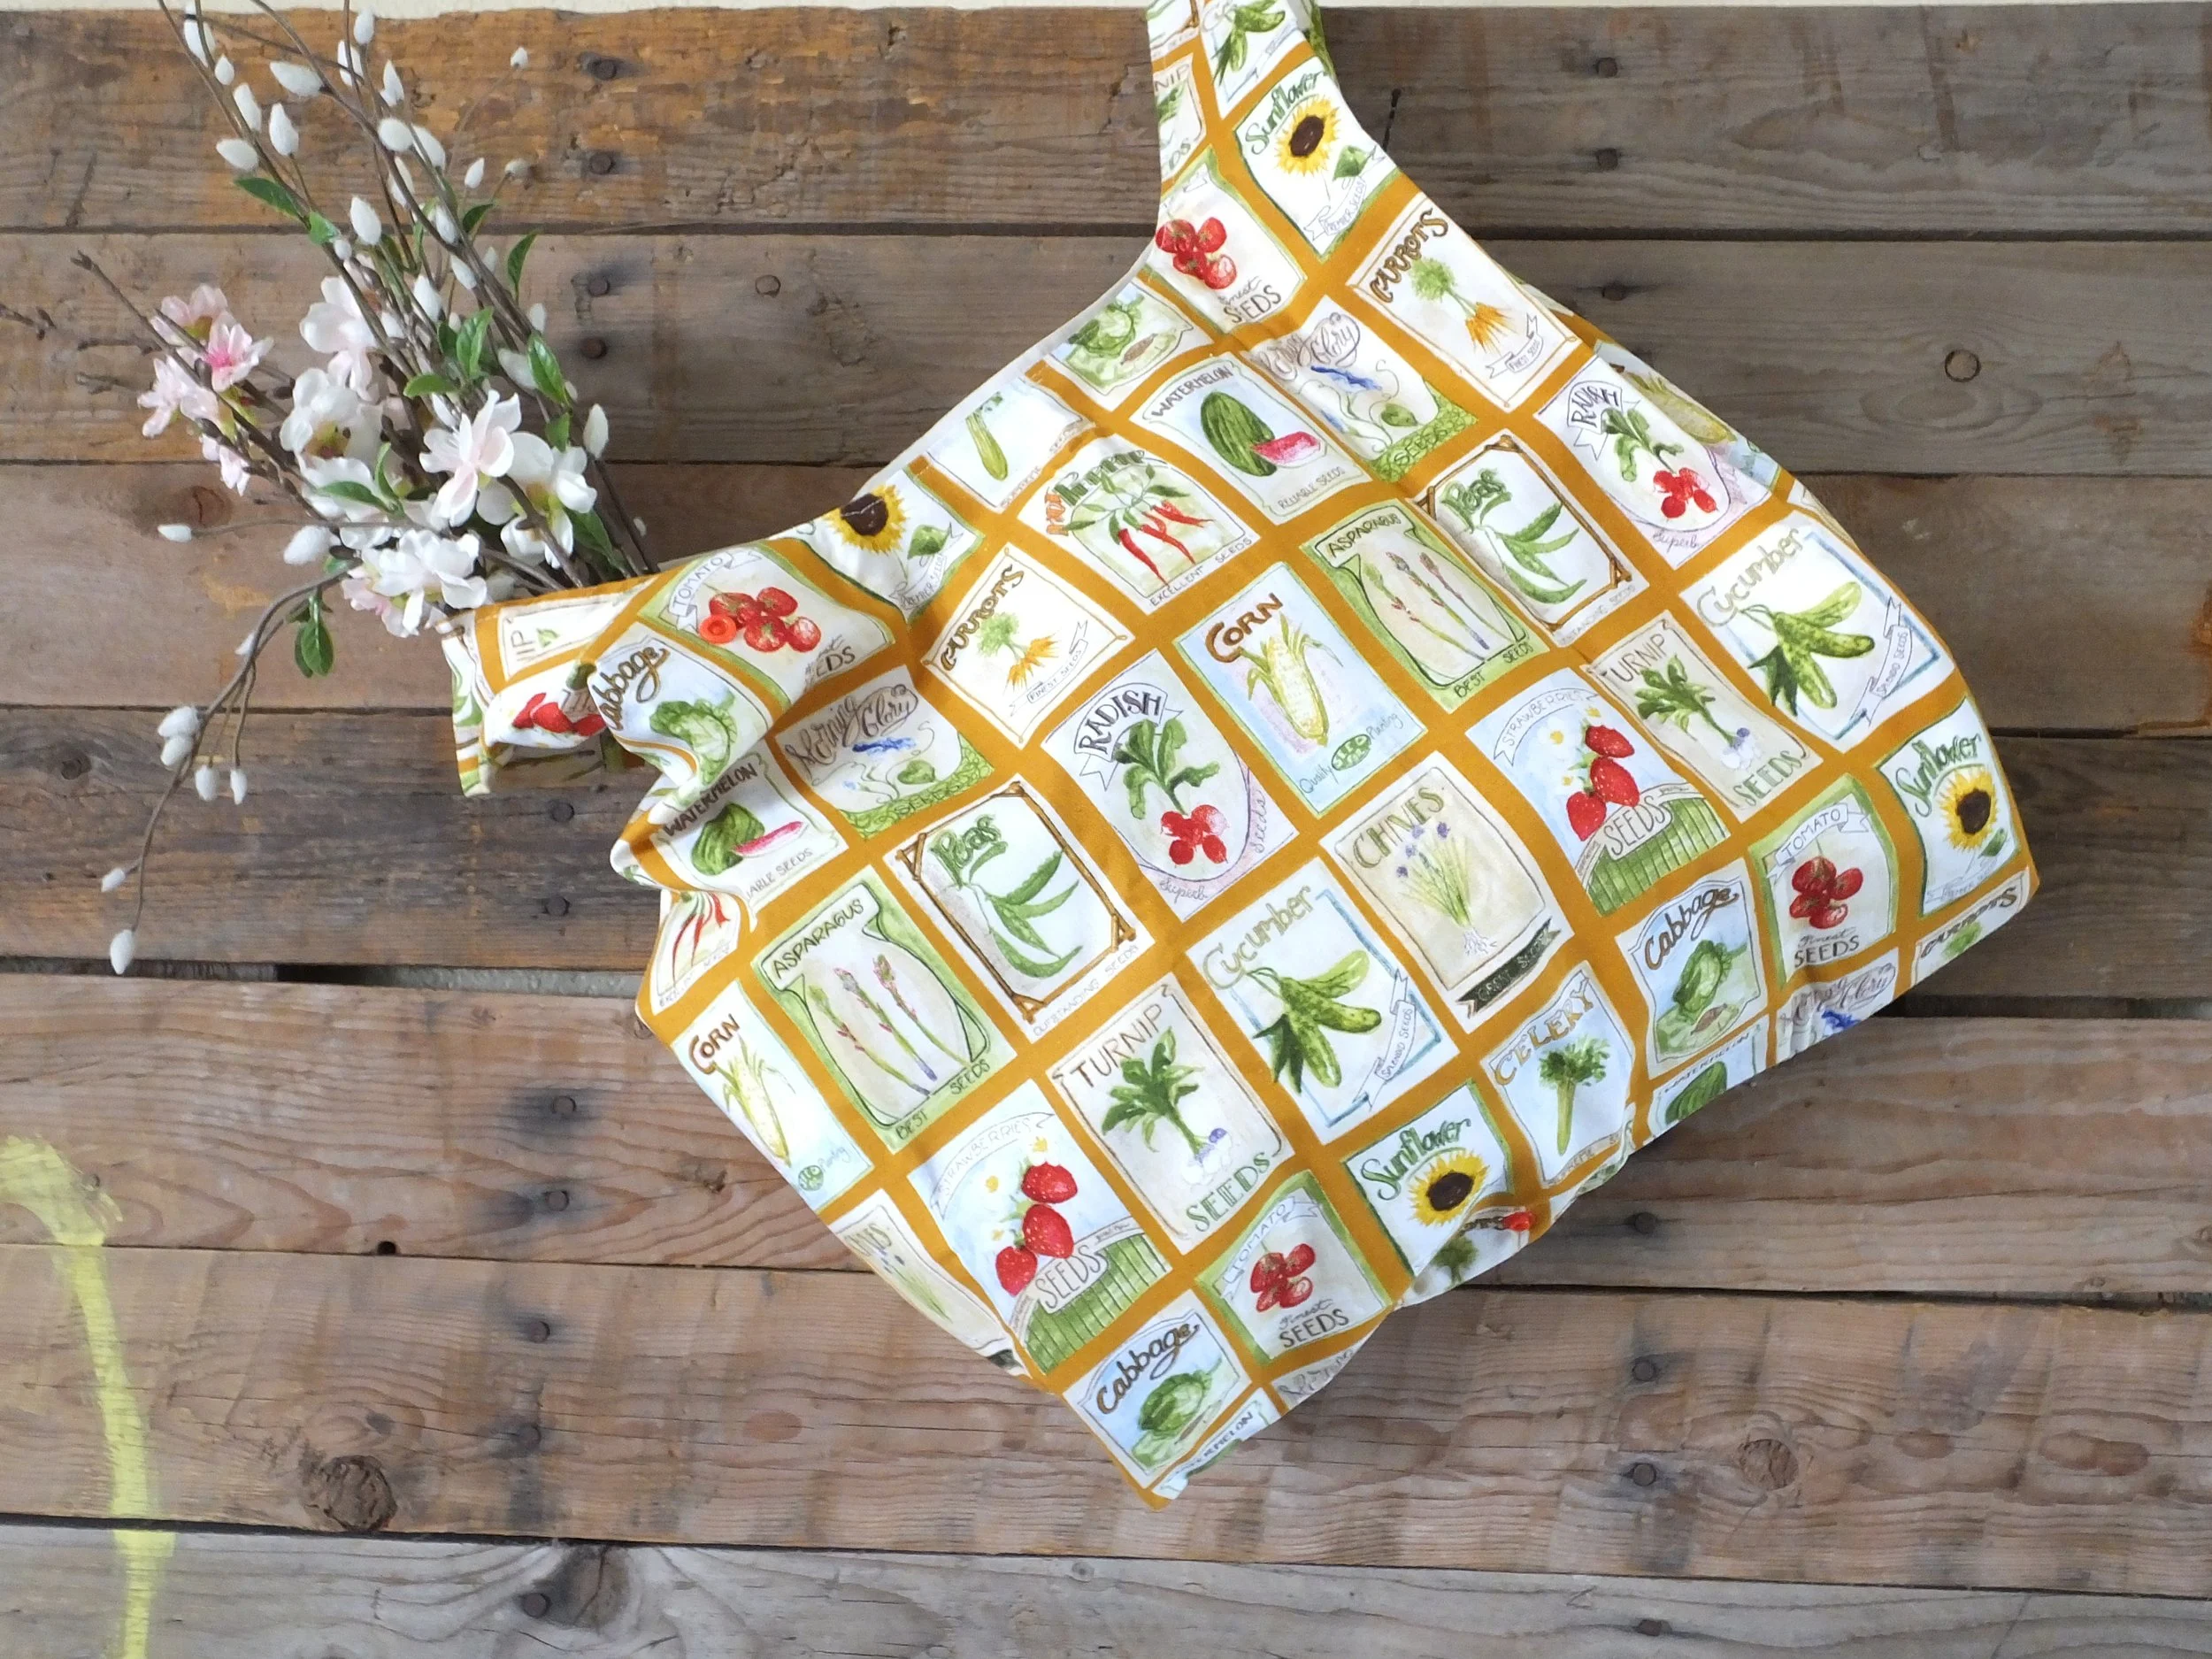
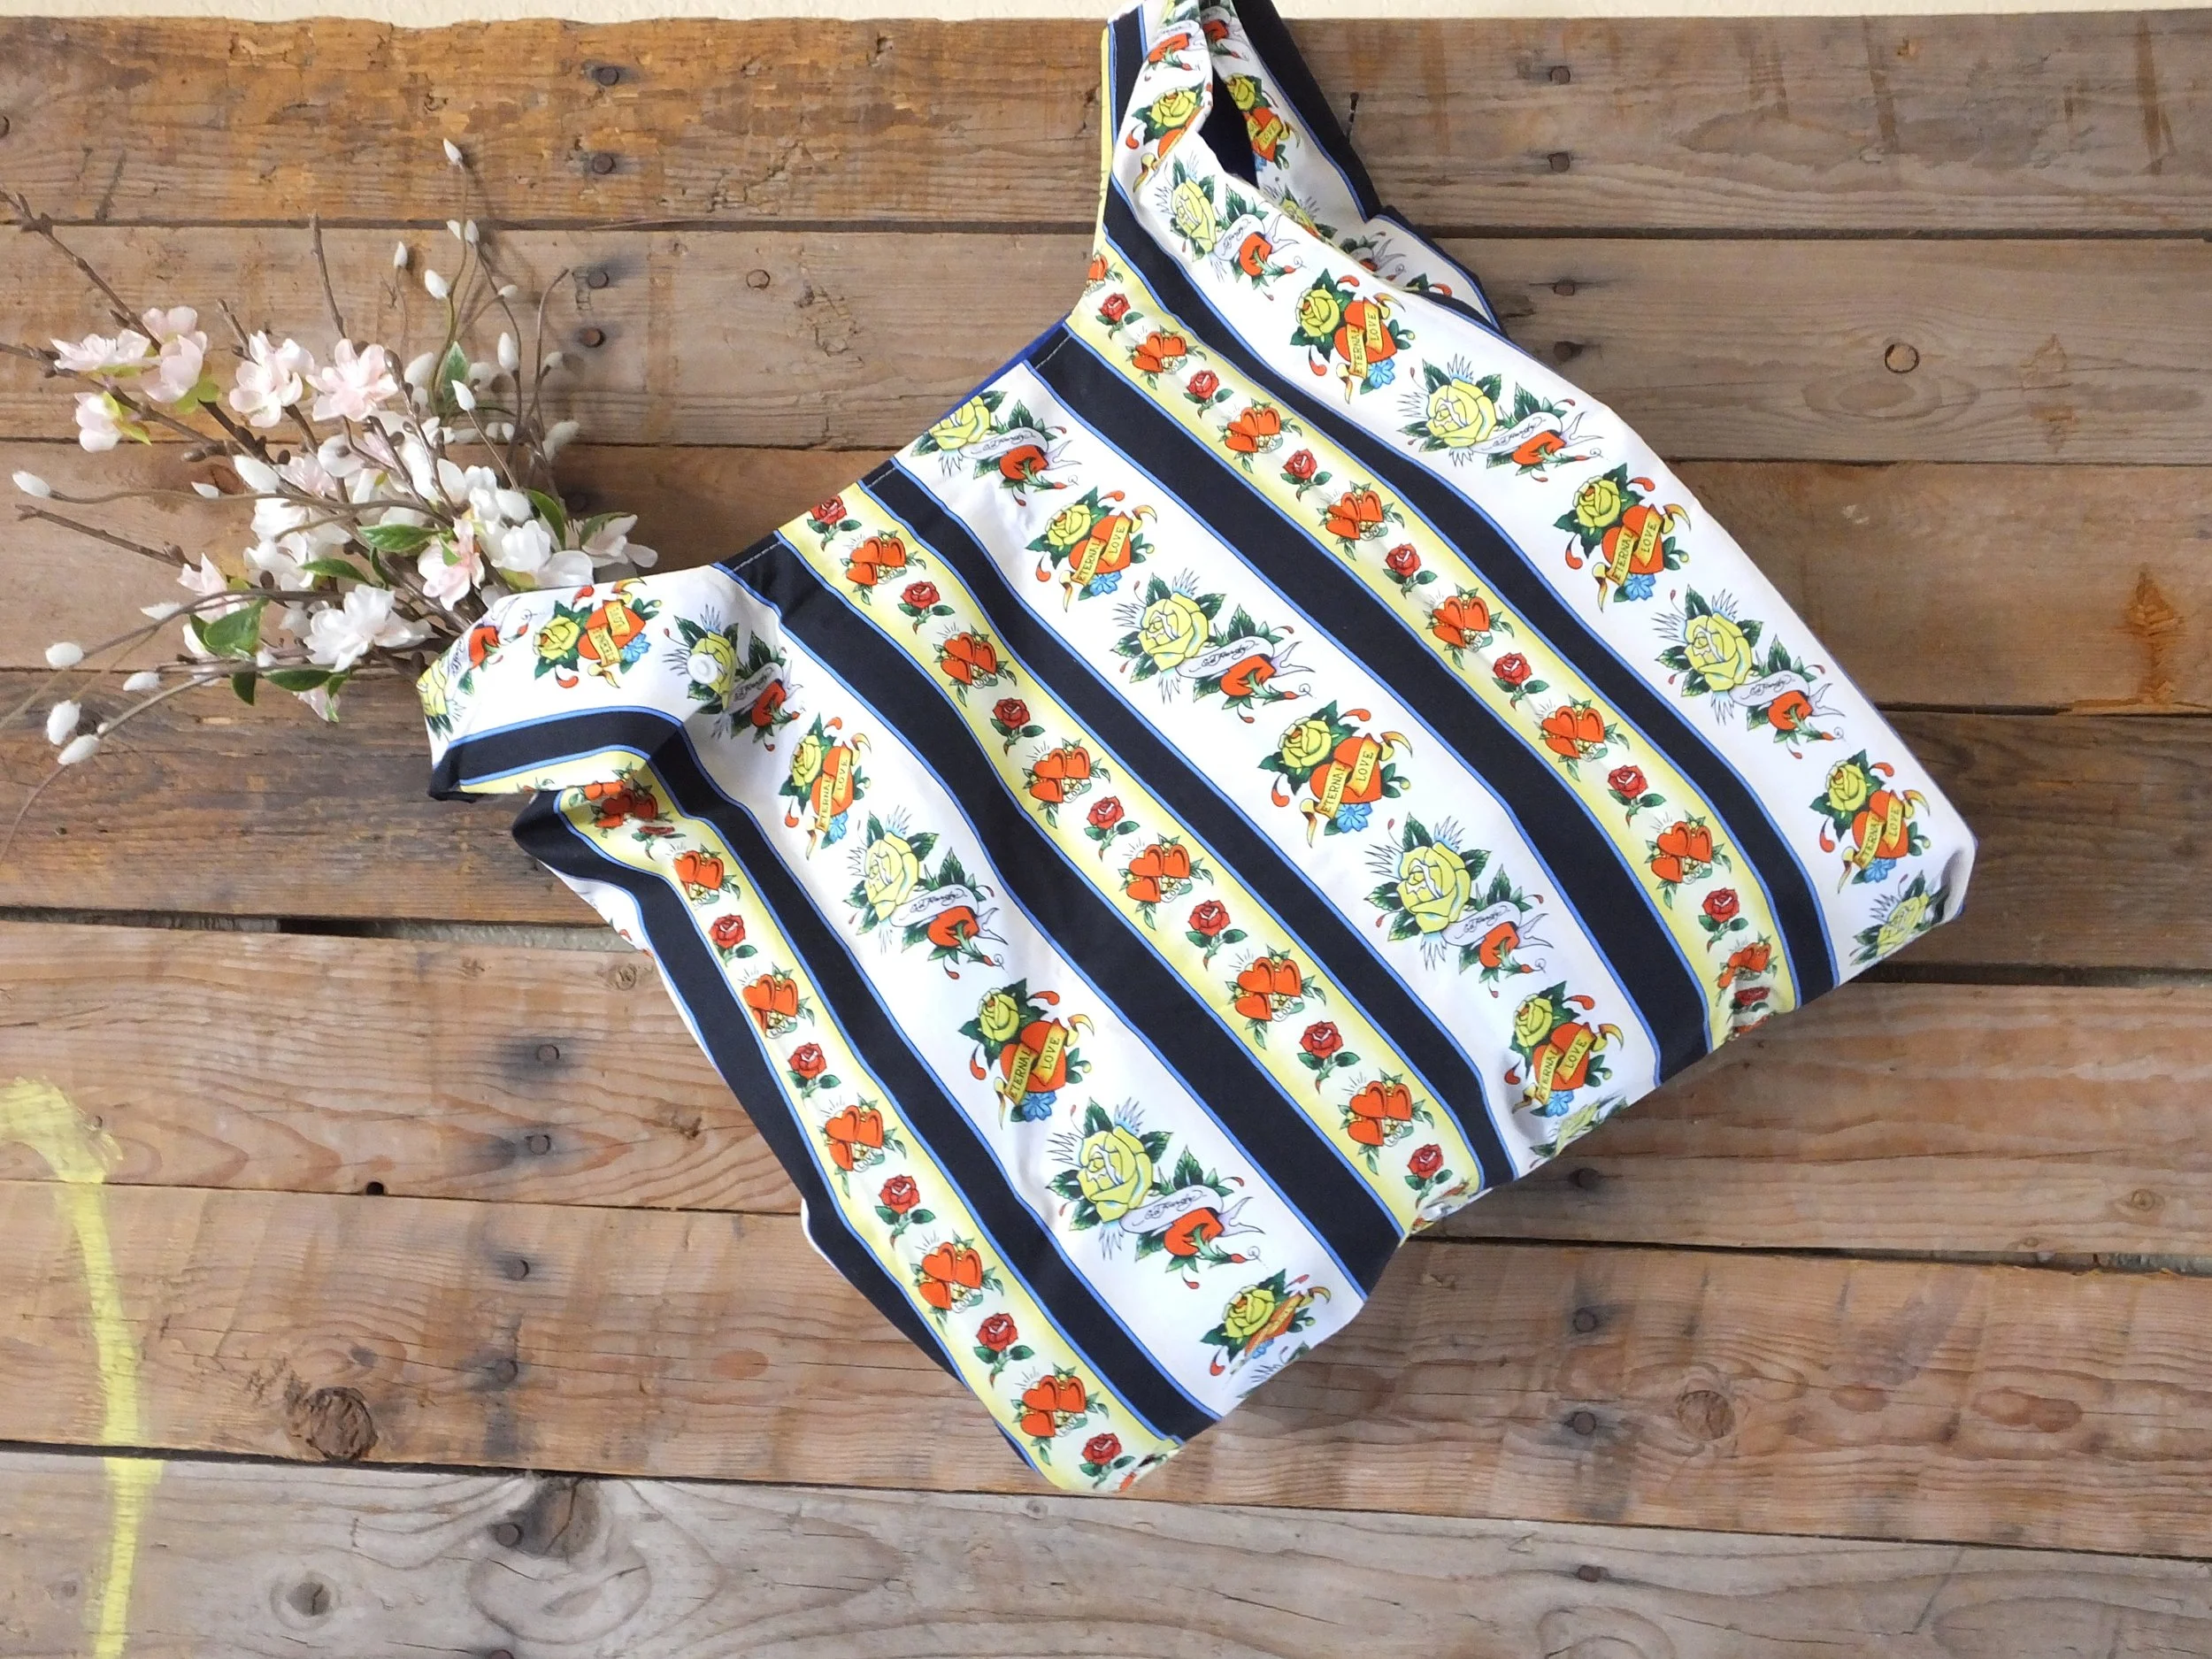
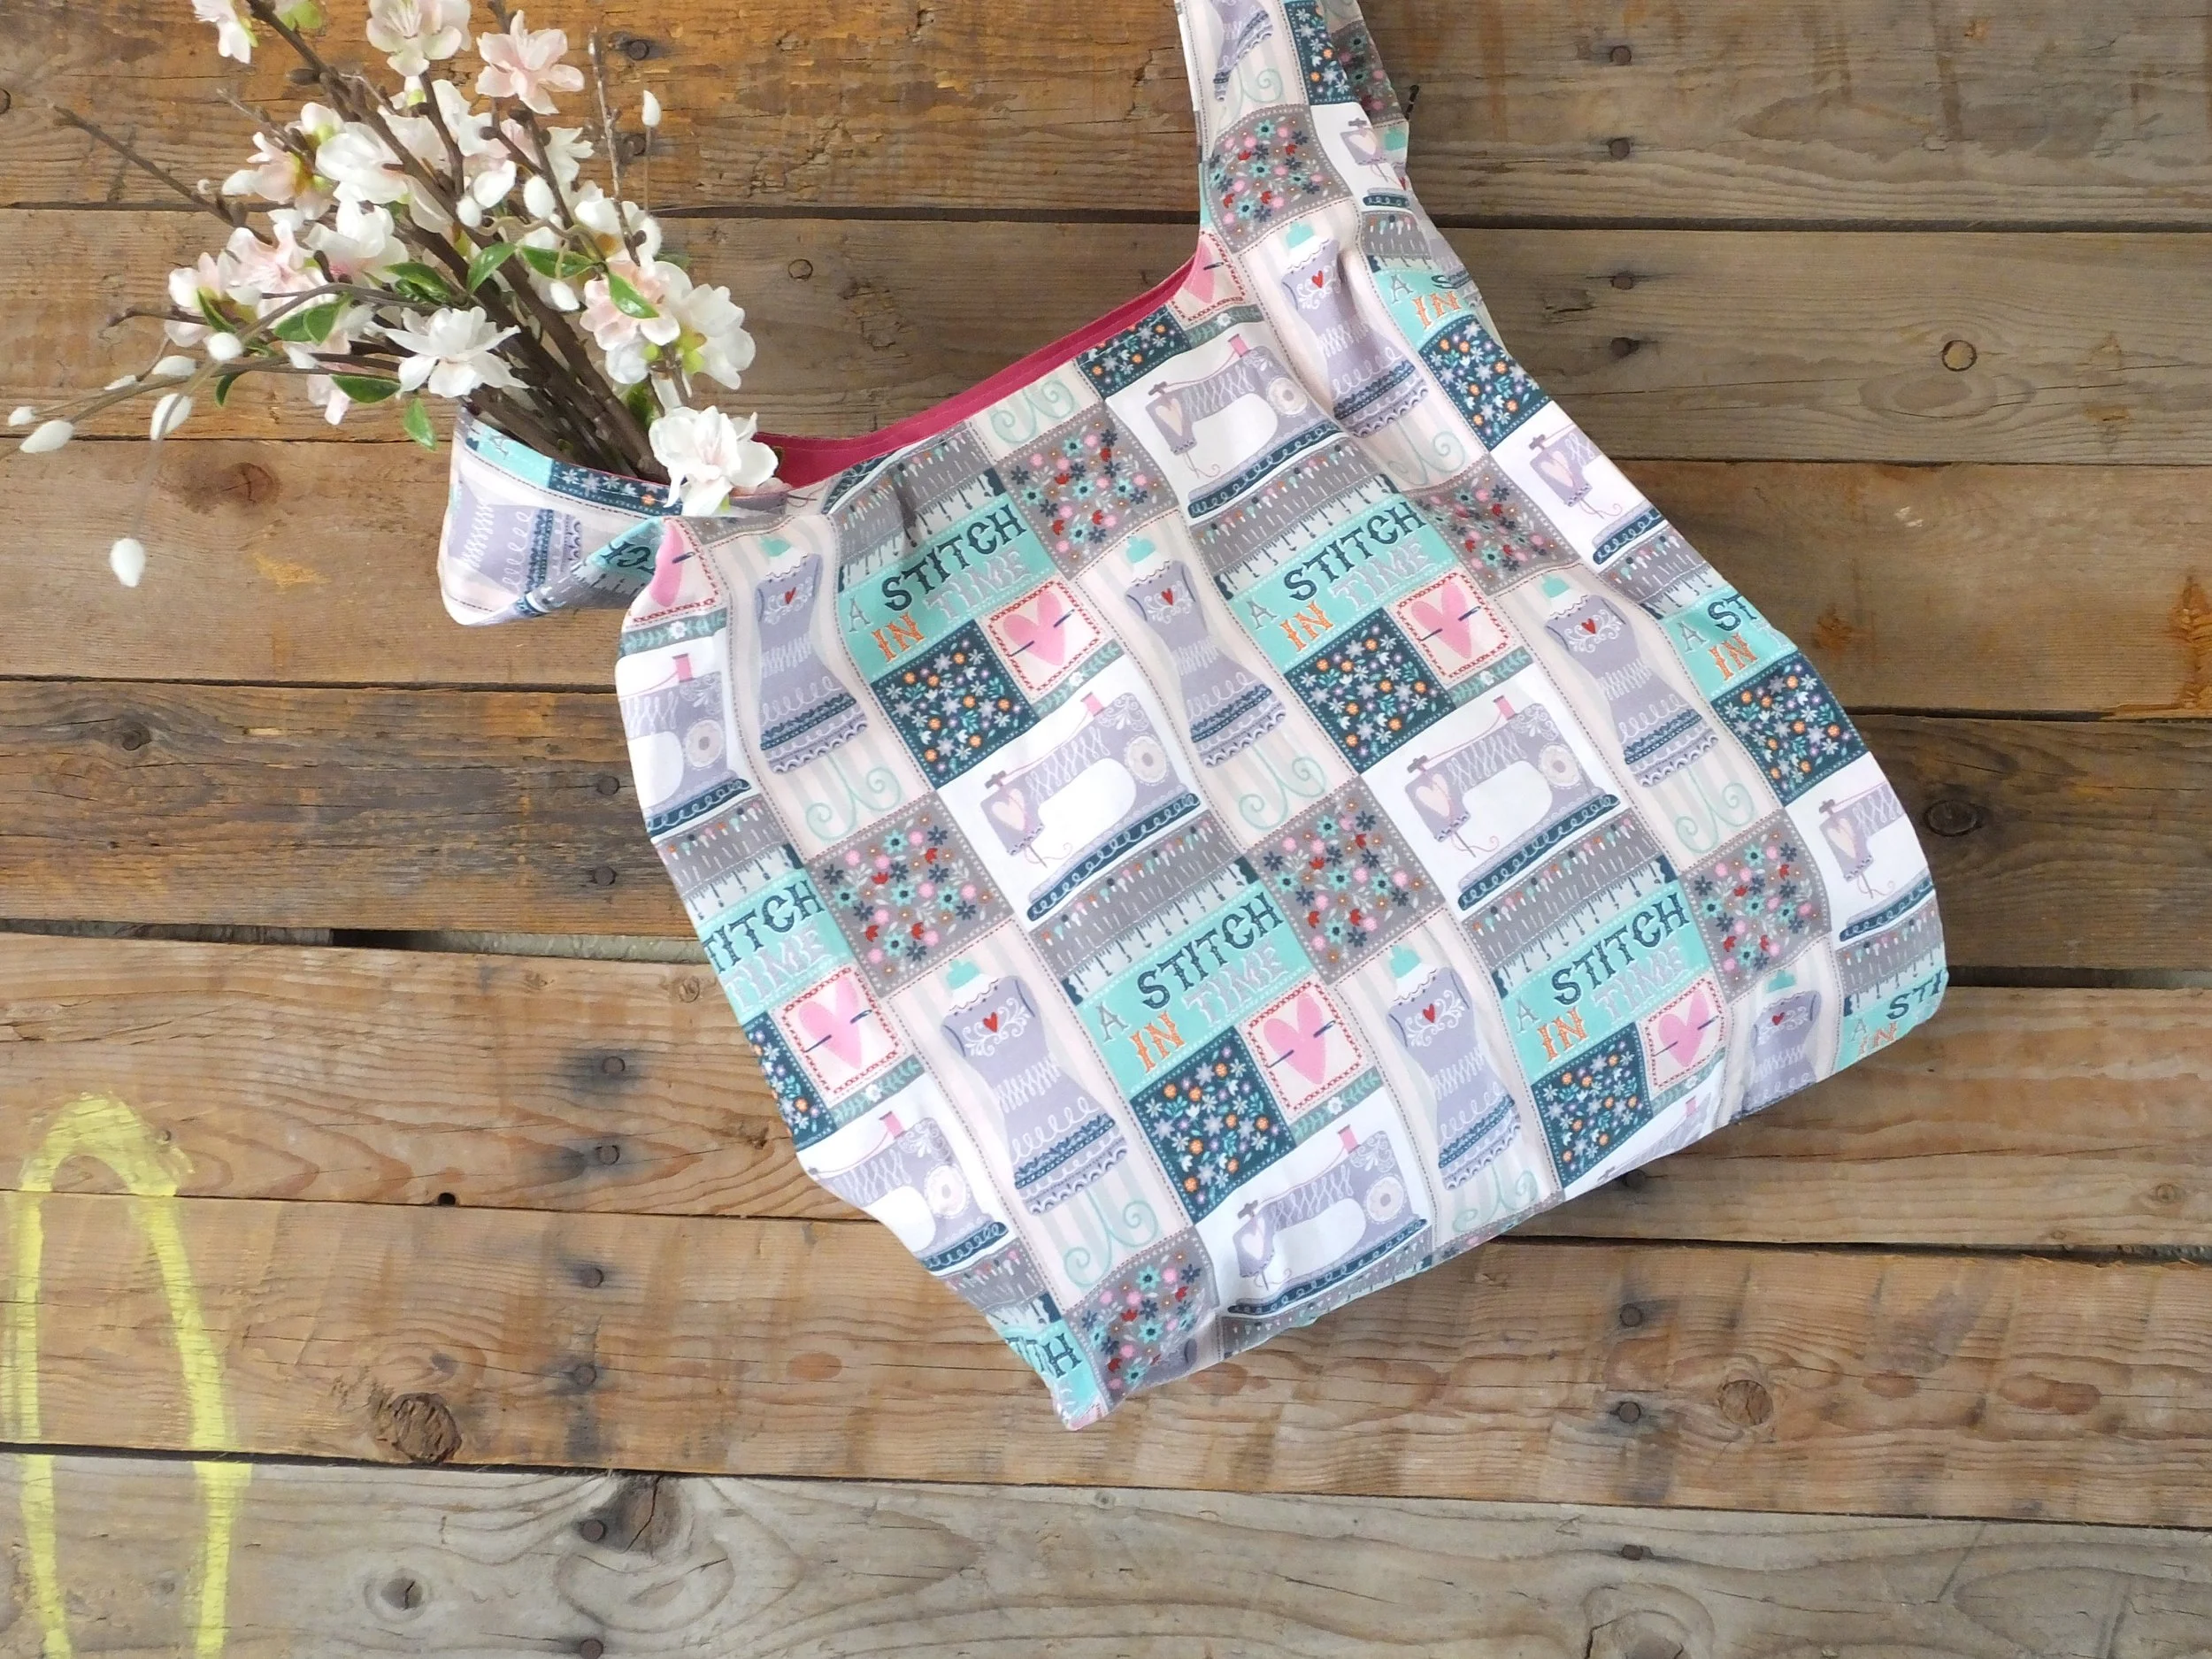
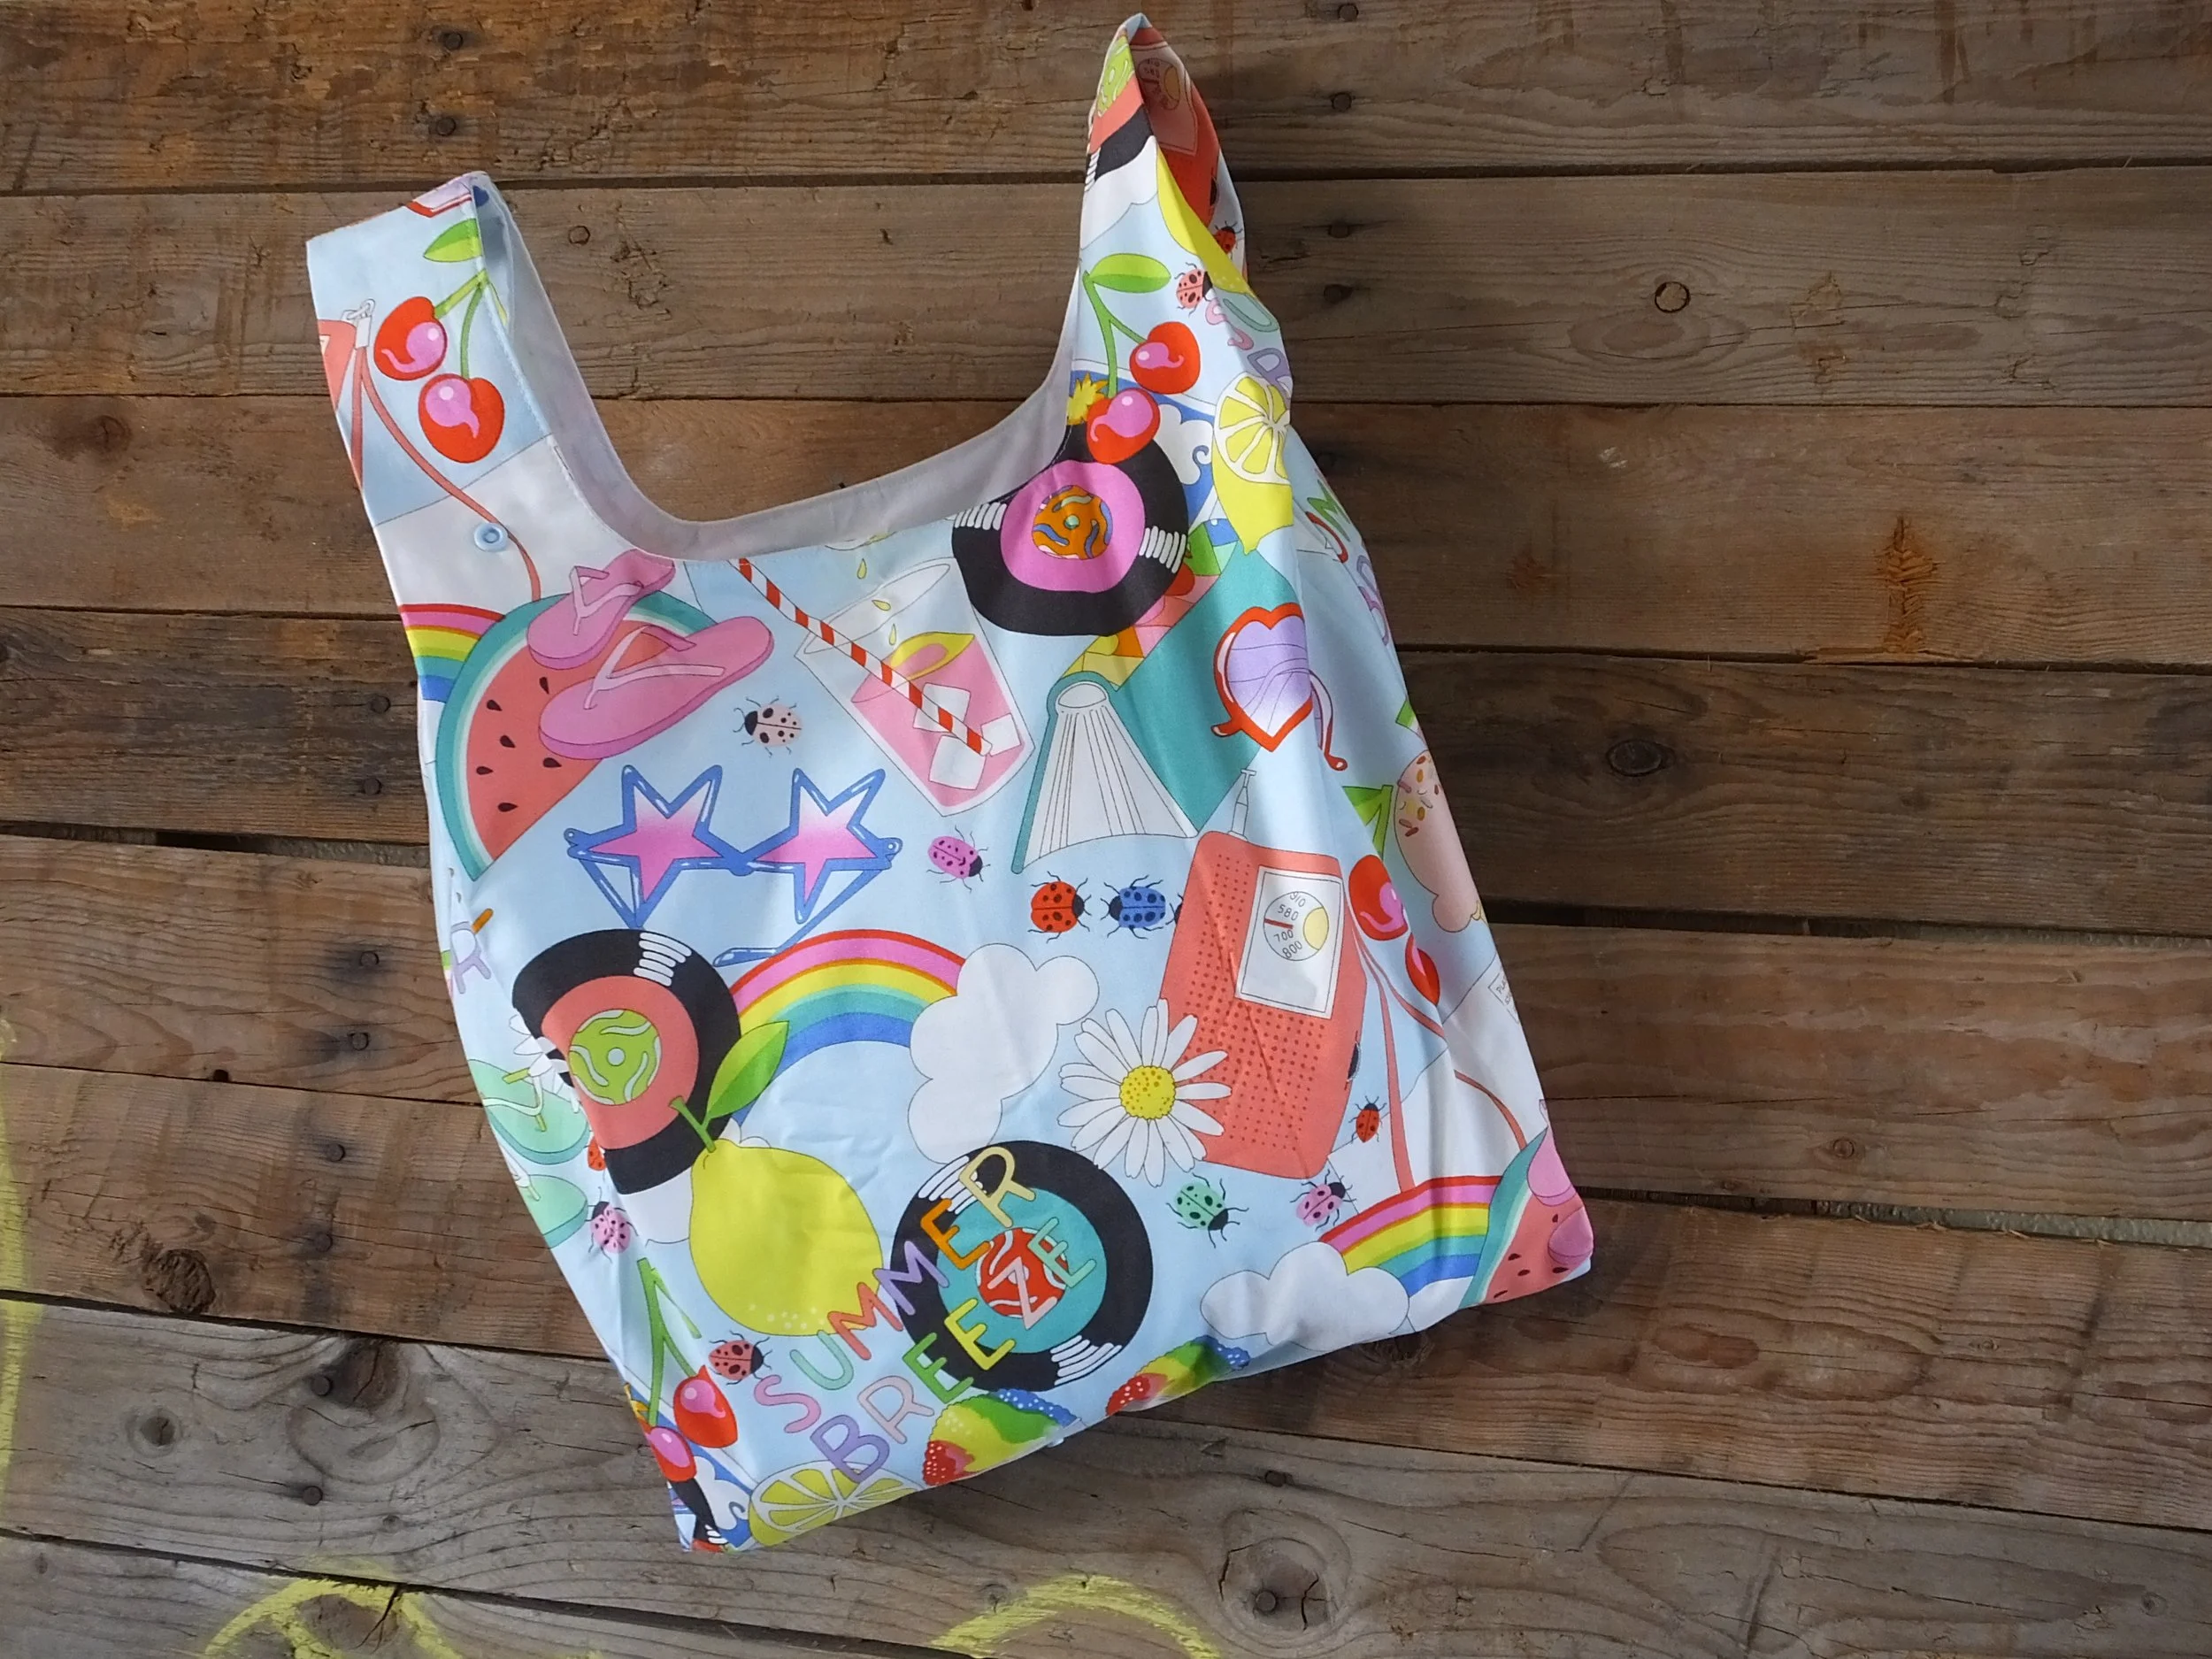
Below are a few of the bags I’ve made throughout the years. I would like to think my phtography got better over the years too. Haha… Yikes!

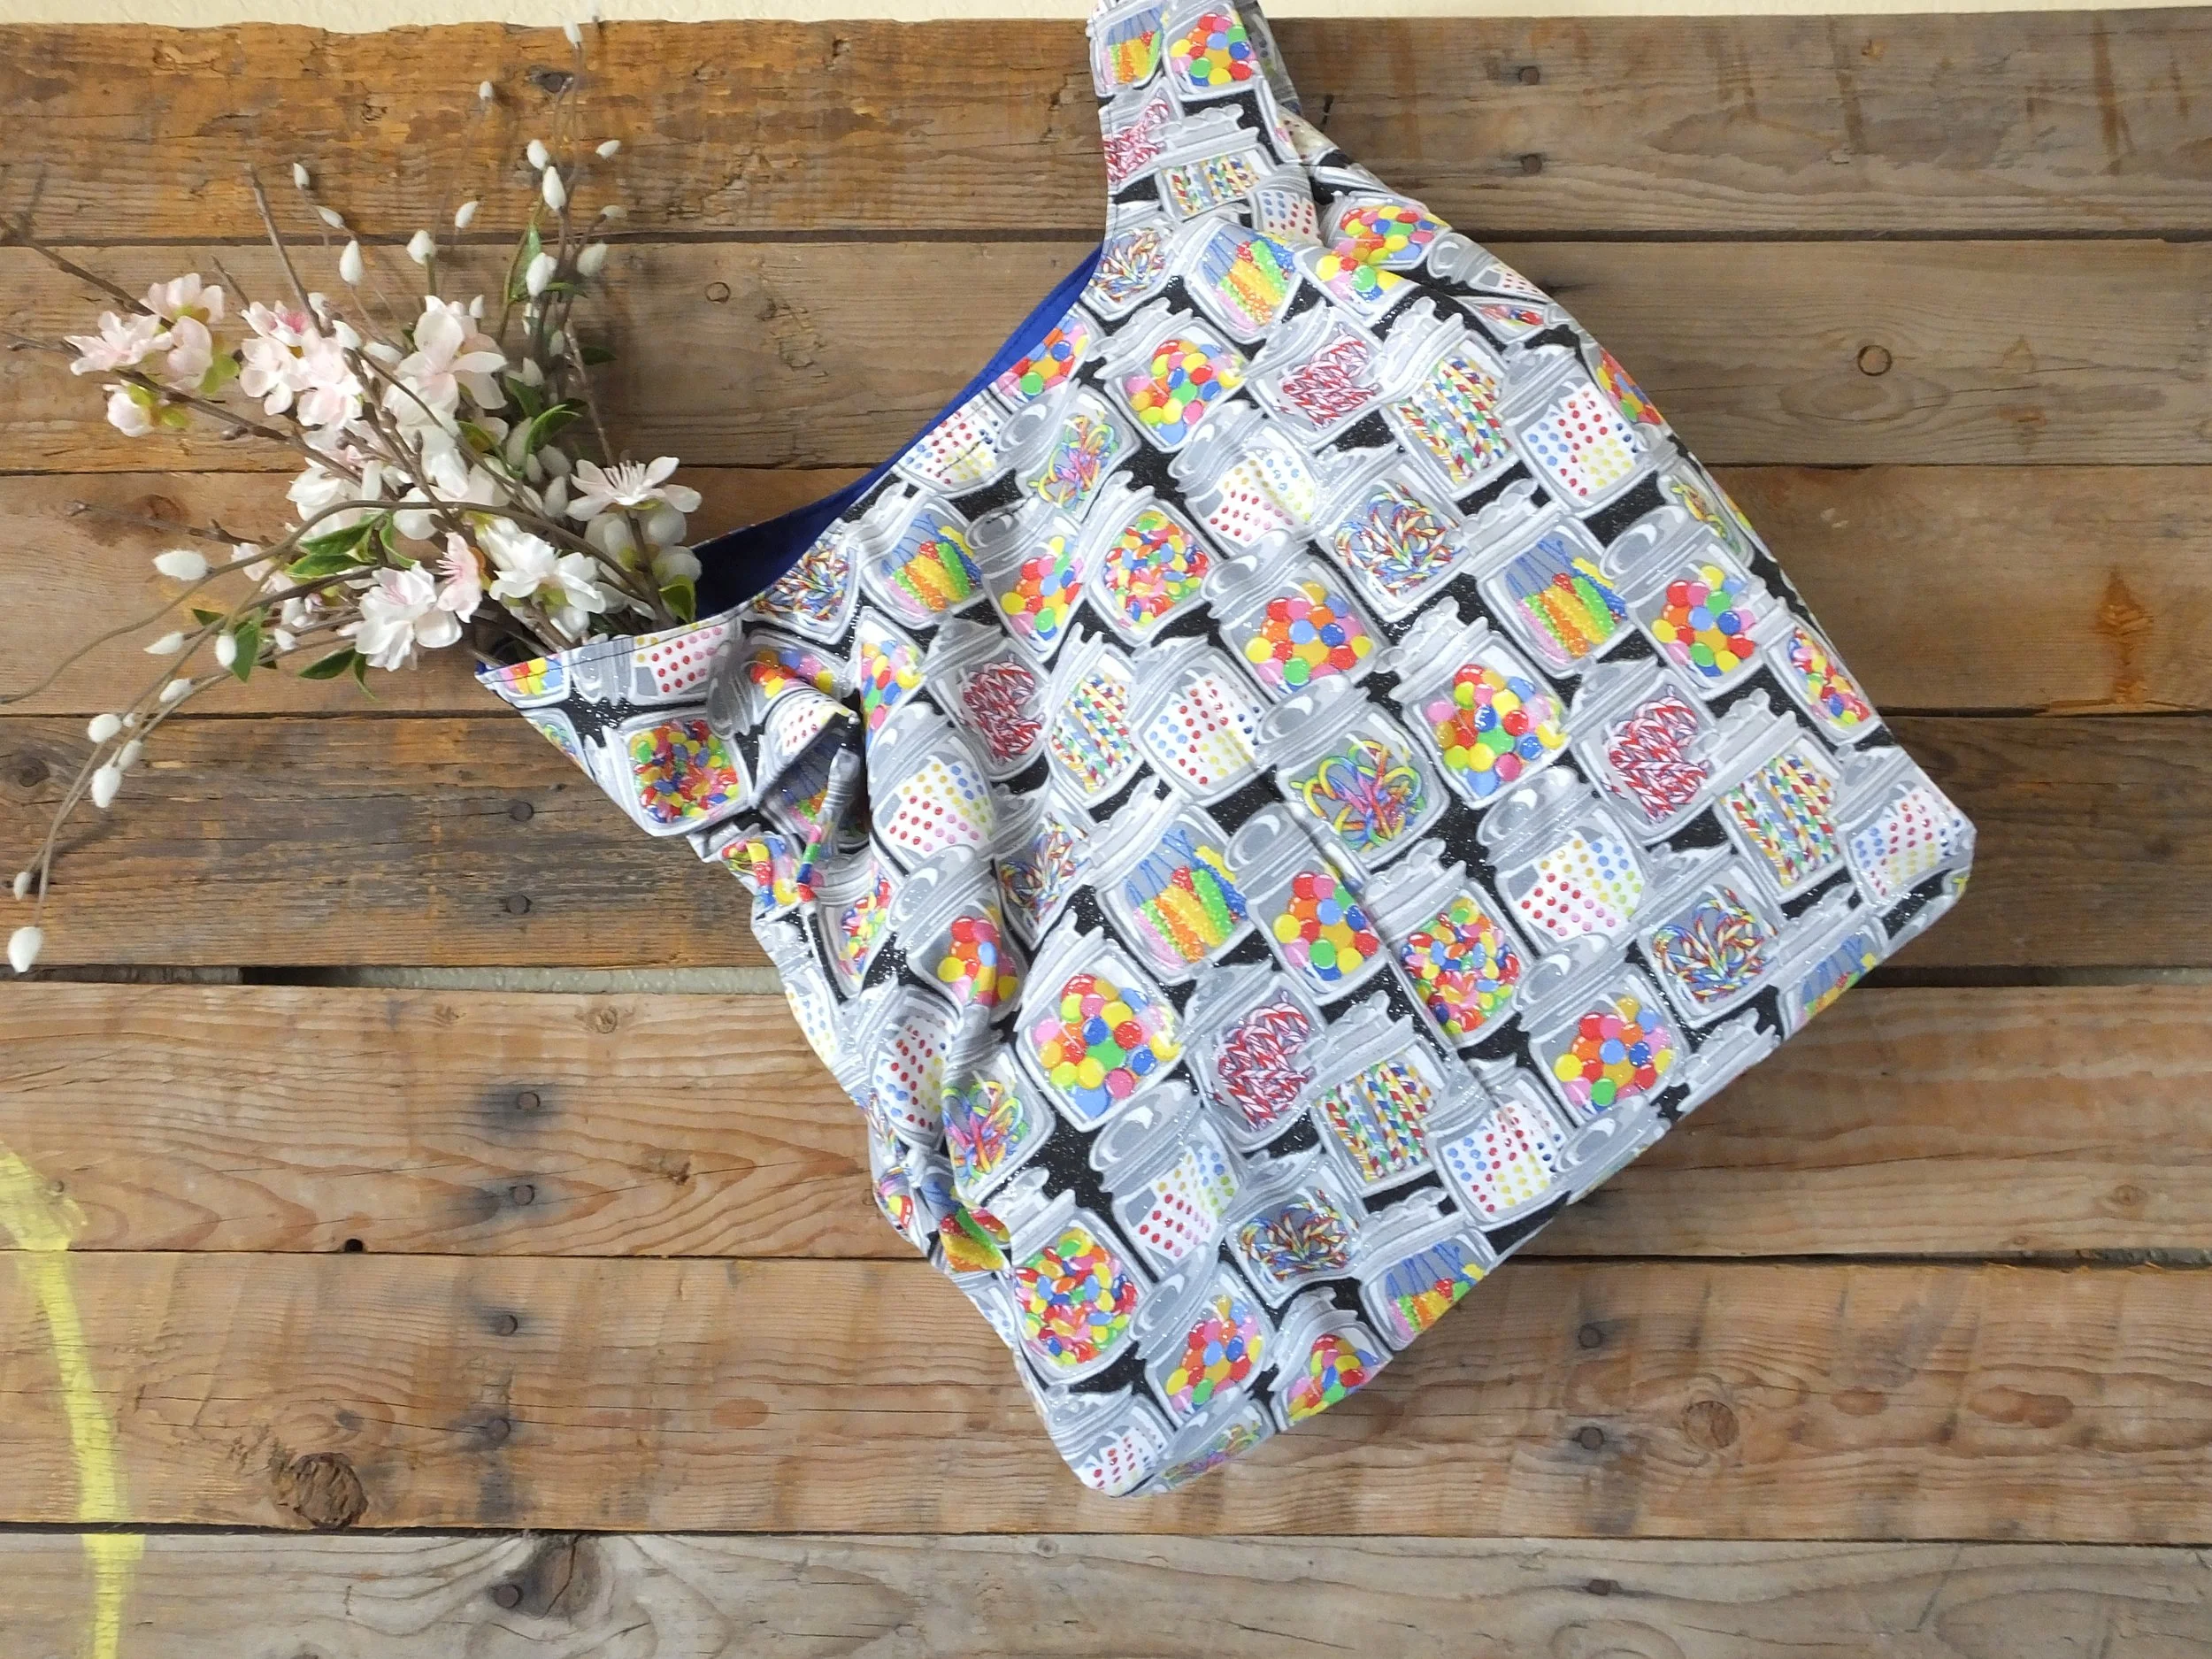
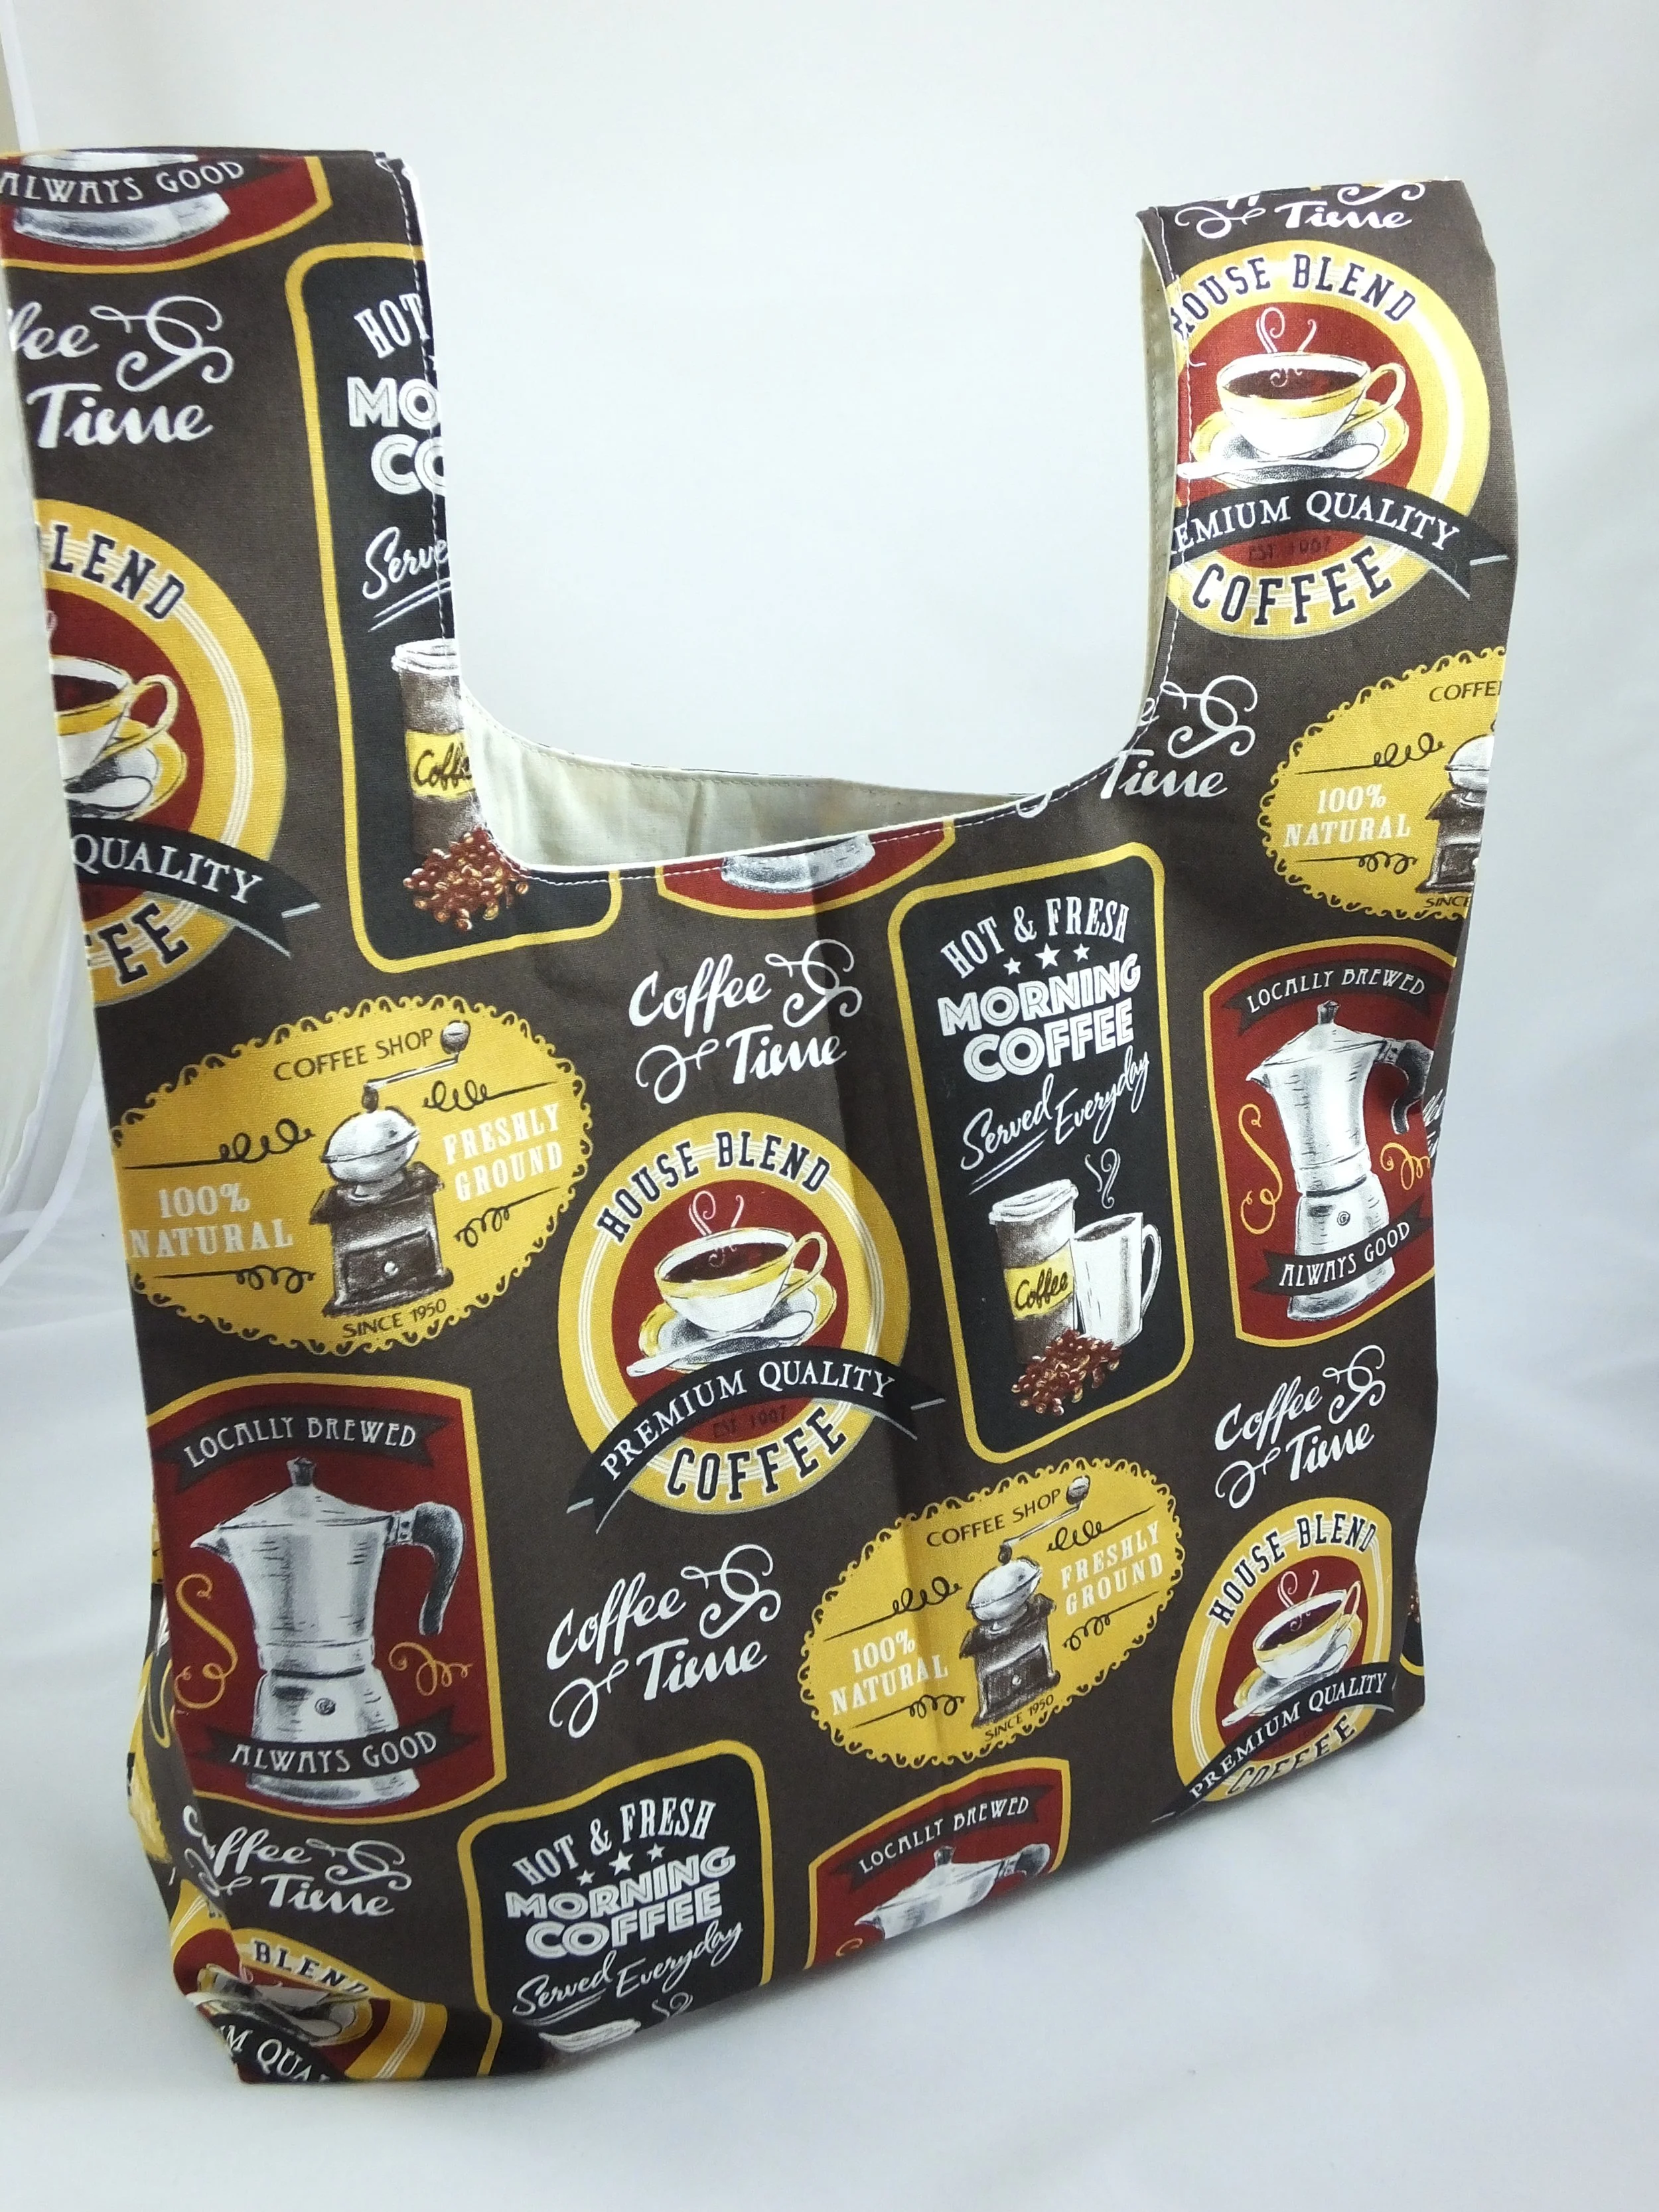
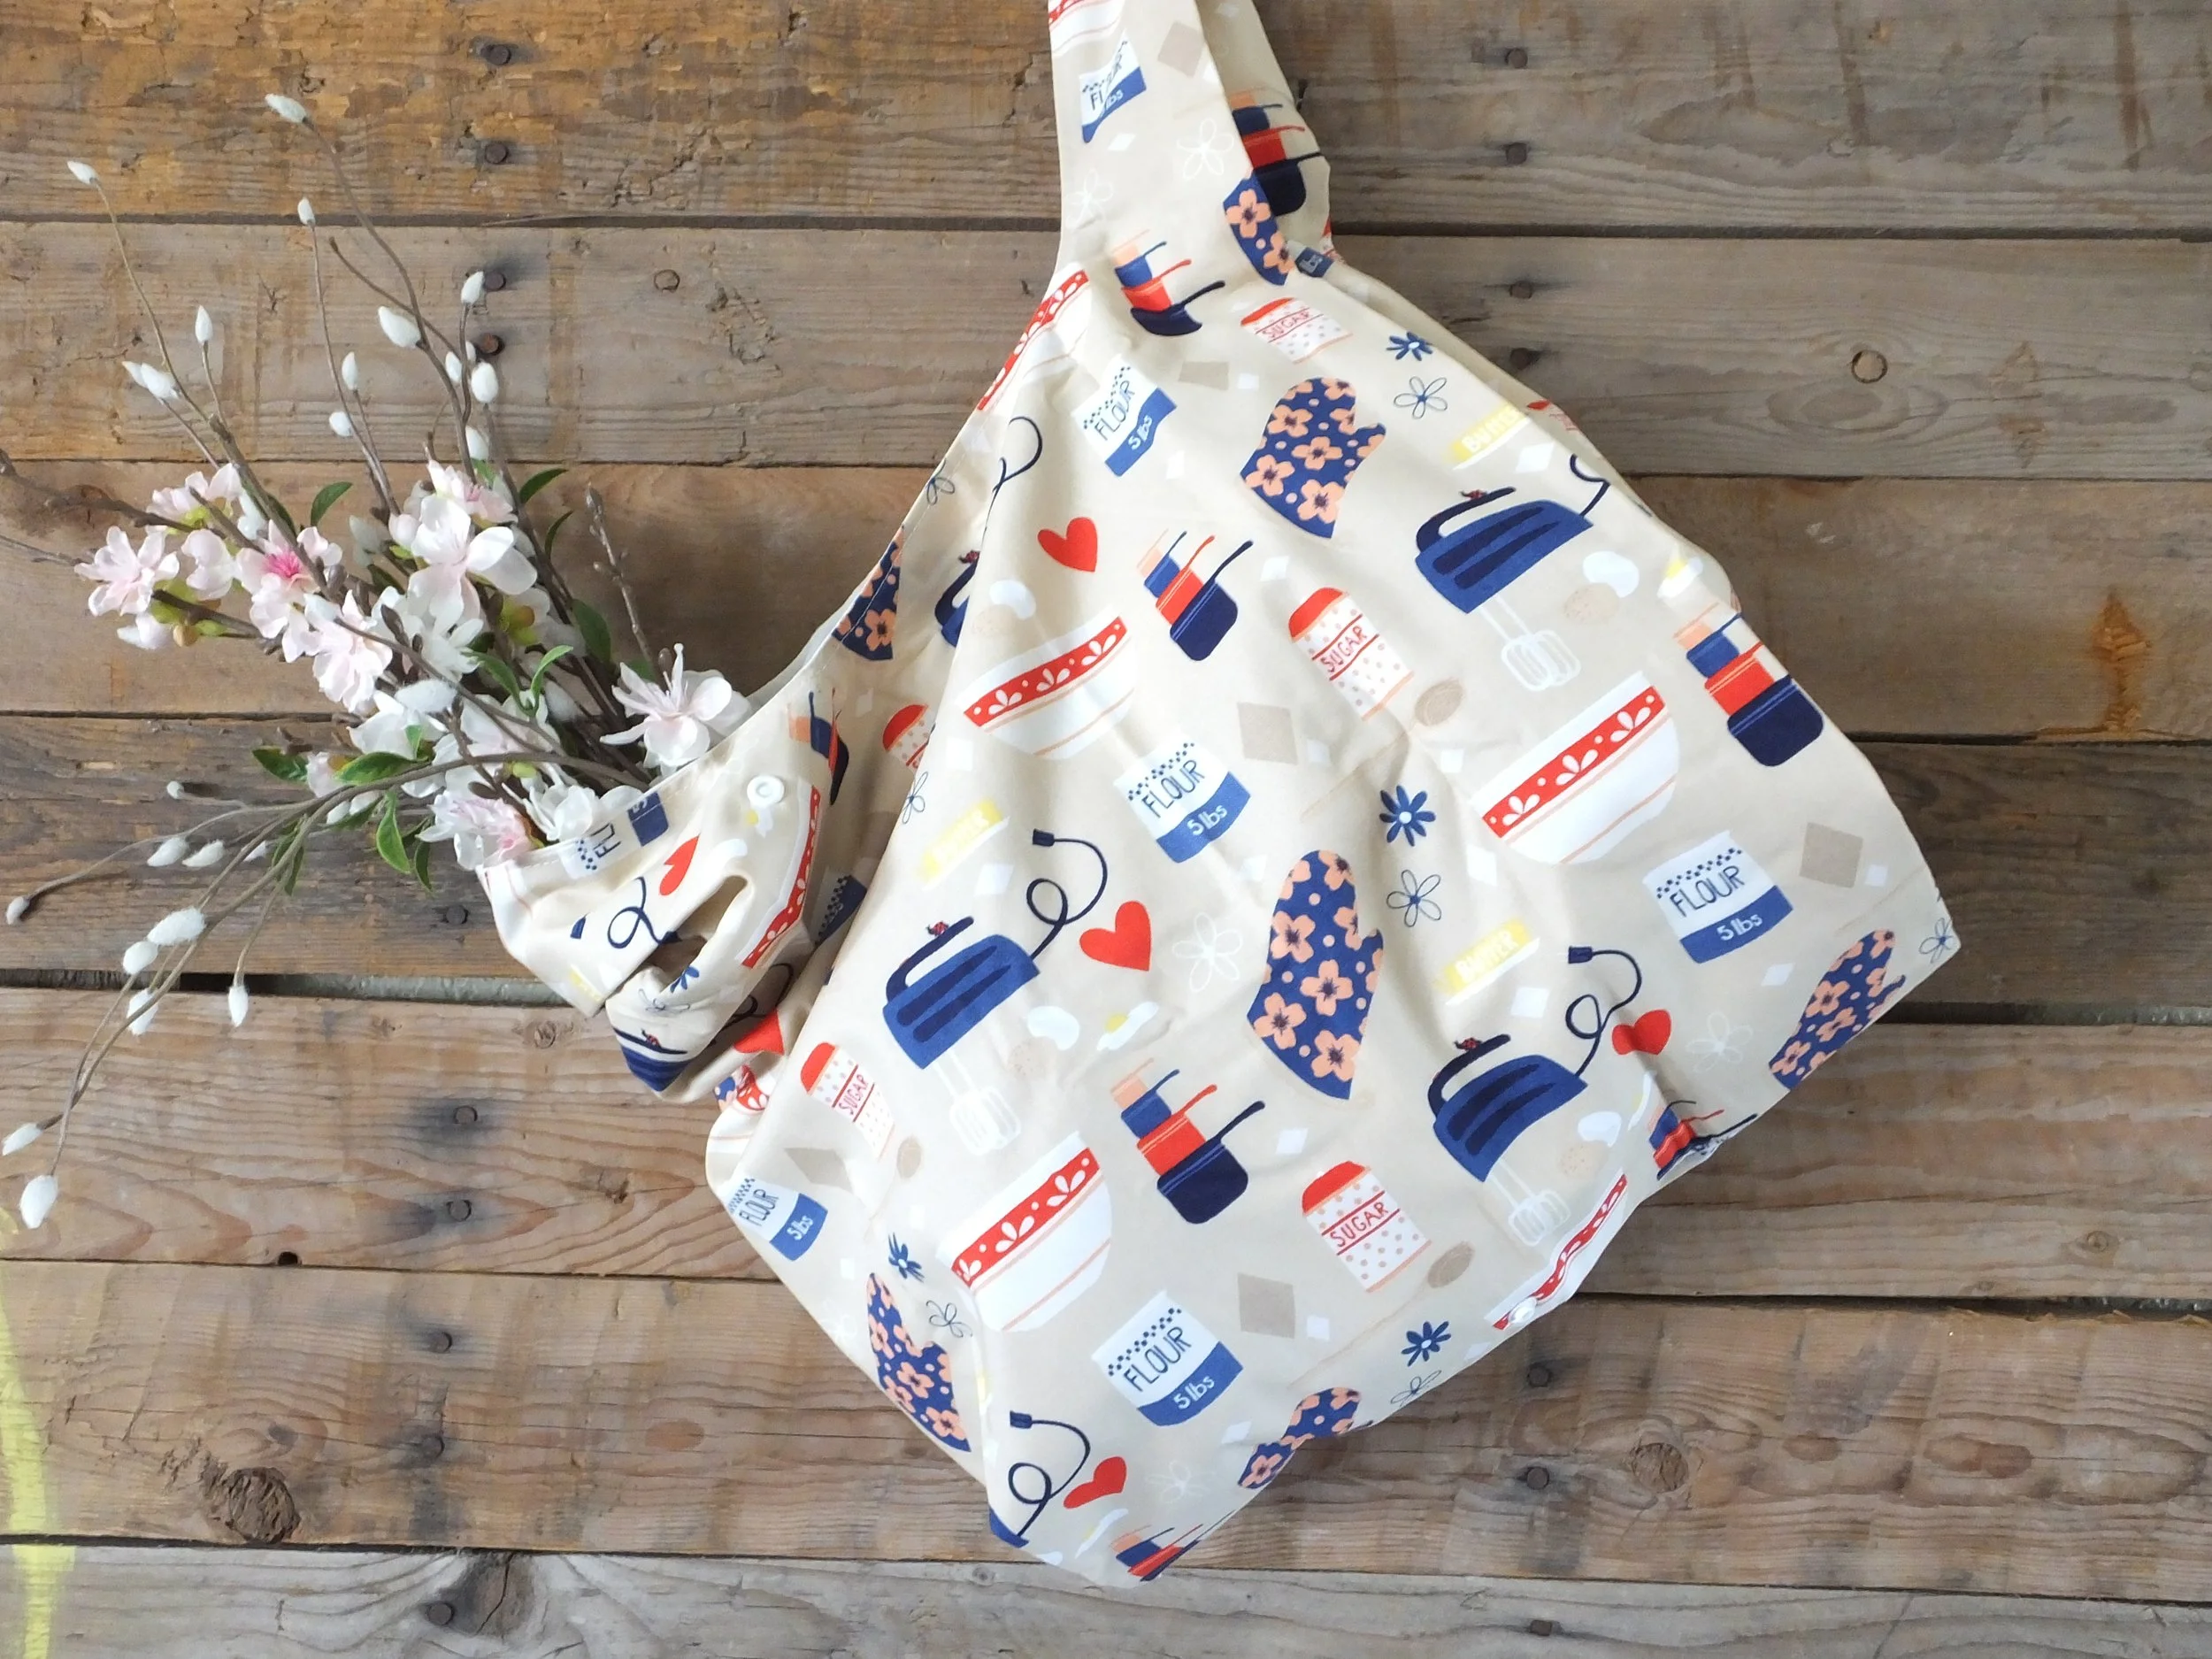
What do you plan on using your new bag for? I keep mine folded in my purse at all times. You never know when you need a bag. I do have to warn you, though, once friends and family see your bag, they’ll want one. Ha! They do make great gifts.
Welp, thanks for hanging out and sewing with me today. I hope this post will have you making a bag you’ll want to use. It’s a somewhat simple tutorial and is great for an adventurous beginner.
If you want to sew something for Halloween, here are some ideas.
Happy sewing and shopping!
Annette
Gifts to Sew For Friends Who Sew
Yes, you read that correctly! As sewists, we seek out friends with like-minded hobbies and interests, right? Of course we do.
And, if you don’t have a sewing bestie, you need one!! Search high and low. Scour the interwebs. Find a local craft club or attend a big conference like Crafcation.
Sewing besties are out there; you might even need to join a local, *GASP, quilt club. I know, but times can be tough.
Anywho, after you find your sewing bestie—I’ve had a few over the years—you’ll occasionally want to buy or make them a gift. I vote for the latter.
I’ve had many friends in the past who sew. I am always on the hunt for new ideas and gifts to sew up for my friends.
I’ve compiled a simple list of ideas for you, below. Some I’ve sewn, some are still on the “make someday” list. And, some I’ve received as gifts.
Grab a notepad, a cup of tea, and let’s dive in!

Get ready to take notes.
Bags
Overnight Bag
Makeup Bag
Zipper Pouch
Glasses Pouch
Purse or Handbag
Overnight & Makeup Bags
This is a fun gift idea for a friend. But, you’re not going to sew up just any old boring overnight bag. You’re going to win extra points if it’s a fabric they love, has a unique style, and it's something they’ll be proud of carrying on a weekend trip.
I’ve made a couple of overnight bags to give as gifts. I even made myself one.
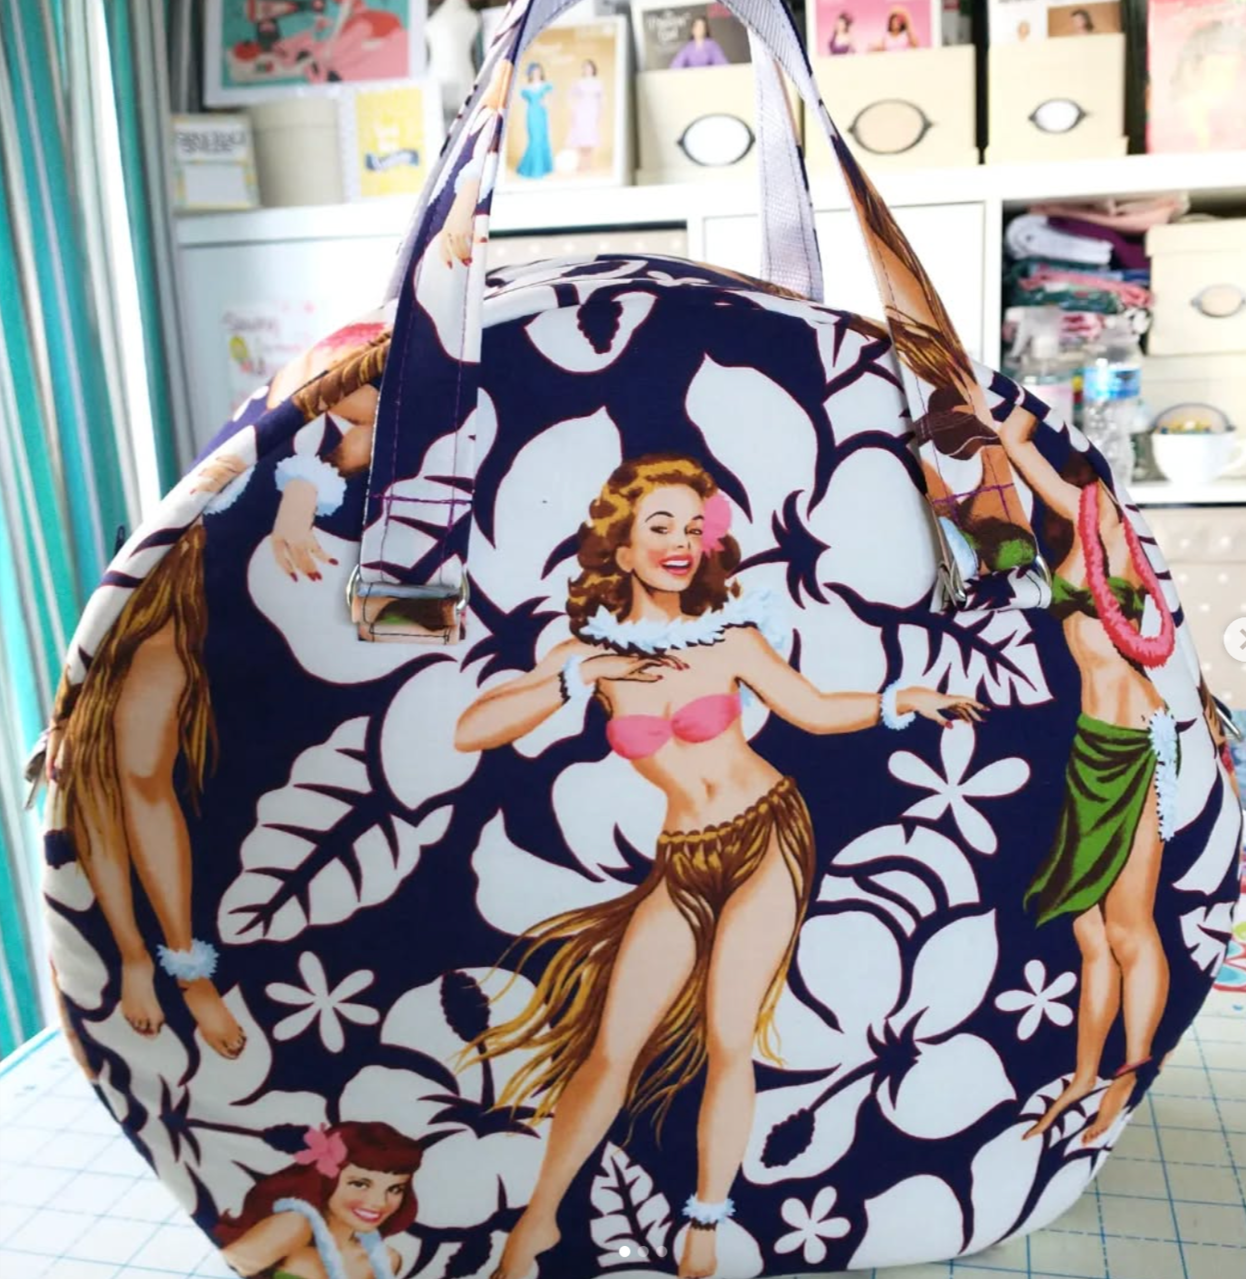
This is a great pattern I found on Etsy a few years ago. Audrey’s travel bag is a circle shape, and it has a retro vibe.
I made the large size for my friend for her birthday with purple Hawaiian pinup fabric. And, I made myself the smaller one to use as a makeup bag when I travel.

Audrey’s Travel Bag
It’s circular and just cute! Anyone would love getting a bag like this. I know I loved making it and giving it as a gift. To be honest, I can’t remember what the inside looks like. But, she loves her bag!!
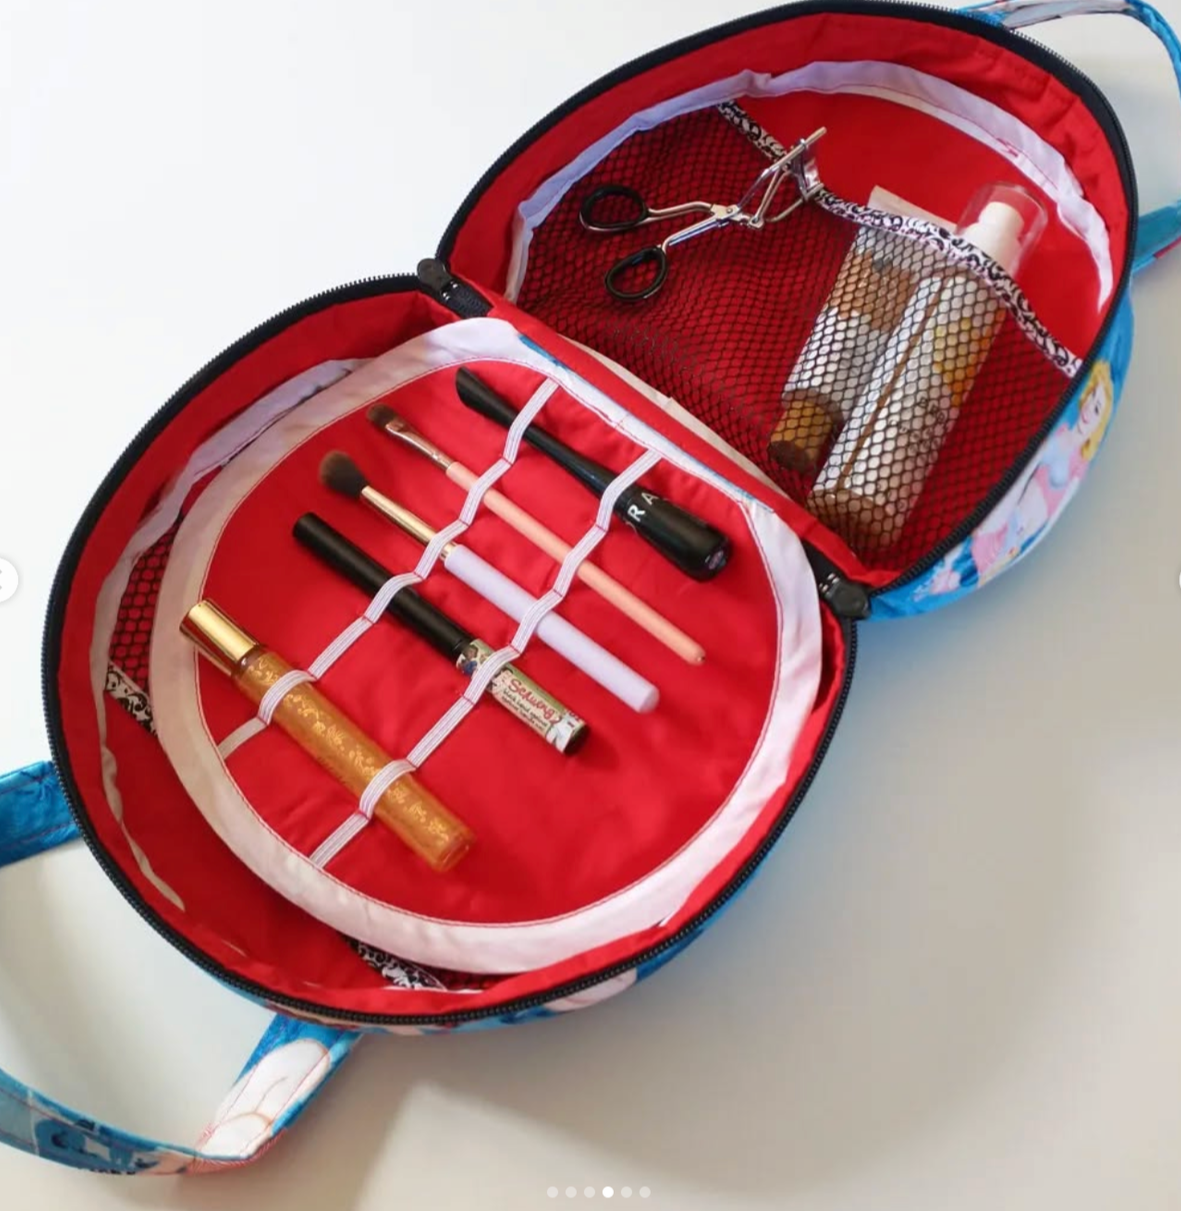
Small Version of Audrey’s Travel Bag
I made the makeup bag for myself with cute pinup fabric I bought at Joann. RIP. I use it every time I travel. It’s held up for almost 5 years. It has elastic straps to hold makeup and brushes. The mesh pockets are great too, you can see everything inside!
Another easy overnight bag pattern. I made this for myself to match my makeup bag. I use this if we go away for a single night. But if we’re going away for a week, I use this as my toiletry bag. I take everything with me, inside this bag.
blow dryer
curling iron
hair flowers
hairspray, lotion, etc.
Full-size shampoo and conditioner
And, sooo much more!
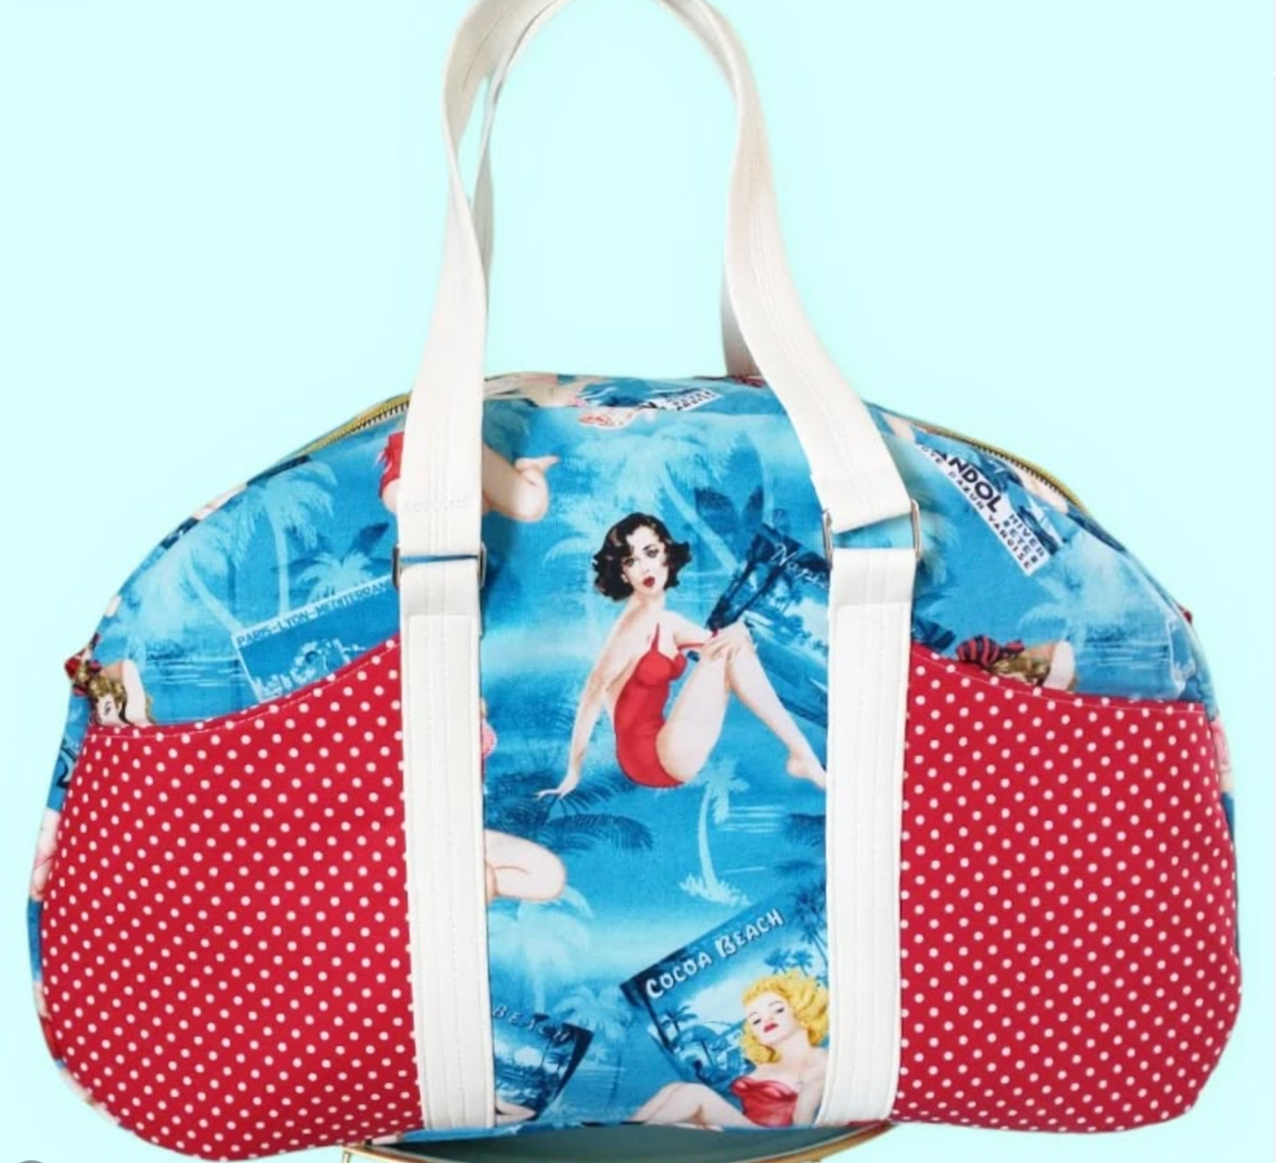
Betty Bowler Overnight Bag
Grab the pattern here. It’s an easy sew and has 2 front outer pockets and one small inner pocket. It’s nice and roomy and is such a cute bag.
Okay, onto the next bag ideas. Zipper pouches, glasses pouches, and totes.
Let’s face it, we use bags. Every. Single. Day. I used to make and sell these in my Etsy shop, and I was known to gift one to a friend here and there. That was a nice thing— to have a stock of handmade gifts to shop from. Haha, I still shop my leftover stock for gifts sometimes.
But, giving a sewing friend a handmade gift is different than a non-sewist.
You have to put thought into it. And, you have to make something a little more extraordinary. You want to wow your sewing friend!!
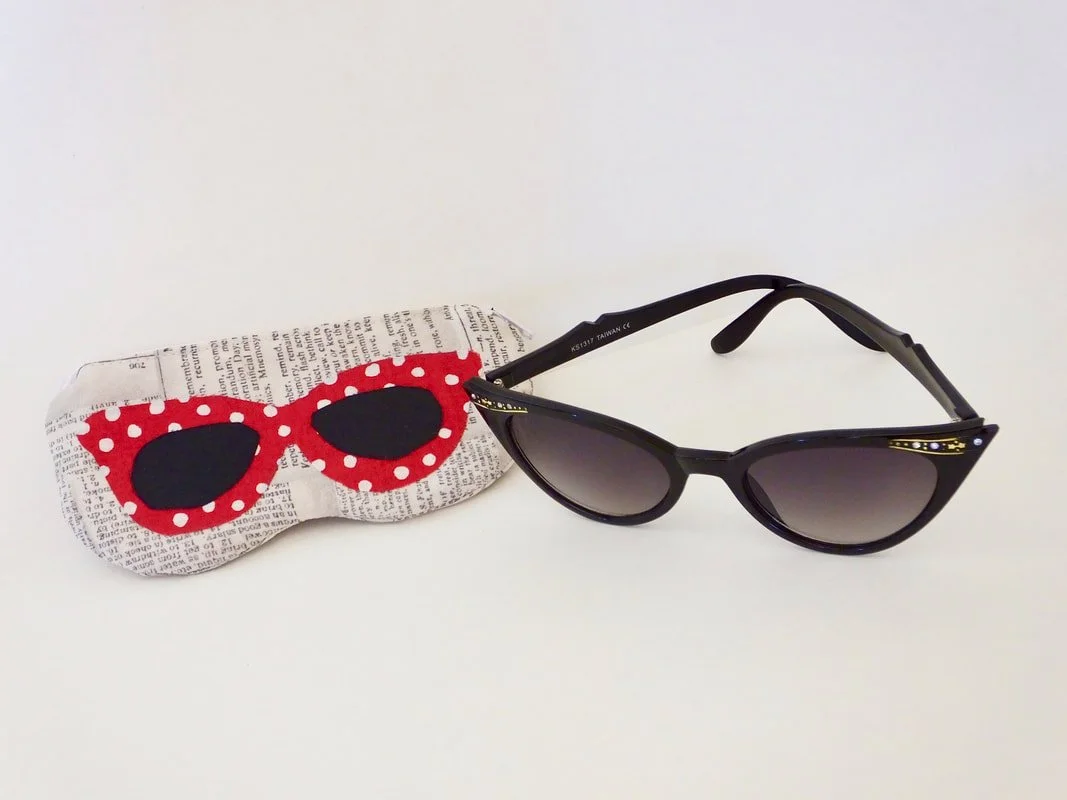
Retro glasses pouch
To make this cute glasses pouch:
Trace around a large pair of sunglasses onto paper to get sizing. Add 1/2” seam allowance.
Fold the paper in half to make sure the pattern piece is symmetrical.
If you’d like to add a fun applique as I did, Google a shape you want and print it out.
Use Heat n Bond with fabric pieces.
Sew the rest of the bag like a regular zipper pouch.
Easy peasy!

Purse & Crossbody
This is the absolute best crossbody bag I’ve ever made or seen. Here’s a whole blog post on it.
Another handbag idea is to just wing it. Here’s a custom purse tutorial. This is my favorite type of sewing project. It’s a choose-your-own-adventure.
Home Decor
The trick to sewing for a friend who knows how to sew is to make them something they wouldn’t normally make for themselves.
For example, I’d never make myself a fancy tote bag with lace and bows. But, if you made that for me, I’d use the heck out of it!
I usually only sew practical things for myself. I don’t ever make myself embroidered kitchen towels or mug rugs to use under my coffee cup. But if someone made me one, I’d use it.
Kitchen Towels
Mixing Bowl Cover
Throw Pillows for the Living Room or Bedroom
Mug Rug or Coasters
Holiday Table Runner
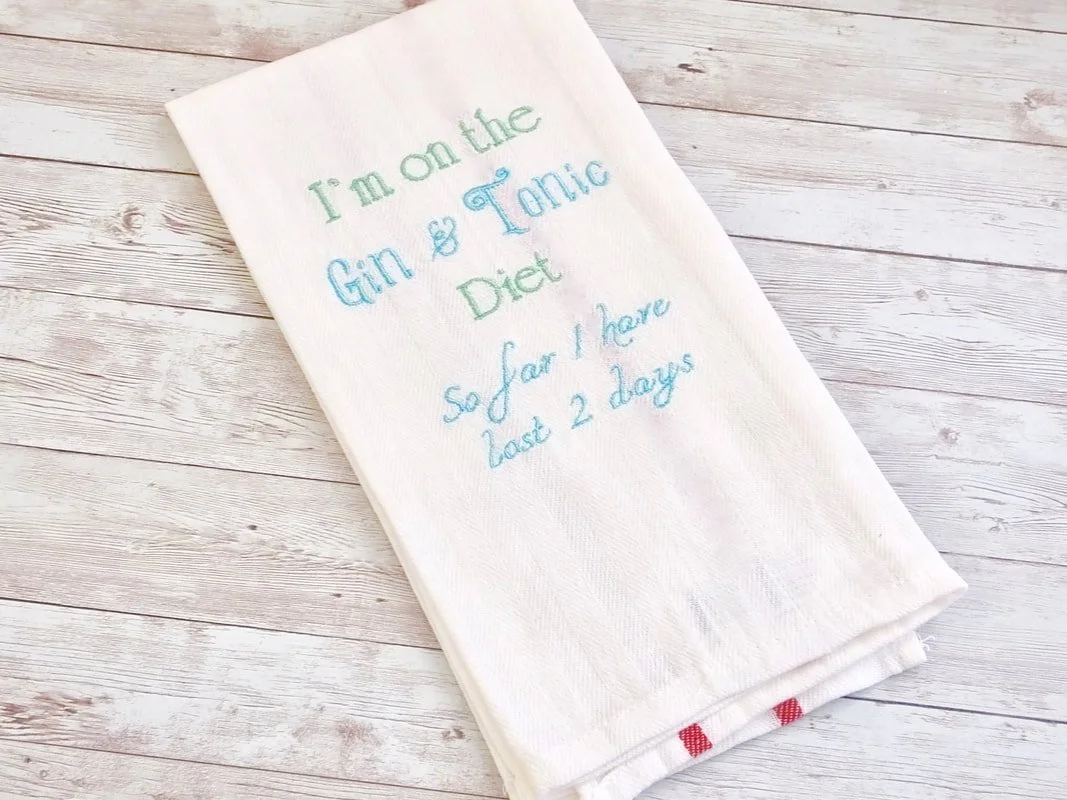
I’m on the Gin & Tonic diet, so far I have lost 2 days, embroidered towel.
Tea Towels
If you have an embroidery machine or know how to do hand embroidery, you could make a sentimental gift starting with a store-bought towel.
I made this for a friend, and she loved it. Humorous gifts are always fun to make and give.
You can also make simple towels by adding ruffles or appliques to them. Kitchen towels are great gifts!
Stand Mixer Cover
I haven’t made one, but I’d love one. You could sew a mixer cover and a matching bowl cover. Pinterest has tons of patterns.
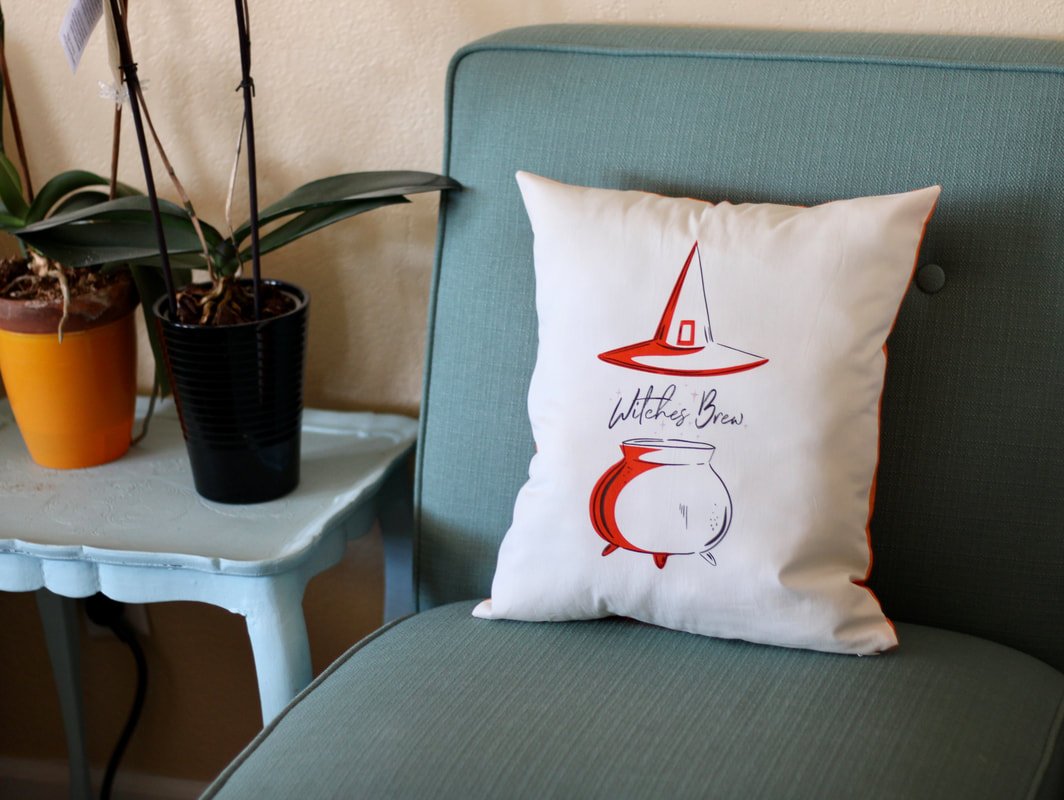
Pillows
Fun pillows for the bedroom or living room. You can use fun fabrics or appliqué designs on them. I made a matching set of pillows for a friend who moved away. So, she’ll always have a piece of me hanging out in her living room. Ha!
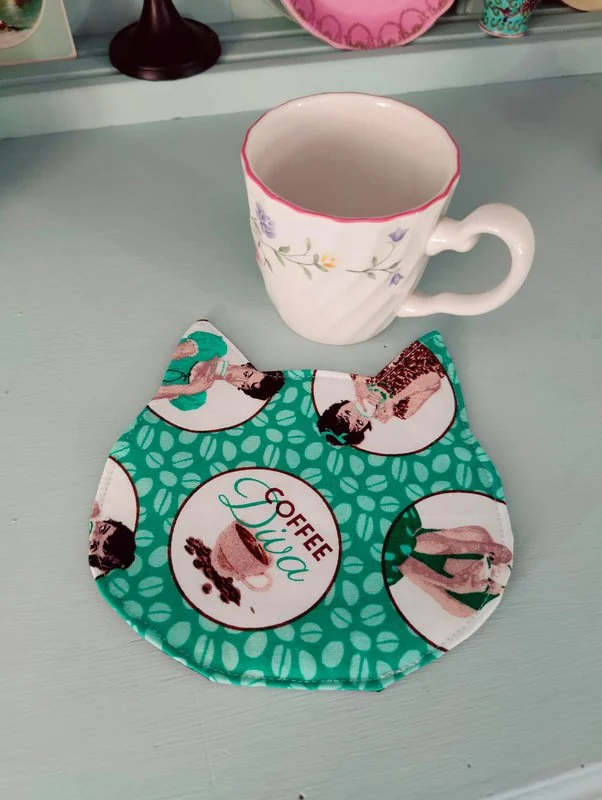
Cat Mug Rug
Grab the pattern and read the simple tutorial here. I’ve received these as gifts from sewing friends. You can adjust the size and shape and create a set to make coasters as well.
Table decor for the kitchen or coffee table is always a welcome gift. You can choose between holiday themes or use fabric that is sewing-related.
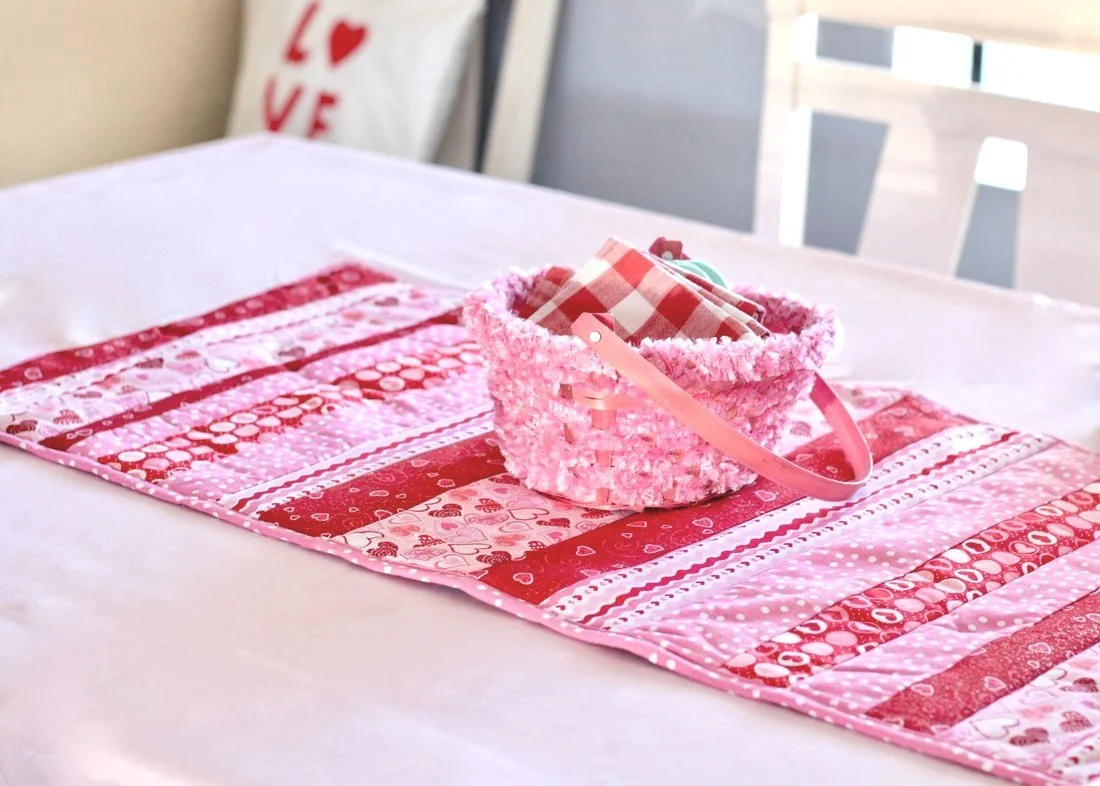
Table runner for Valentine’s Day.
More Gift Ideas
Think outside the box.
Like I said above, if you’re making something for a friend who sews, you have to make it extra special. Now, if you’re new to sewing, a simple zipper pouch is wonderful! But, if you’re a seasoned sewist, you gotta make something extra special.
What other hobbies does your friend have?
Do they love gardening? Make a gardening apron
Do they bake? Sew up a fun, frilly apron
Perhaps they have chickens or ducks and would benefit from an egg gathering apron?
One friend made me a beautiful pink apron with ruffles, and it’s still my absolute favorite to this day!
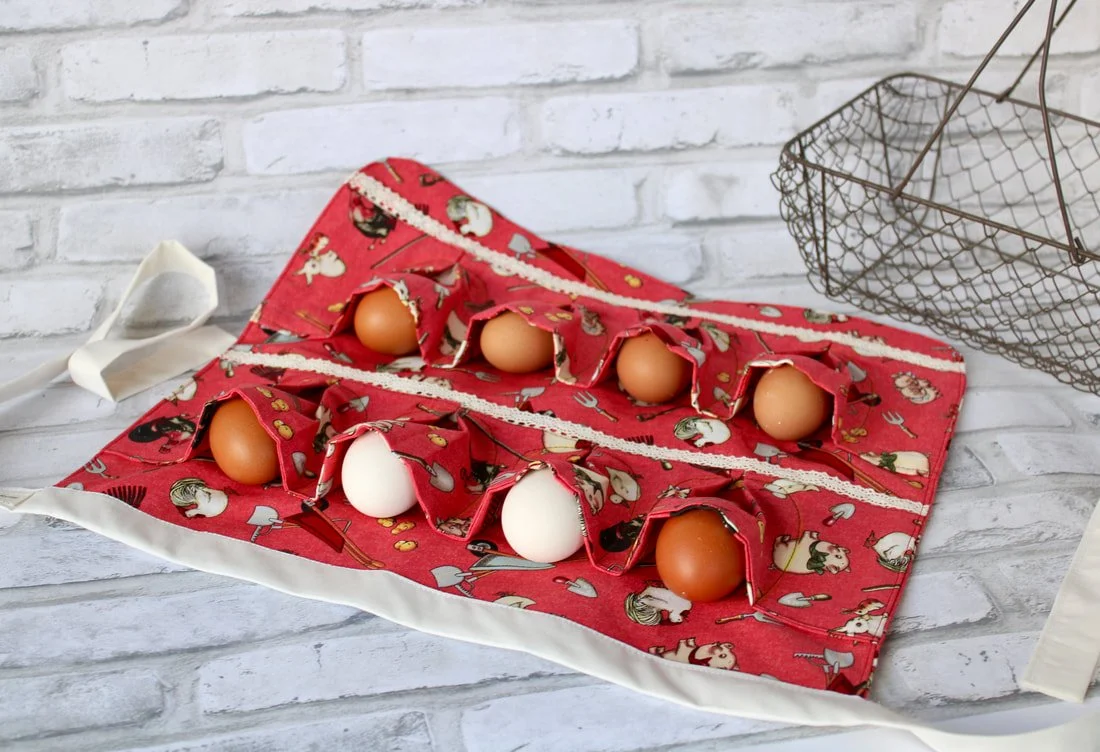
Fun egg gathering apron complete with chicken fabric and lace.
Grab this pattern and tutorial here. I have made a few of these and given them as gifts to my small farm friends.
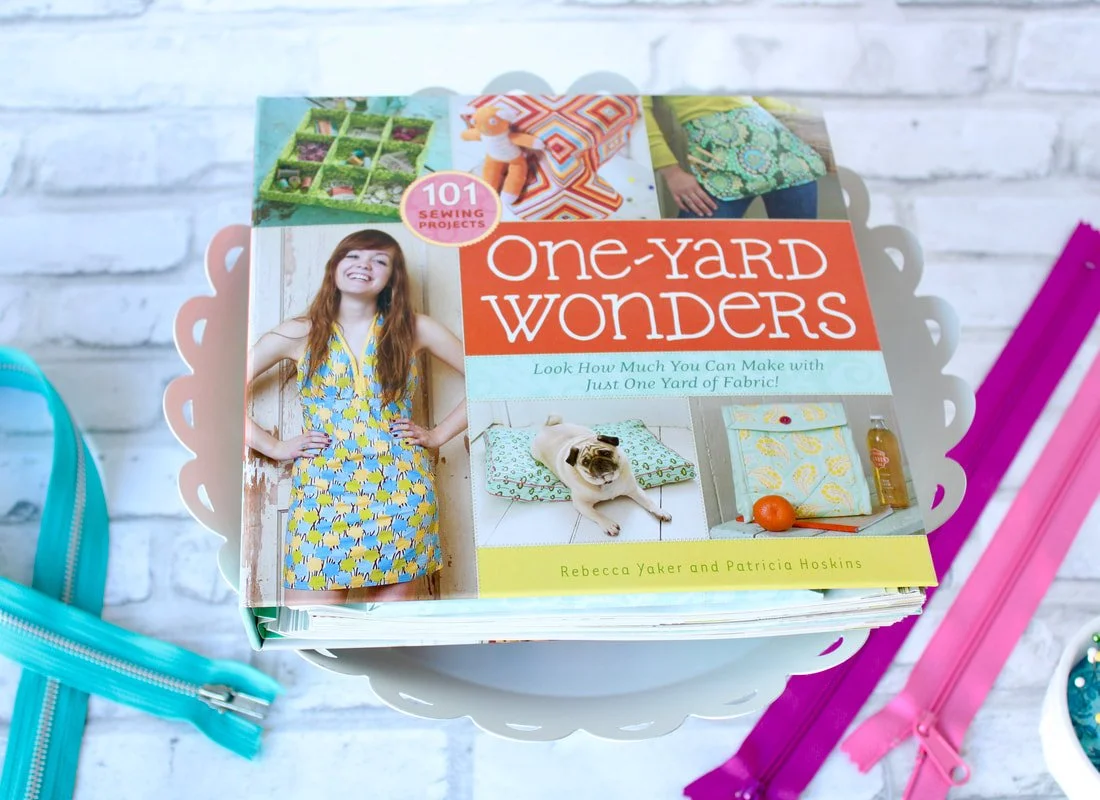
Sewing Books
Books, gadgets, and more always make wonderful gifts. We could always use an extra pair of scissors, rotary blade refills, thread, fun fabric, silly sewing signs, etc.
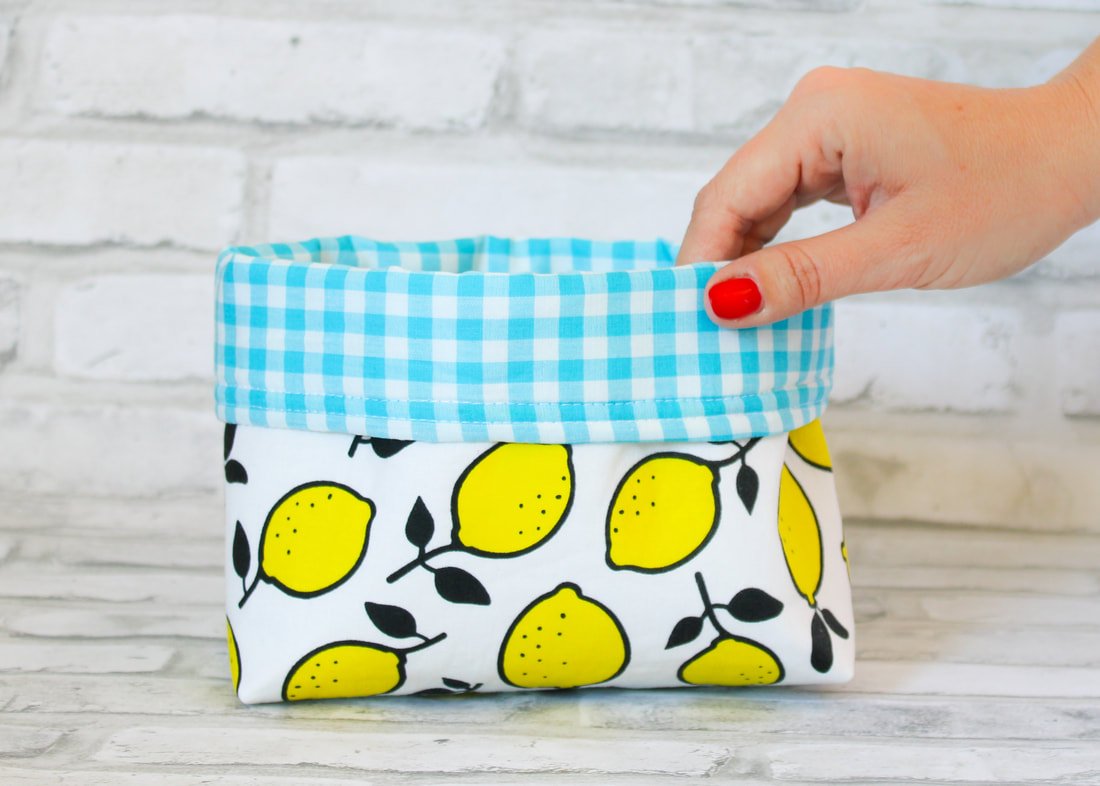
Fabric Baskets
And, when all else fails, give your purchased items in a handmade fabric basket or simple tote bag. We can all use a little more storage and organization.
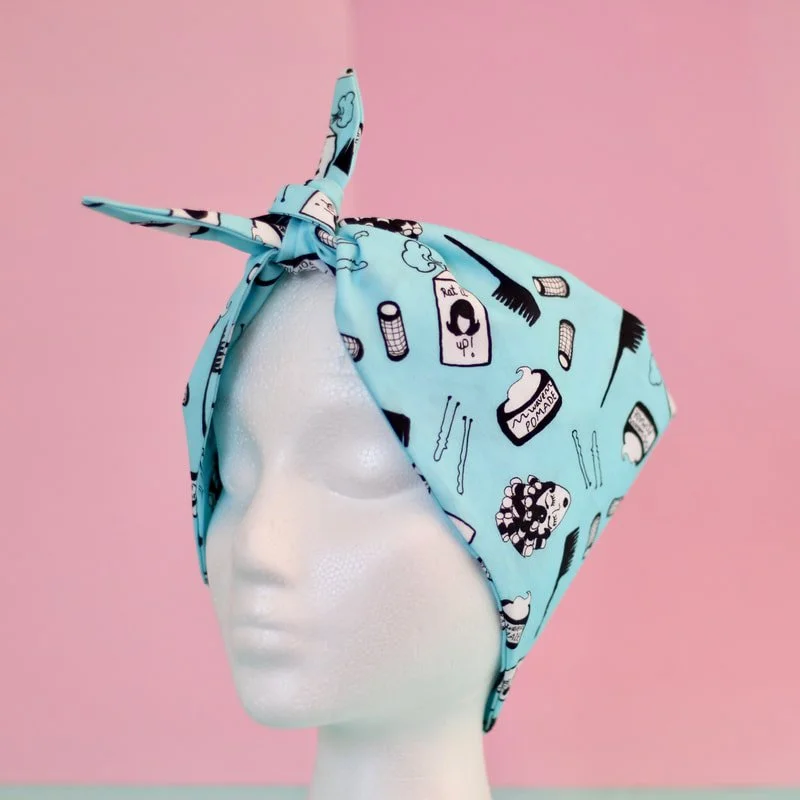
Pinup Hair Scarf
If your friend is a Rockabilly or Pinup fan, sewing a simple hair scarf would be exciting! Use fabric that would match what they wear.
There are many more things to sew, I’m sure.
Clothing is more difficult if you want to keep the gift a surprise. Quilts are good too, but can be time-consuming. A quick Pinterest search will give you lots and lots of ideas.
I usually stick with bags, home decor, or other little fun items. I’ve given many and received many handmade gifts throughout the years. I wanted to share with you what’s worked.
My biggest advice for giving a sewing friend something you make is to make it extra special. You don’t want to give them something that they have five of.
Think outside the box. Add extra details to give it the personal touch. And, make sure it’s made with love!
Happy gift making,
Annette

A Photographer Skirt
Sew an easy skirt. No zipper needed! It has an elastic back and flat front. It’s cute and comfortable. Add some pockets too!

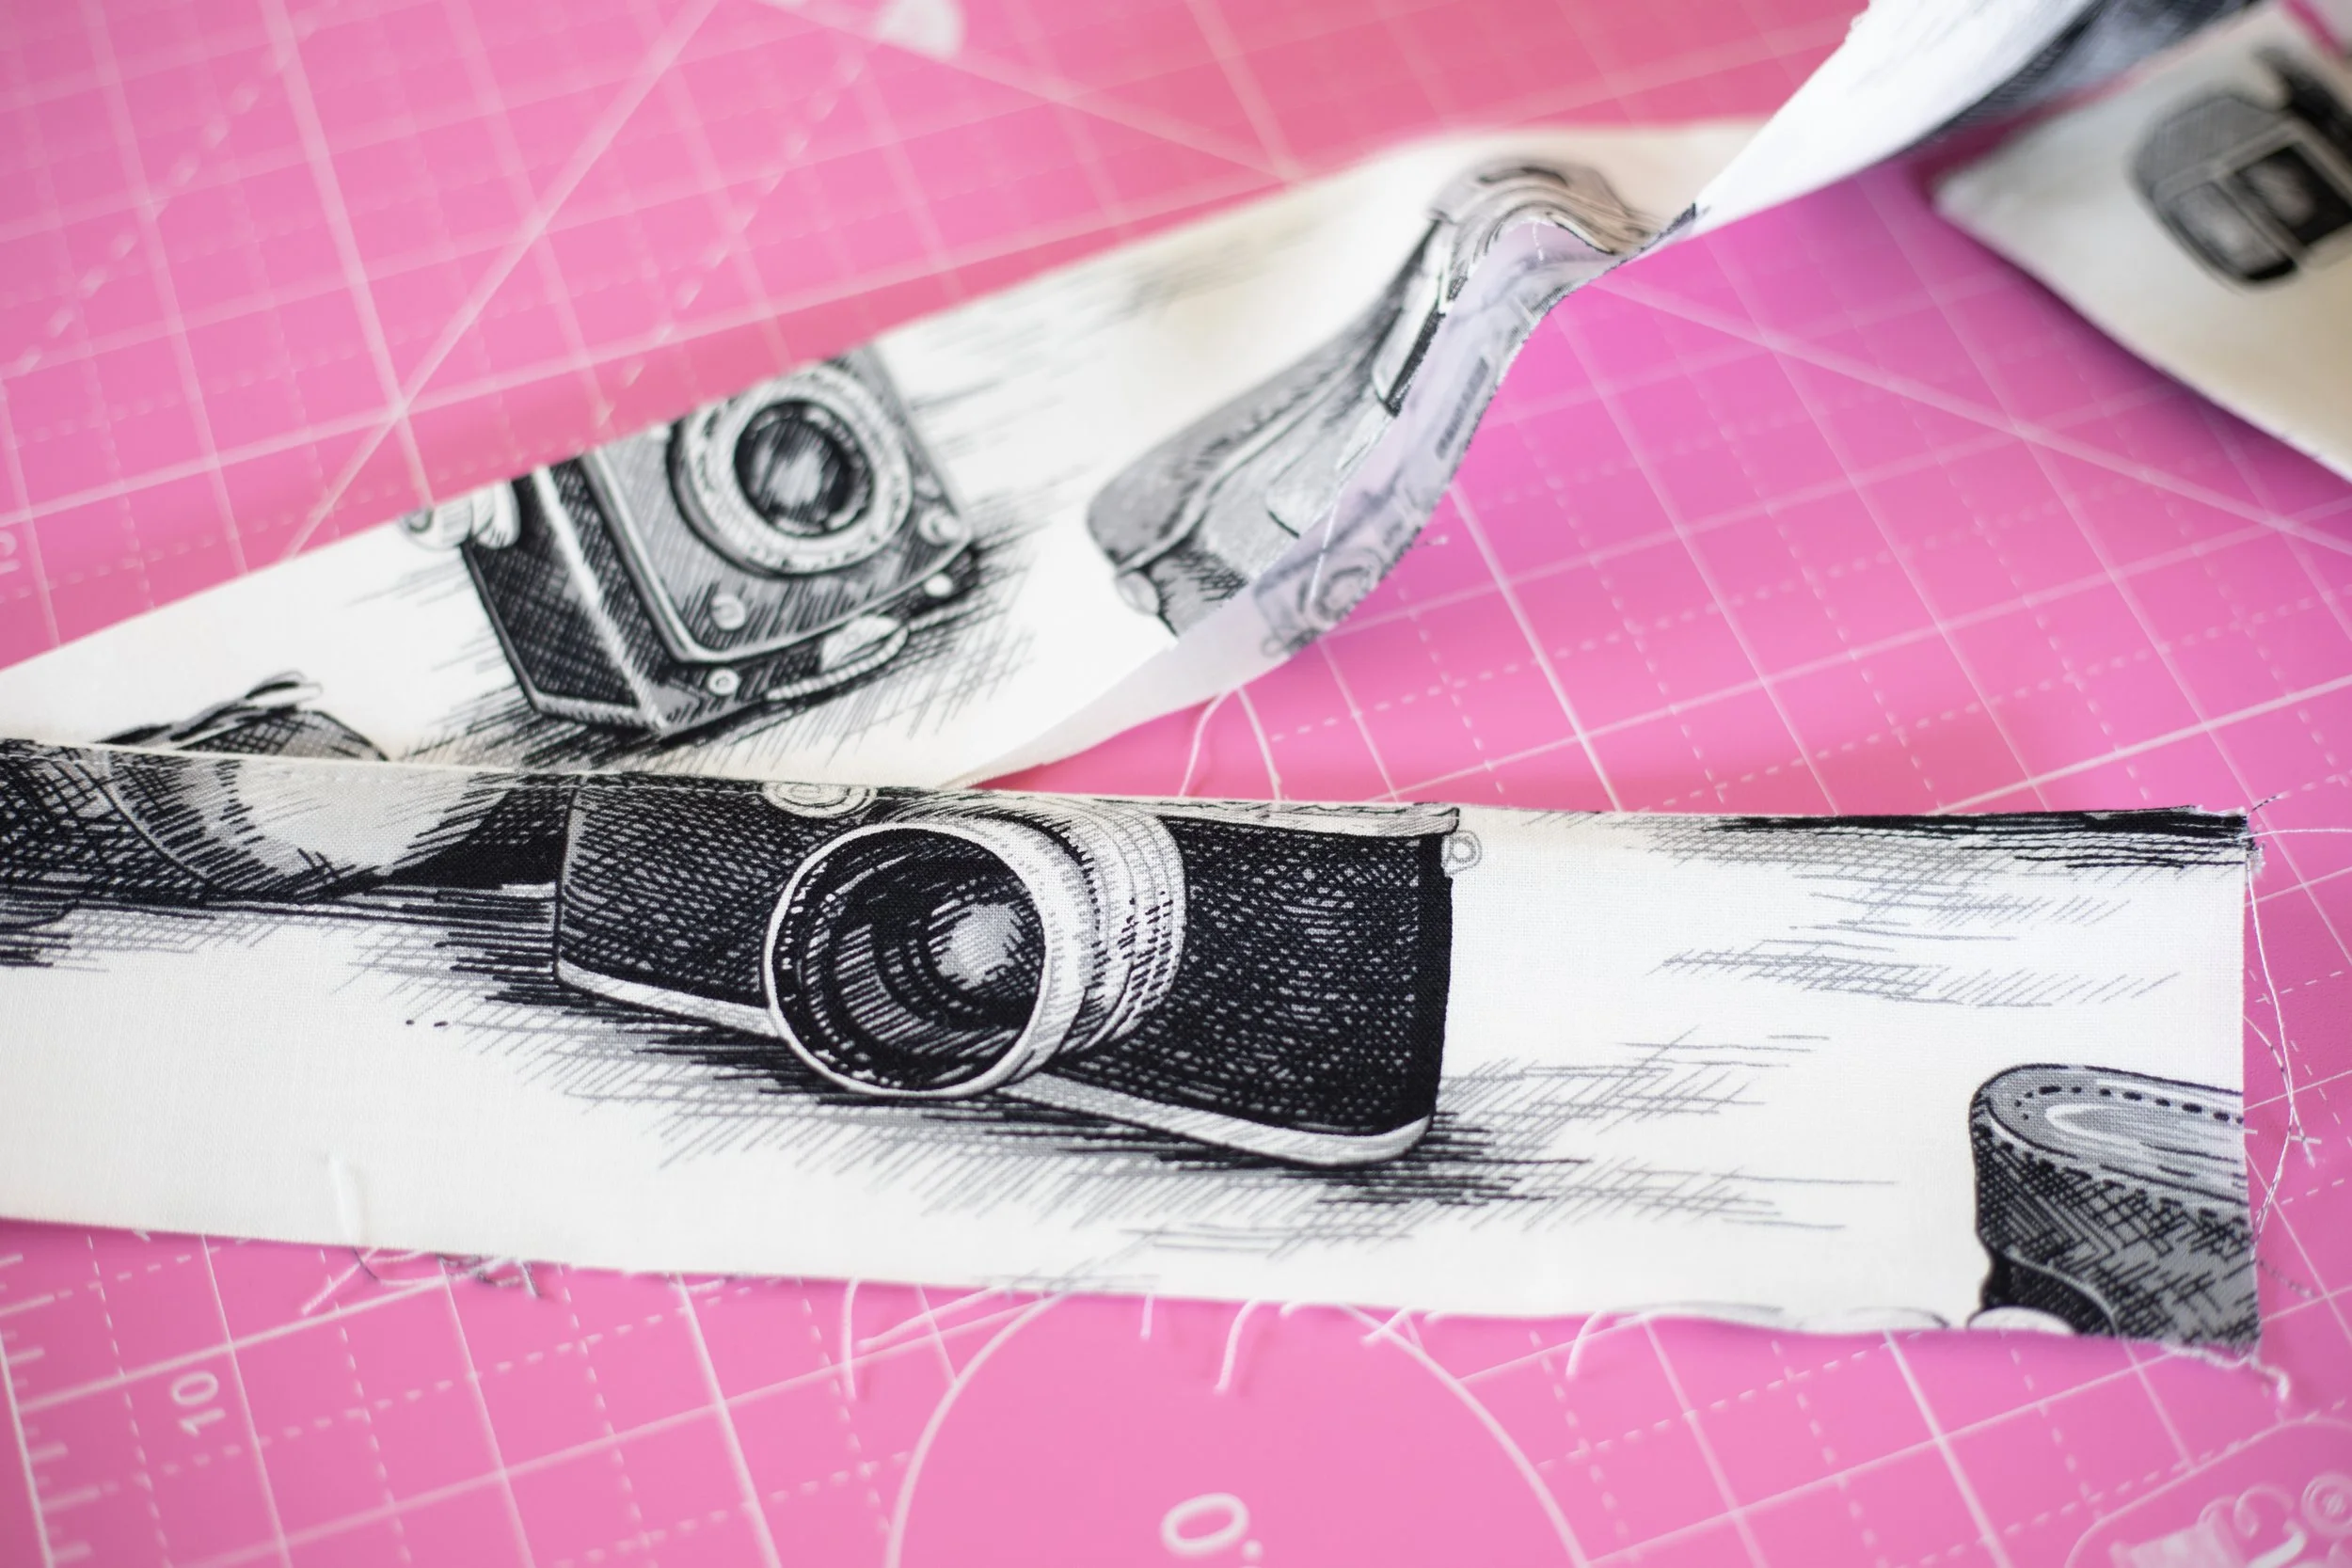
Camera fabric for a new skirt.
If you’re anything like me, you have many hobbies and interests. I love sewing, gardening, farm animal-ing, photography, cooking (sometimes, ha!), and Netflixing. As a photographer who sews, I have the skills to make my clothing in exciting prints that speak to me.
Novelty prints are my favorite. So, when I saw this fun camera fabric at Hobby Lobby, I bought the remainder of the bolt. I planned on making a skirt and hoped I had enough left for a few other small projects. Hint: I’m going to make another bag using leftover pieces.
This tutorial is super simple. We’re going to make a gathered skirt. It requires 2 yards or less of fabric. Since “Cove Cove,” aka the 2020 pandemonium, I’ve gained a few pounds. Elastic waistbands are my best friend, so I made the waistband with elastic in the back. The front has a flat waistband. Business in the front, party in the back!
Interested in making one? Let’s go.
What You Need:
2 yards of fabric
1” Elastic, measuring half the width of your waist, plus 1” for overlap
Matching thread
Sewing machine
Scissors, a chalk marker, ruler, etc.
Pins or clips
Safety pin to thread the elastic
Measuring tape
Pencil and paper to create your pattern
Scrap fabric for pockets
Pocket pattern piece
Pockets
If you don’t want to self-draft a pocket piece, here are a couple of easy ways to find a pocket pattern.
Grab a pocket piece from another sewing pattern you already own. Most skirt, dress, and pants patterns usually have a pocket. Check your envelopes to find an in-seam pocket pattern piece.
Look online for a free PDF one. A quick Pinterest or Google search will give you lots of patterns.
Cut 4 pieces from some matching or contrasting fabric scraps. Sometimes it’s fun to have colorful pockets. Use solids, patterns, polka dots, or cut animal print fabric for your pockets. Make it fun!

Pocket pattern and yellow fabric for the pockets.
Skirt Instructions
Measure the length from your waist to your leg (calf, above, or below your knee) that you want your skirt, then add 2-4” for a hem. I wanted to make mine 20” long. So, I cut my fabric 22” long. I used quilting cotton that was roughly 44” wide. I cut my fabric 22” by 44”.
Cut 2. This will be your front and back.
My waist is 35”, so this created a lightly gathered skirt. If your waist is larger, you will have less gathers. If you like lots of gathers you might need more fabric. If your waist is smaller, you will have more gathers.

Pinning the pockets to the front of the skirt.
I measured 1.5” down from the top and made a notch. This is where you want your pocket to be placed. This is customizable, depending on how tall or short you are.
Pin the pocket RST to the front of the skirt. Then sew using a 1/4”-3/8” seam allowance. Press open. Repeat on the other side.
Do the same for the back skirt piece. You will now have two pieces that look like rectangles with floppy elephant ears.
Place front and back pieces RST, and pin the side seam starting at the bottom, going around the pockets, and up to the top. Sew in that order, sewing around pocket pieces. Use a 5/8” Seam allowance.
As an extra precaution, I do a few extra back-and-forth stitches at the corners where I pivot for my pockets.
I chose yellow pockets to match the branding for my photography business. I usually wear this skirt when I have a vendor show or meet a new client. It’s a fun conversation piece.

Sew around the pinned pocket. It will get pressed and tuck away nicely within the skirt seam.
You inseam pocket should look something like the one below. Yes, I used the selvedge of my fabric and we all know that’s a big no-no. Shhh, don’t tell anyone.
The pocket is tucked inside nice and neat.

Secret yellow pocket.
Gathering your skirt.
Sew 2 rows of stitching along the top with a 5-7mm length. Pull to gather the skirt. Go slowly so you don’t break a thread.
Waistband Fun
Time to sew the waistband. This part is a little more tricky than a regular waistband. You’re going to gather the back with a piece of elastic while leaving the front flat. It gives a nice look while adding comfort.
Cut the front waistband strip half your waist measurement, plus 1” for seam allowance. If your waist is 30”, cut the piece 16”.15”+1”=16”. Use a 1/2” seam allowance for the waistband. I like easy math.
I made my waistband 2.5” tall, this is completely customizable for you and what you want.
Example: Cut 2 front strips 16” wide by 2.5” tall.
Add interfacing to one strip, this will be the outer piece.
Sew right sides together, along the top long edge, only. Press open.
Making your waistband.
For the back waistband piece, you’ll cut 2 strips the same height, 2.5” (or your preferred height) by the fabric width measurement.
I cut mine 2.5” by 35”. The width can be fudged a little here, it’ll be gathered anyway. Sew along the top with the 2 pieces facing RST, just like you did with the front waistband. Press open.
Pin and sew the short sides of the waistband pieces together, creating a super-duper long loop. Press the seams open.

Pin the waistband to the skirt gathers, starting at the side seams.
Pin your waistband strip to the skirt along the gathered top.
Pin at the side seams first.
Then, pin the front waistband piece along the front skirt.
Fold the back piece in half and mark it with chalk. Pin that to the center back of the skirt. This can be finicky because you’re pinning 2 gathered pieces to each other, go slow and it’ll work out. Use lots of pins or clips.
You can hand sew the waistband- which is the correct way but, hand sewing is not my favorite thing. I turn the edge under on the inner waistband and pin it from the outside, making sure I catch the seam.

Pin from the outside and remove the pins as you stitch in the ditch.
Tricky Part of the Waistband
Stitch in the ditch when sewing the waistband. This means keeping your needle in the area where the waistband and skirt meet up. It’s a hidden stitch.
Make sure to leave a 2” gap in the side seams for inserting your elastic.

Use a bodkin or safety pin to insert your elastic.
Use a safety pin or bodkin to insert your elastic into the waistband. Insert through one open side seam.
When you get to the other side, stitch over the side seam to lock the elastic in place. Repeat on the other side. Gather back fabric evenly, then stitch to close the openings.
You are “locking” the elastic in place by sewing over it, on the side seams. The elastic will only go in the back of the skirt.


The front looks nice and flat, the back is gathered for comfort.

Closer look at the gathered back waistband.

Front waistband is flat.
The hem is the easy part. Fold your hem up however much you want1-2”, then press, then fold up again 1-2”. Pin, and stitch using a 3-3.5mm stitch length. I chose to do a shorter hem here, but I usually do a 2” hem.
I love my skirt! I made this to wear when I have events for my photography business. I usually pair it with a yellow top to match my branding. It’s simply perfect!
What do you think? Do you plan on making a skirt with elastic in the back? I call it a mullet skirt. Business in the front, comfort in the back. LOL
Happy sewing,
Annette

Back of the skirt hanging on my dressform.
Front of the skirt on the dressform.