
Pattern Reviews, Sewing Hacks, Tips & Free Patterns
The Sewing Blog
We’re Sew Over Plastic! Make a Bag to Use at the Grocery Store or Farmers Market
Sew your own reusable bag. It folds up small enough to keep in your handbag. DIY sewing pattern for beginners.
Sewing can feel frivolous at times. And, at other times, it can feel like a real superpower!
I like to sew with purpose. It’s probably part of the reason I’m not a huge quilter. Making a quilt for the bed, yes! Making some sort of thing to hang on a wall, nope.
And, reusable items are even better!! If I can make something that has purpose and can be used over and over and over, sign me up!
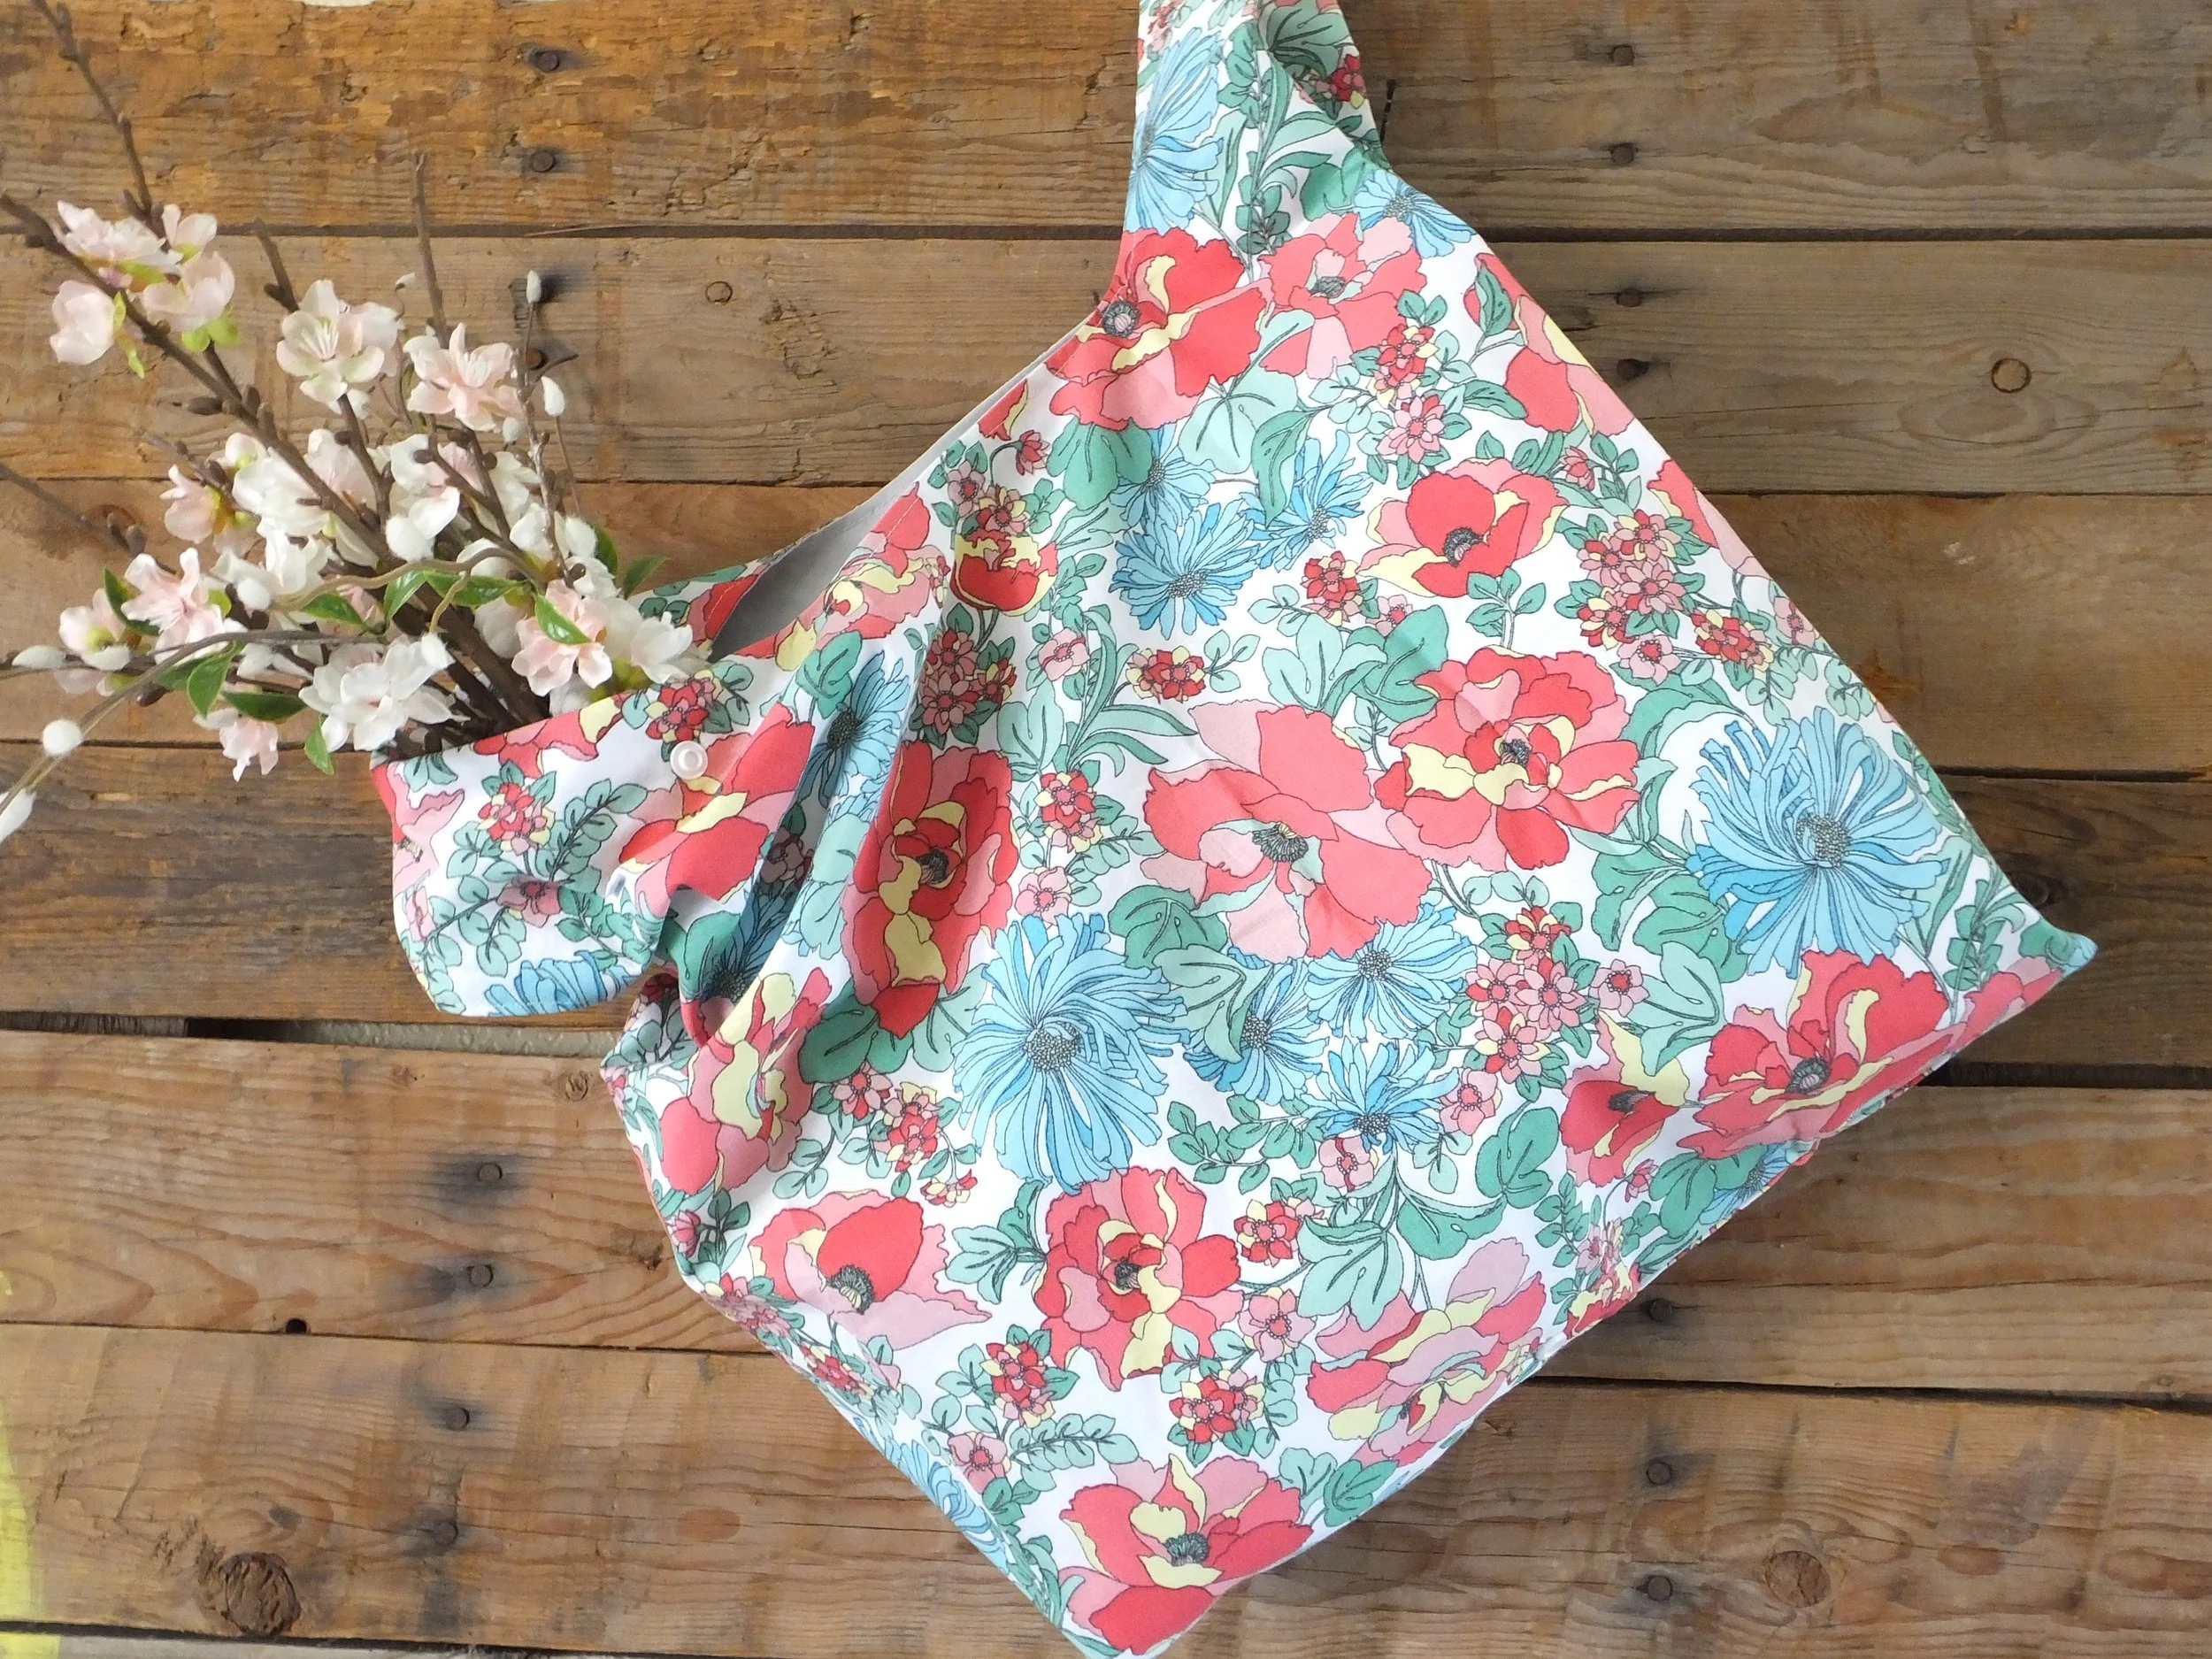
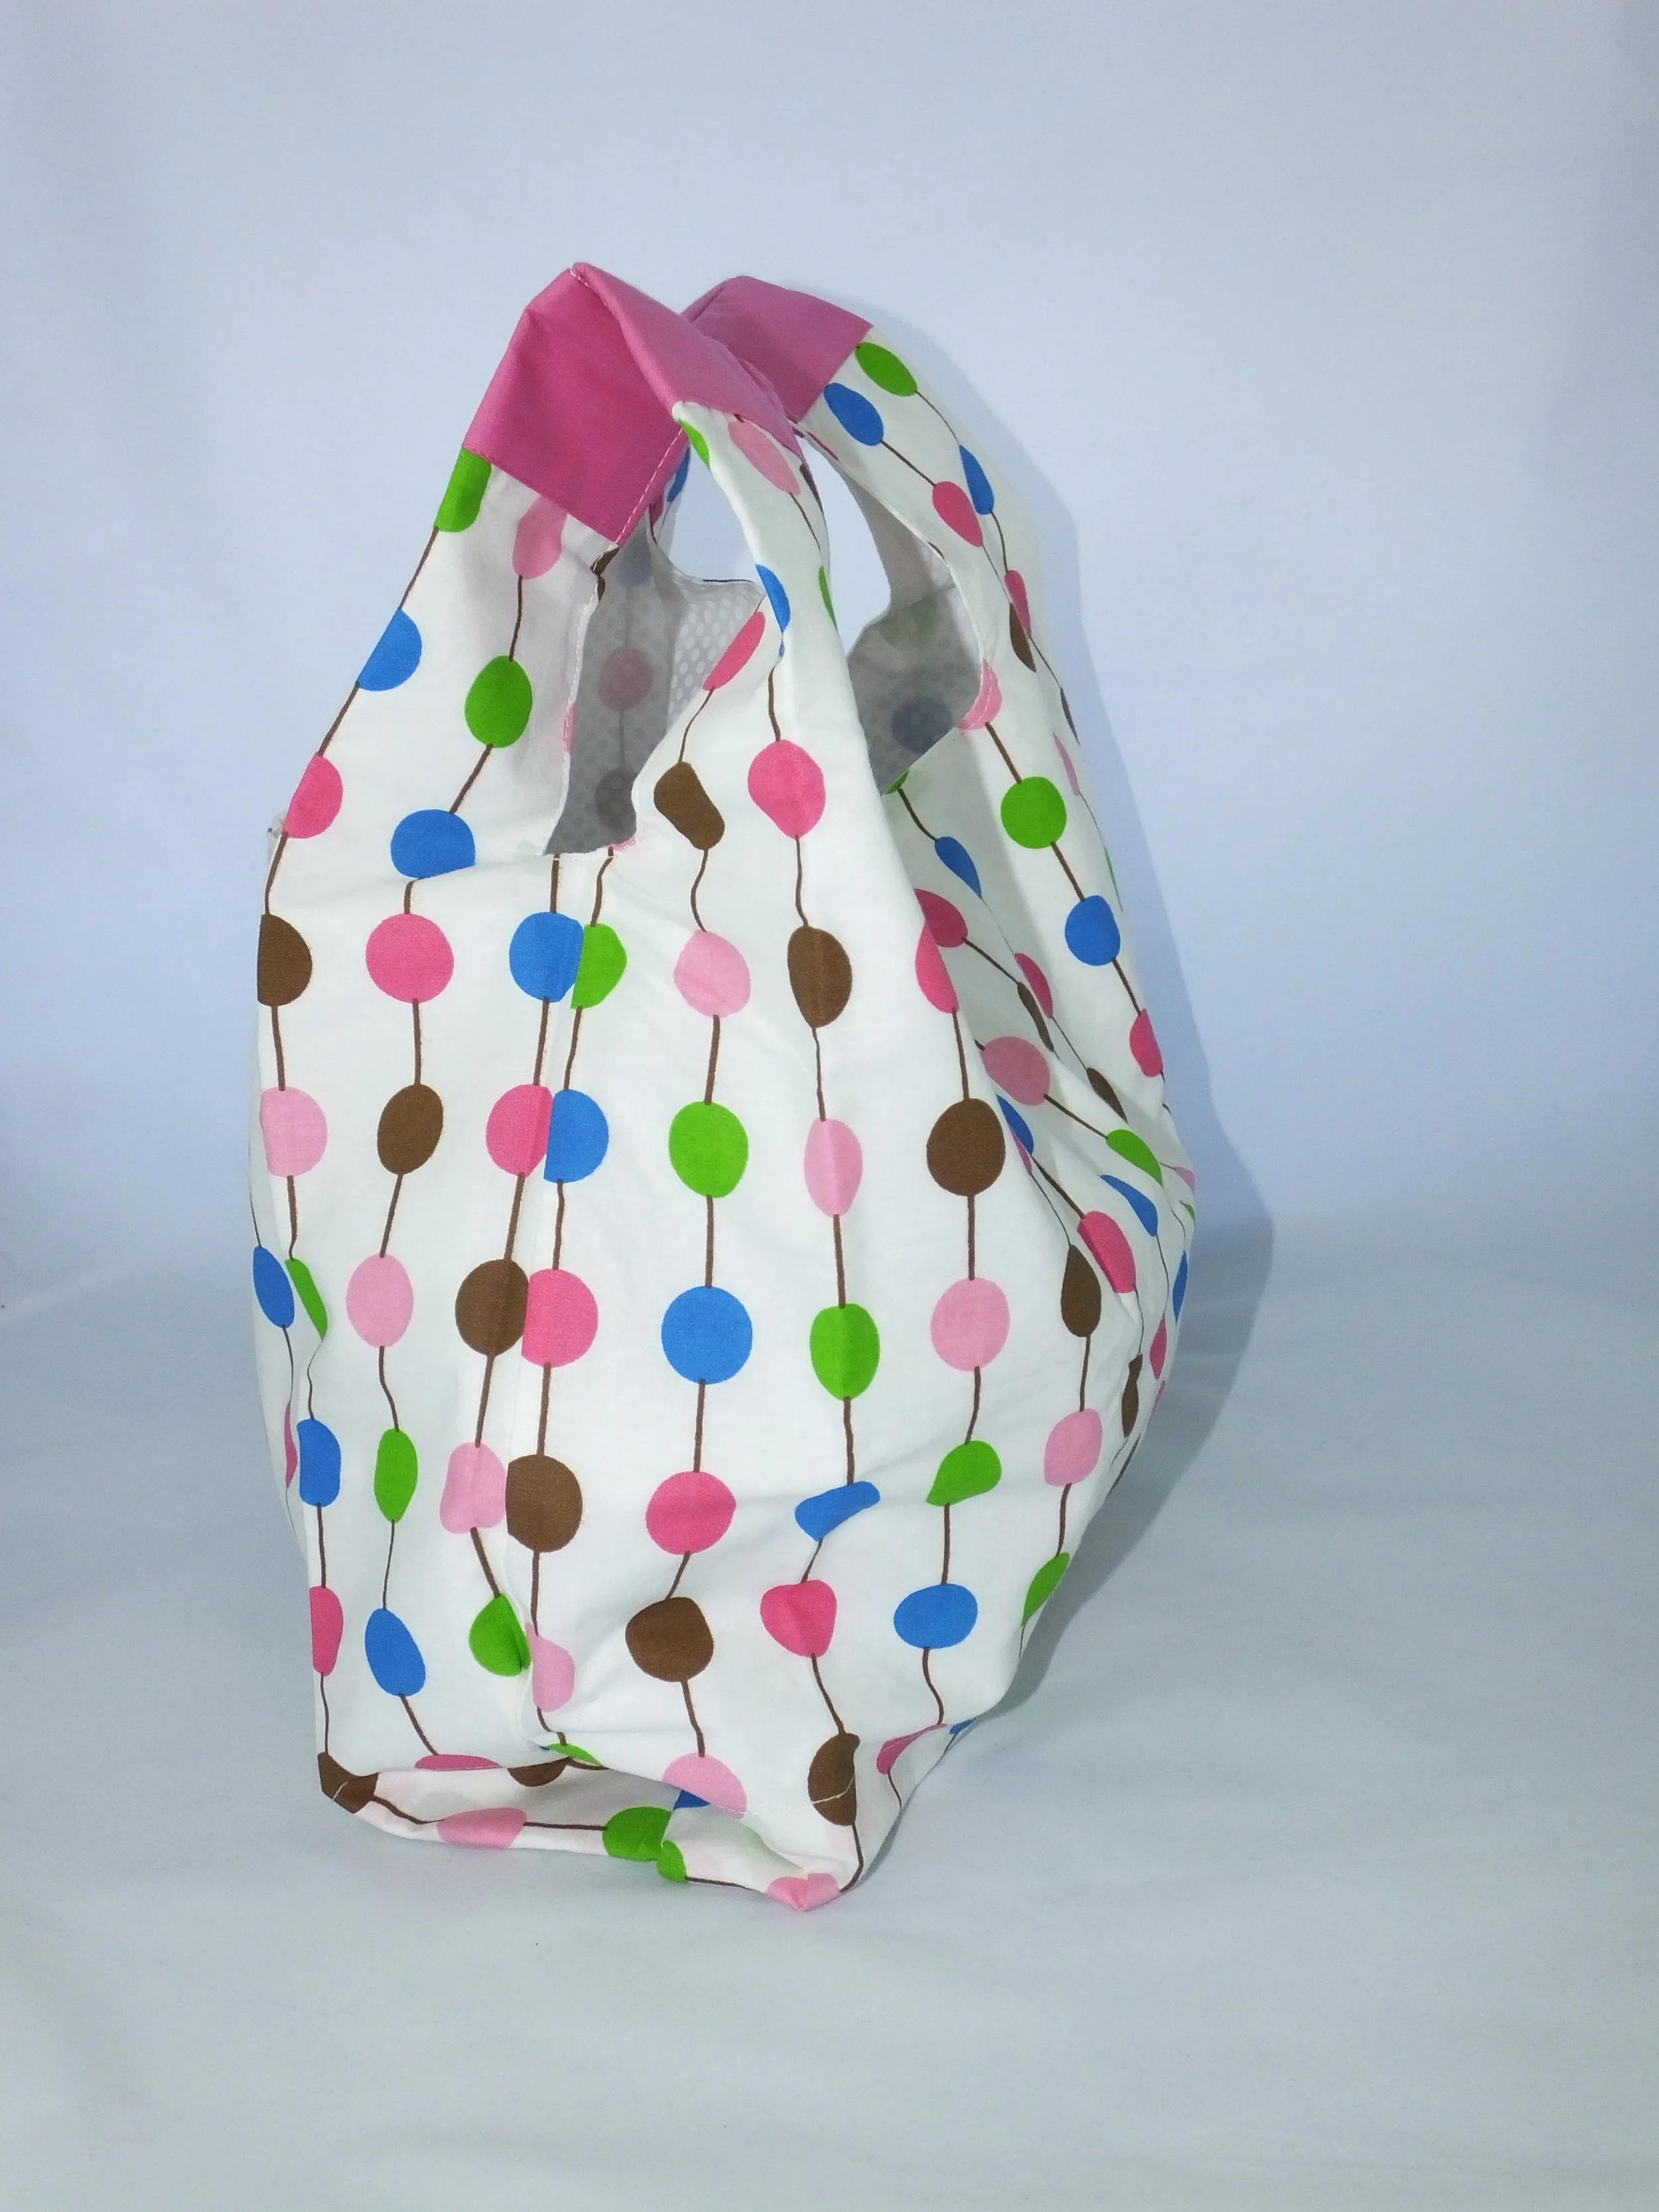
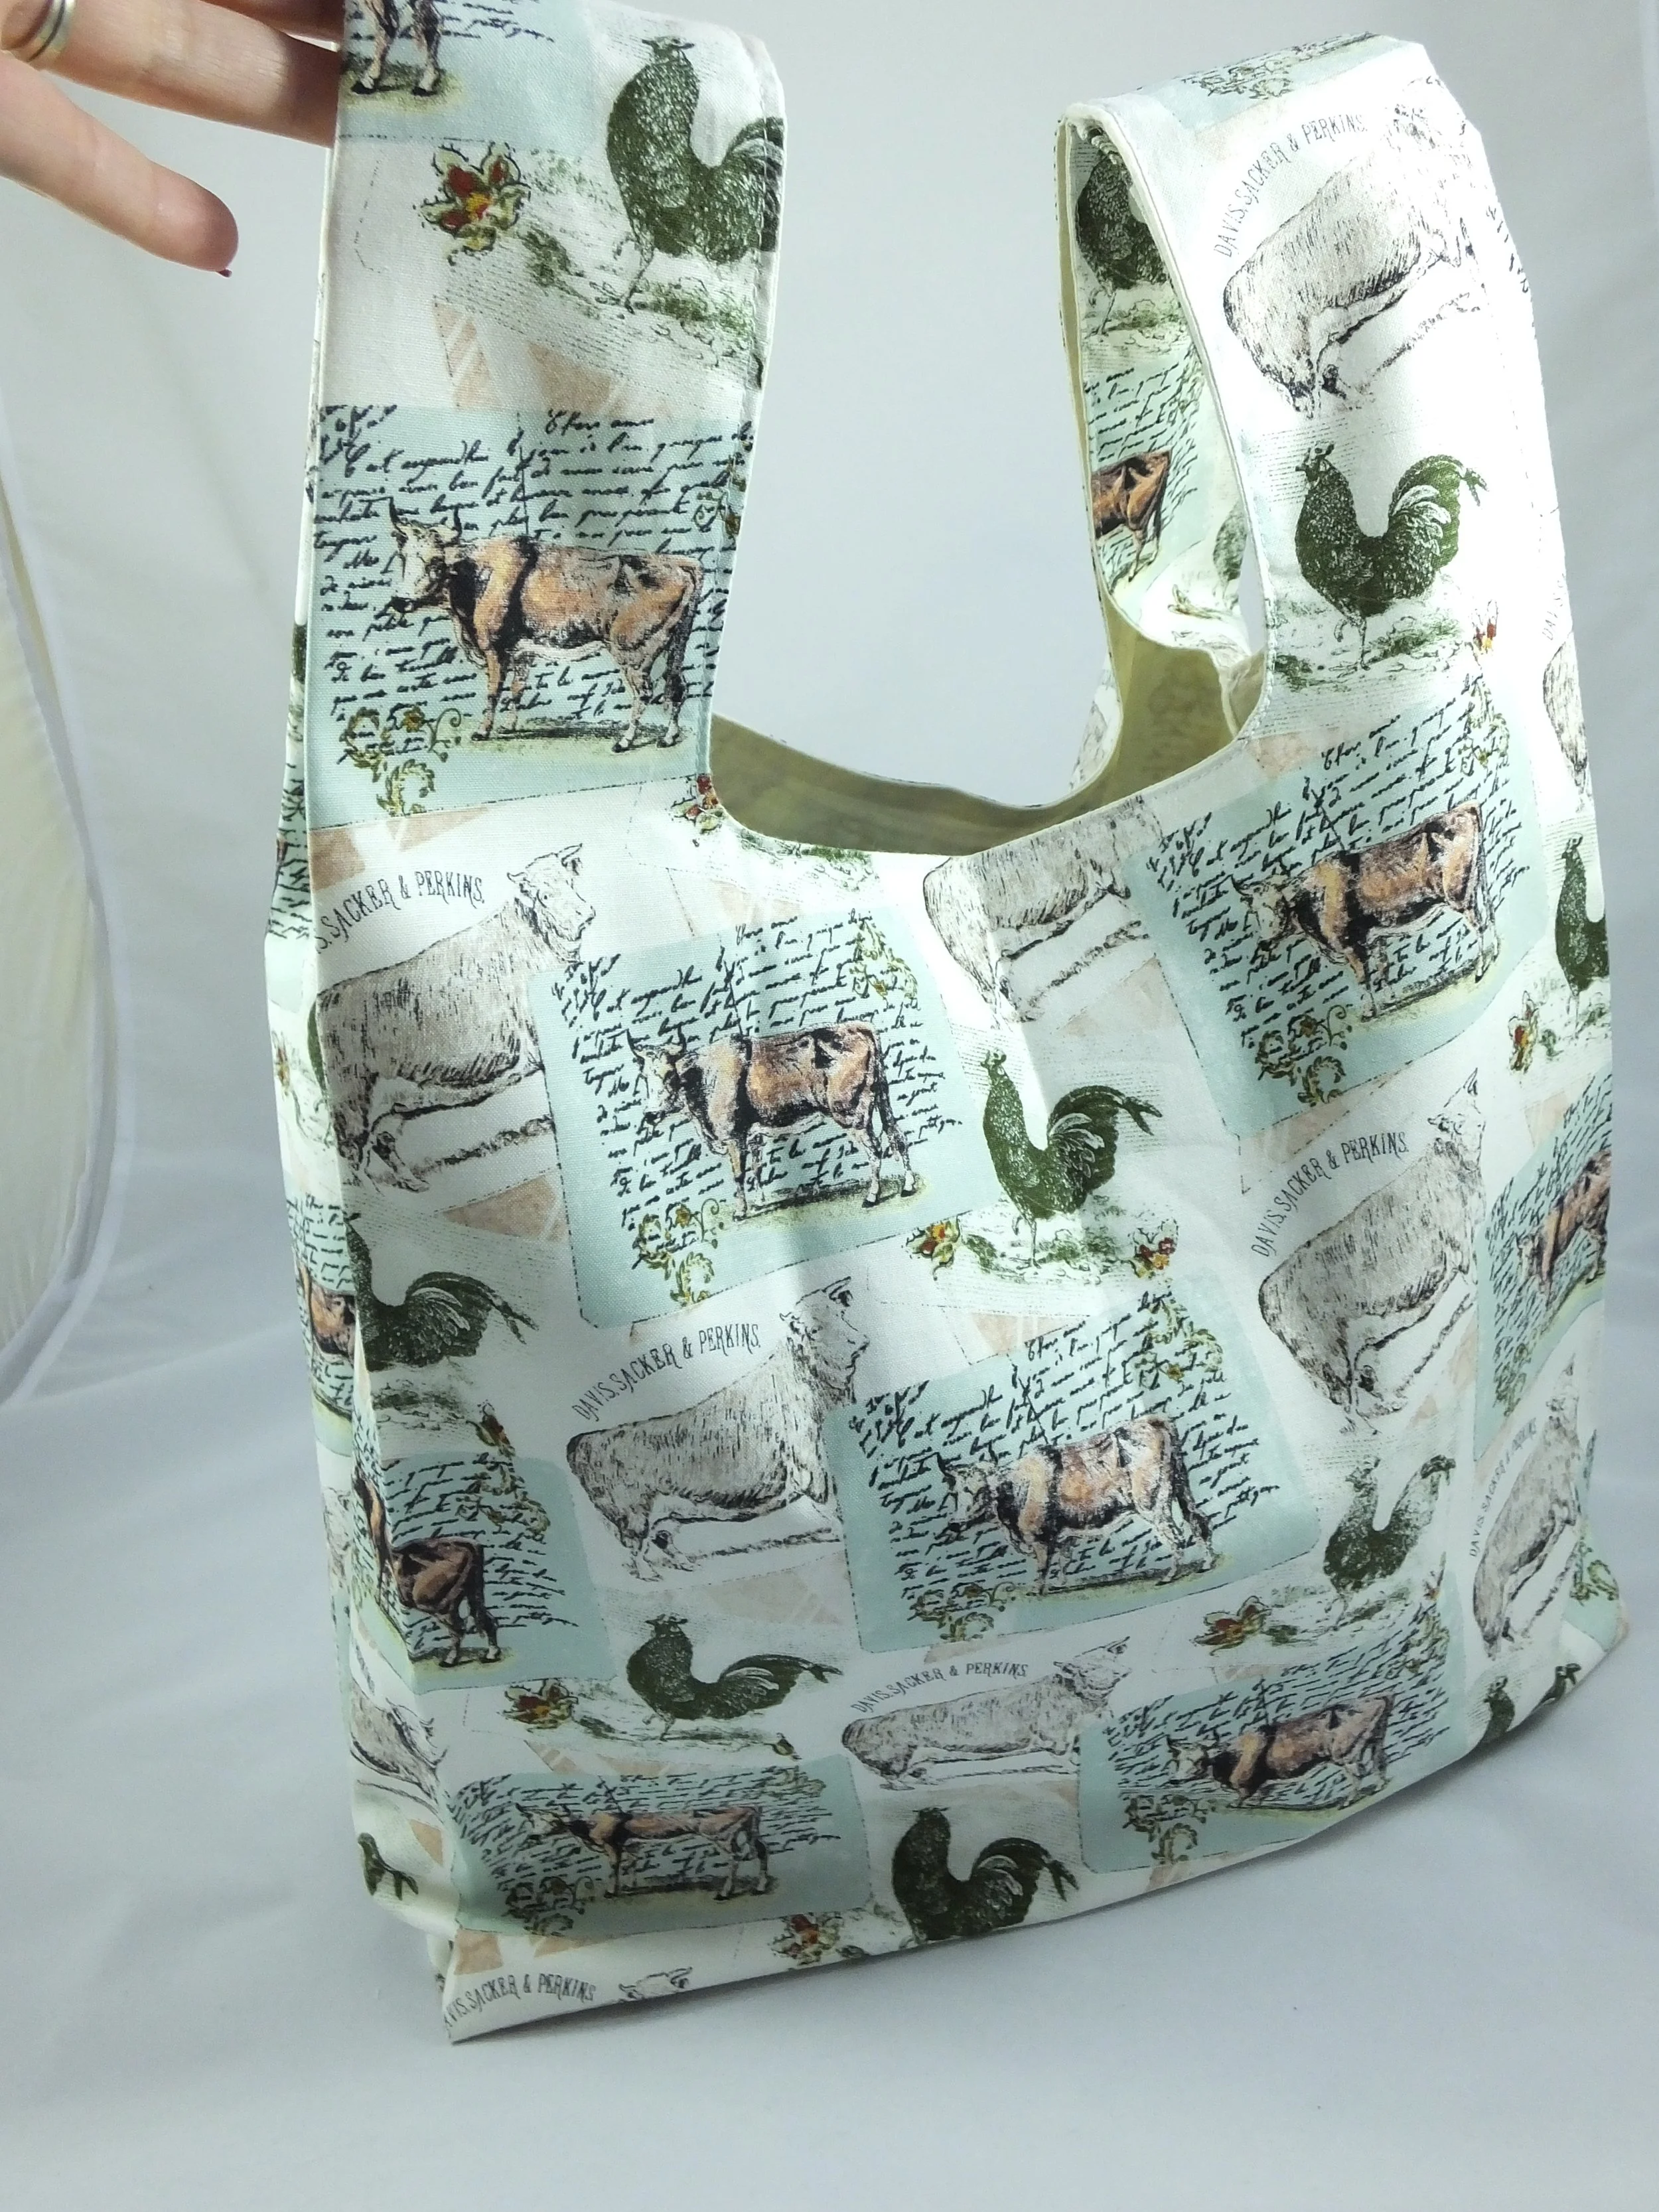
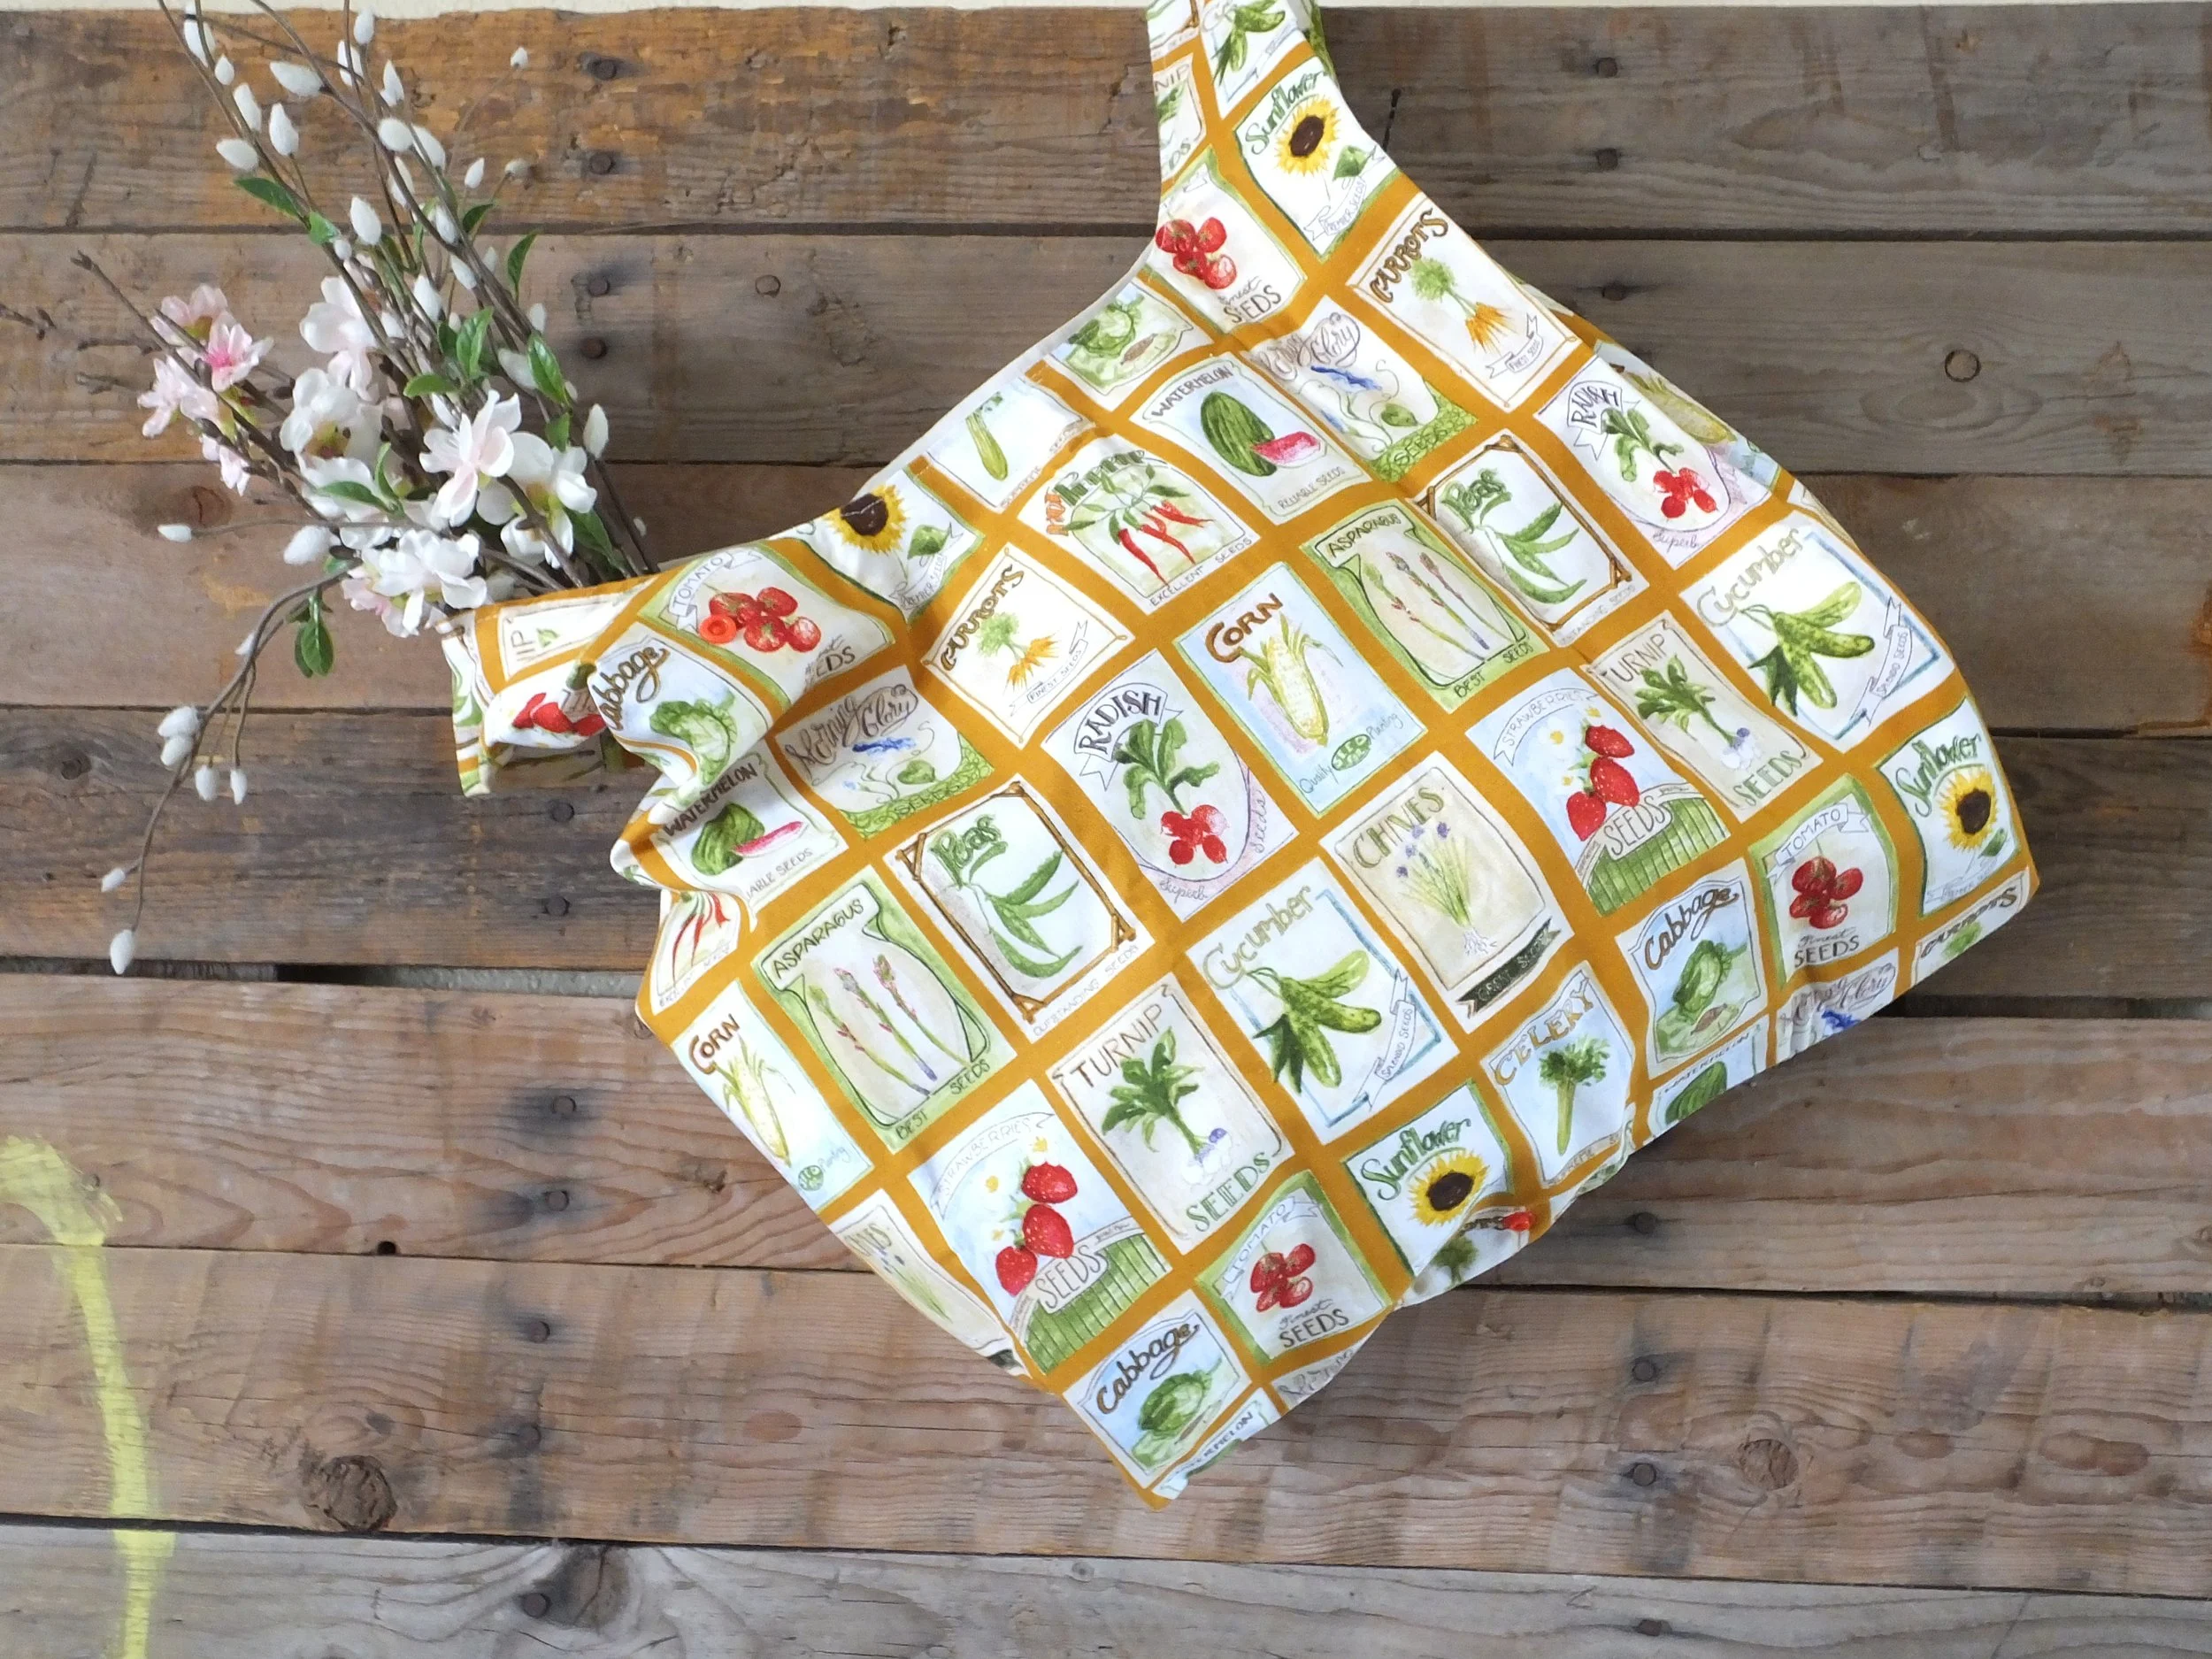
Let me introduce you to the Tote-ally Awesome bag.
It takes less than a yard to make. And, it has one simple pattern piece!
Excited? I knew you would be. Oh, and bonus, I include SNAP instructions if you’d like your bag to stay folded neatly inside your purse. This is completely optional, but it’s nice to have.
From fabric to function, let’s get sewing!
The pattern resembles a tank top, sorta. But, you aren’t wearing this.
GATHER YOUR SUPPLIES
PDF pattern and Instructions zip file. *If you can’t open that file, scroll down below.
2/3 yard of quilting cotton fabric for the outer
2/3 yard of lining fabric (more about choosing this later)
Matching thread
Pins or clips
Sewing machine
Scissors
A printer for printing out your pattern, tape, and non-fabric scissors
*Optional snap, snap tool, and interfacing scrap piece
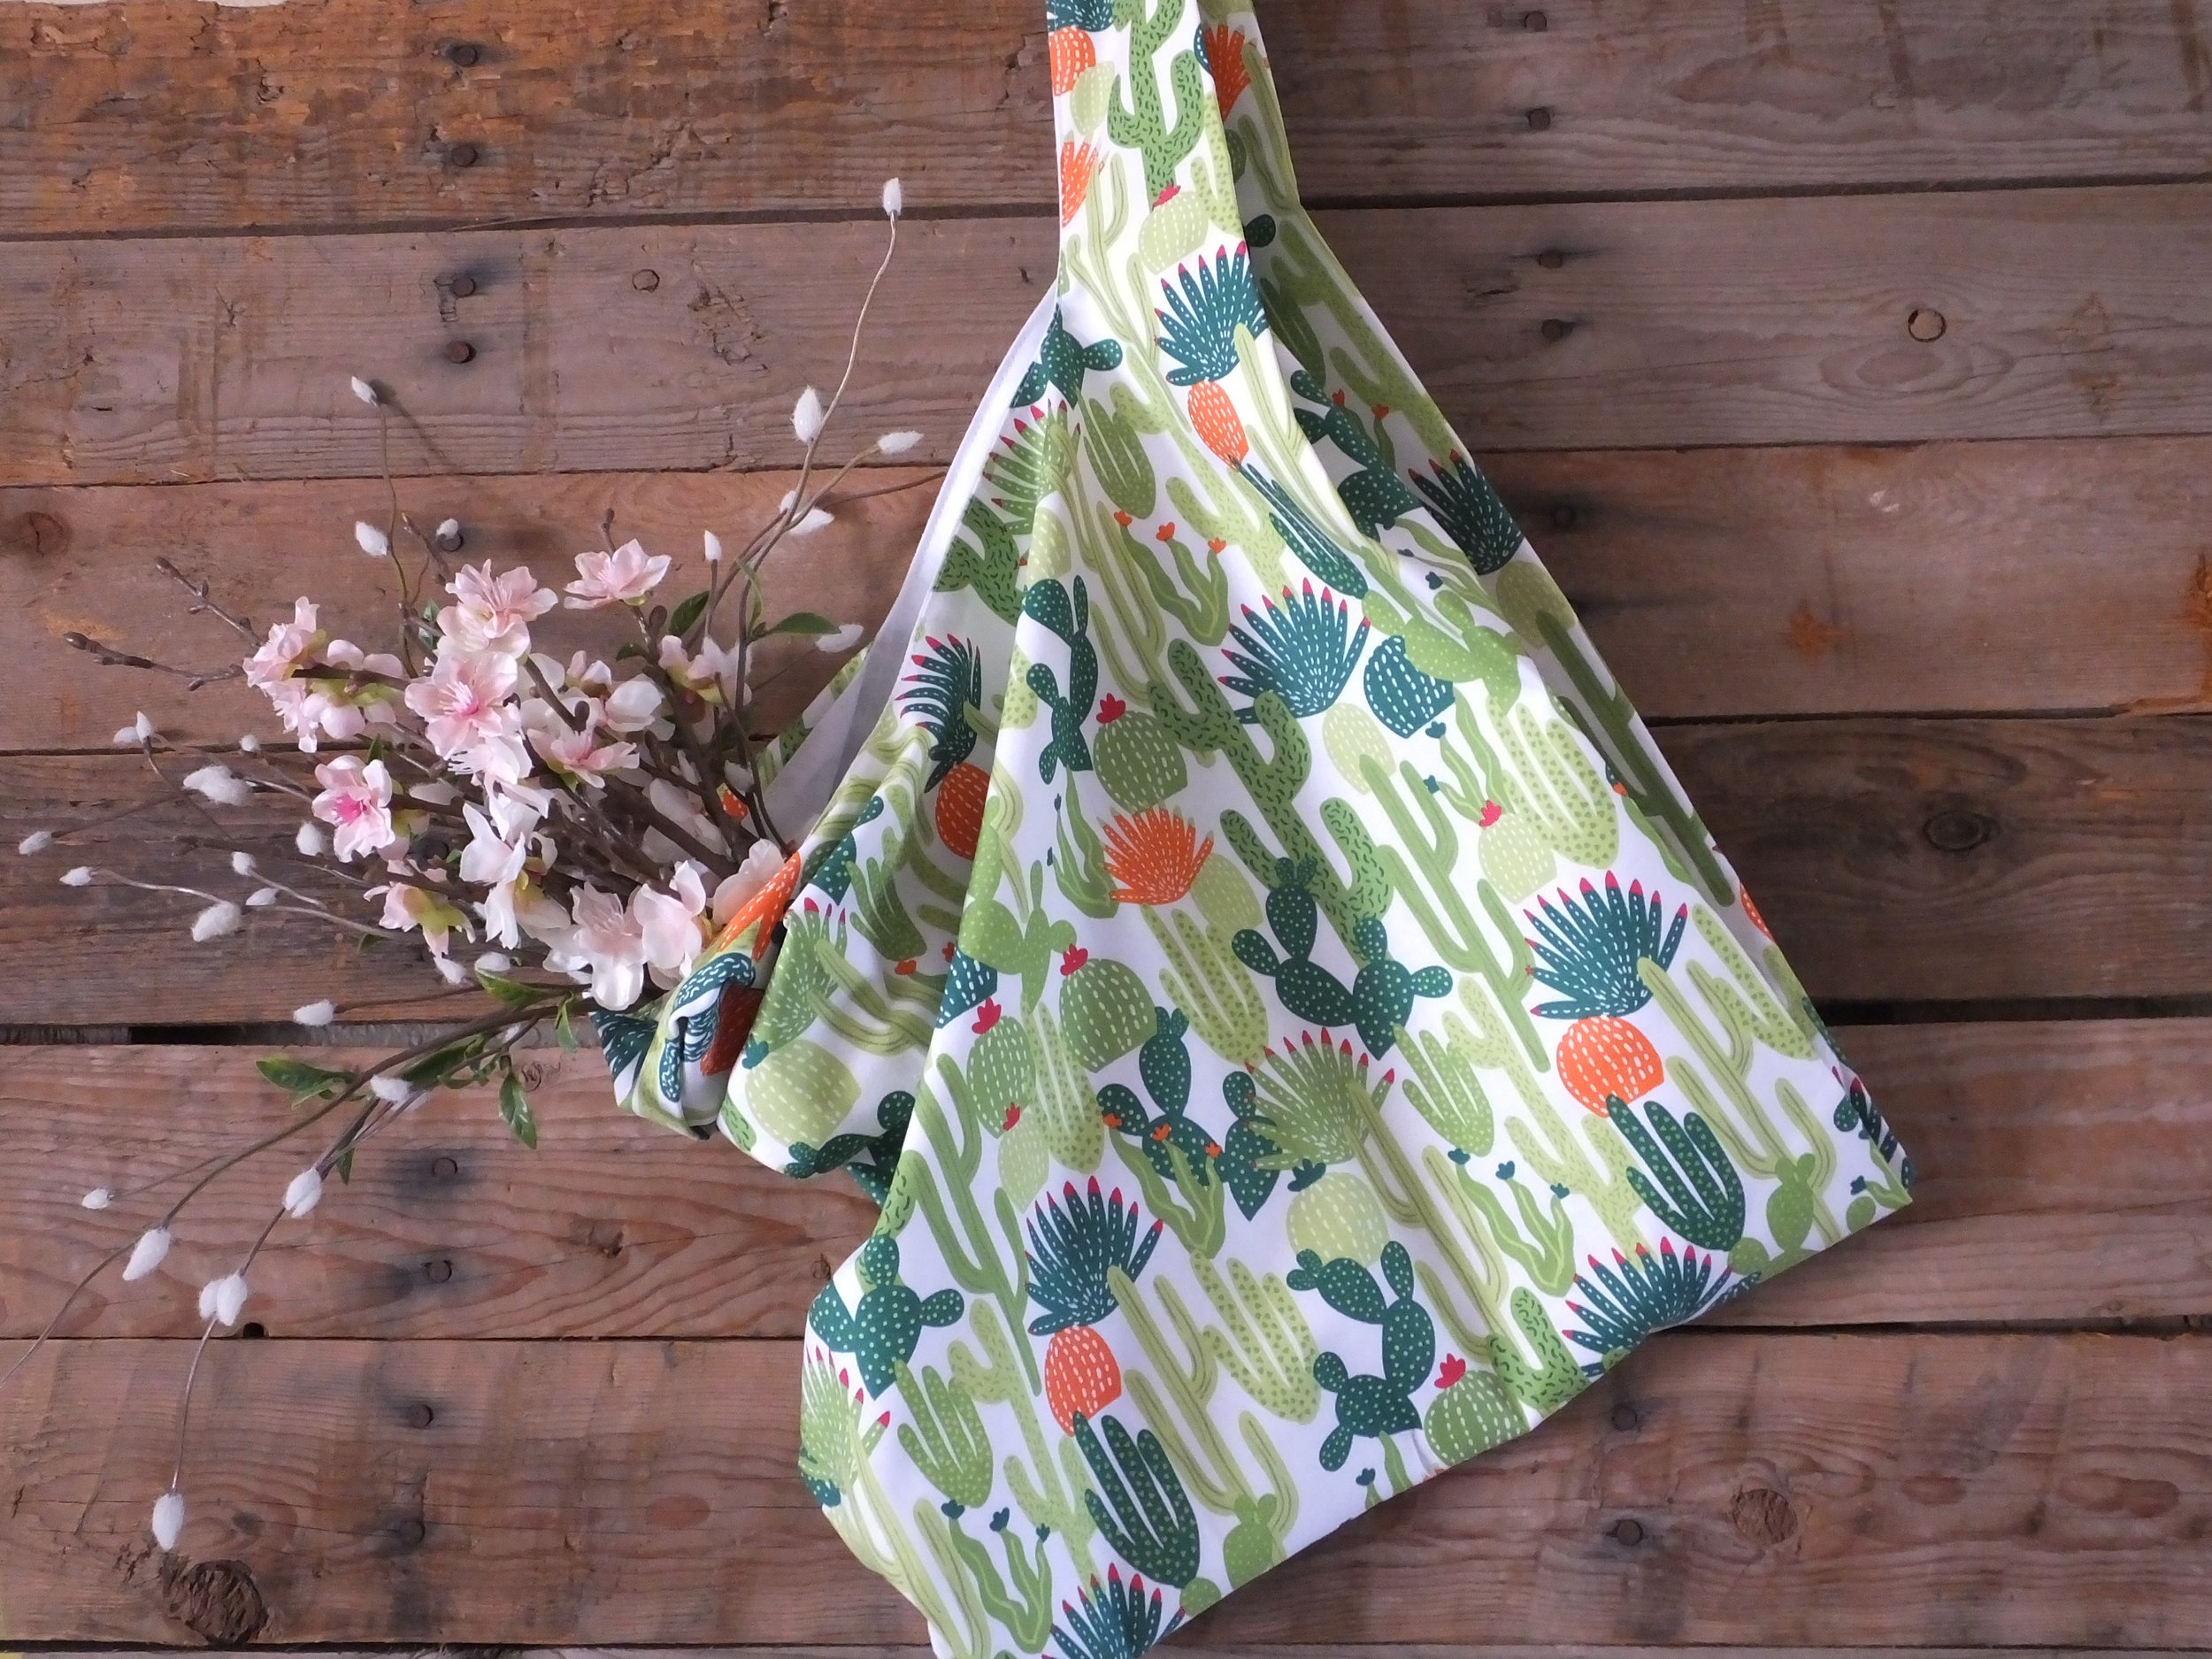
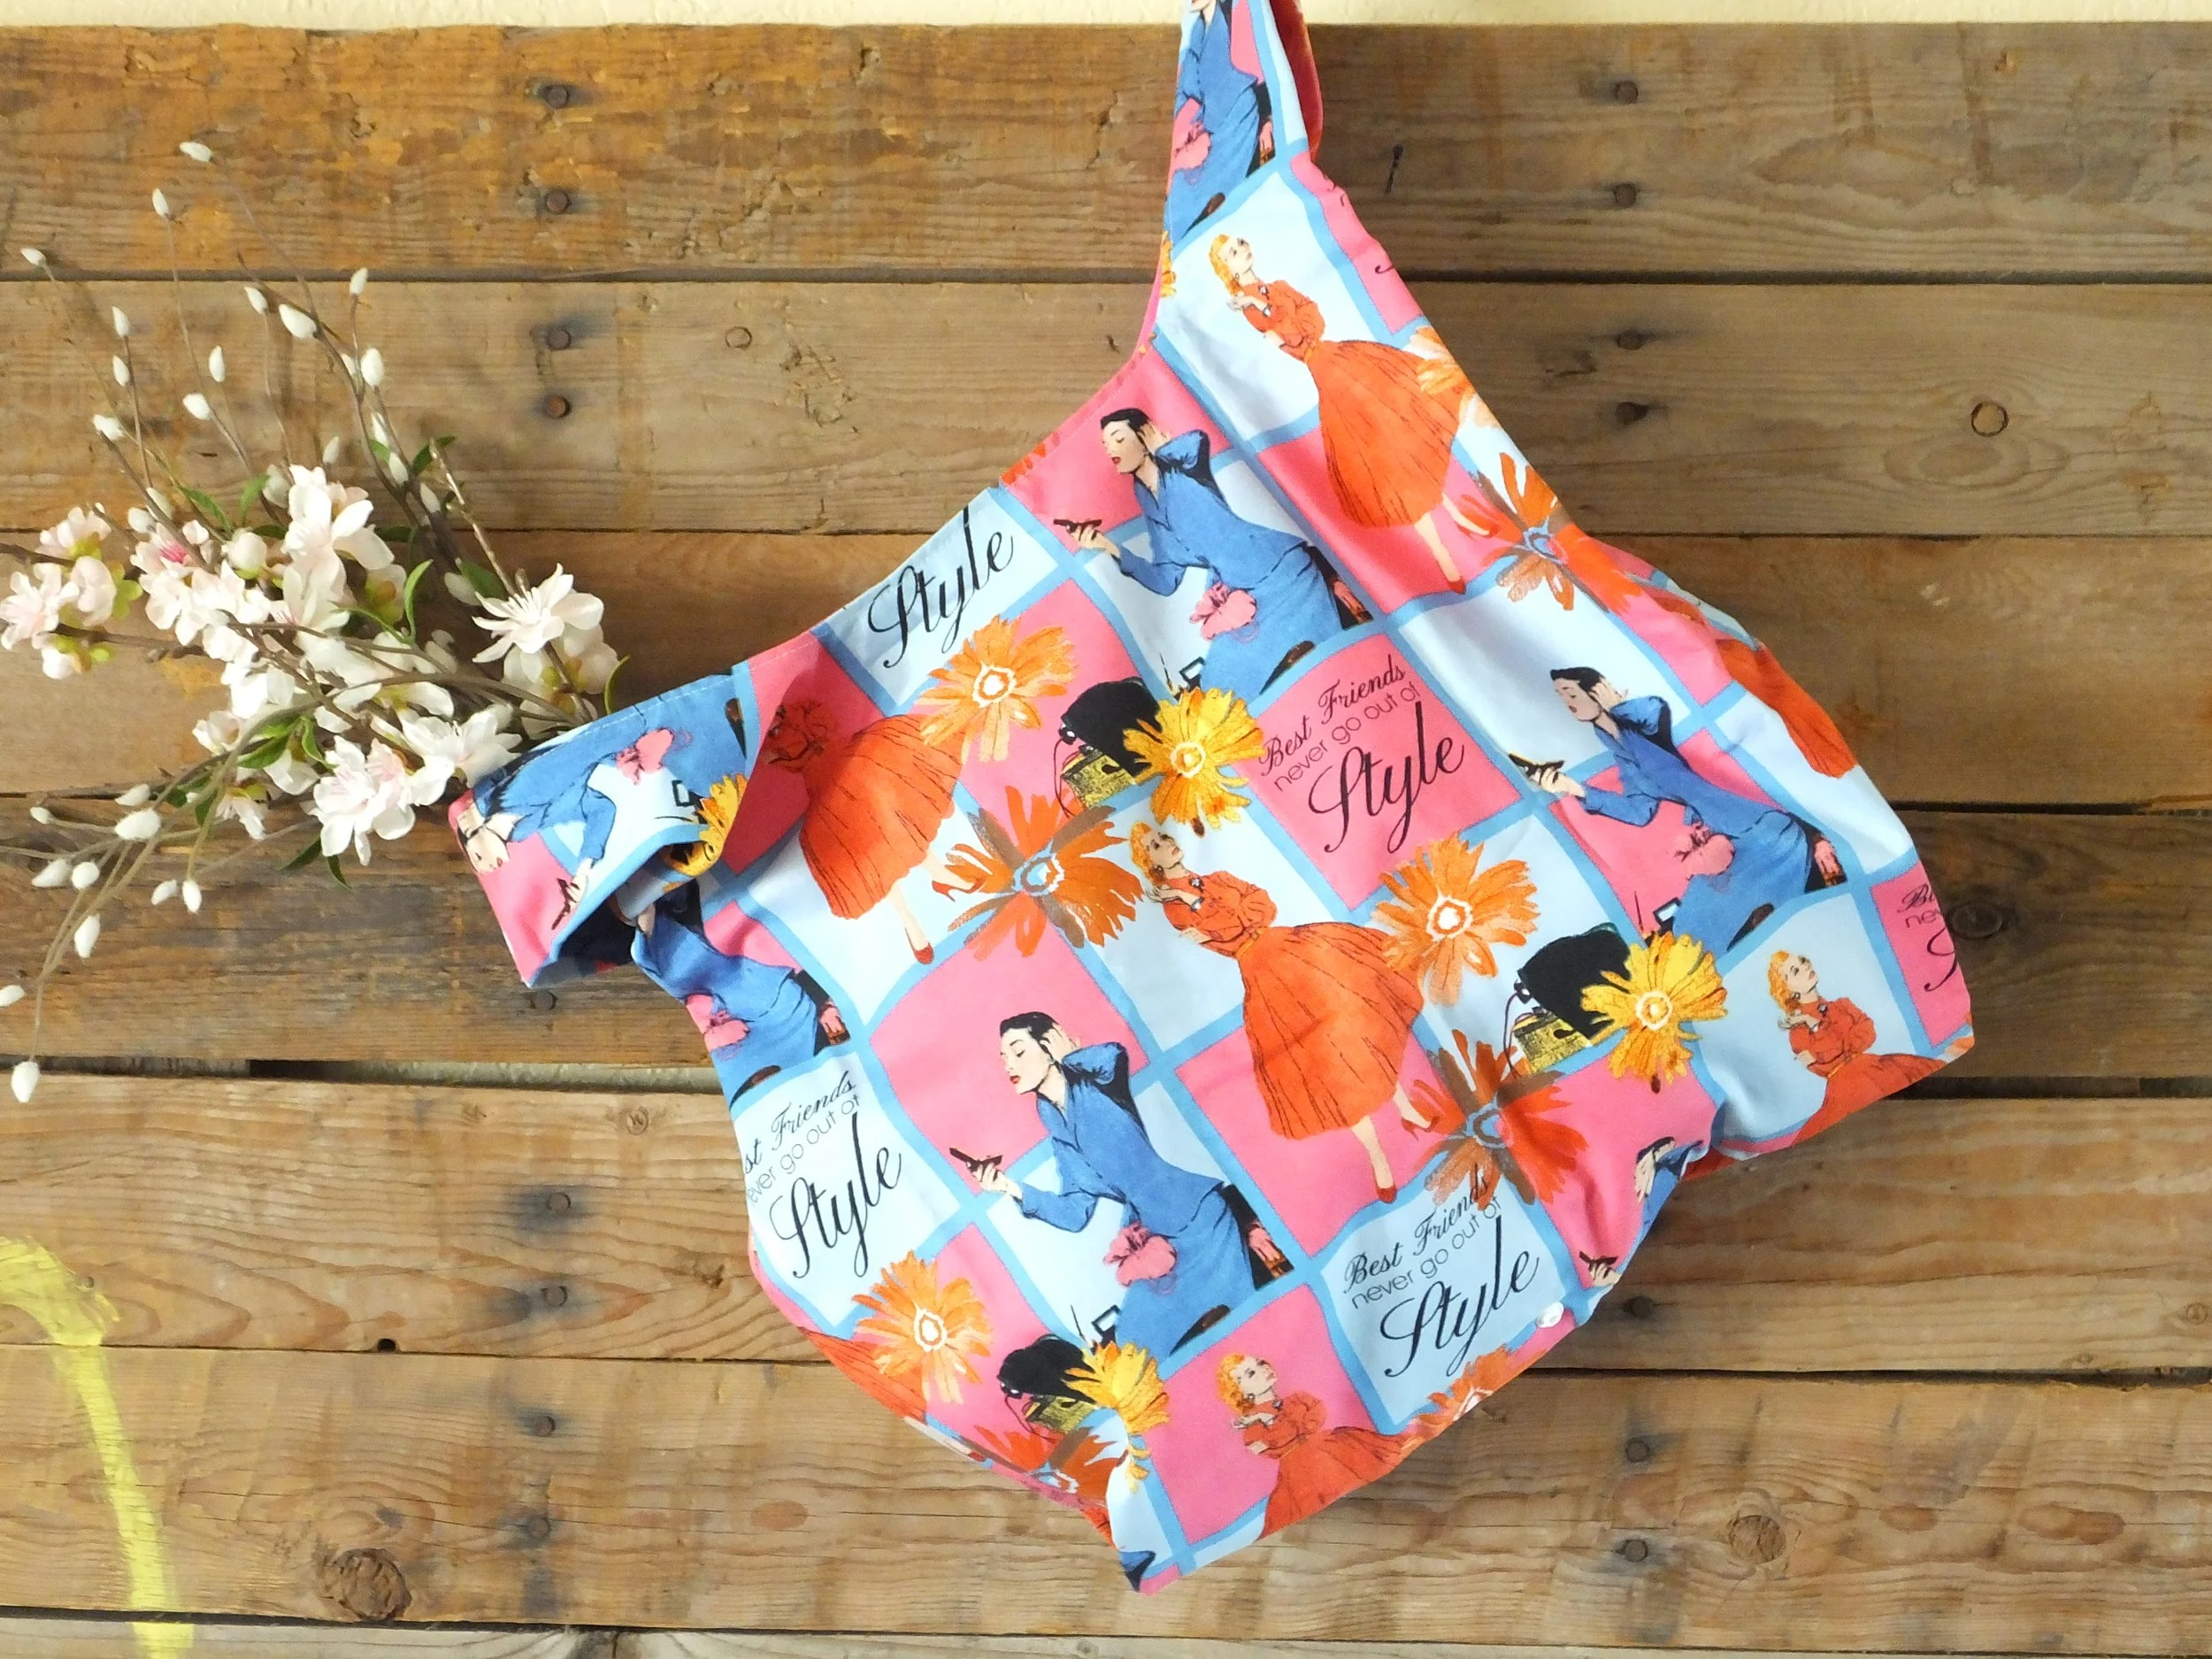
Cactus fabric version.
PDF INSTRUCTIONS
Your downloadable pattern will need to be unzipped; every computer and program is different. If it still doesn’t work, you need to download each file separately. Here is pattern 1, pattern 2, pattern 3, and the Instructions. Sorry, I’m technology-challenged, and Squarespace won’t let me upload a file to make it easy for you. Womp-womp.
You will then need to print it. Don’t resize it unless your printer settings aren’t set to 100%. Each pattern piece is about the size of an 8.5”x11” piece of paper.
Print your pattern pieces.
Line the shapes up and overlap along the dotted line. Tape together.
Cut out the bag pattern.
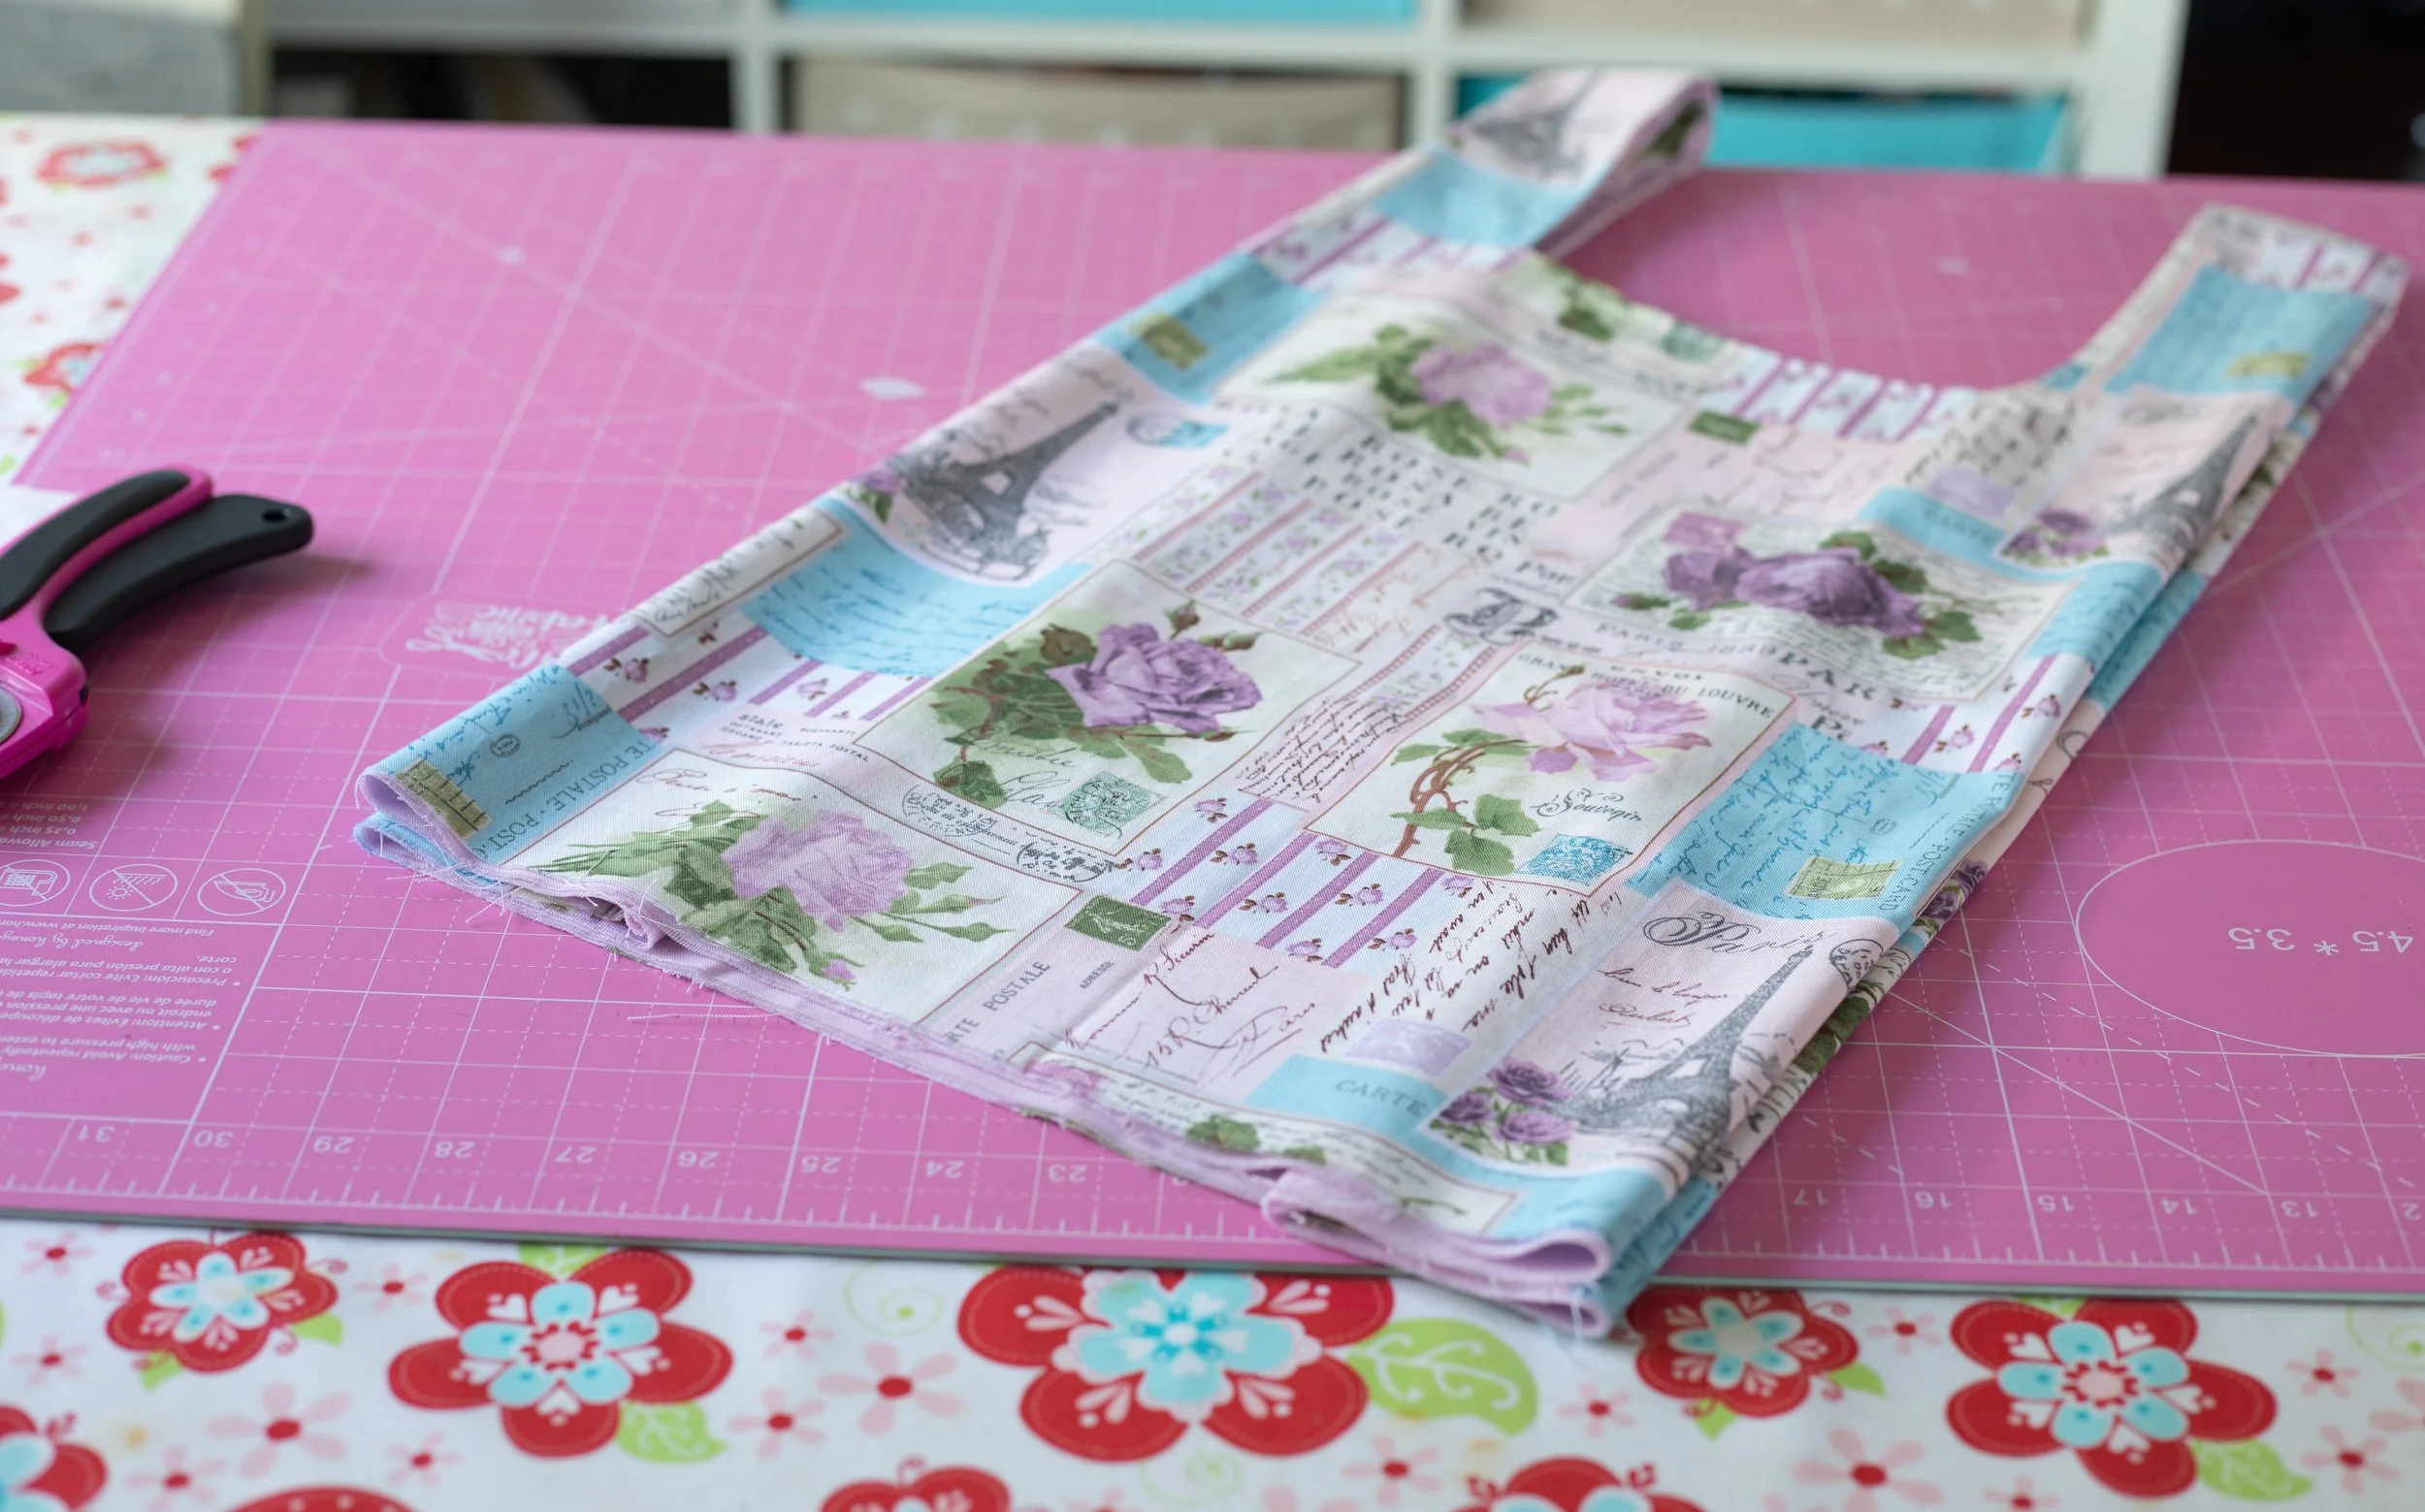
It should measure about 23.5” tall by 10.25” wide after being taped and cut out.
So far, so good?
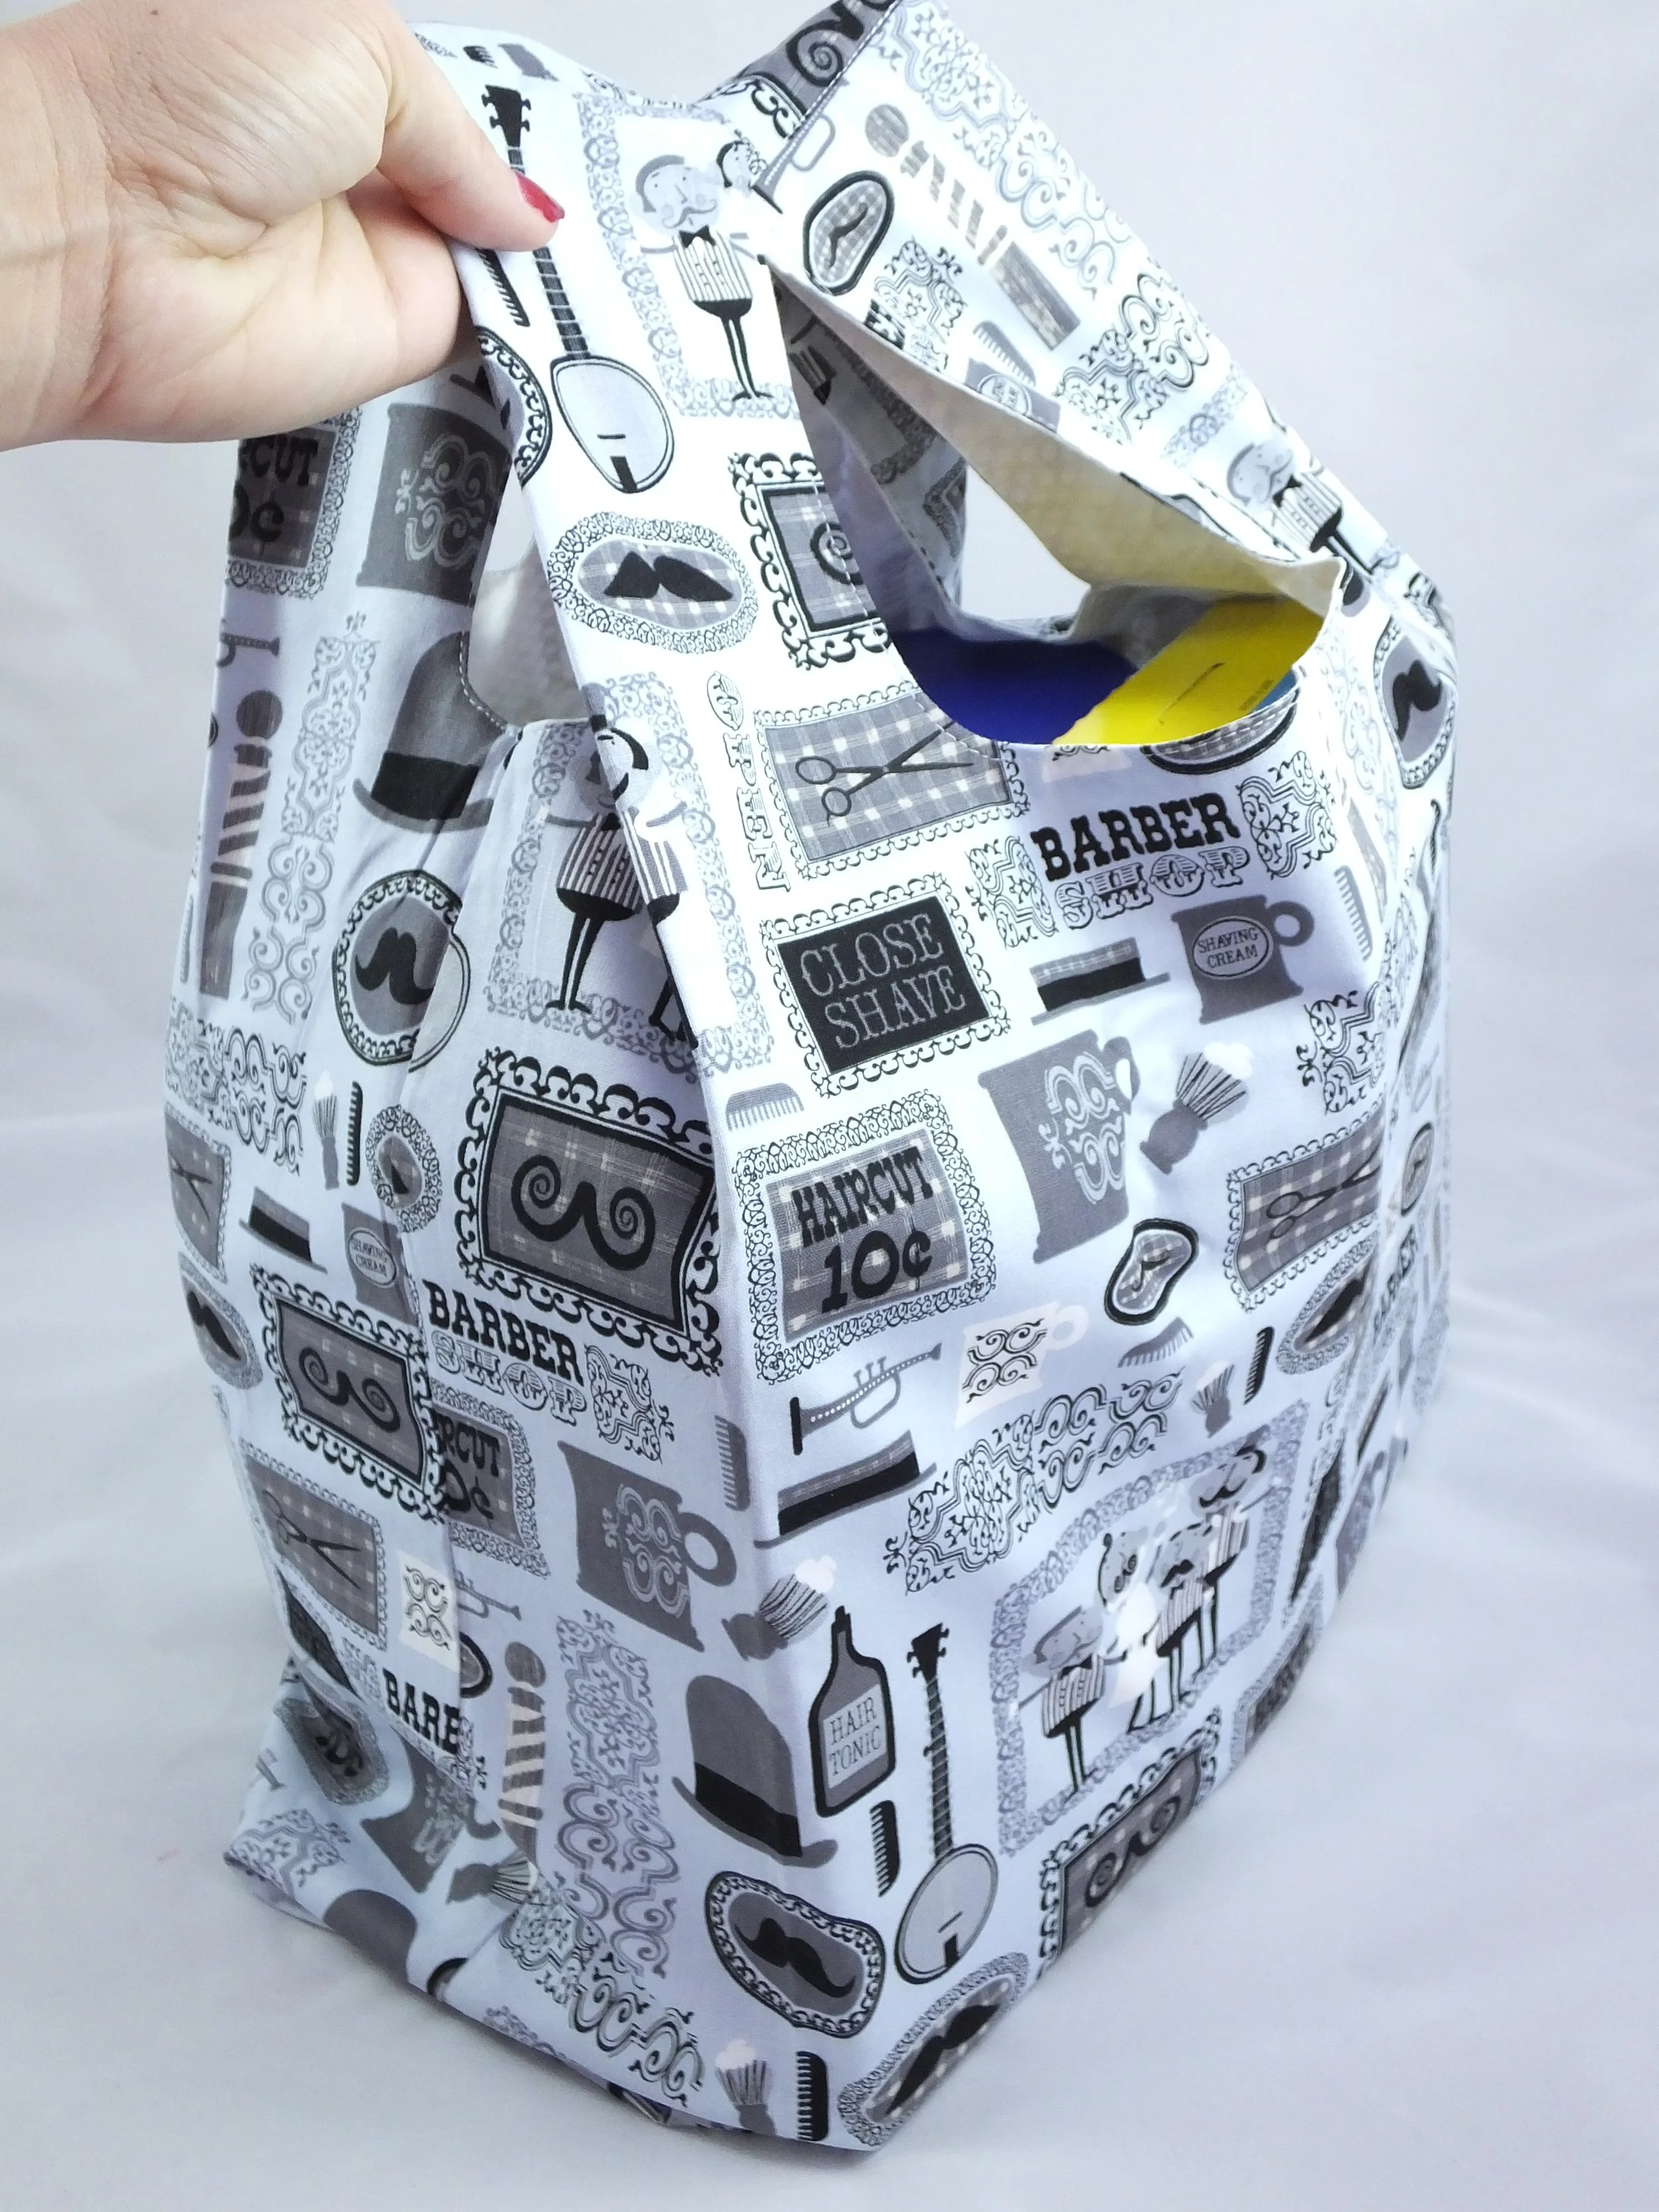
Barbershop fabric version I made for men.
CUTTING OUT THE PATTERN
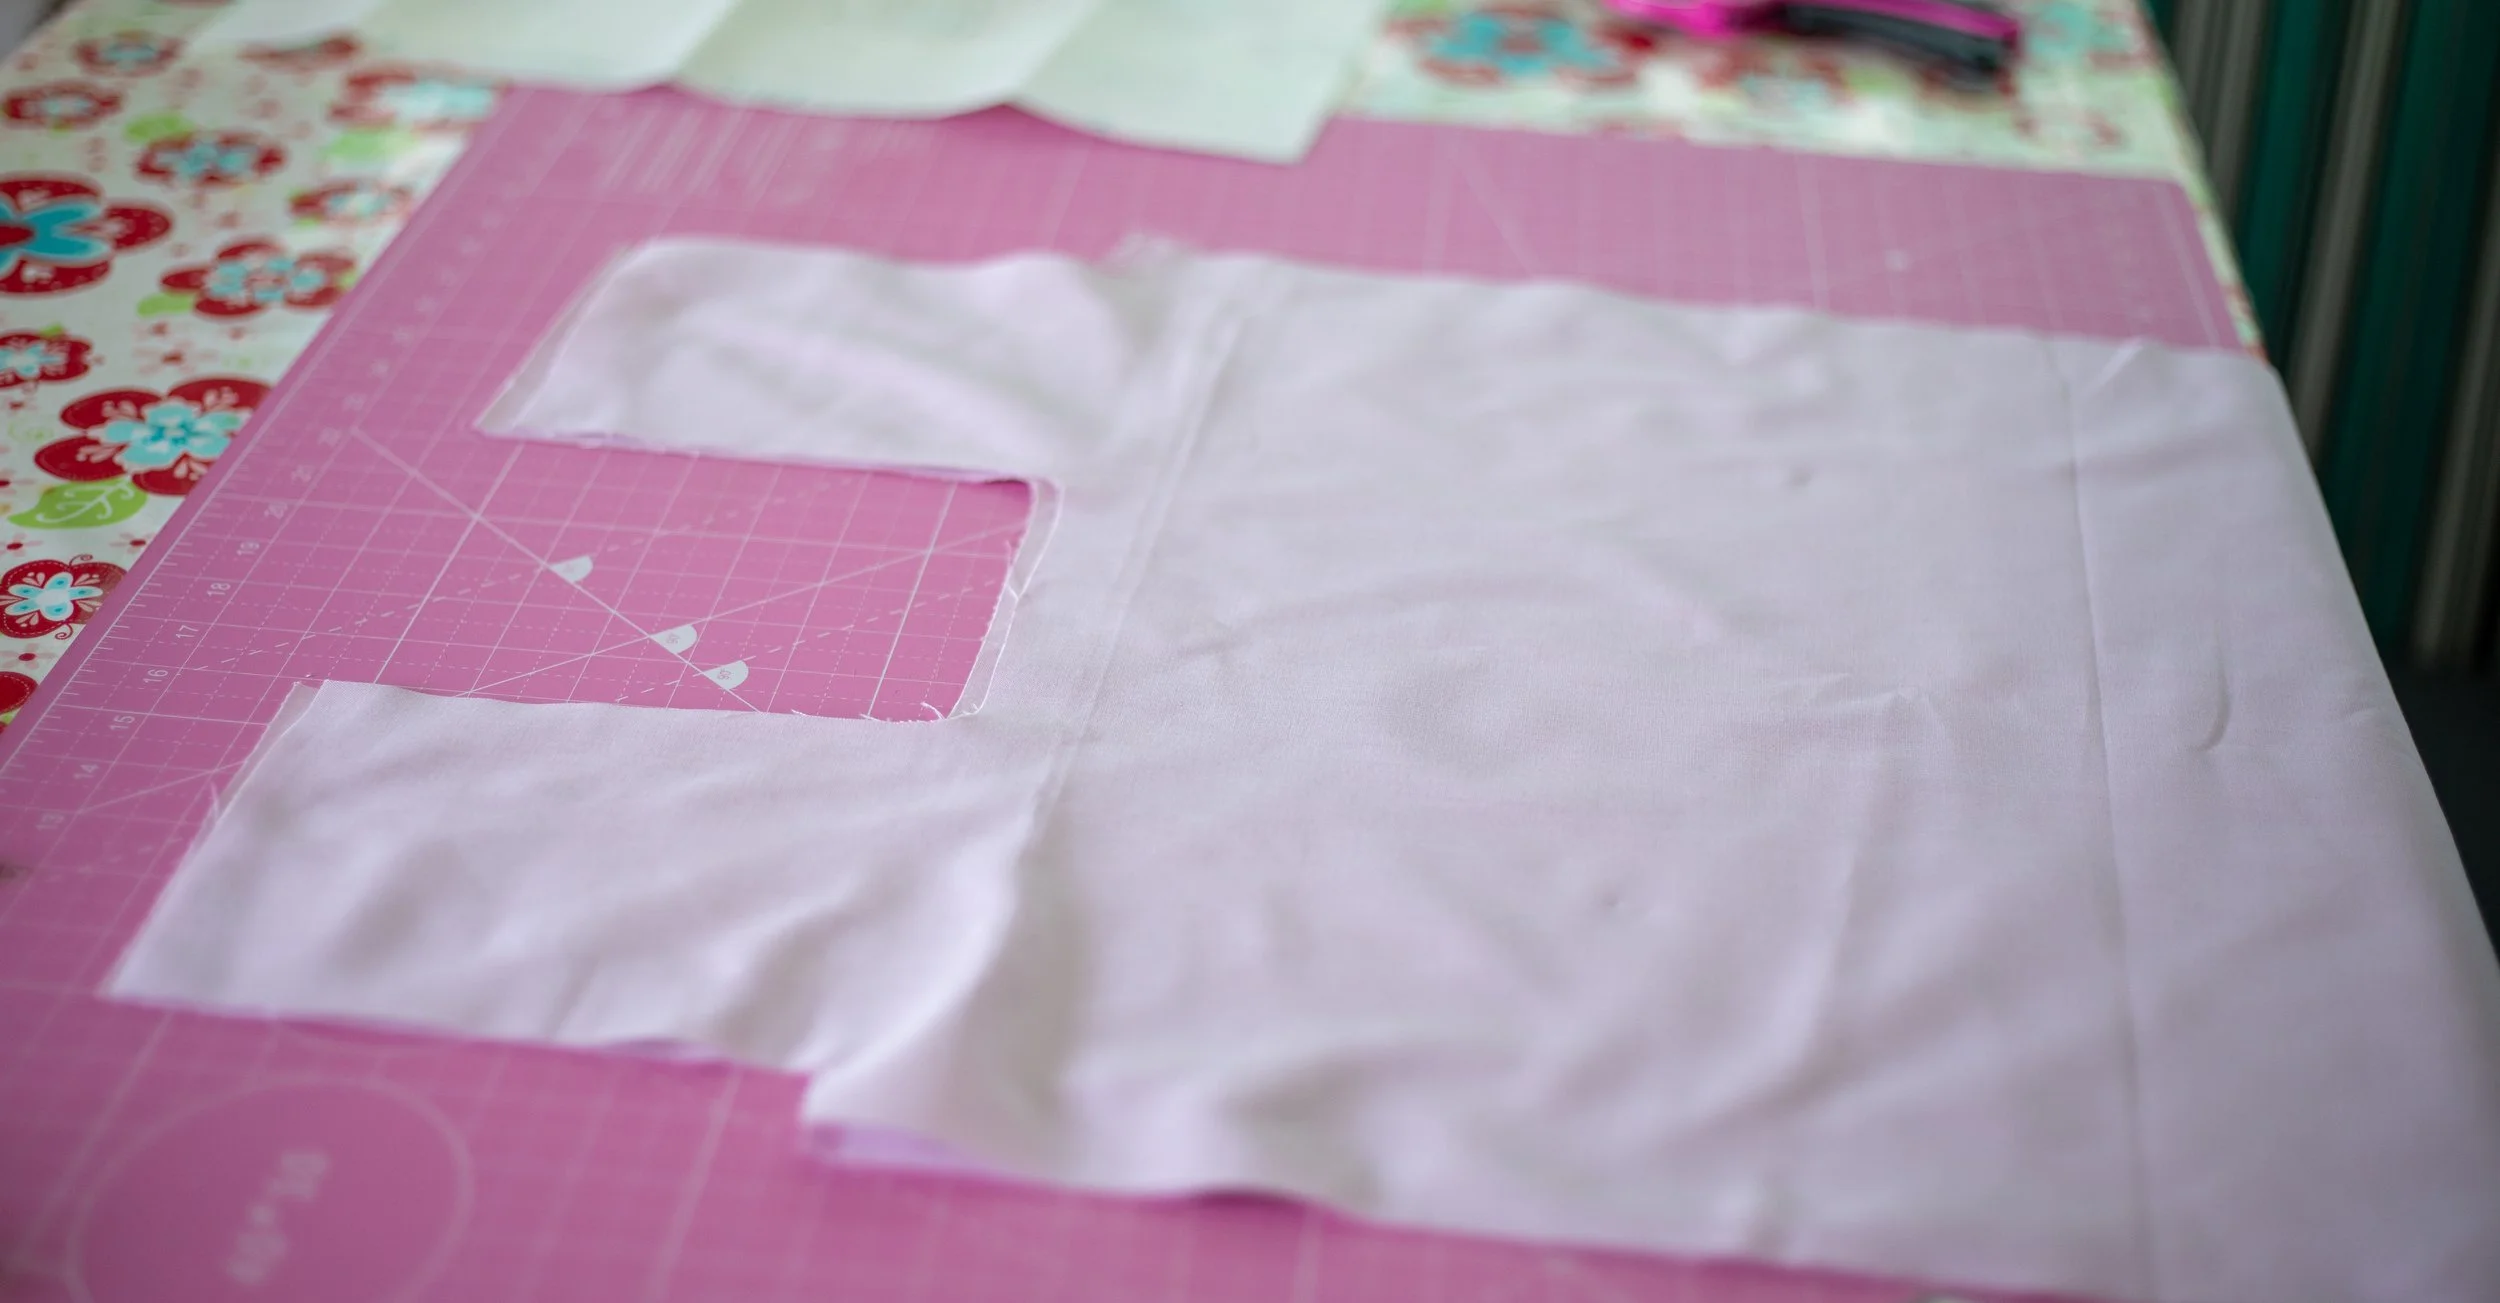
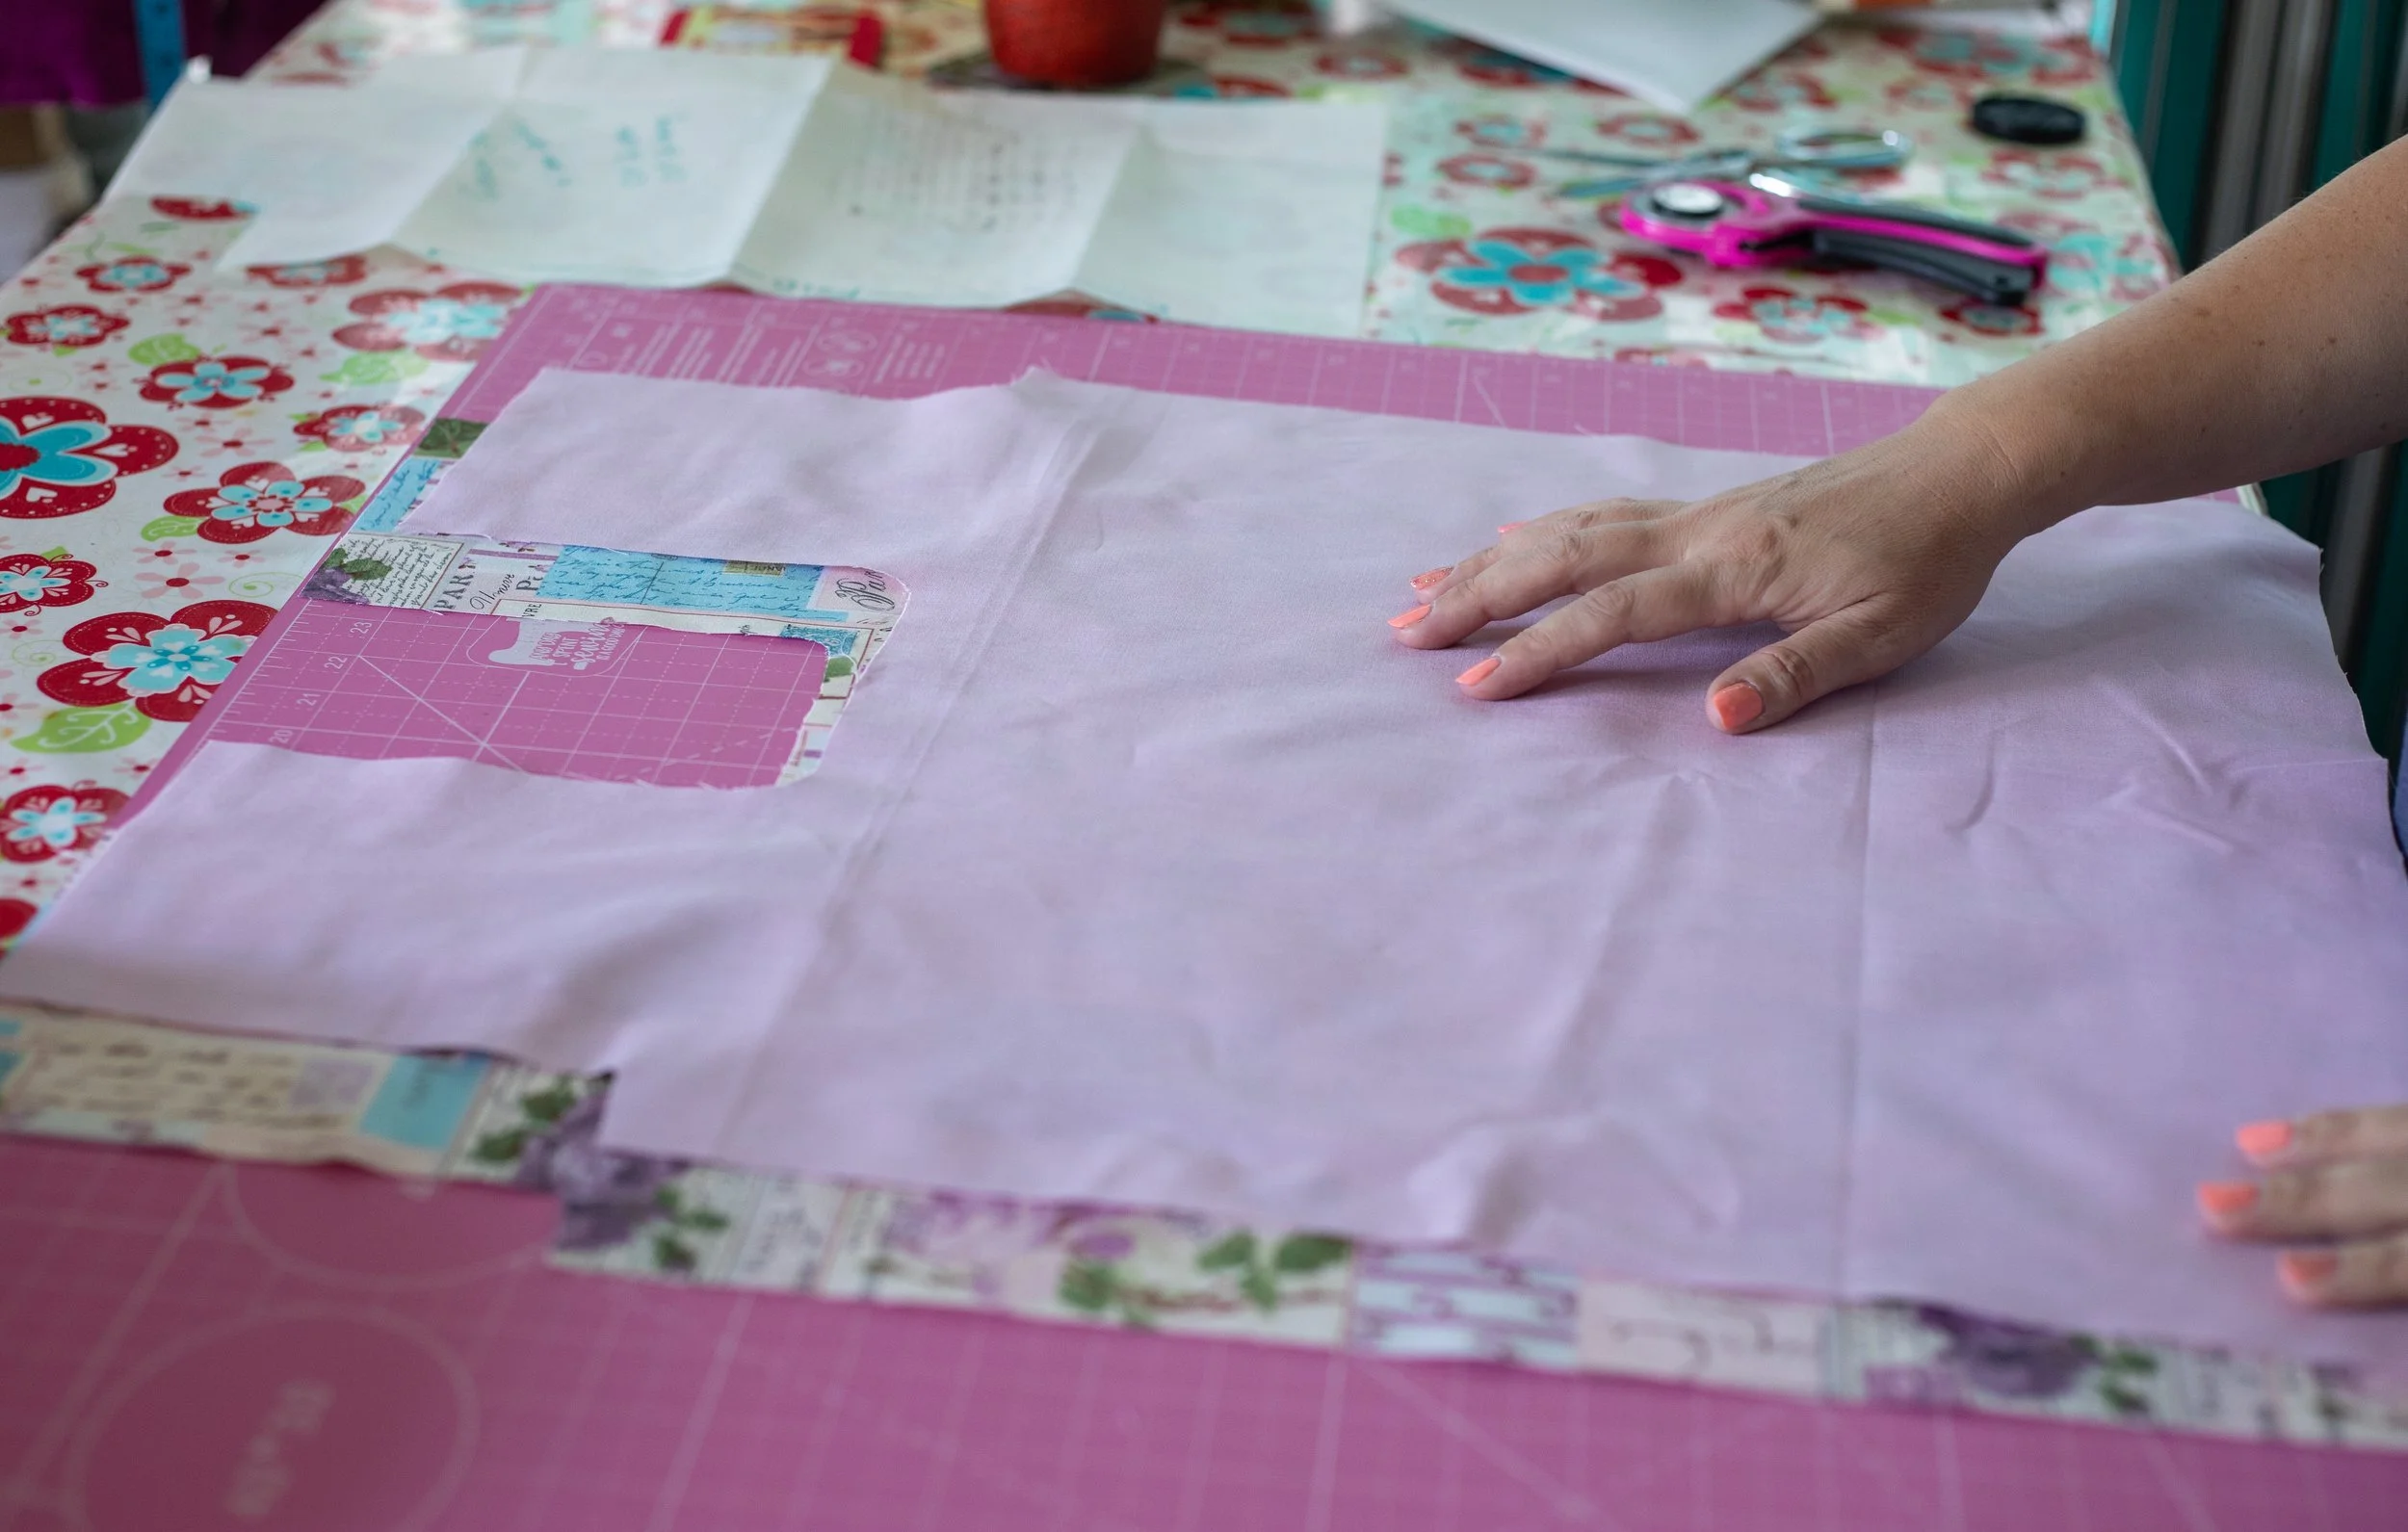
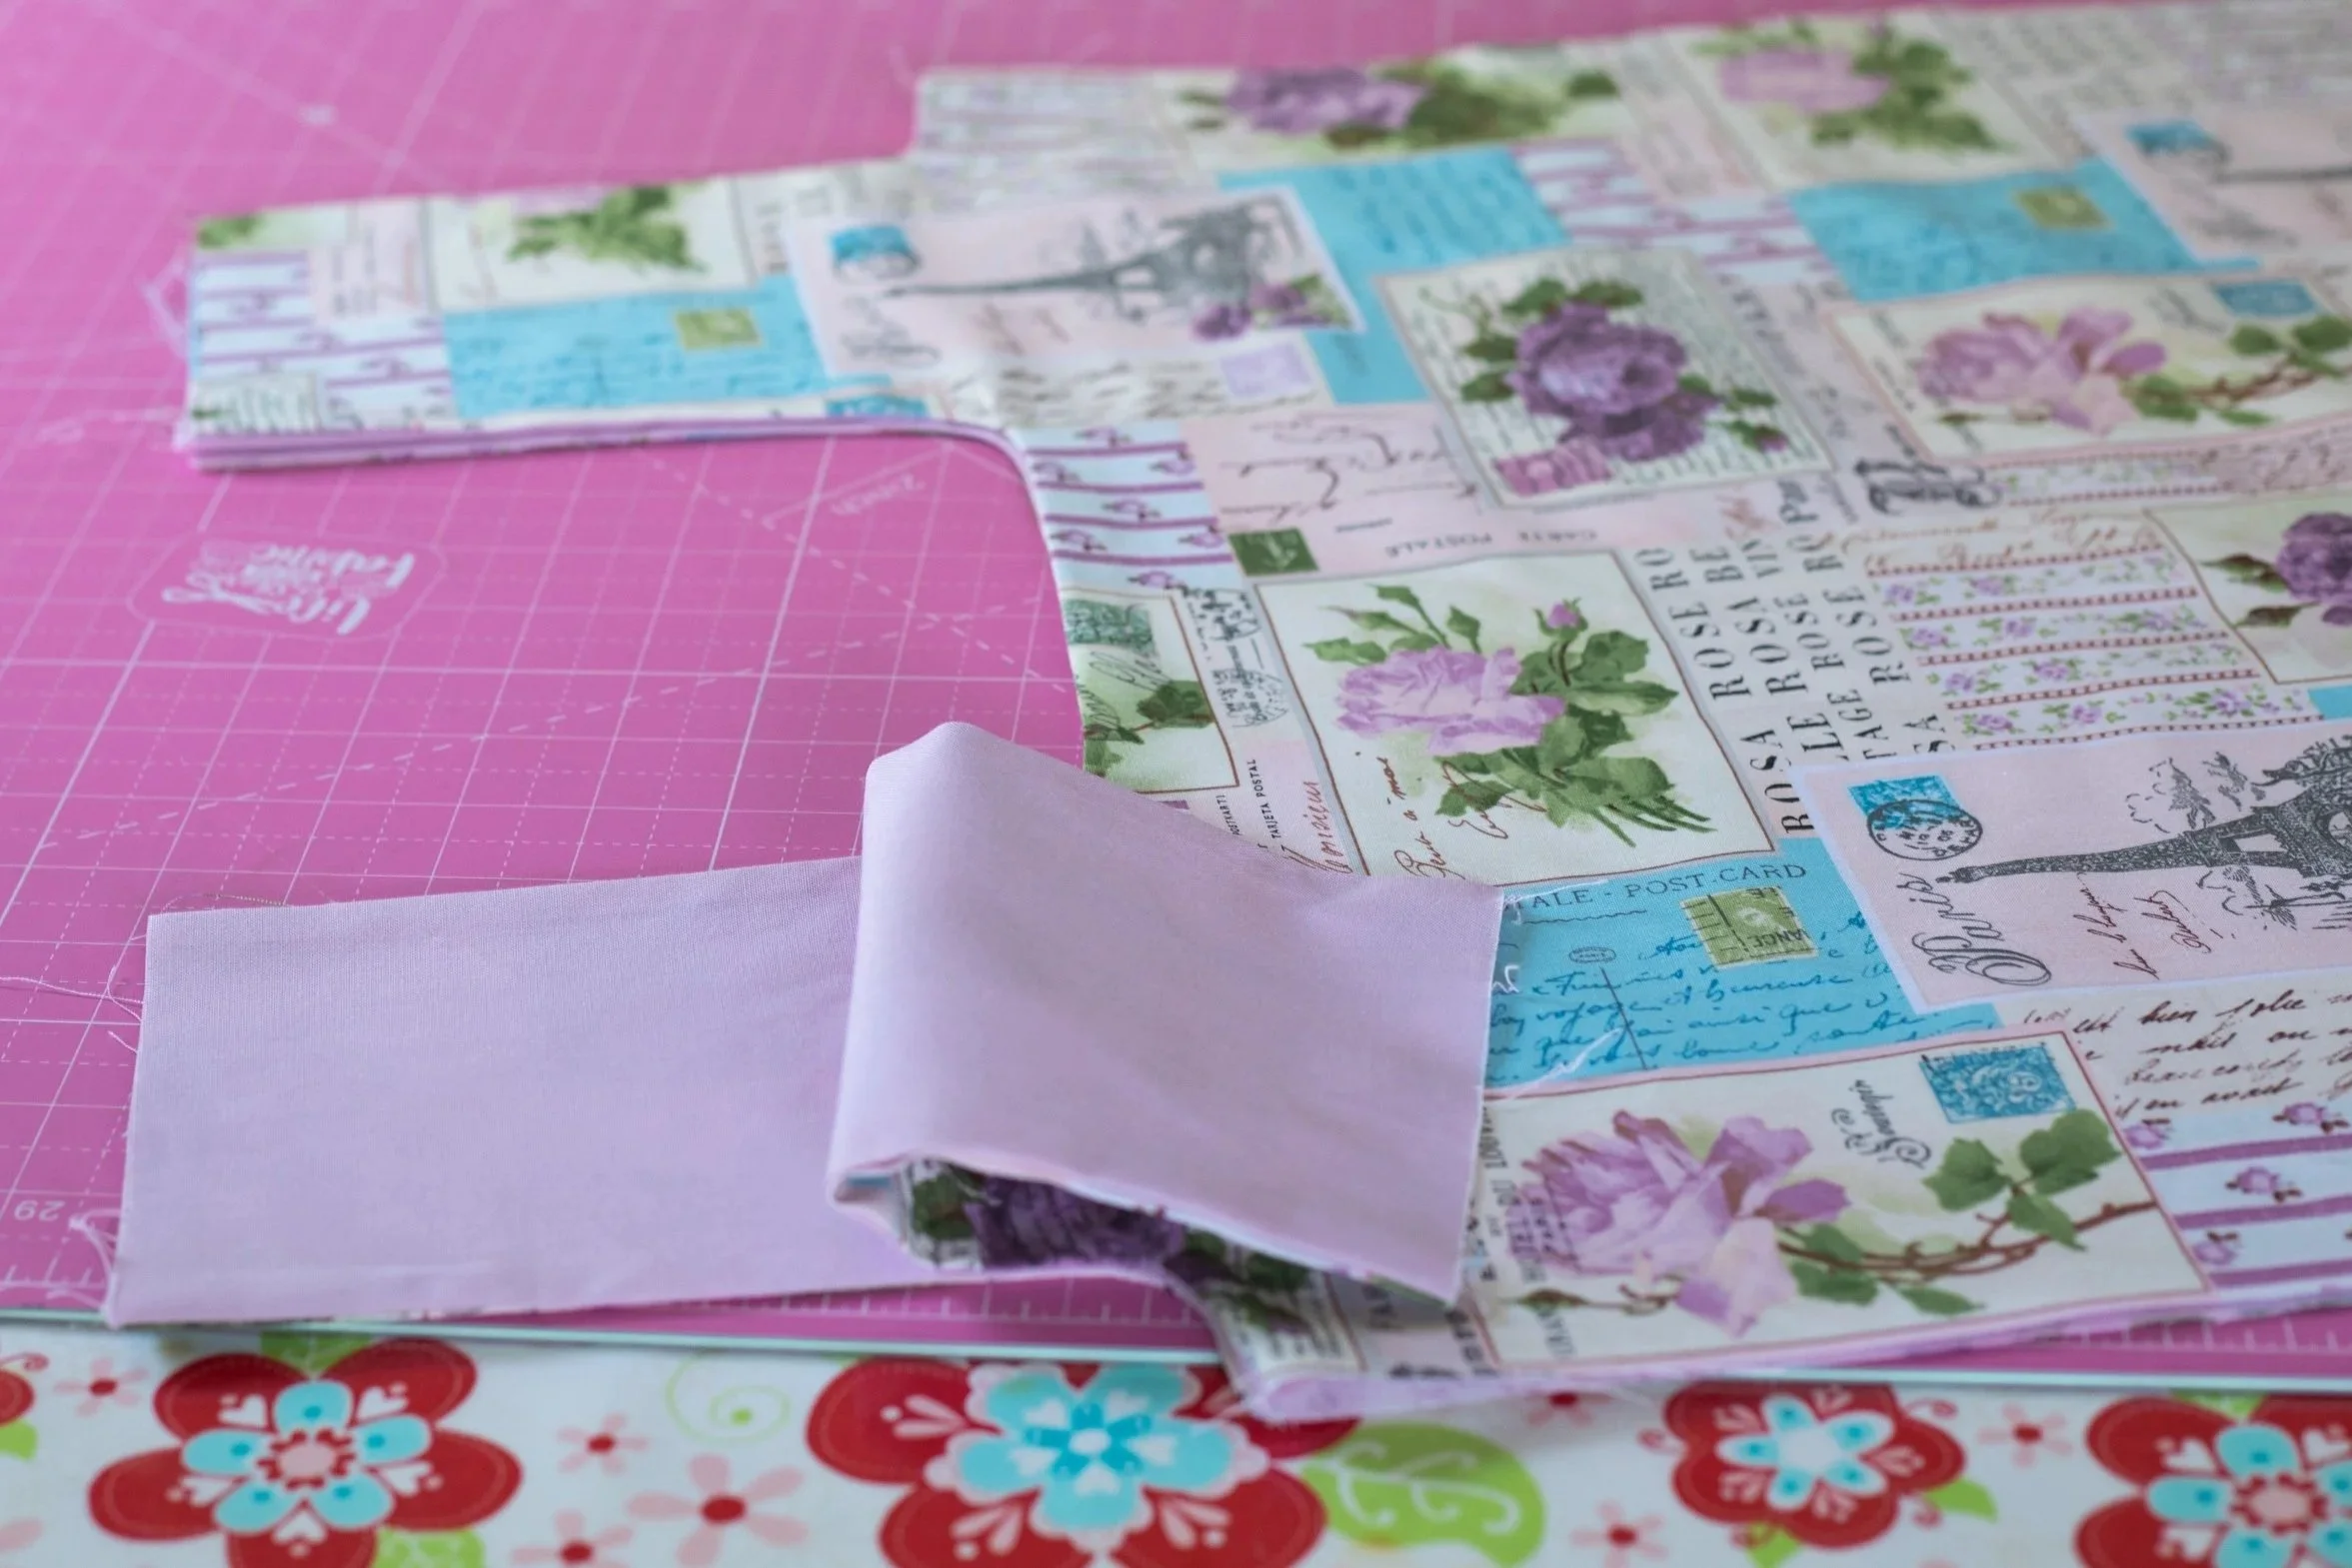
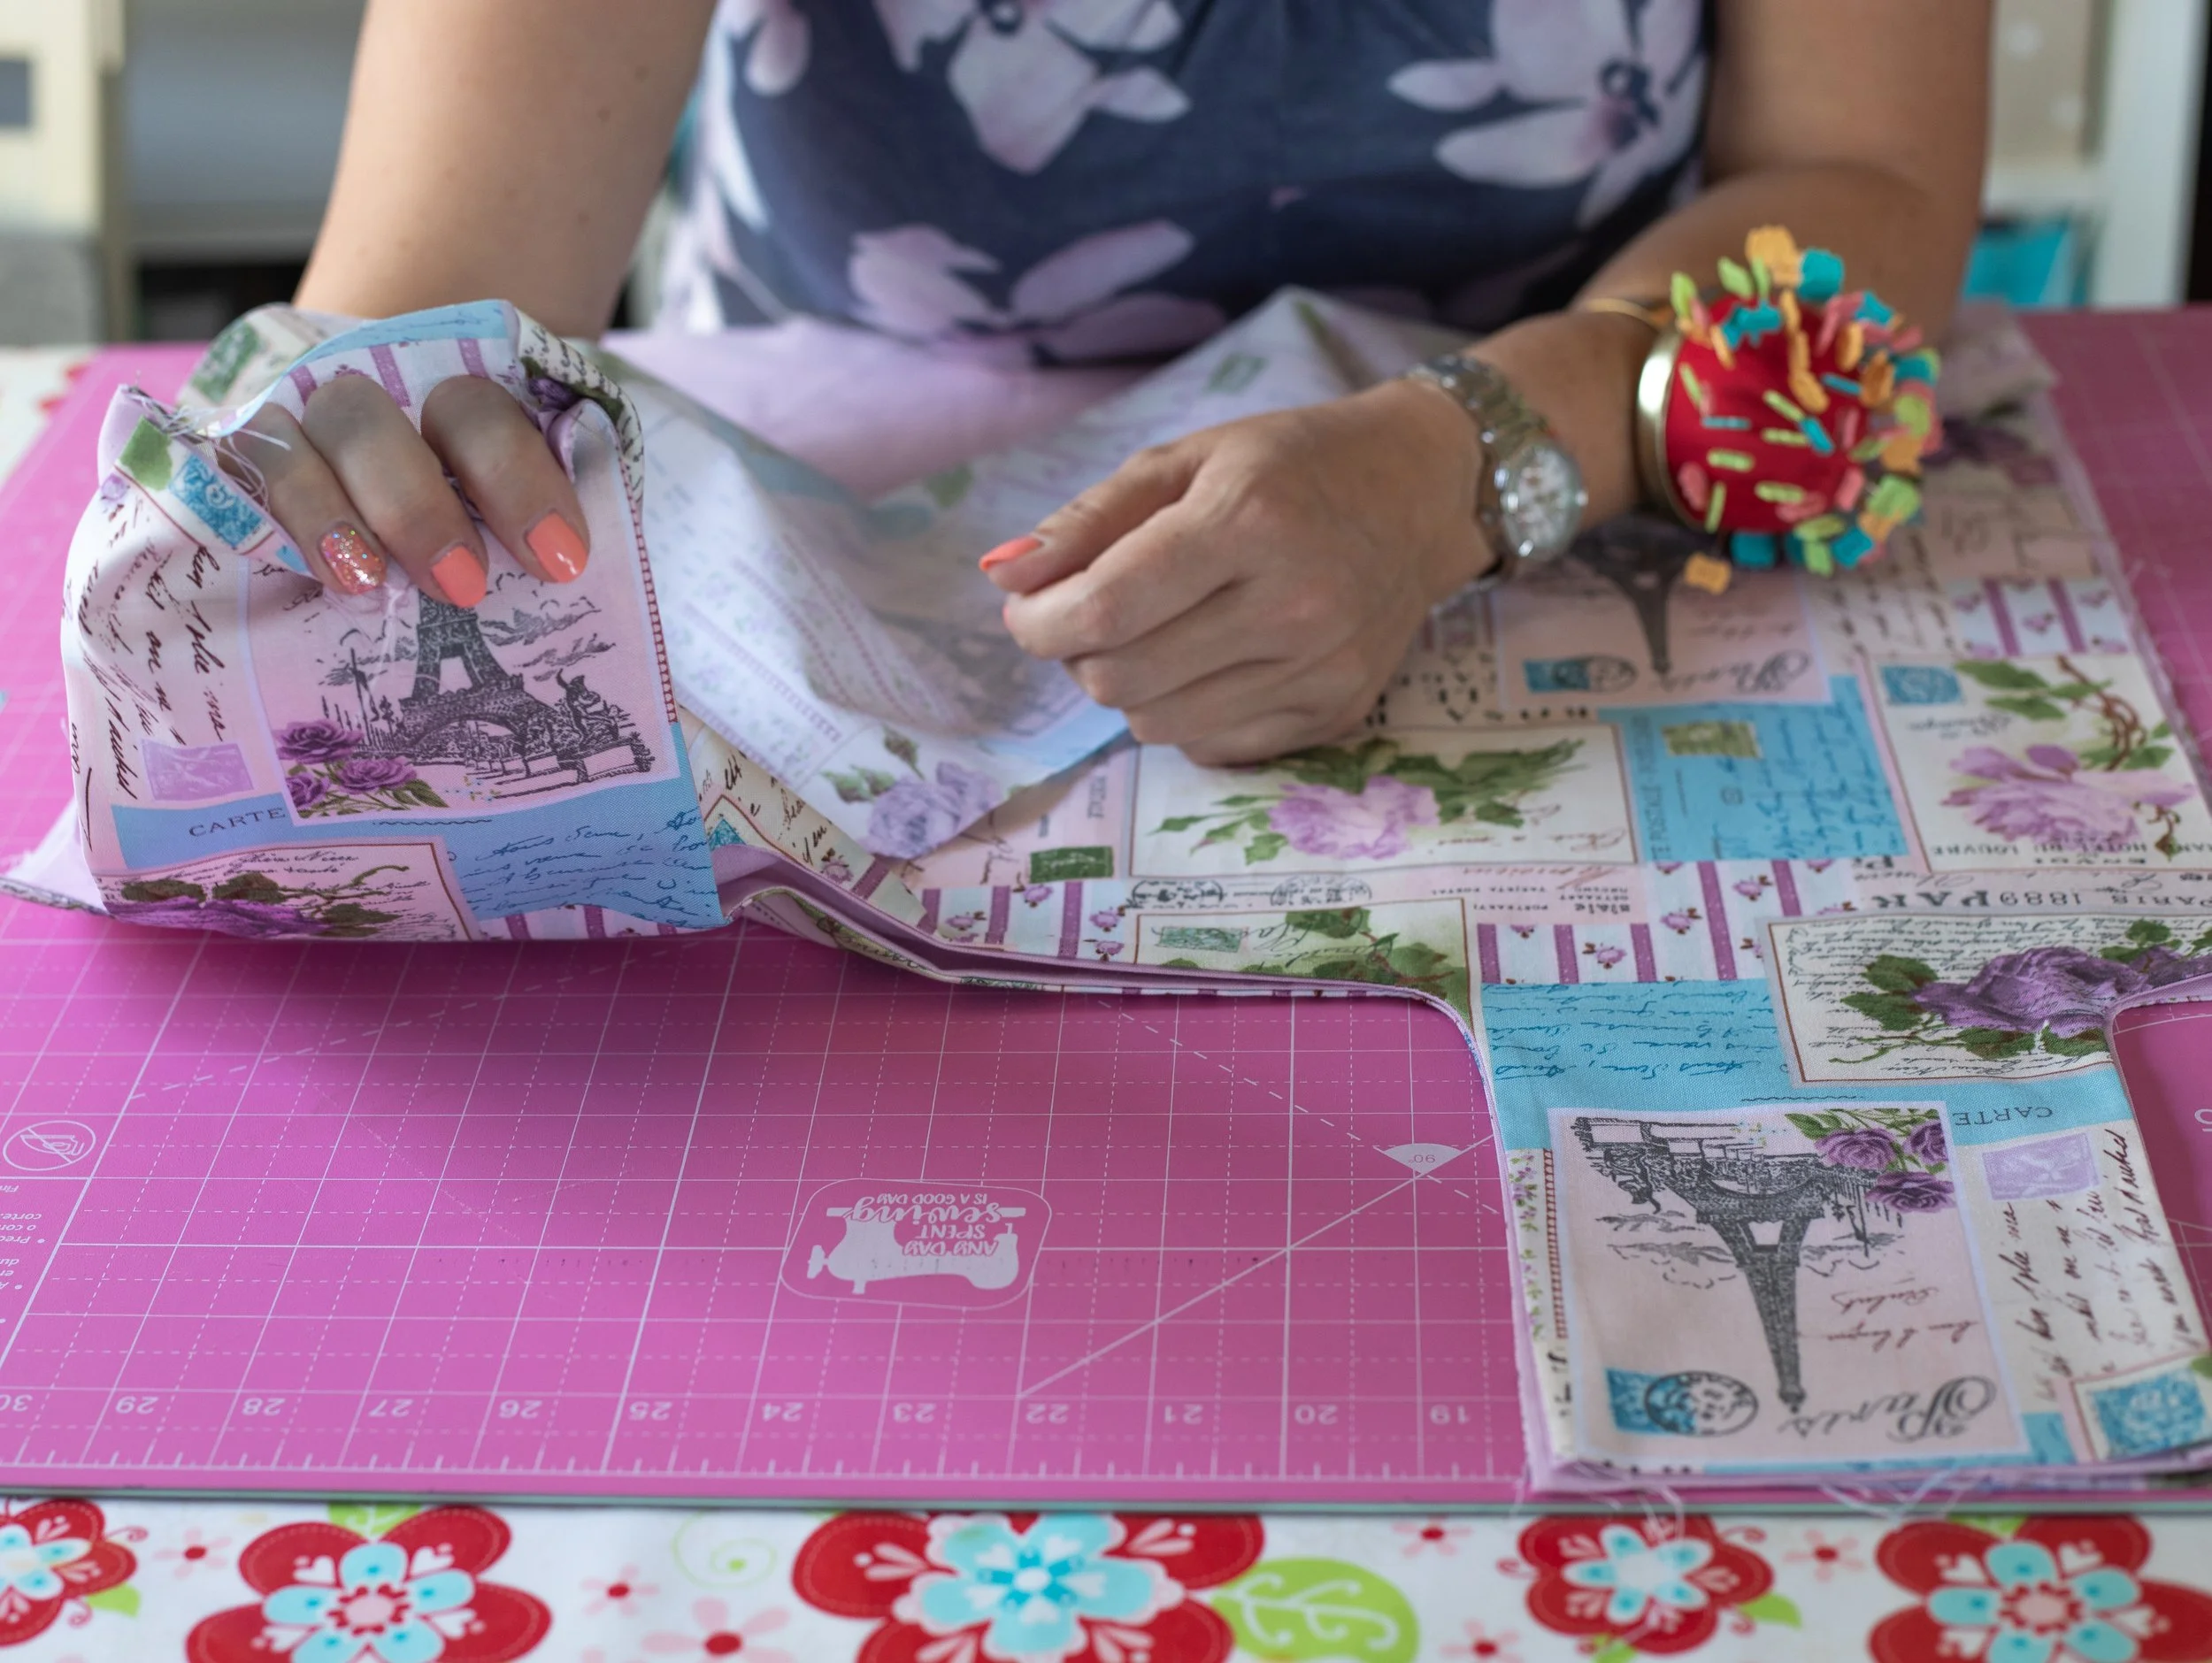
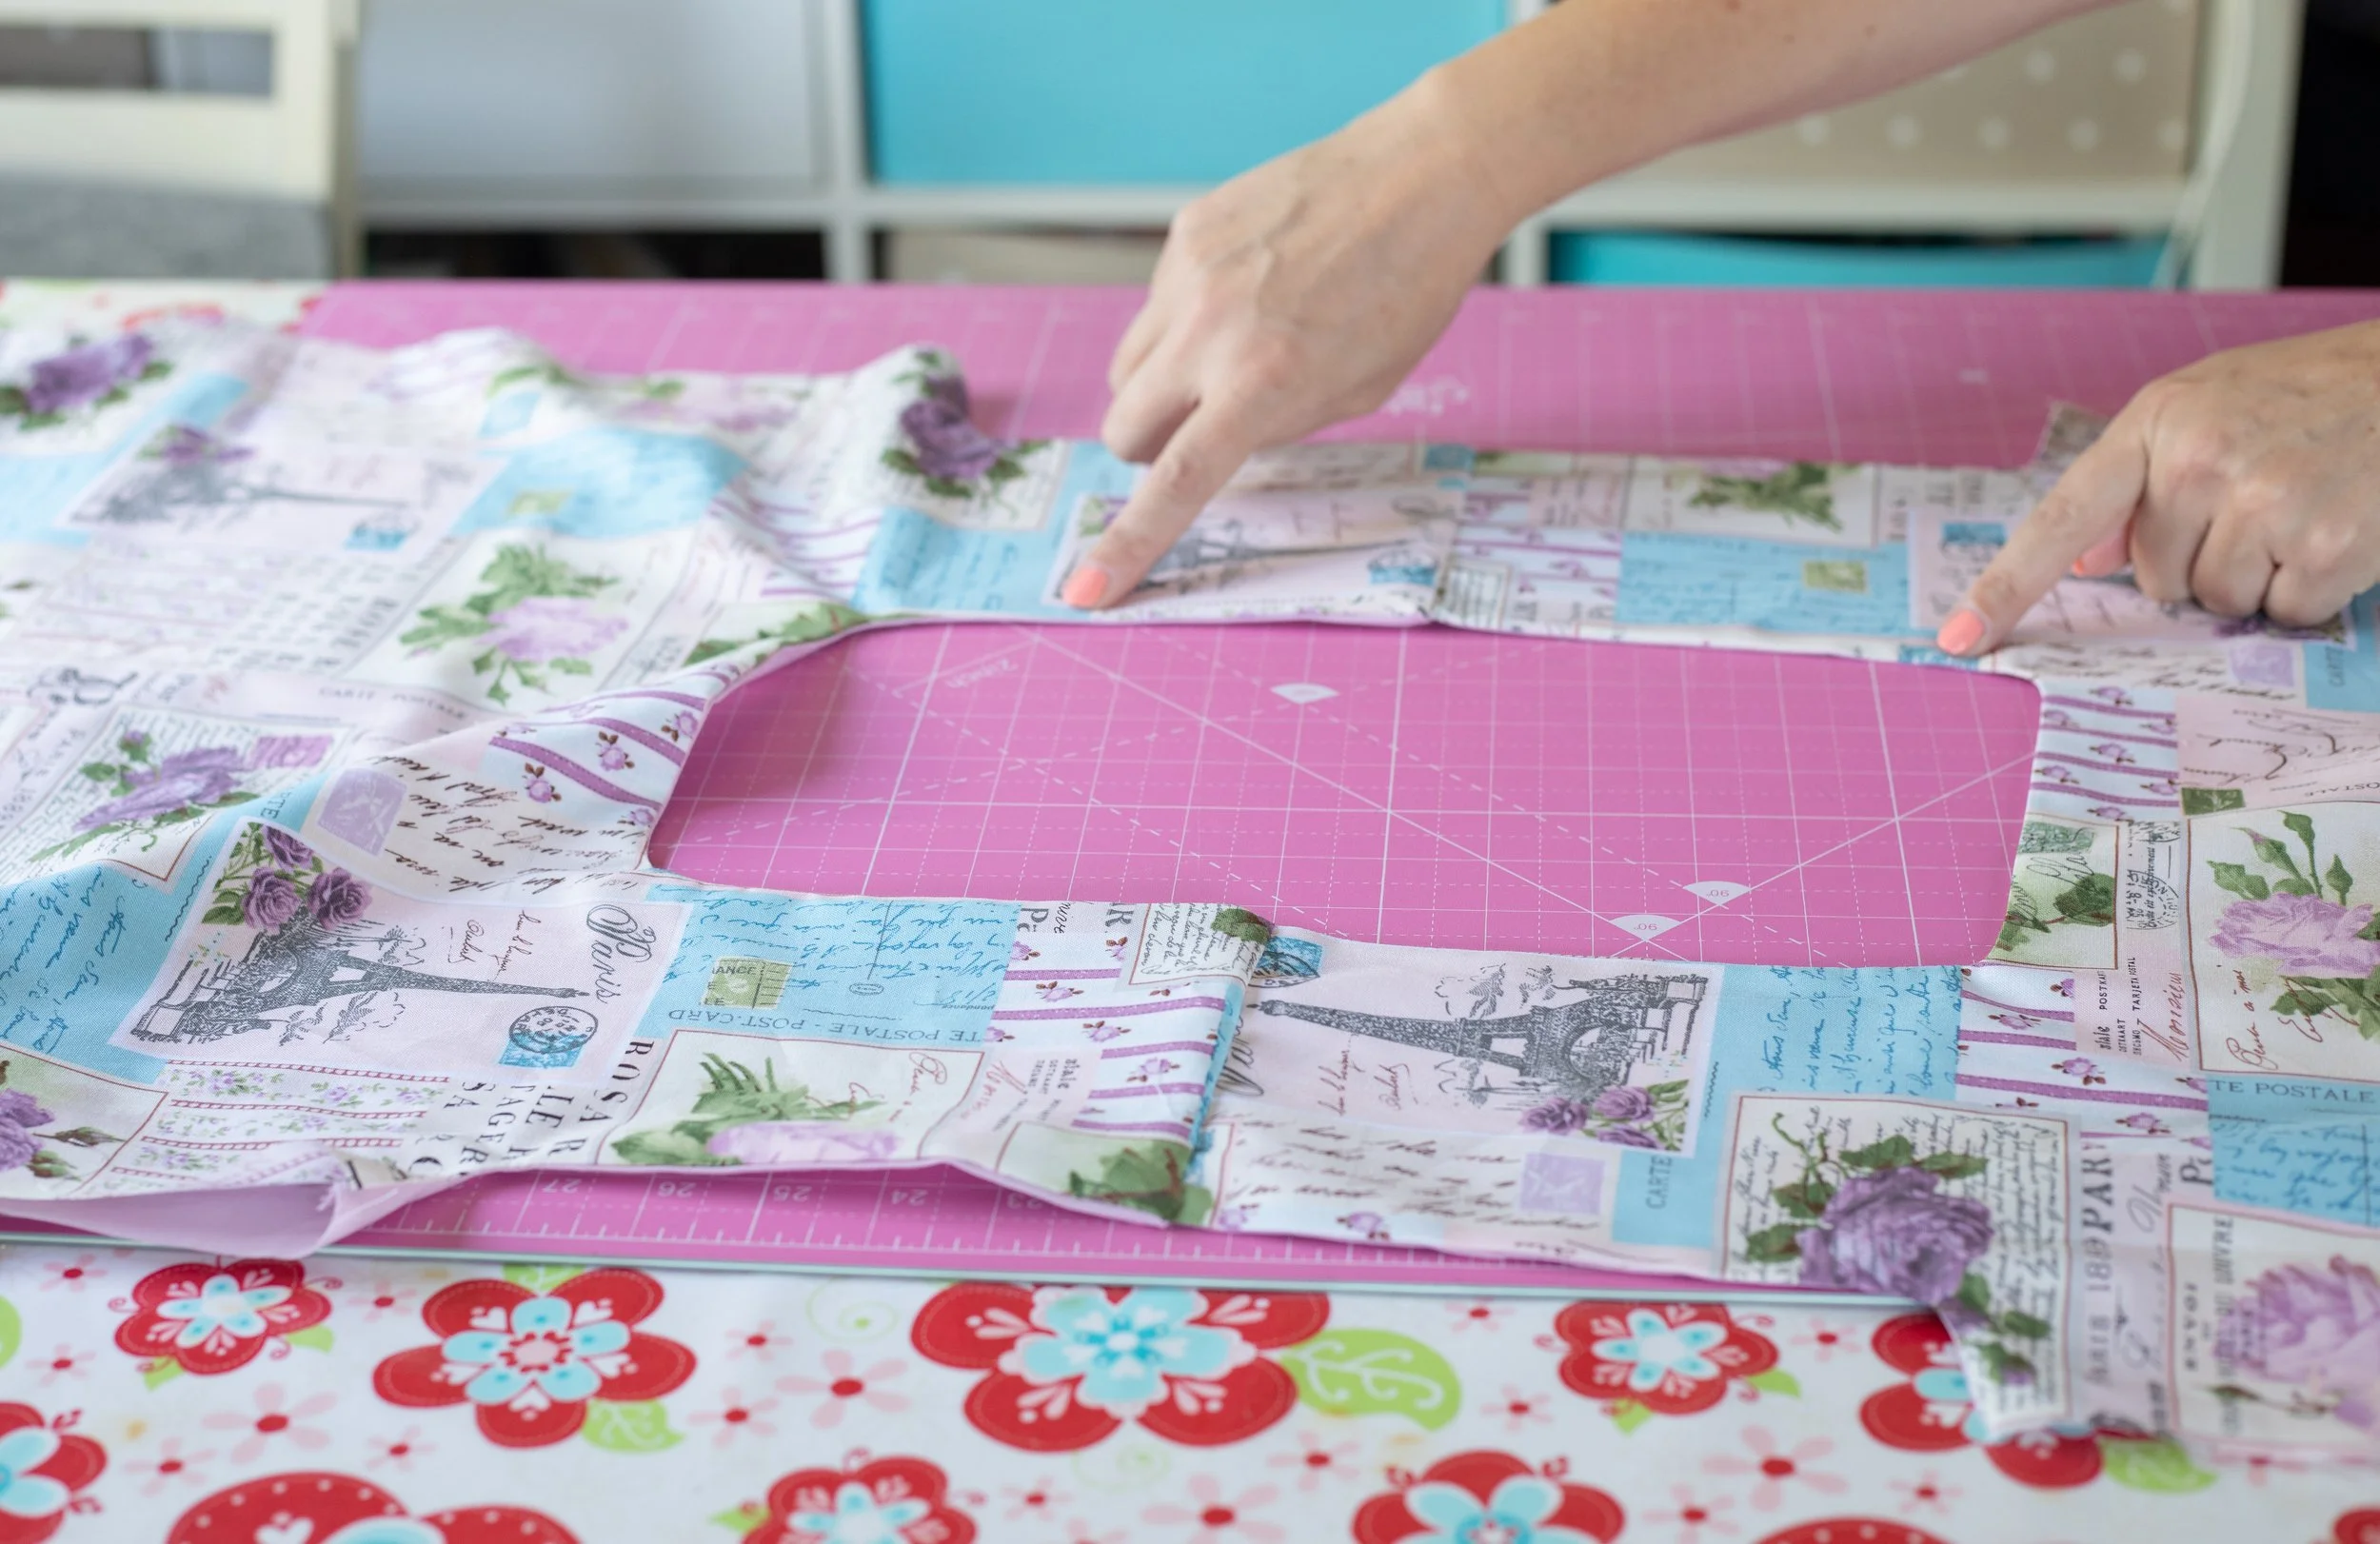
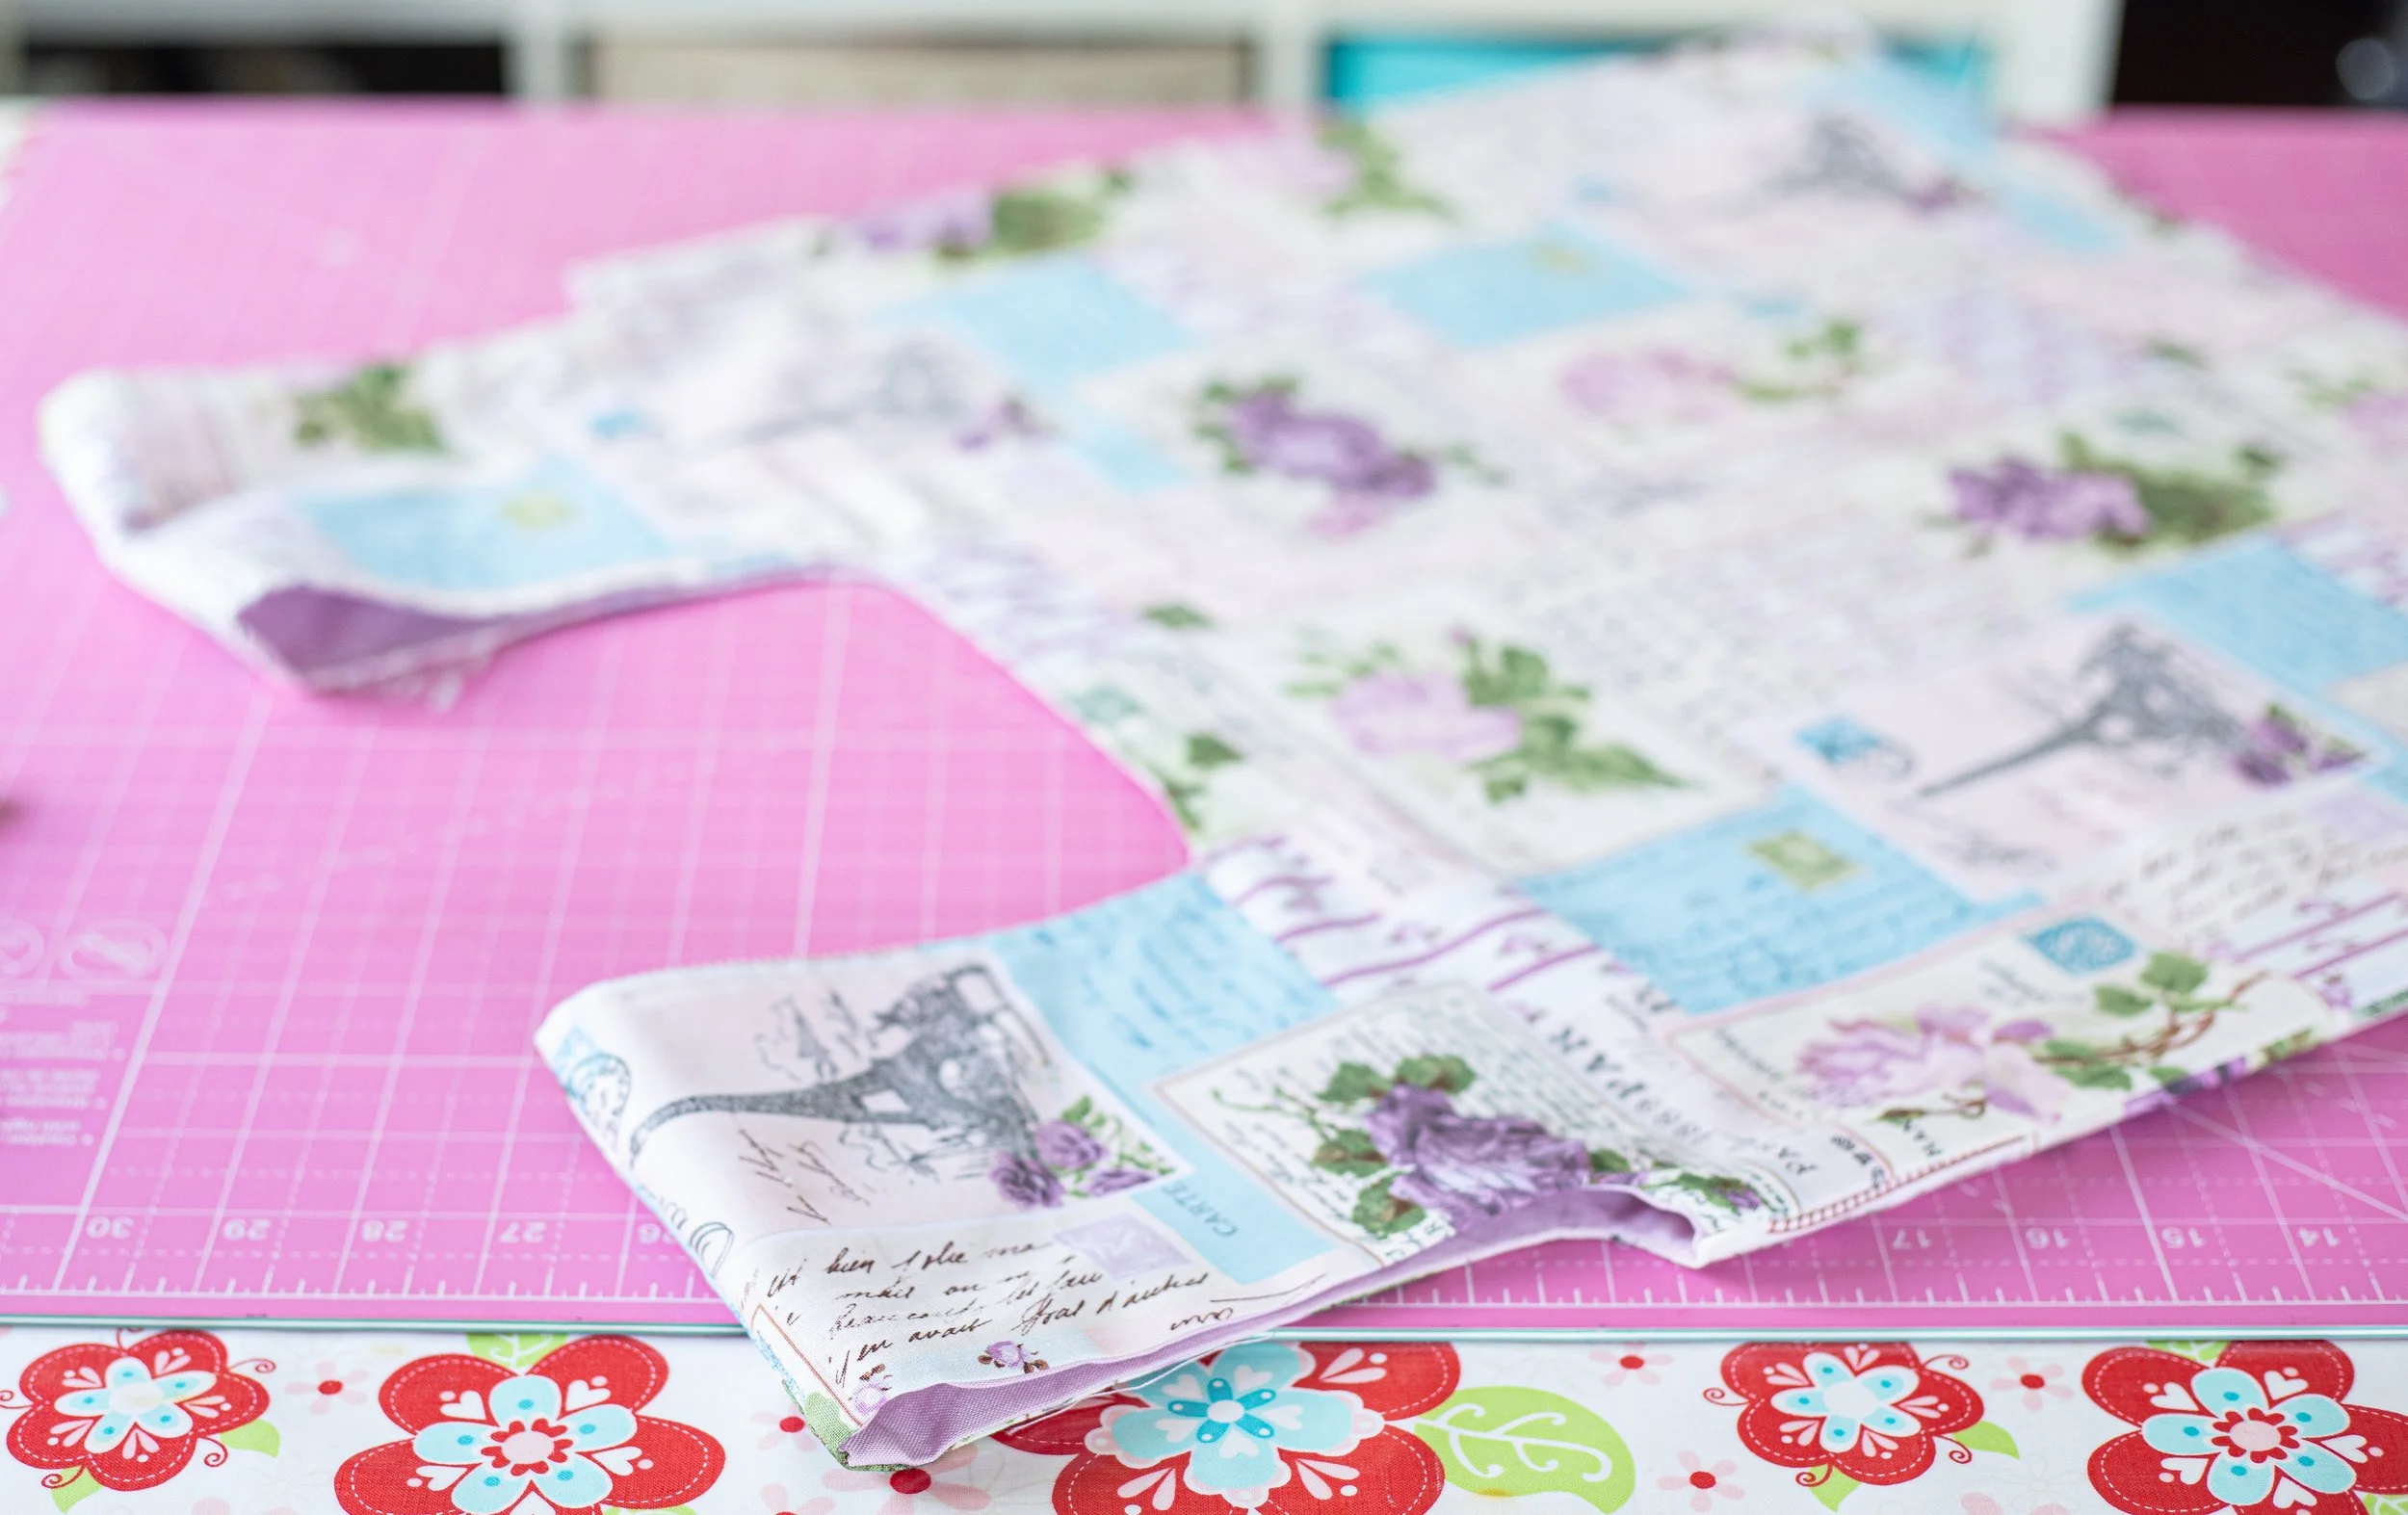
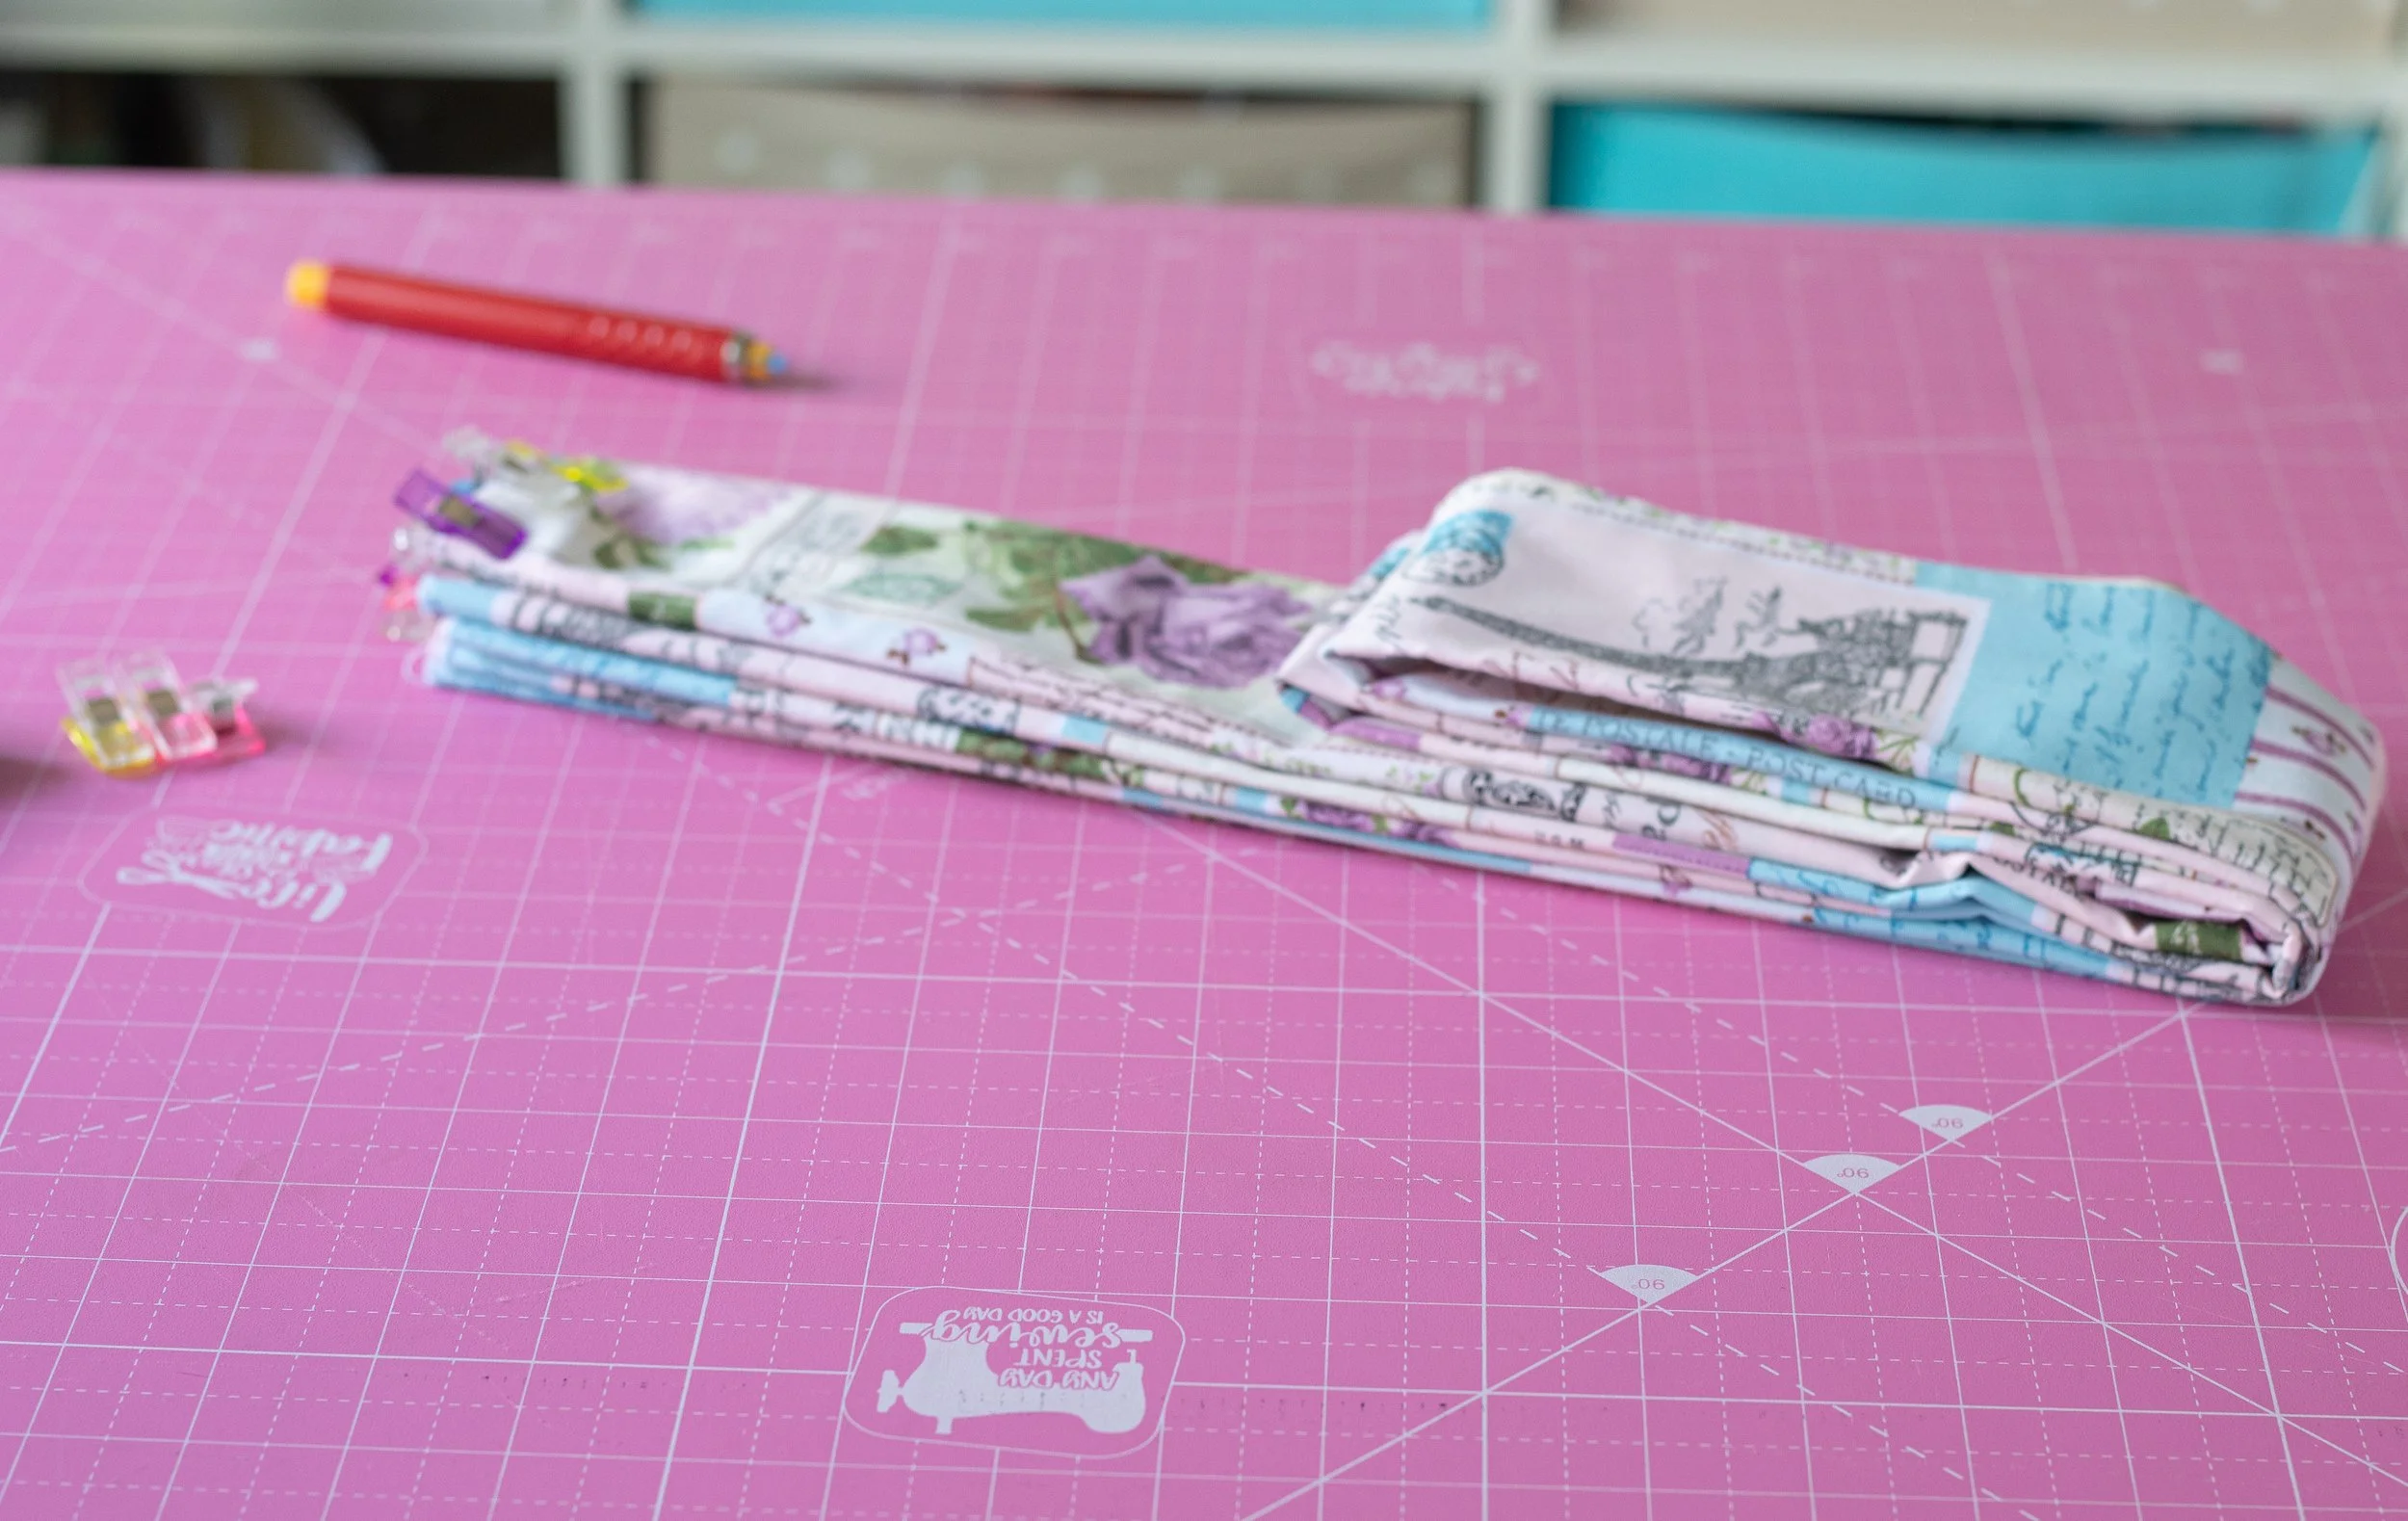
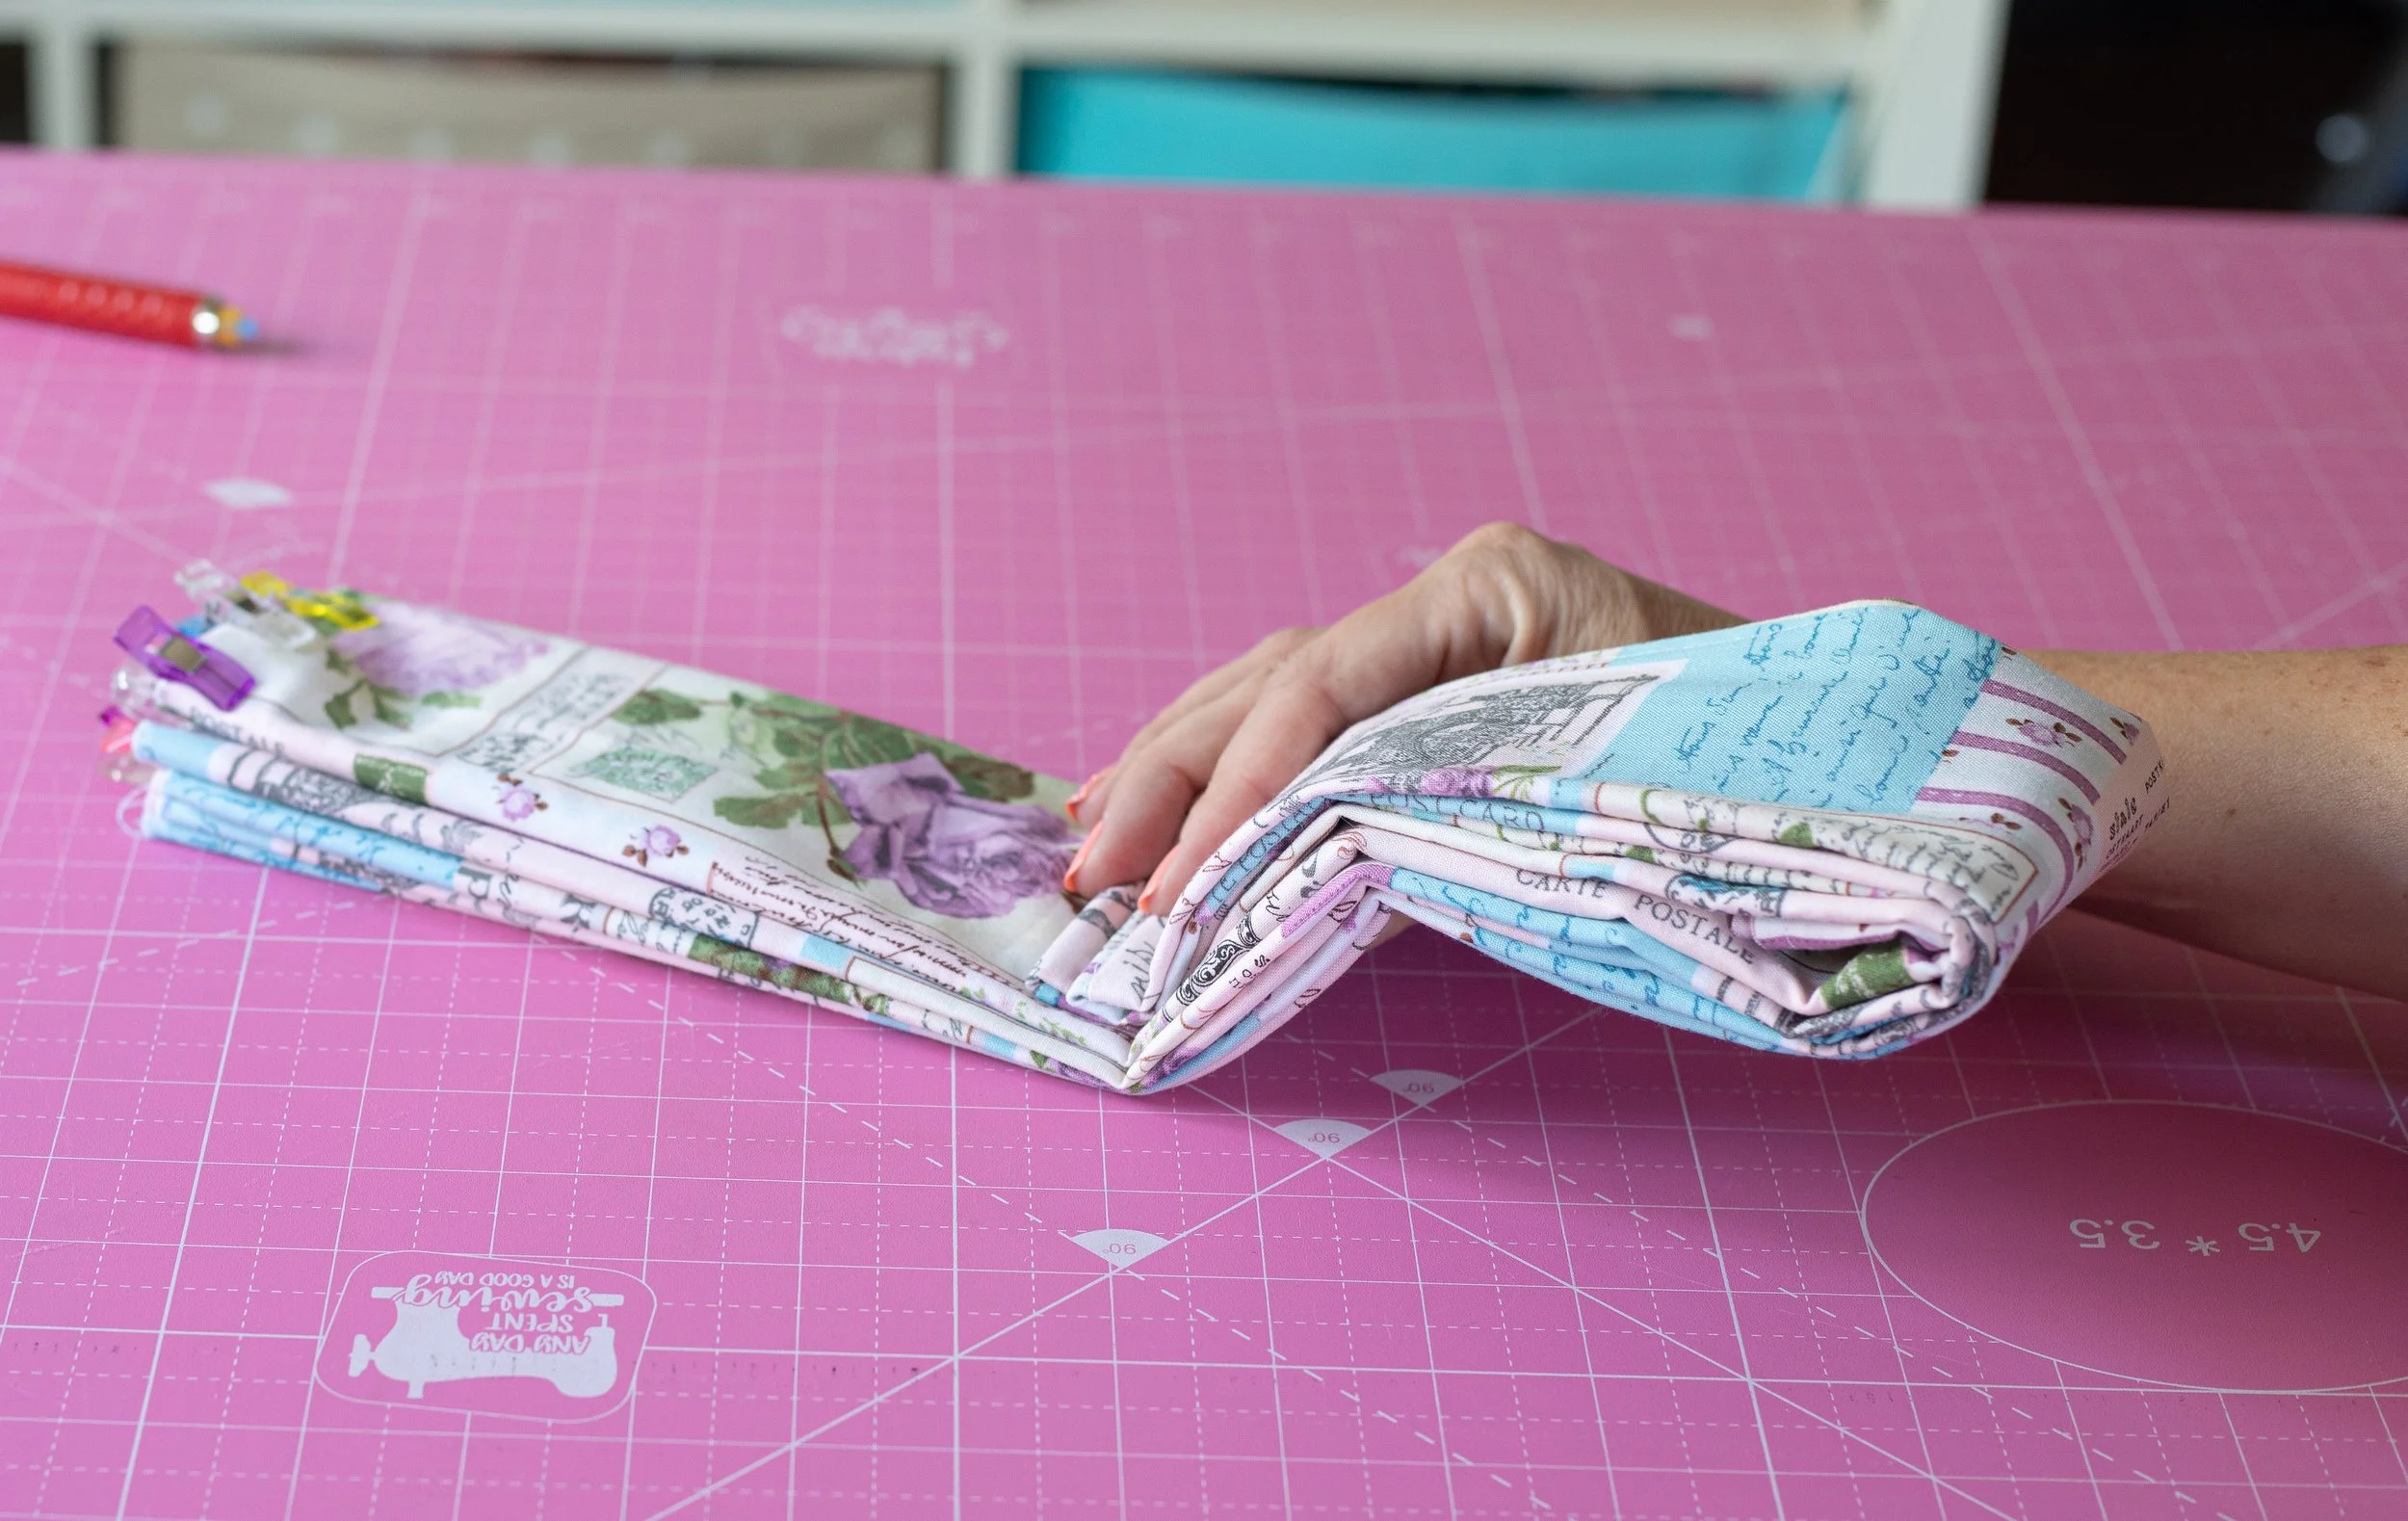
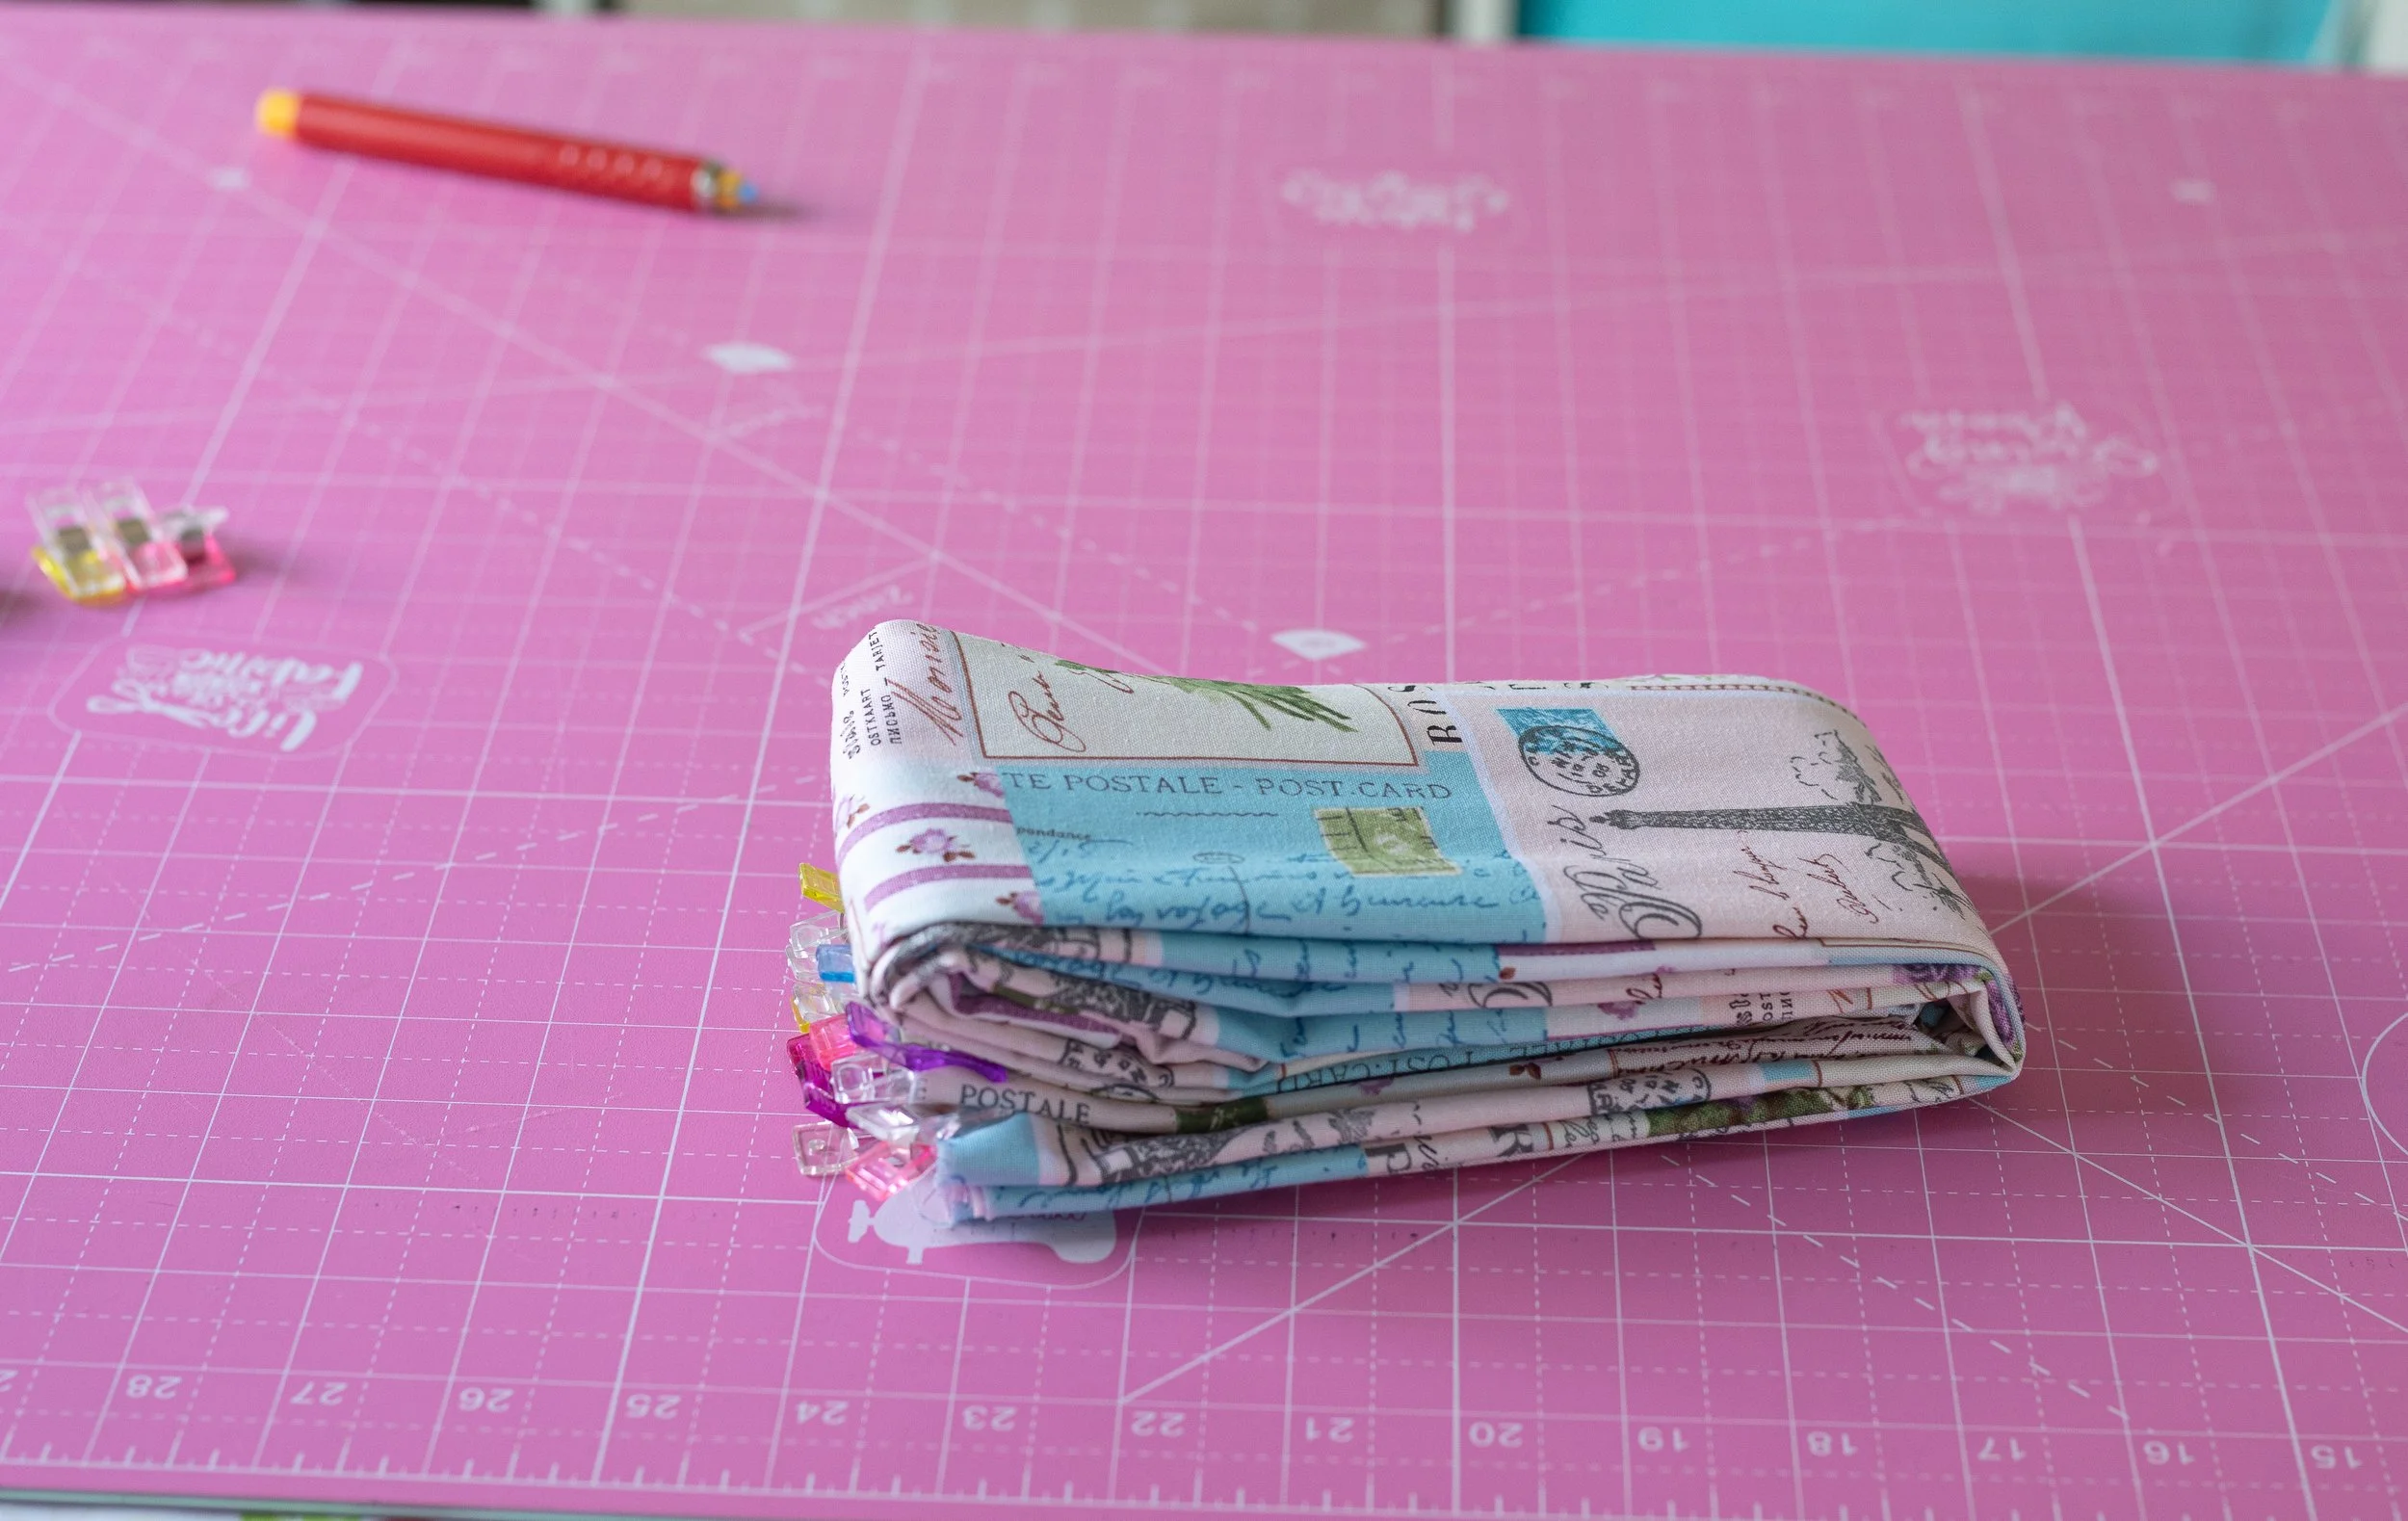
After your pattern piece is ready, you’re going to trace it onto your fabric. You’ll cut 2 pieces of each fabric— 2 linings and 2 outers.
FOLD your fabric by bringing the selvedge edge to the middle.
Place the pattern piece on top of the fabric, along the fold. You will have just enough space.
Place pattern weights on top or use pins in the fabric to keep it from shifting.
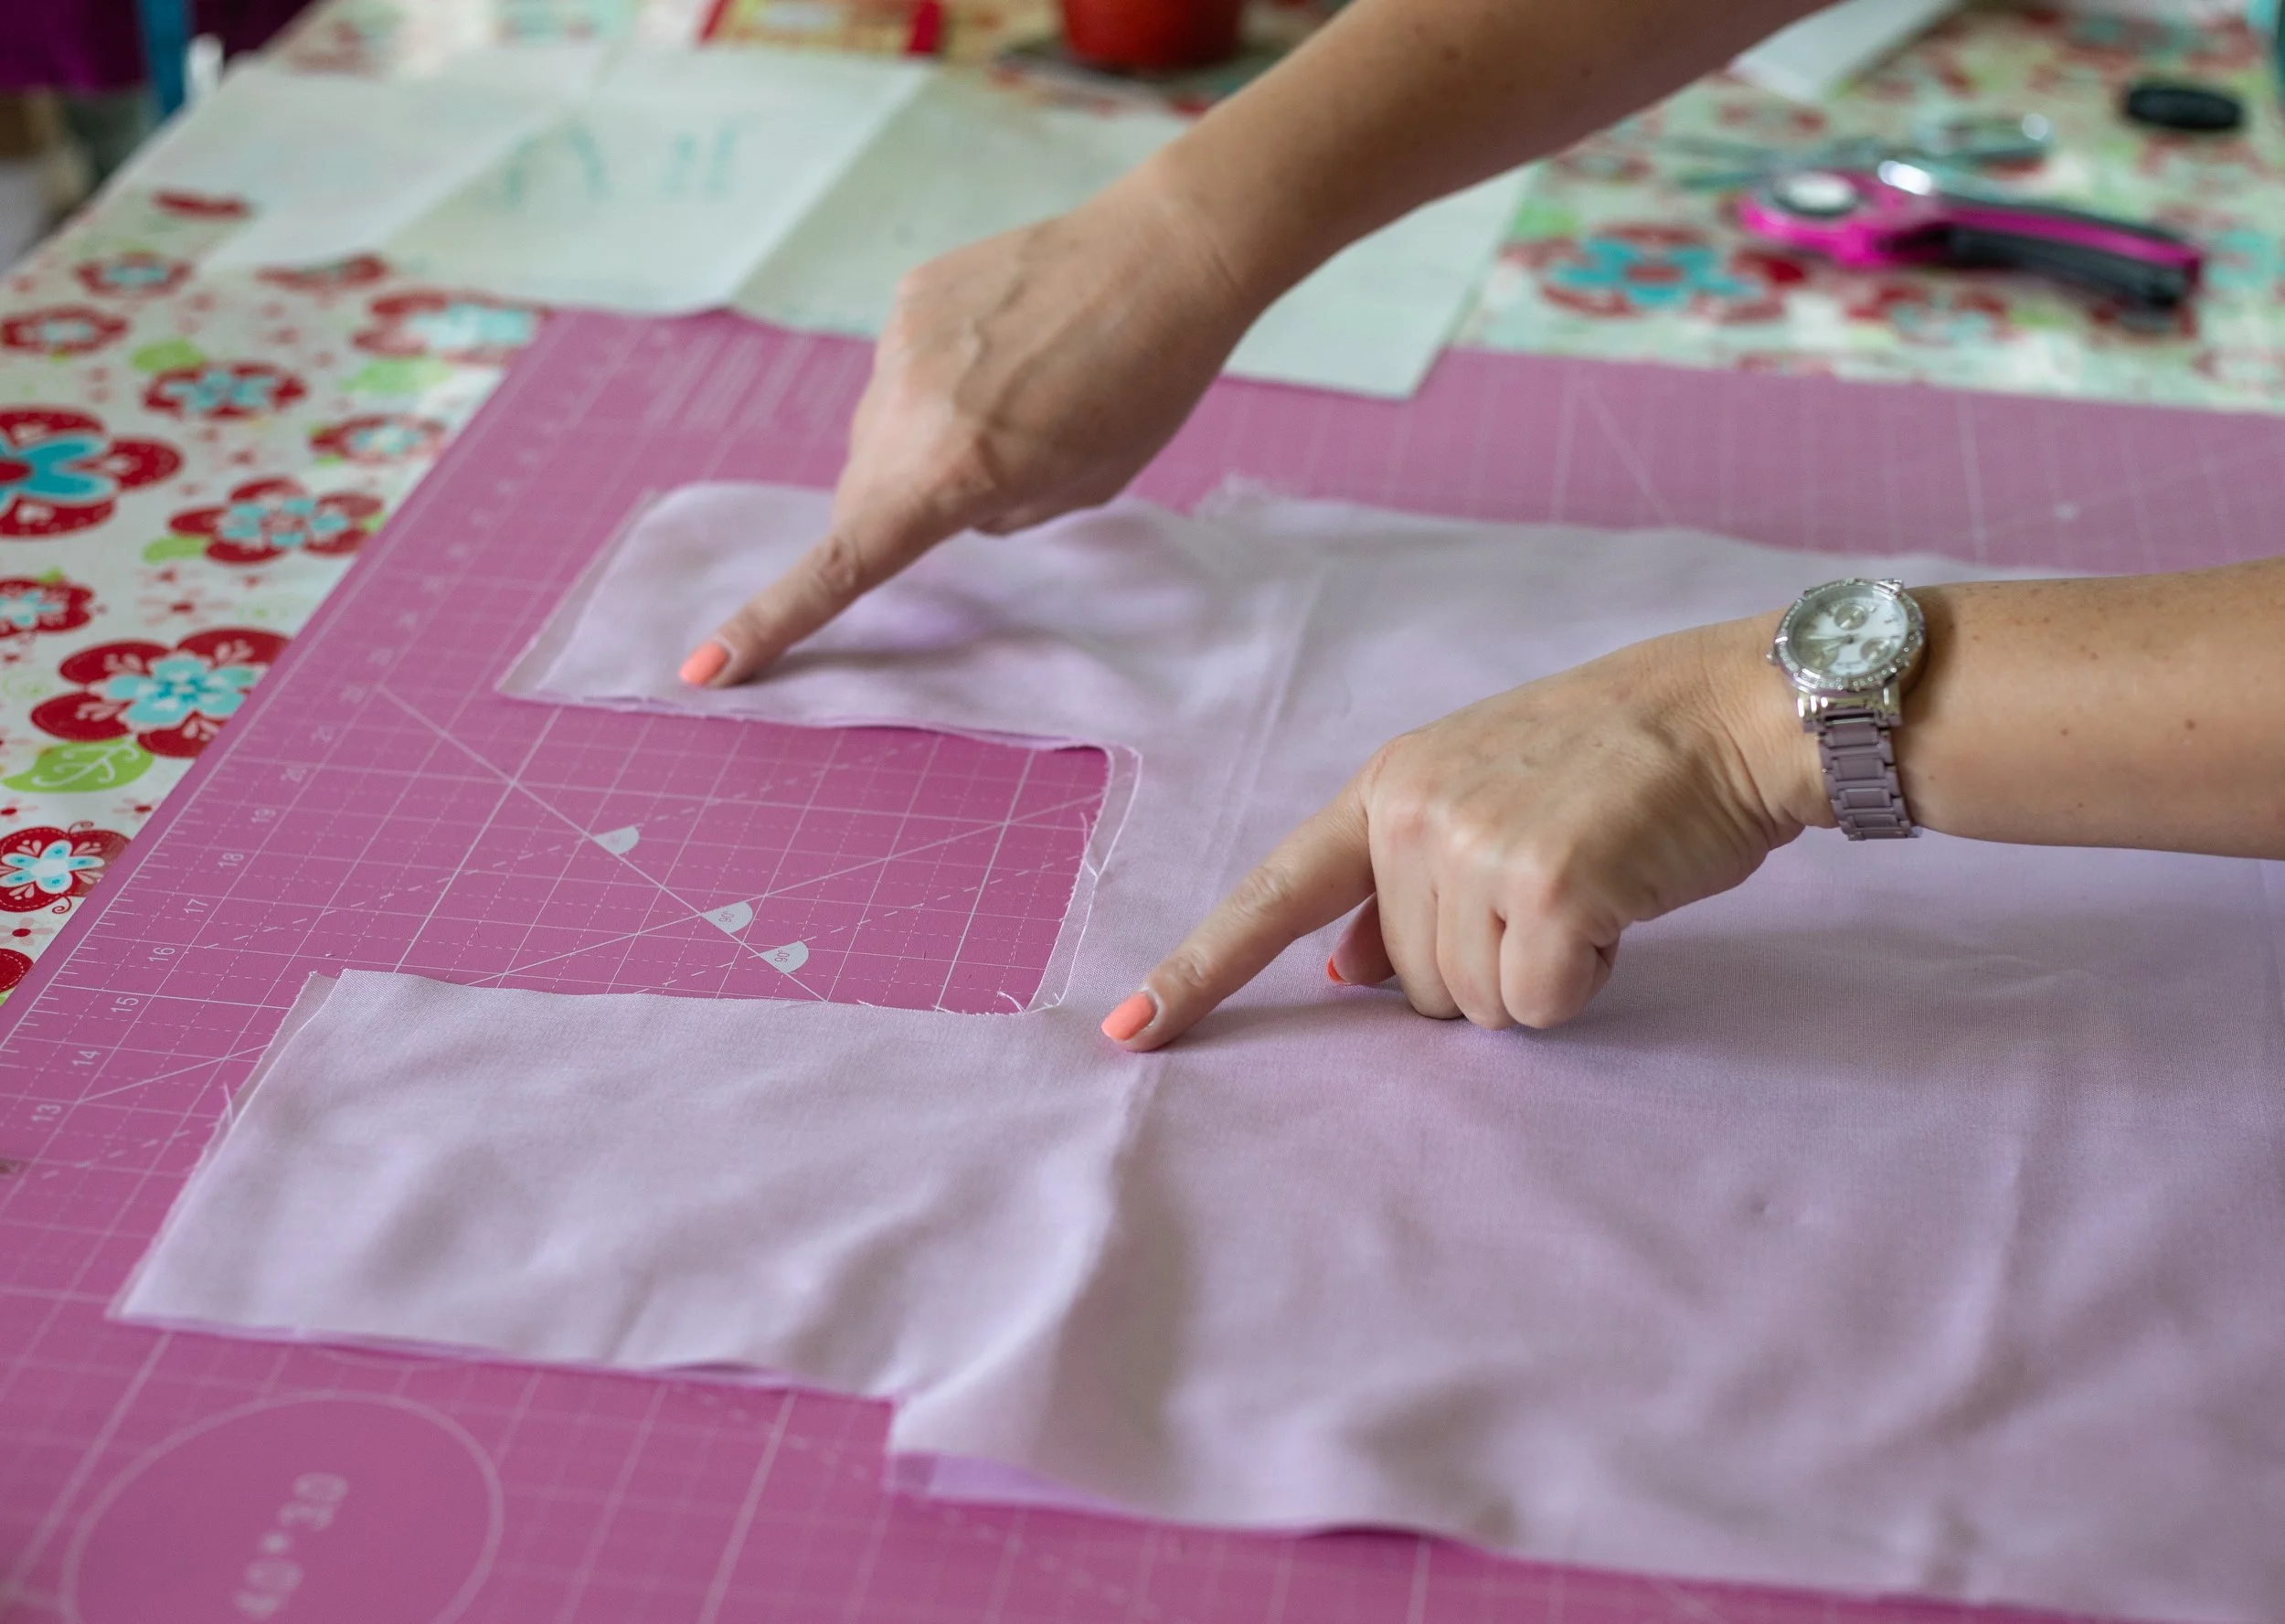
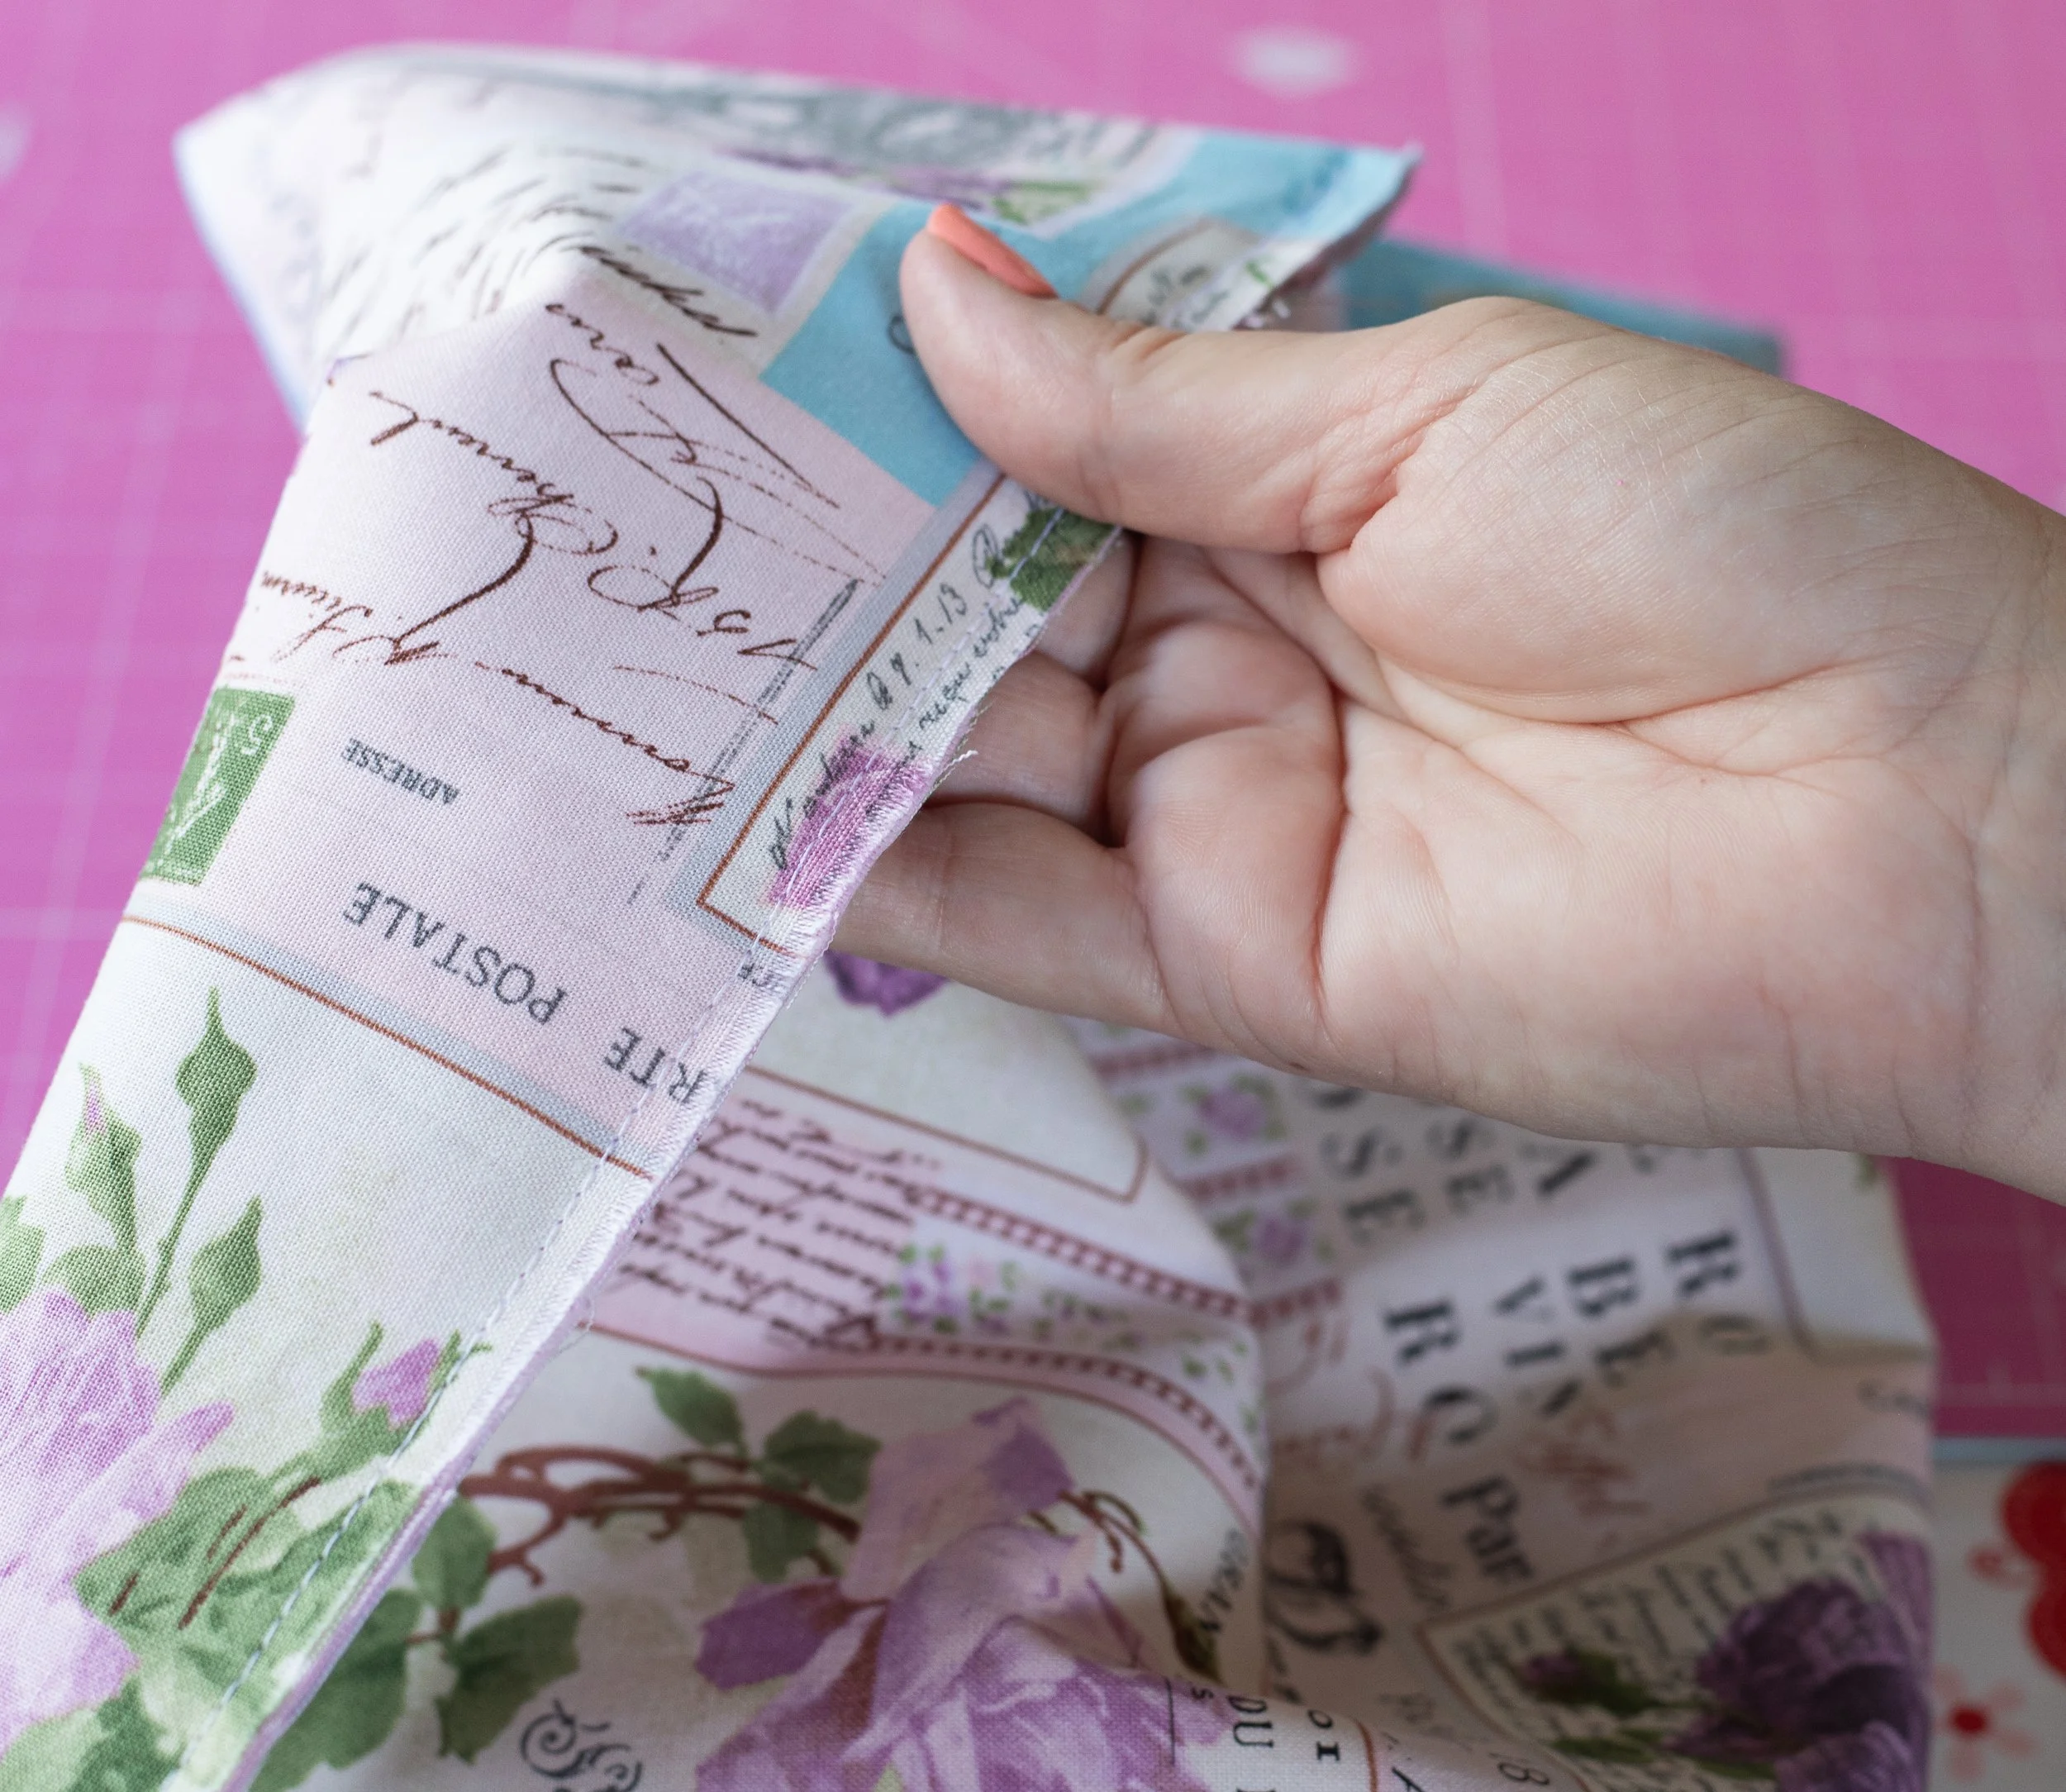
Use chalk, a fabric marker, or other marking tool to trace around the pattern. *Please be precise; it makes a big difference in the turning-out method we’ll use later.
Set that piece aside, then repeat with the other side of the fabric. These will be your outer pieces.
Repeat for the lining fabric.
Your lining fabric should be thin if you plan on folding this bag. If you don’t want to add the optional snap to keep it folded together nicely, use whatever fun fabric you have for the lining.
I often like muslin or the colorful thin stuff from the bargain fabric section. You know the fabric, it’s thin and cheap, and you can’t imagine anyone actually using it for something nice. Haha!!

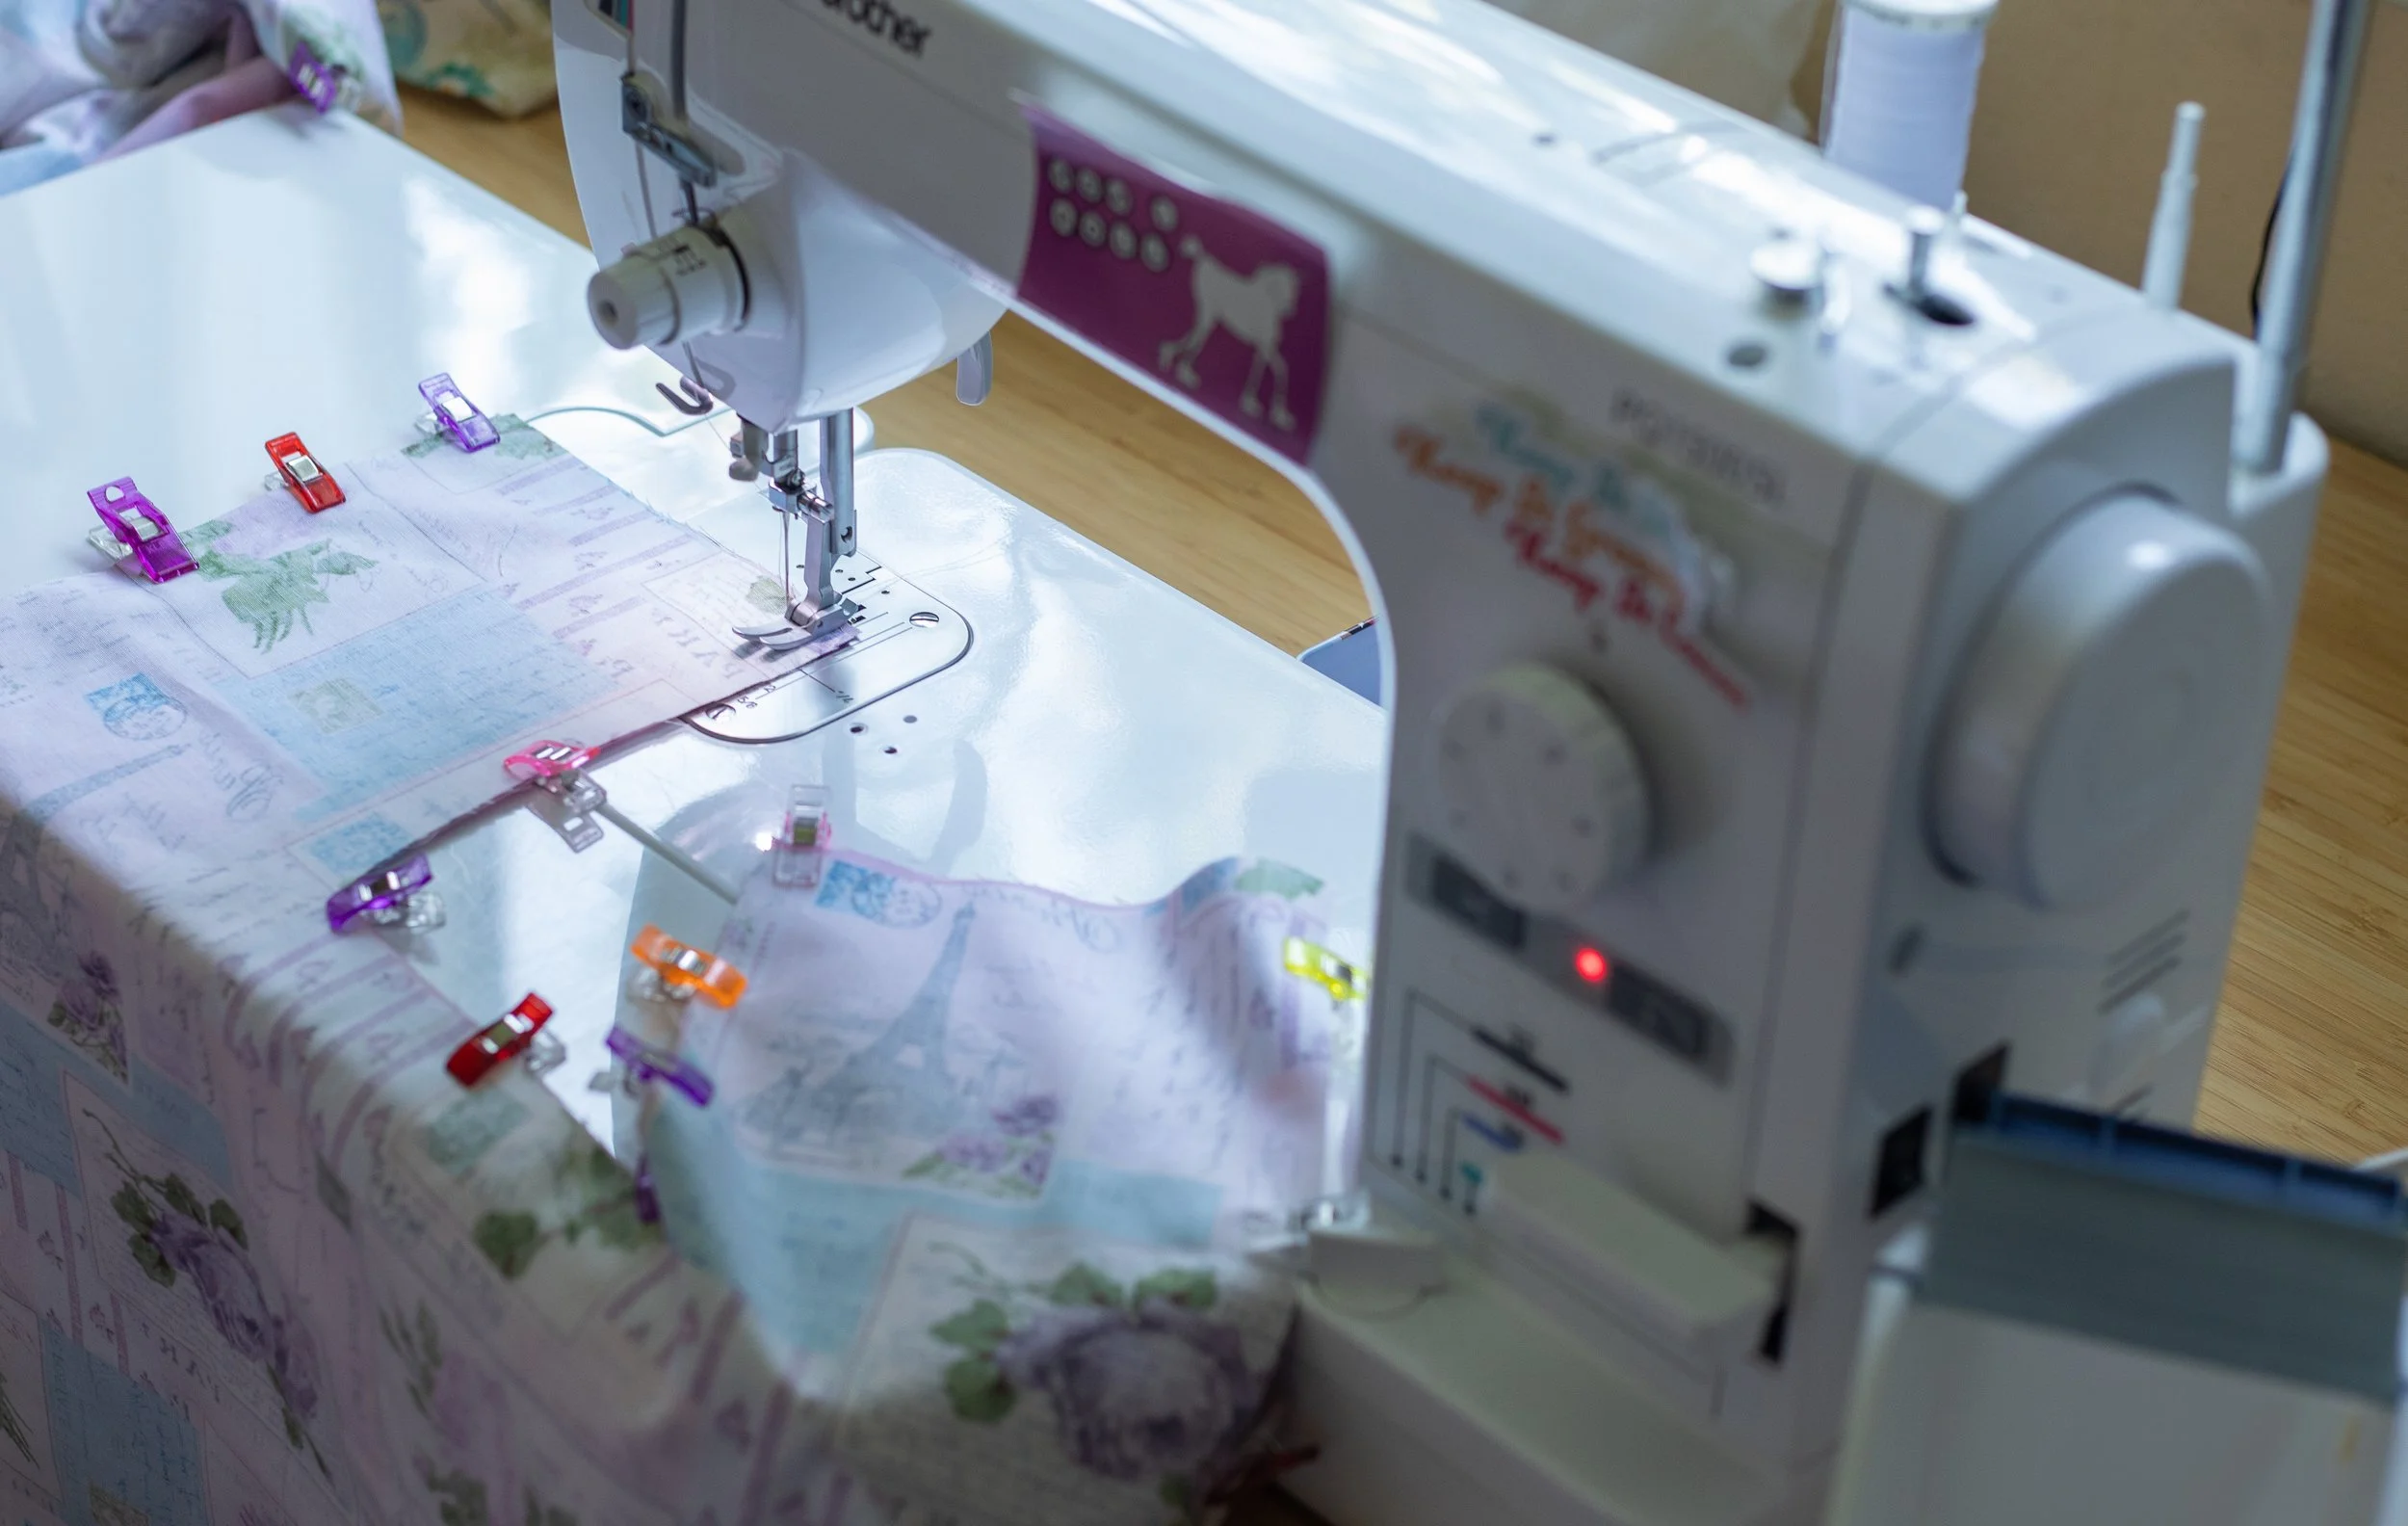
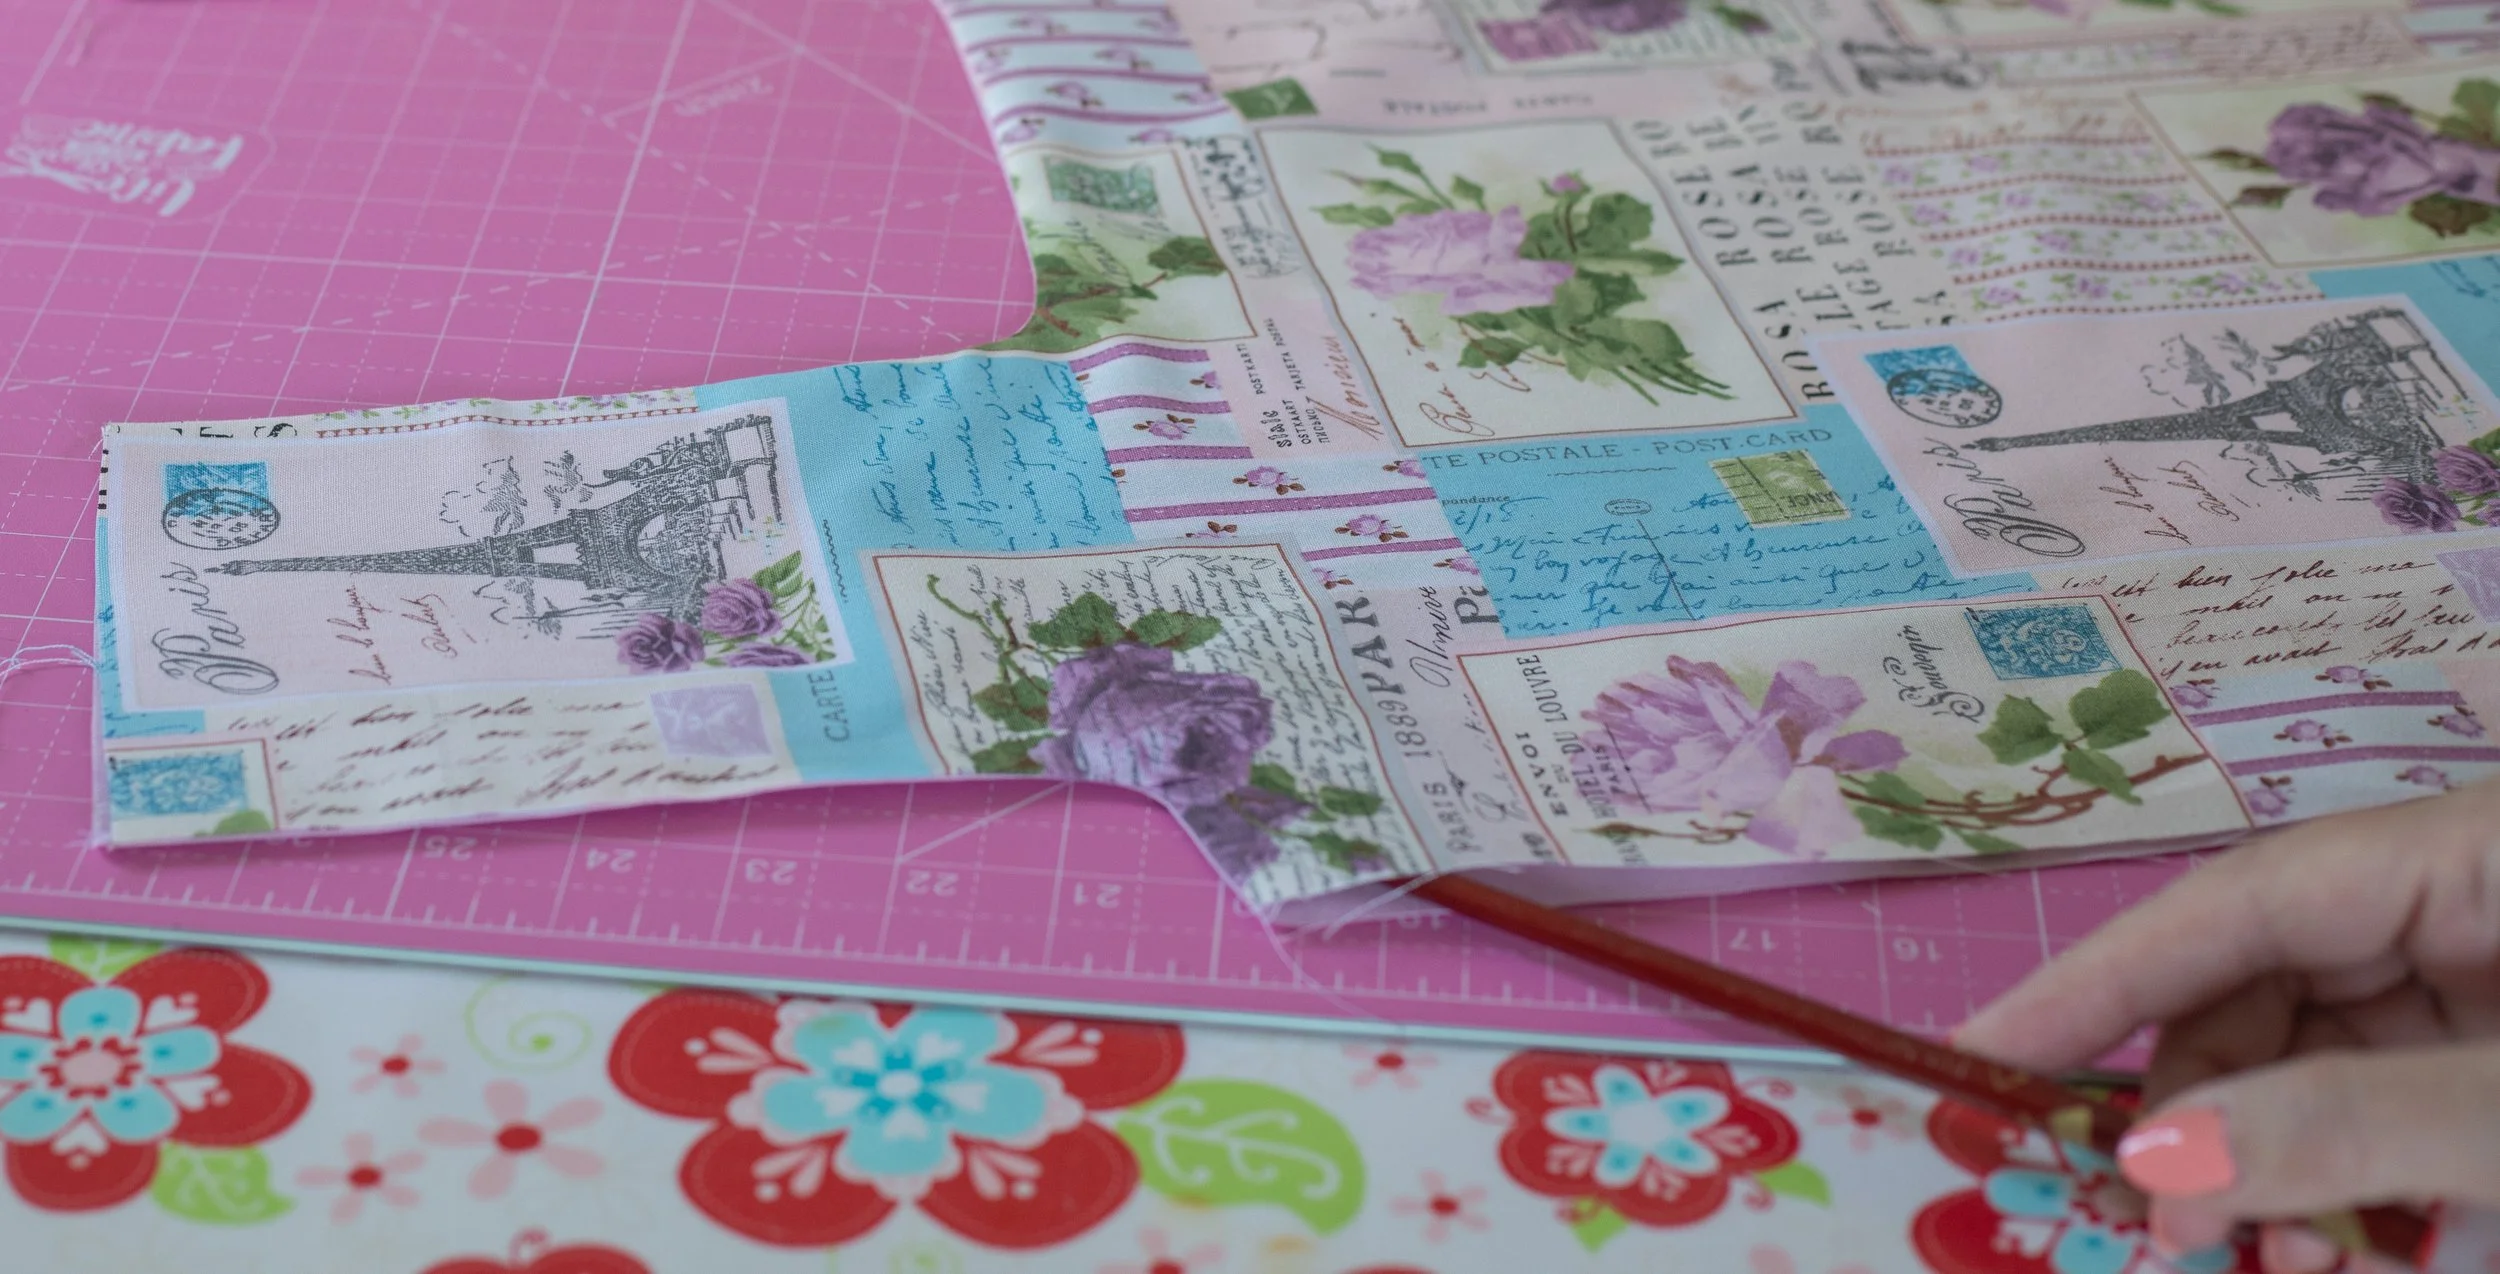
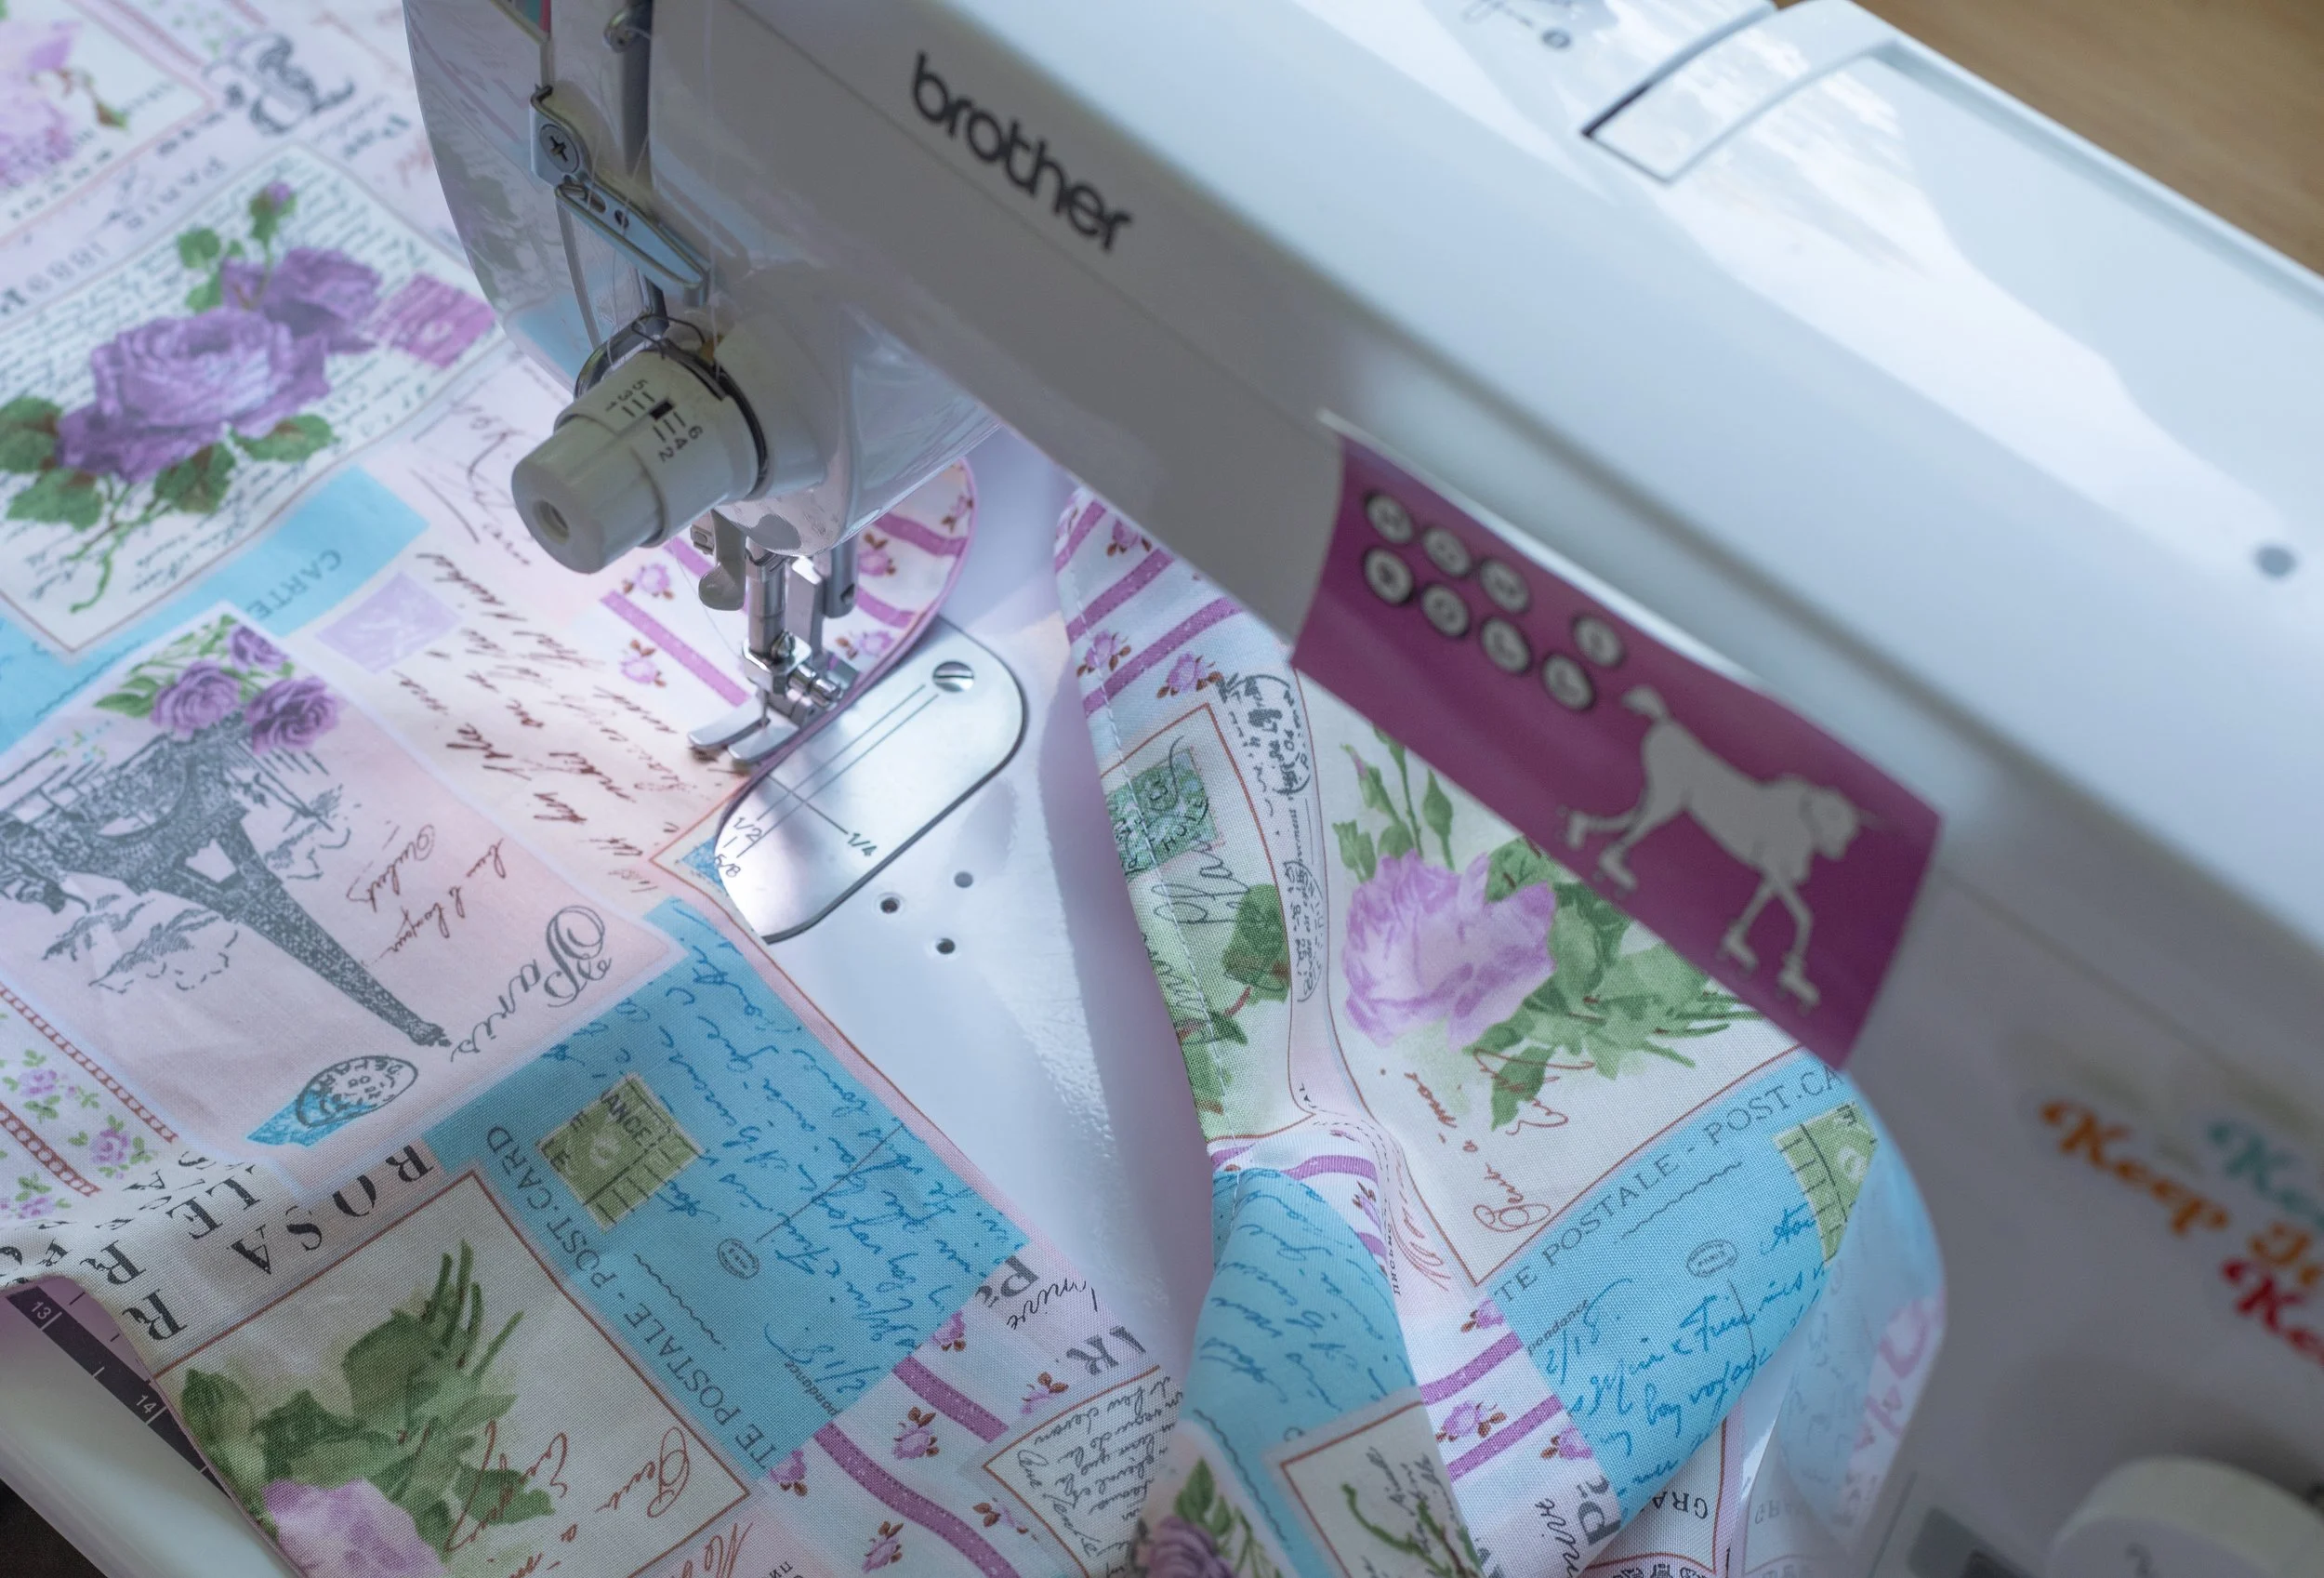
Time to sew.
SEWING TIME
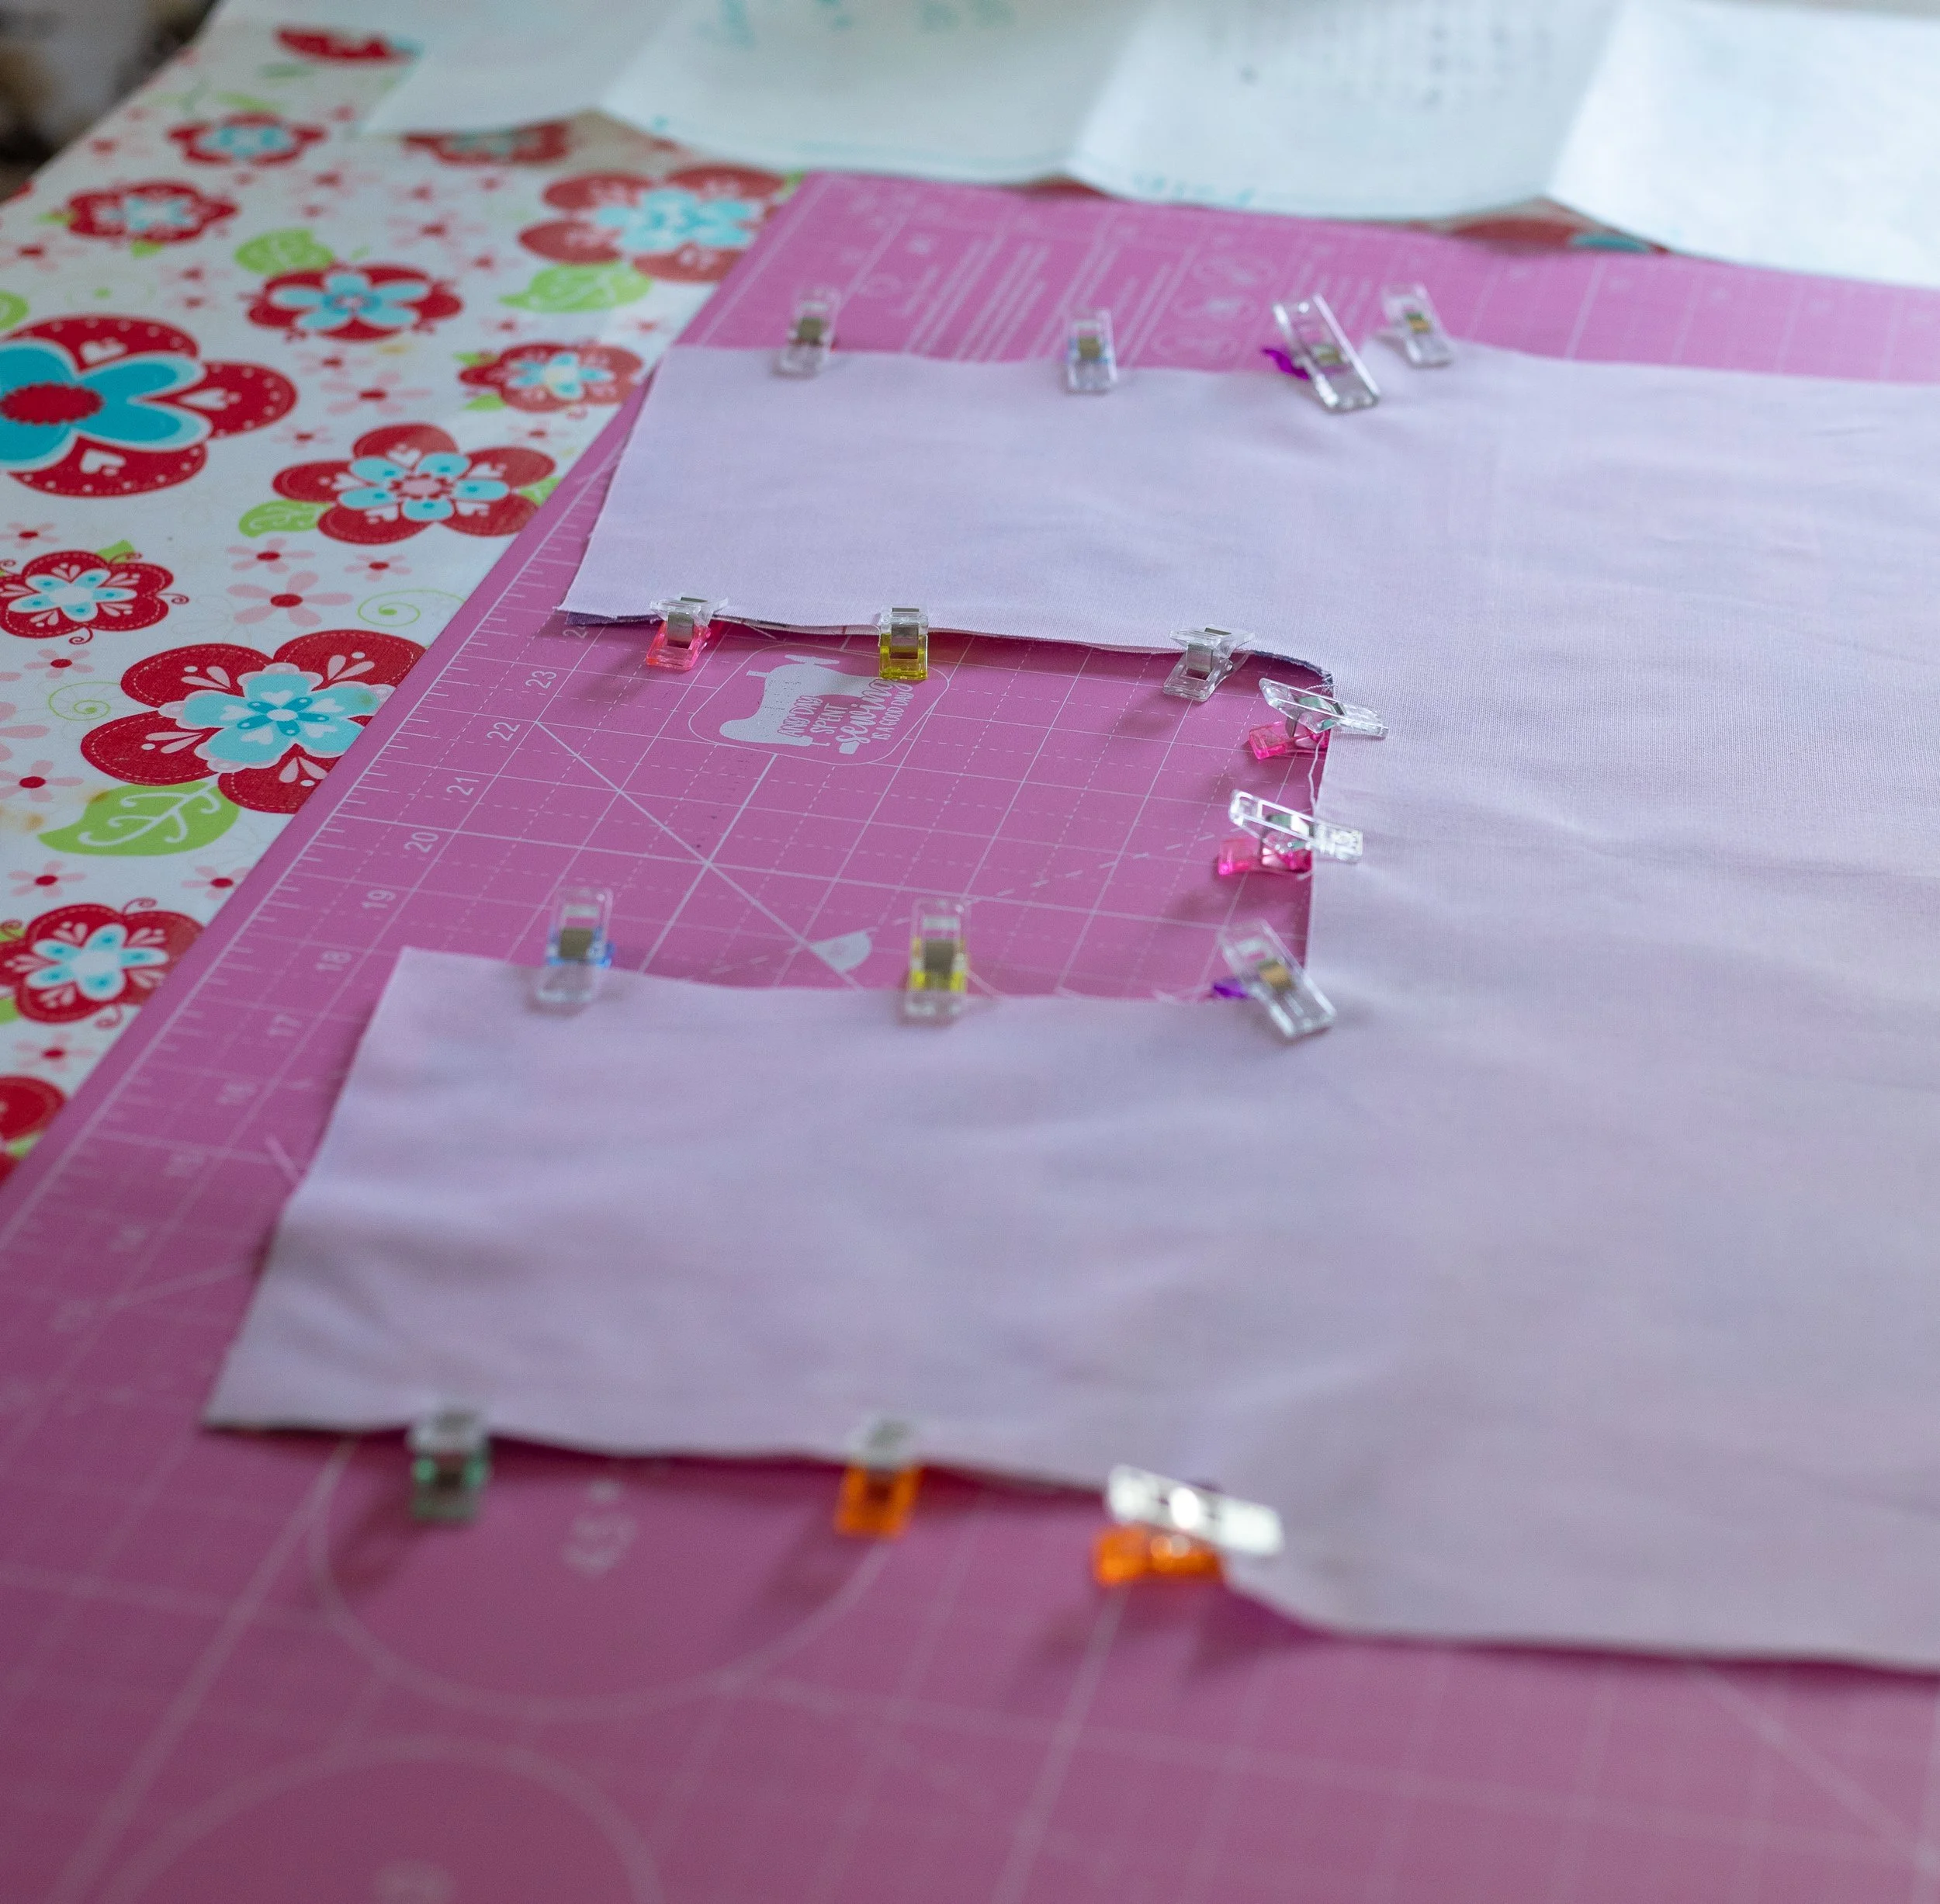
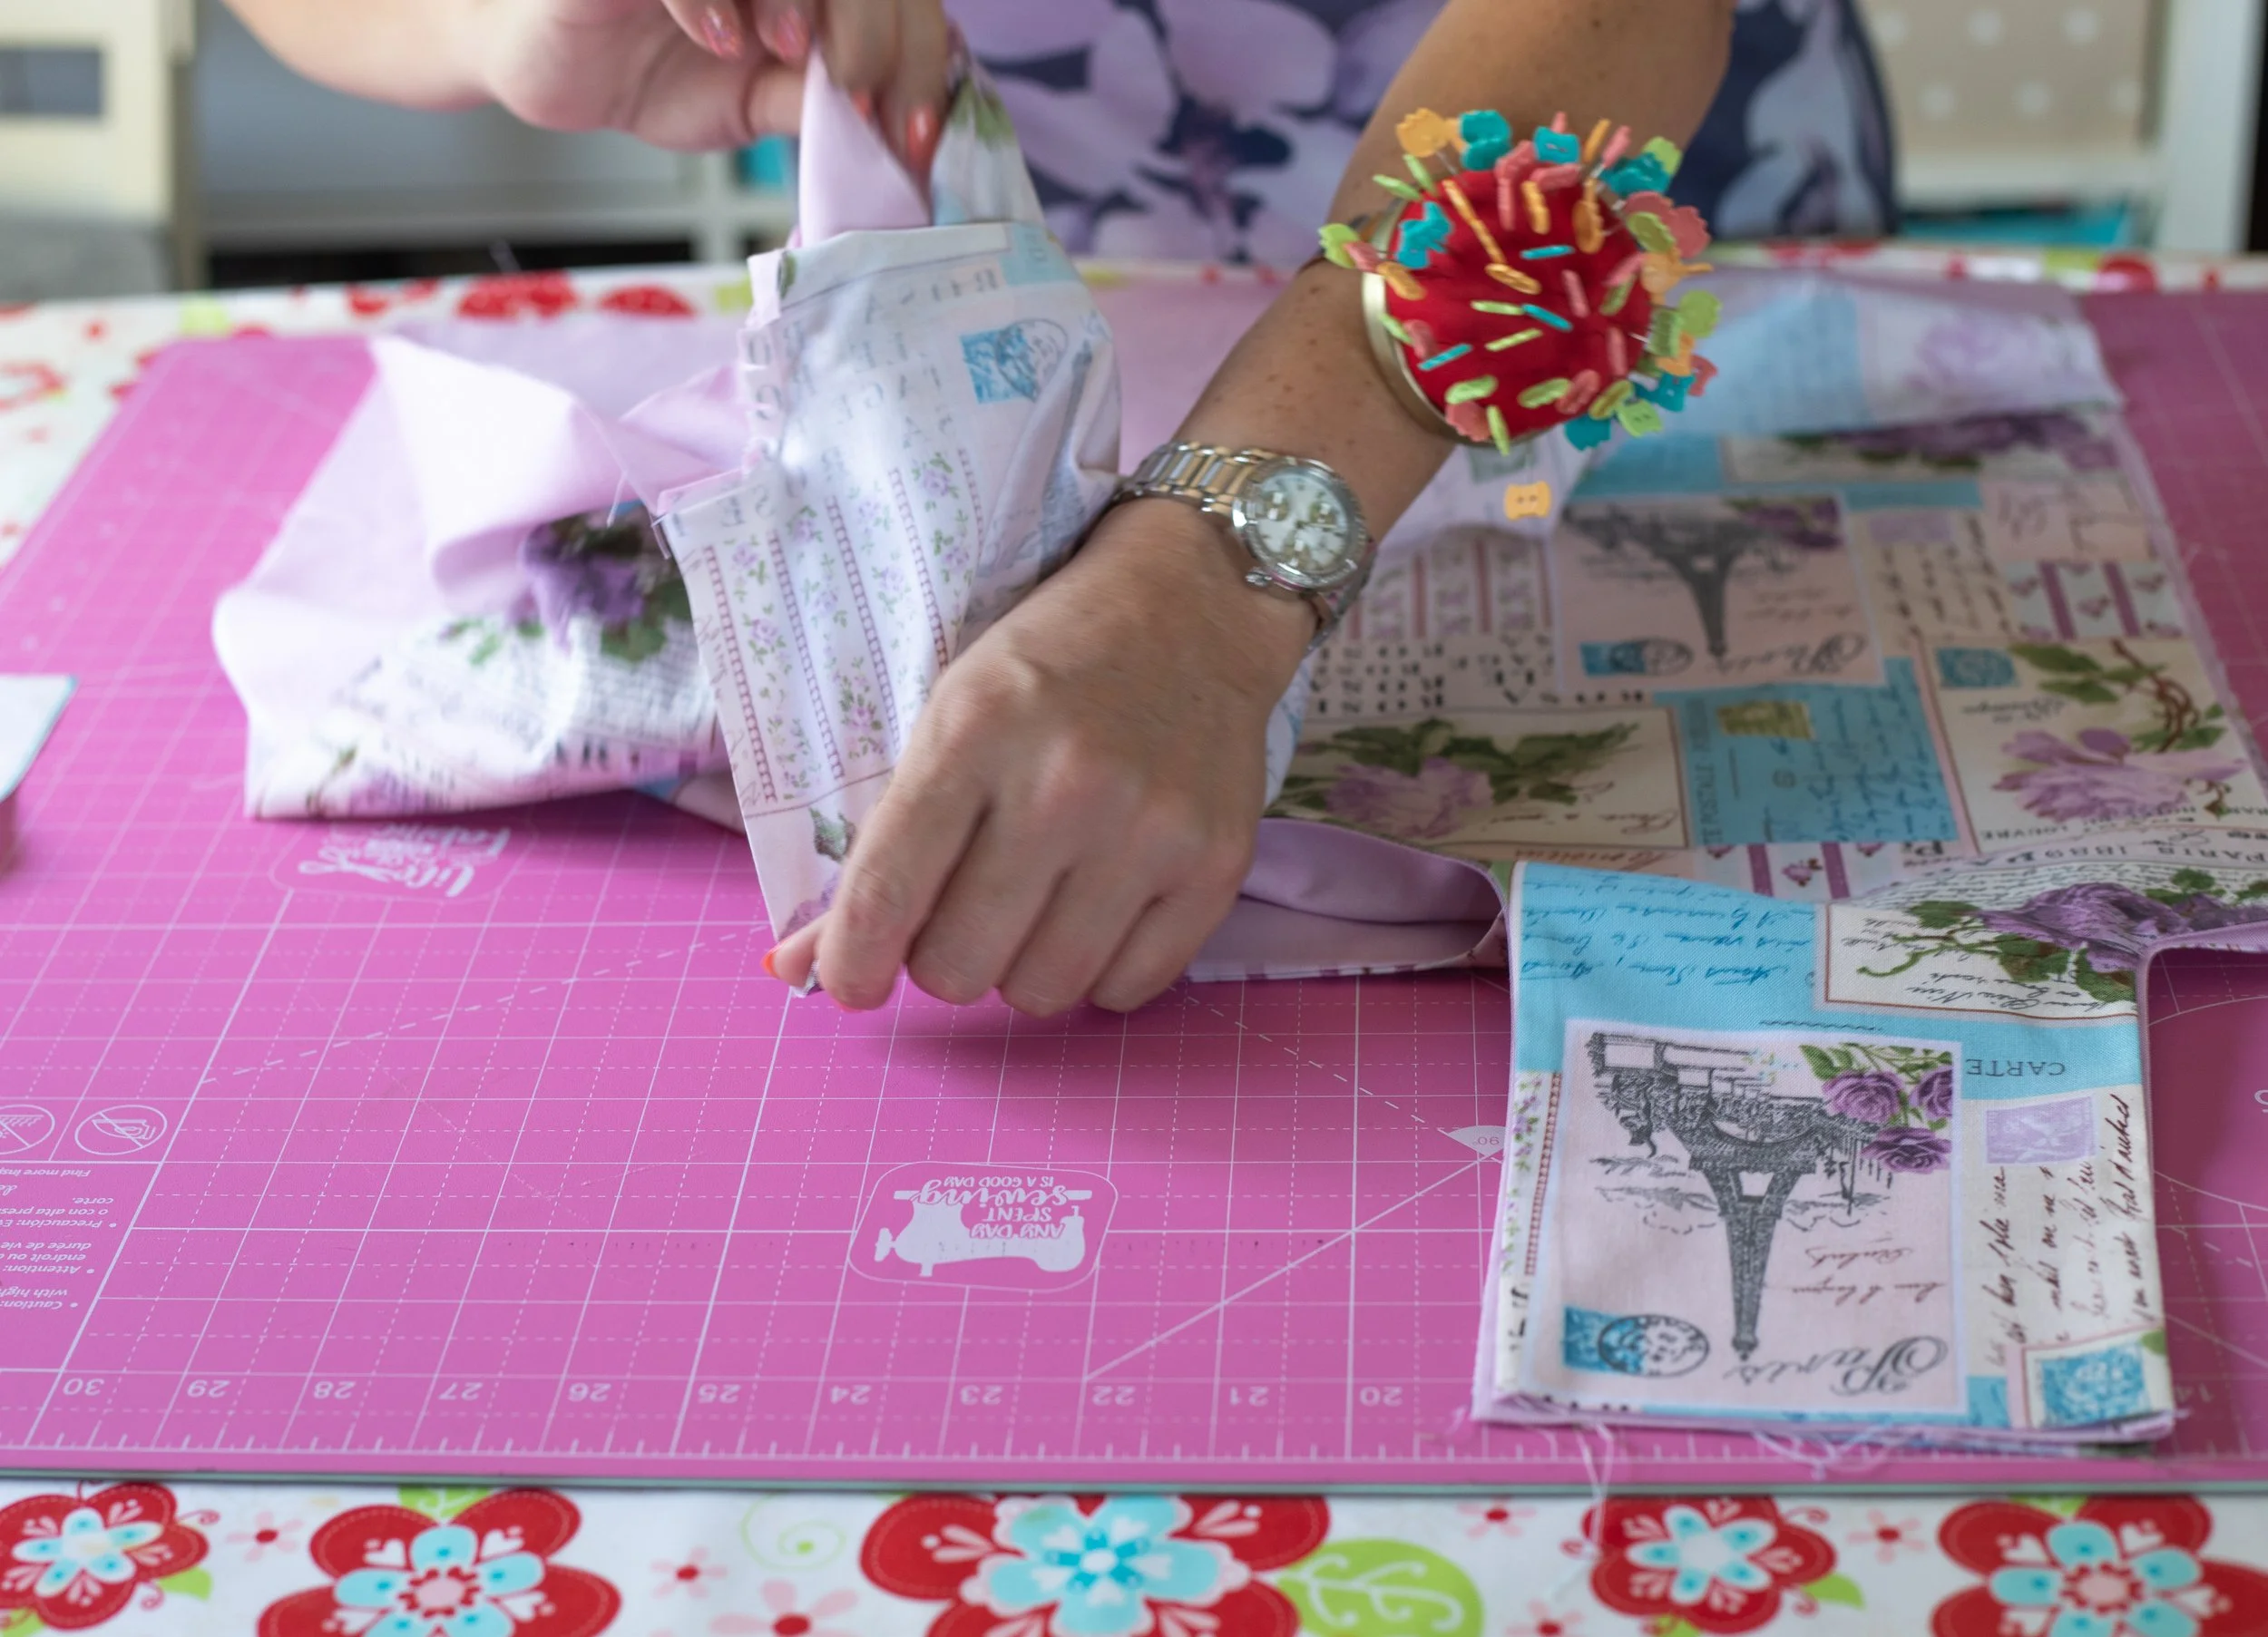
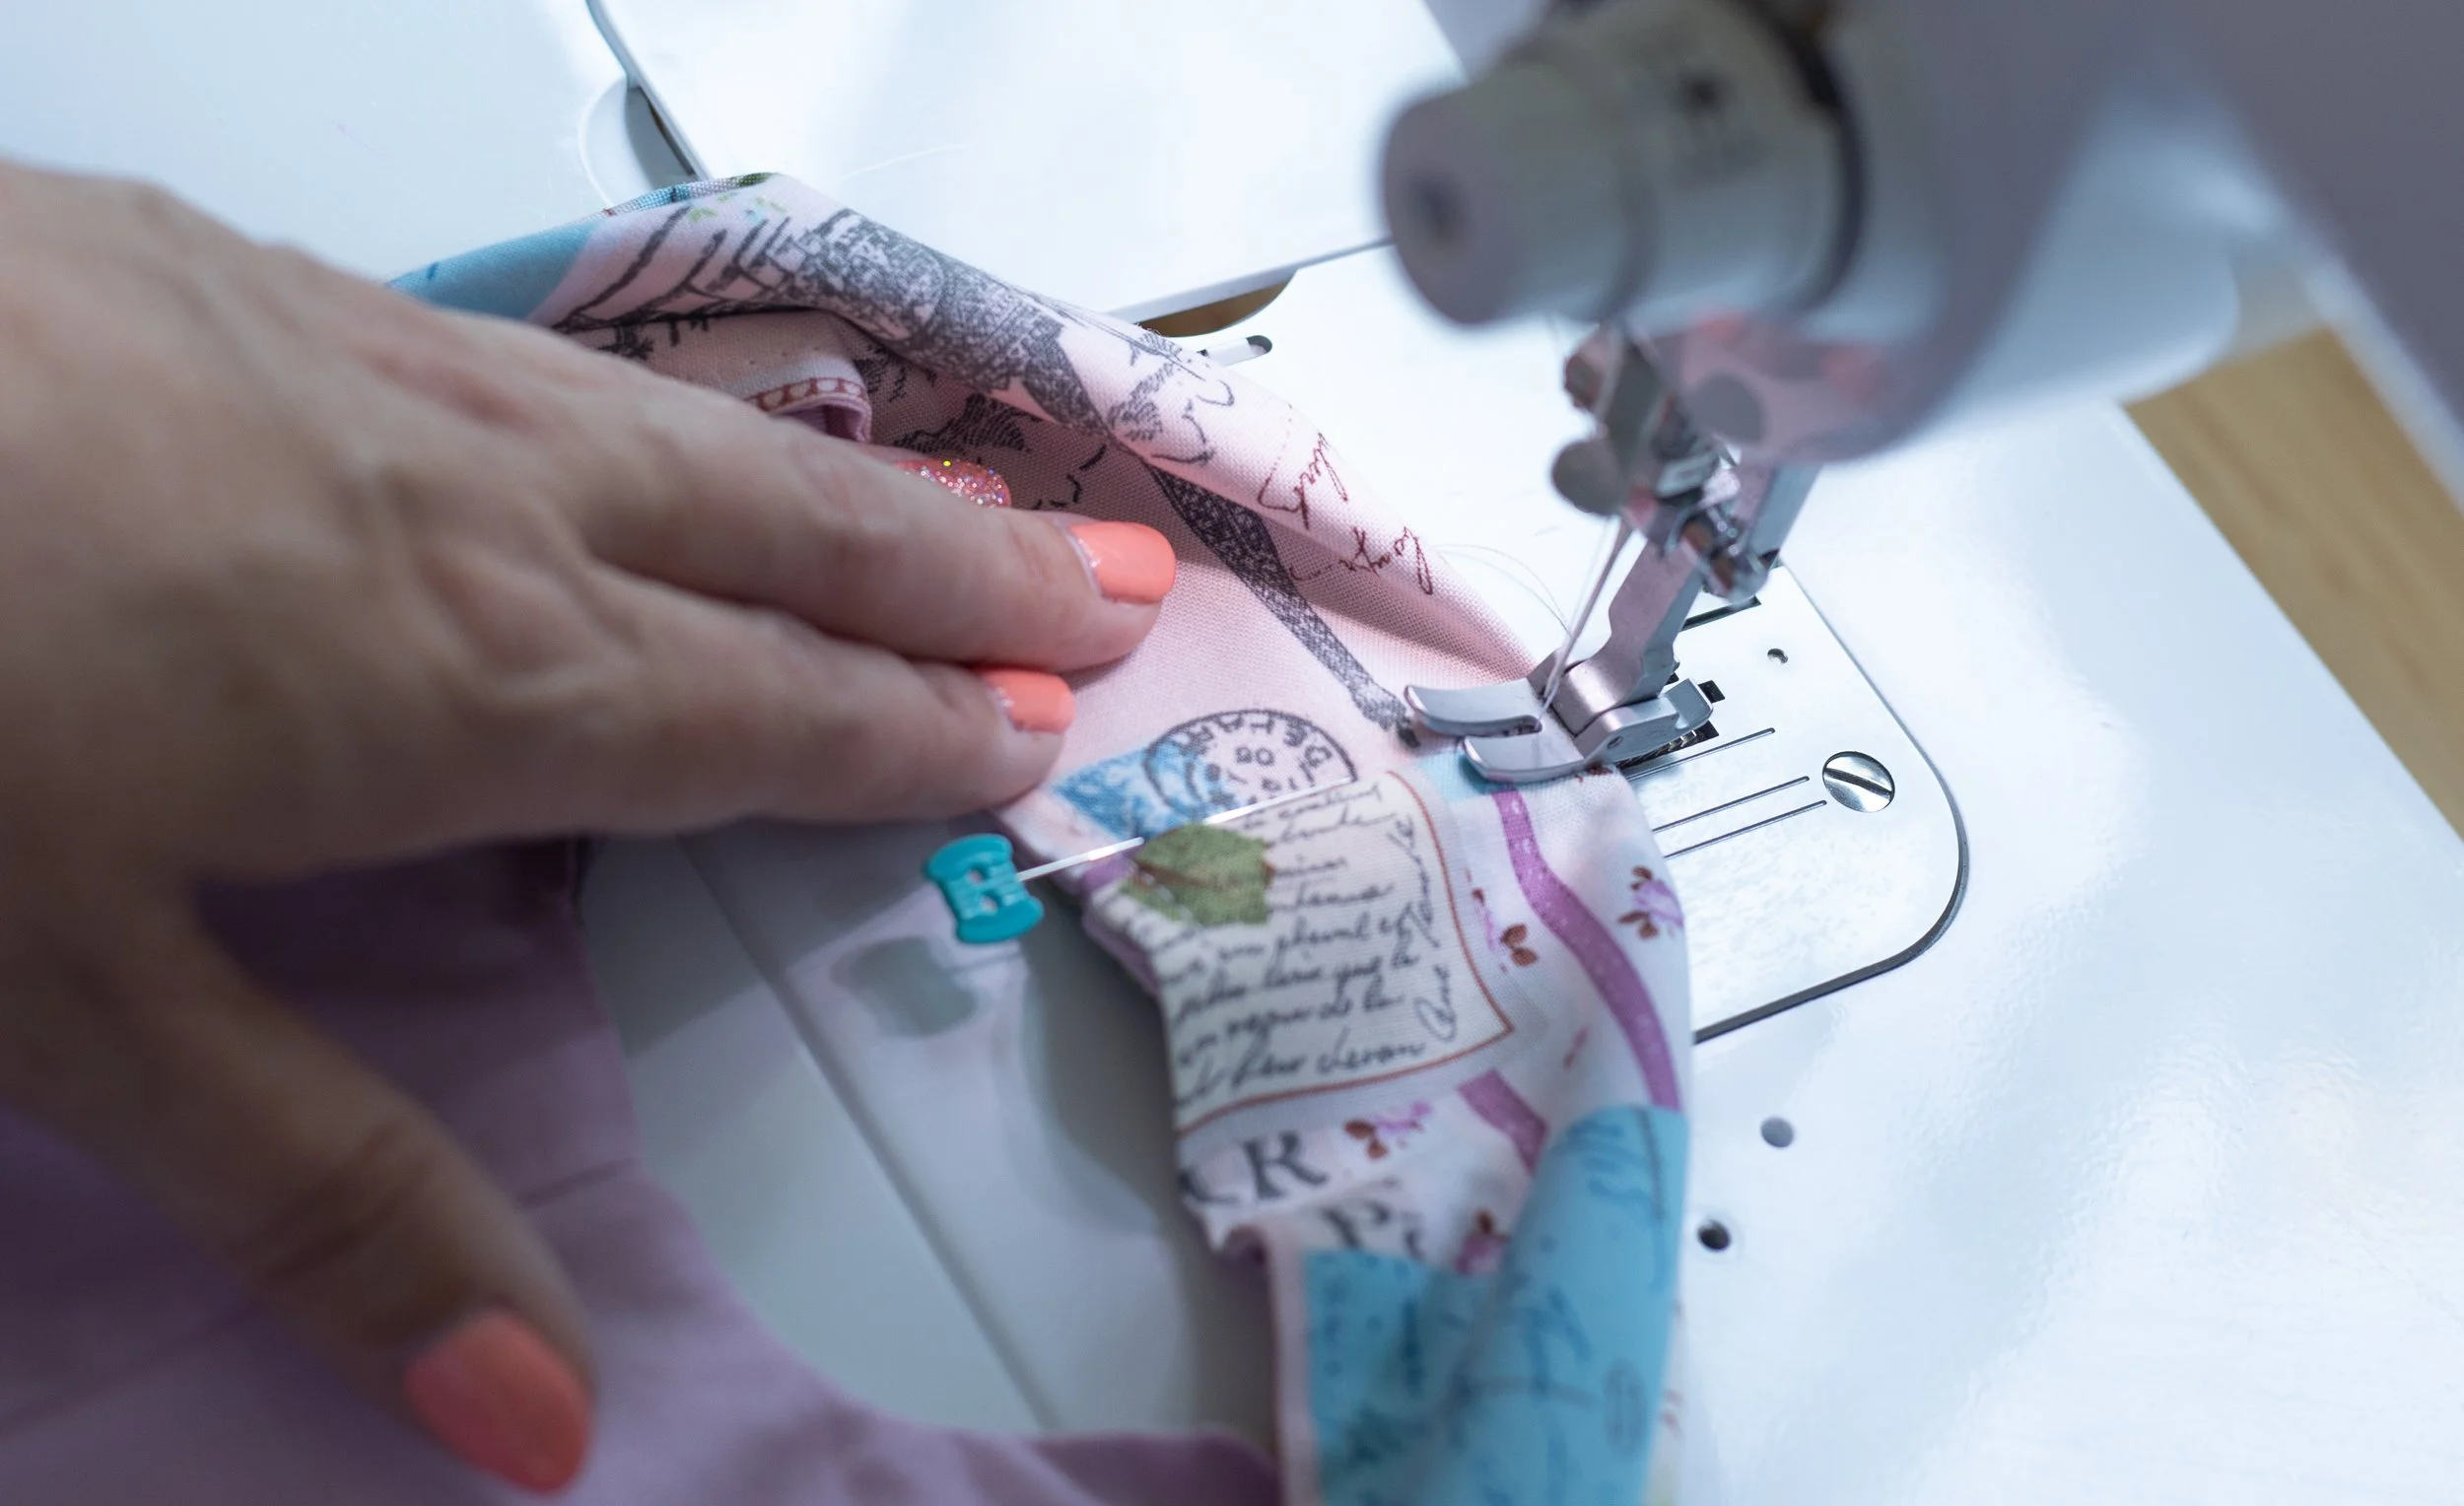
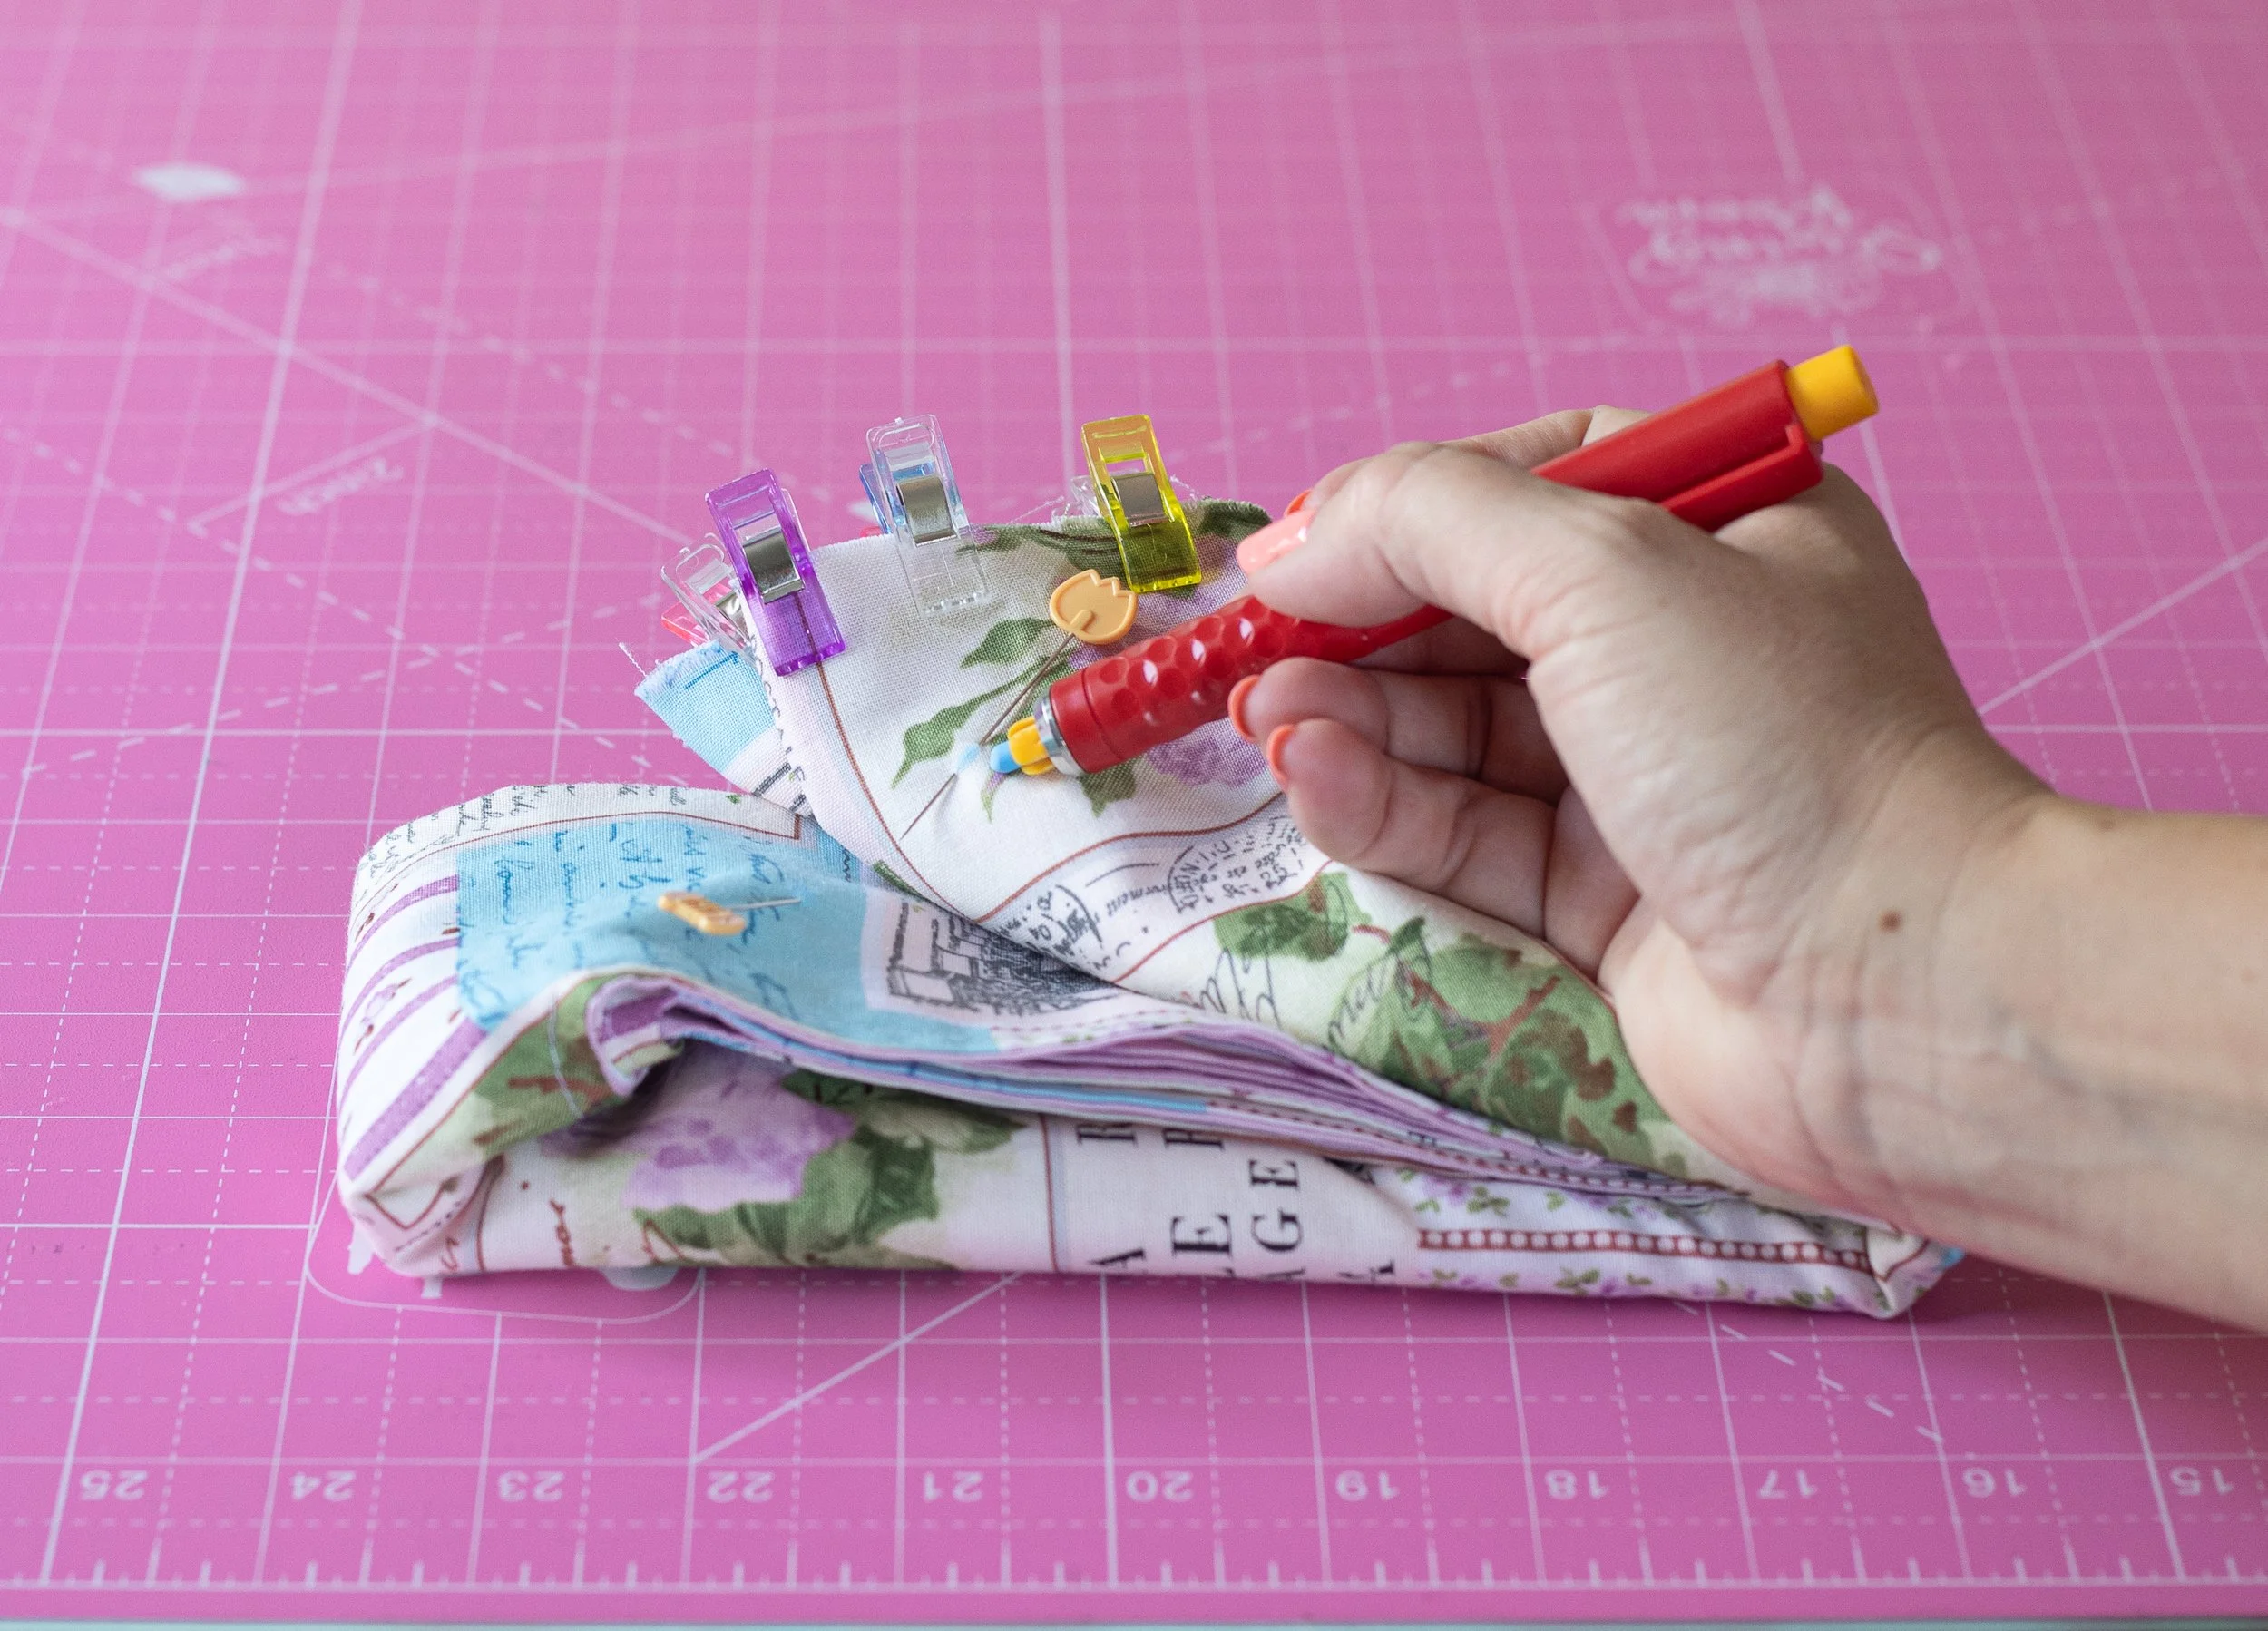
Pin one outer piece to one lining piece, RST (right sides together)
Pin or clip along the “U” and short sides. These will eventually become the handles. I’ll refer to them as handles as well.
Sew using a 1/4” seam allowance and 2.5mm stitch length.
Start from the top and go down. Backstitch at the beginning and end.
Repeat for other lining and outer fabric pieces.
Sew along U curve. Then, around short curved edges.
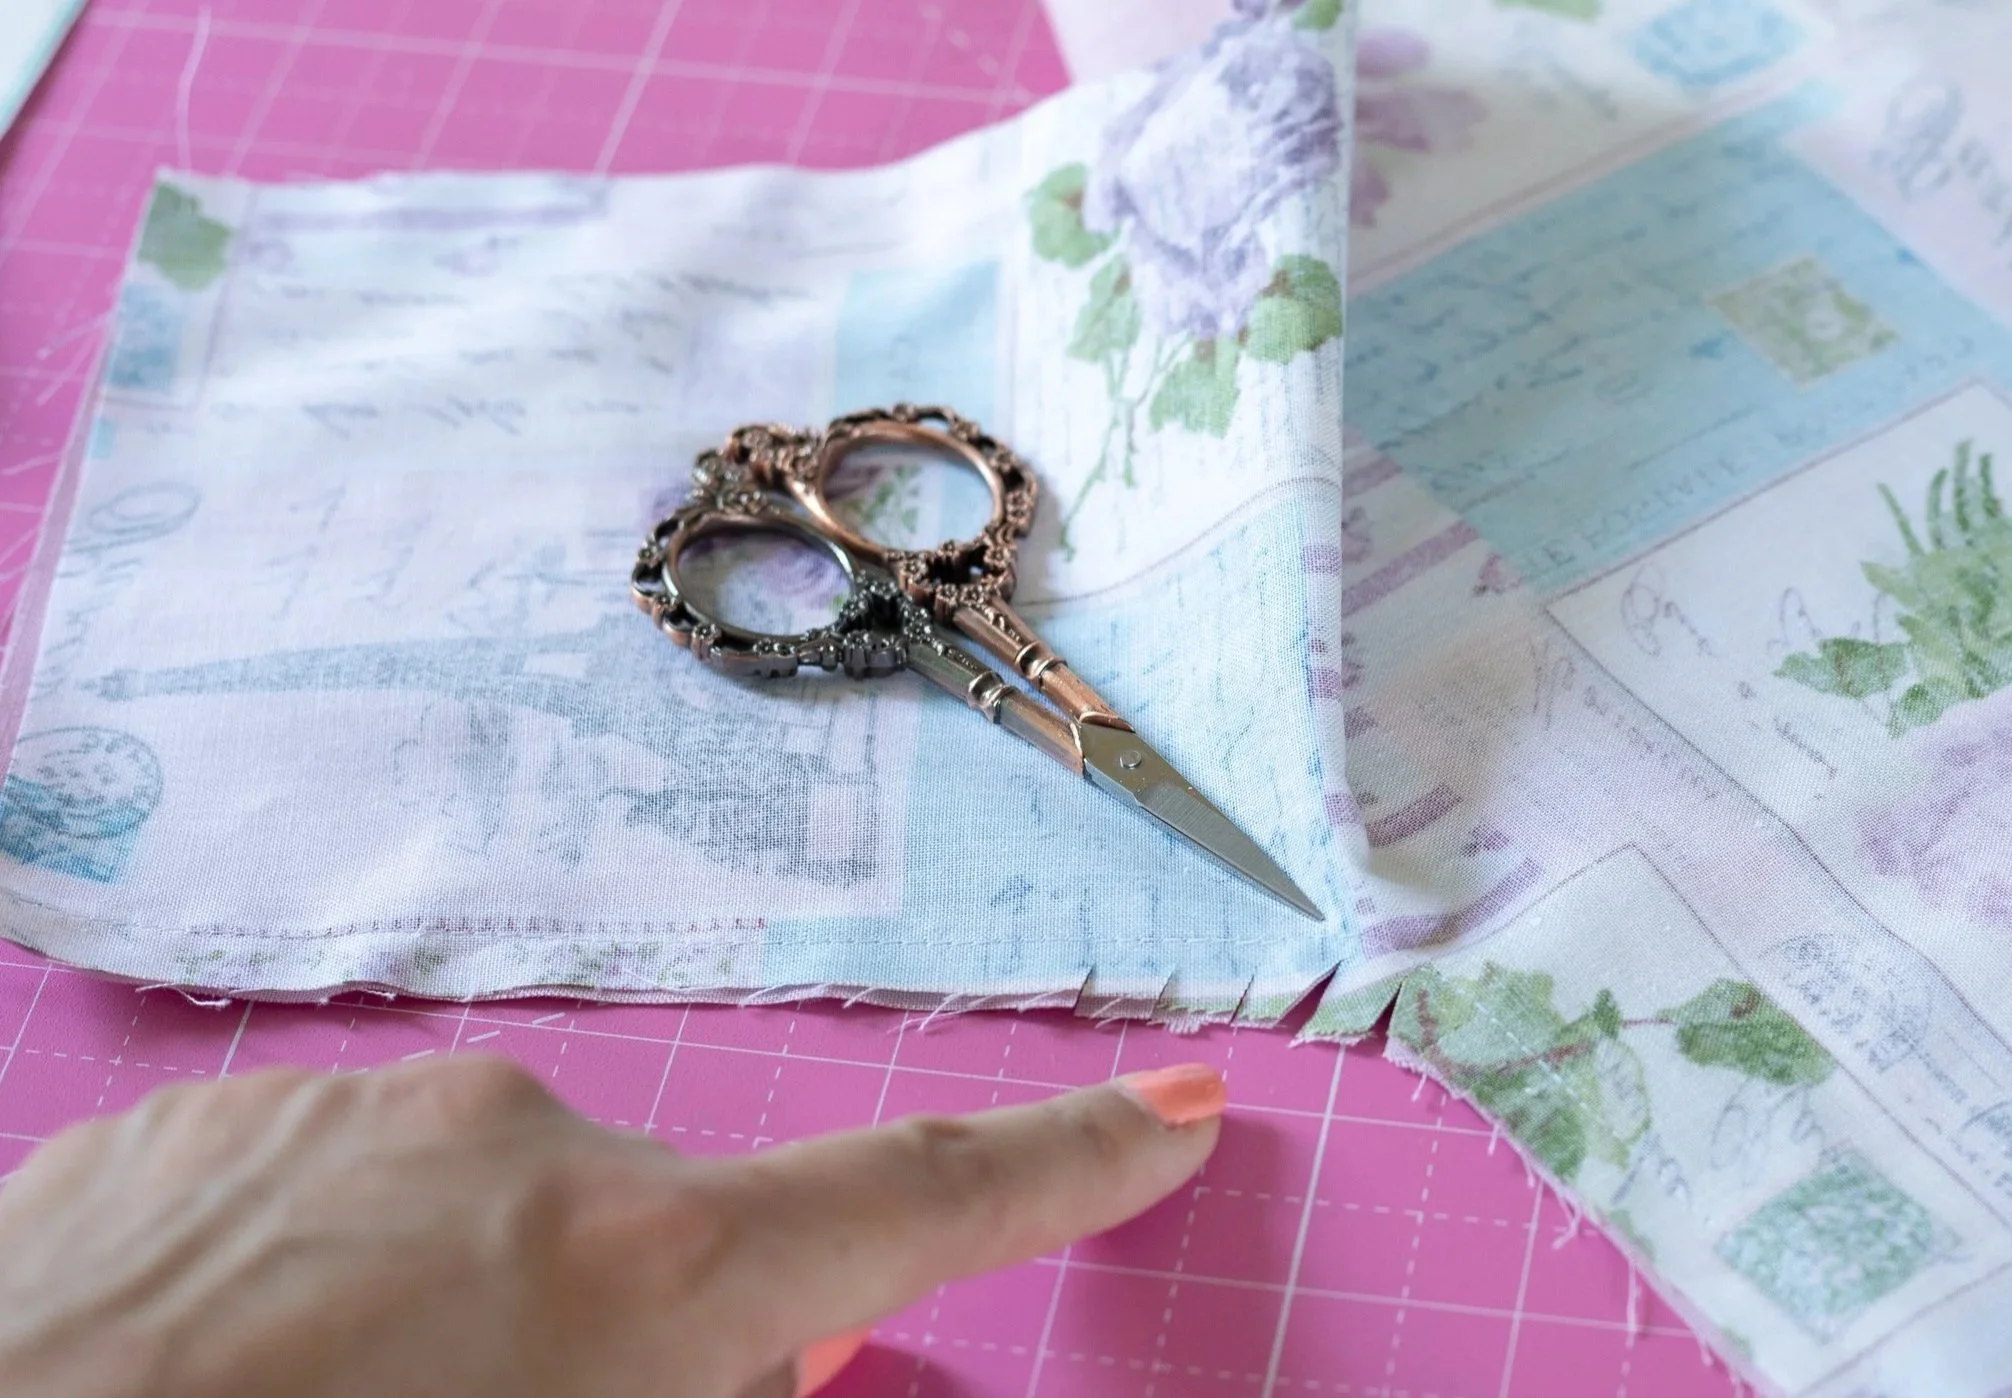
Clip your curves!
This is important and will make your handles look nice and neat.
Be careful not to clip through the stitching.
Chopsticks are the best sewing tools. Smooth out the curves.
Place front and back together, lining to lining.
Your chopstick is a great tool to use here; use the point to help open up the seam while you press. You want your seams nice and flat.
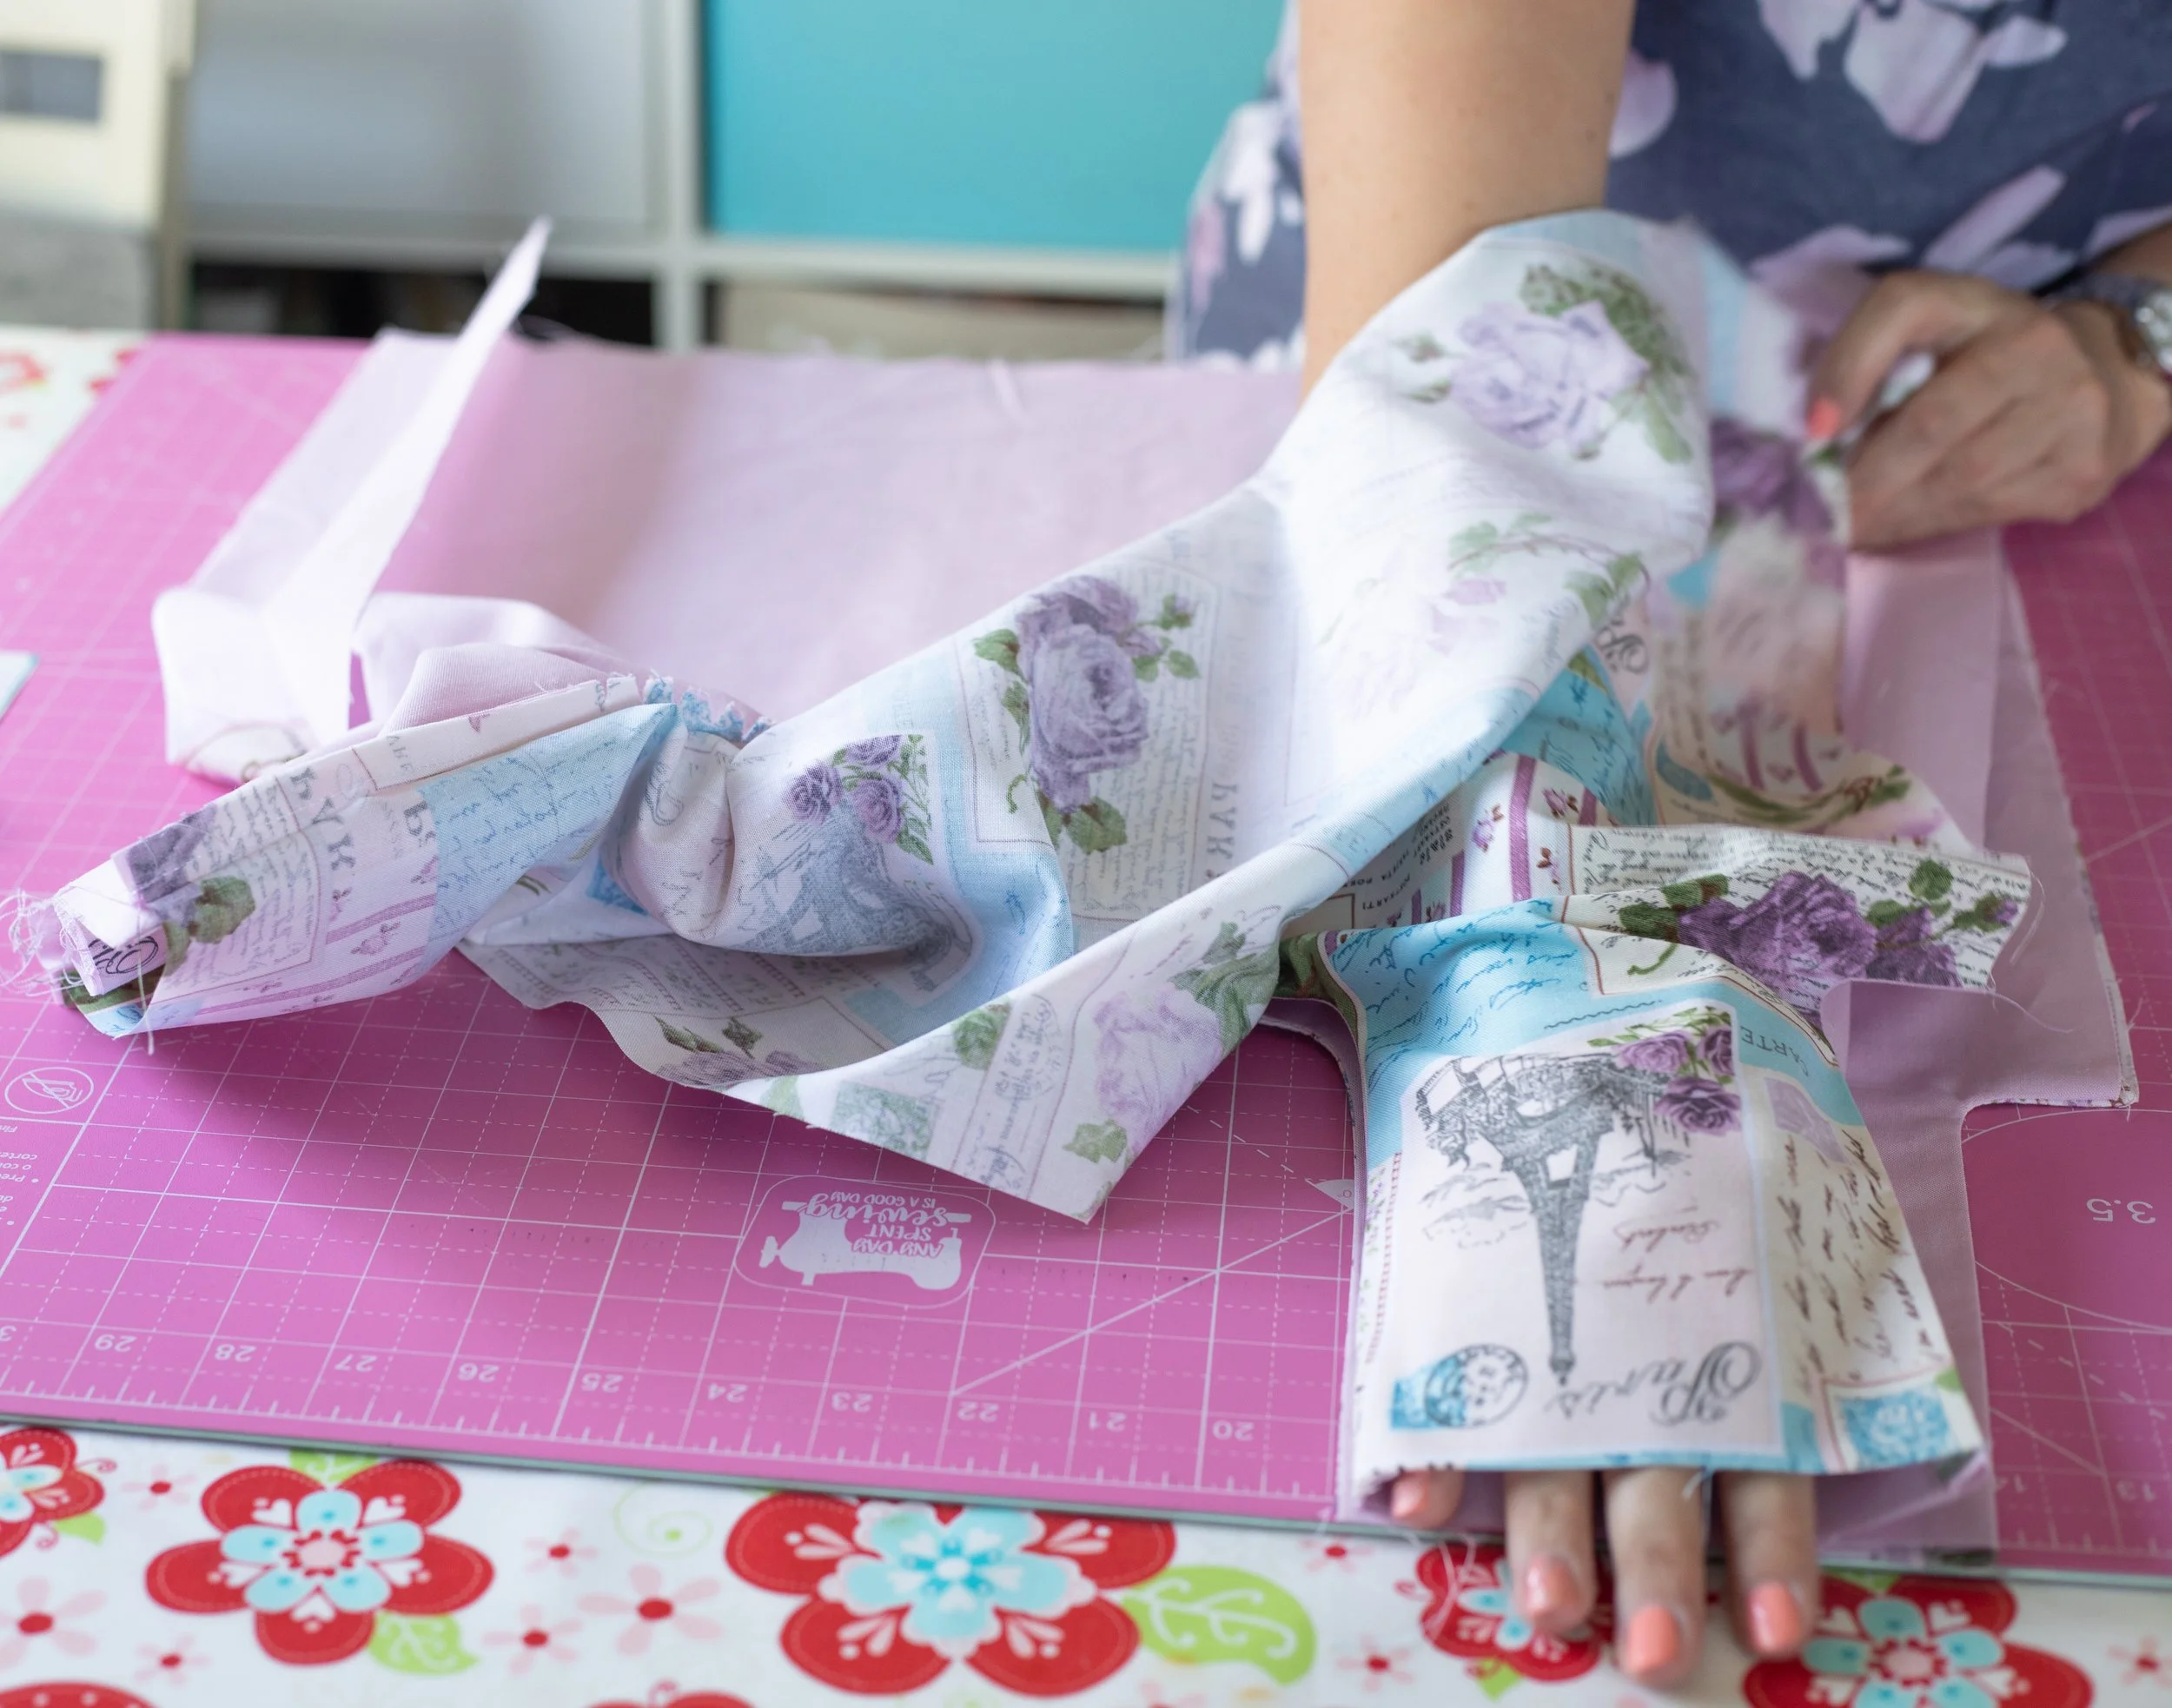
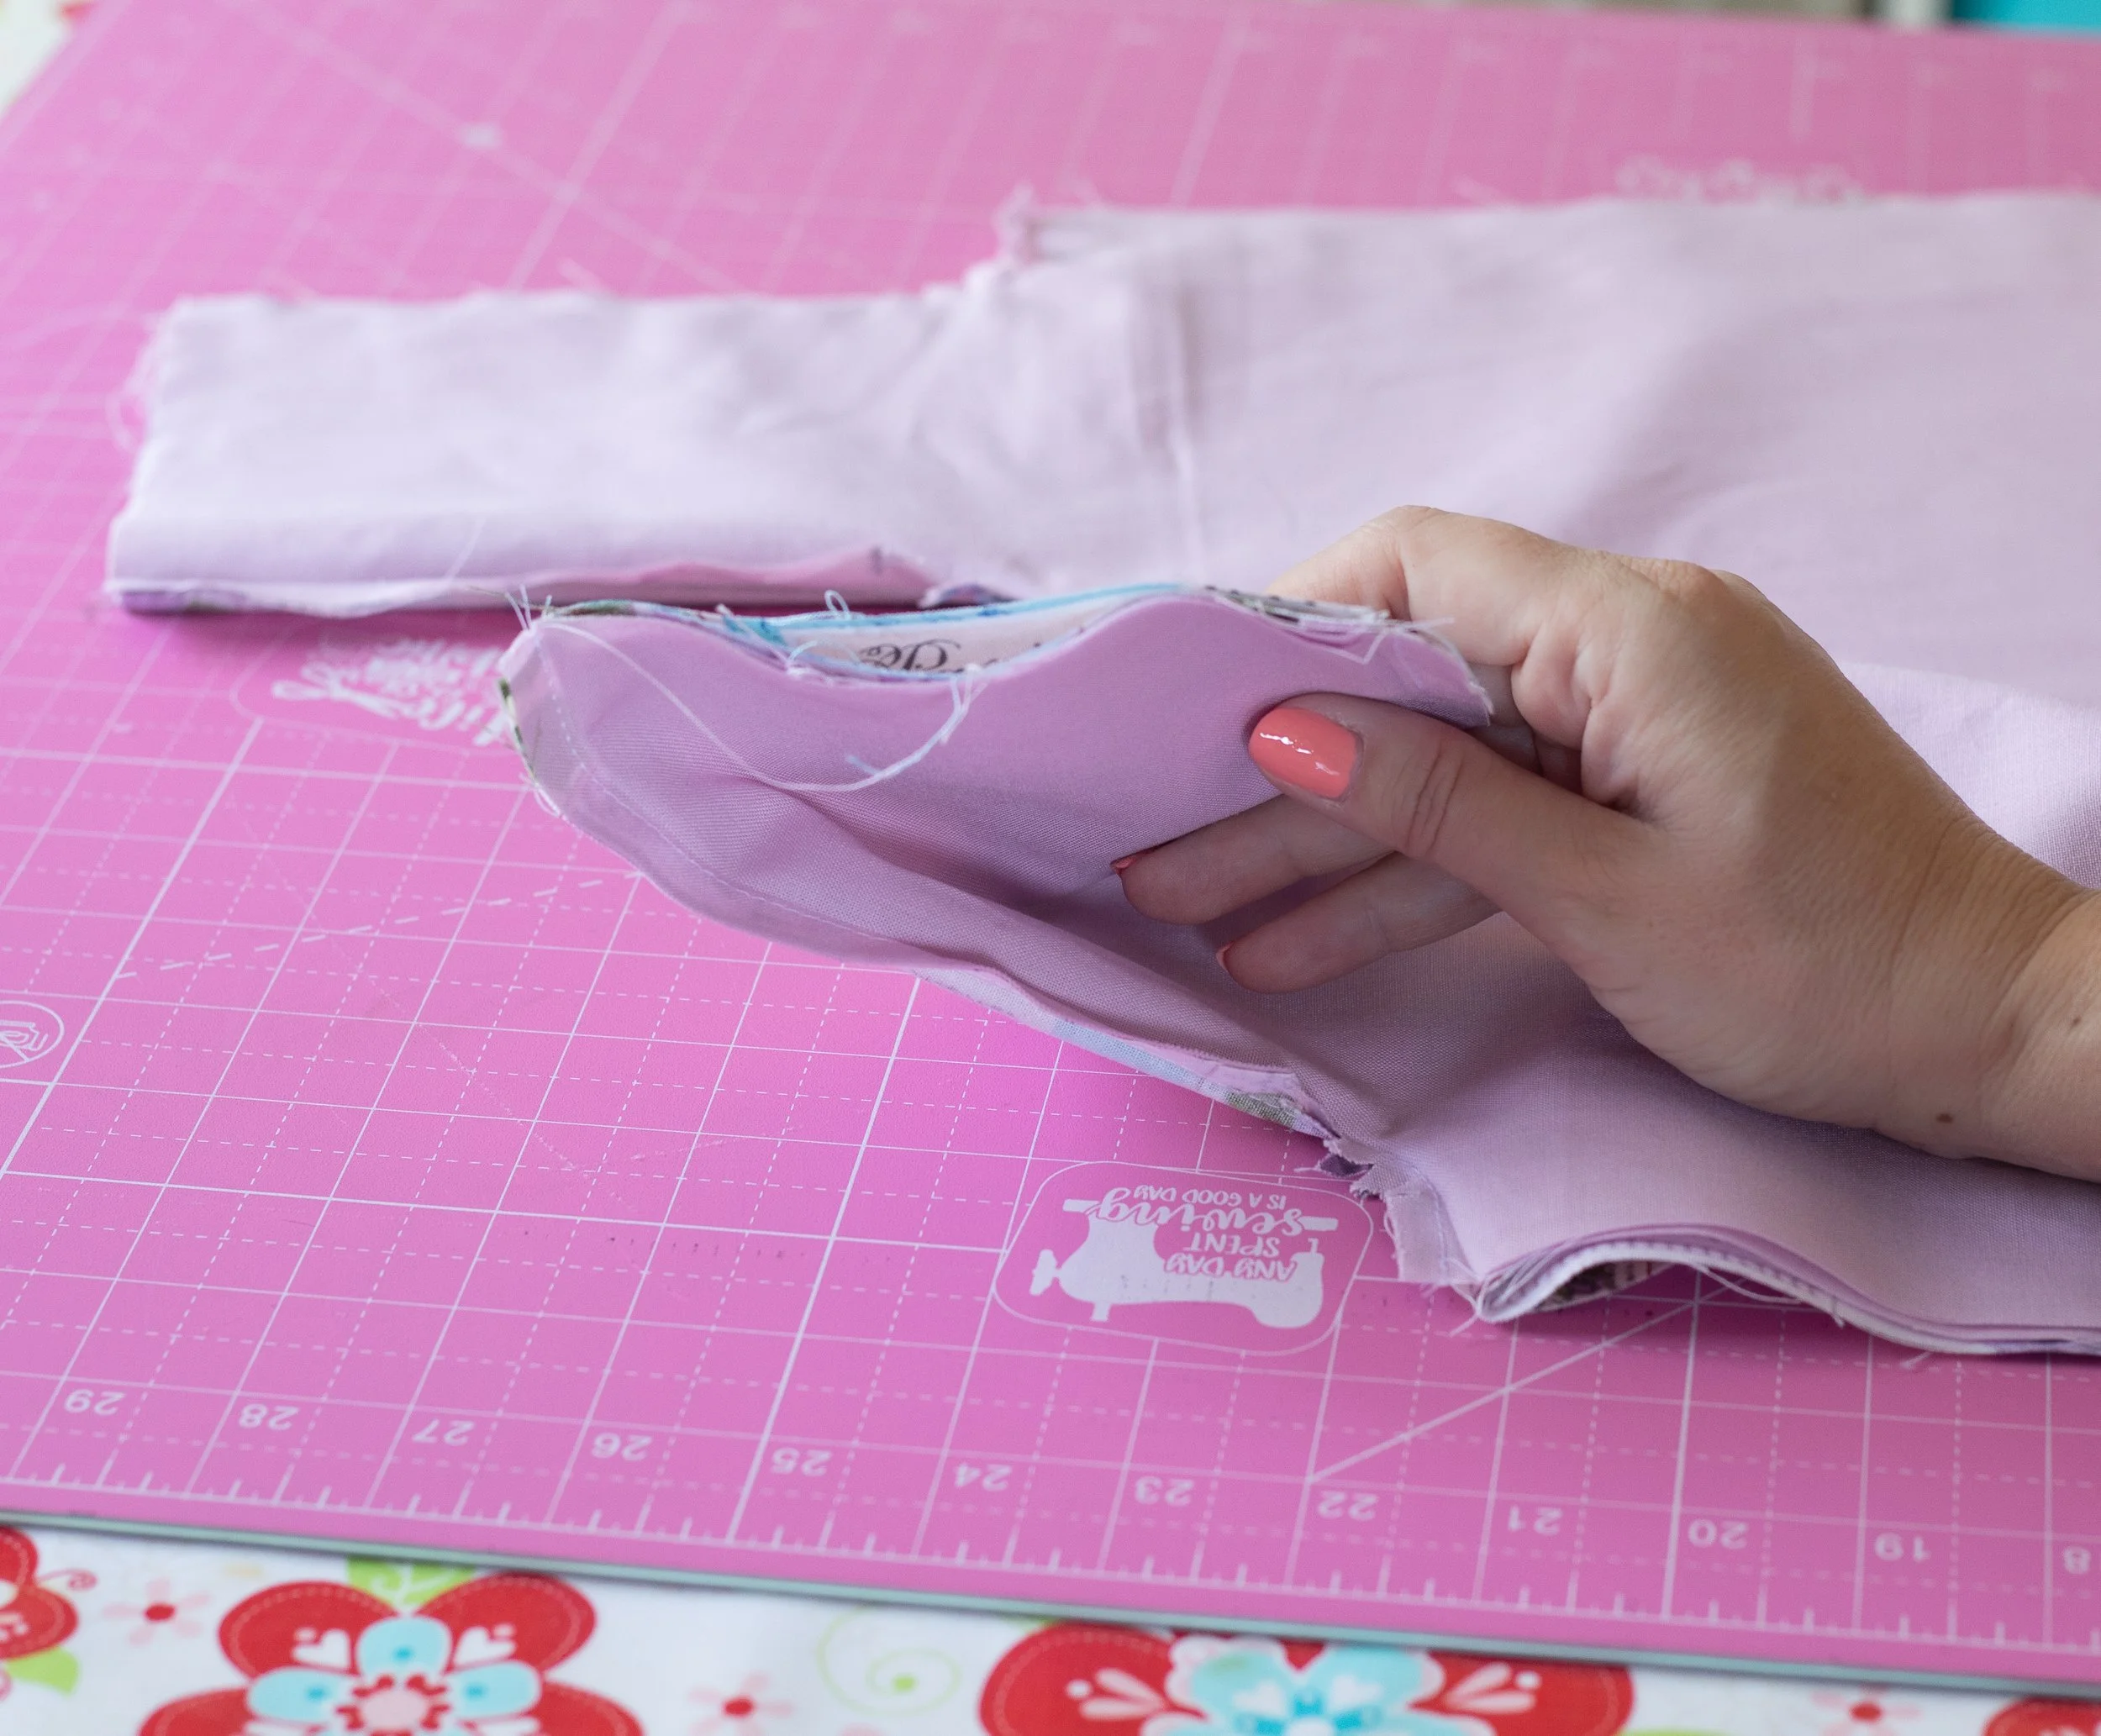
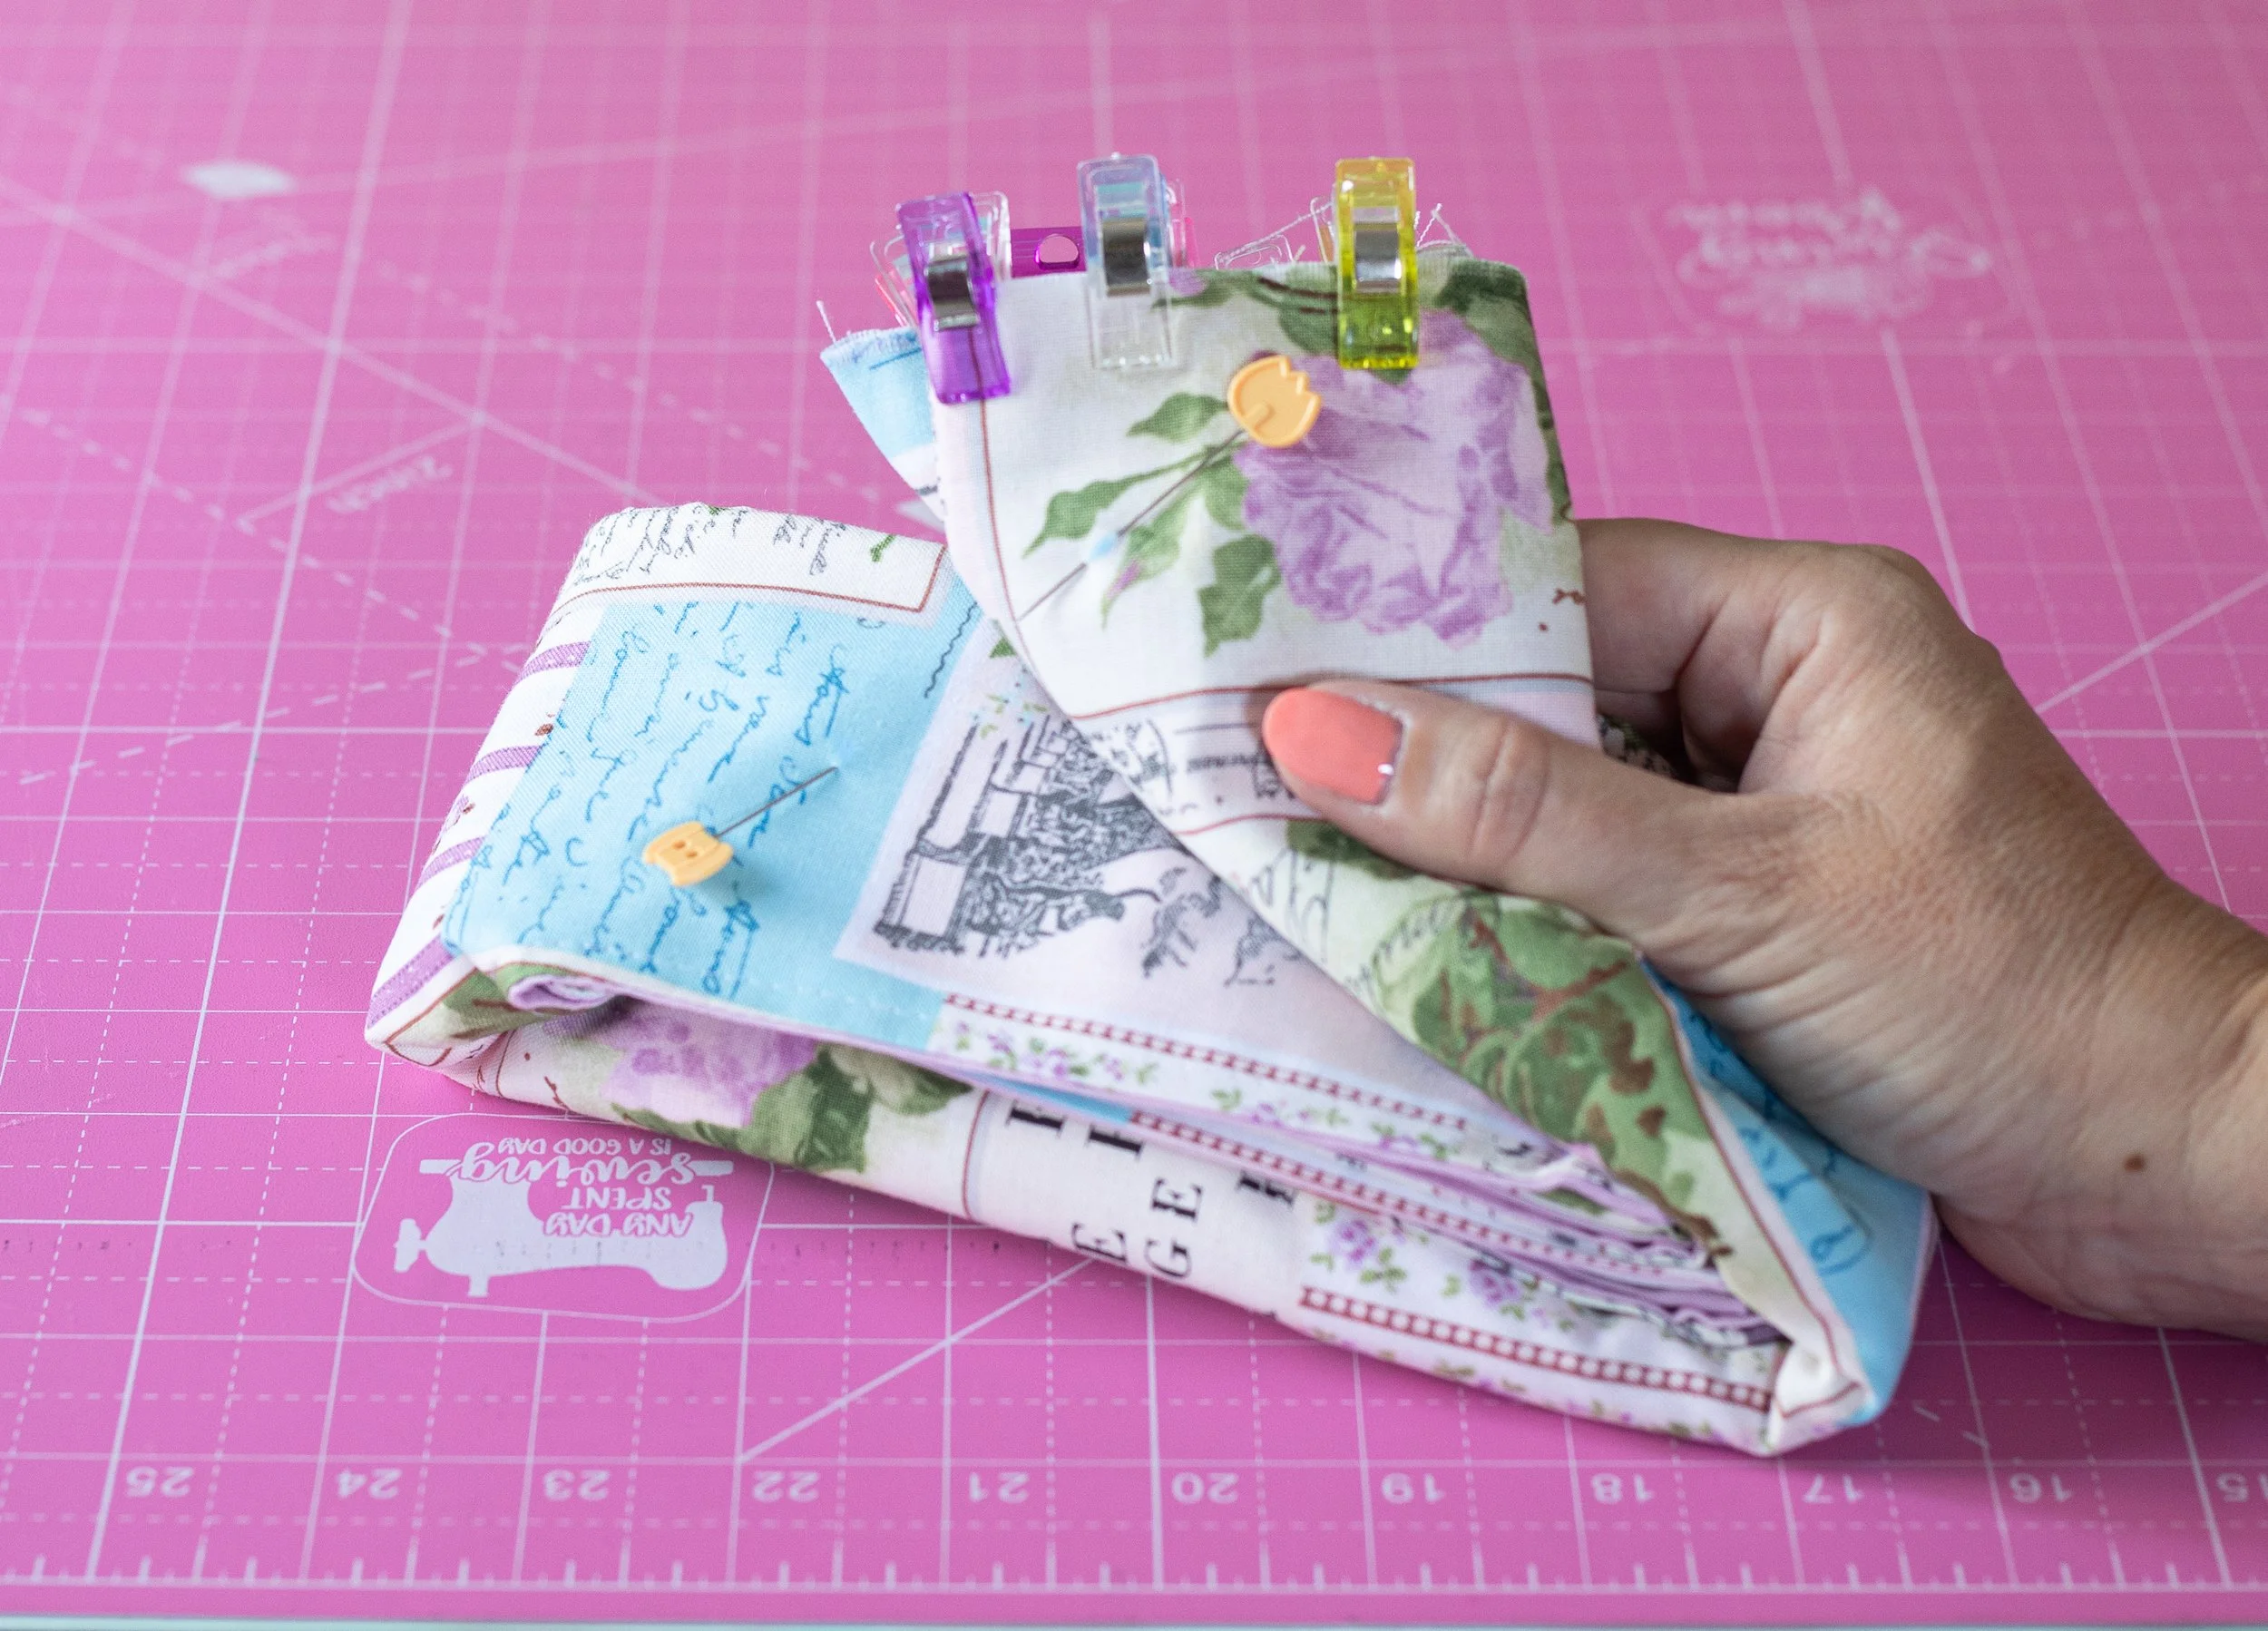
Now is where the MAGIC happens. This is similar to the “burrito method”.
Place the front and the back of the bag together, making sure the linings are touching. Make sure all the layers are even and flat.
Reach into the handle and grab the bottom 3 layers, and pull through the handle hole. It will be inside out now. Repeat for the next handle.
Flatten and smooth everything out. You should see all four layers of your handle.

**If the handles aren’t as flat and smooth as you’d like, you have a few options.
Option 1: Unpick the side seam and increase/decrease the seam allowance to make the handles nest nicely. Resew those few stitches.
Option 2: Fold a tiny pleat on the lining side.
Option: Pull slightly as you sew over the top of the handles—this is my method.
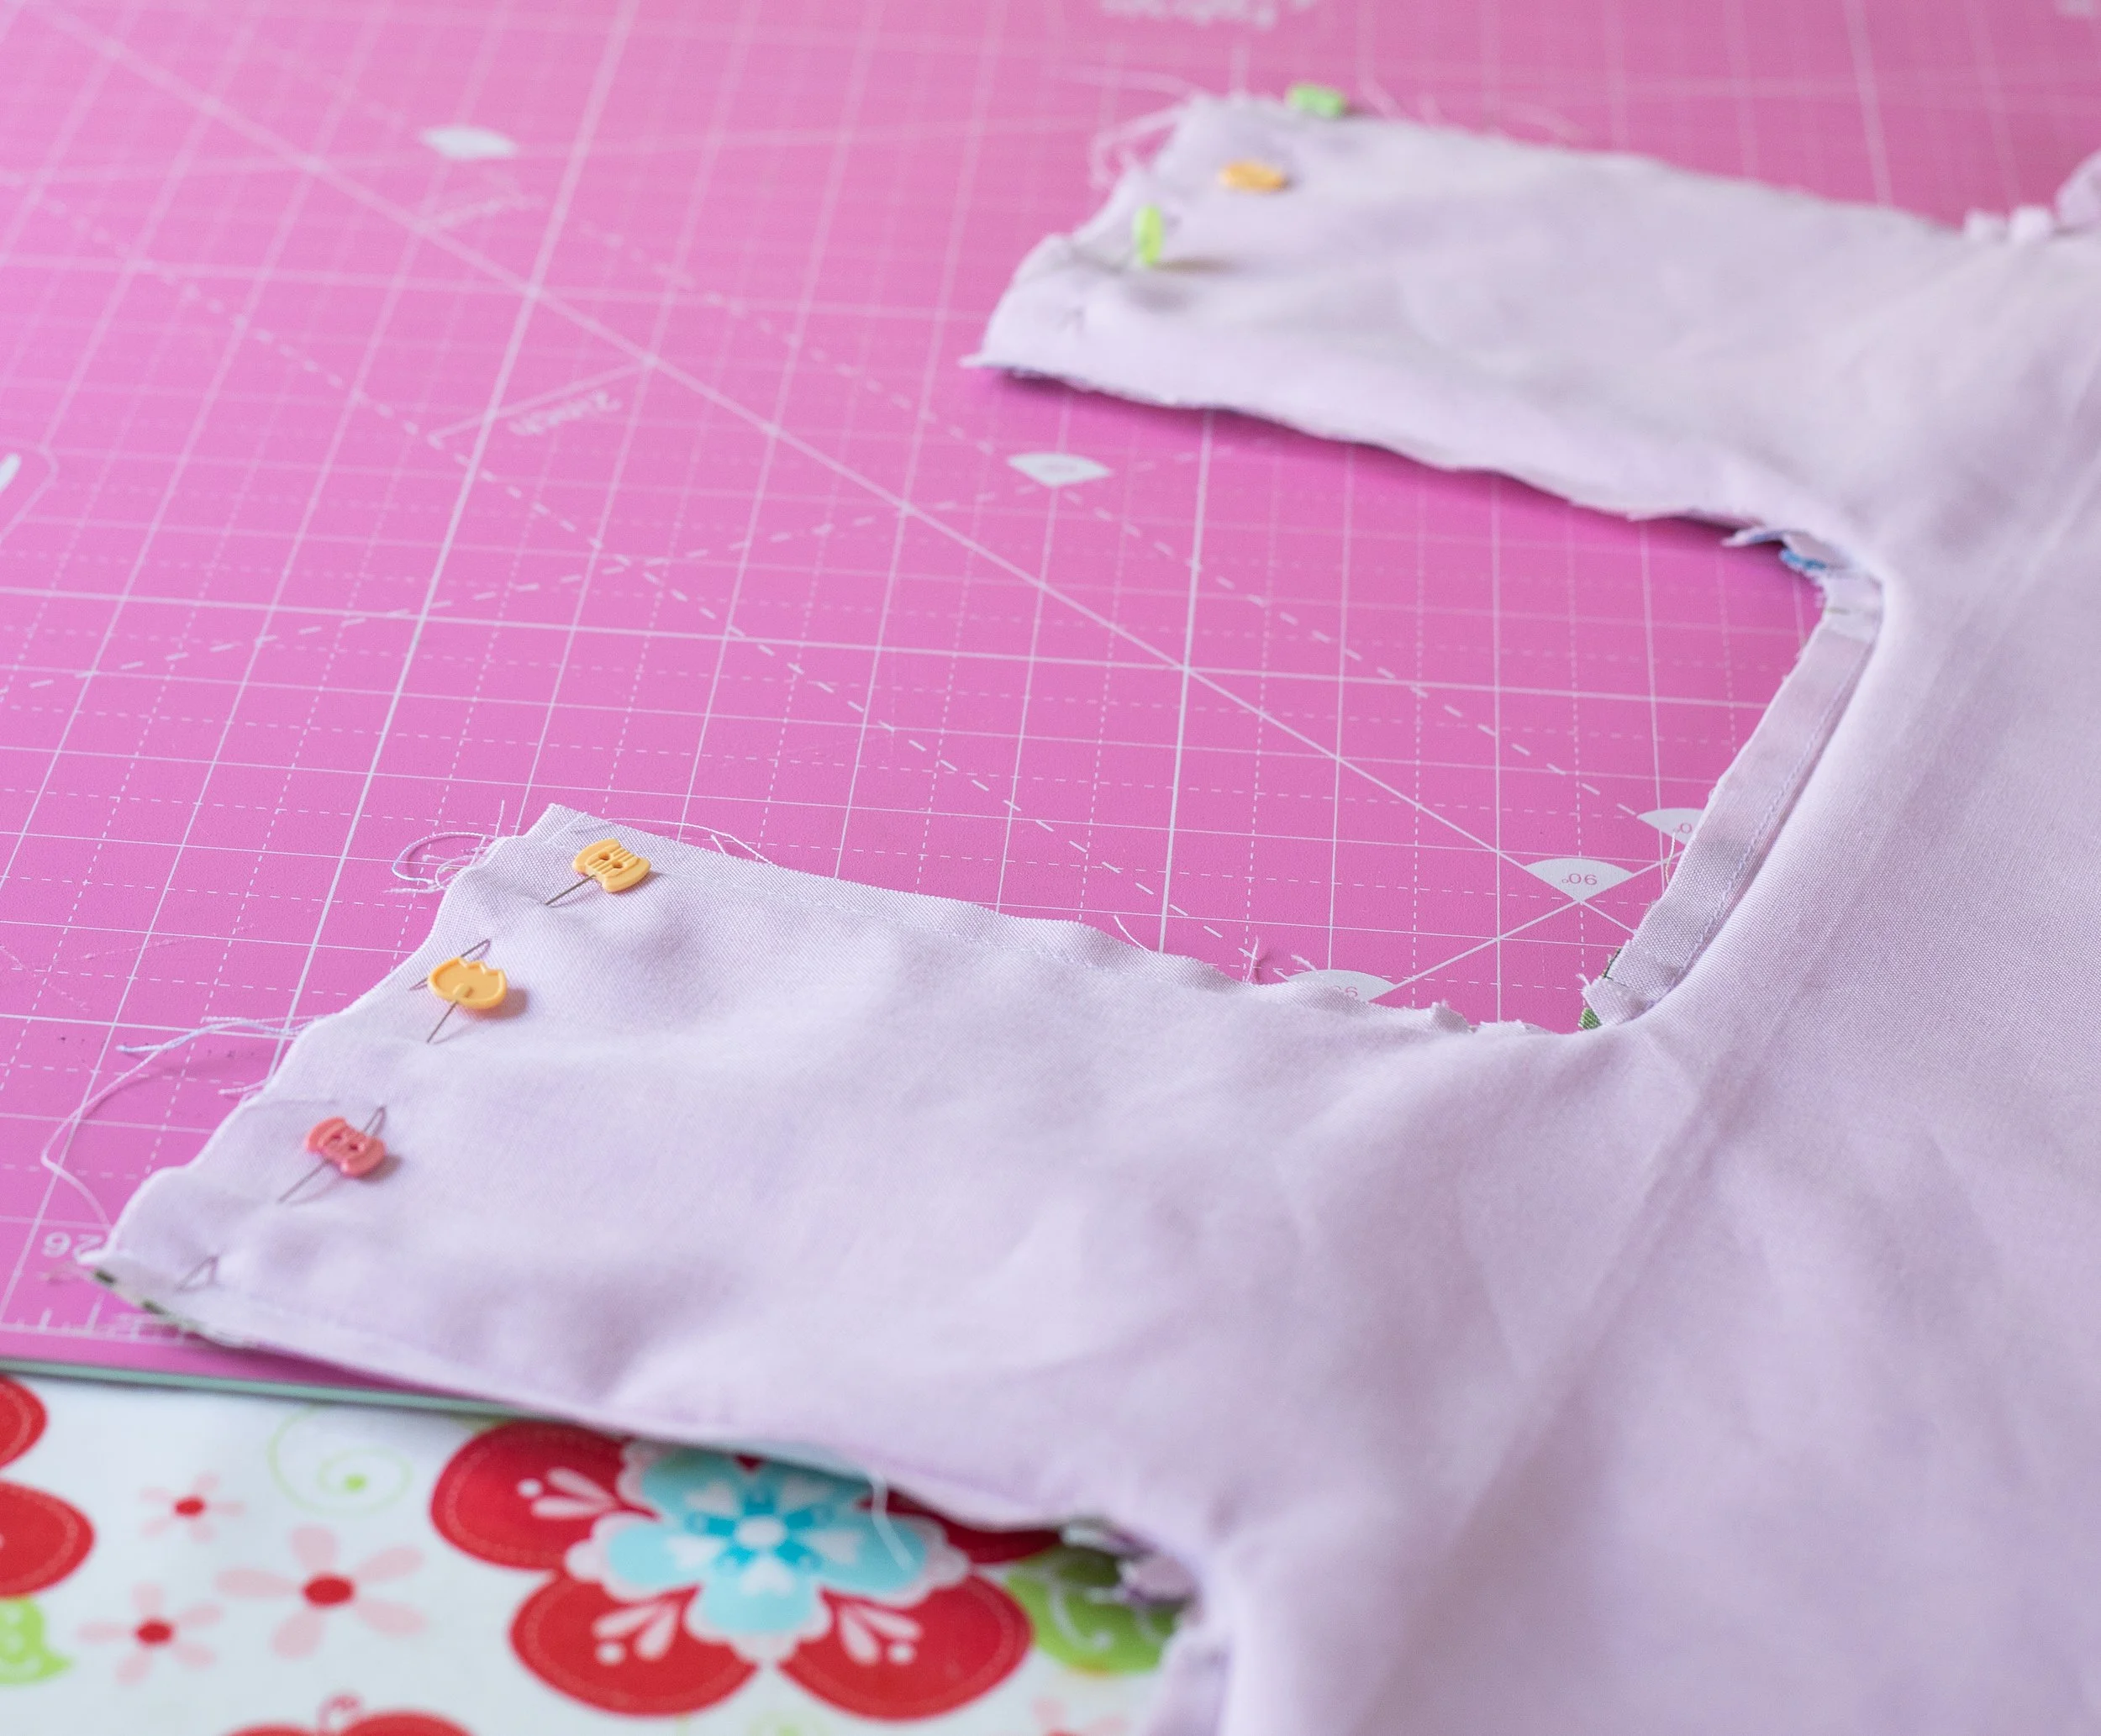
Pin tops of handles and sew.
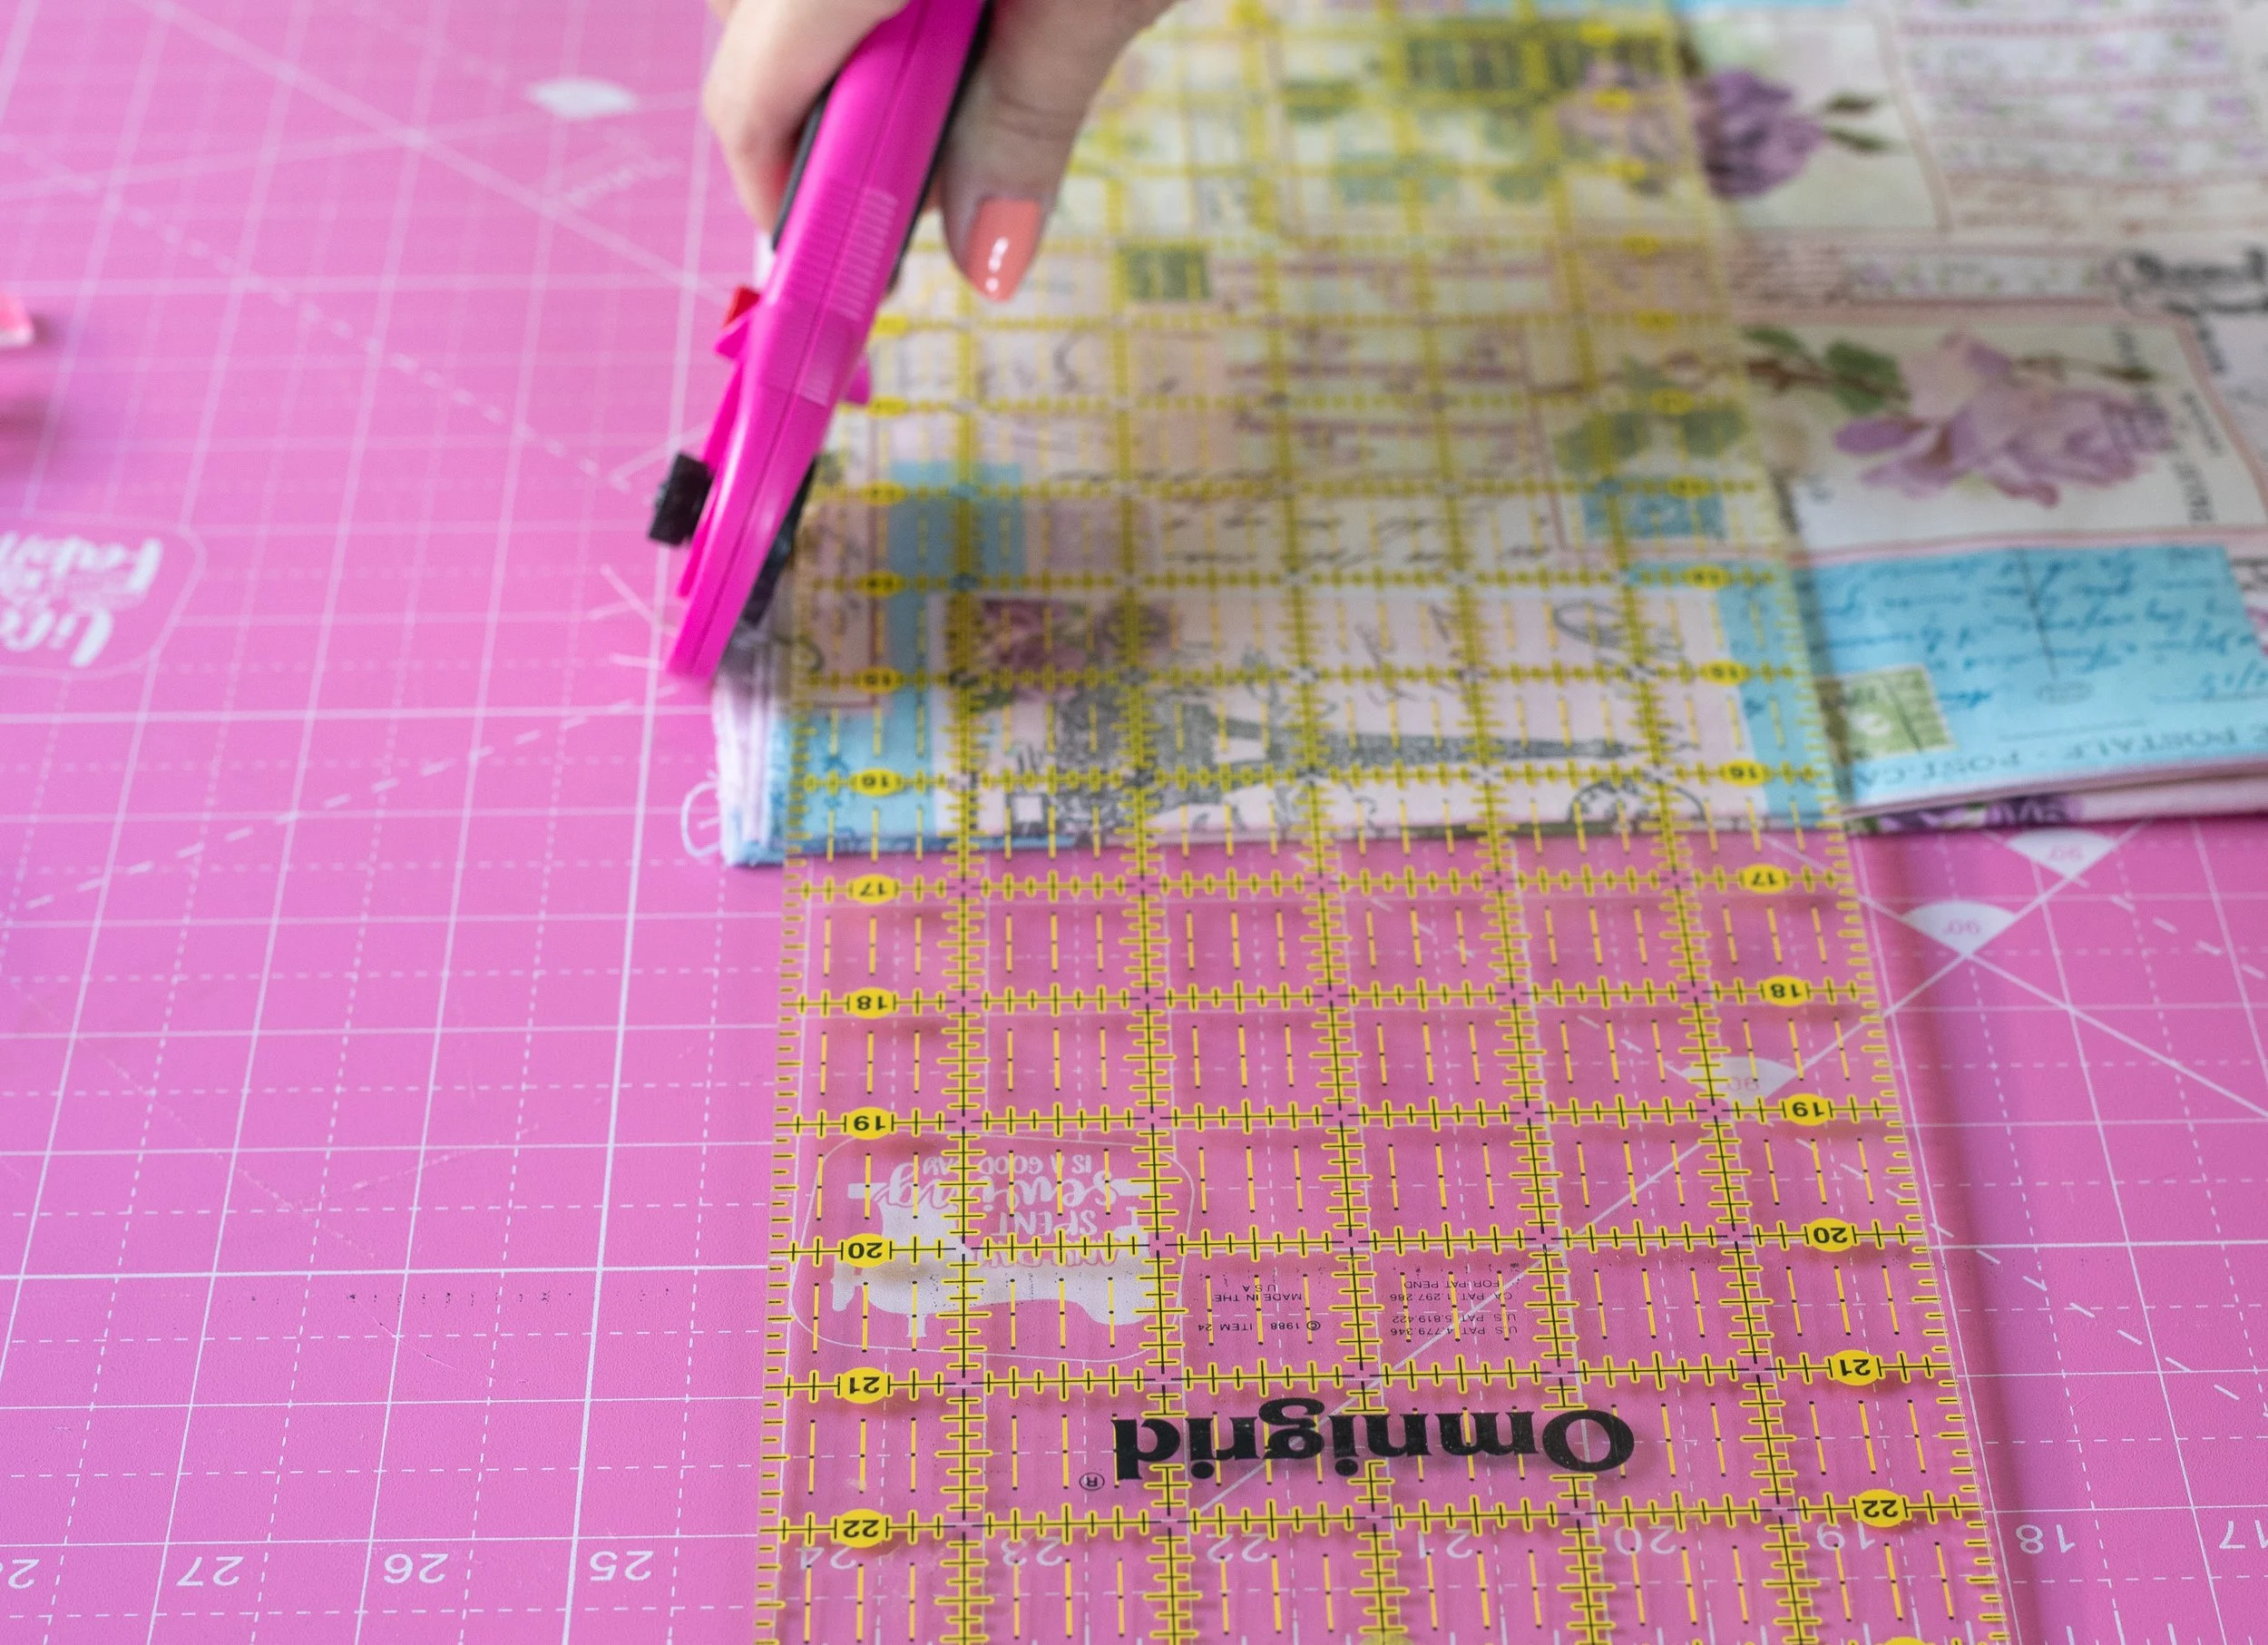
Pin the top handle layers together. Make sure all 4 layers are even. If they are uneven, trim a little off the top using a ruler and rotary cutter.
Sew from one edge the the next, across the top. Backstitch at the beginning and end.
Handle Layers
Make sure all four layers are sewn and showing. If you need to, run another row of stitches to catch each layer.
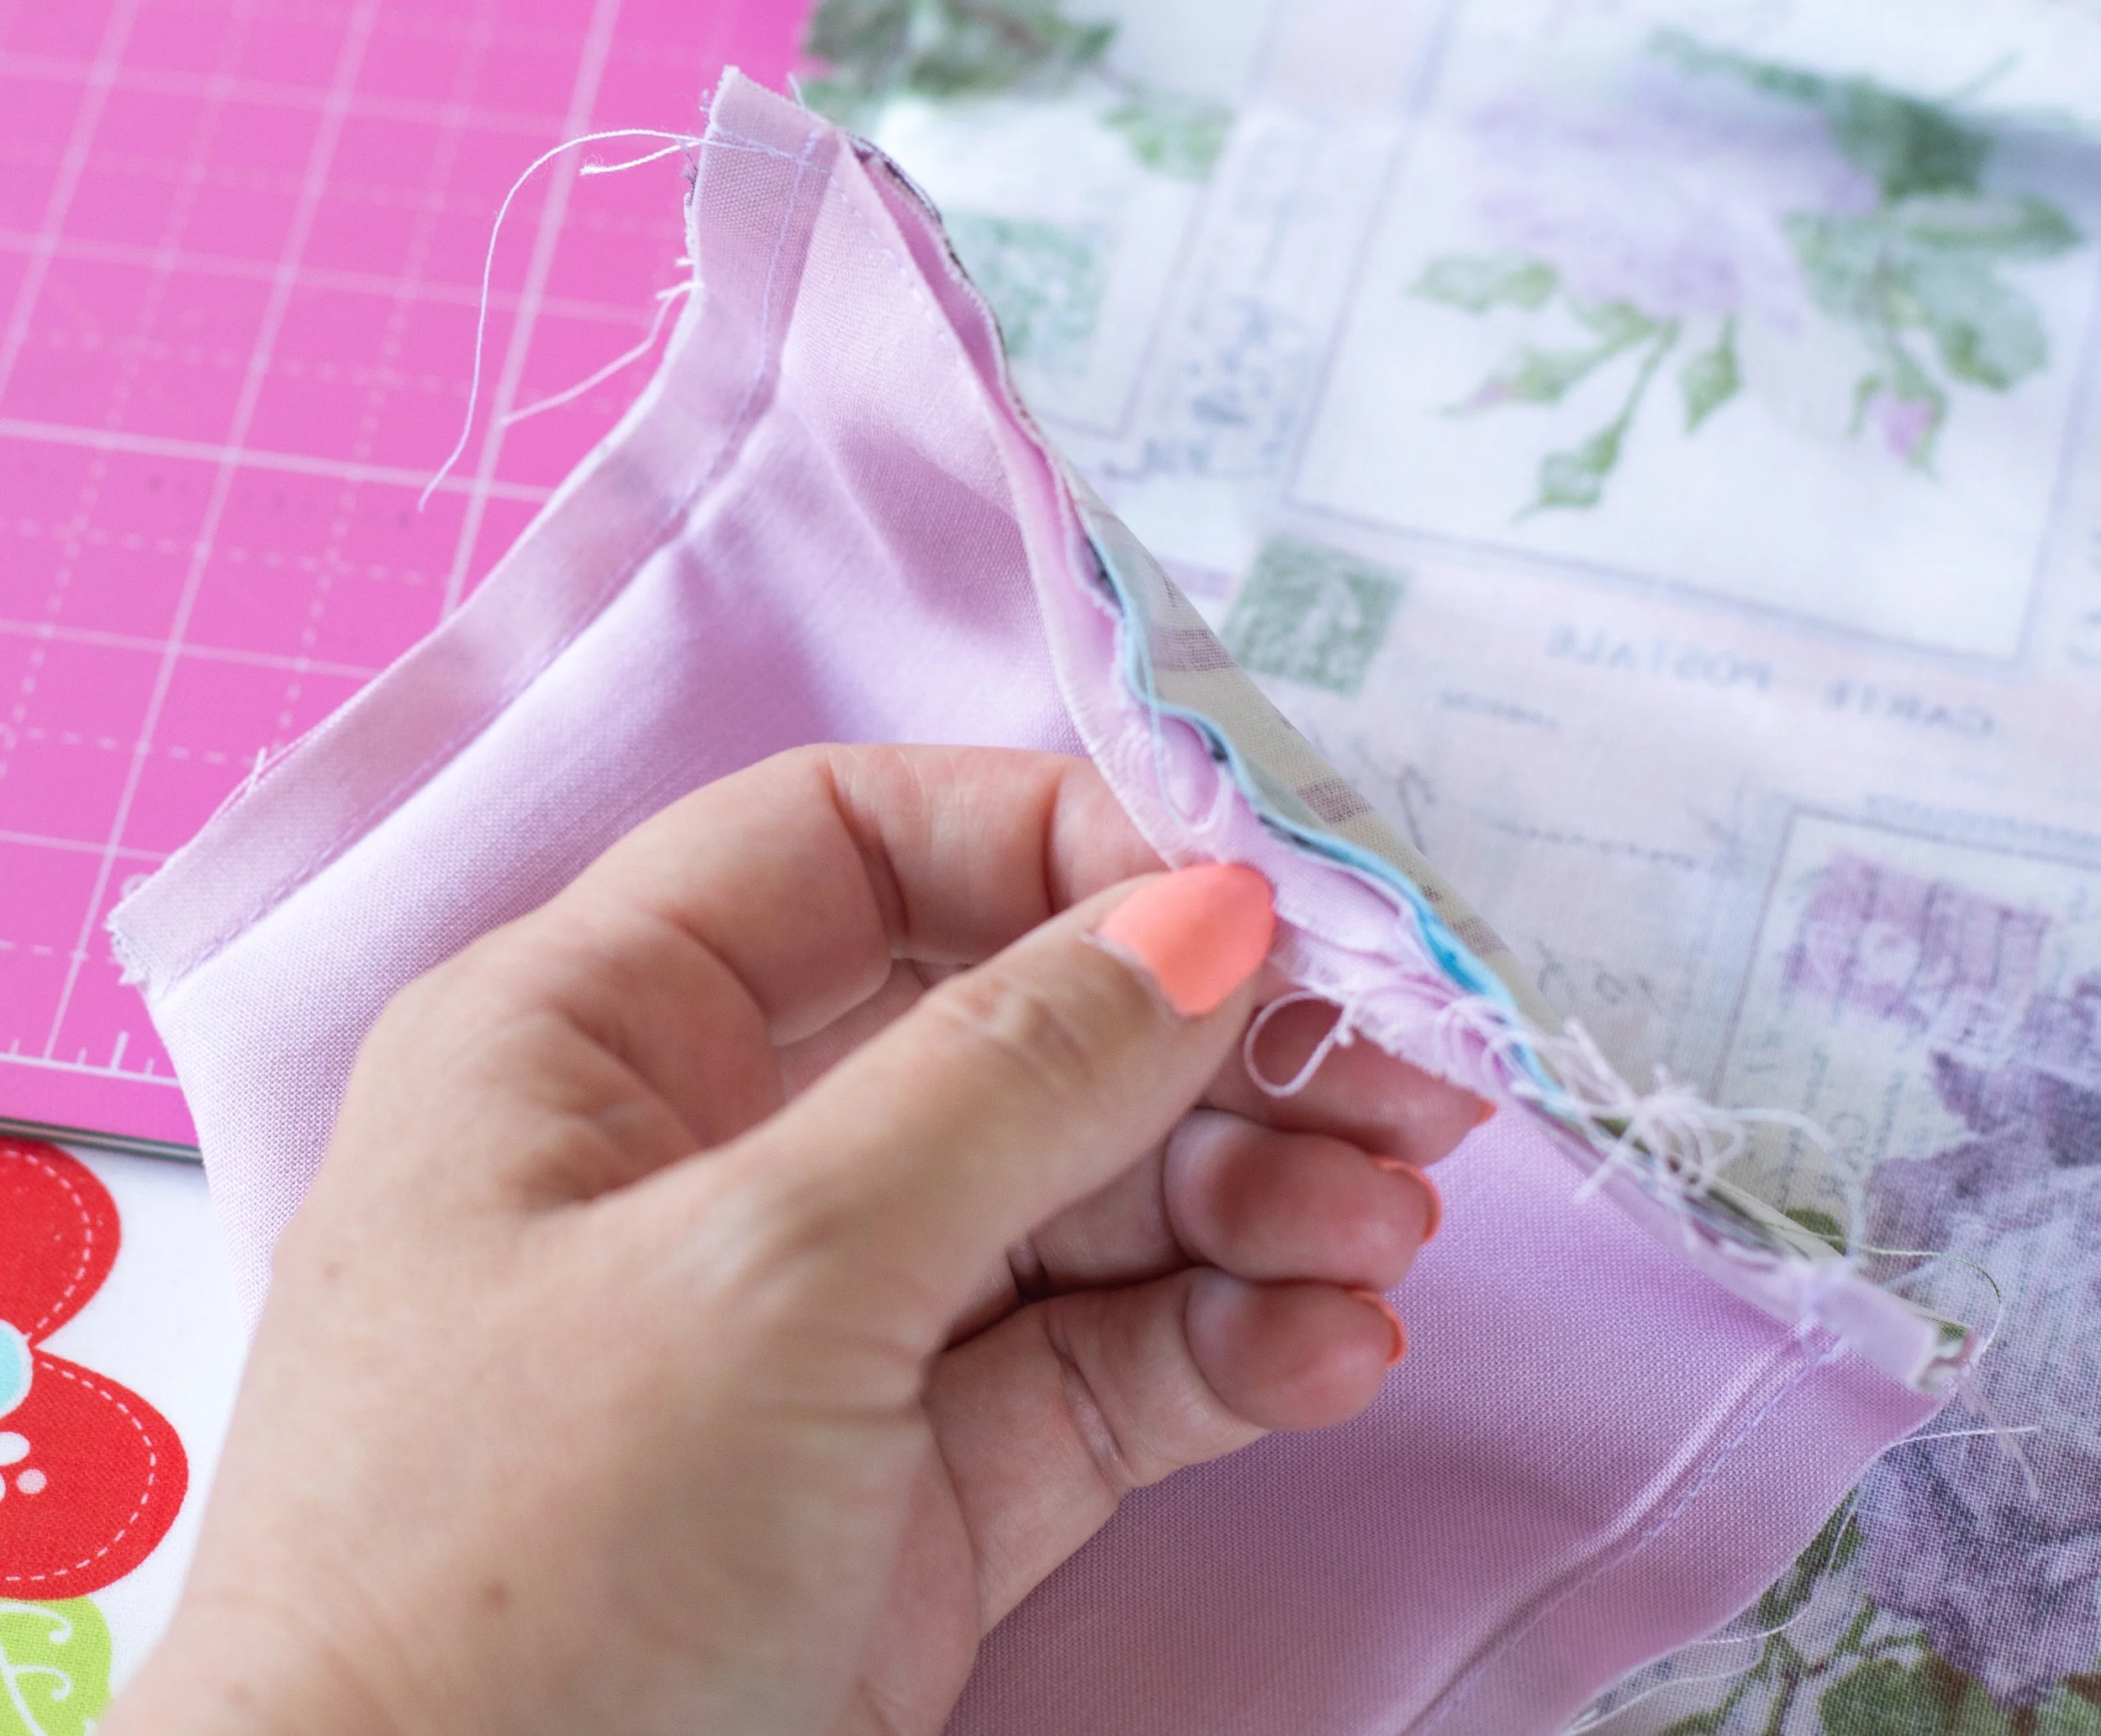
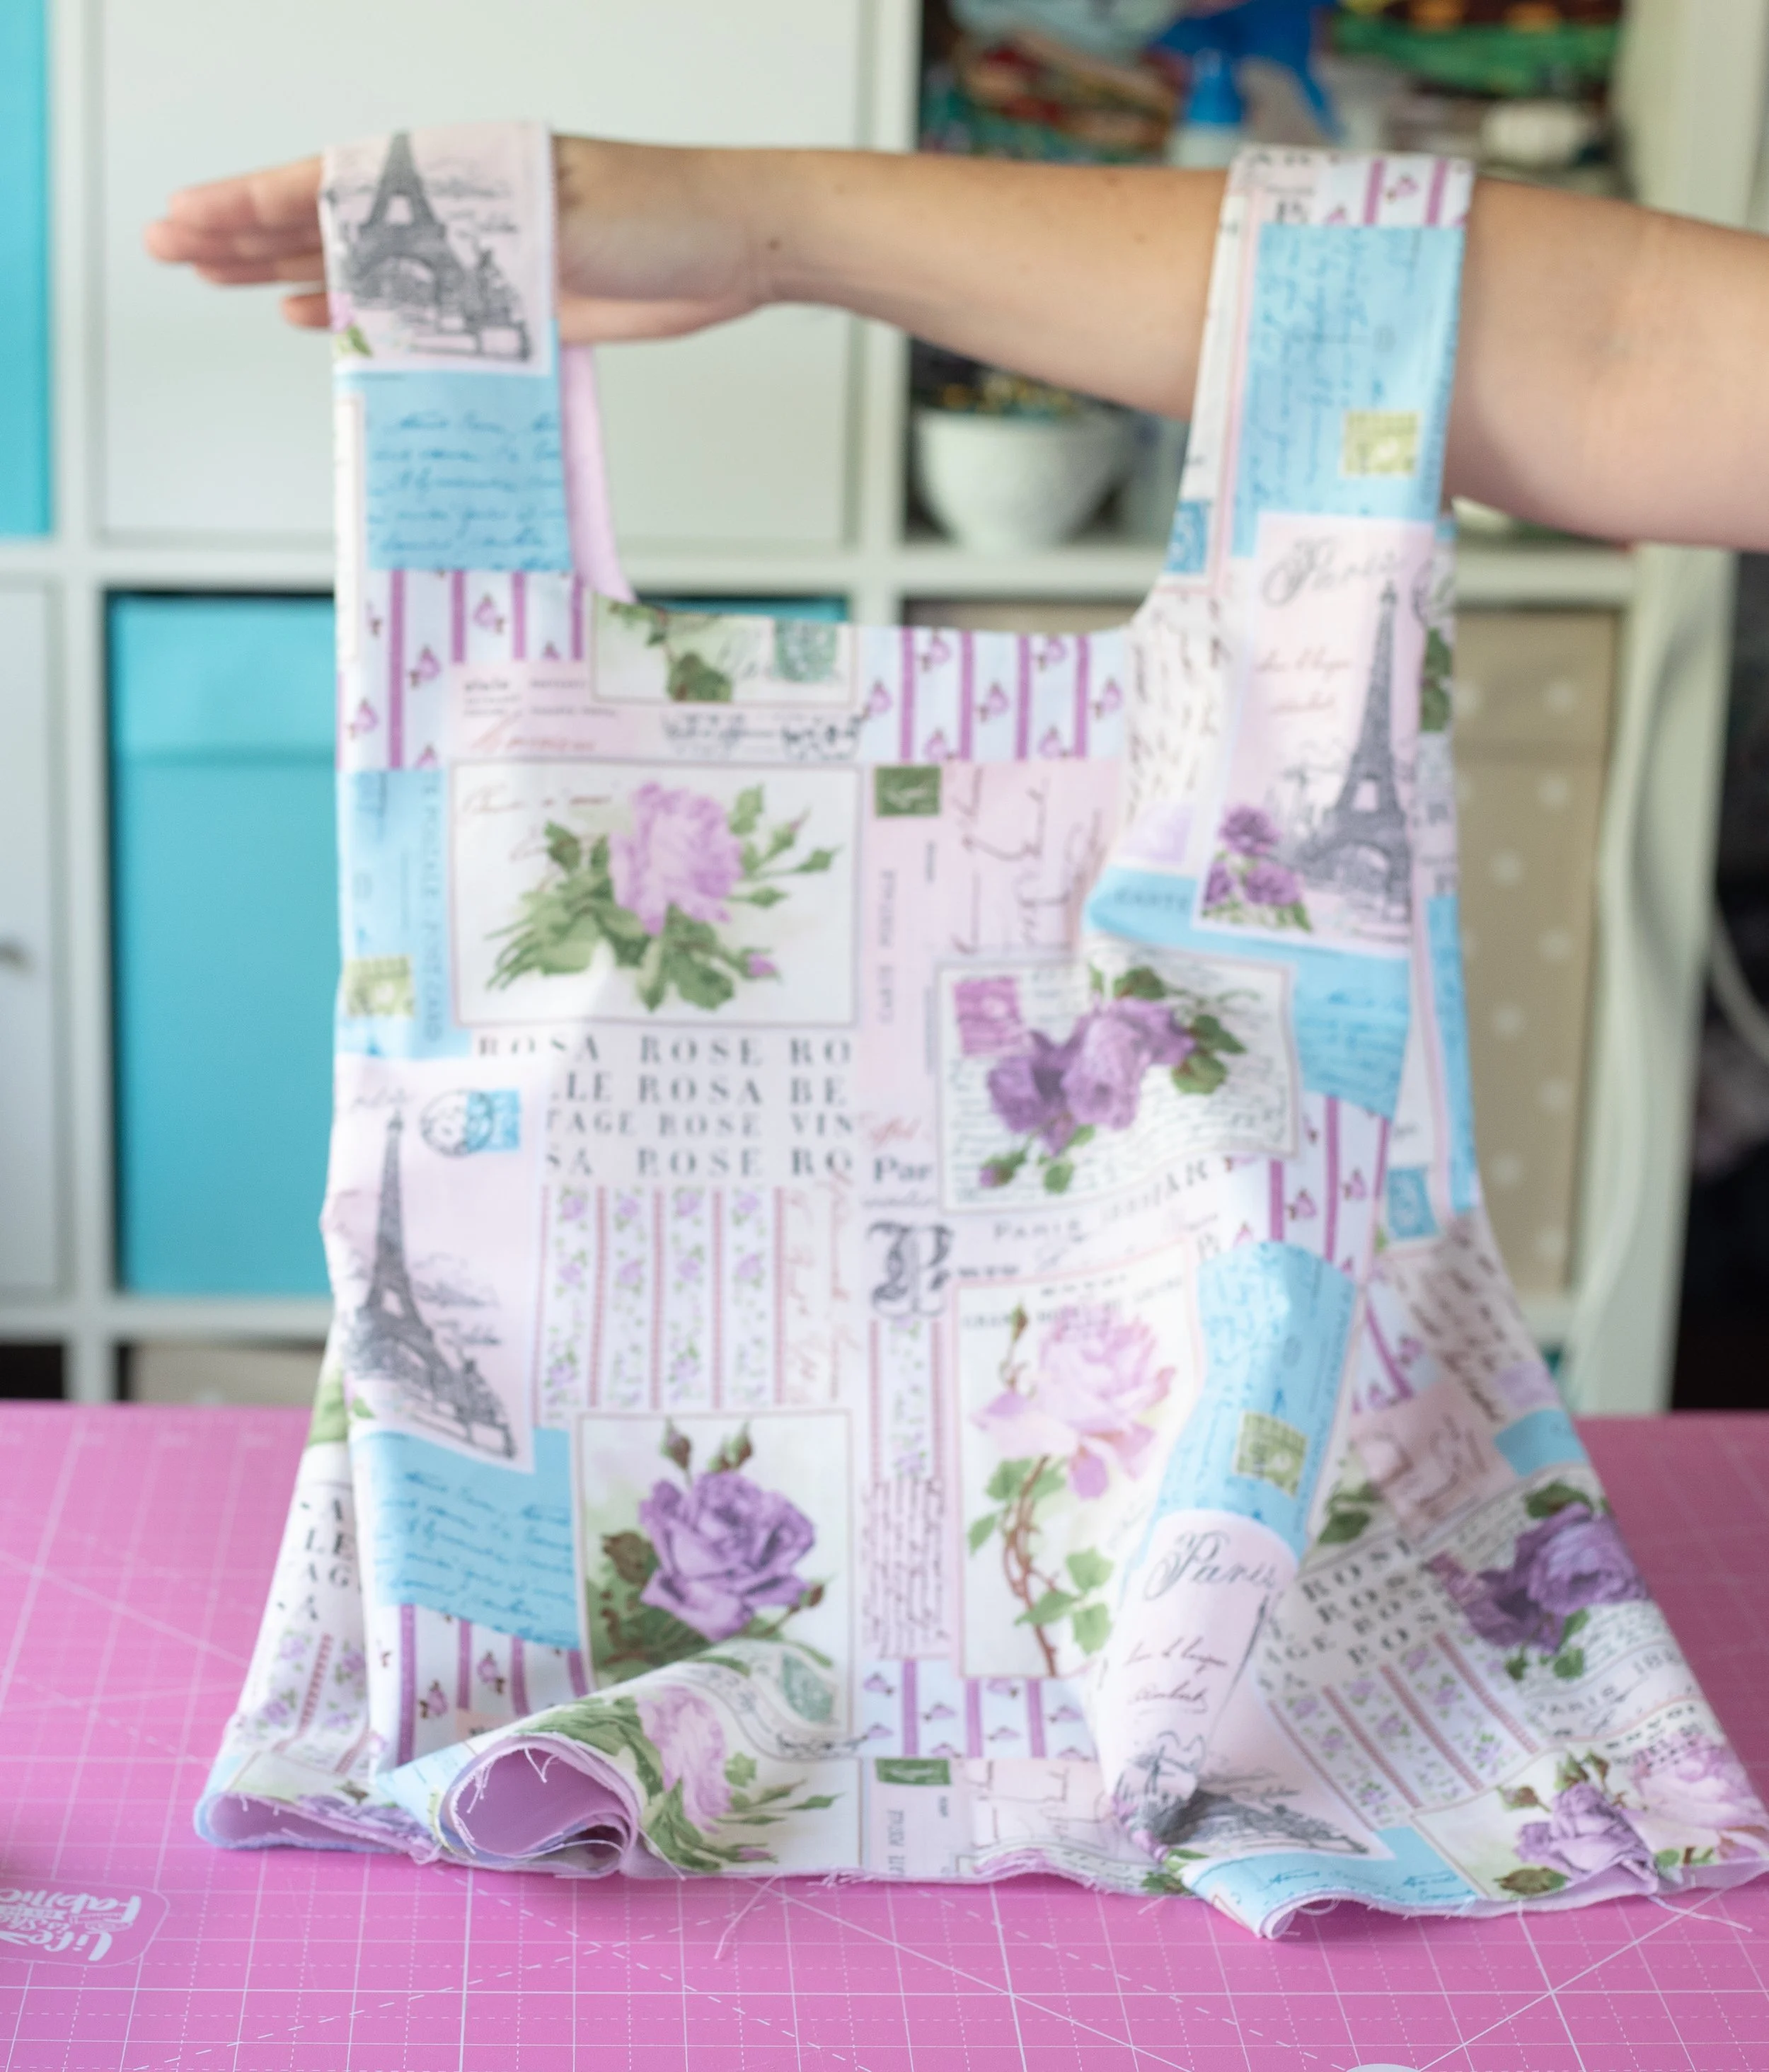
Pull the fabric right side out. This is the most rewarding part. It’s fun, magical, and full of wonder!
Pull the bag out carefully.
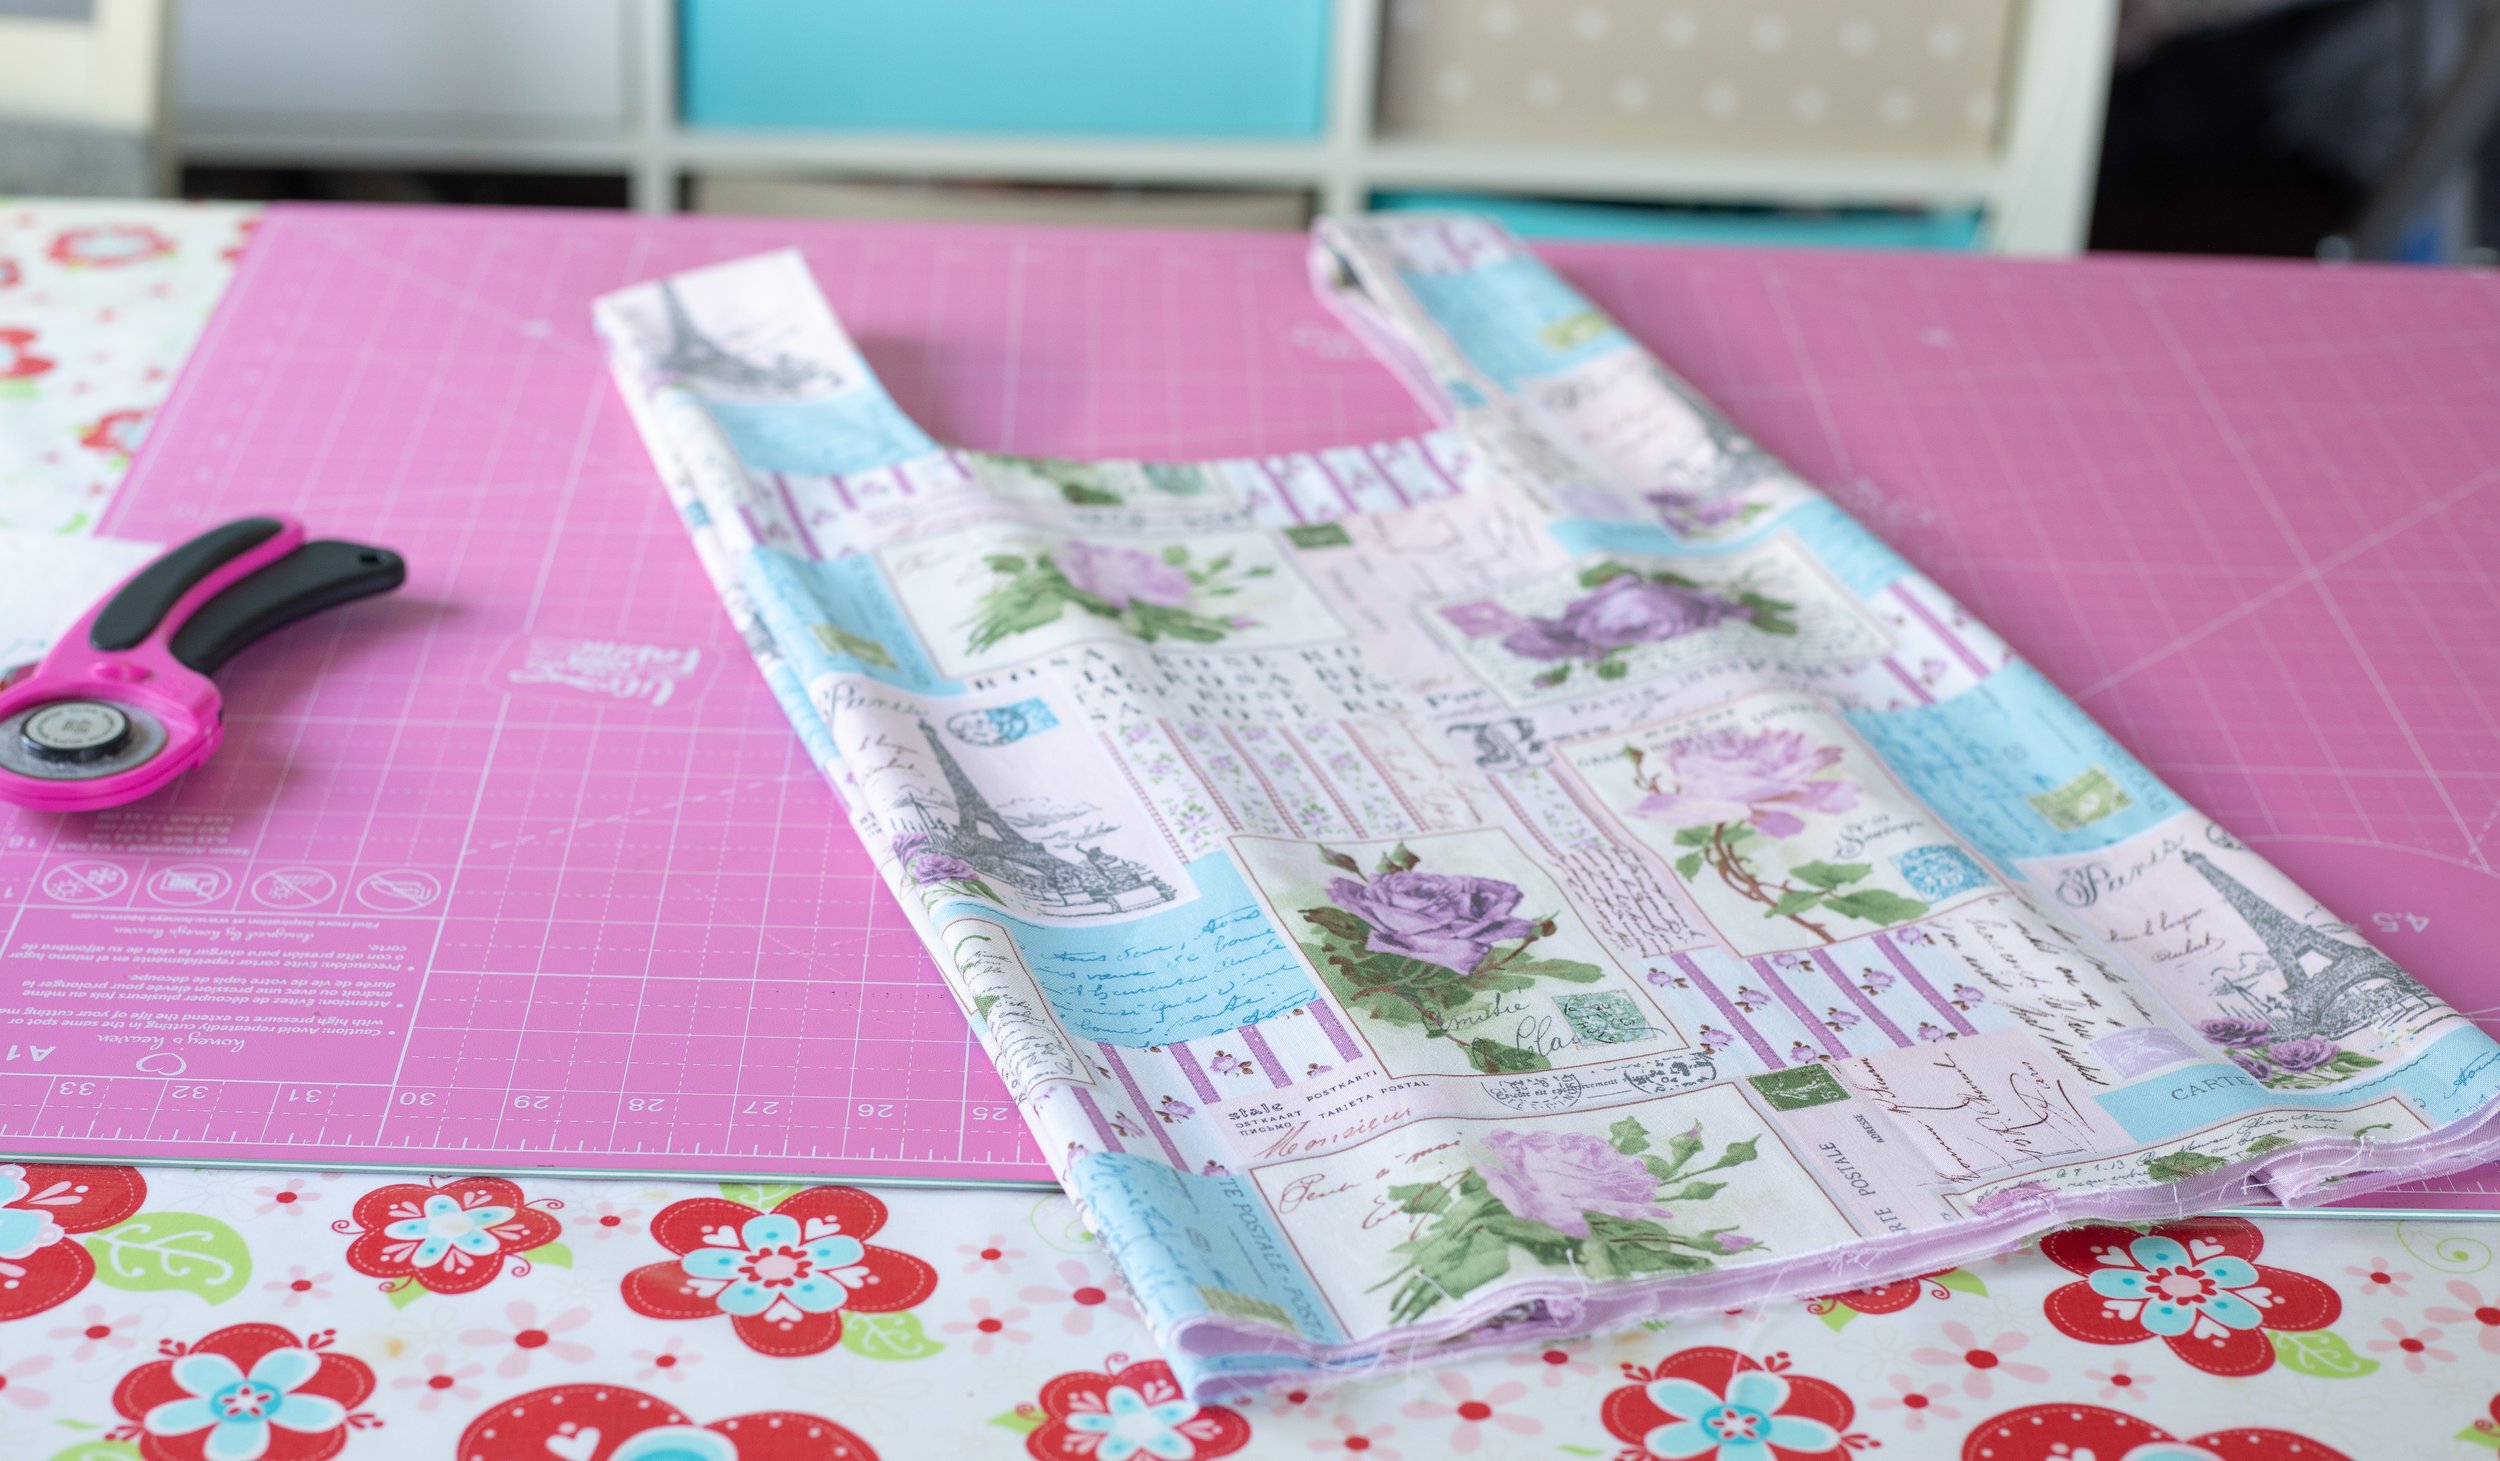
Top Stitch around the hole.
After the bag is pulled out, smooth everything out, press seams flat, then top stitch around the opening.
Use a longer stitch length for topstitching, 3.0-3.5mm. It looks nicer.
Top stitch around the opening.
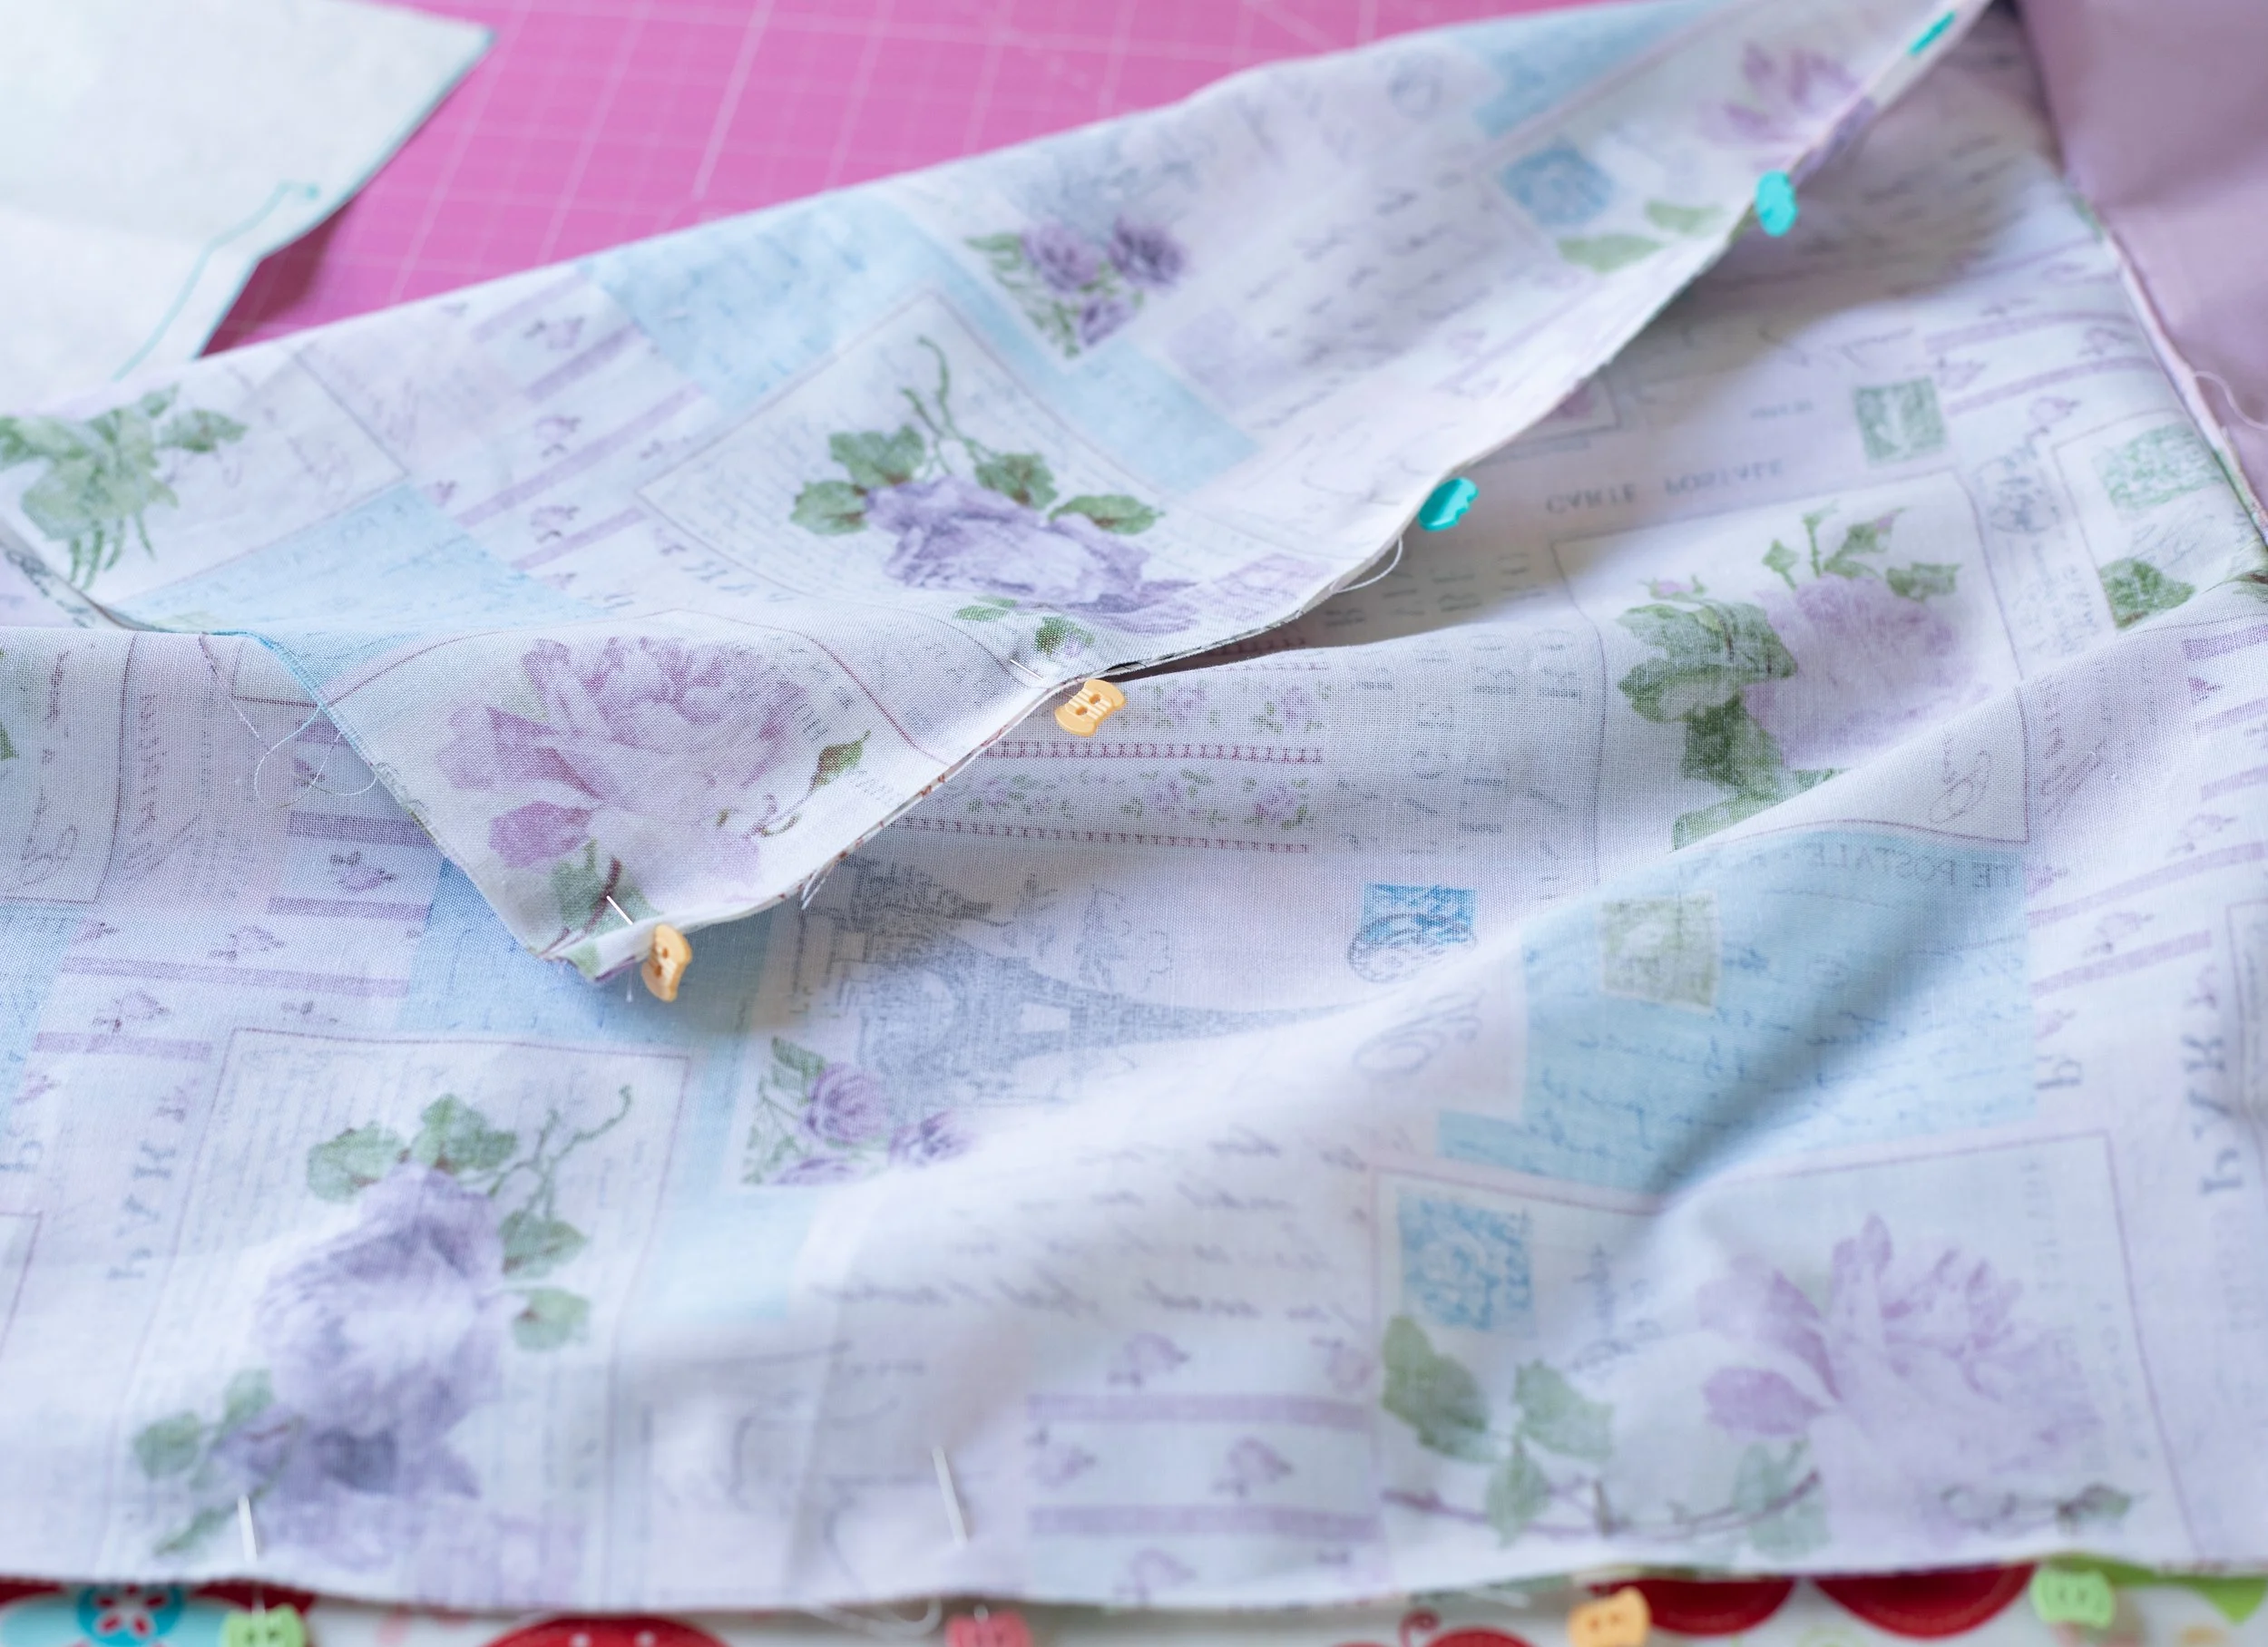
Now you’ll sew the side seams together. Flip one side over the other, handles tucked inside.
Pin Lining to lining. Pin the Outer fabric to the outer fabric, along the sides.
Starting from the handle seam is the easiest for pinning; make sure to line up the edges and the bottom.
Sew one side, backstitch at the beginning and end.
Repeat for the other side.
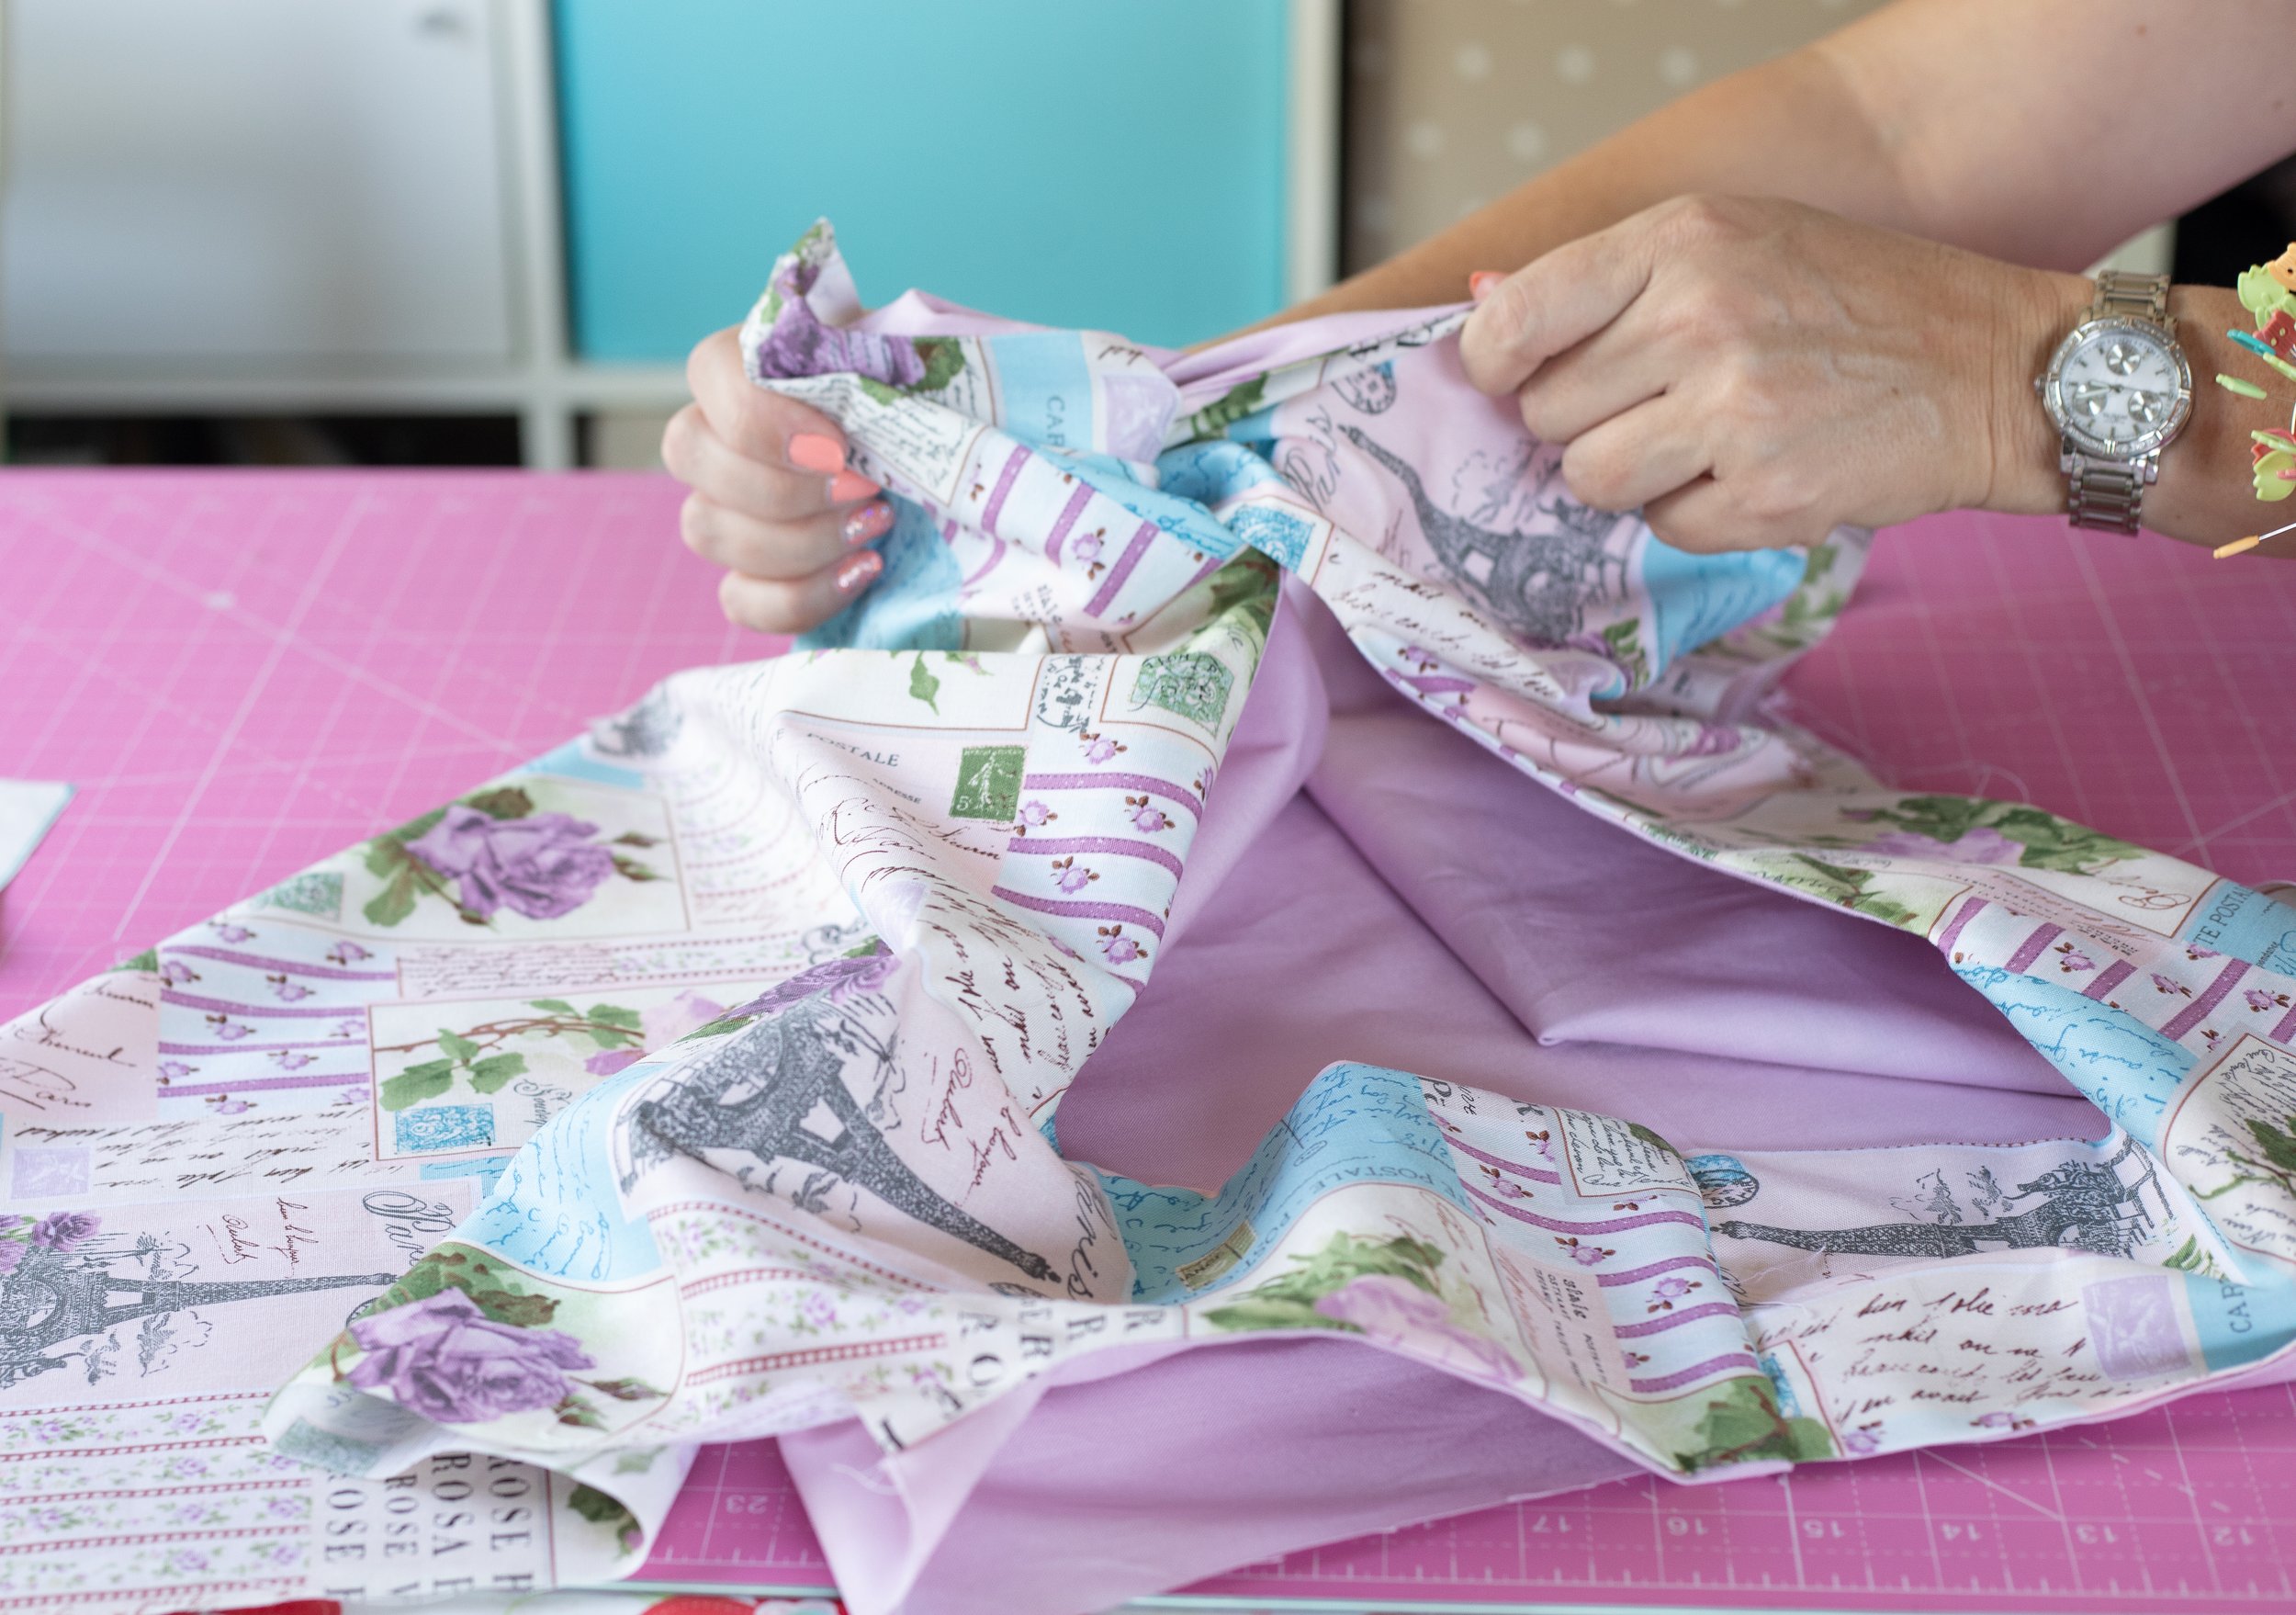
Turn the bag right side out and give it a good shake as if opening a trash bag. Threads will fly!
It looks more like a bag now.
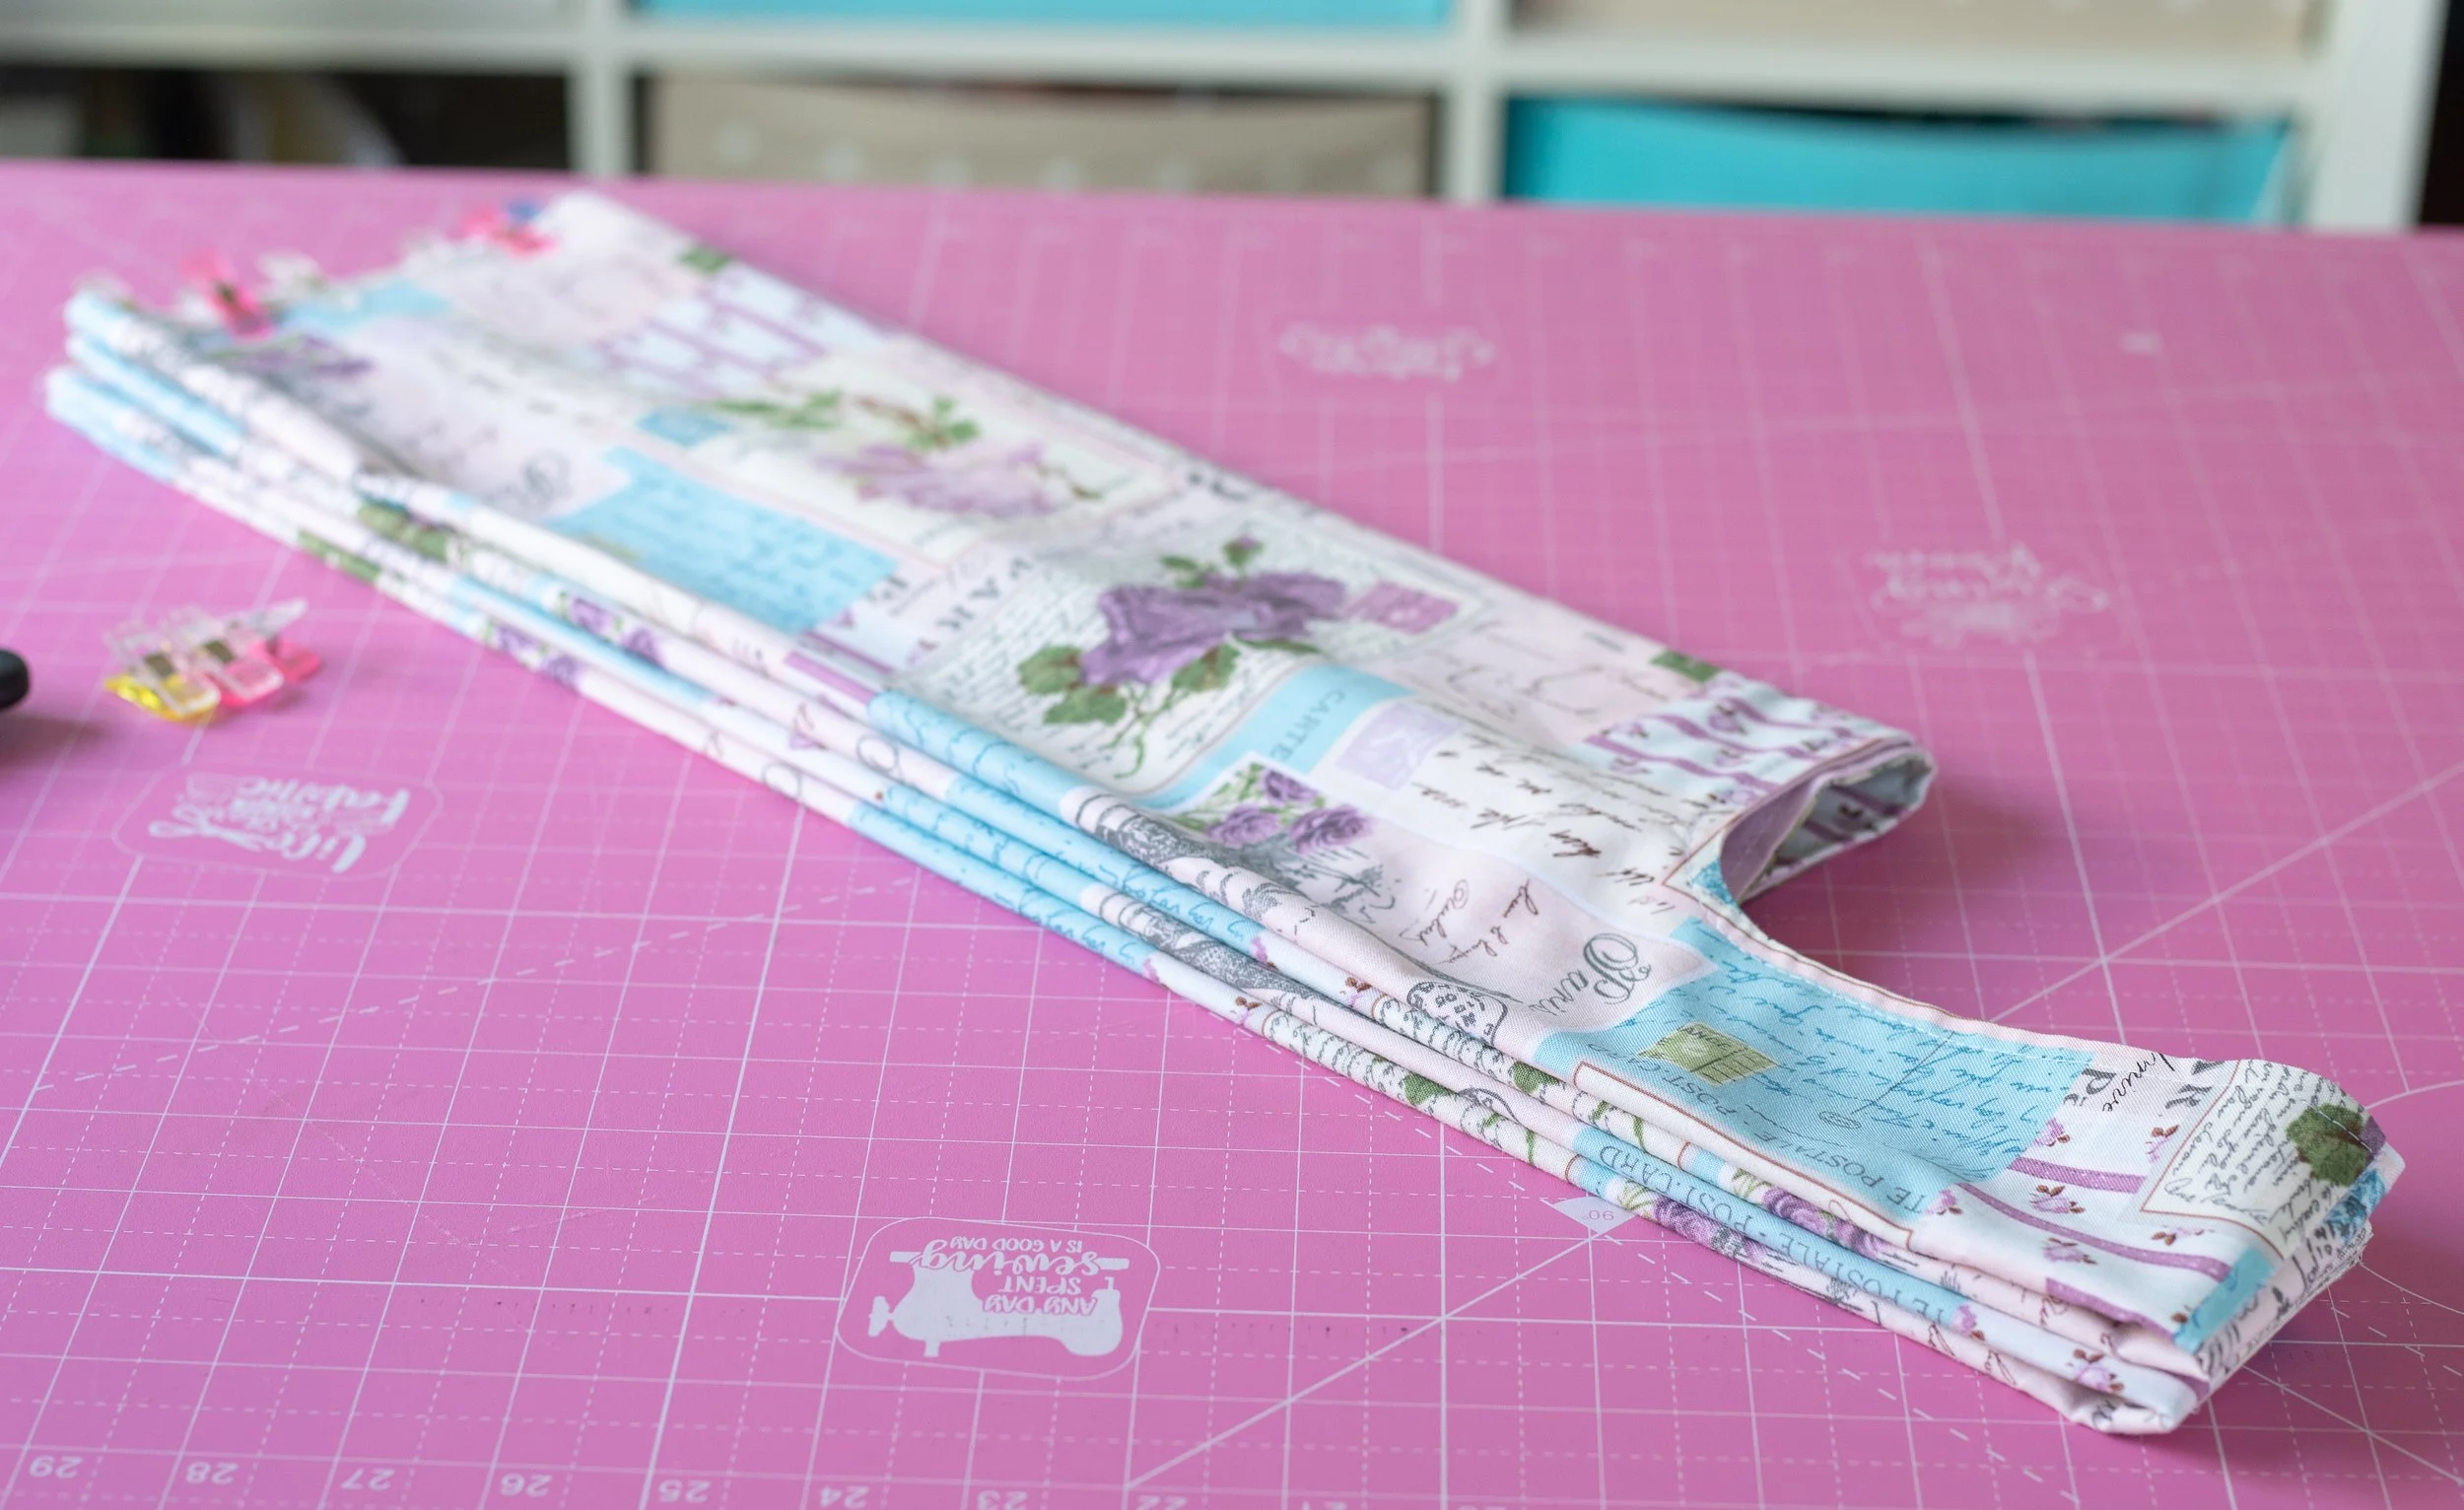
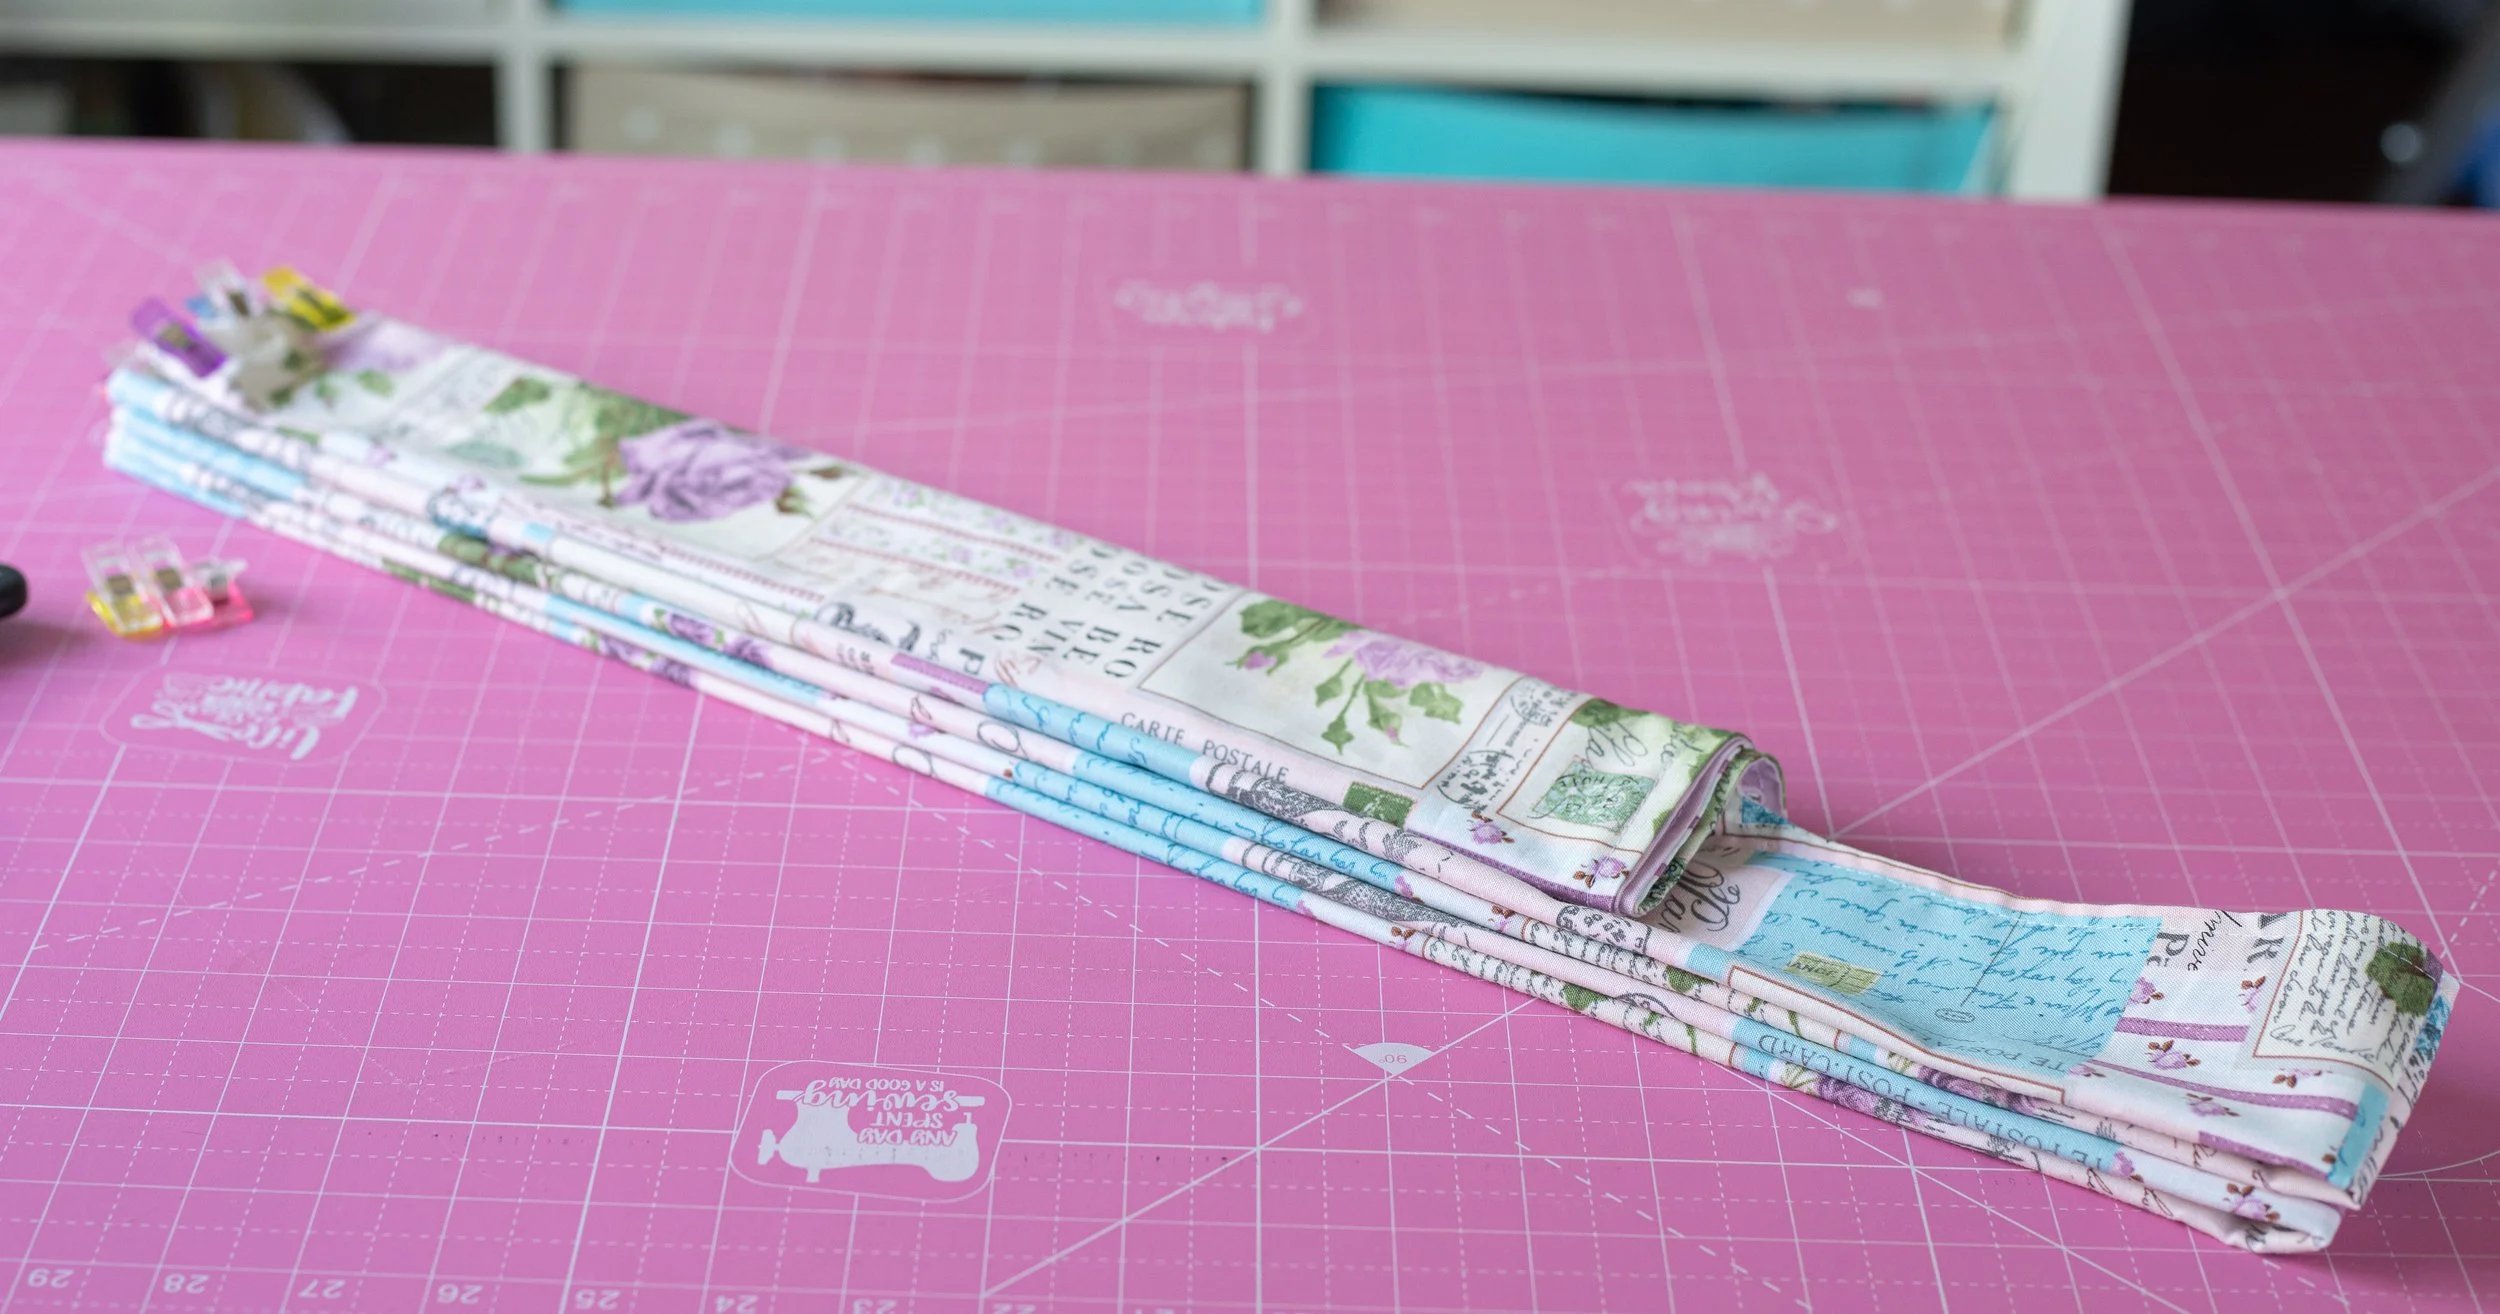
Next up is creating the gusset. This is an internal fold for expanding the bag size.
Fold the handle in half, matching the seam line. This makes the handle narrower and easier to hold. Use pins or clips.
Sew a few rows of stitches over the seam, stitch in the ditch style.

Making the handles.
Sew a few rows of stitches across the seam. Stitch in the ditch.
Slide the bag over your arm and let the bag hang, it will naturally form the gusset for you.
Carefully slide it off and onto your table, keeping the folds in place.
I apologize for the blurry photo, but you get the idea.
Put your arm through the handles and let the bag hang, naturally.
You might have to mess with it a little, but try to make the folds even. Press.
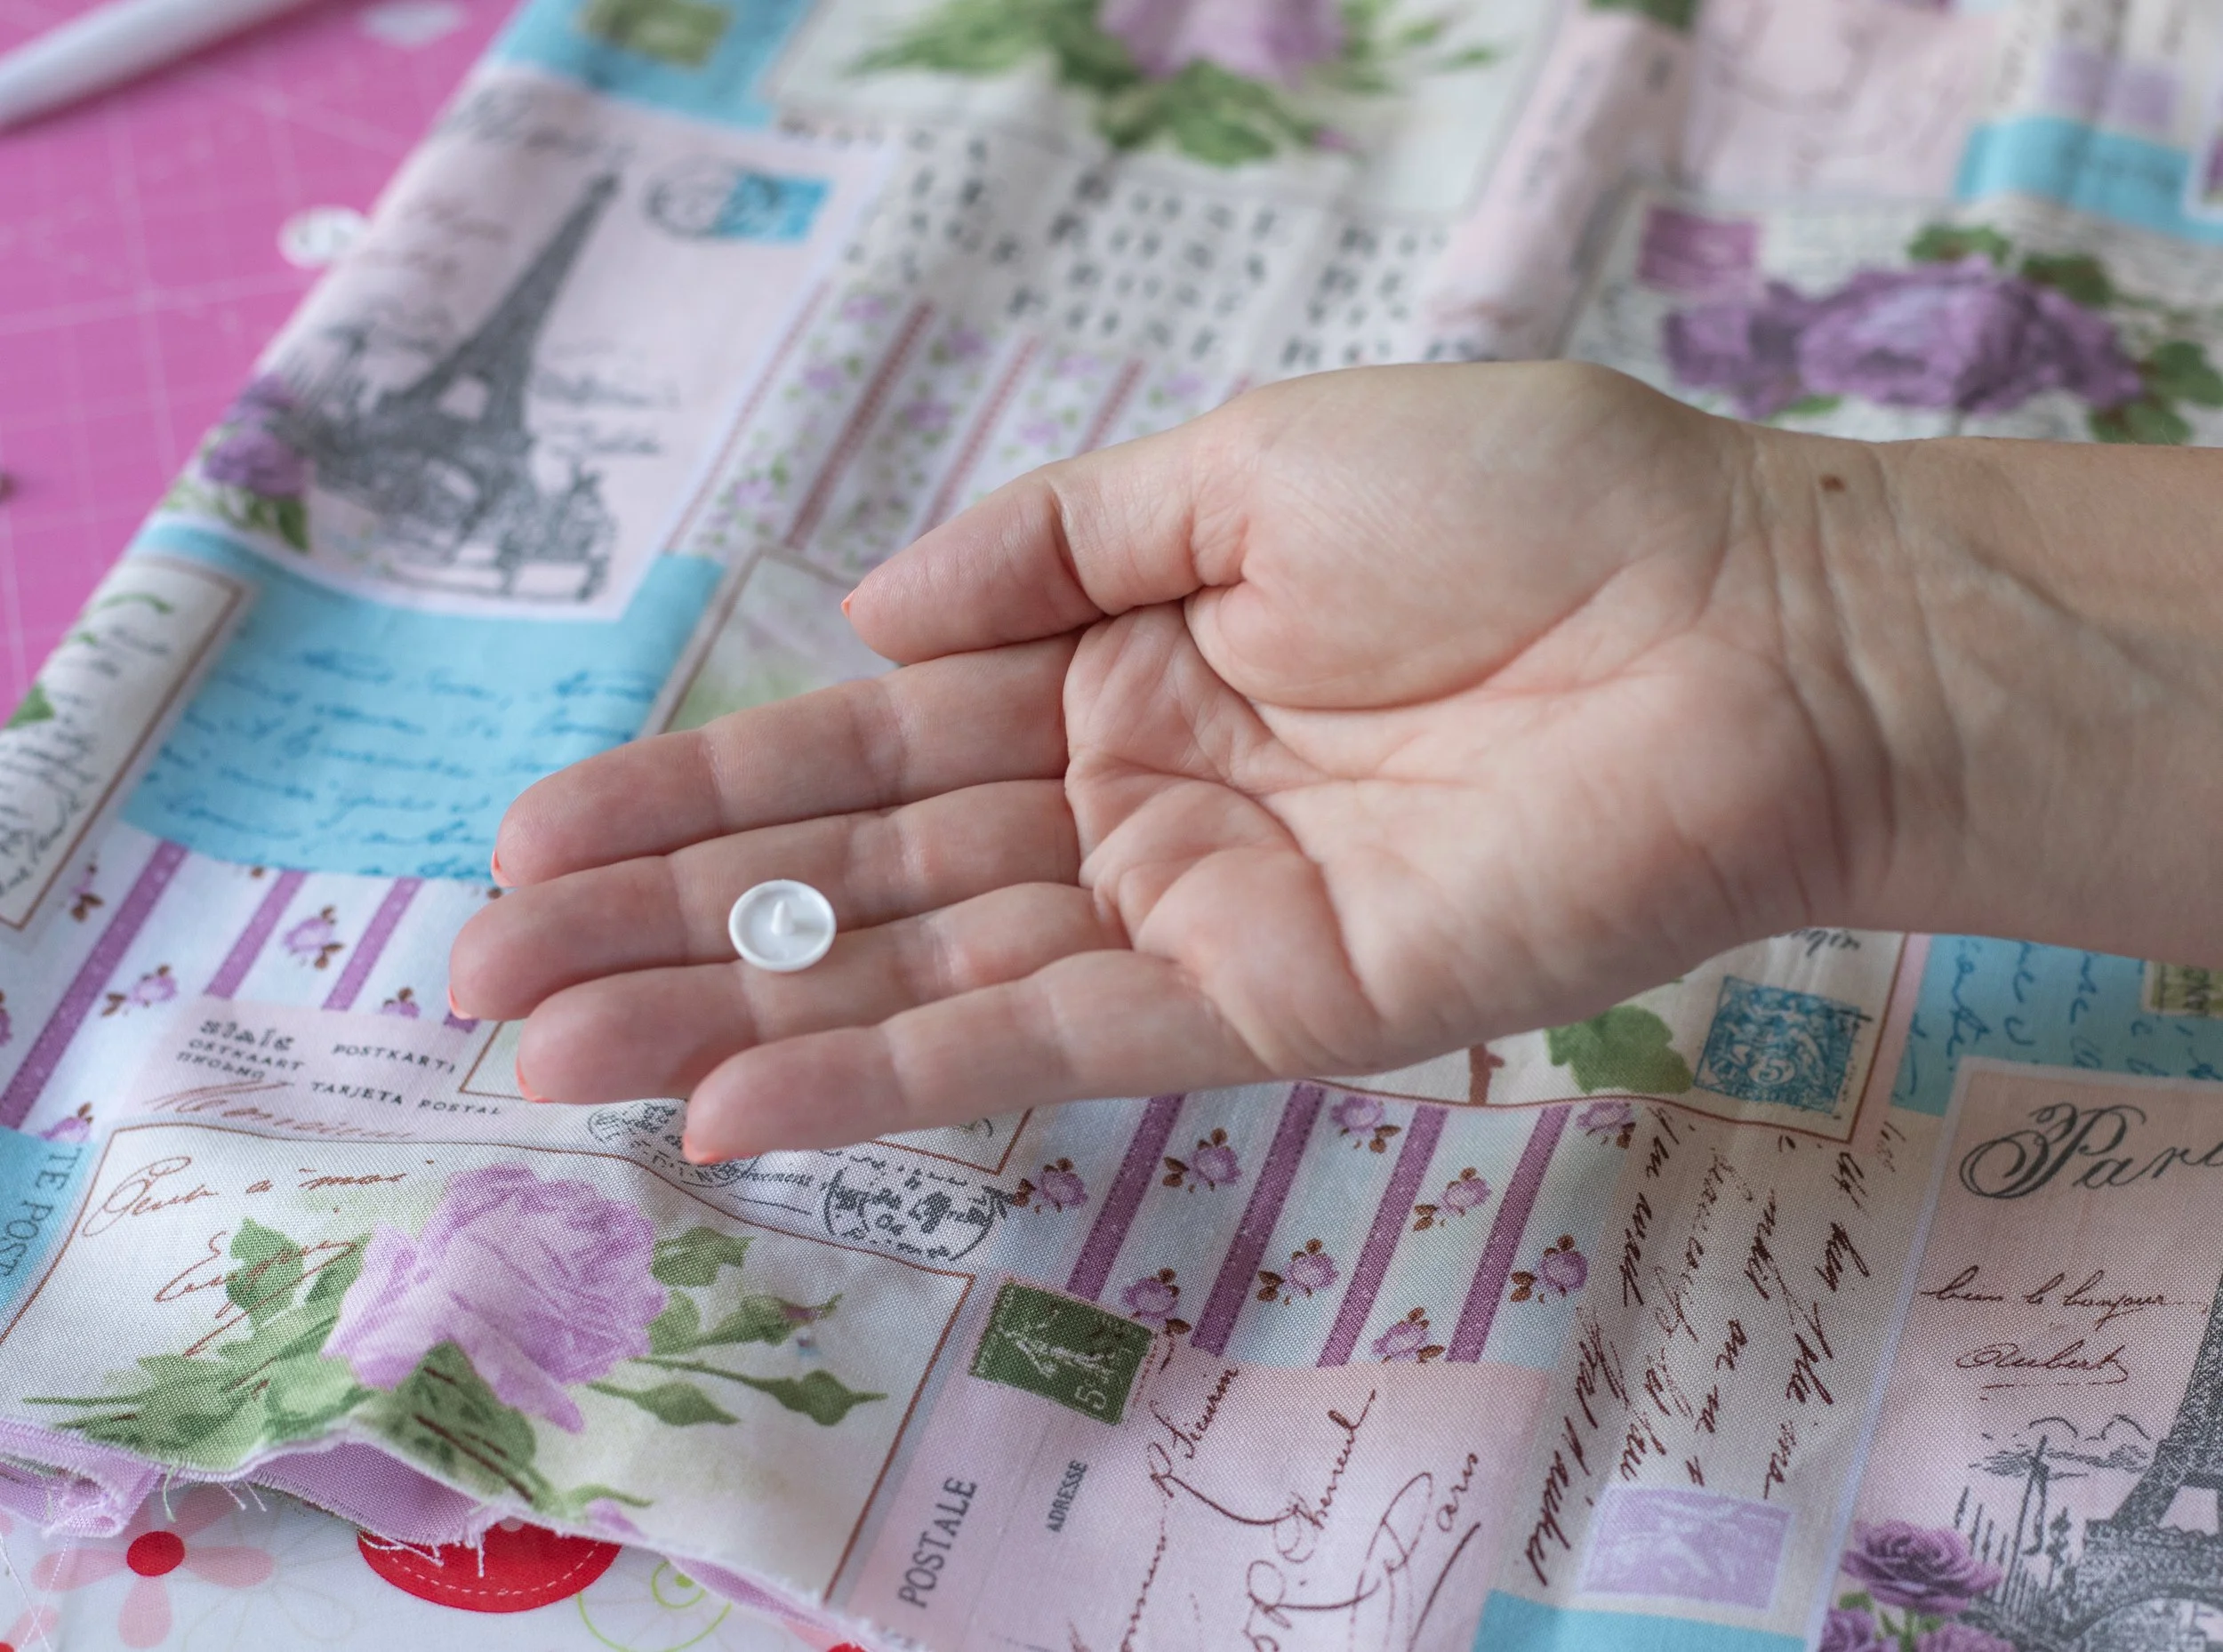
Next up is the optional snap. If you want to skip this step, scroll down past this part. If you would like to add a snap, keep reading.
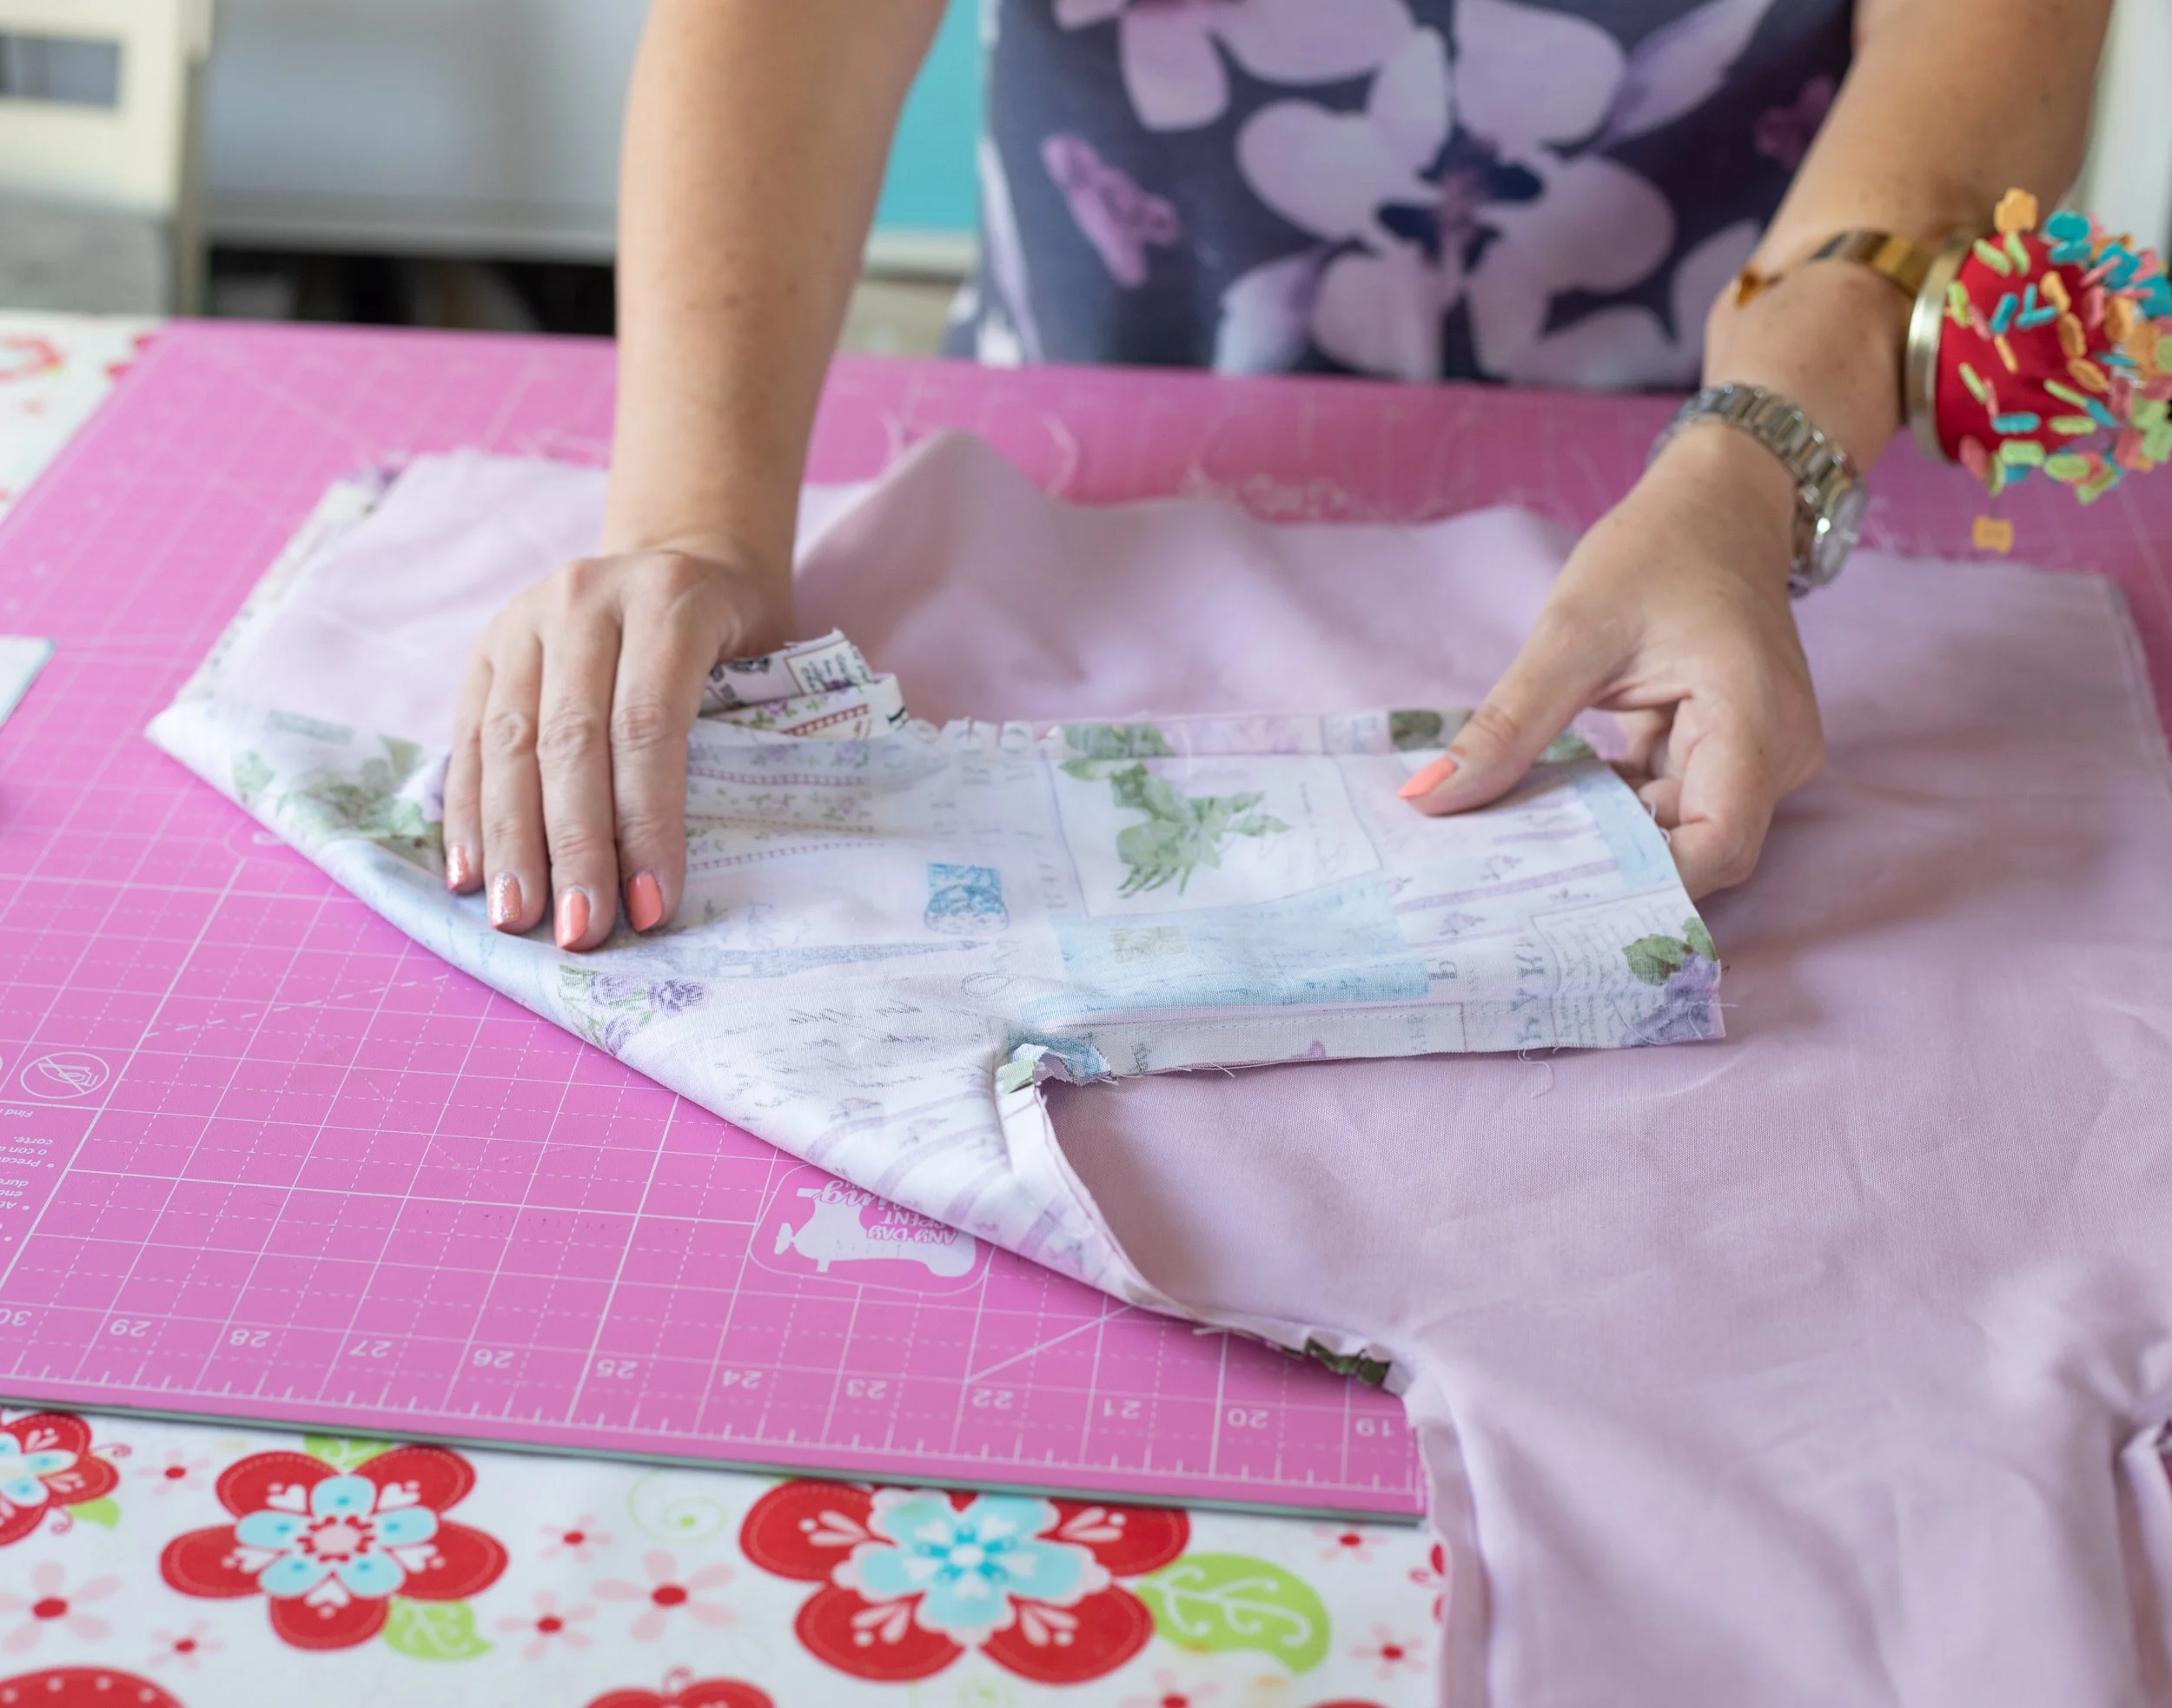
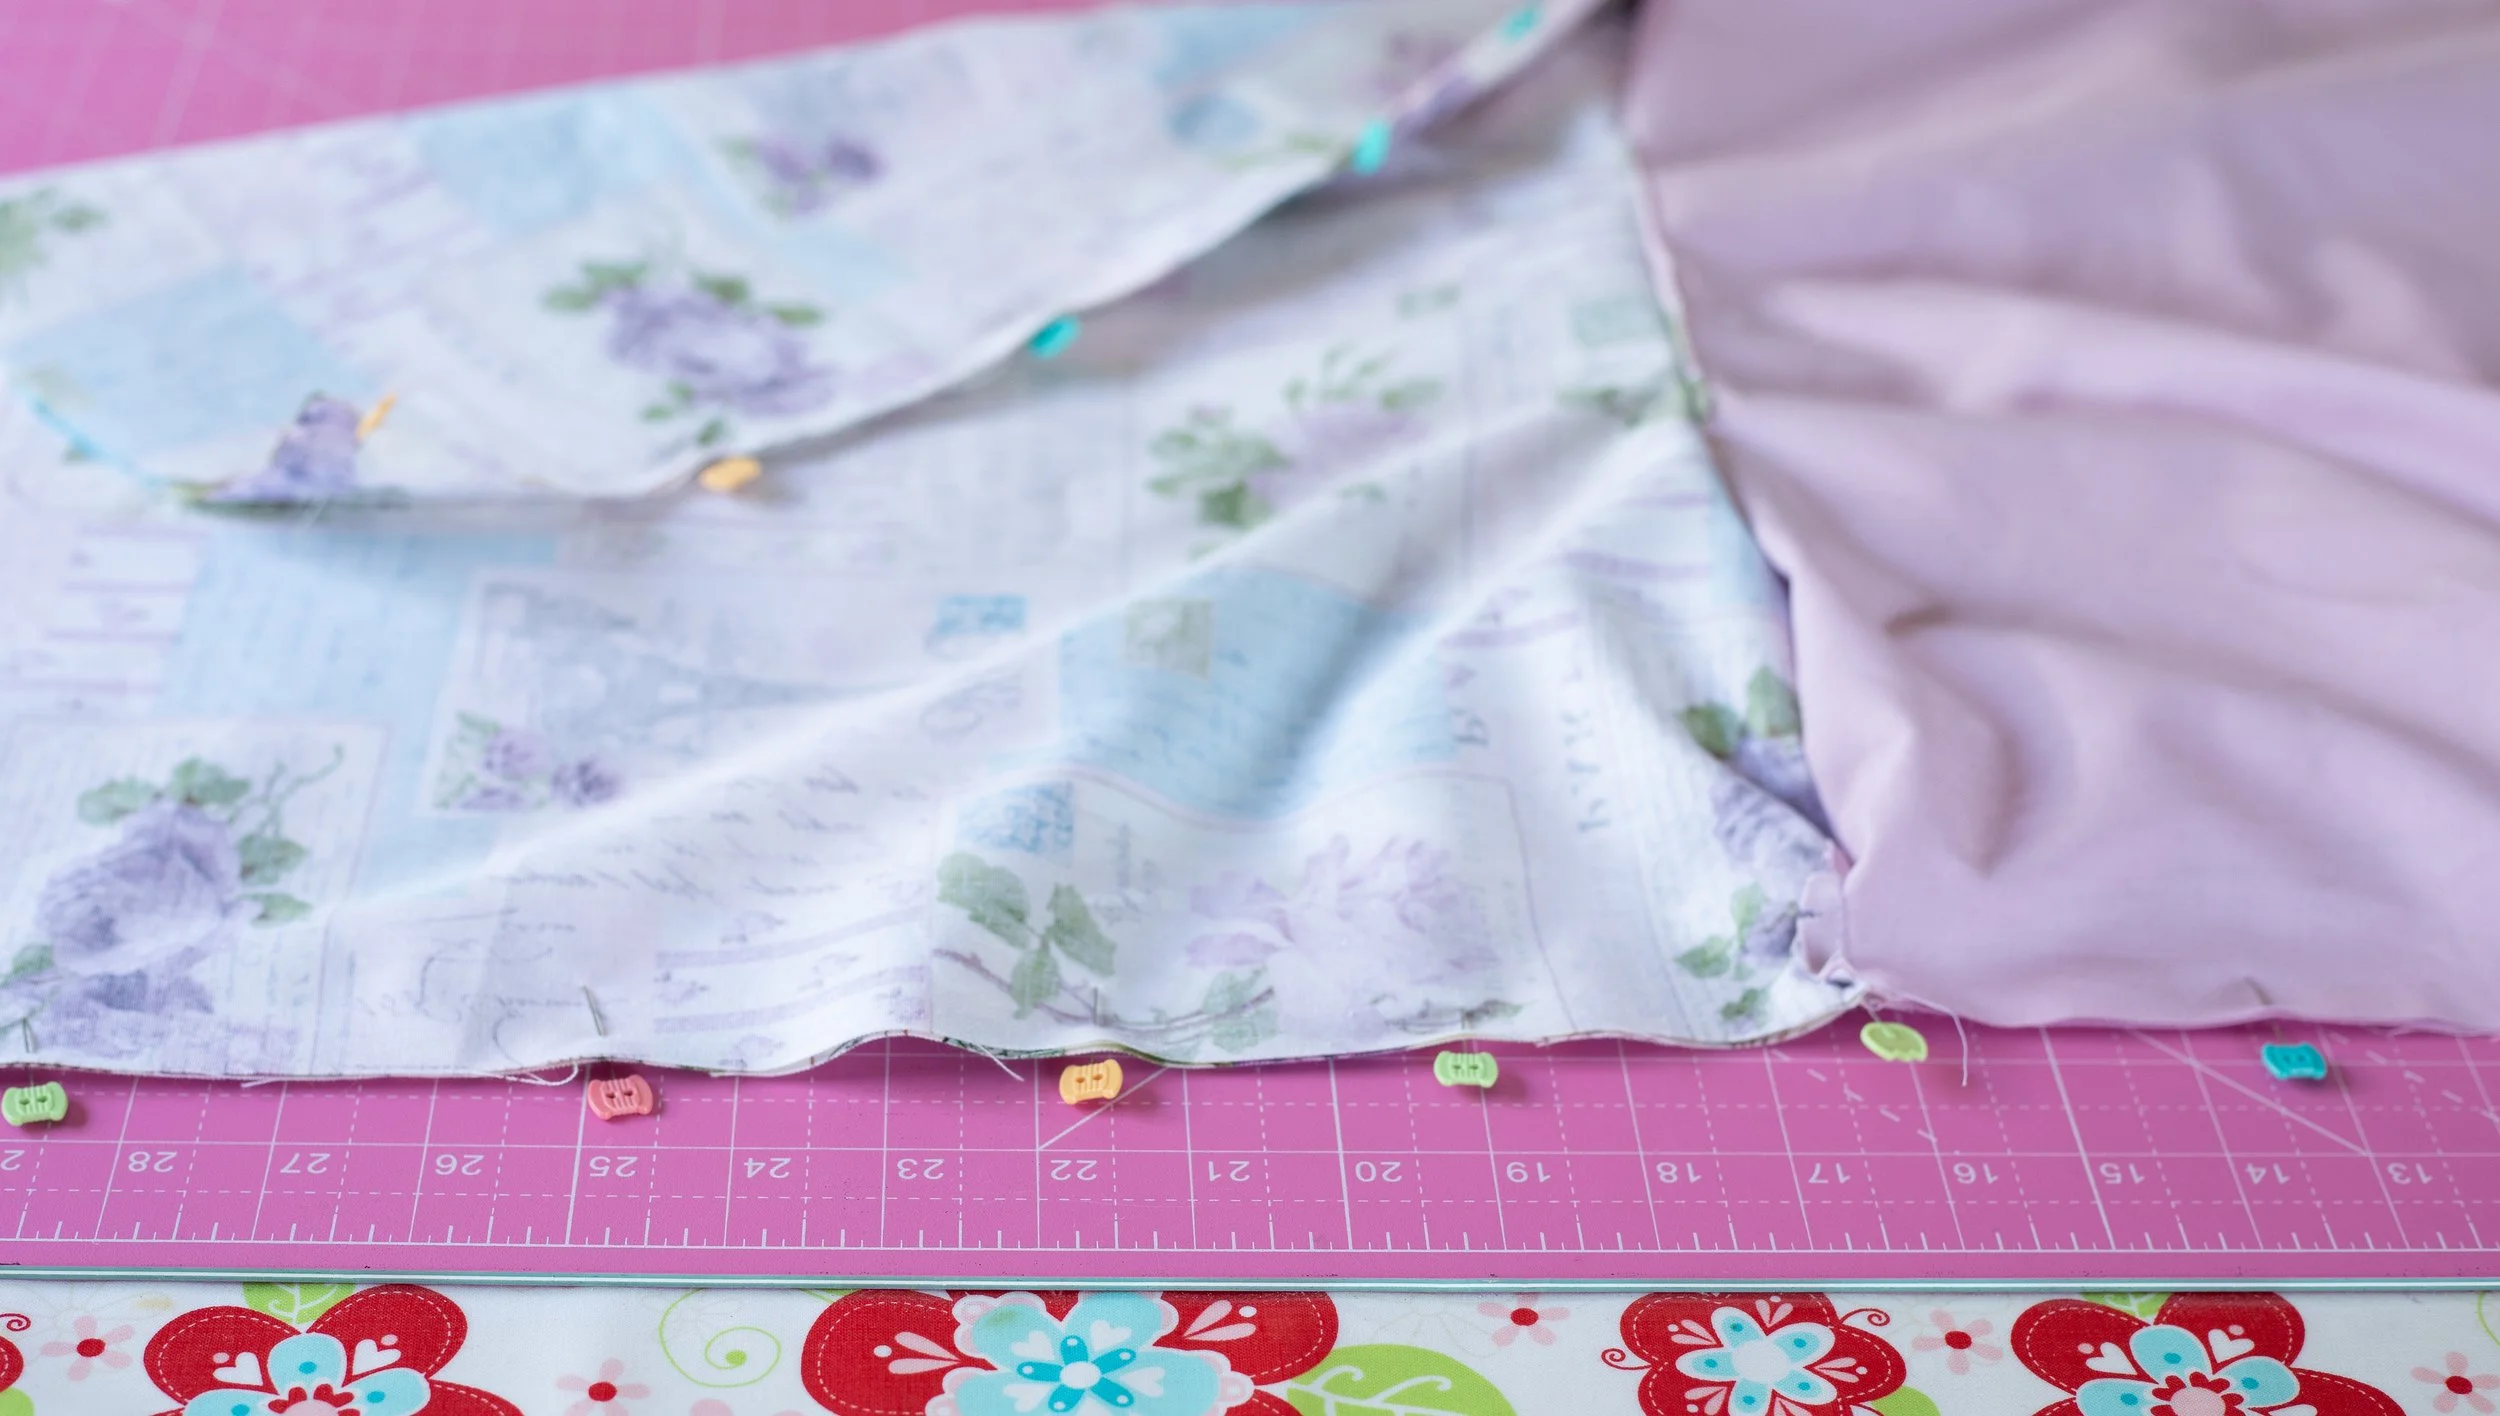
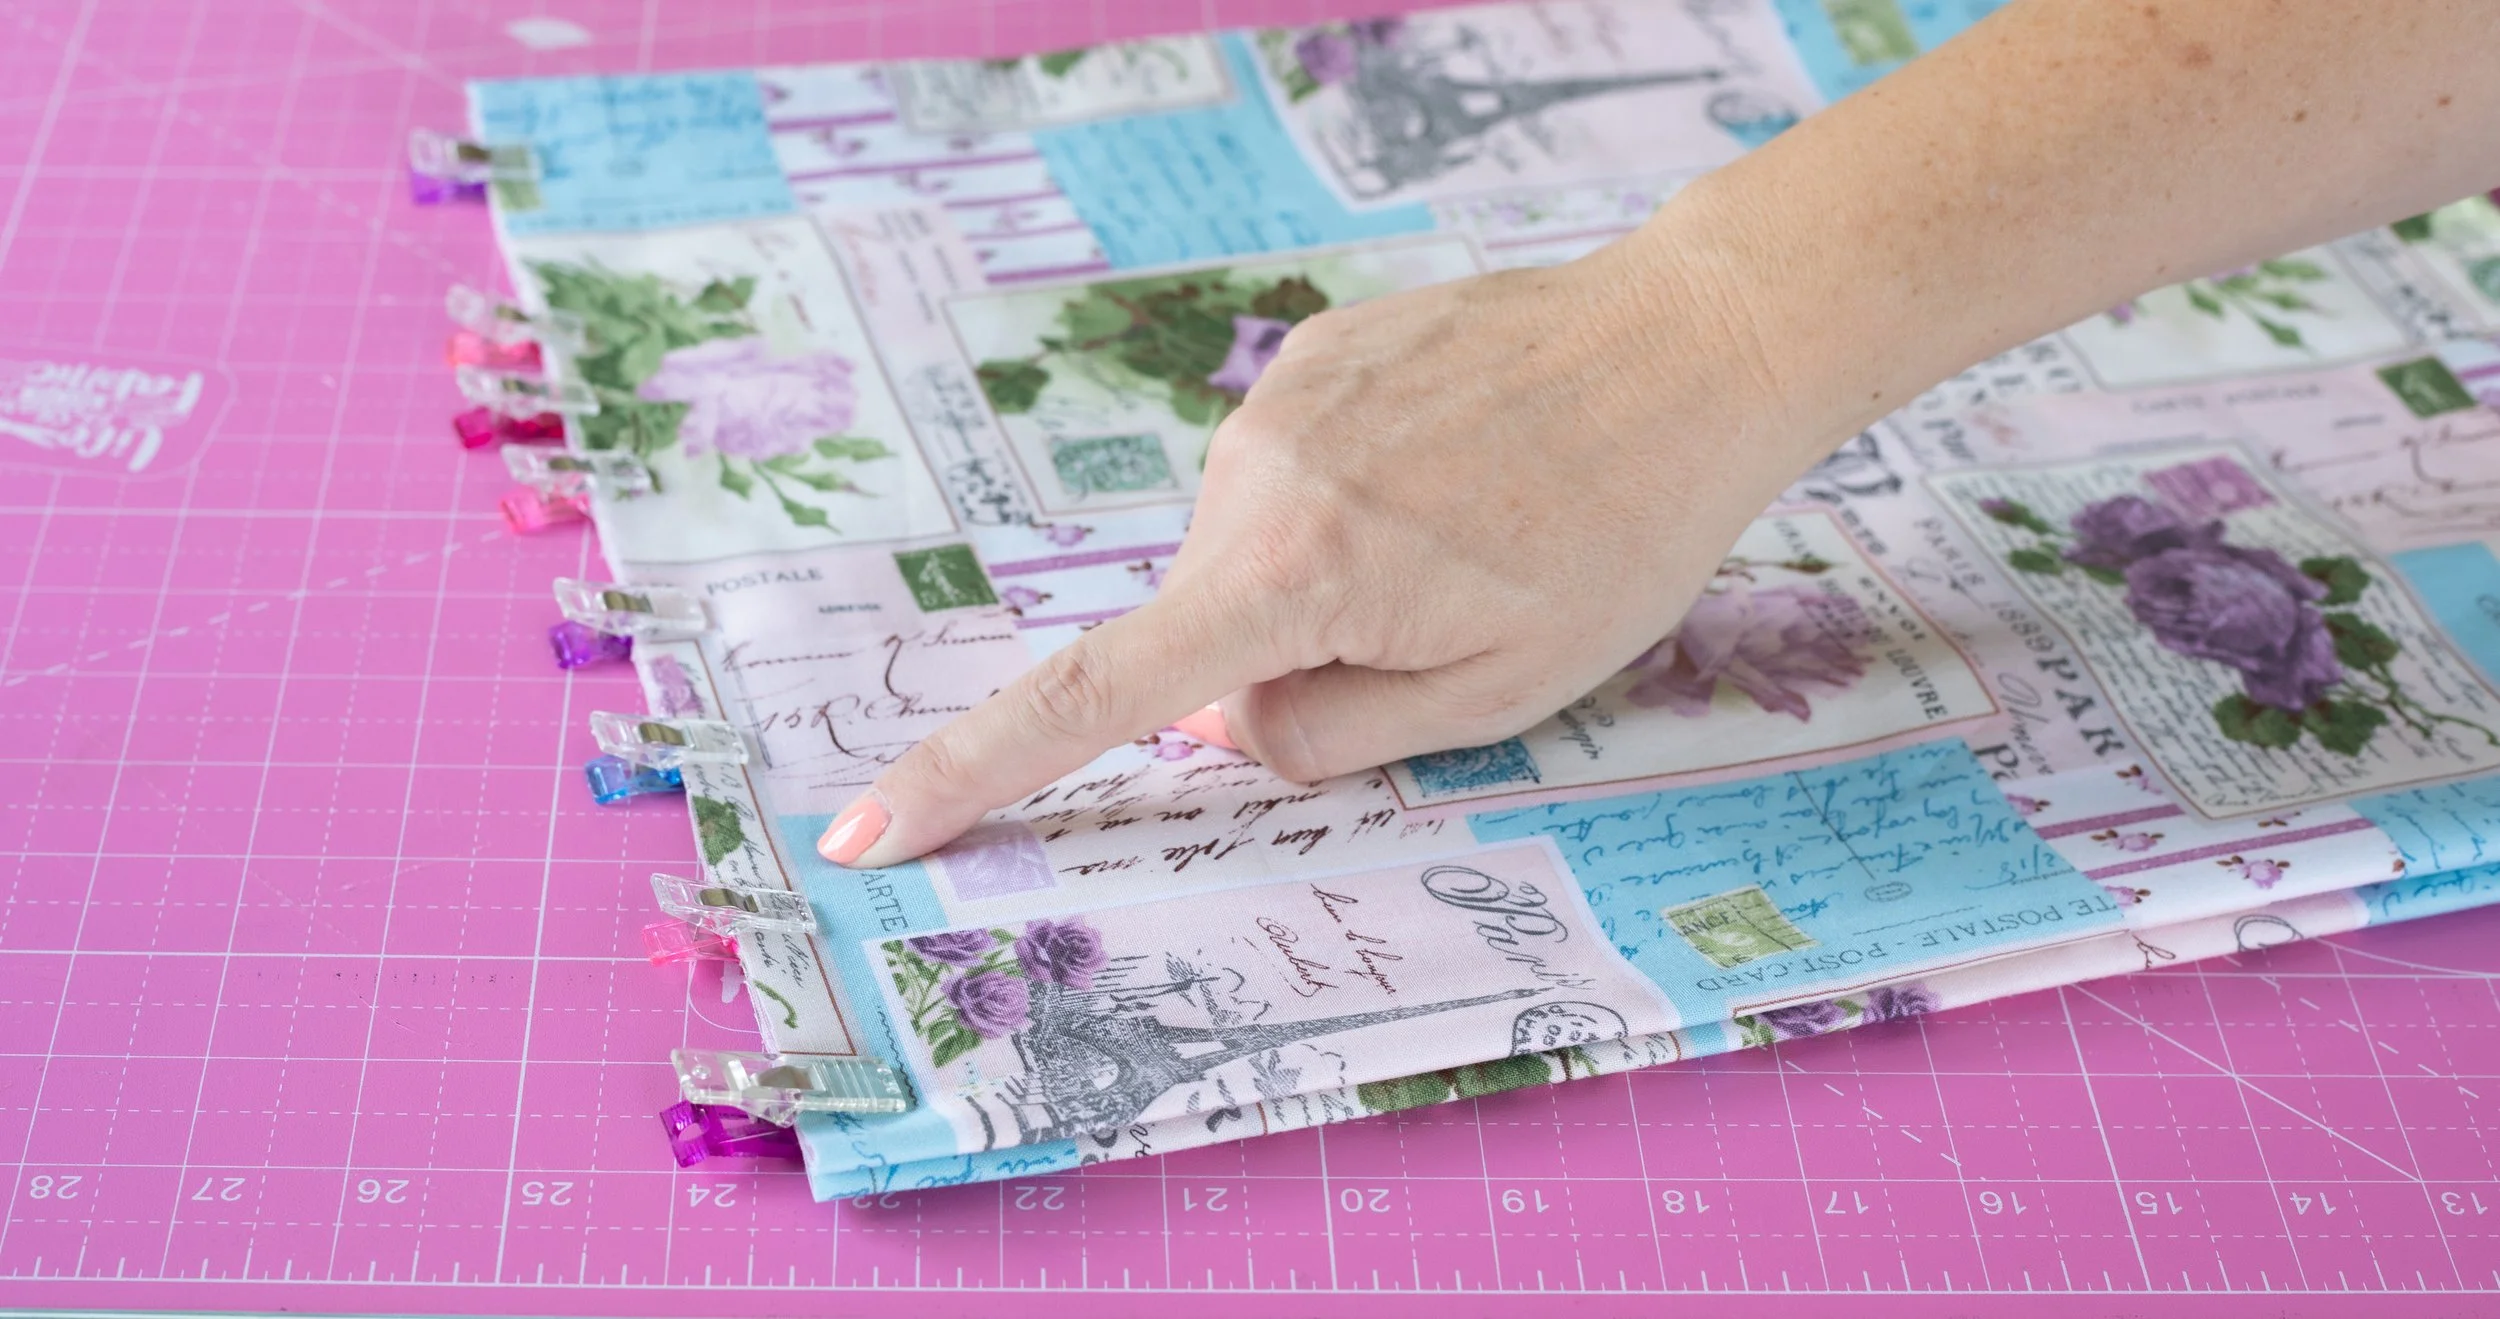
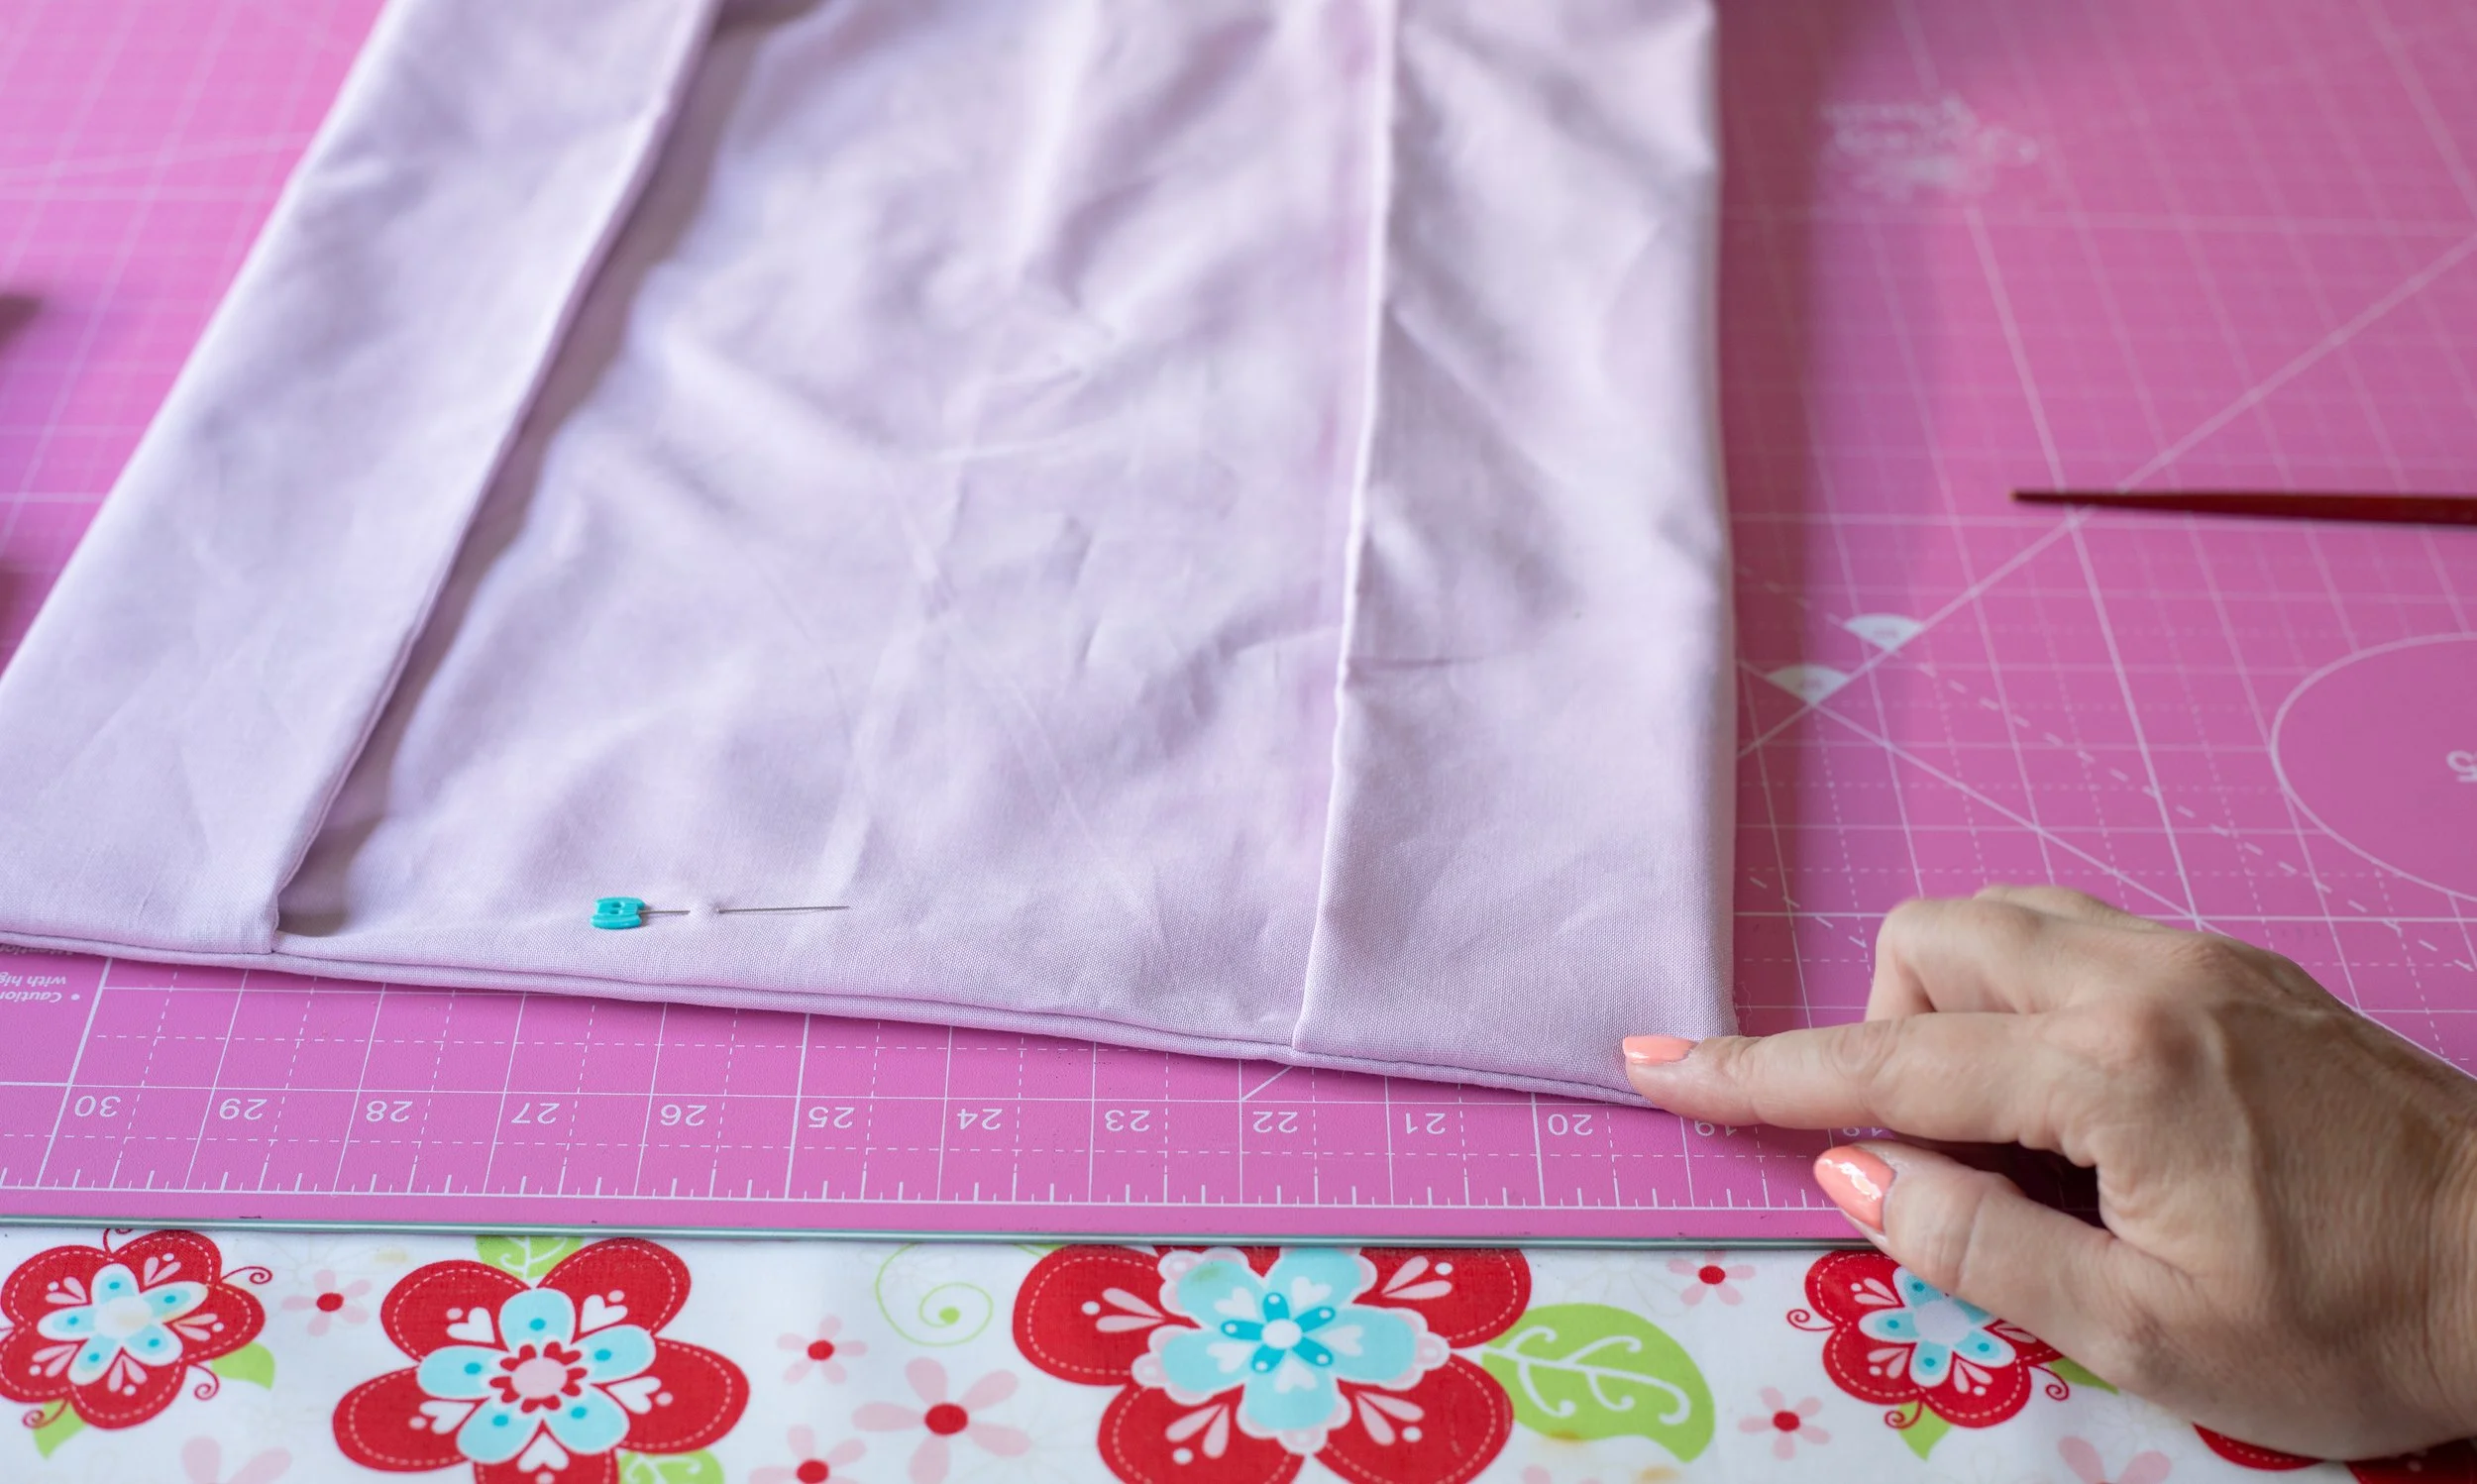
Even up the bottom edge, if needed.
ADDING A SNAP
Use clips to keep all the bottom layers together. You have to fold it to figure out where the snap will go. So, this helps keep the layers together.
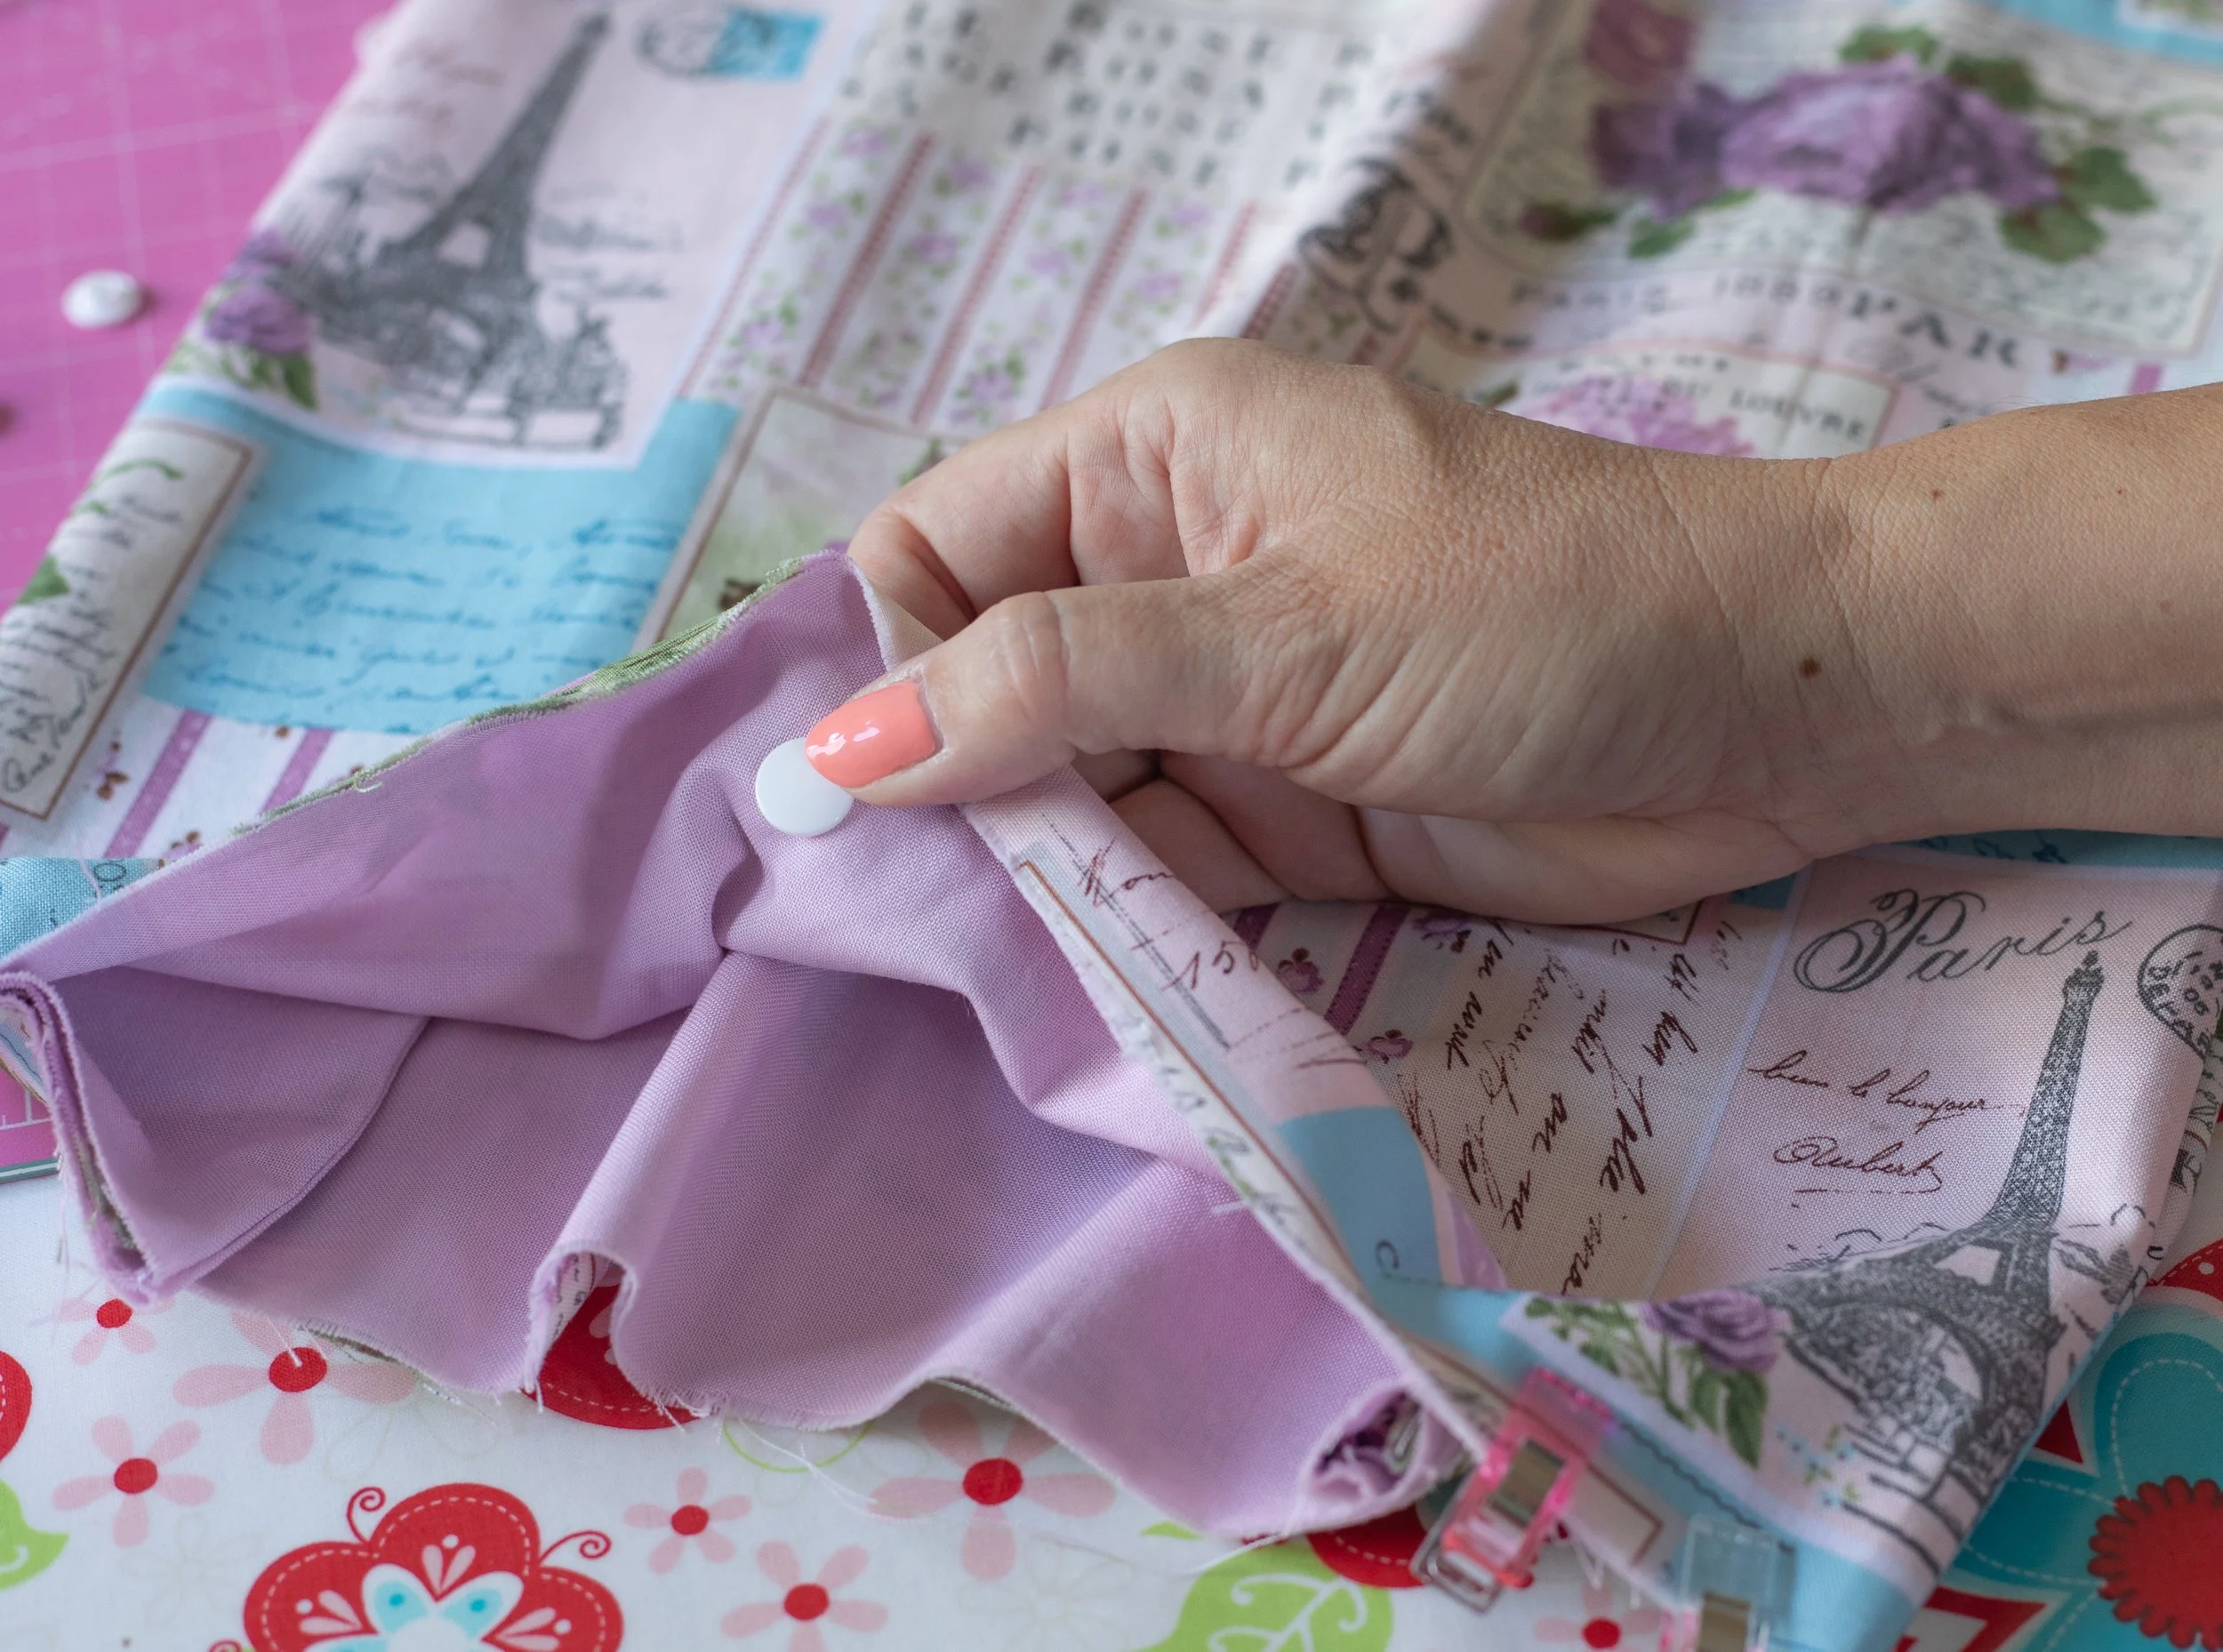
Fold in half longways, like a hot dog. Fold in half again, like a super skinny rectangle.
Next, you’ll fold the bag into thirds.
Fold the handles towards the middle, then, fold over again.
This folding method keeps the handles neatly inside. If you fold it opposite, the handles flap around all willy-nilly.

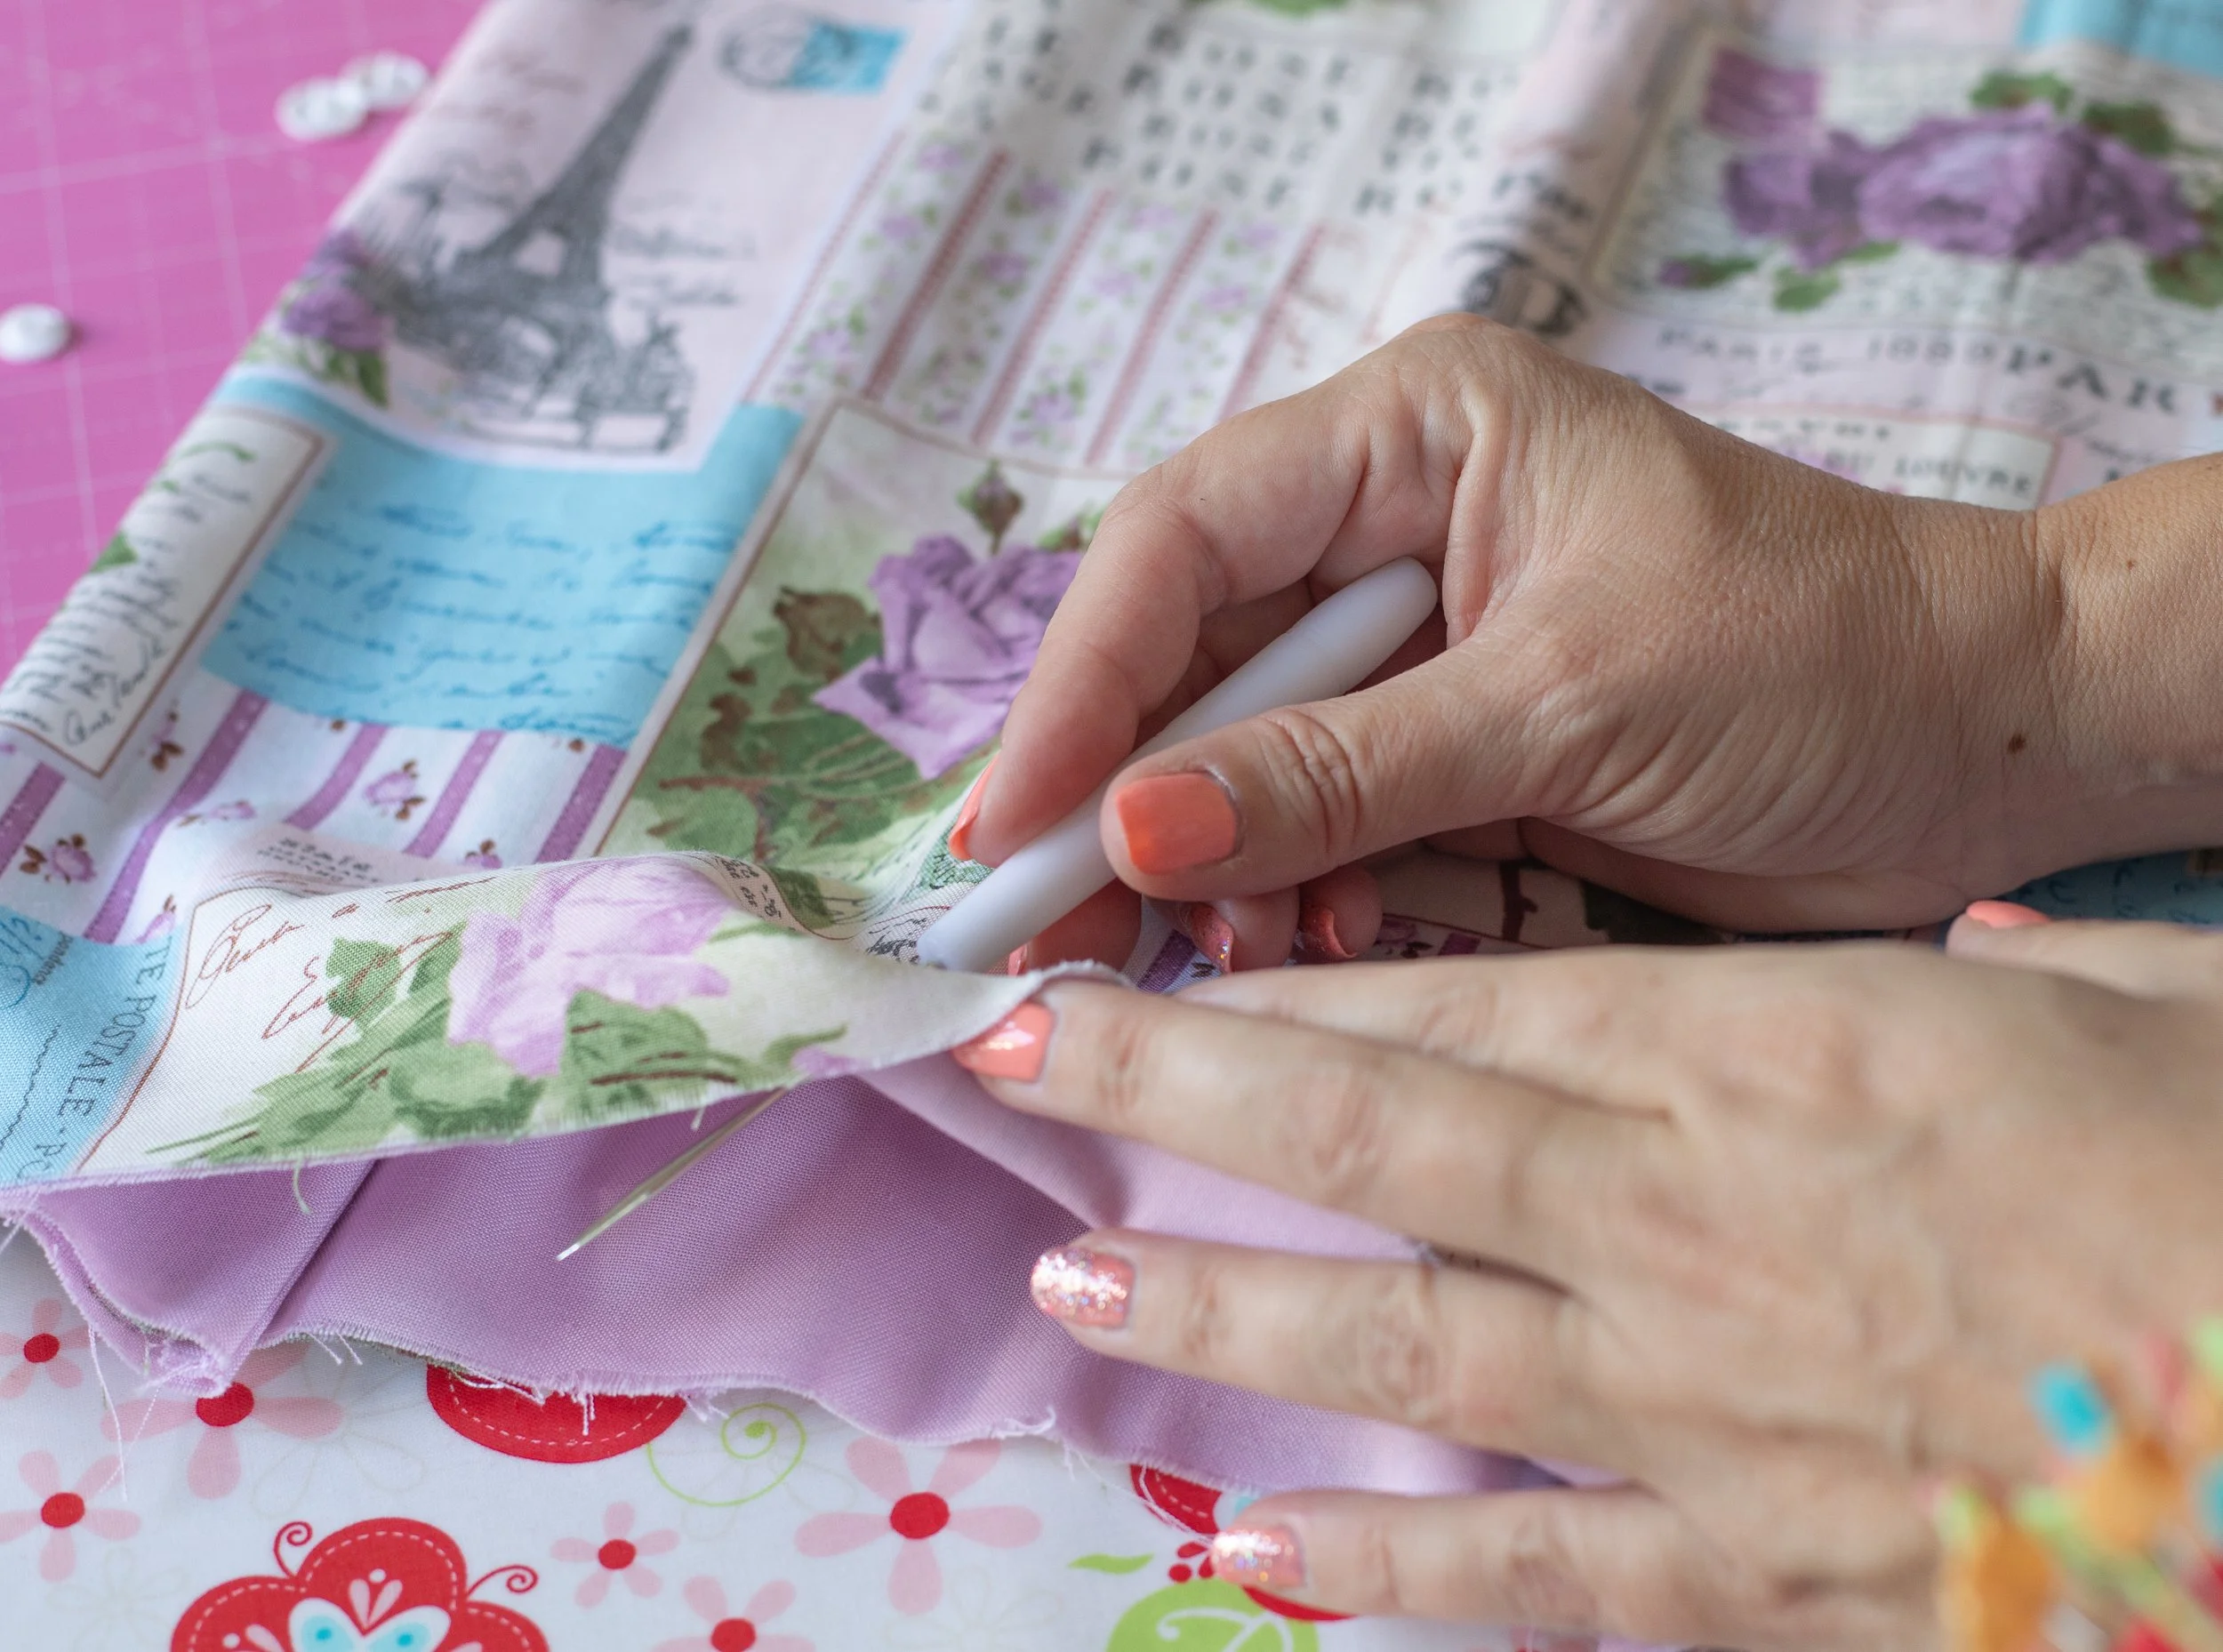
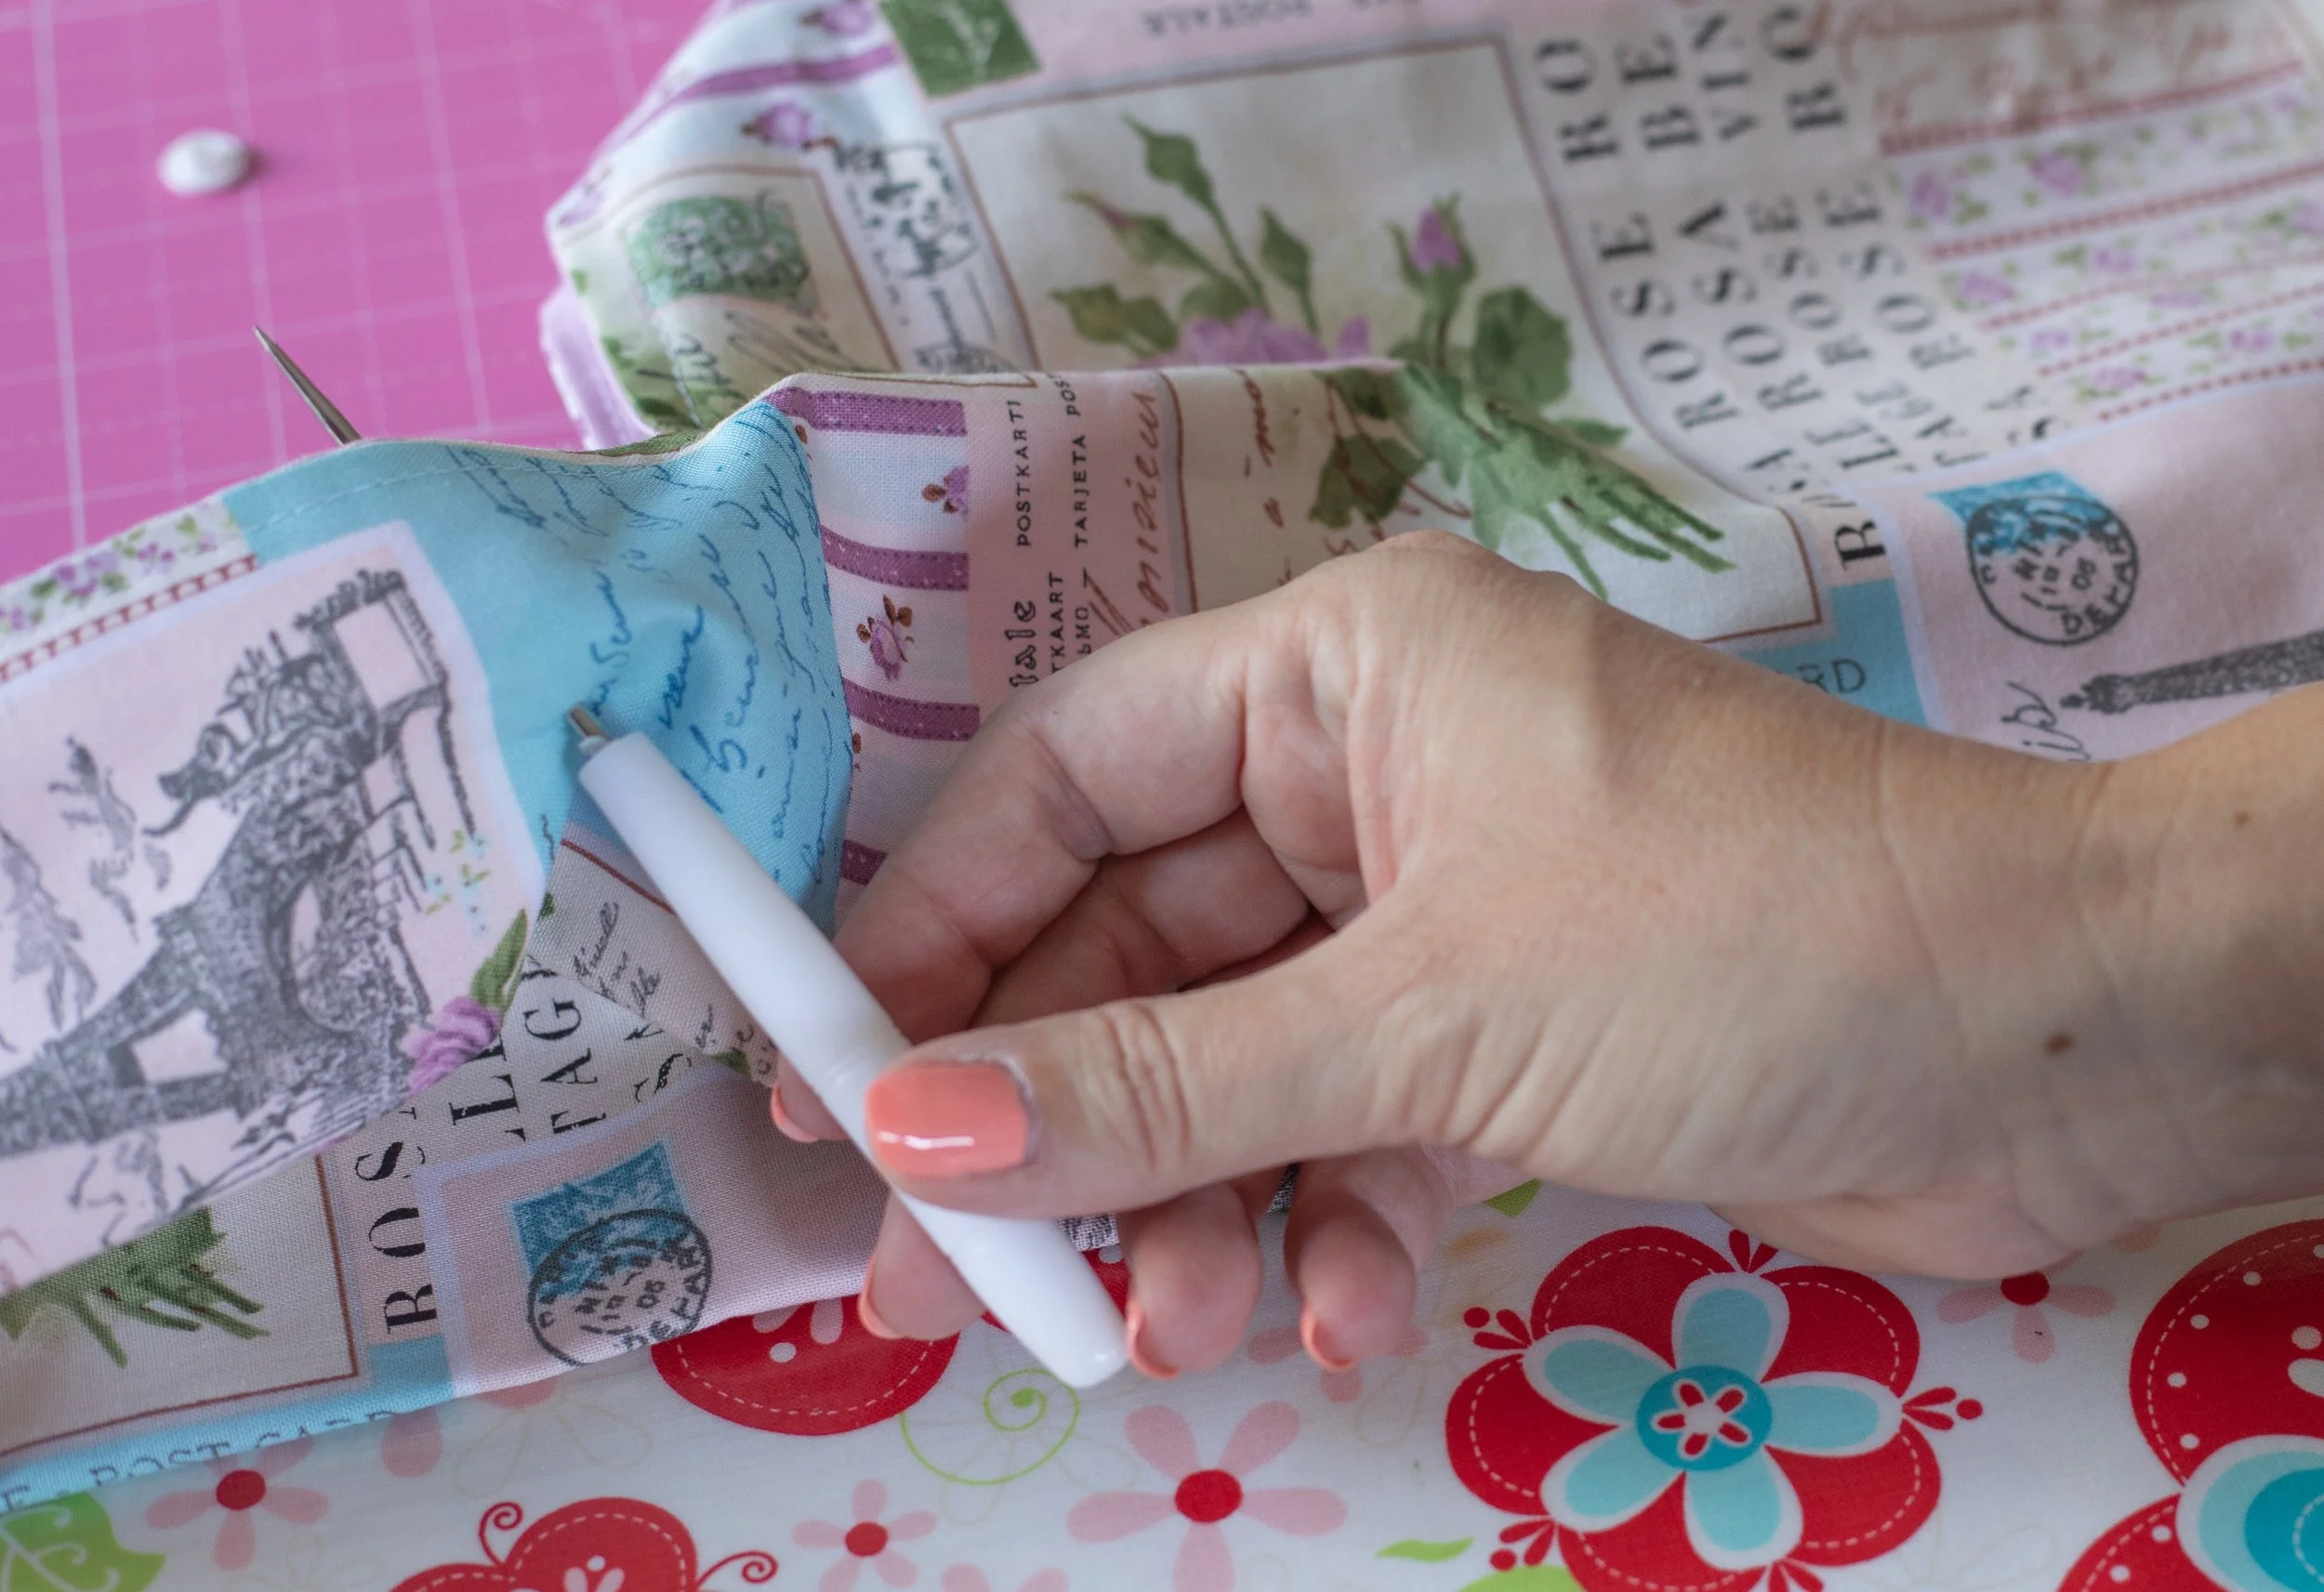
Next, grab a chalk pen or something similar. You will mark where the snaps need to be inserted.
I use chalk, then pins to mark the spot. You are marking the area where the fabric meets. You will insert a snap on each part.
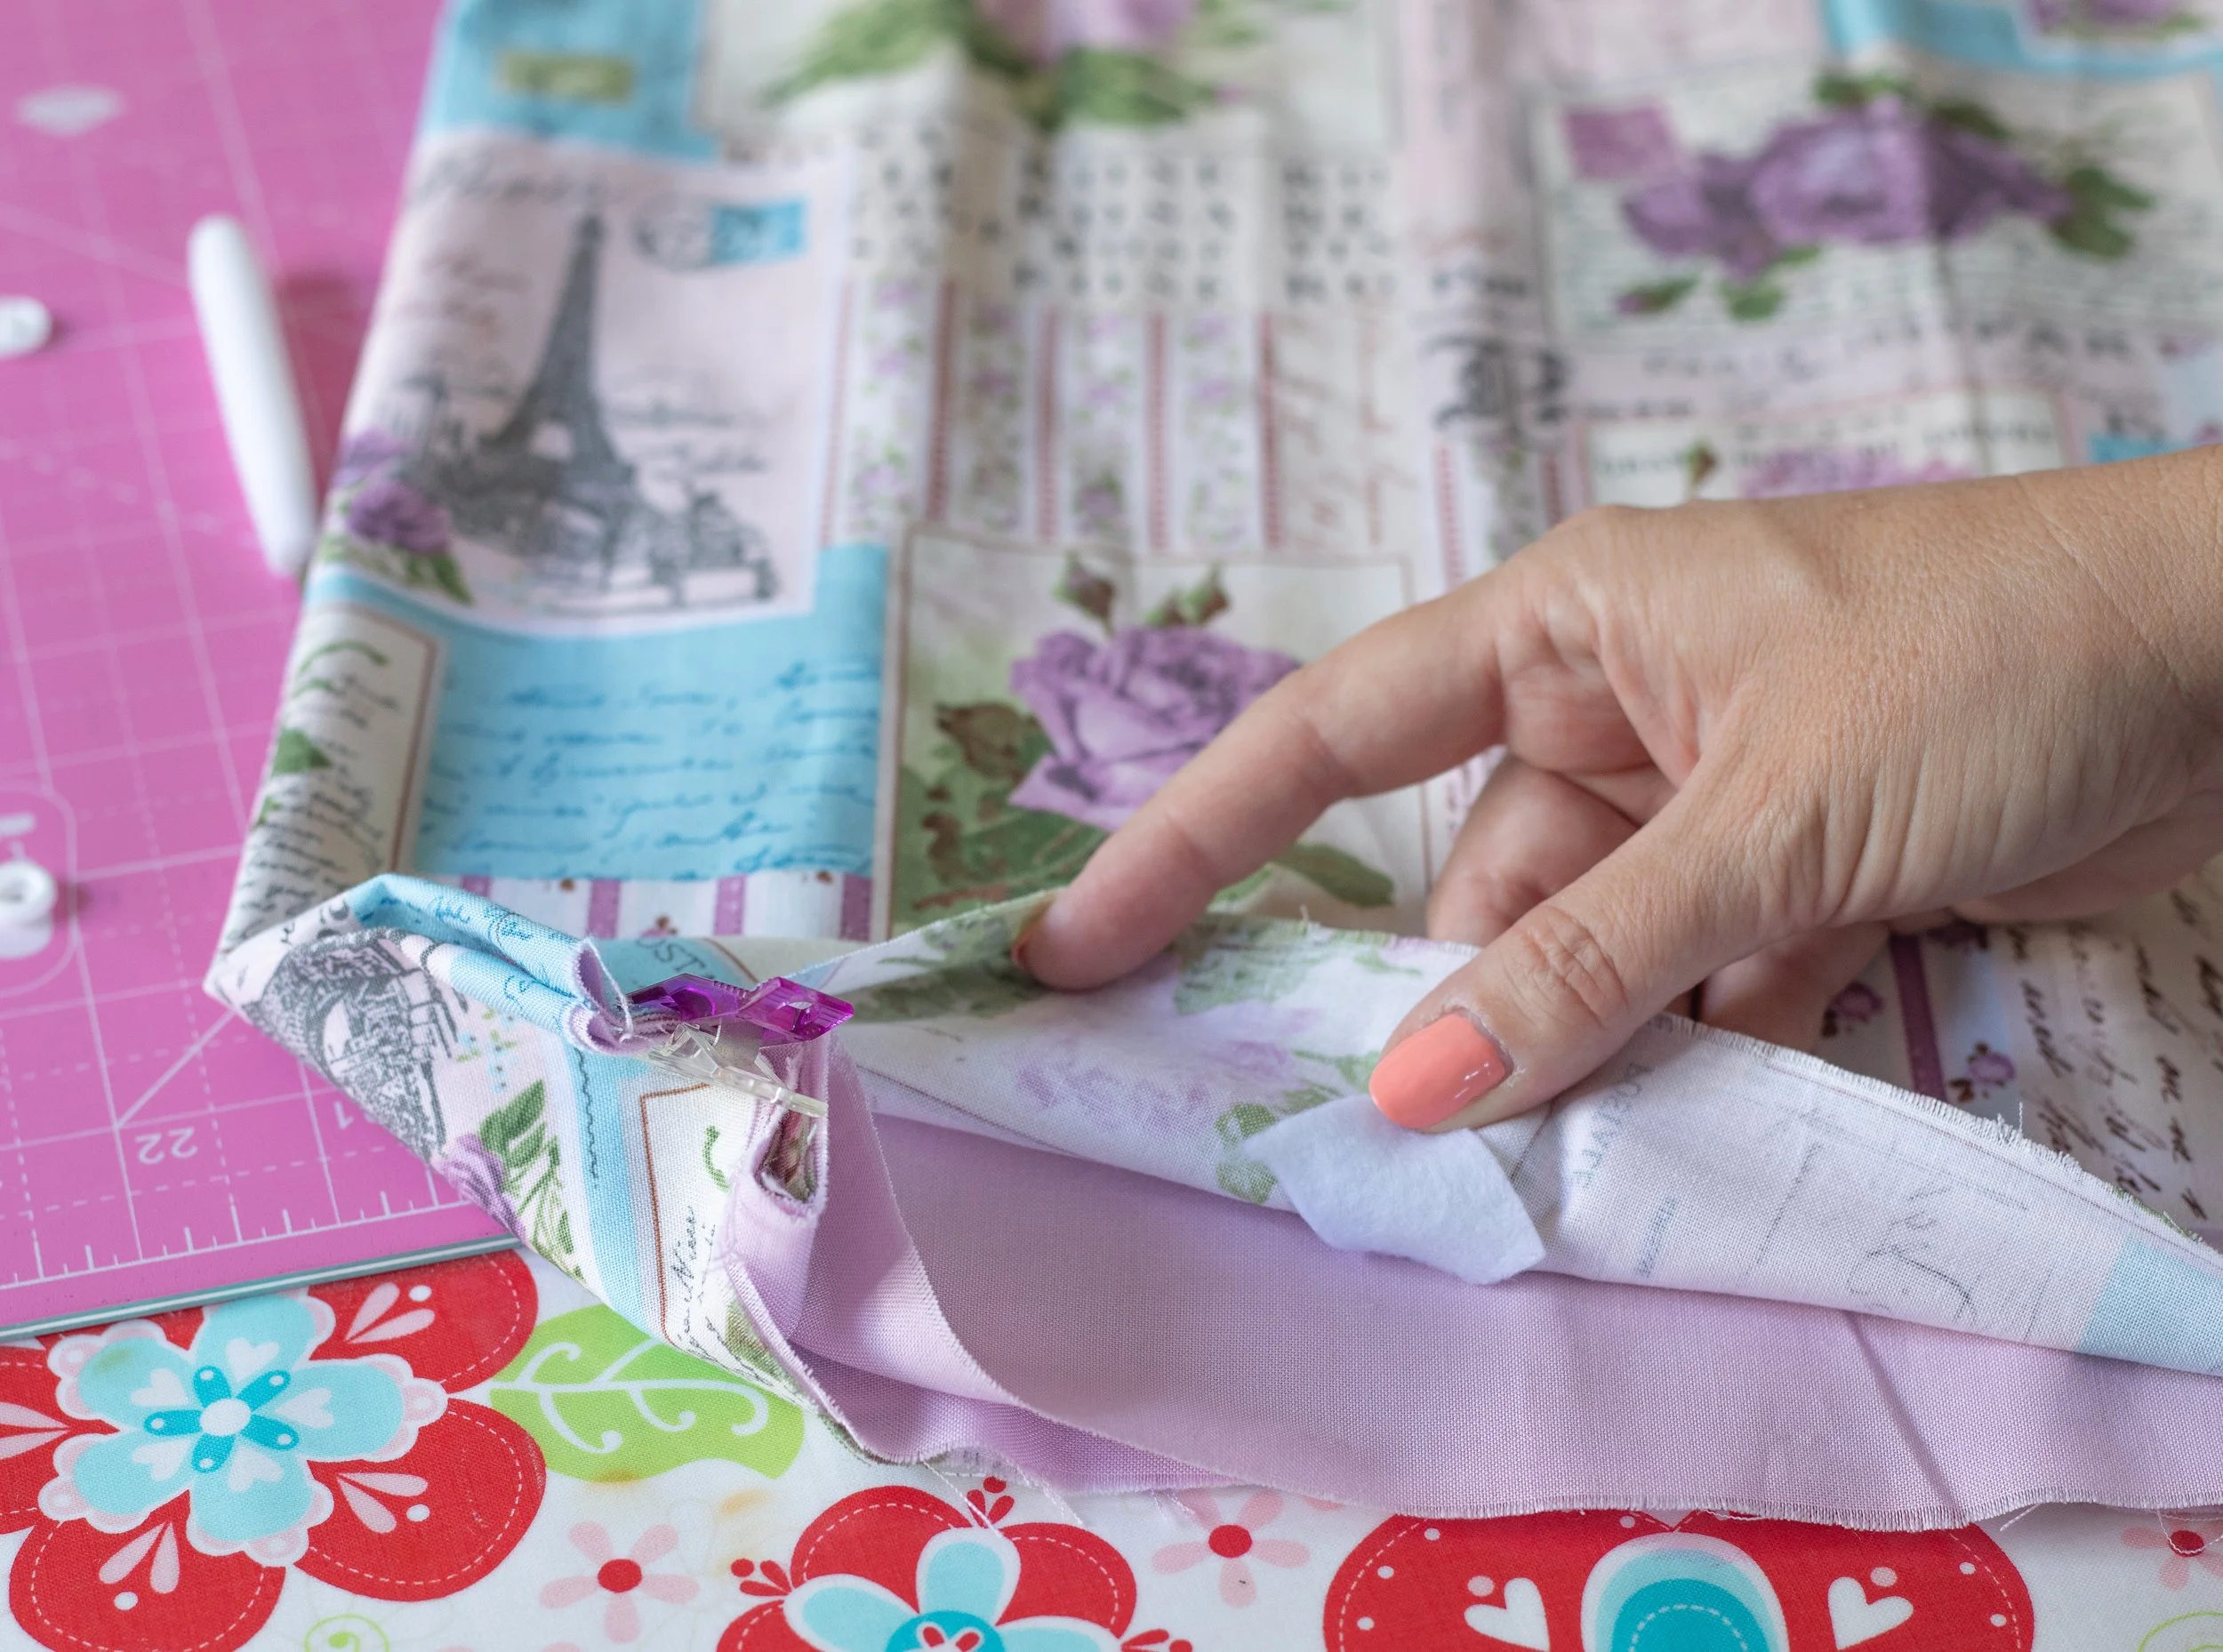
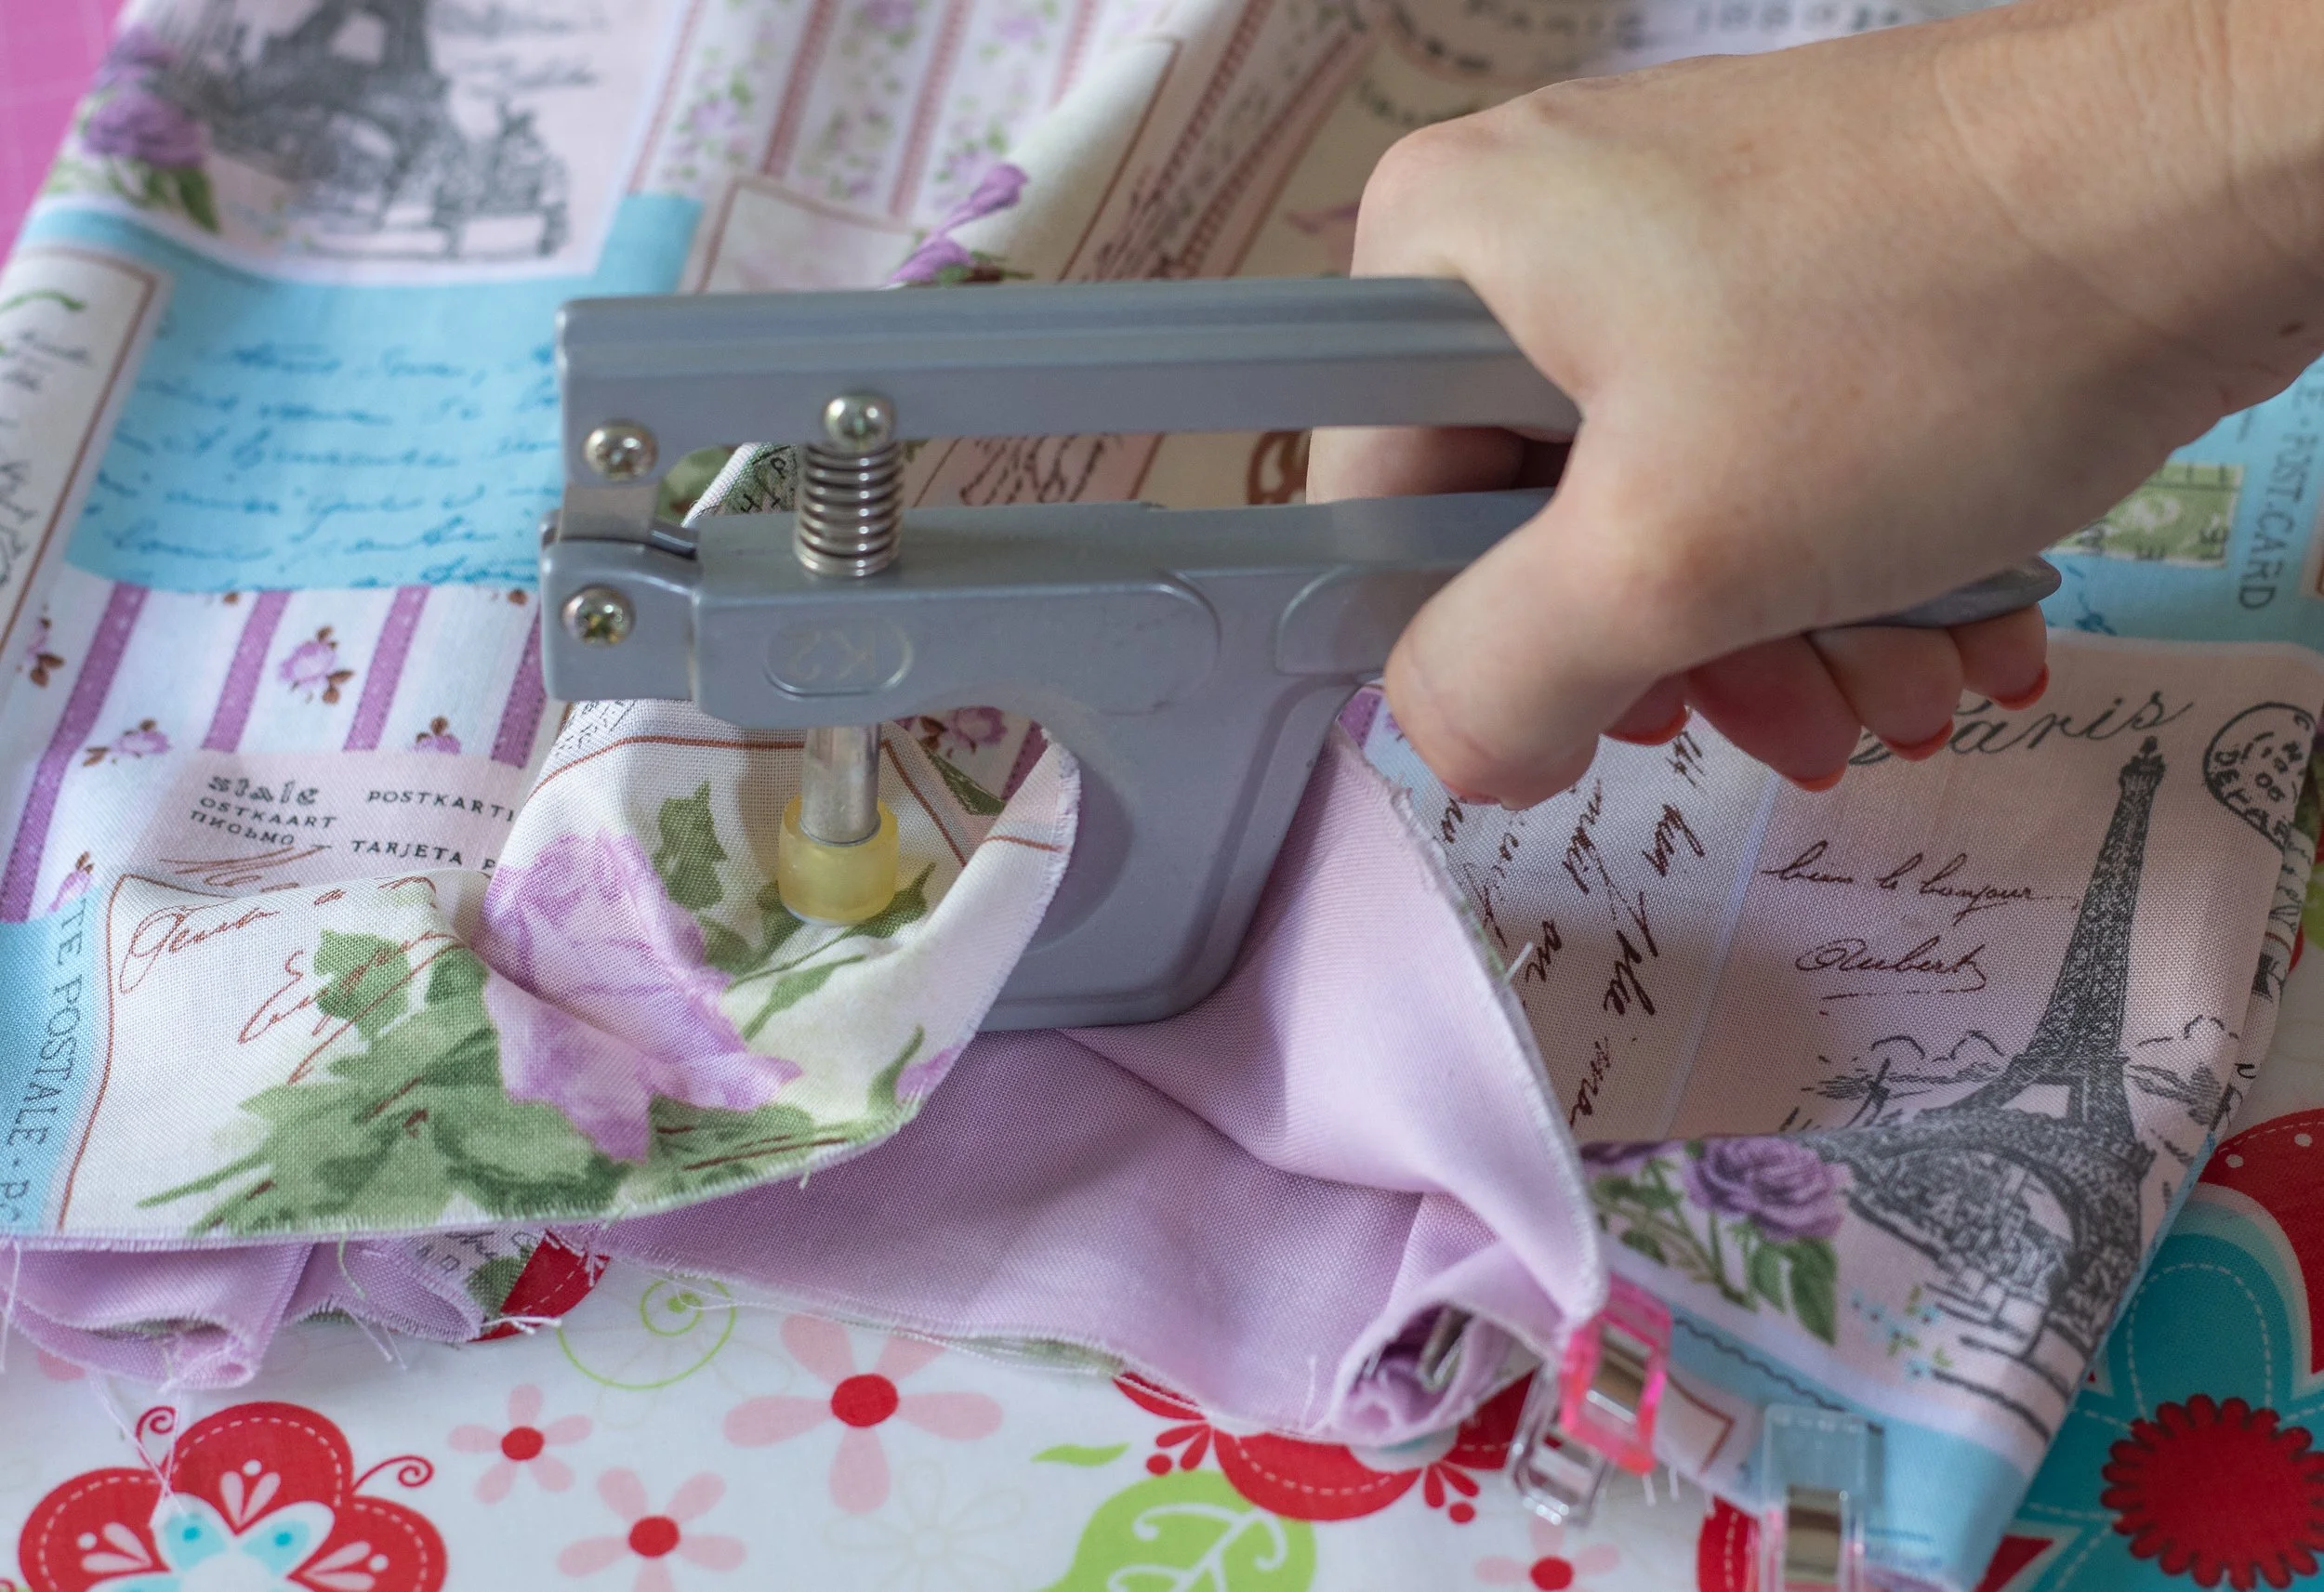
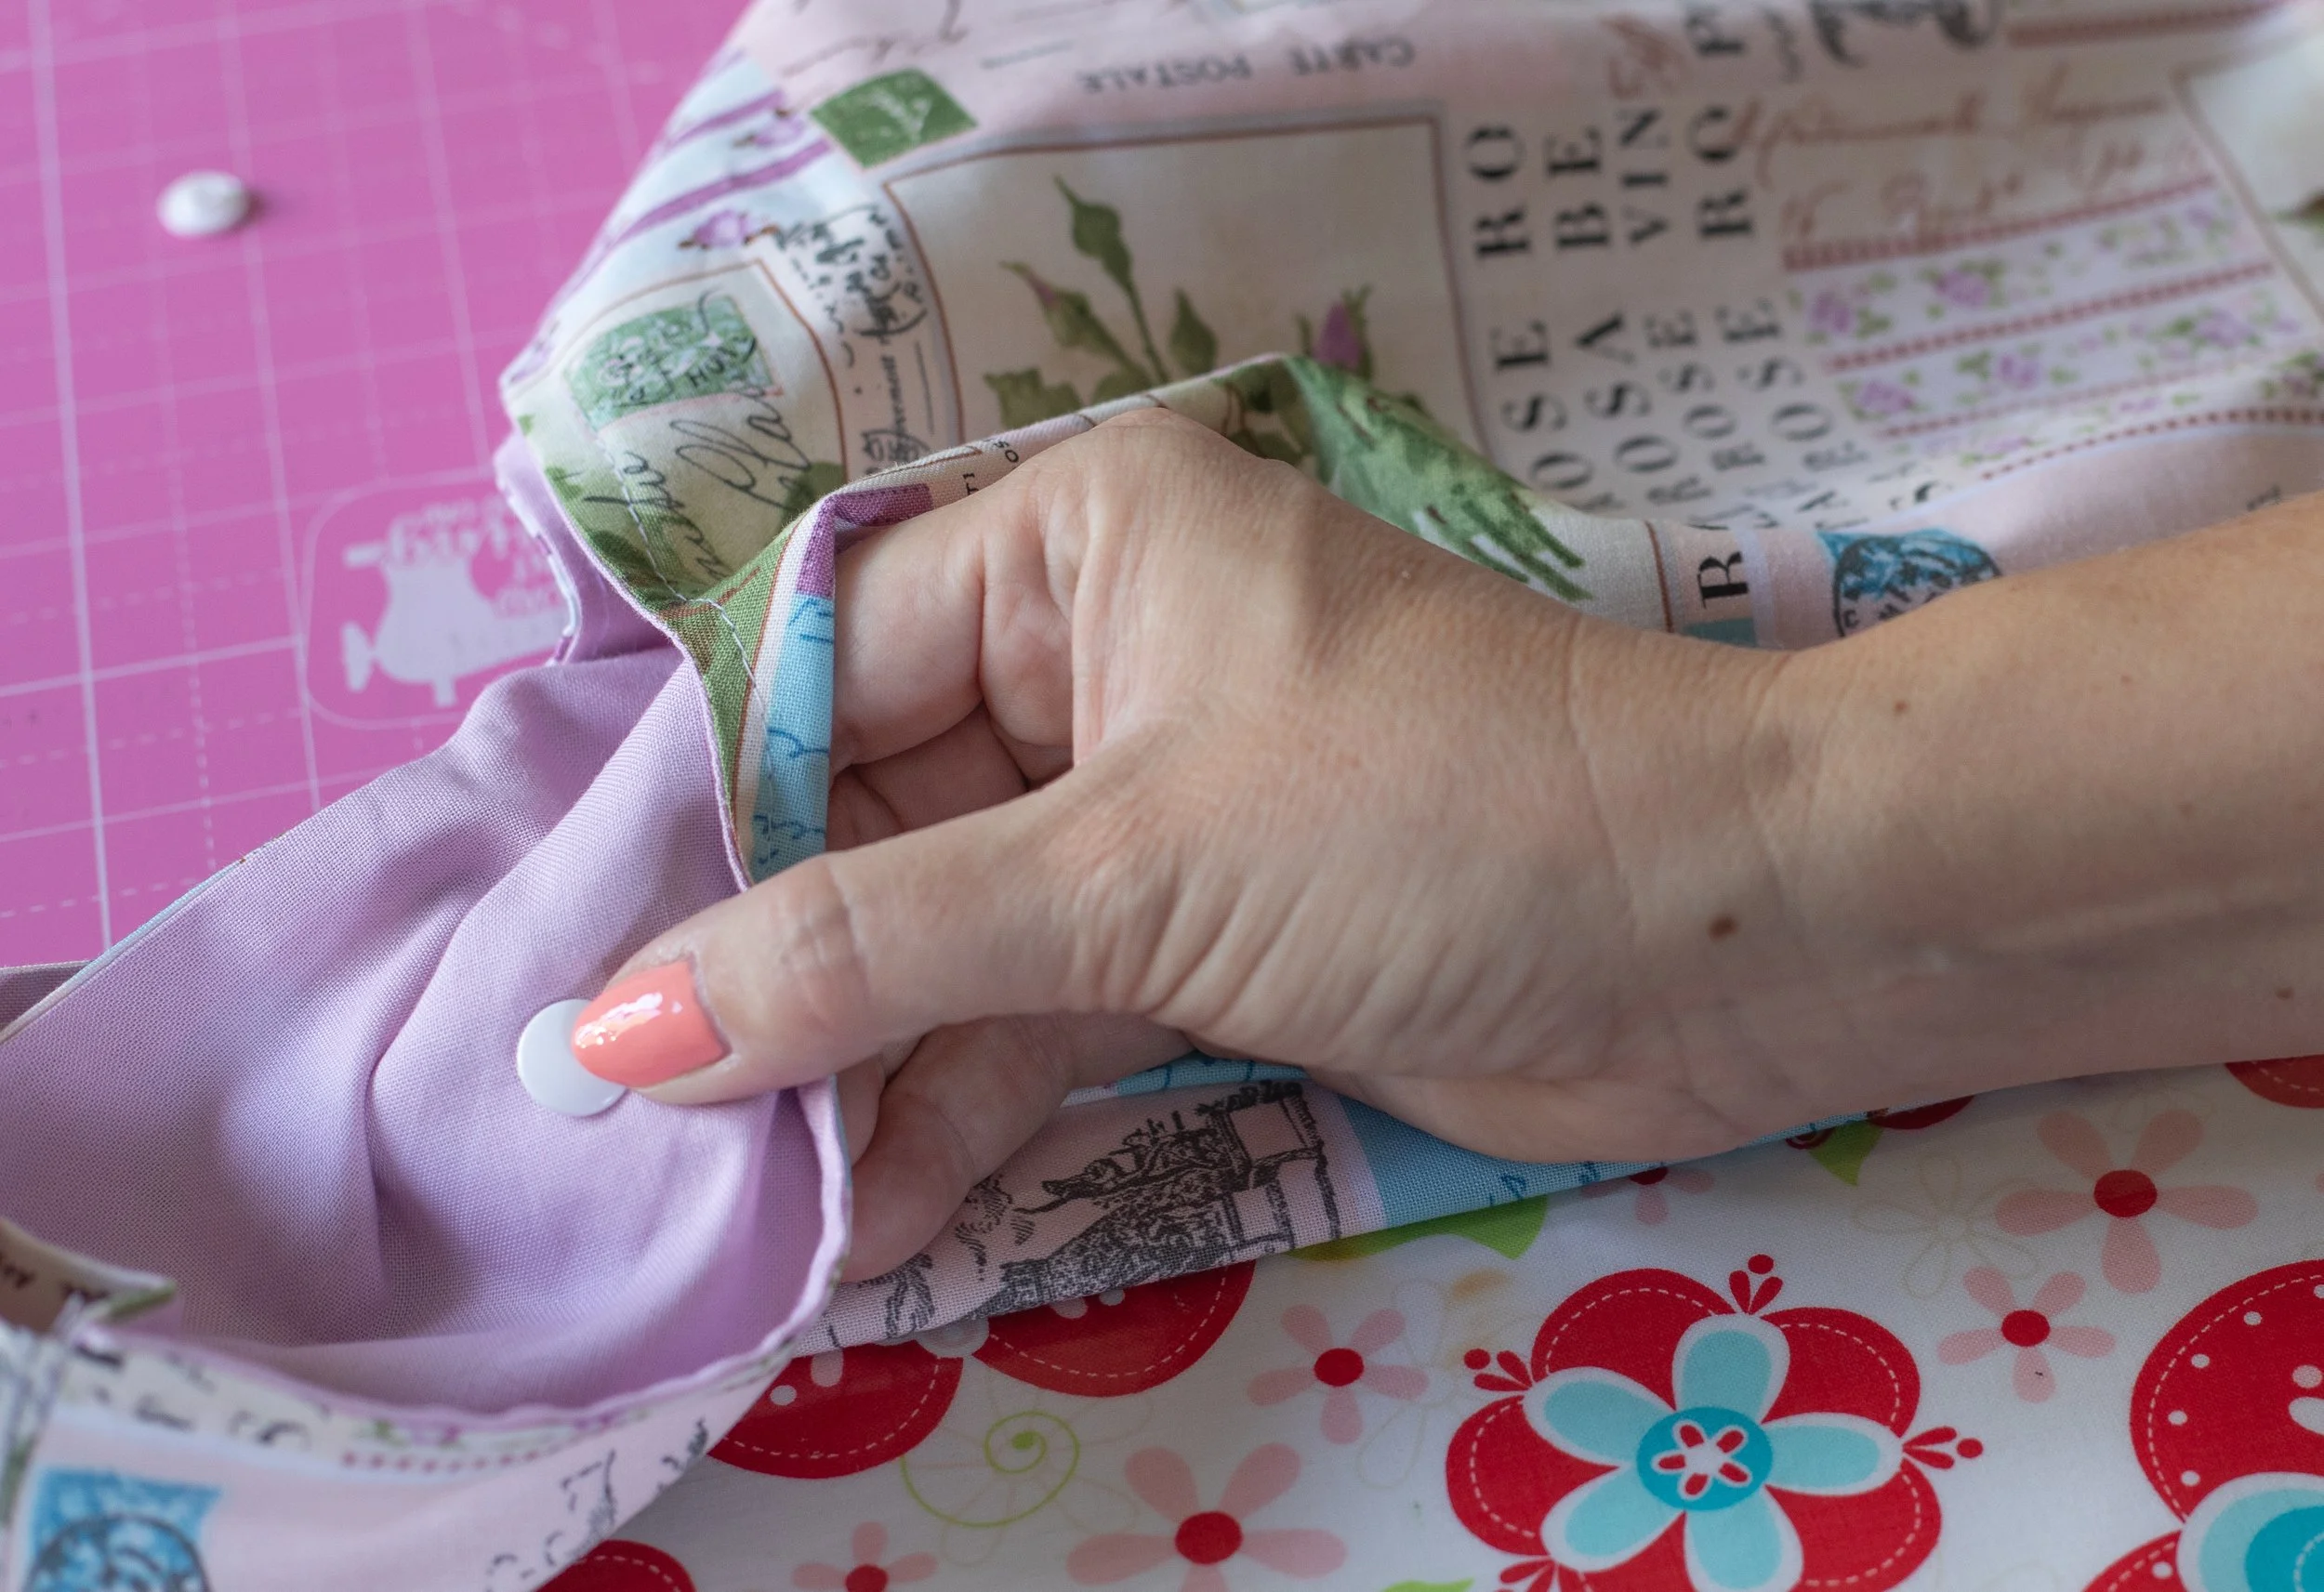
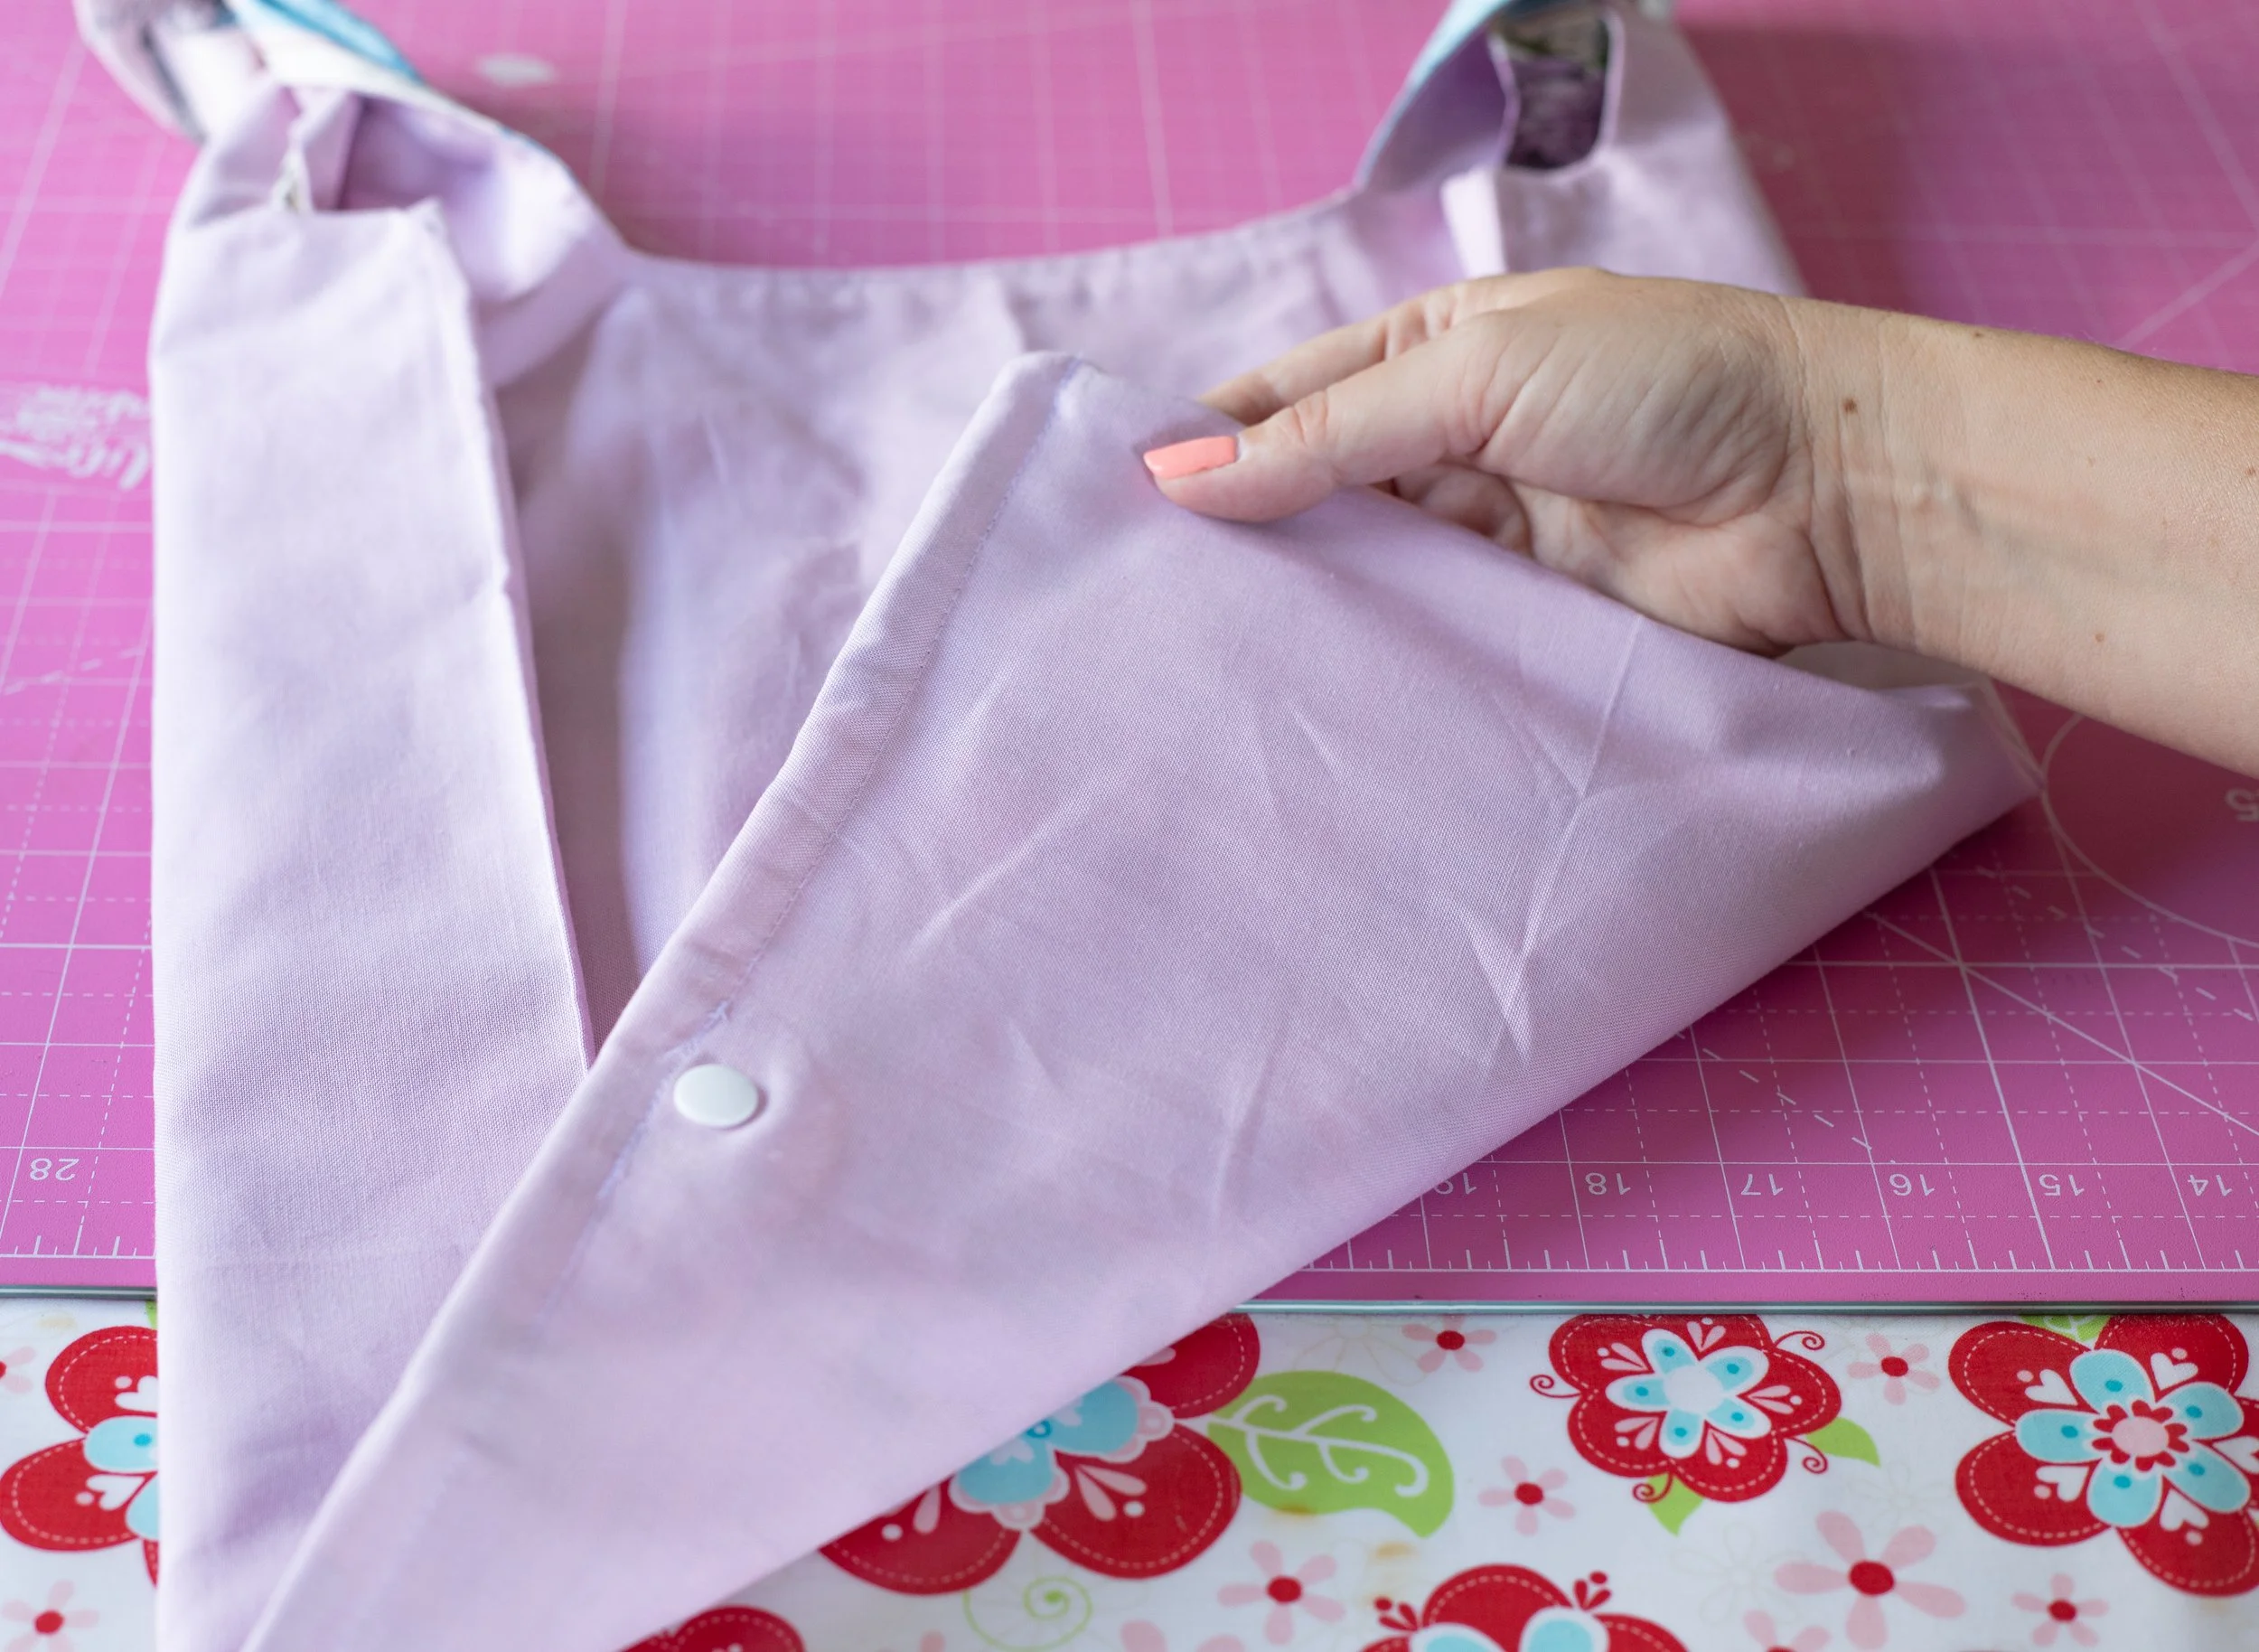
Unfold the bag and grab a tiny scrap of interfacing—about 1” in size, and your KAM snap tool.
Apply your interfacing to the wrong side of the fabric, sandwiching the scrap piece between the lining and outer.
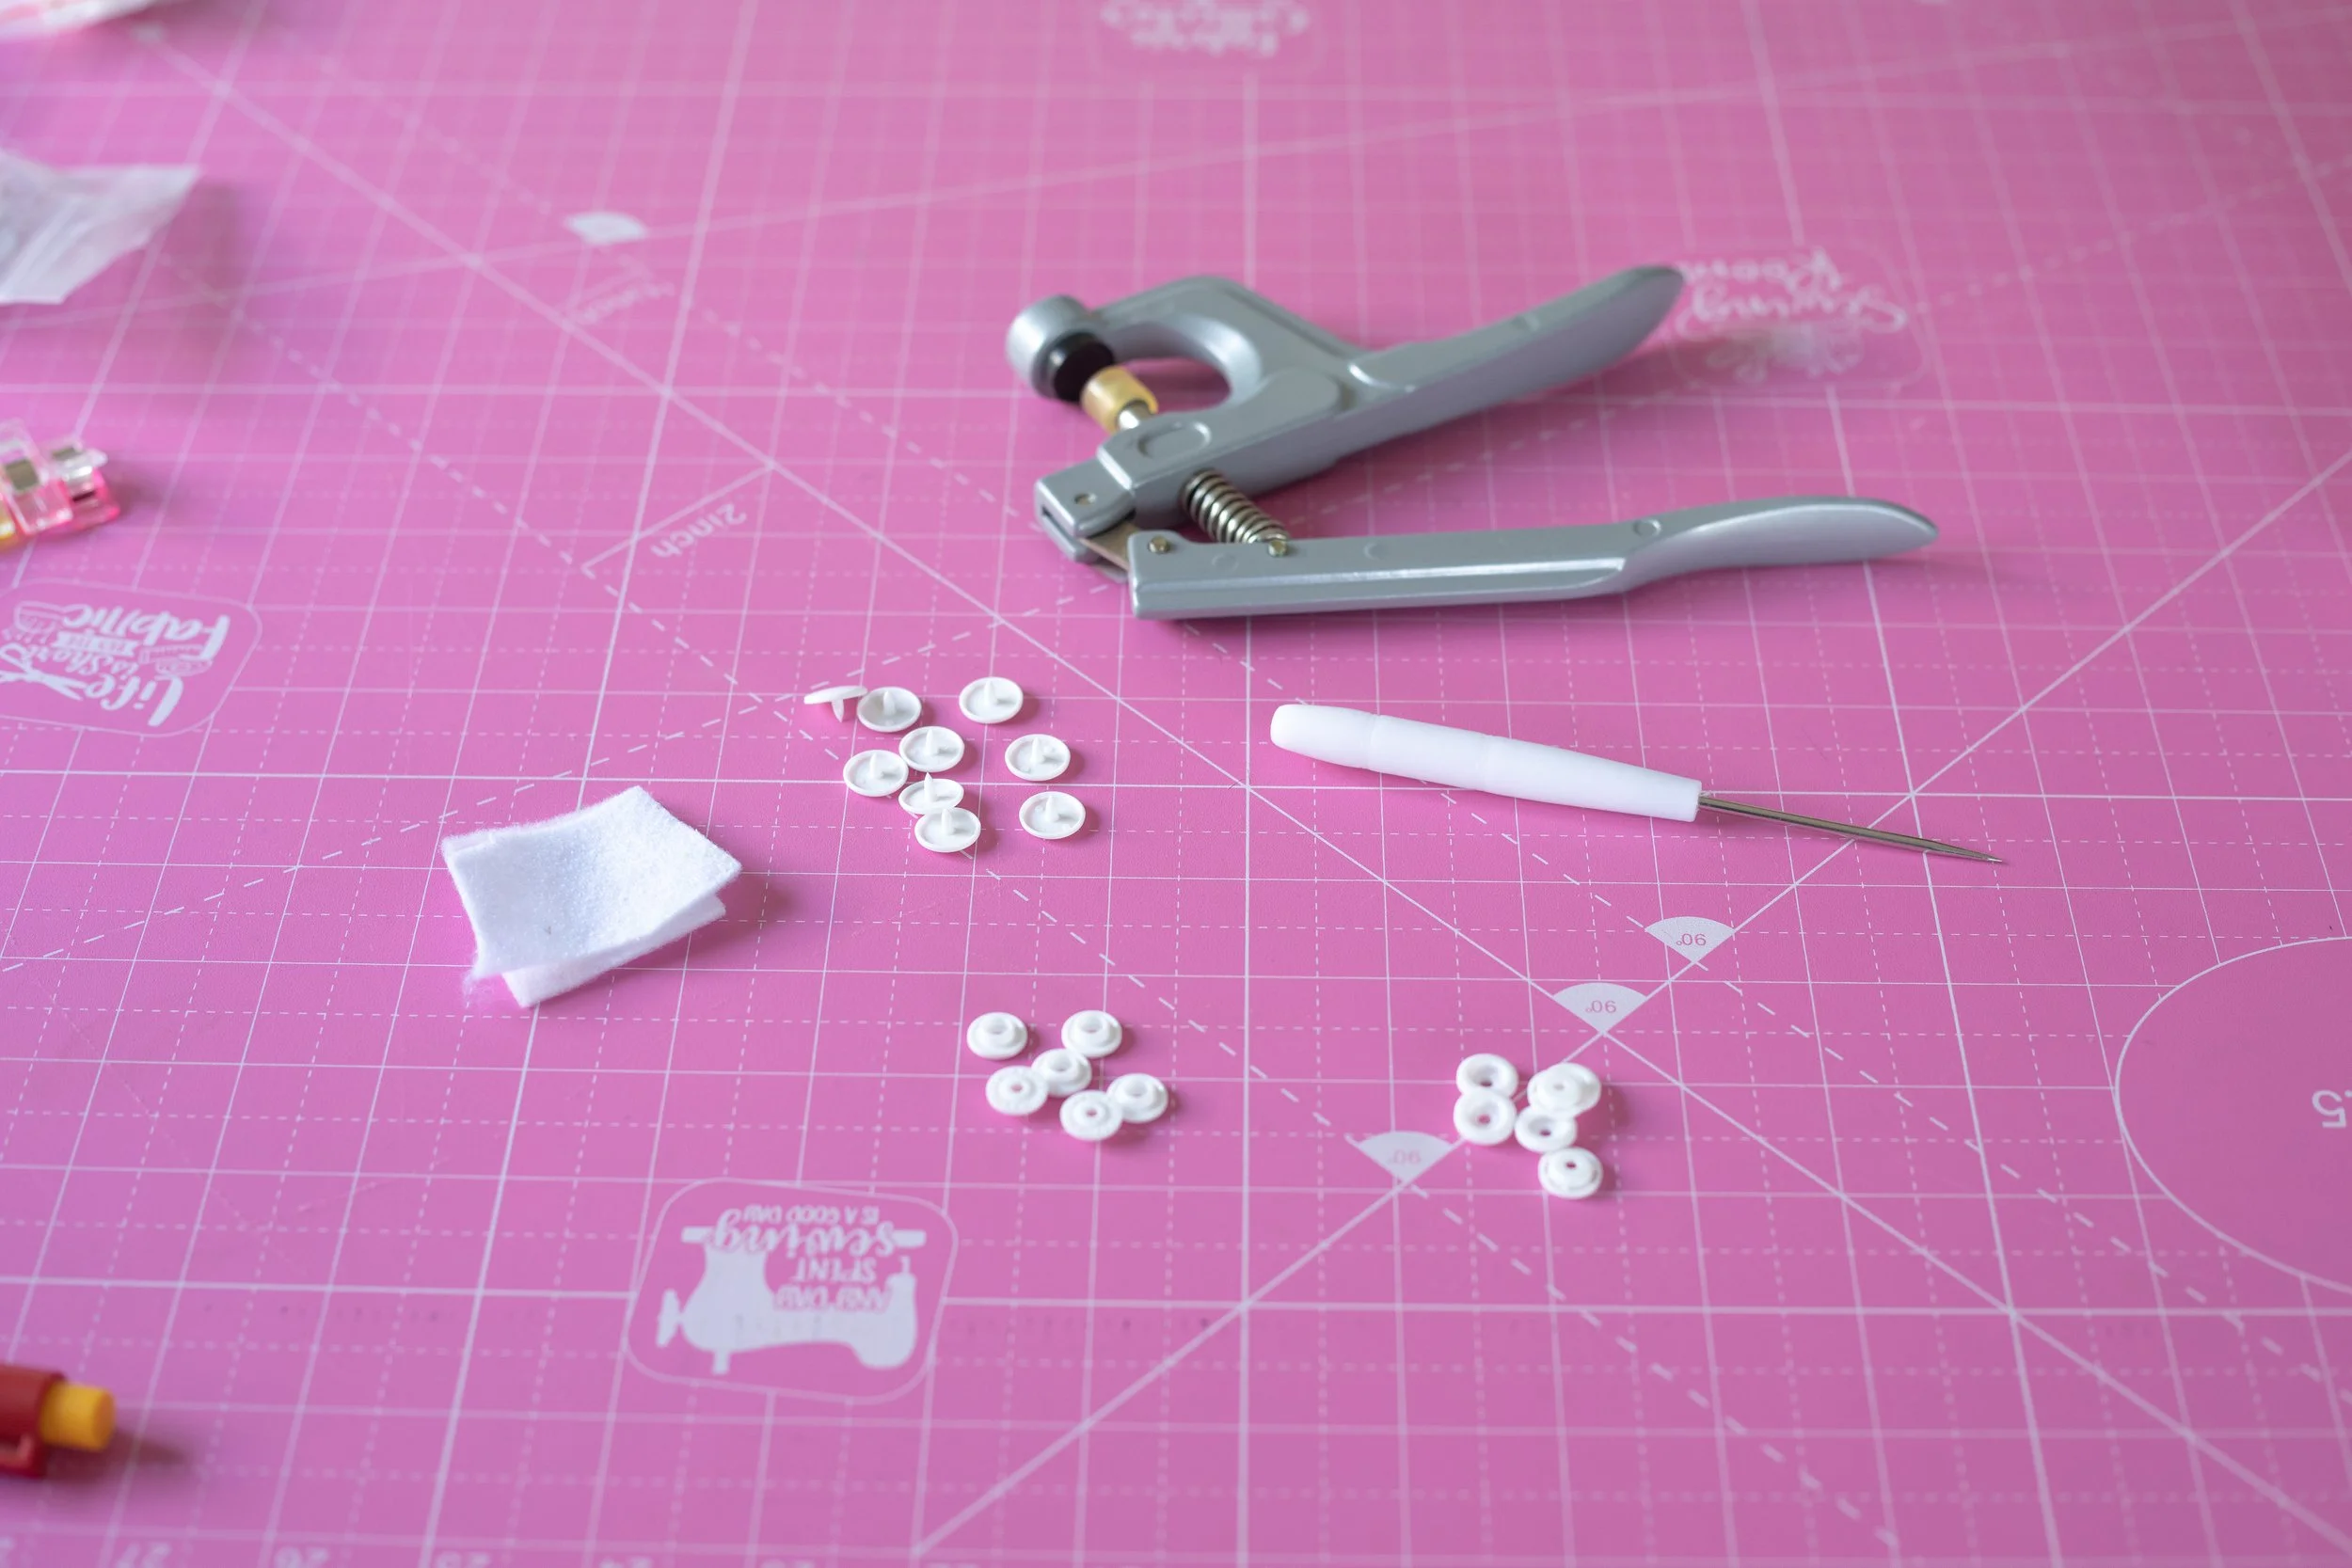
KAM snap kit.
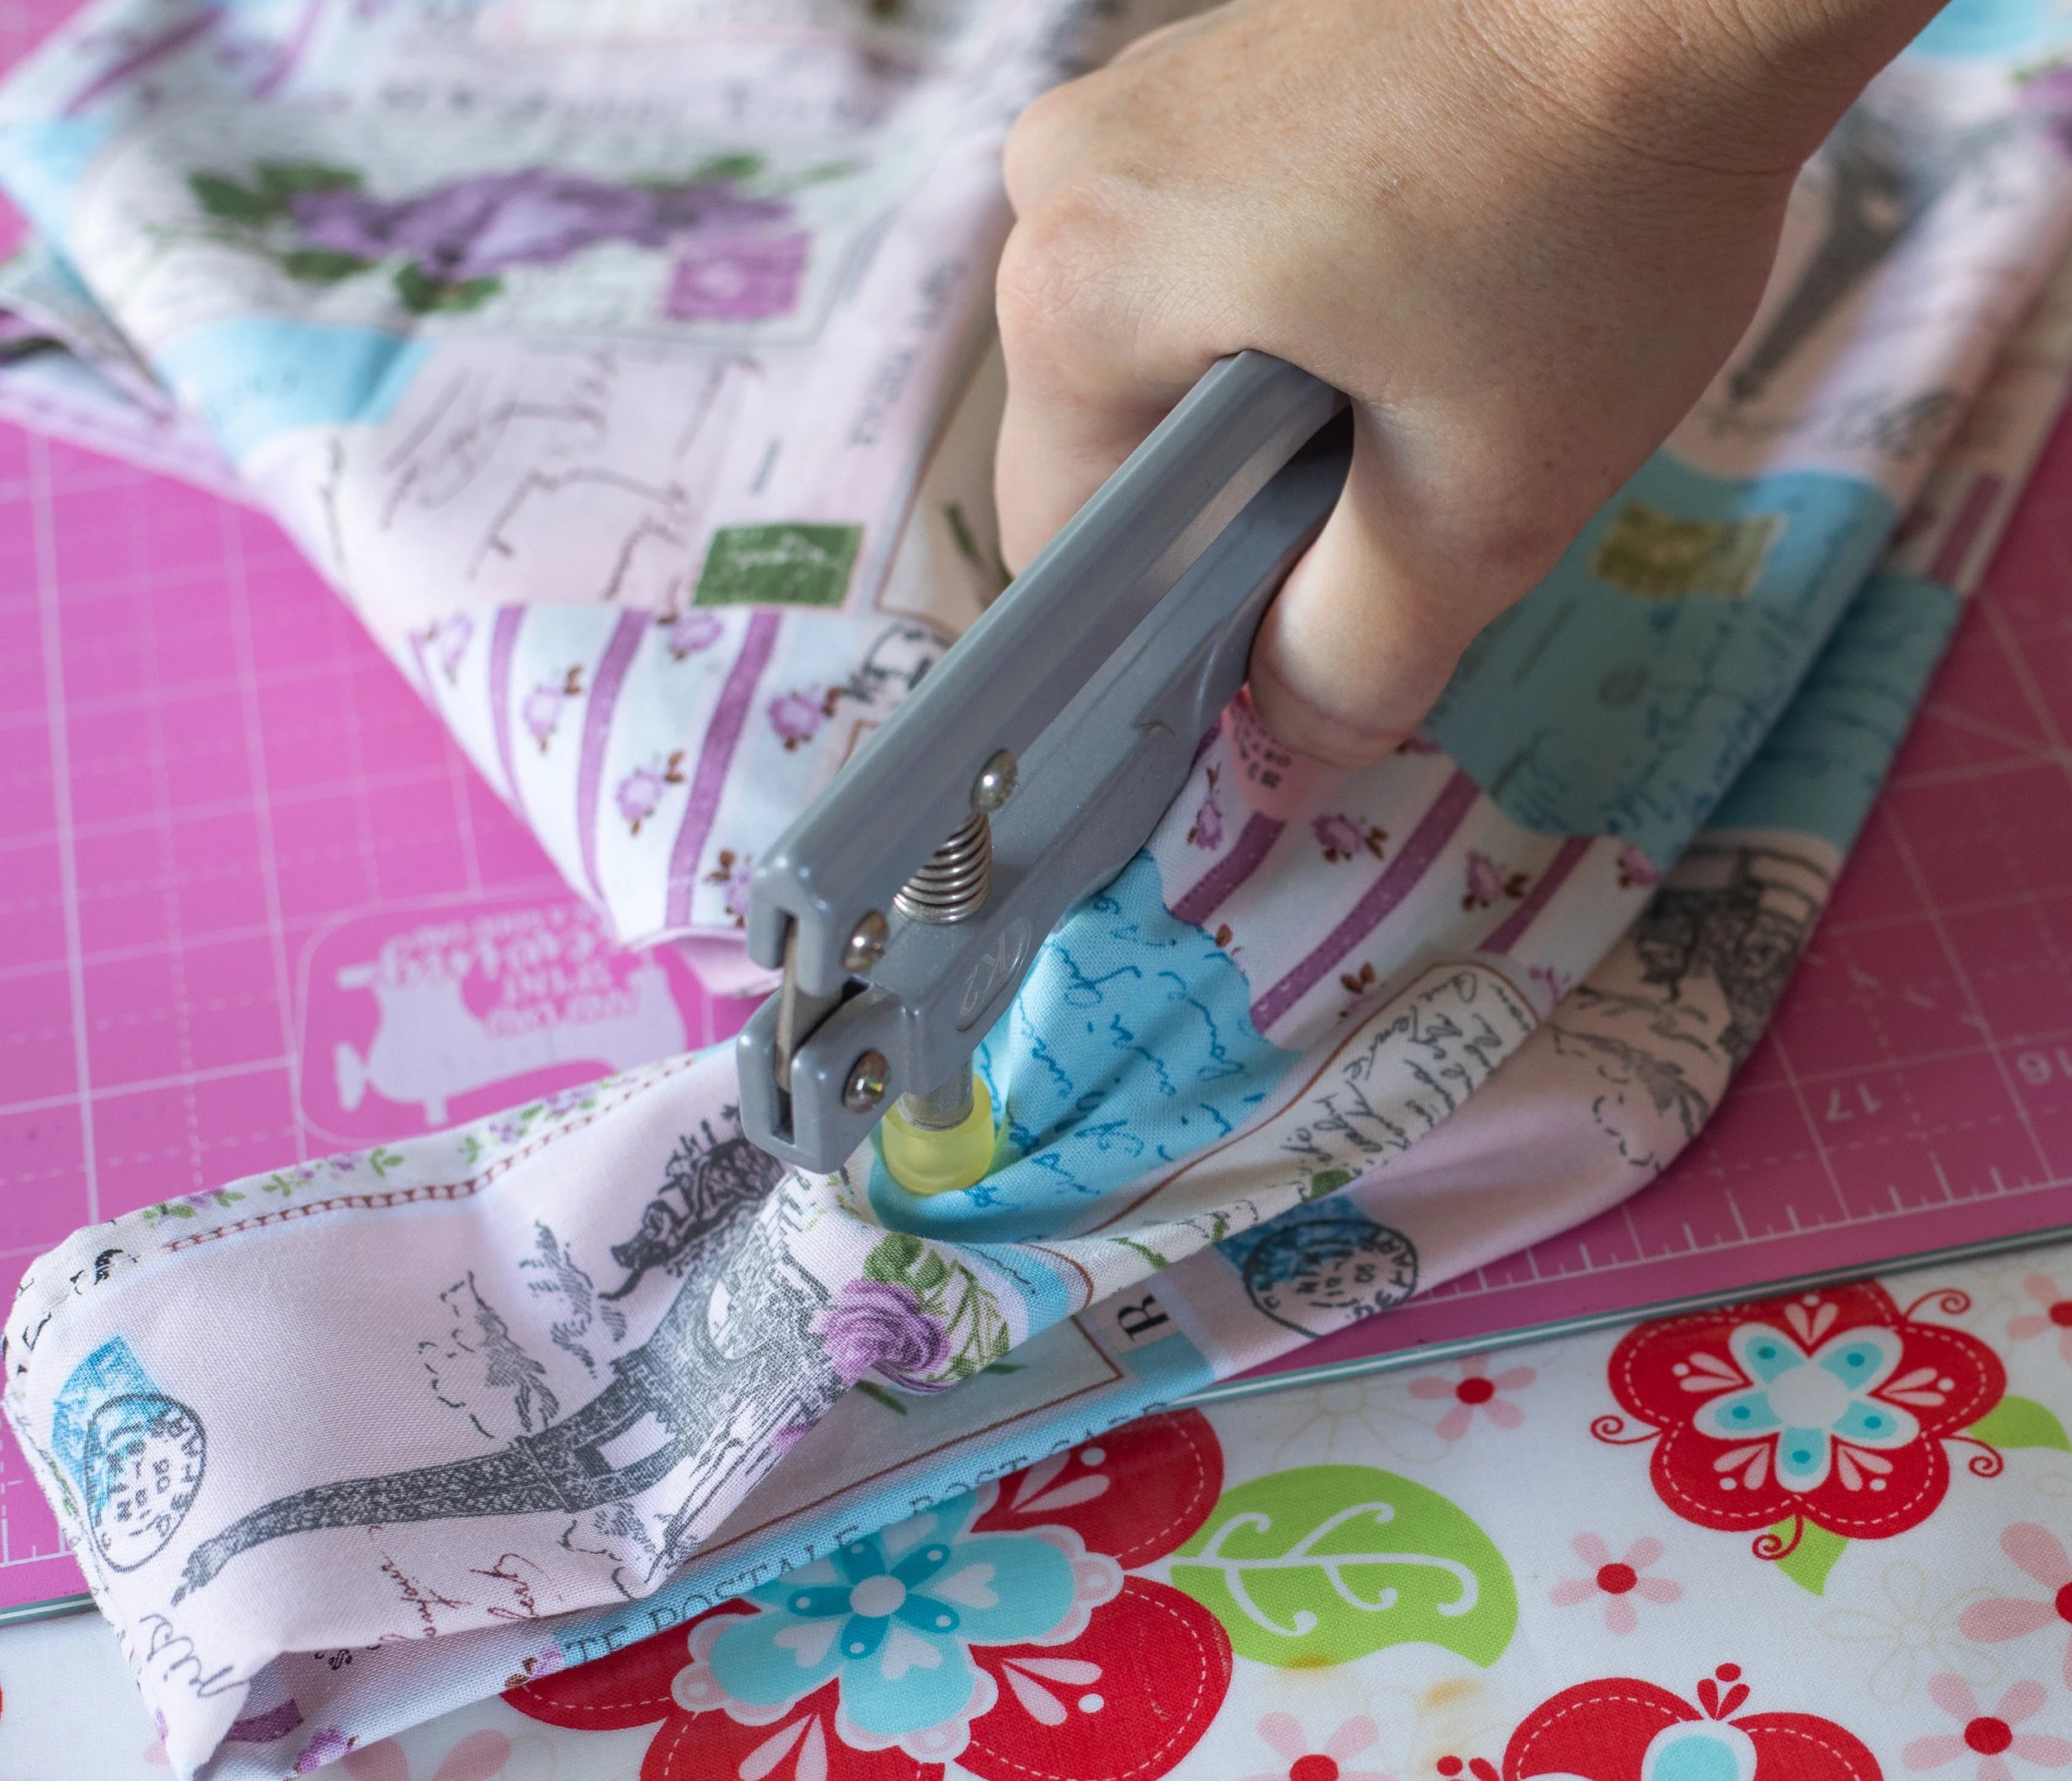
Use the awl to make the hole. Apply your snaps according to the instructions.
Apply one snap about 2.5 +/-” from the bottom. (Make sure you have enough room to sew the bottom hem)
Apply the second snap-up near the handle area.
This might seem silly to insert the snap after the bag is practically together. However, I have made over 100 of these bags to sell in my Etsy shop, at craft fairs, and to gift to friends and family. This is the only way that works. I don’t know why.
Maybe I live in an alternate universe? Who knows.
This is the easiest time to insert the snap. Every fabric has different thicknesses, and I’ve run into issues when inserting them earlier in the bag-making process.
I show how I insert the snap below, but I didn’t go into details because everyone has different snap maker tools. I prefer the KAM snaps. If you’d like to see how they insert their snaps, click here.
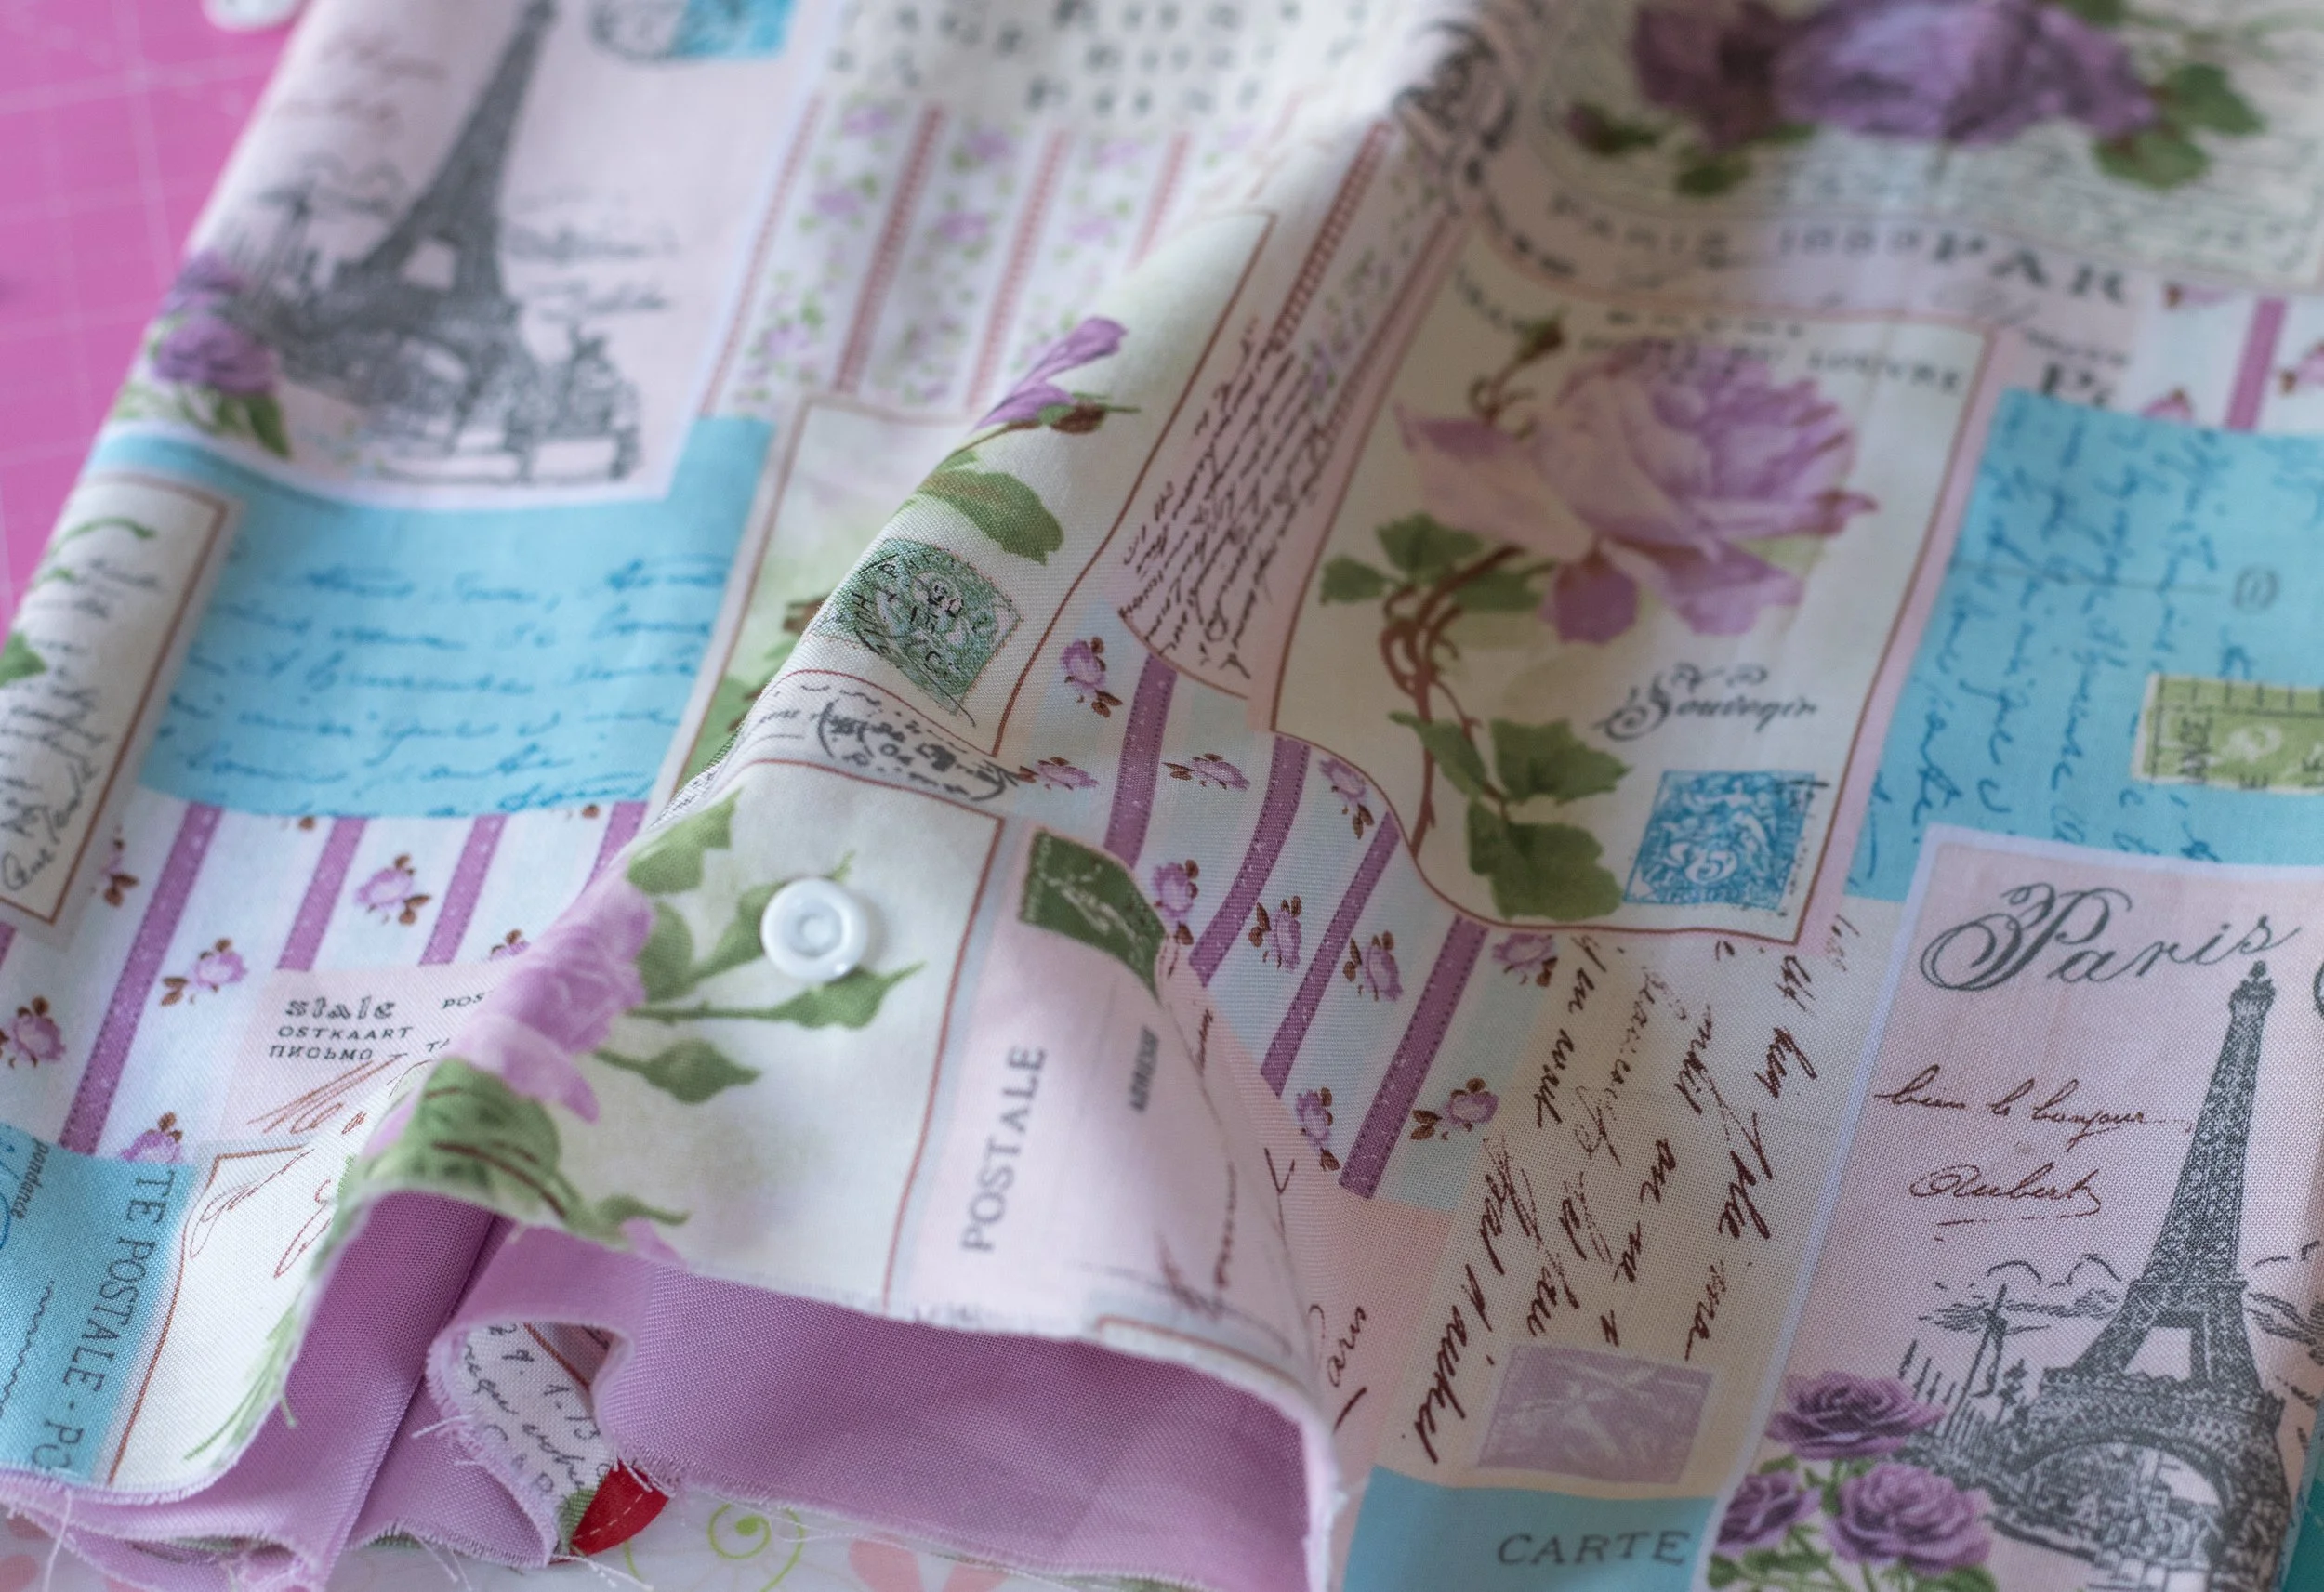
Snap insertion is complete!
Next up is the hem.
IT’S HEMMER TIME
You’re going to make a French seam for the hem. It’s a double hem and will feel backwards and wrong at first, but the raw edge gets enclosed, I promise.
Clip the bottom edge and sew across, catching all the layers, on the right side.
Sew a scant seam across the raw edge on the right side of the fabric.
Pin or clip the bottom edge and sew across. Be sure to catch all layers.
You’ll then flip the bag inside out.
Poke out corners
Flatten with a hot iron, and sew again across the bottom using 5/8” seam allowance. It’s important to enclose the raw edges.
Sew across the bottom using 5/8” seam allowance.
I prefer to sew it with the folded side up.
I stick a pin right where the snap is to make sure I don’t sew over it. It’s gonna be close!
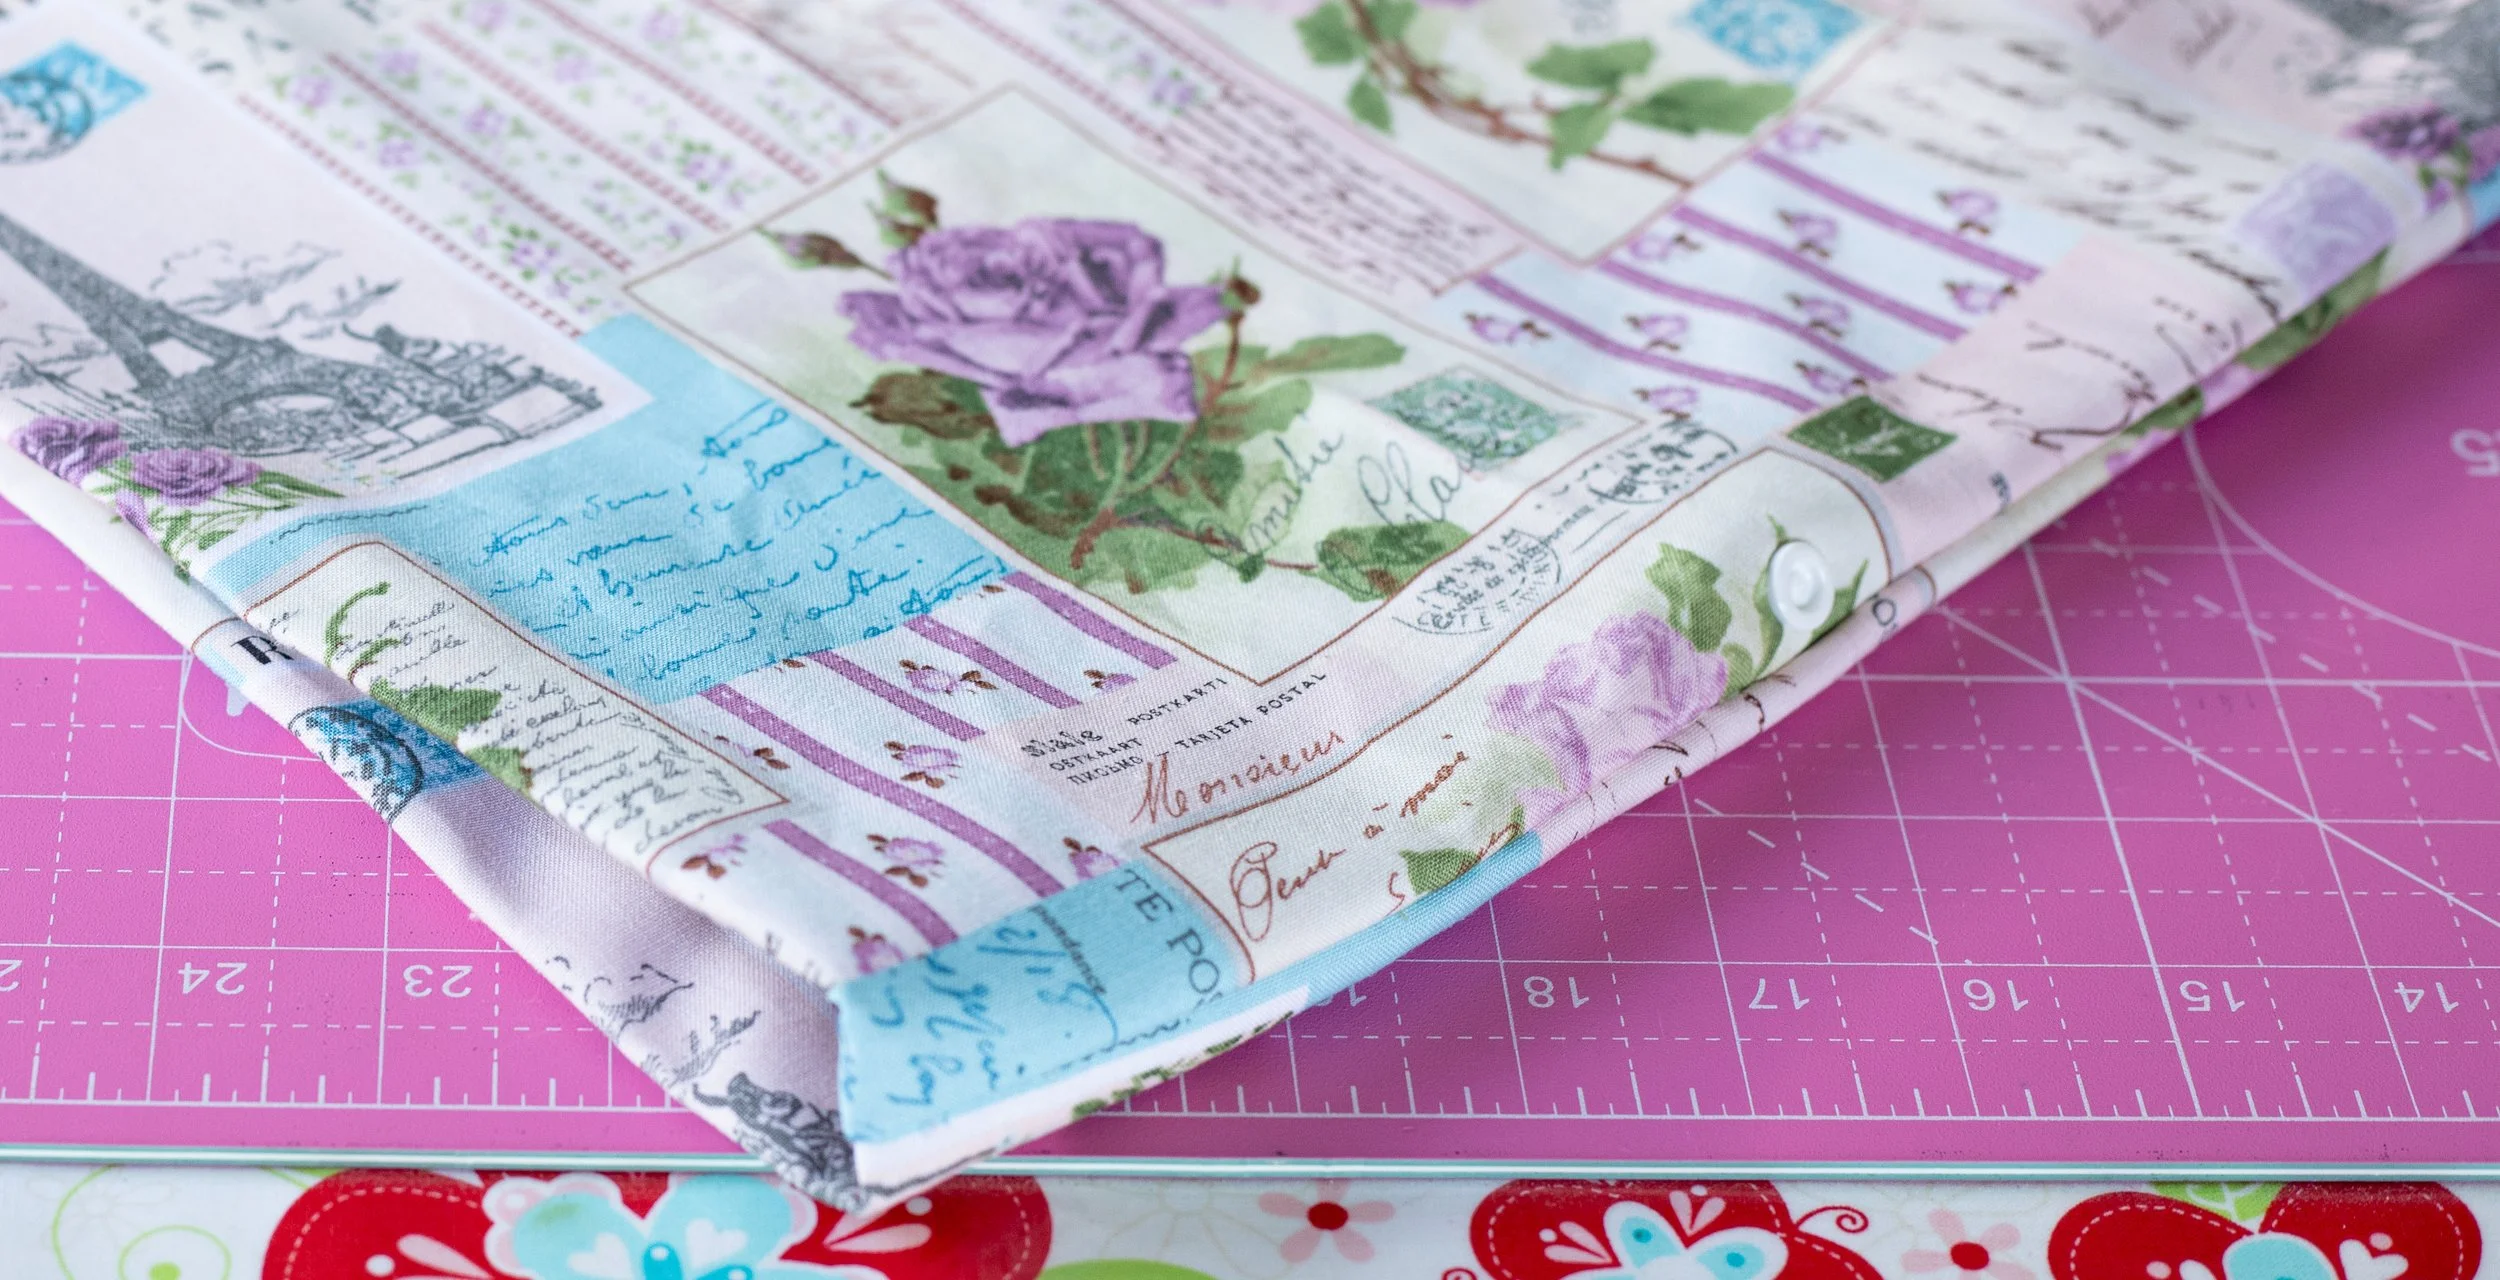
Ta-da! The French seam is done.
The inside looks nice and clean. I did get a little close to the snap, oops!
If that happens, pop on your zipper foot and it should be easier. But, go slow.
Got a little too close to the snap.
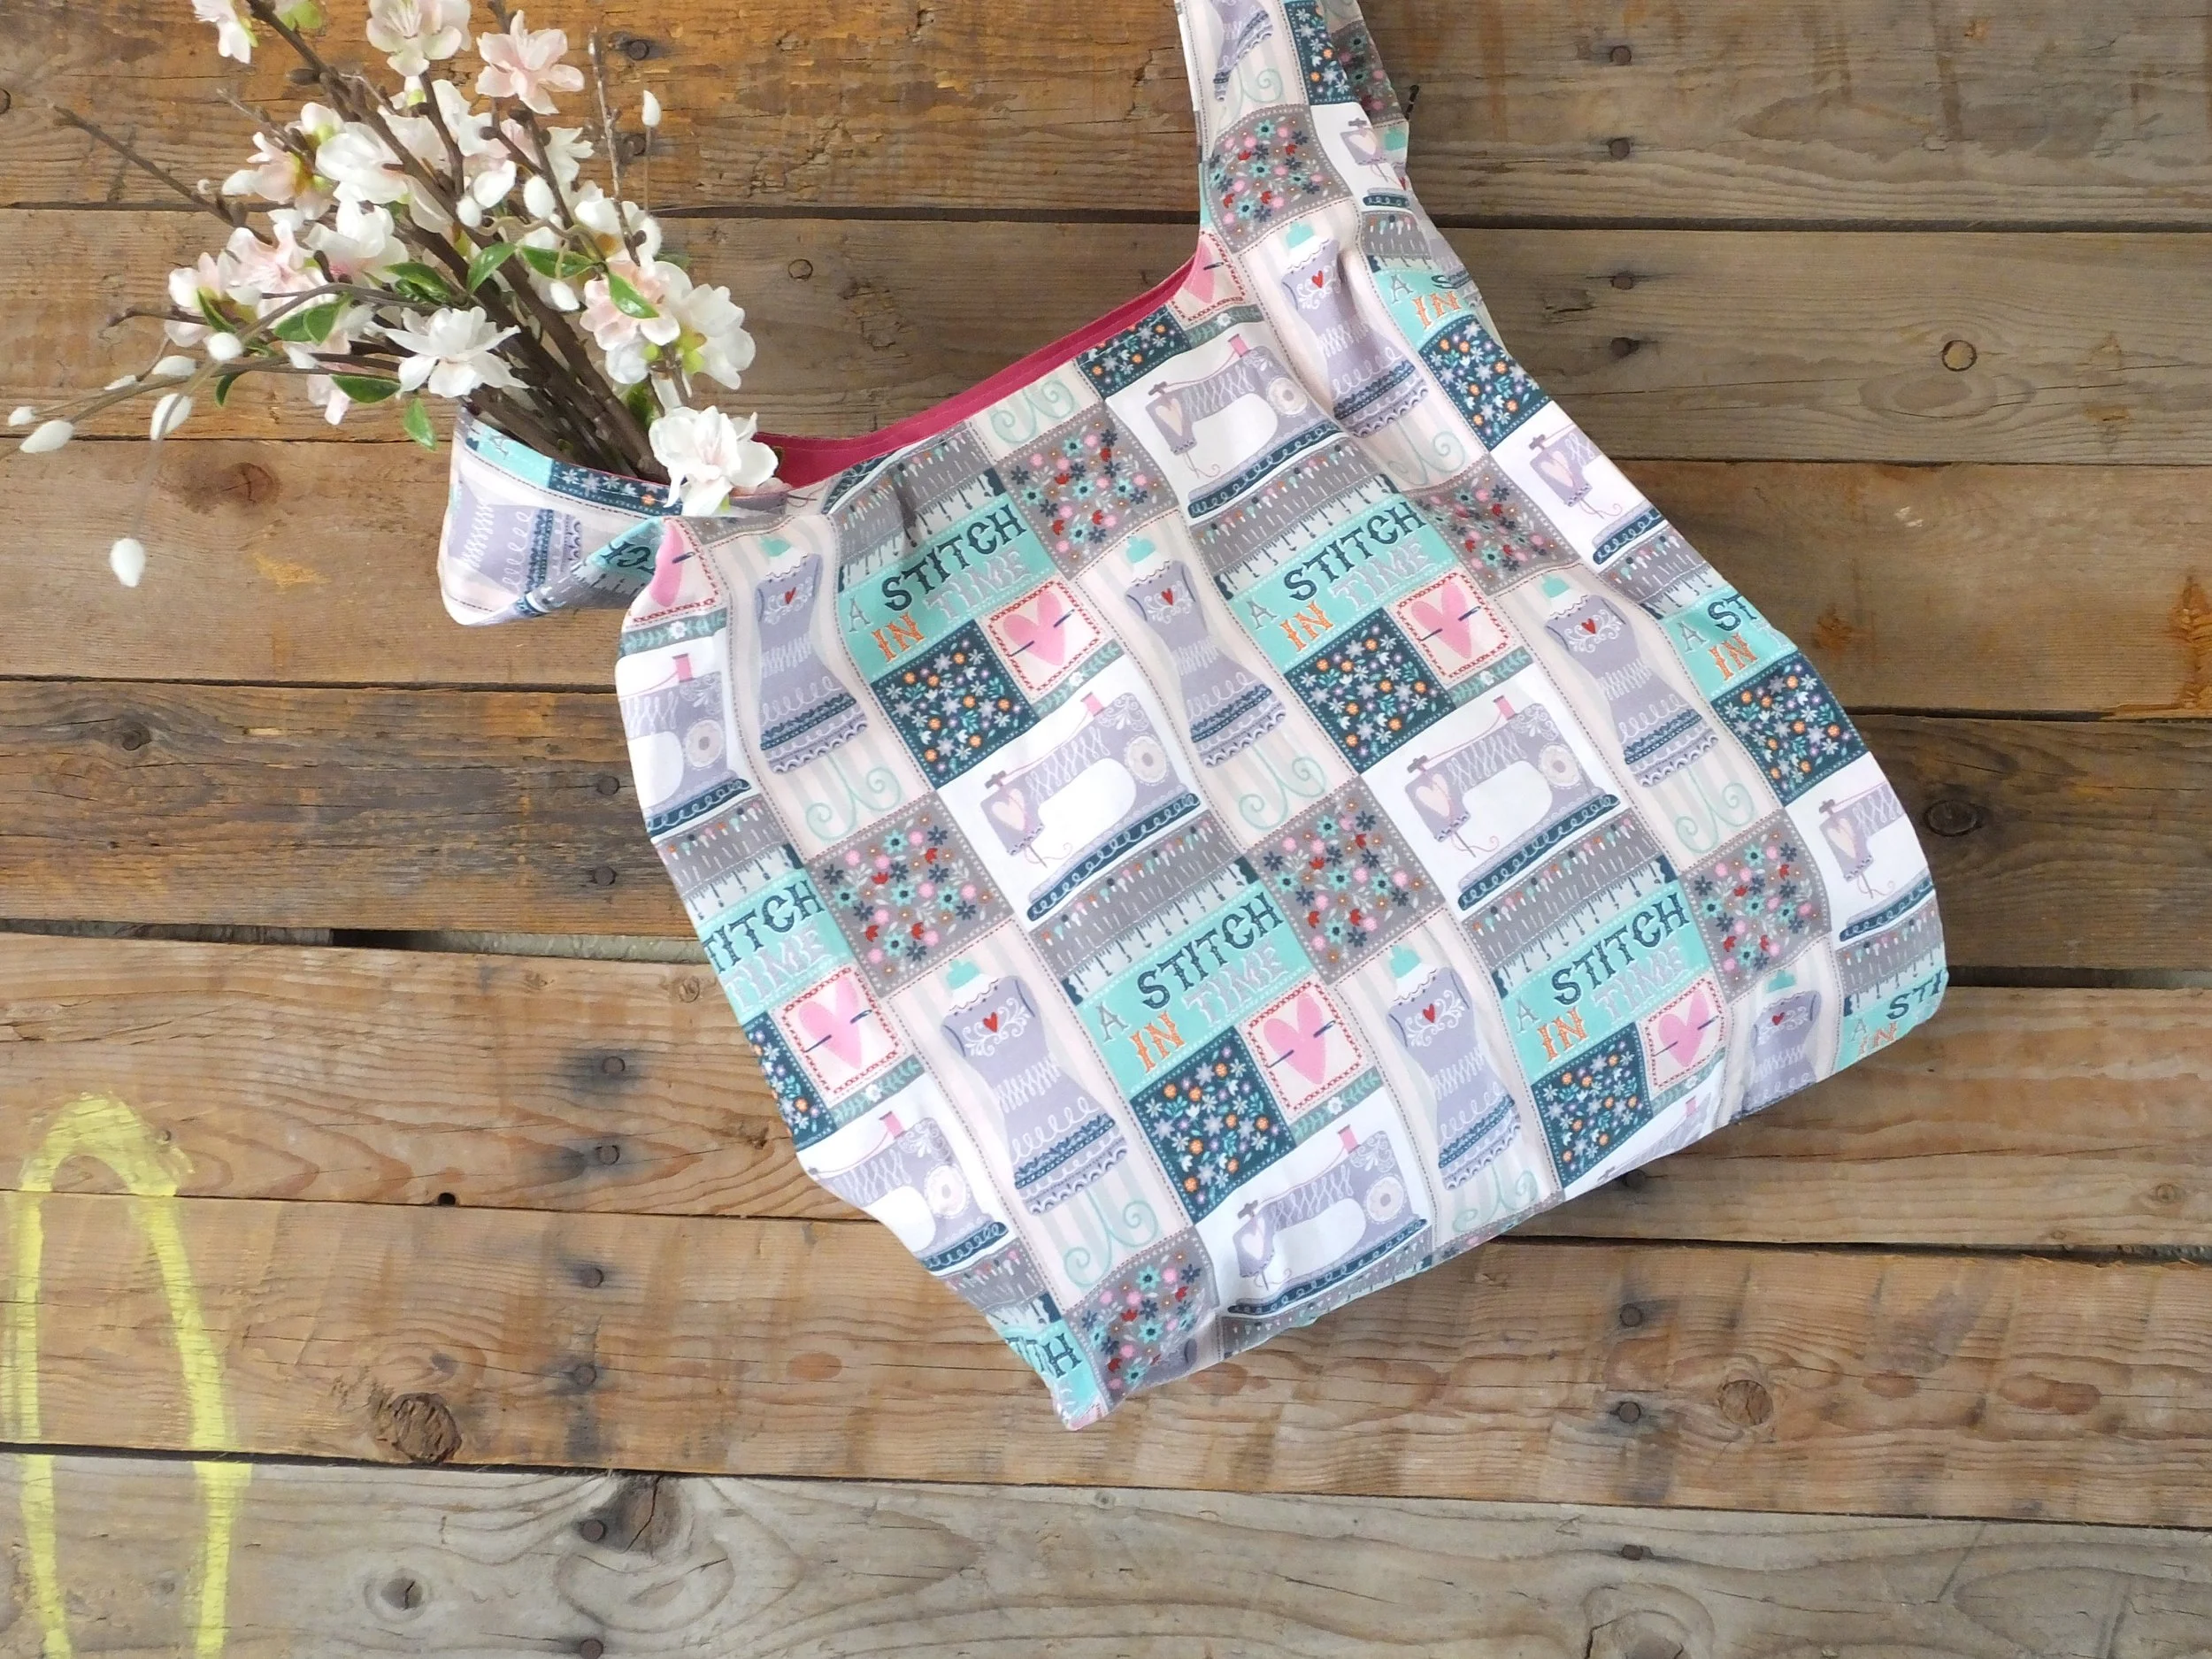
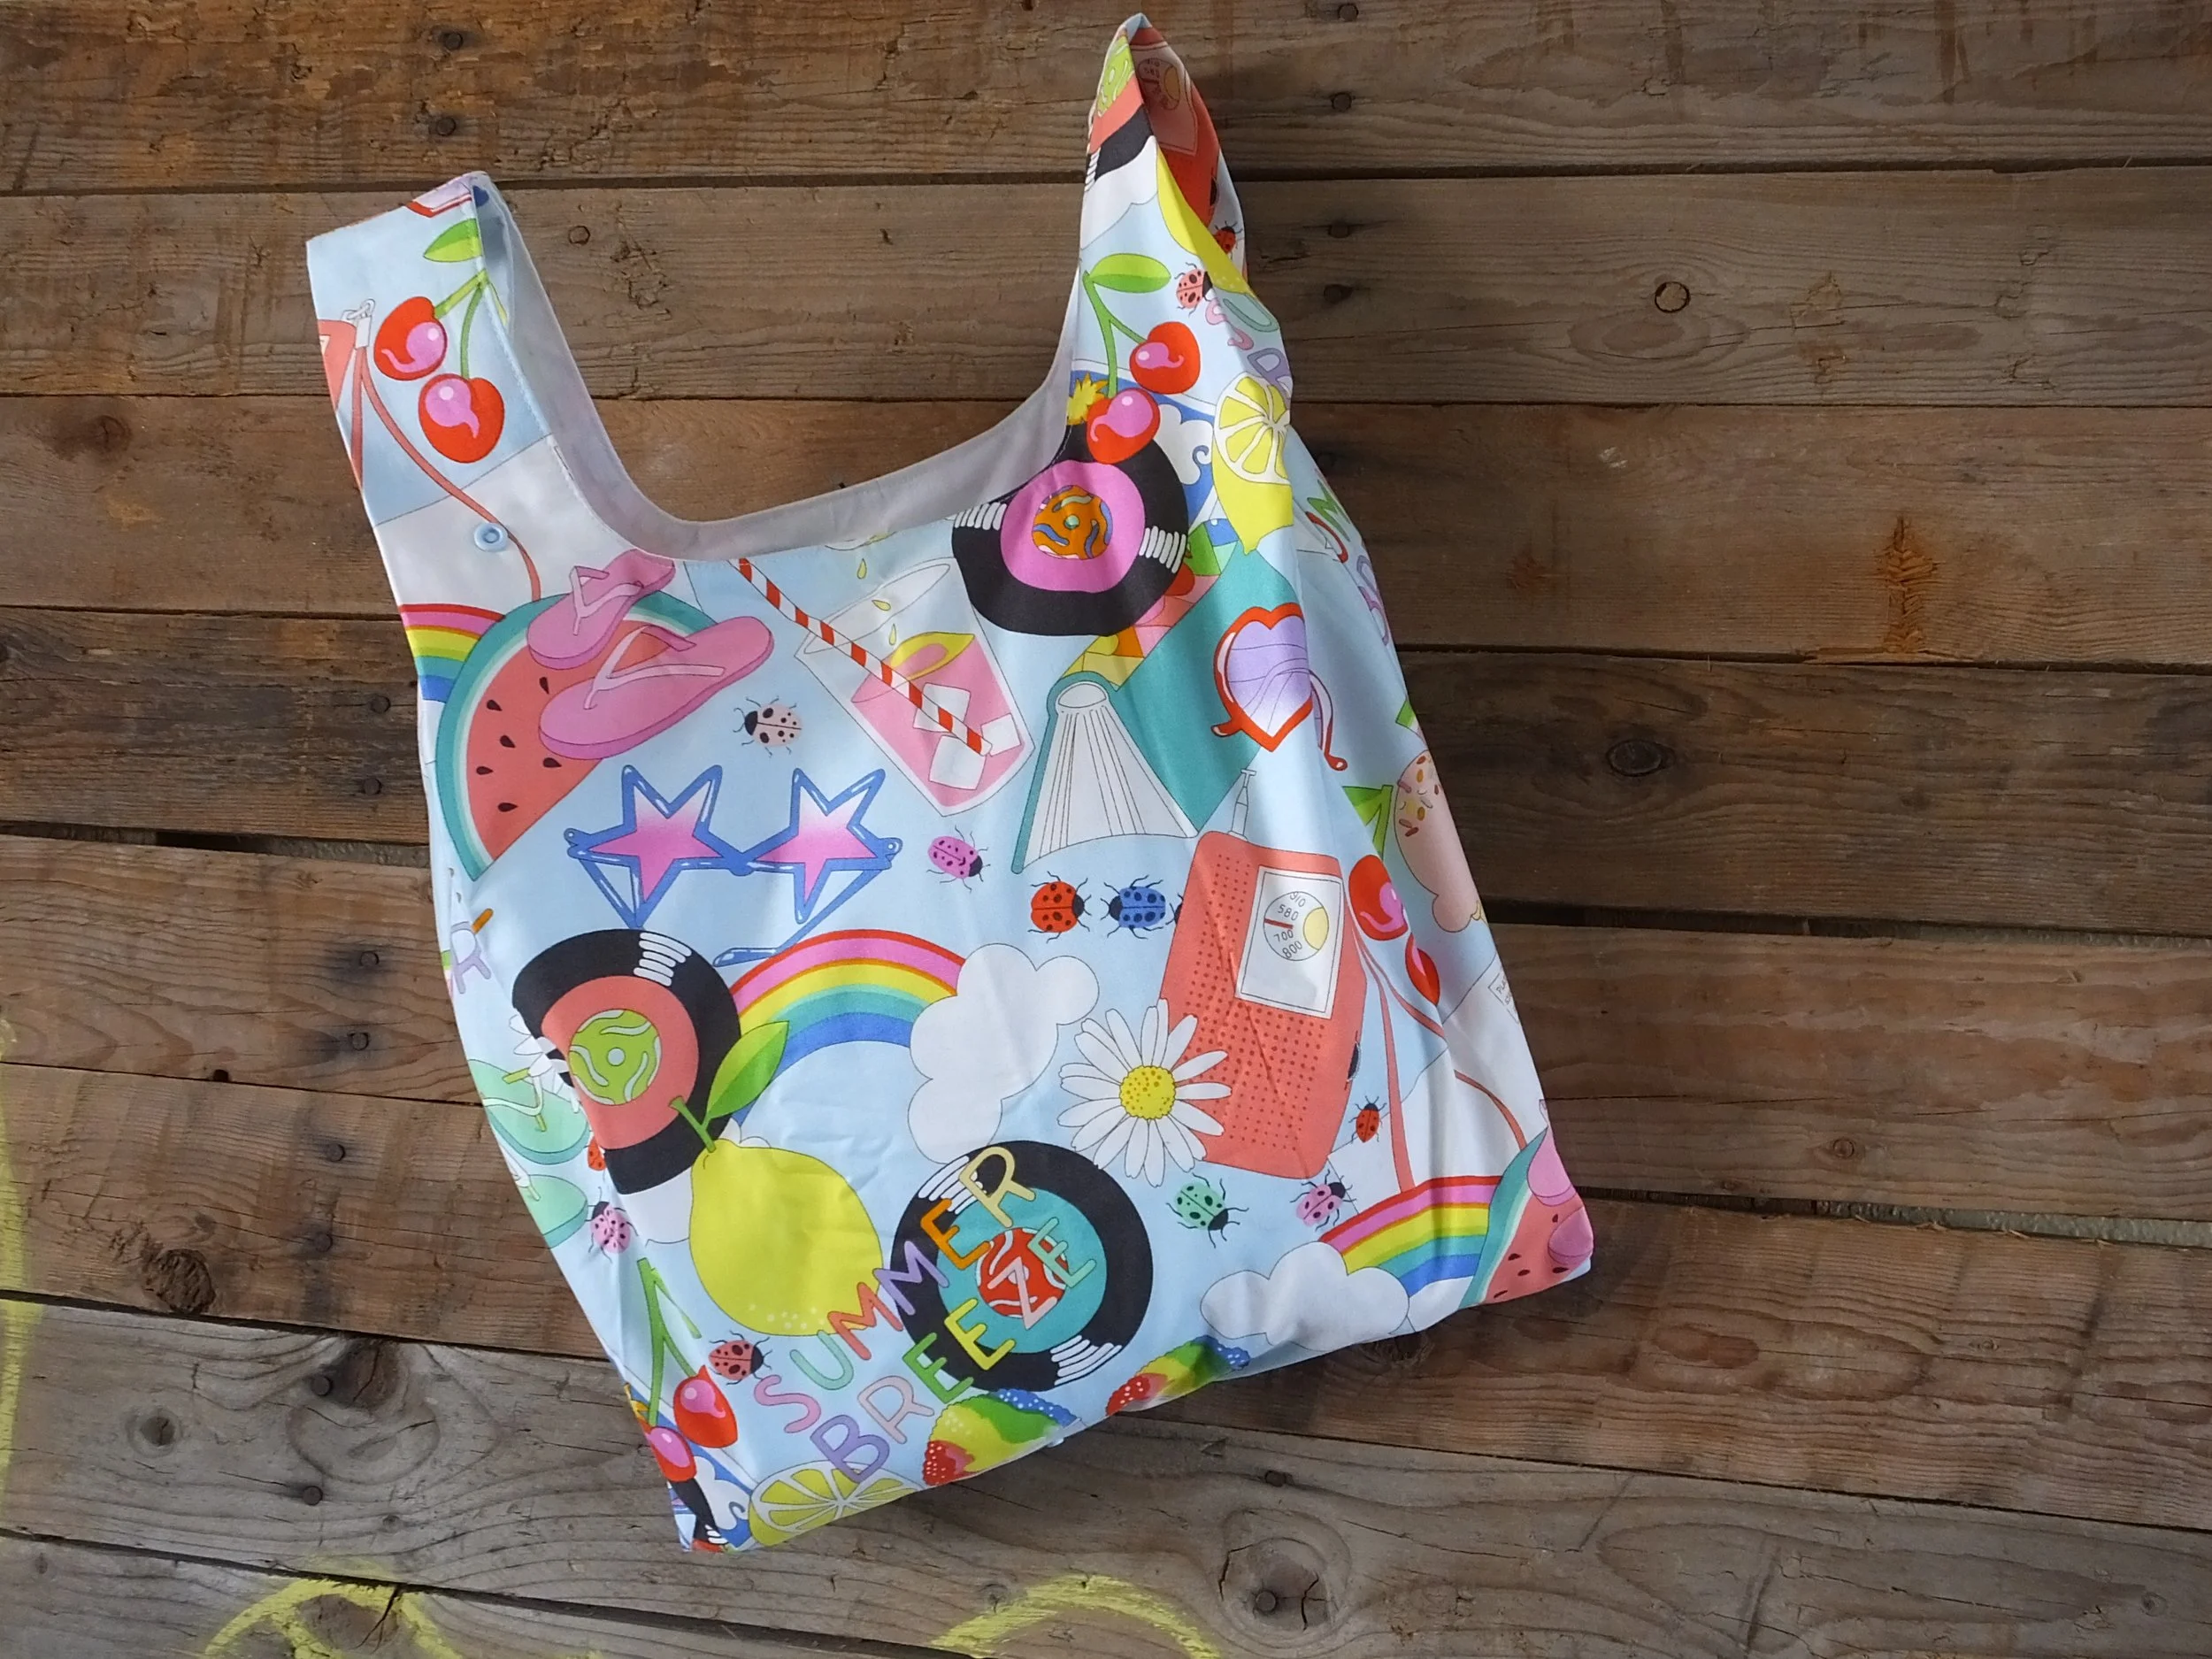
And, just like that, your beautiful reusable, foldable, washable bag is finished!! Hooray!
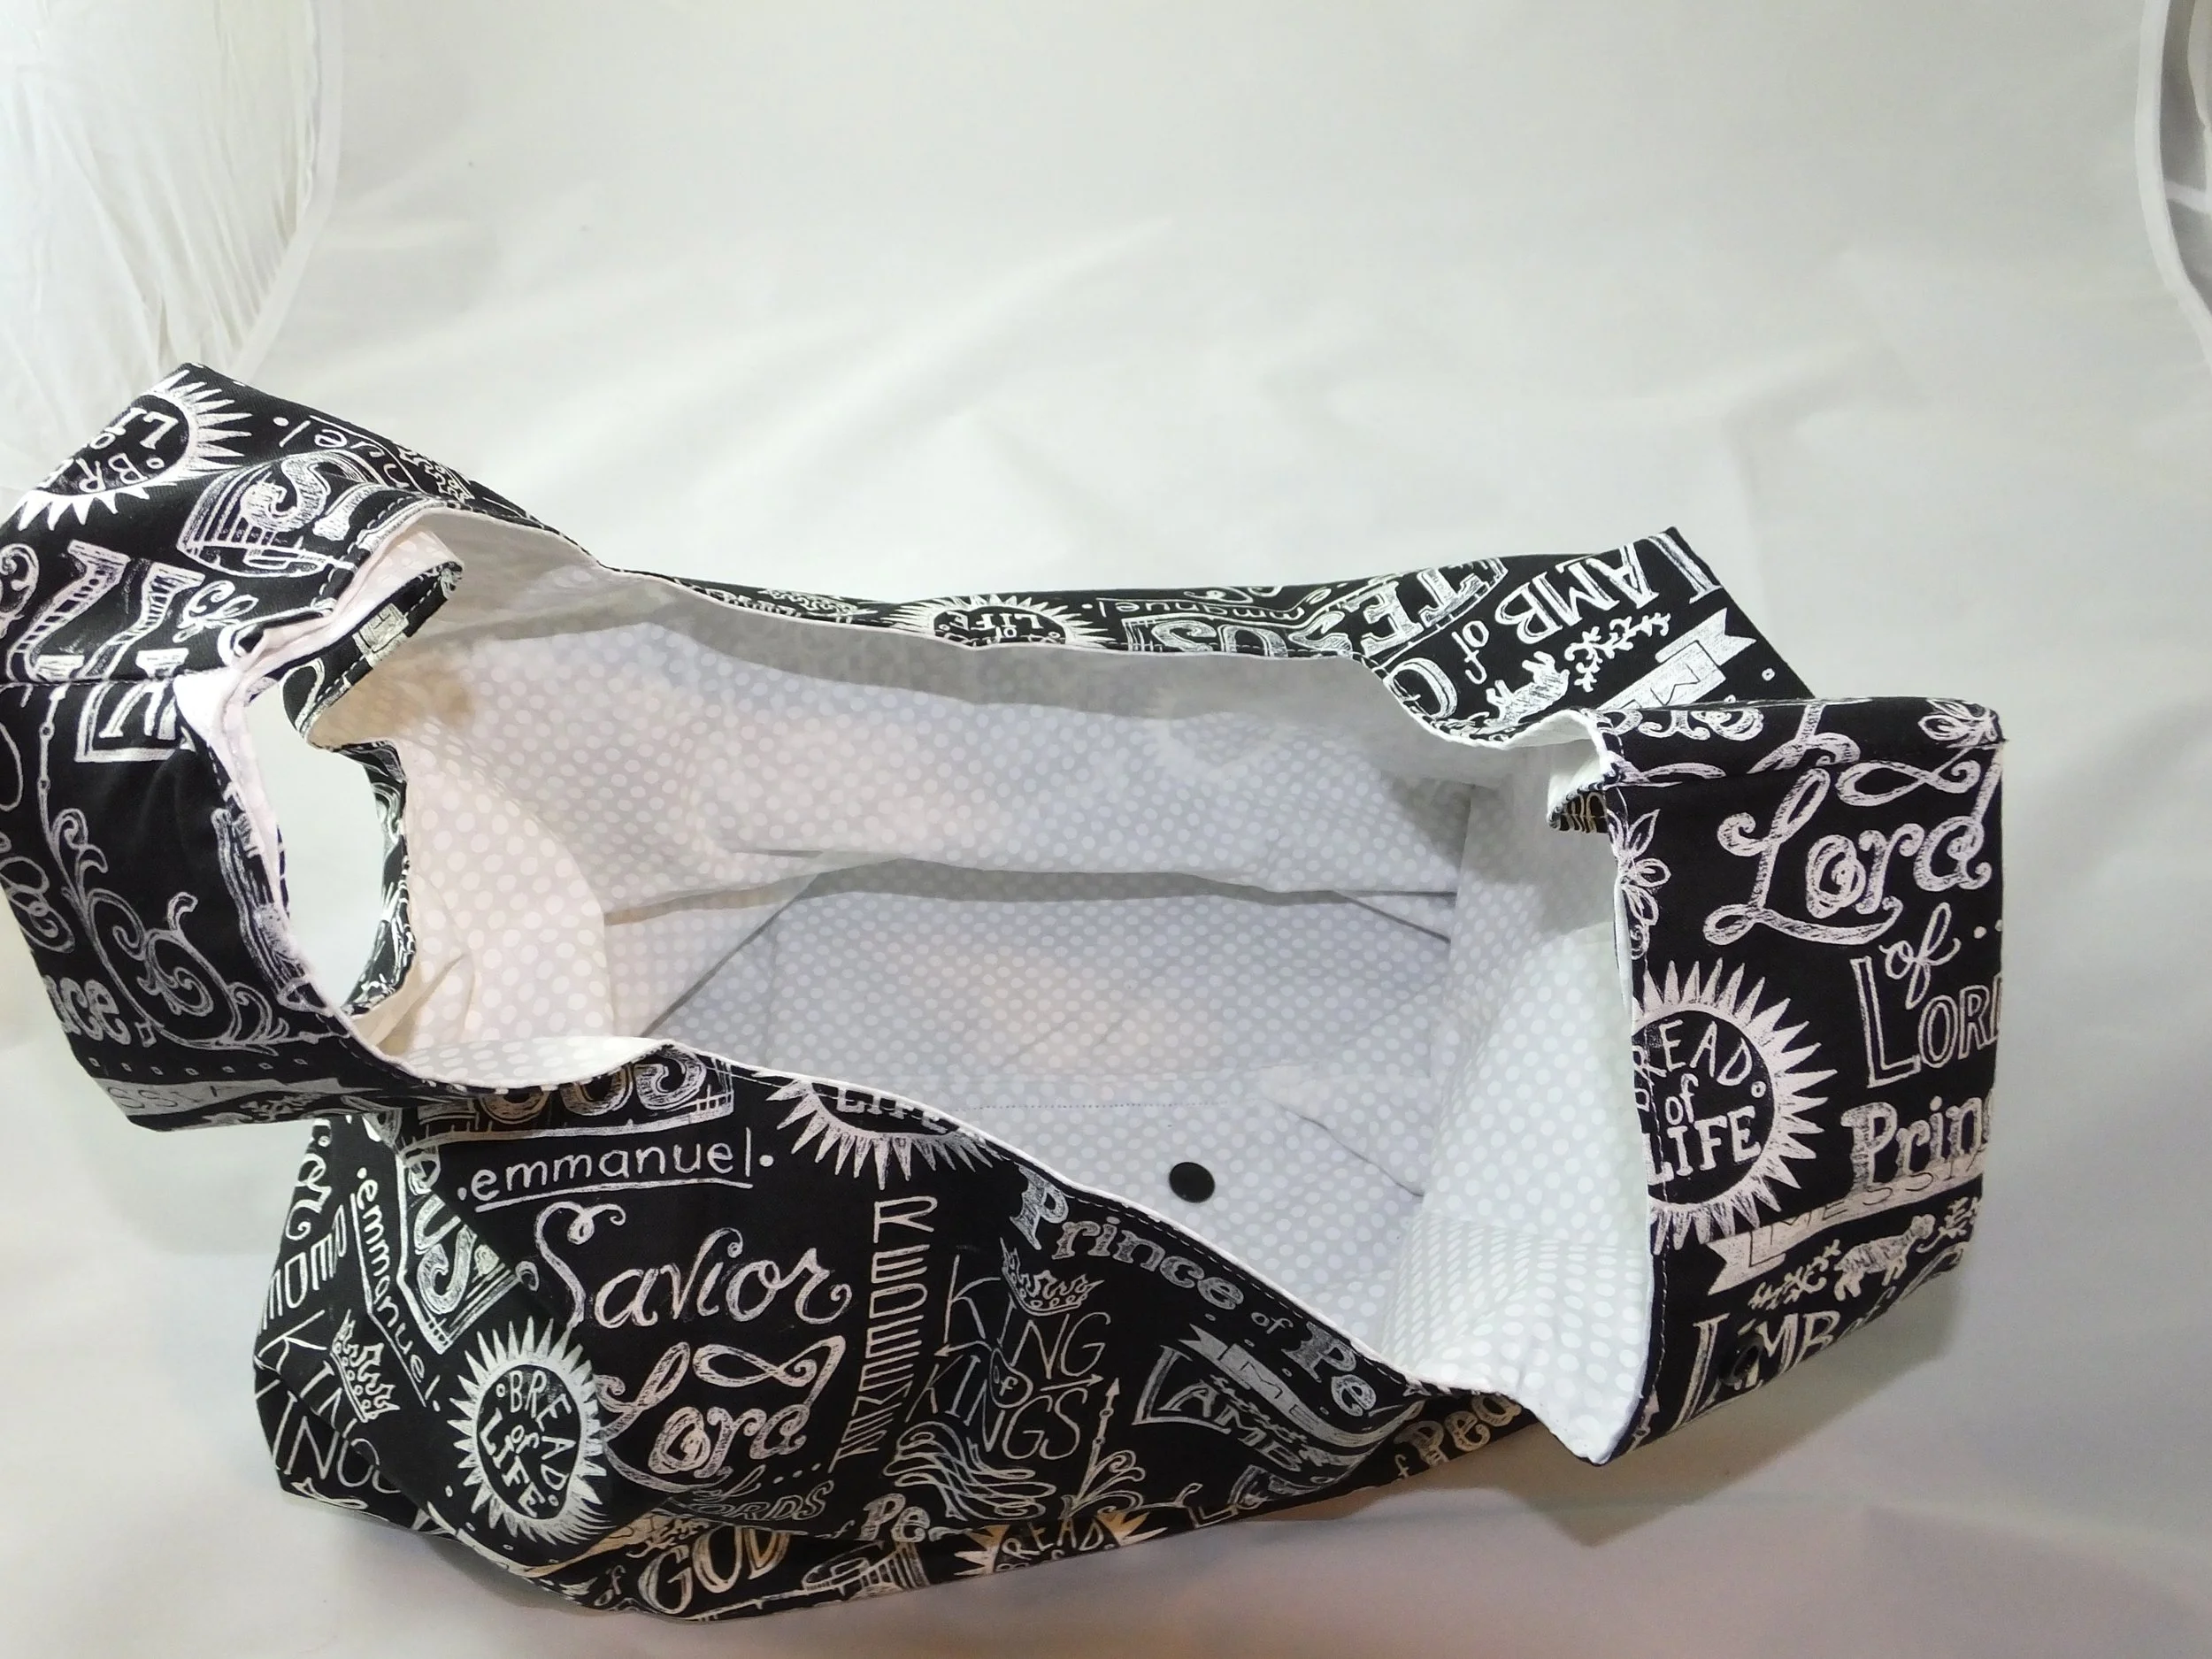
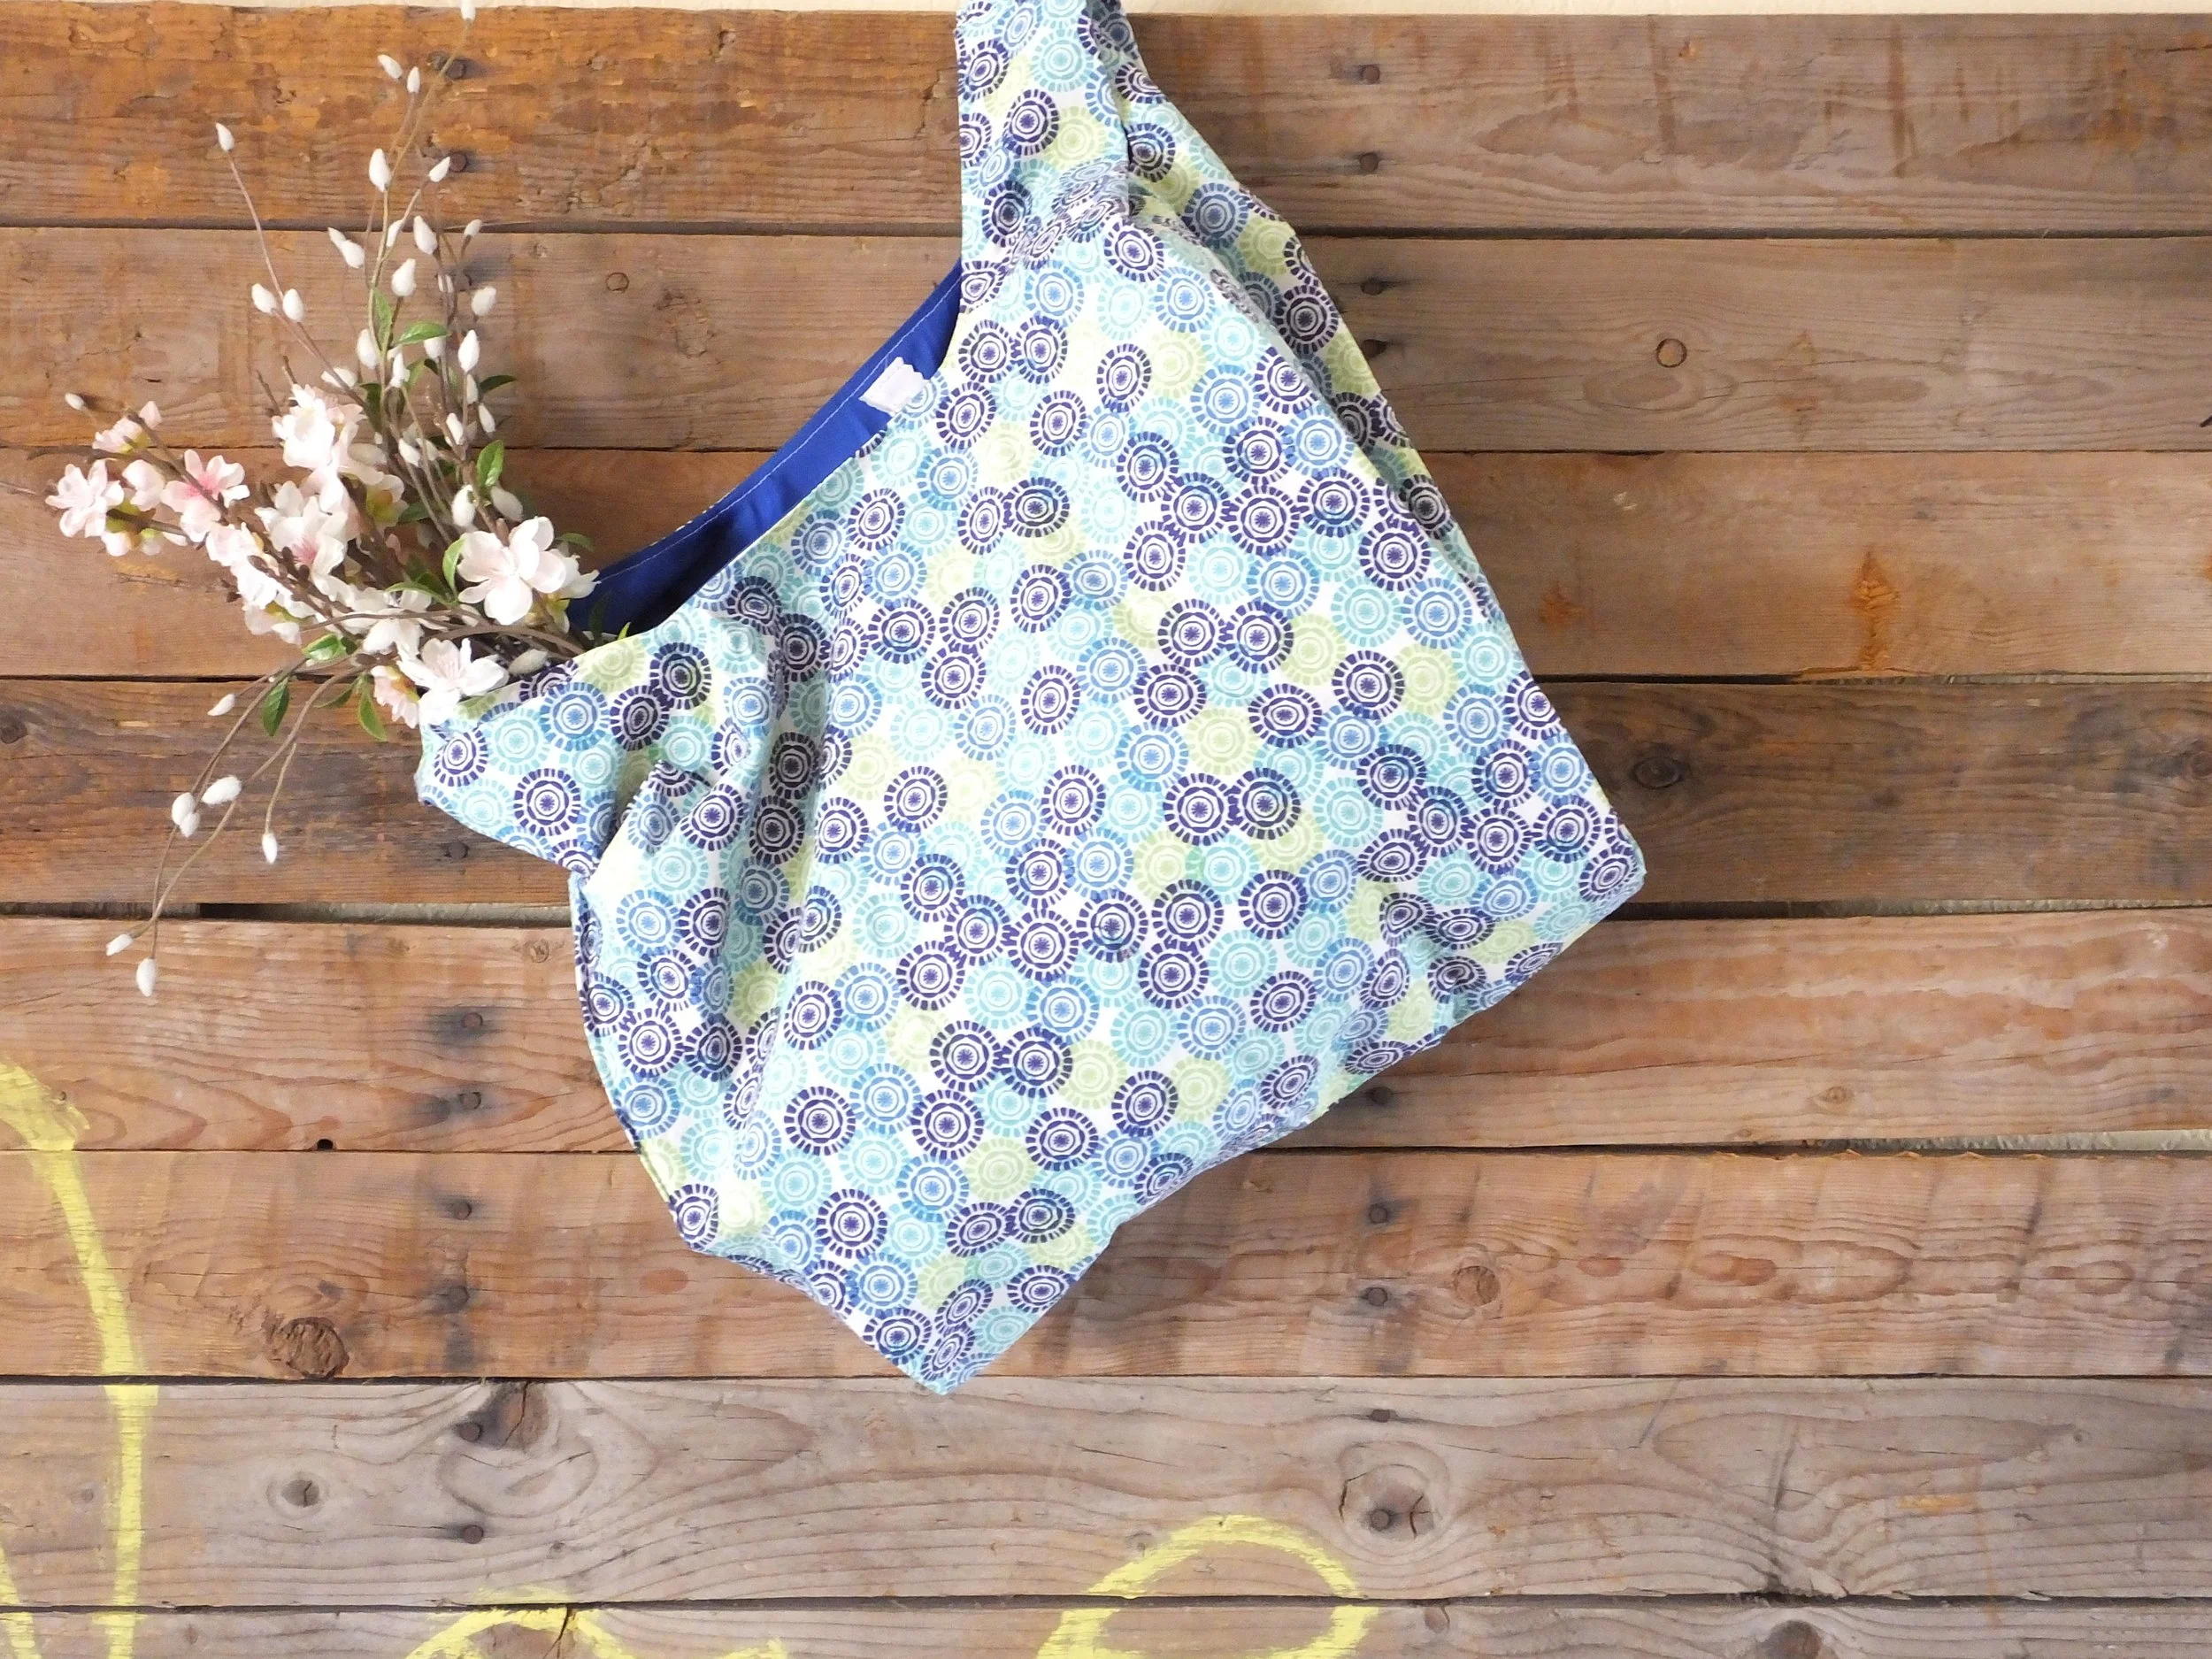
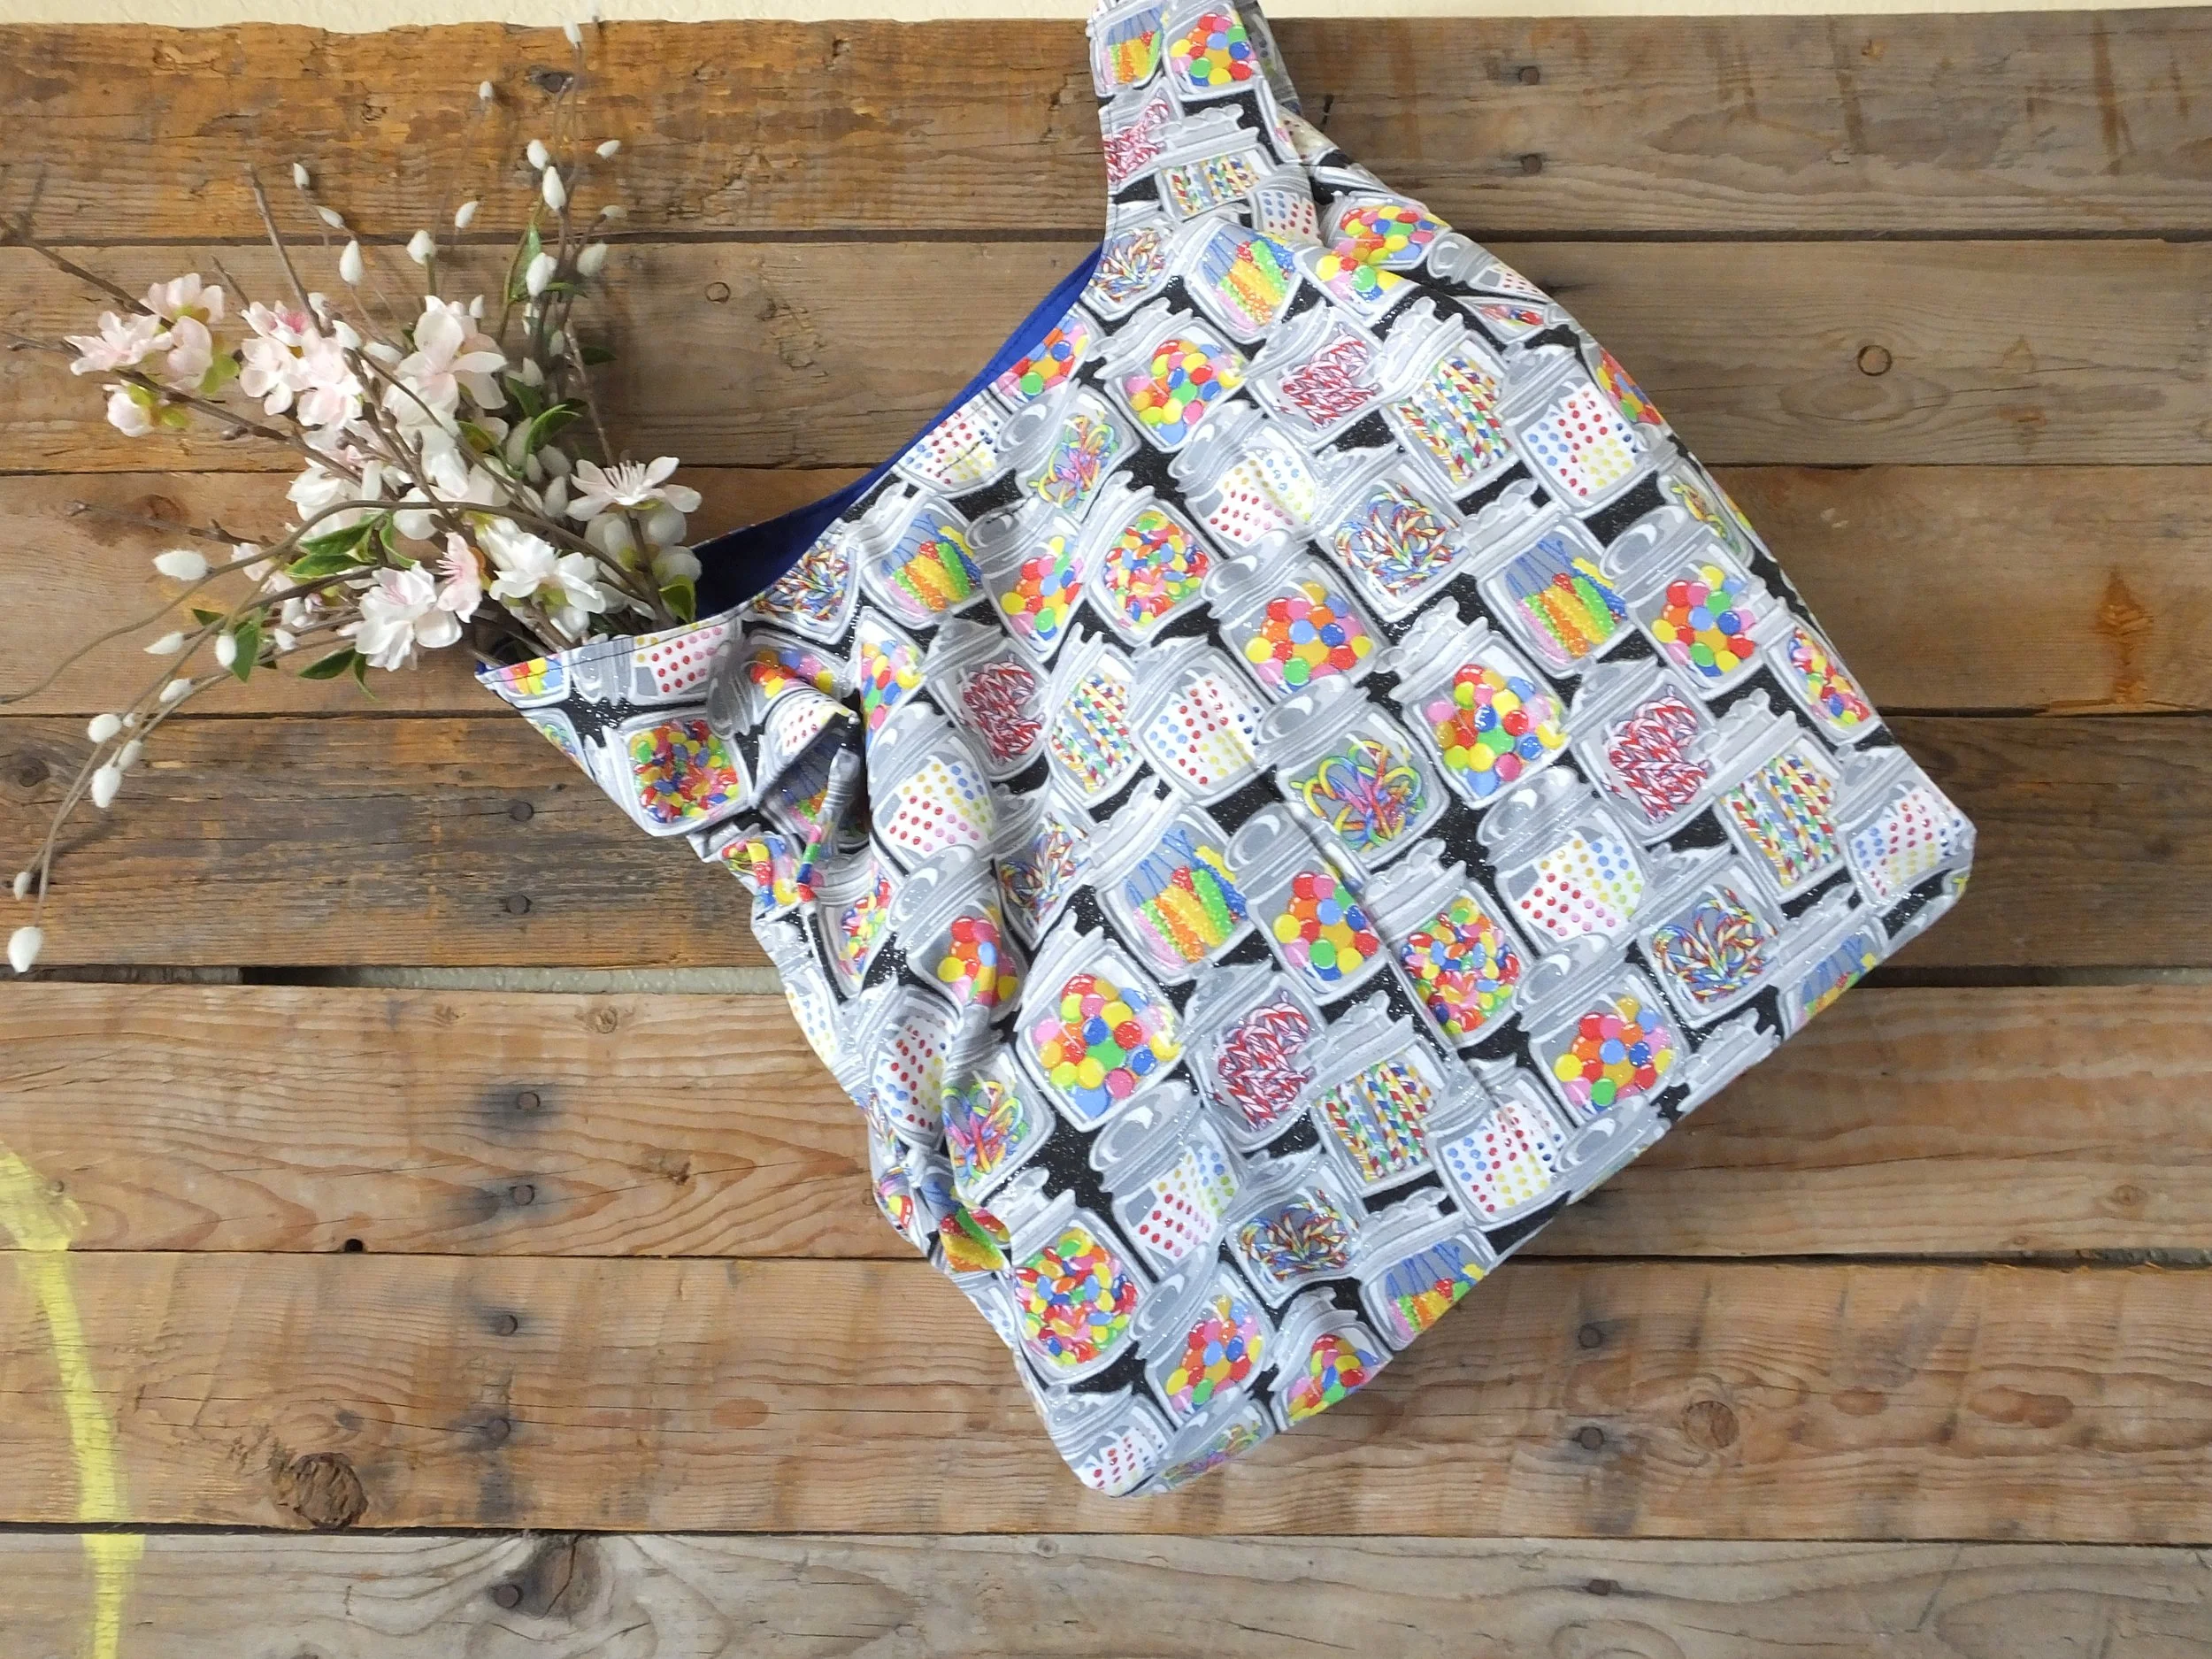
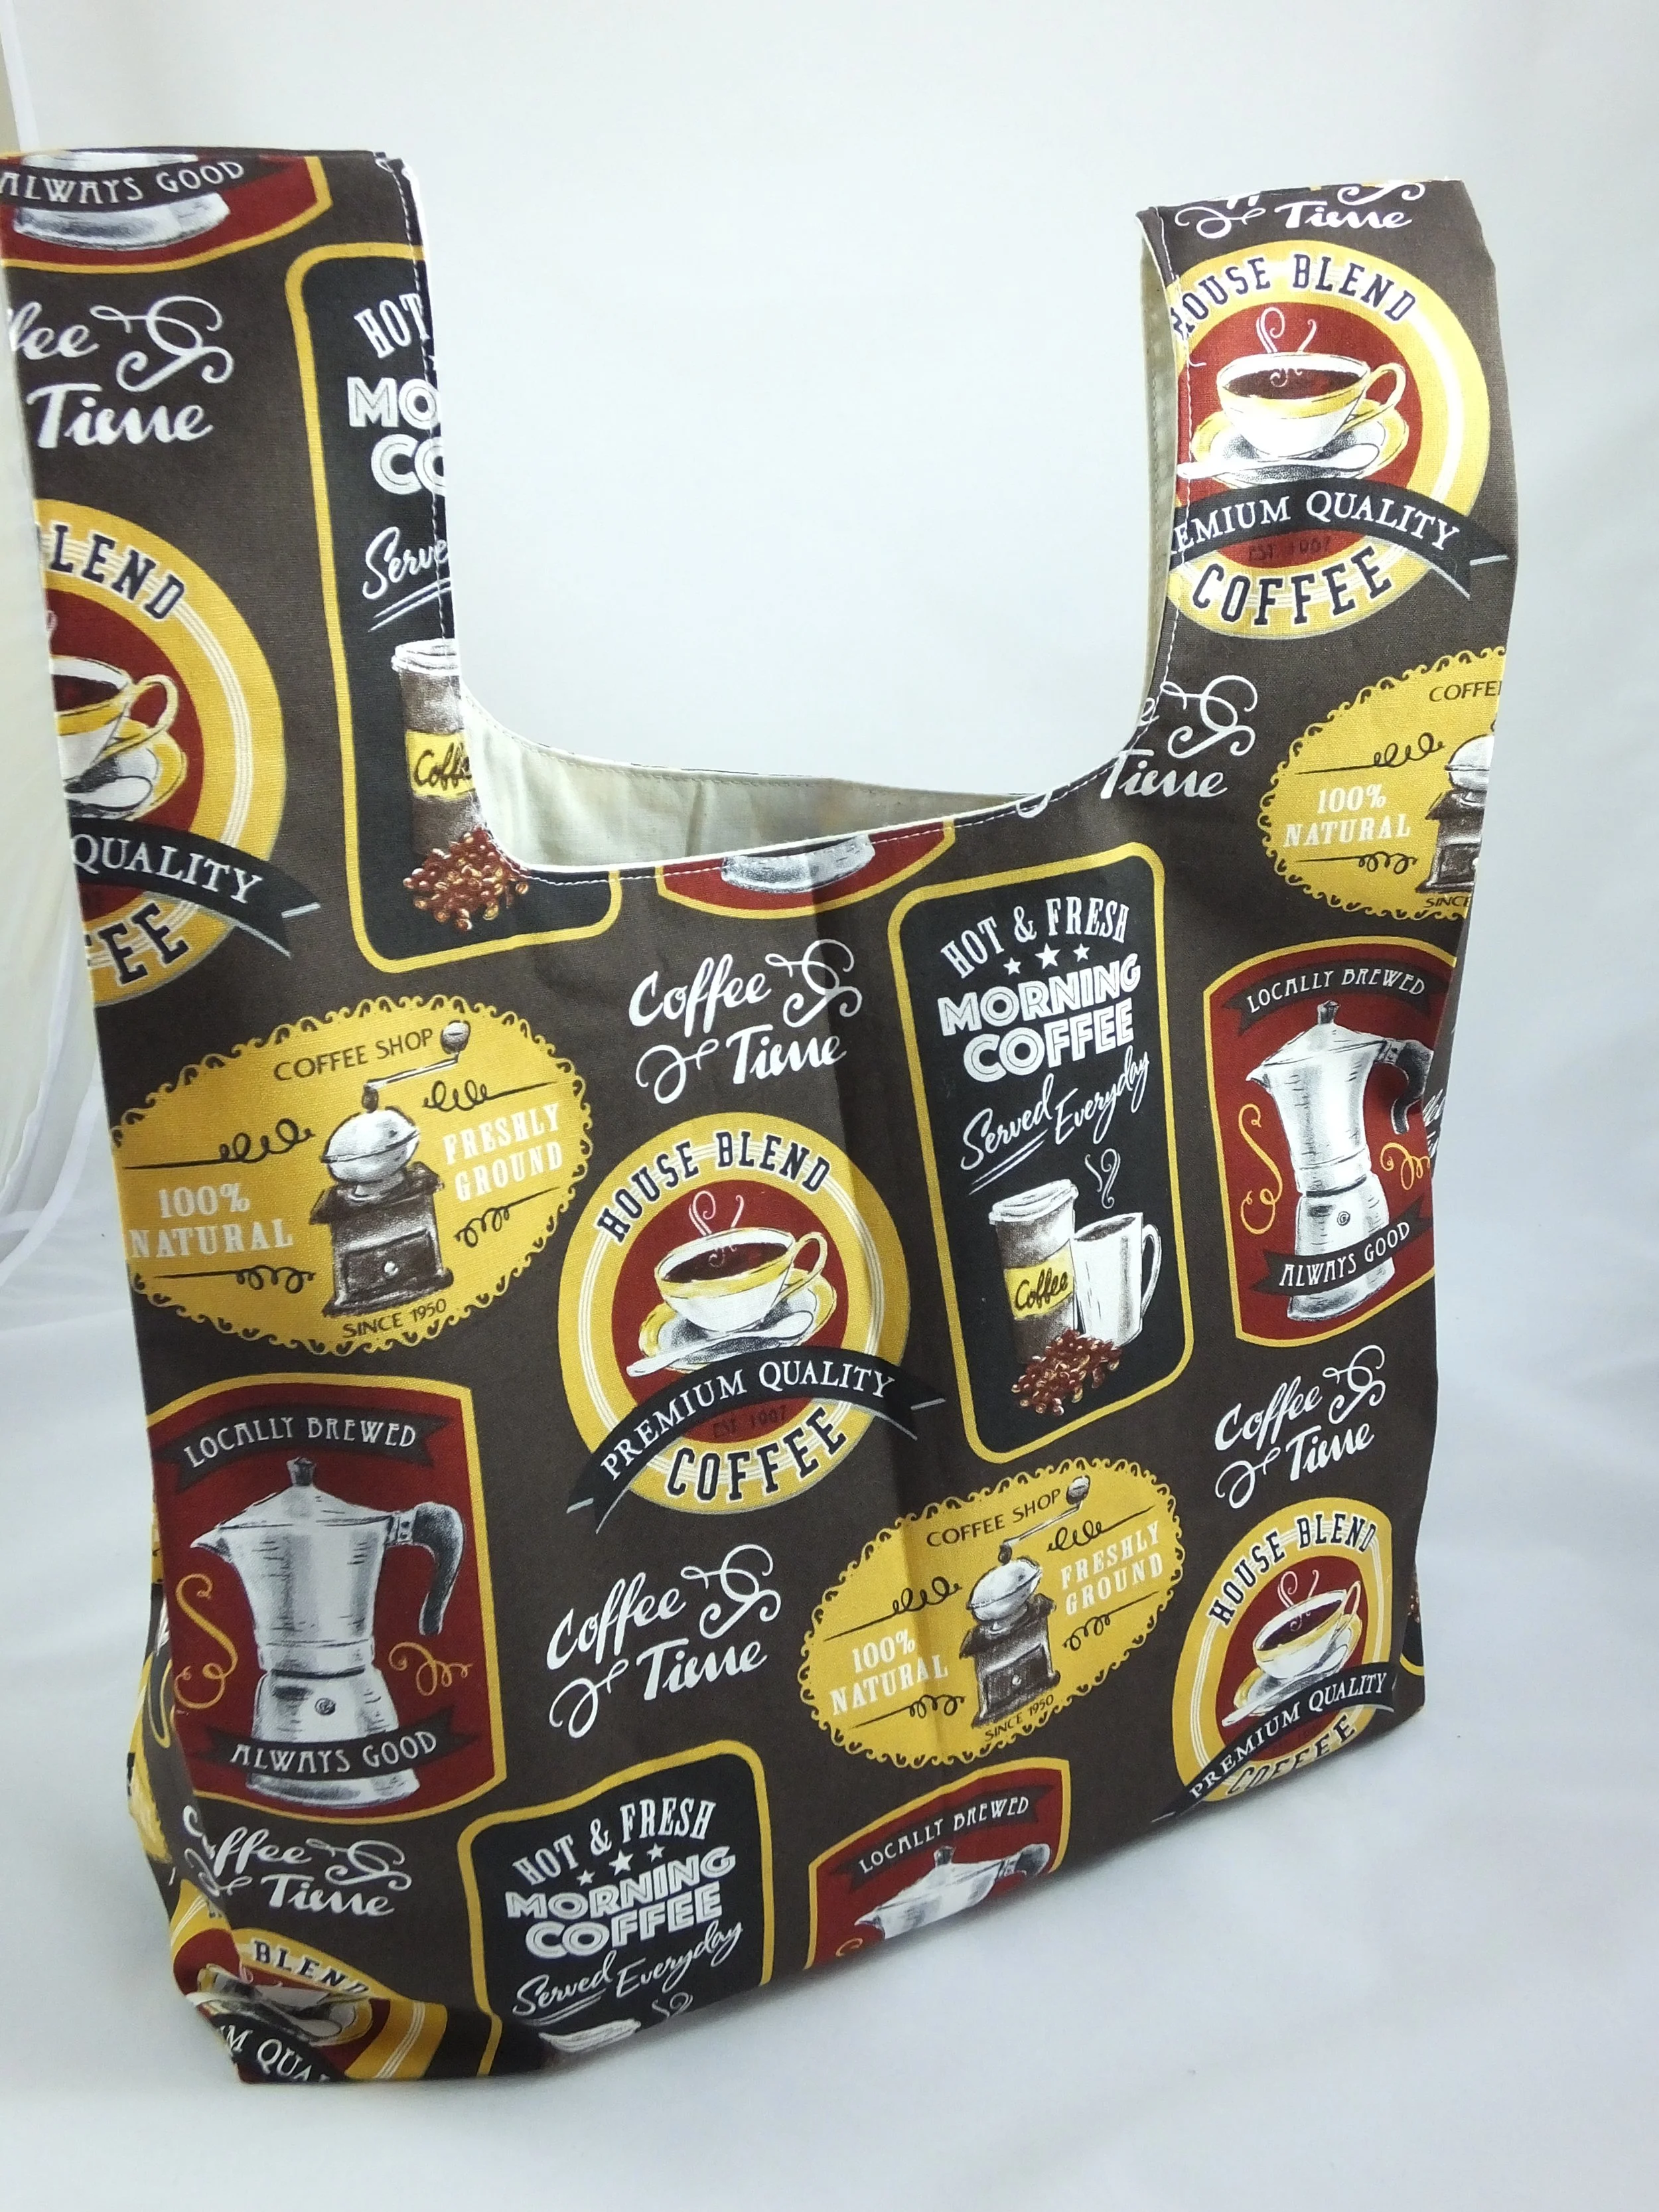
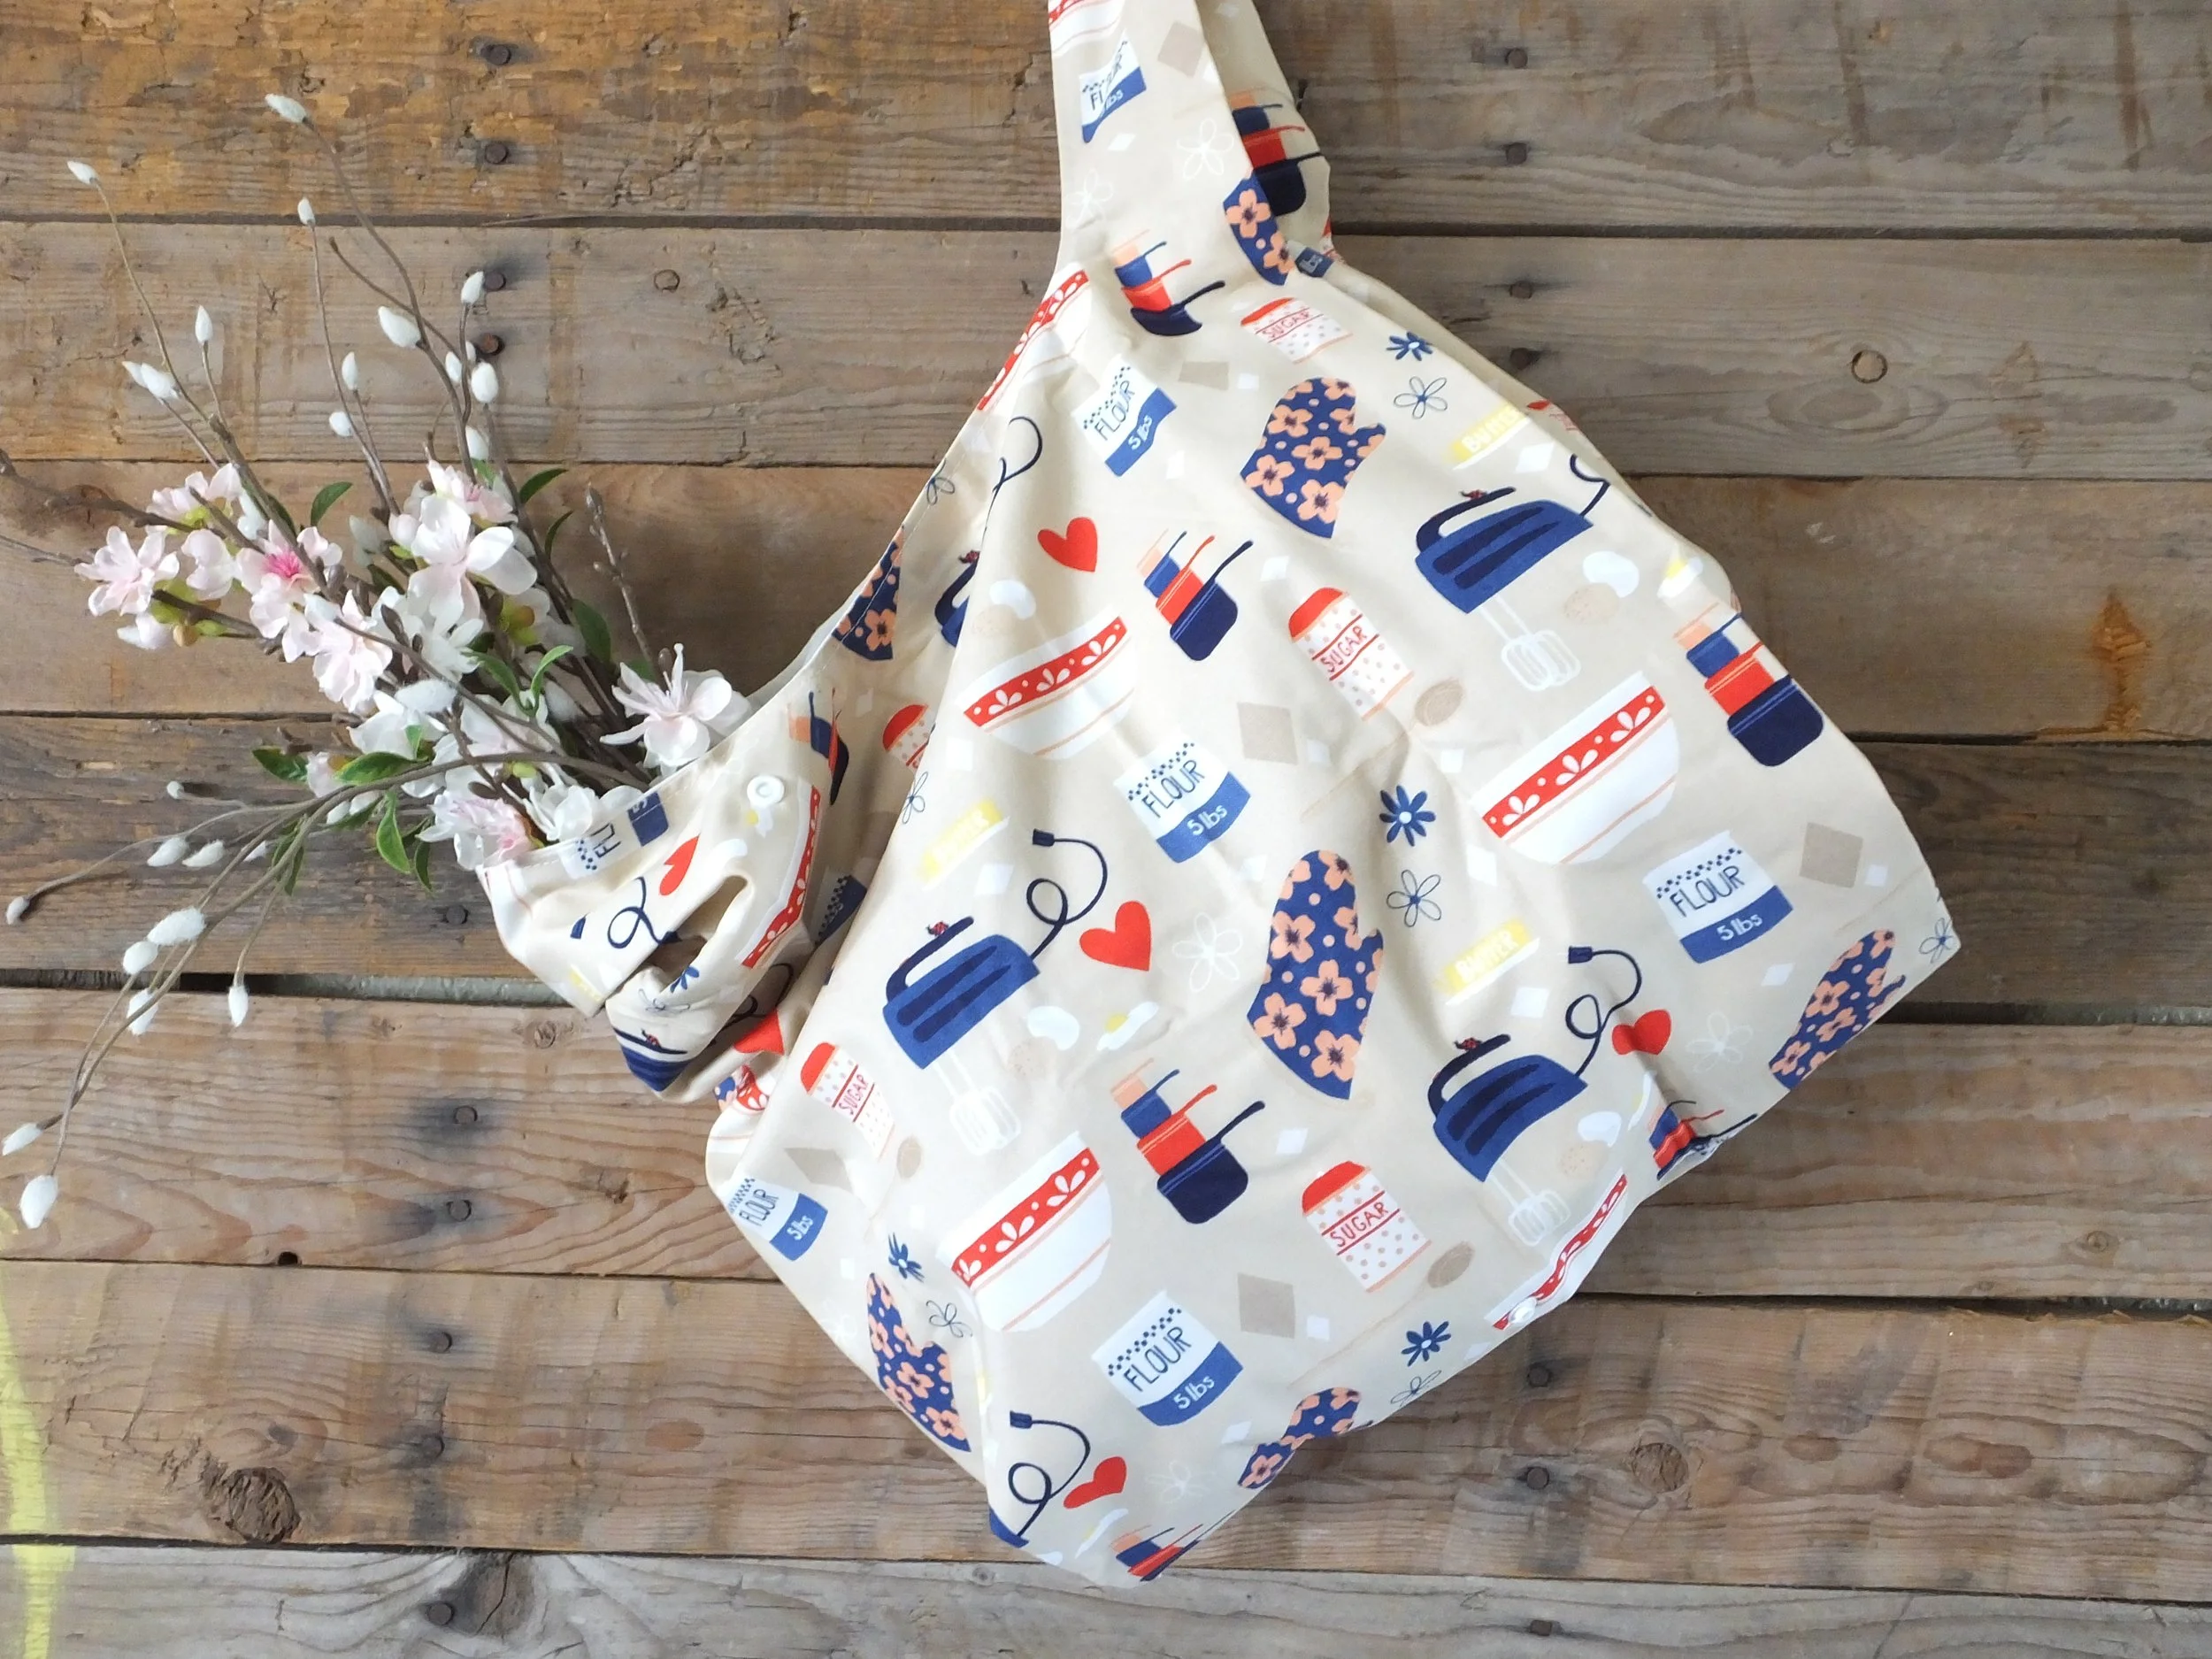
Below are a few of the bags I’ve made throughout the years. I would like to think my phtography got better over the years too. Haha… Yikes!

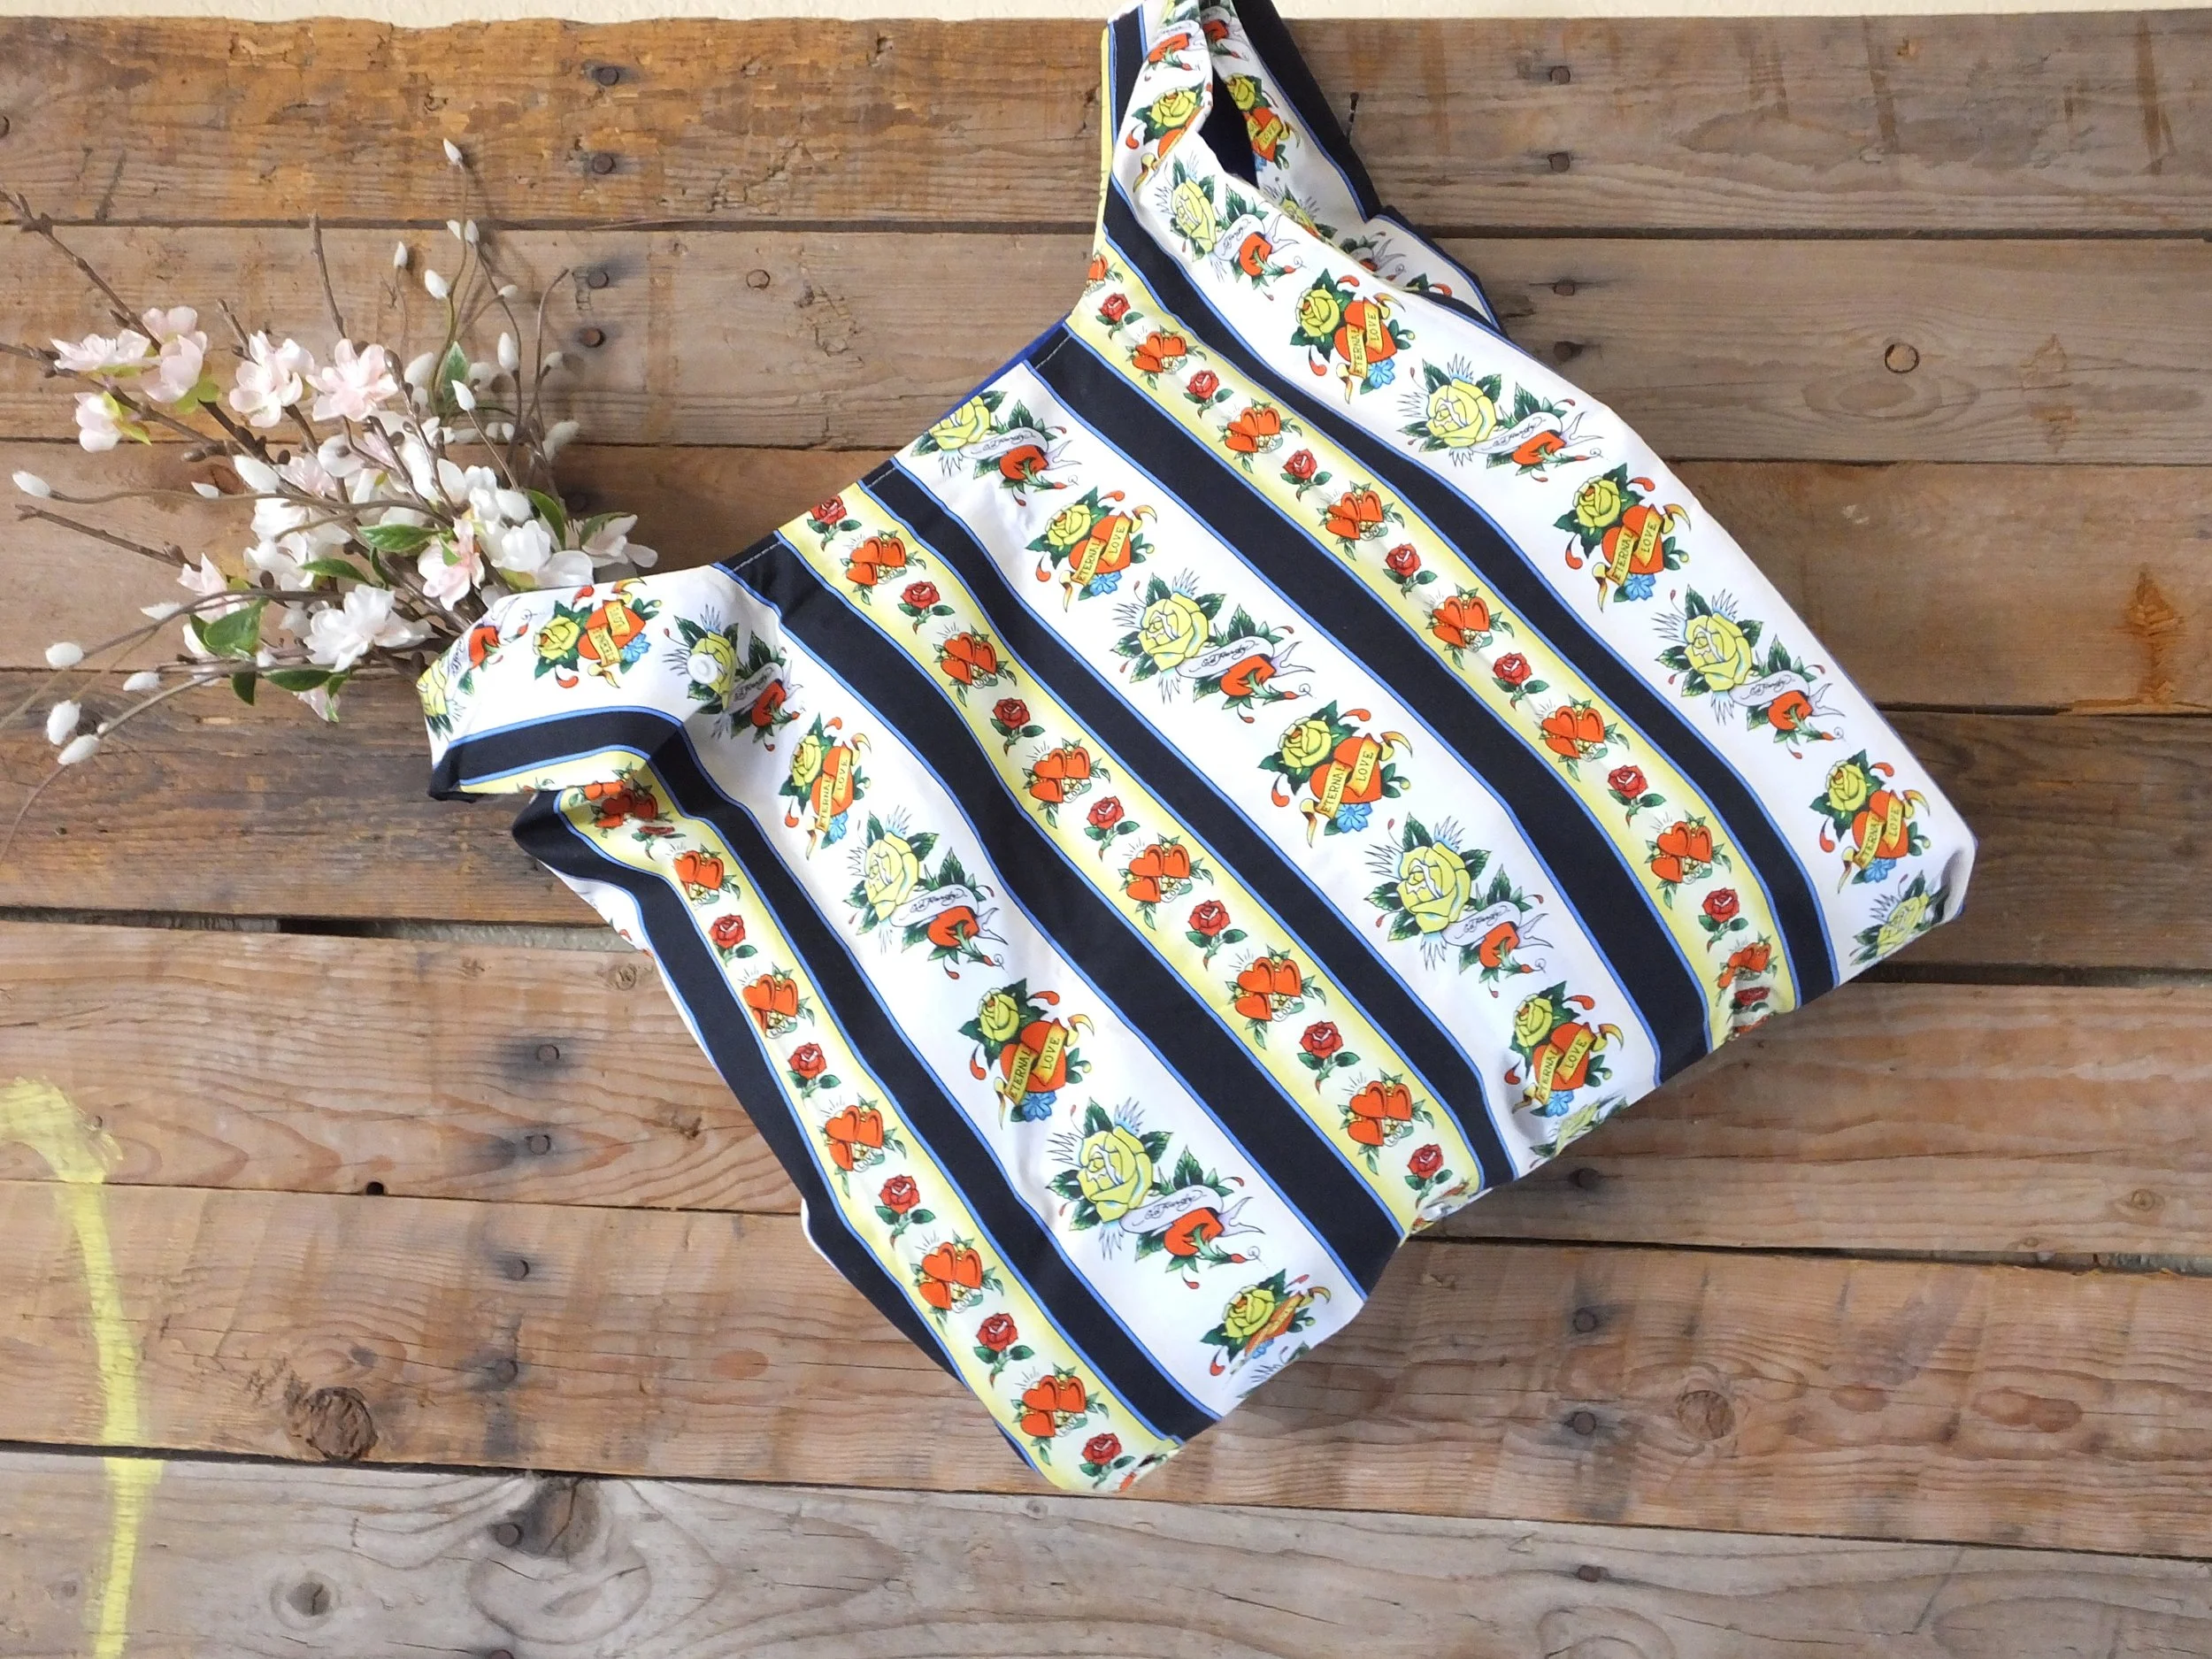
What do you plan on using your new bag for? I keep mine folded in my purse at all times. You never know when you need a bag. I do have to warn you, though, once friends and family see your bag, they’ll want one. Ha! They do make great gifts.
Welp, thanks for hanging out and sewing with me today. I hope this post will have you making a bag you’ll want to use. It’s a somewhat simple tutorial and is great for an adventurous beginner.
If you want to sew something for Halloween, here are some ideas.
Happy sewing and shopping!
Annette

Beetlejuice Handbag by Swoon Patterns
I made a Beetlejuice Bag. It fits everything and the kitchen sink. This is the Annette Satchel by Swoon Patterns and is my favorite bag to take on a trip or for a full day of shopping. It’s big and I love it!

Coffee and sewing just go together!
Beetlejuice…Beetlejuice…Beetleju……Ha, I’m not saying it!
Do you ever feel like you need a bigger bag? All of your life doesn’t quite fit into your current bag, and it’d be nice to have a larger one, right? I sewed a big bag using Swoon Patterns “Annette Tote” sewing pattern. And, OMGSH! I am not joking when I say it’s a bigger bag. The bag is huge! I’ve made many Swoon patterns, and this one was no different. It’s well thought out, every pattern piece matches up, and the result is very professional-looking, as always.
I had some bright green Beetlejuice fabric and knew I wanted it for this bag. I also had black vinyl in my stash so, this was going to be a perfect bag for the spooky season. And, bonus, the new Beetlejuice movie came out around the same time I finished my bag. Yay!
If you’re new to bag-making, it can be a little intimidating. The most important thing is buying good quality interfacings and vinyl. Don’t skimp on these things. And, press, press, press.
Bonus, the pattern is my name, so you knew I was going to make a few of these, right?
Supply List:
By Annie’s soft n stable (there are other brands, but this is THE best) Also, available on Amazon
Sewing machine
Wonder Clips. Pins are nice, but clips are my go-to for bag-making, especially if you use vinyl or leather
Fabric for the outside (roughly1.5 yards)
Lining fabric (1.5 yards)
2 Zippers- 1 for interior pocket, 1 for bag
Interfacings
Rotary cutter and mat
Double-sided tape, I like Tandy leather
Chalk marker
Rulers
Iron and board
Marine Vinyl for handles and outside pockets, don’t skimp on this.
Purse feet (optional)
Metal hardware for handles
Matching thread
Printer, paper, and tape
I might have forgotten a thing or two, I’m going off memory here. There’s a whole list of what you’ll need in the pattern instructions. The fabric amount is probably wrong as well, make sure to check the pattern.

Annette Satchel first steps.
Interface everything!
After you’ve printed the PDF pattern, cut, and taped everything together, it’s time to start the bag.
Trace your pieces onto the fabric. Cut all the extra pieces there aren’t actual pattern pieces for.
Interface everything! You have to sew the foam to the interfaced fabric main pieces. A serger is nice for this, or use the zigzag stitch on your machine.
Cut out the vinyl handle pieces and place them onto the purse front and back. This is easy to do by folding the purse front in half and marking the CF. Use your ruler and chalk to mark placement spots for the handles. Use your double-sided tape to attach the handle in place.

Sew the handle connectors on.


Clip the 2 pieces of the side pockets together, matching placement points. This will feel funny, but it creates a nice big pocket. This pocket will fit a few cell phones, a small water bottle, a stuffed puppy, or a pair of flip-flops.

My Beetlejuice bag is coming along nicely.


Create the interior pocket. Leave a large gap in the bottom, this is how you will turn the bag right side out after it’s completed.

Purse feet are nice to have but not necessary.
You will sew the bottom base to the front and back of the bag. Topstitch. Below is what the outer will look like.


Now it’s time for the interior of the bag. I had some fun stripe fabric left over from a Halloween quilt I made last year. I didn’t have enough for the whole interior, but I made it work. Making bags is fun because you can use scraps for inside pockets and other small areas.

The intereior of the bag. Stripe fabric for the sides and Beetlejuice fabric on the bottom base.
Now the bag starts coming together.
Take the bag's main piece and side pocket pieces, and get your clips.
Start by clipping at the top, then the middle marked spot, and go from there.
Sew from one top edge, down and around, and up to the other edge. Repeat for both sides.

Clip, clip, hooray!


After the outside is finished, sew the interior the same way. This will be easier because there isn’t a layer of thick foam.

Add your own label. This is the chef’s kiss!

Clip around the top of the inside and outside. Sew!

Use lots and lots of clips.

Turn inside out through the interior pocket. This is tough, but you’ll persevere. LOL
The last step is to make the handles.
I usually make mine a little shorter or longer than what patterns call for. I measure the length I prefer with a soft measuring tape, draped over my shoulder.
Fold the handle in half, mark, then fold each side to the mark down the middle. Using the double-sided tape really helps with this part. Clip and sew.
When sewing vinyl, you cannot backstitch. The needle leaves permanent holes, so go slow and sew carefully.

Mark the center point, fold each edge to the line. Then fold onto itself, clip, then sew.
Insert into the hardware rings on your purse. Sew a few rows of stitching across the vinyl.

Dress accordingly and go see the new Beeltejuice movie.
That’s it! Your big beautiful handbag is ready to get filled with everything on the planet.
It’s a fairly simple handbag to sew. I’ve made the smaller version as well and love it.
I’ve never had a handbag this large before so, I do feel a little funny shopping with it. I haven’t knocked anything over inside a store, yet. Haha! Oh, and it takes up a whole seat at a restaurant, but it fits everything! My laptop and camera both fit inside, which is nice if I’m on a photoshoot.
Do you need a huge carpet bag like this? I plan on making another in a different fabric- one that is more suitable for year-round use. I also might make a third using some leftover camera fabric from this skirt project.
Here’s a silly reel I made on Instagram showing what fits inside the bag.
Happy bag-making!
Annette

Movie theater goofball photos.

DIY: Sweatshirt Into Tote Bag
DIY tote bag sewing pattern. Use up old hoodie sweatshirts to make into a bag. Easy free sewing project that is beginner-friendly. Reuse and upcycle sewing project. Use up old children’s clothing and turn their things into a bag. Tote bag sewing pattern.

When I was coming up with a title for this post, I kept thinking of the word Upcycle. But, I don't see it used as much anymore. Do you still use the word upcycle? I opted for the DIY term instead. Anywho, onto the post.
Have your kids outgrown some of their favorite clothes? They can't stay little forever, right? Maybe they have something they used to love that no longer fits. You might have a bin of clothing that you don't want to donate or don't know how to put to use.
A friend asked me if I'd make a bag from her daughter’s old hoodie. It was a rare occasion and I said yes! I was in a rut with my sewing and thought creating something new would pull me out of it. It worked! The result is super cute and useful, too. That's a win in my book!

If you have an old hoodie packed away that you don't want to get rid of, I have the perfect project for you!
I scoured the interwebs looking for a hoodie up-cycle project and found nothing. I was pretty surprised nothing showed up. There were tons of T-shirt projects, but nothing for sweatshirts. So, I went head first into this challenge. After reading this, I hope you'll pull out those beloved hoodies and put them to use.
Supply List
Old Hoodie without a zipper
Ruler
Rotary cutter and scissors
Chalk marker or disappearing ink pen
Sewing machine
Serger (nice but, not necessary)
Clips (pins work but, it's a struggle because the fabric is thick)
The usual sewing notions
A little creativity ;)

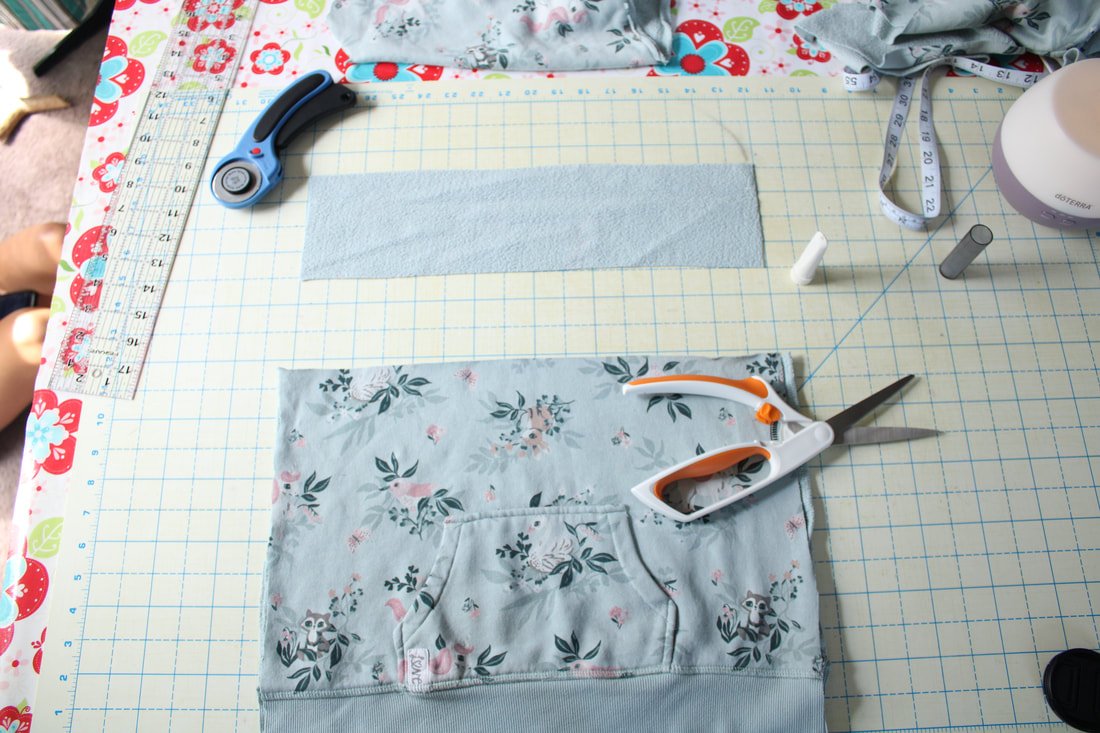
First, you'll want to measure the front. You need to figure out the size of the square or rectangle your bag will be. Use chalk or pen to mark it, and cut. I used as much of the sweatshirt as I could because it was a child's hoodie. I decided to leave the bottom ribbing on the sweatshirt to act as the bottom base for the bag.
Next, cut off the side seam allowances to remove bulk. Cut apart the hood, cuffs, and sleeves and set them aside.
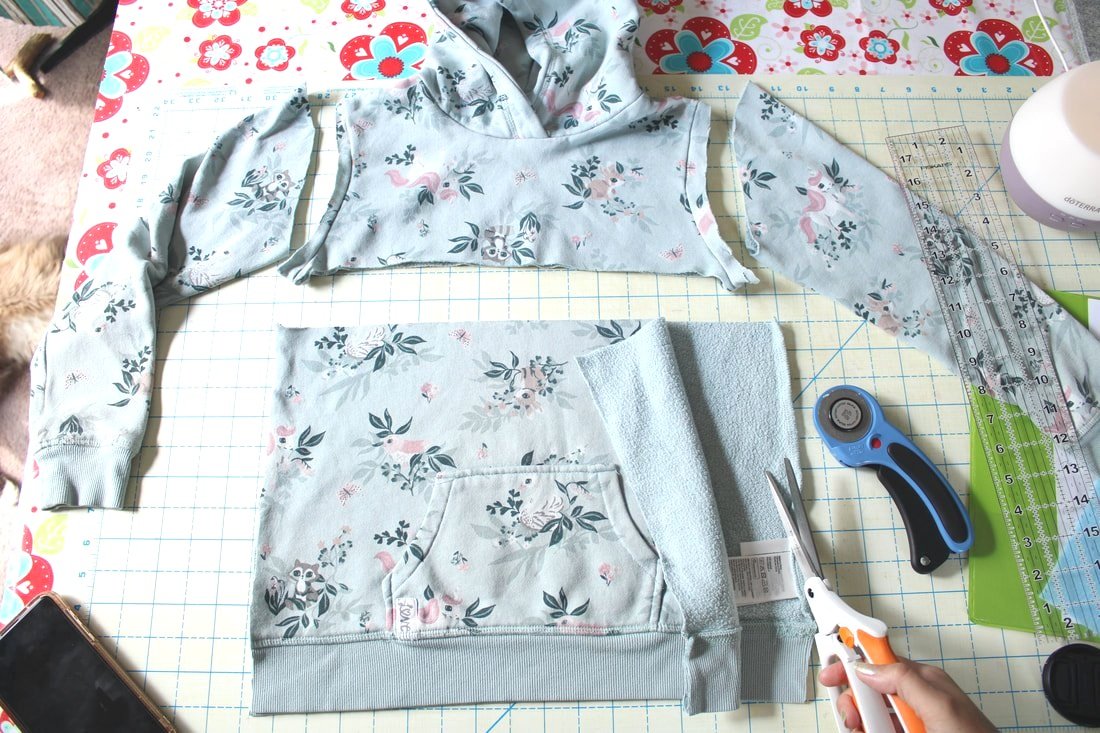
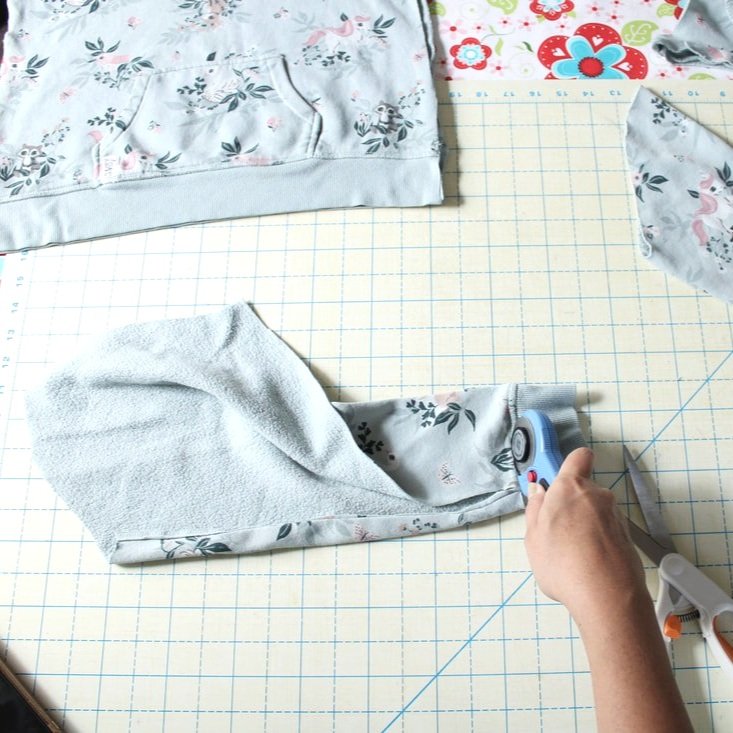
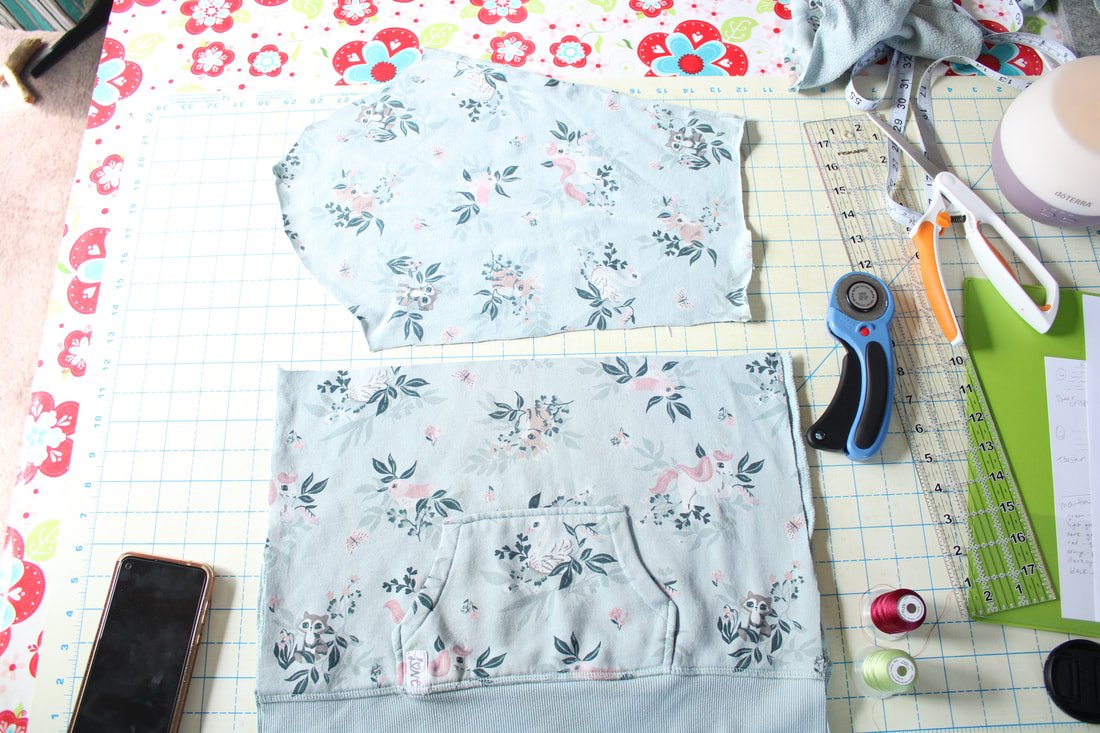
Measure your sleeve length, you'll want to use as much of this as possible for bag detailing. Cut from the shoulder to the wrist, it has the least amount of stretch. I used as much width as I could get away with.
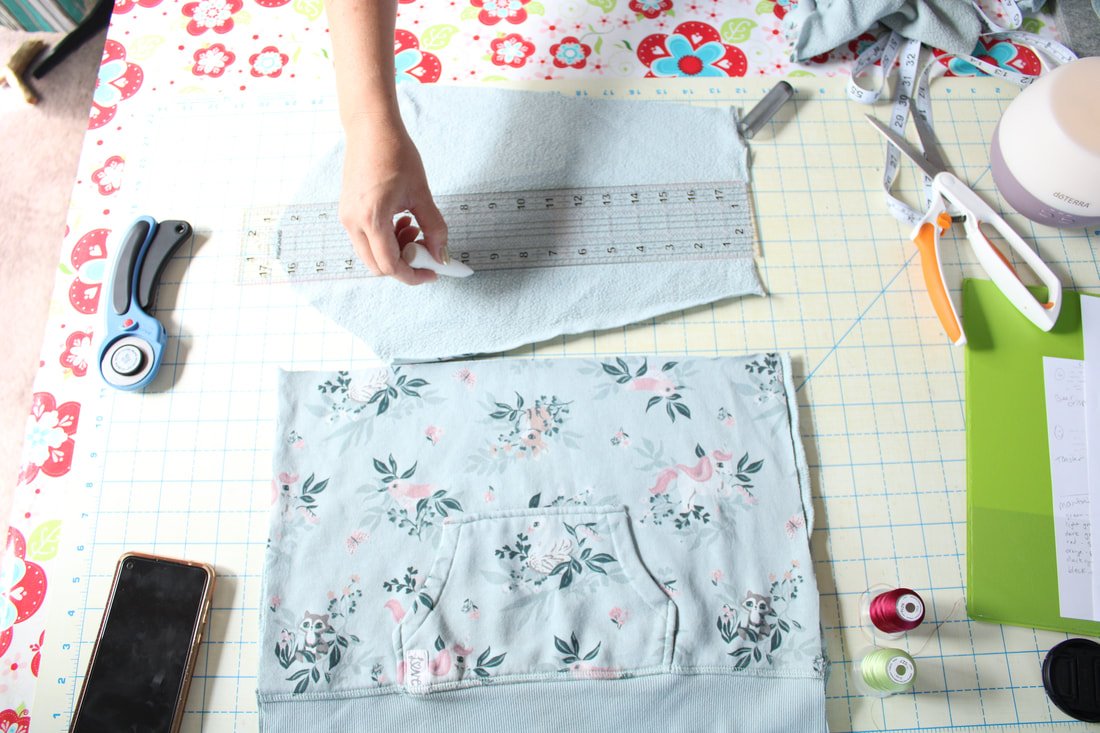

Cut each sleeve strip the same length and width. Pin together, wrong sides together. These will get sewn to the bag top, to add height and some detail. You can baste the edges together before sewing if you'd like but, it's not necessary.

Pin/clip the strips to the top of the bag front and back. Don't sew these on yet.
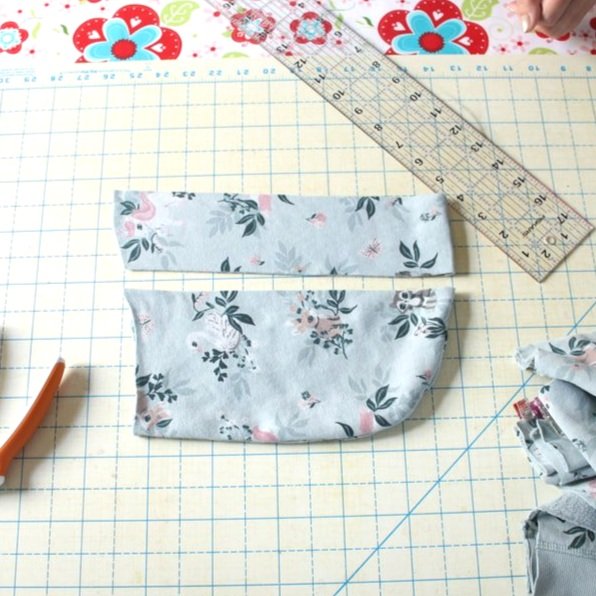
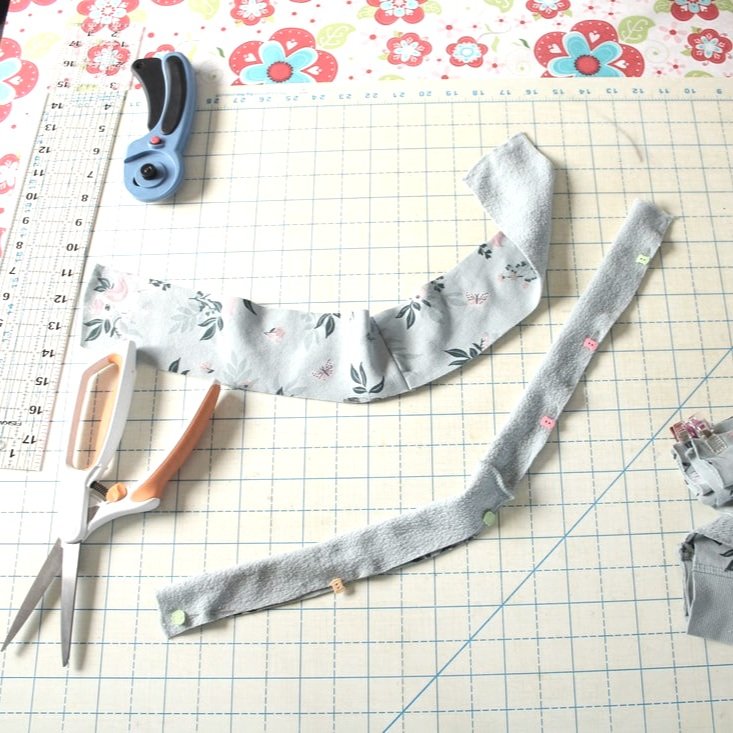
Take the hood and cut off the seam around the face opening. Both layers should separate and you'll have 2 hood pieces. Take one and measure and cut a 3" wide piece using the whole length. Do this with the second hood. These will be your bag handles.

Clip the handles inwards 2-3" from the sides. Sew with a 1/2" seam allowance. Do this on the front and back pieces.
There wasn’t a method to my madness. I didn't make this bag in any particular order.

I used a 1/4" seam but, you should use a 1/2" if you can. I was working with a small hoodie and decided to use a small seam allowance where I could.
If you have a serger, serge the edges to make it nice and clean. You don't need to do this, the fabric won't fray. I made this for something else, so I really wanted it to look nice inside.

Topstitch with seam allowance pointed down. Move handles out of the way.
Move the handles out of the way and topstitch the seam allowance down with 1/8". This will give the layers extra support.
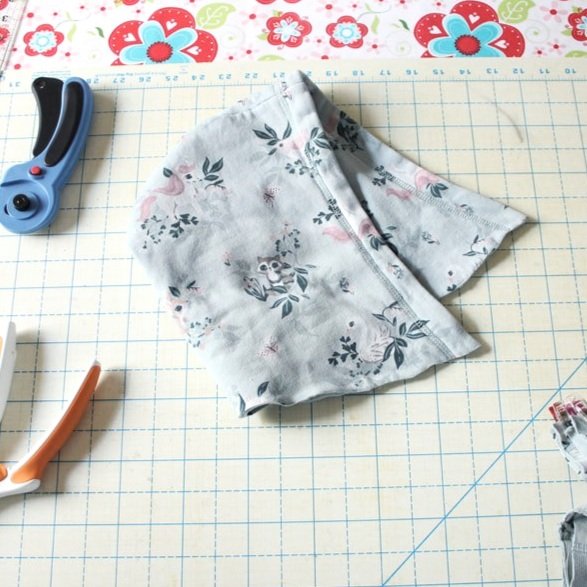
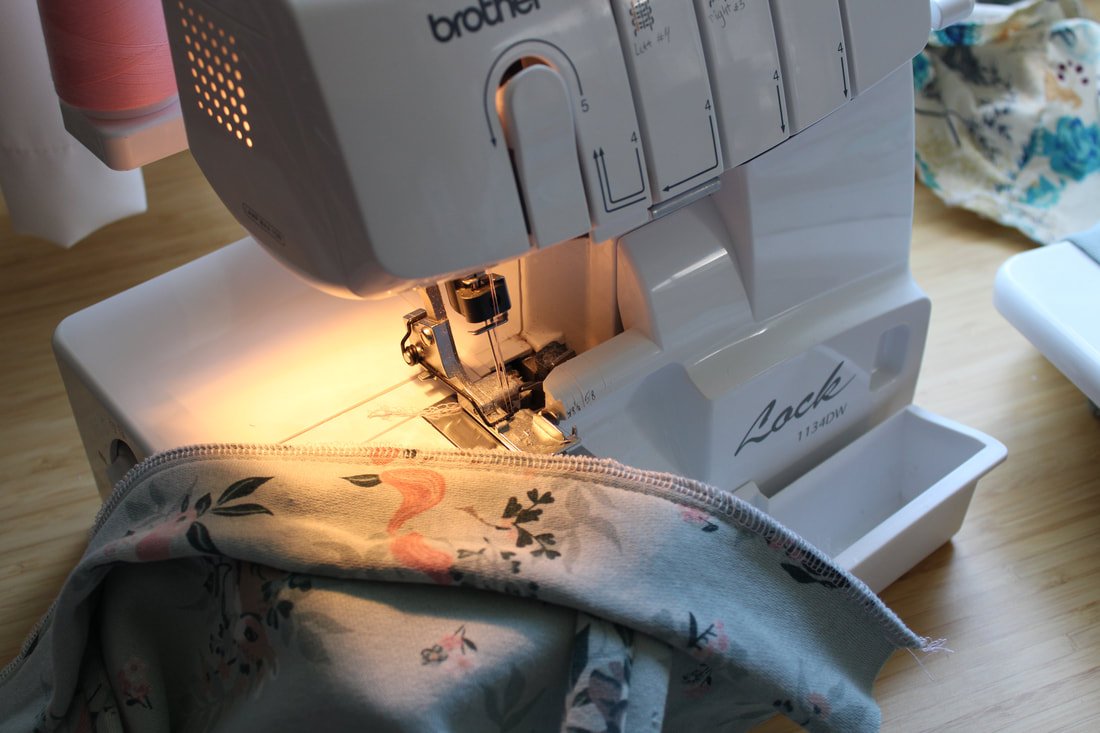
Next, you're going to clip the sides and bottom together. Sew from one opening, down, and around to the next top. Make sure to backstitch at the beginning and end. Don't sew the top.

If you want to leave your bag like this, you're done! Ta-da! Super easy and it used up a hoodie that has probably been in a drawer or bin, unloved for a long time.
If you'd like to box the corners, keep following along.

Pinch bottom corner and match it the seam. Sew across.
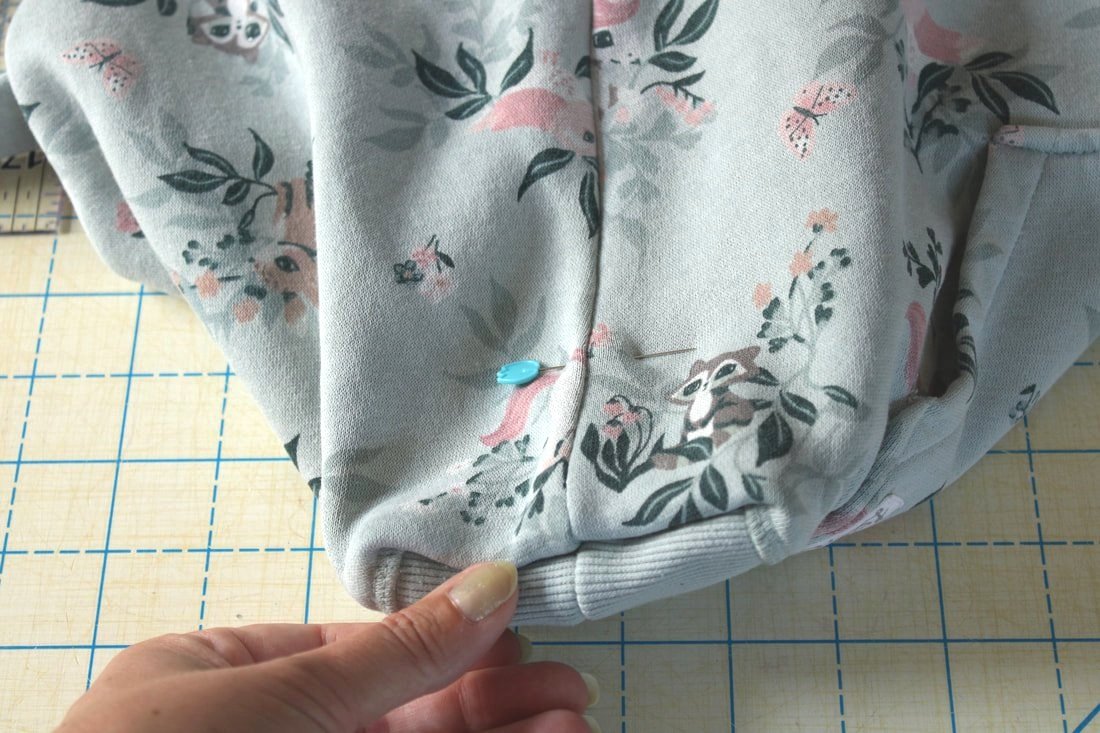
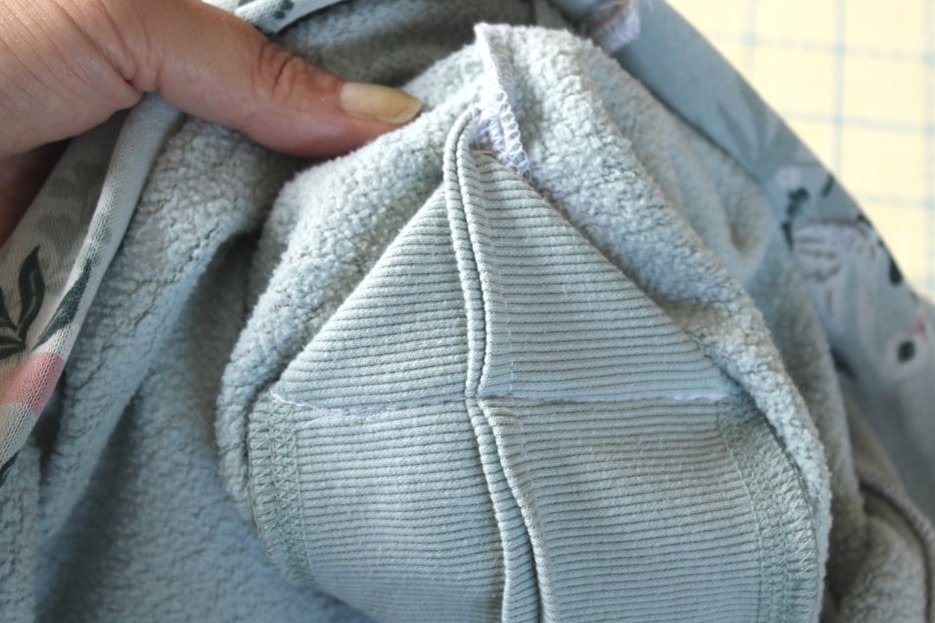
I usually cut the triangles off but, decided to leave it on this time. The extra weight helps hold heavy books, tablets, etc. I stitched in the ditch to keep the triangle from flapping around inside. Just fold the triangle up and pin it in place, then stitch in the ditch (seam in the seam).
Or, simply cut off the excess triangle.
Ta-da! You're all finished. This would make a great gift for a child or anyone with a beloved hoodie lying around.

All finished!
The bag is a good size and will be loved and used for years, I'm sure.
I loved leaving the front pocket on so, others would know if was from a hoodie. Such a cute turnout.

This was the fabric that was left over. Not too bad.
There wasn't too much leftover fabric. I'm sure you could make another cute bag or add pockets inside.
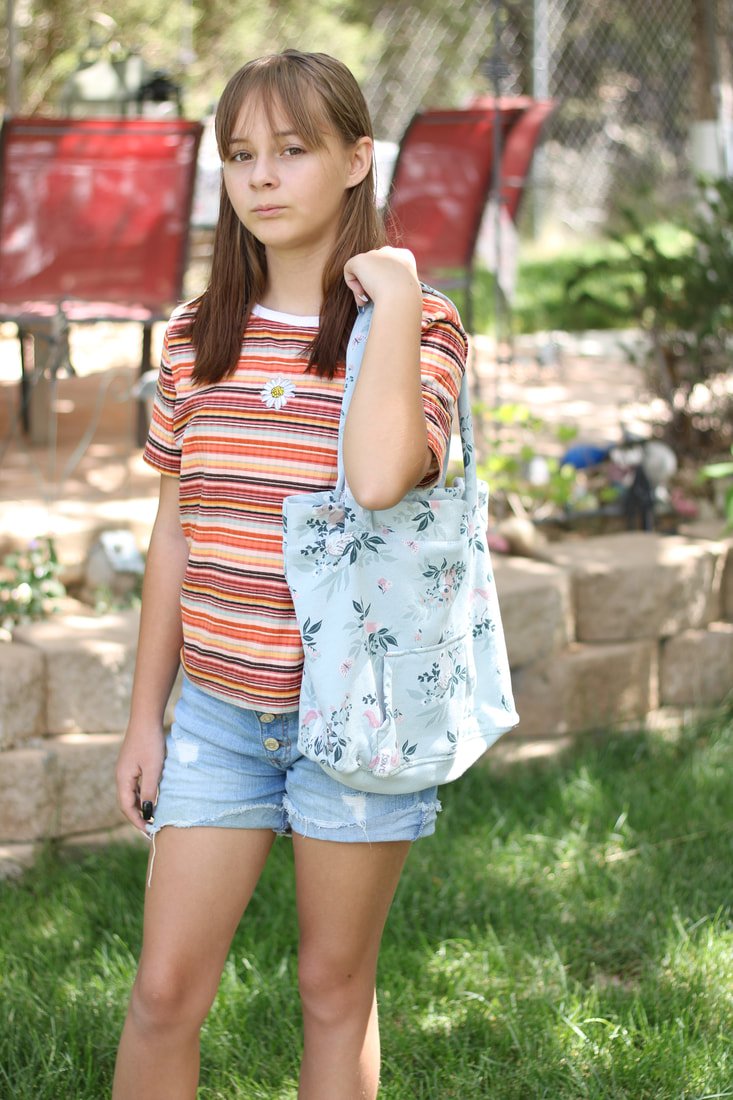
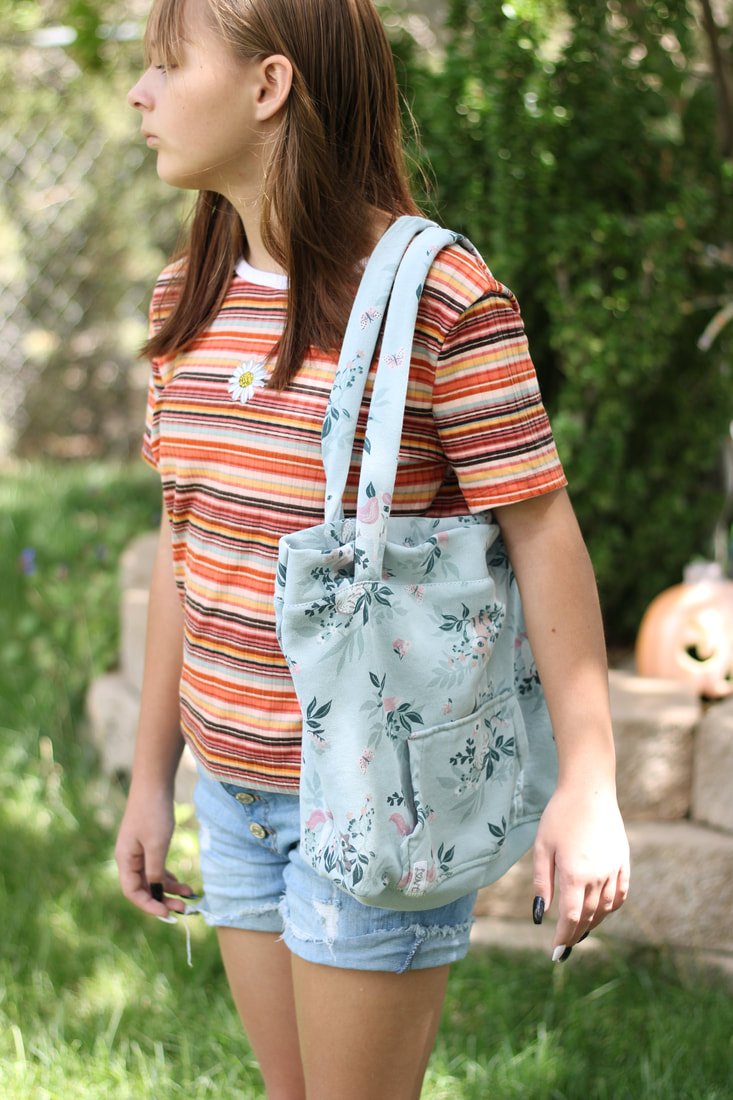
I had my daughter model the bag so you could see the size reference. It's a good size!
Thanks for reading along!
Happy hunting and happier sewing,
Annette