We’re Sew Over Plastic! Make a Bag to Use at the Grocery Store or Farmers Market
Sewing can feel frivolous at times. And, at other times, it can feel like a real superpower!
I like to sew with purpose. It’s probably part of the reason I’m not a huge quilter. Making a quilt for the bed, yes! Making some sort of thing to hang on a wall, nope.
And, reusable items are even better!! If I can make something that has purpose and can be used over and over and over, sign me up!
Let me introduce you to the Tote-ally Awesome bag.
It takes less than a yard to make. And, it has one simple pattern piece!
Excited? I knew you would be. Oh, and bonus, I include SNAP instructions if you’d like your bag to stay folded neatly inside your purse. This is completely optional, but it’s nice to have.
From fabric to function, let’s get sewing!
The pattern resembles a tank top, sorta. But, you aren’t wearing this.
GATHER YOUR SUPPLIES
PDF pattern and Instructions zip file. *If you can’t open that file, scroll down below.
2/3 yard of quilting cotton fabric for the outer
2/3 yard of lining fabric (more about choosing this later)
Matching thread
Pins or clips
Sewing machine
Scissors
A printer for printing out your pattern, tape, and non-fabric scissors
*Optional snap, snap tool, and interfacing scrap piece
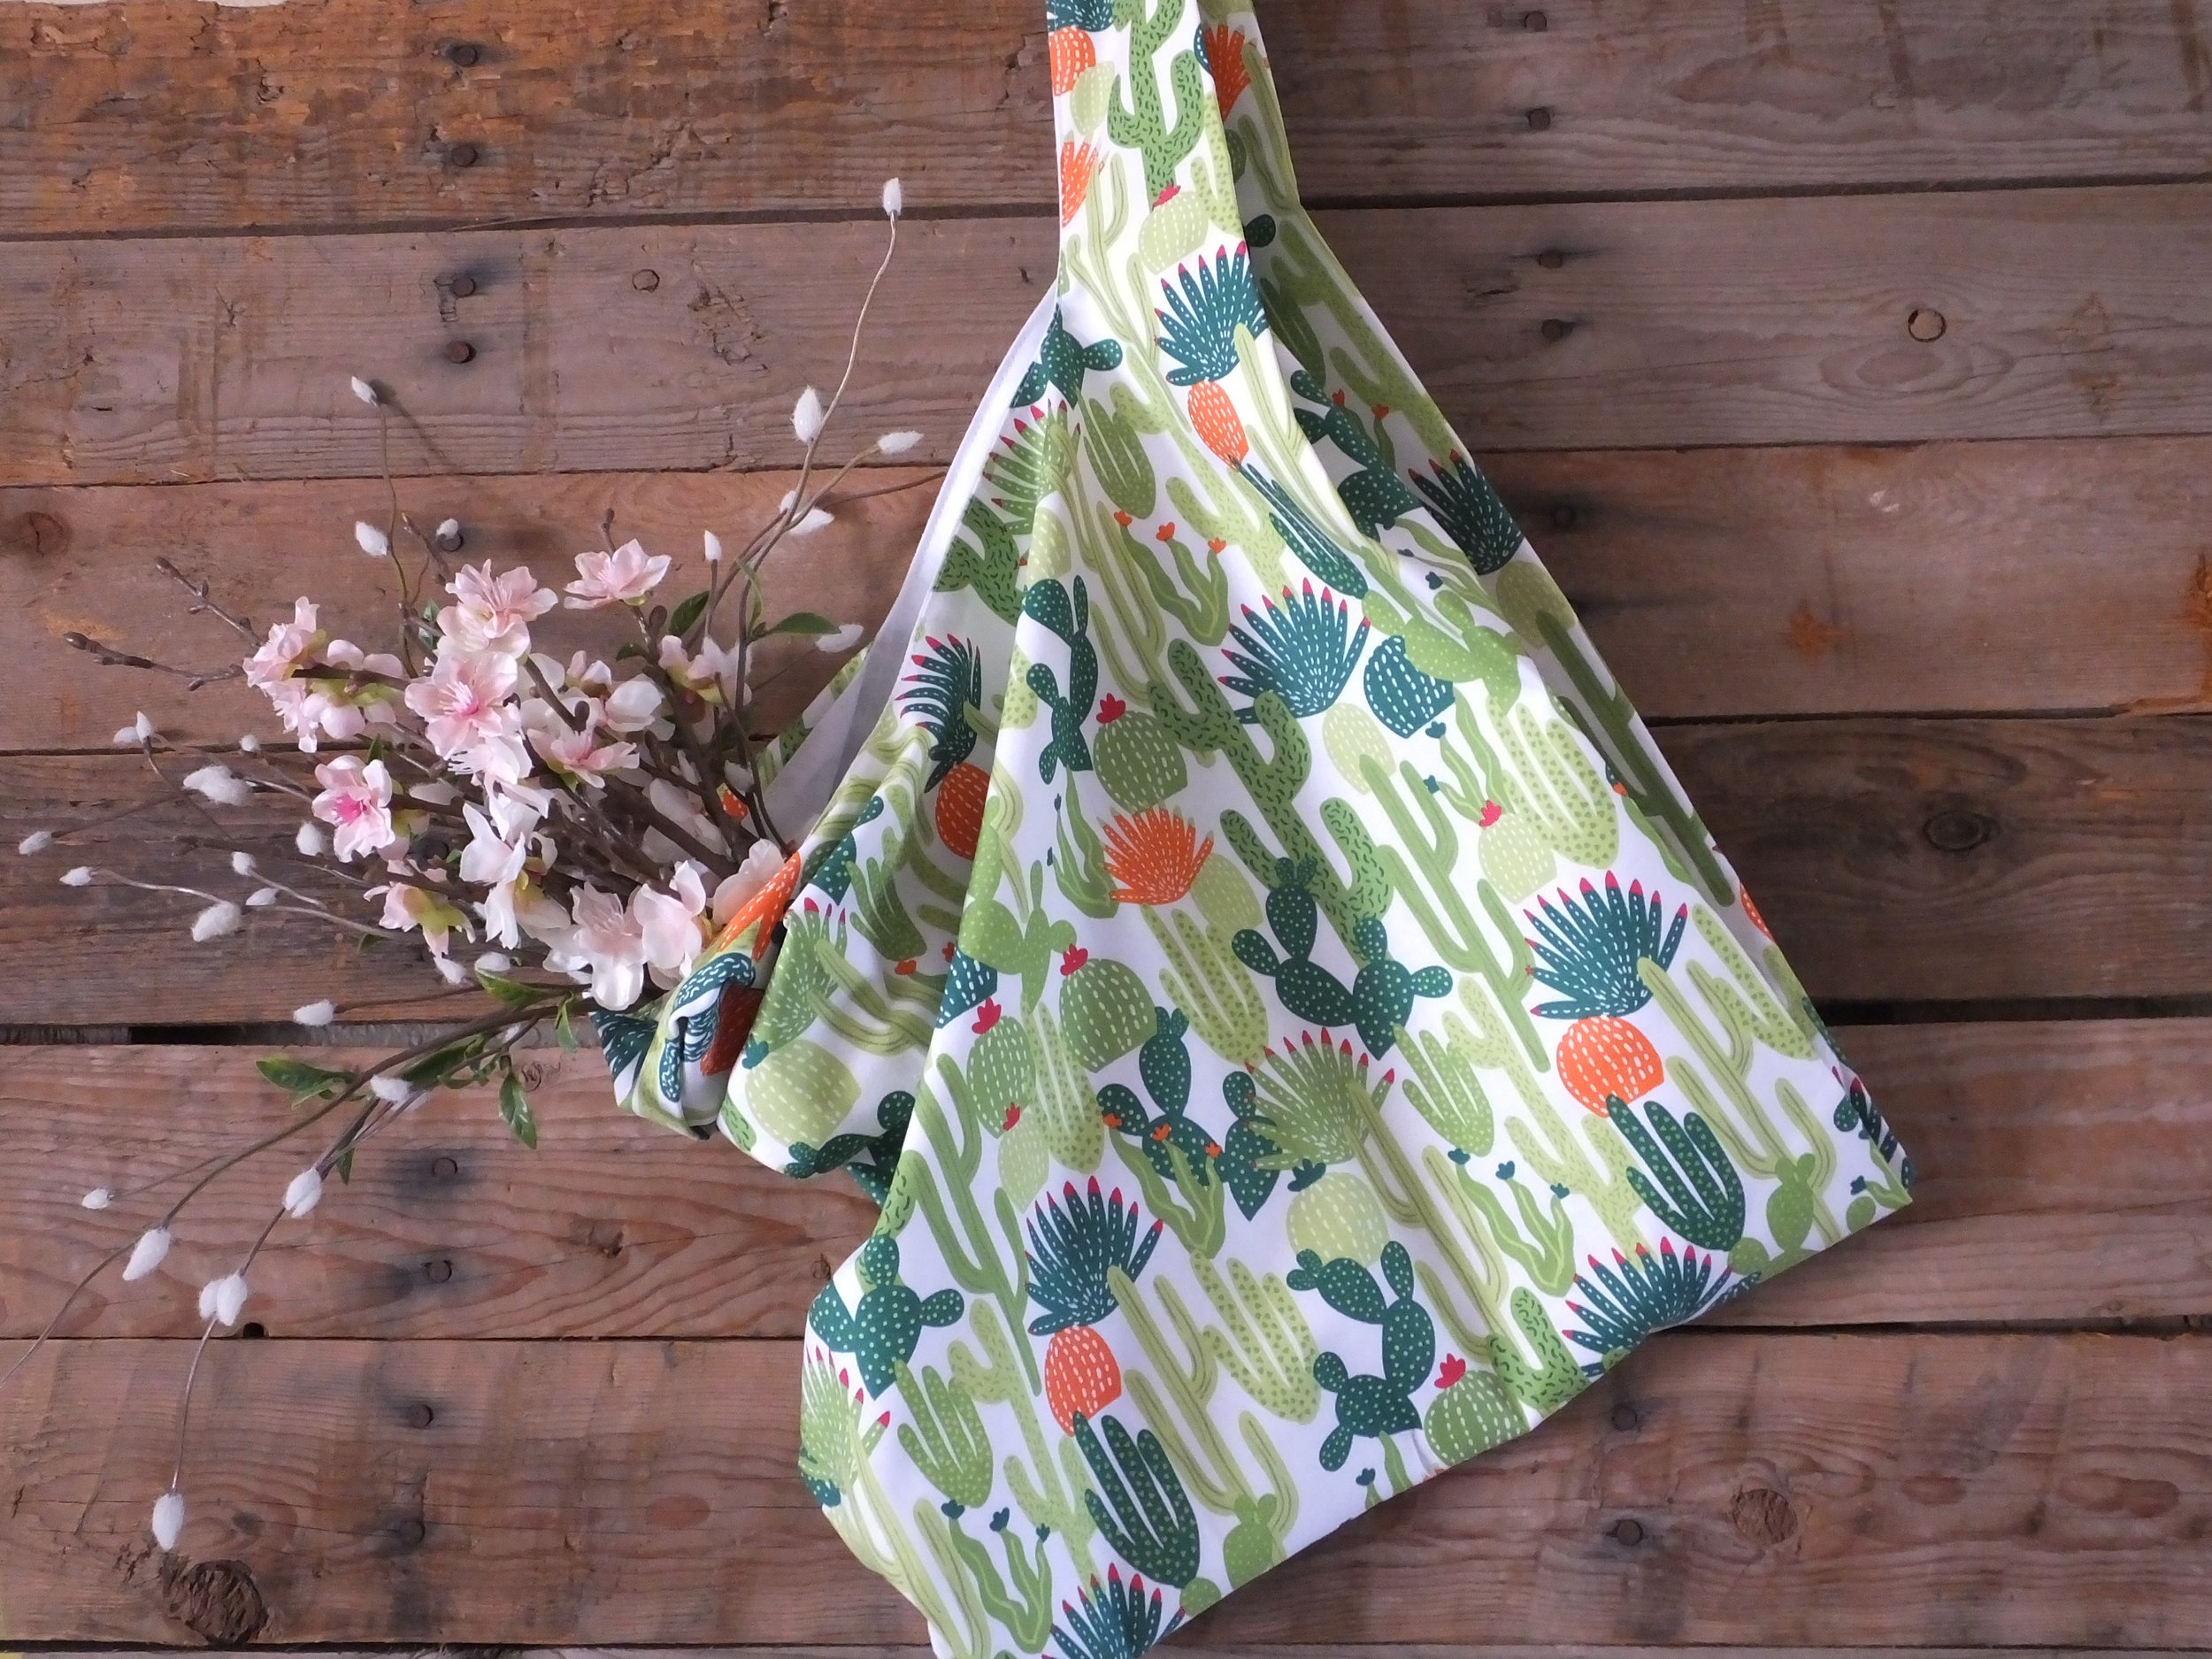
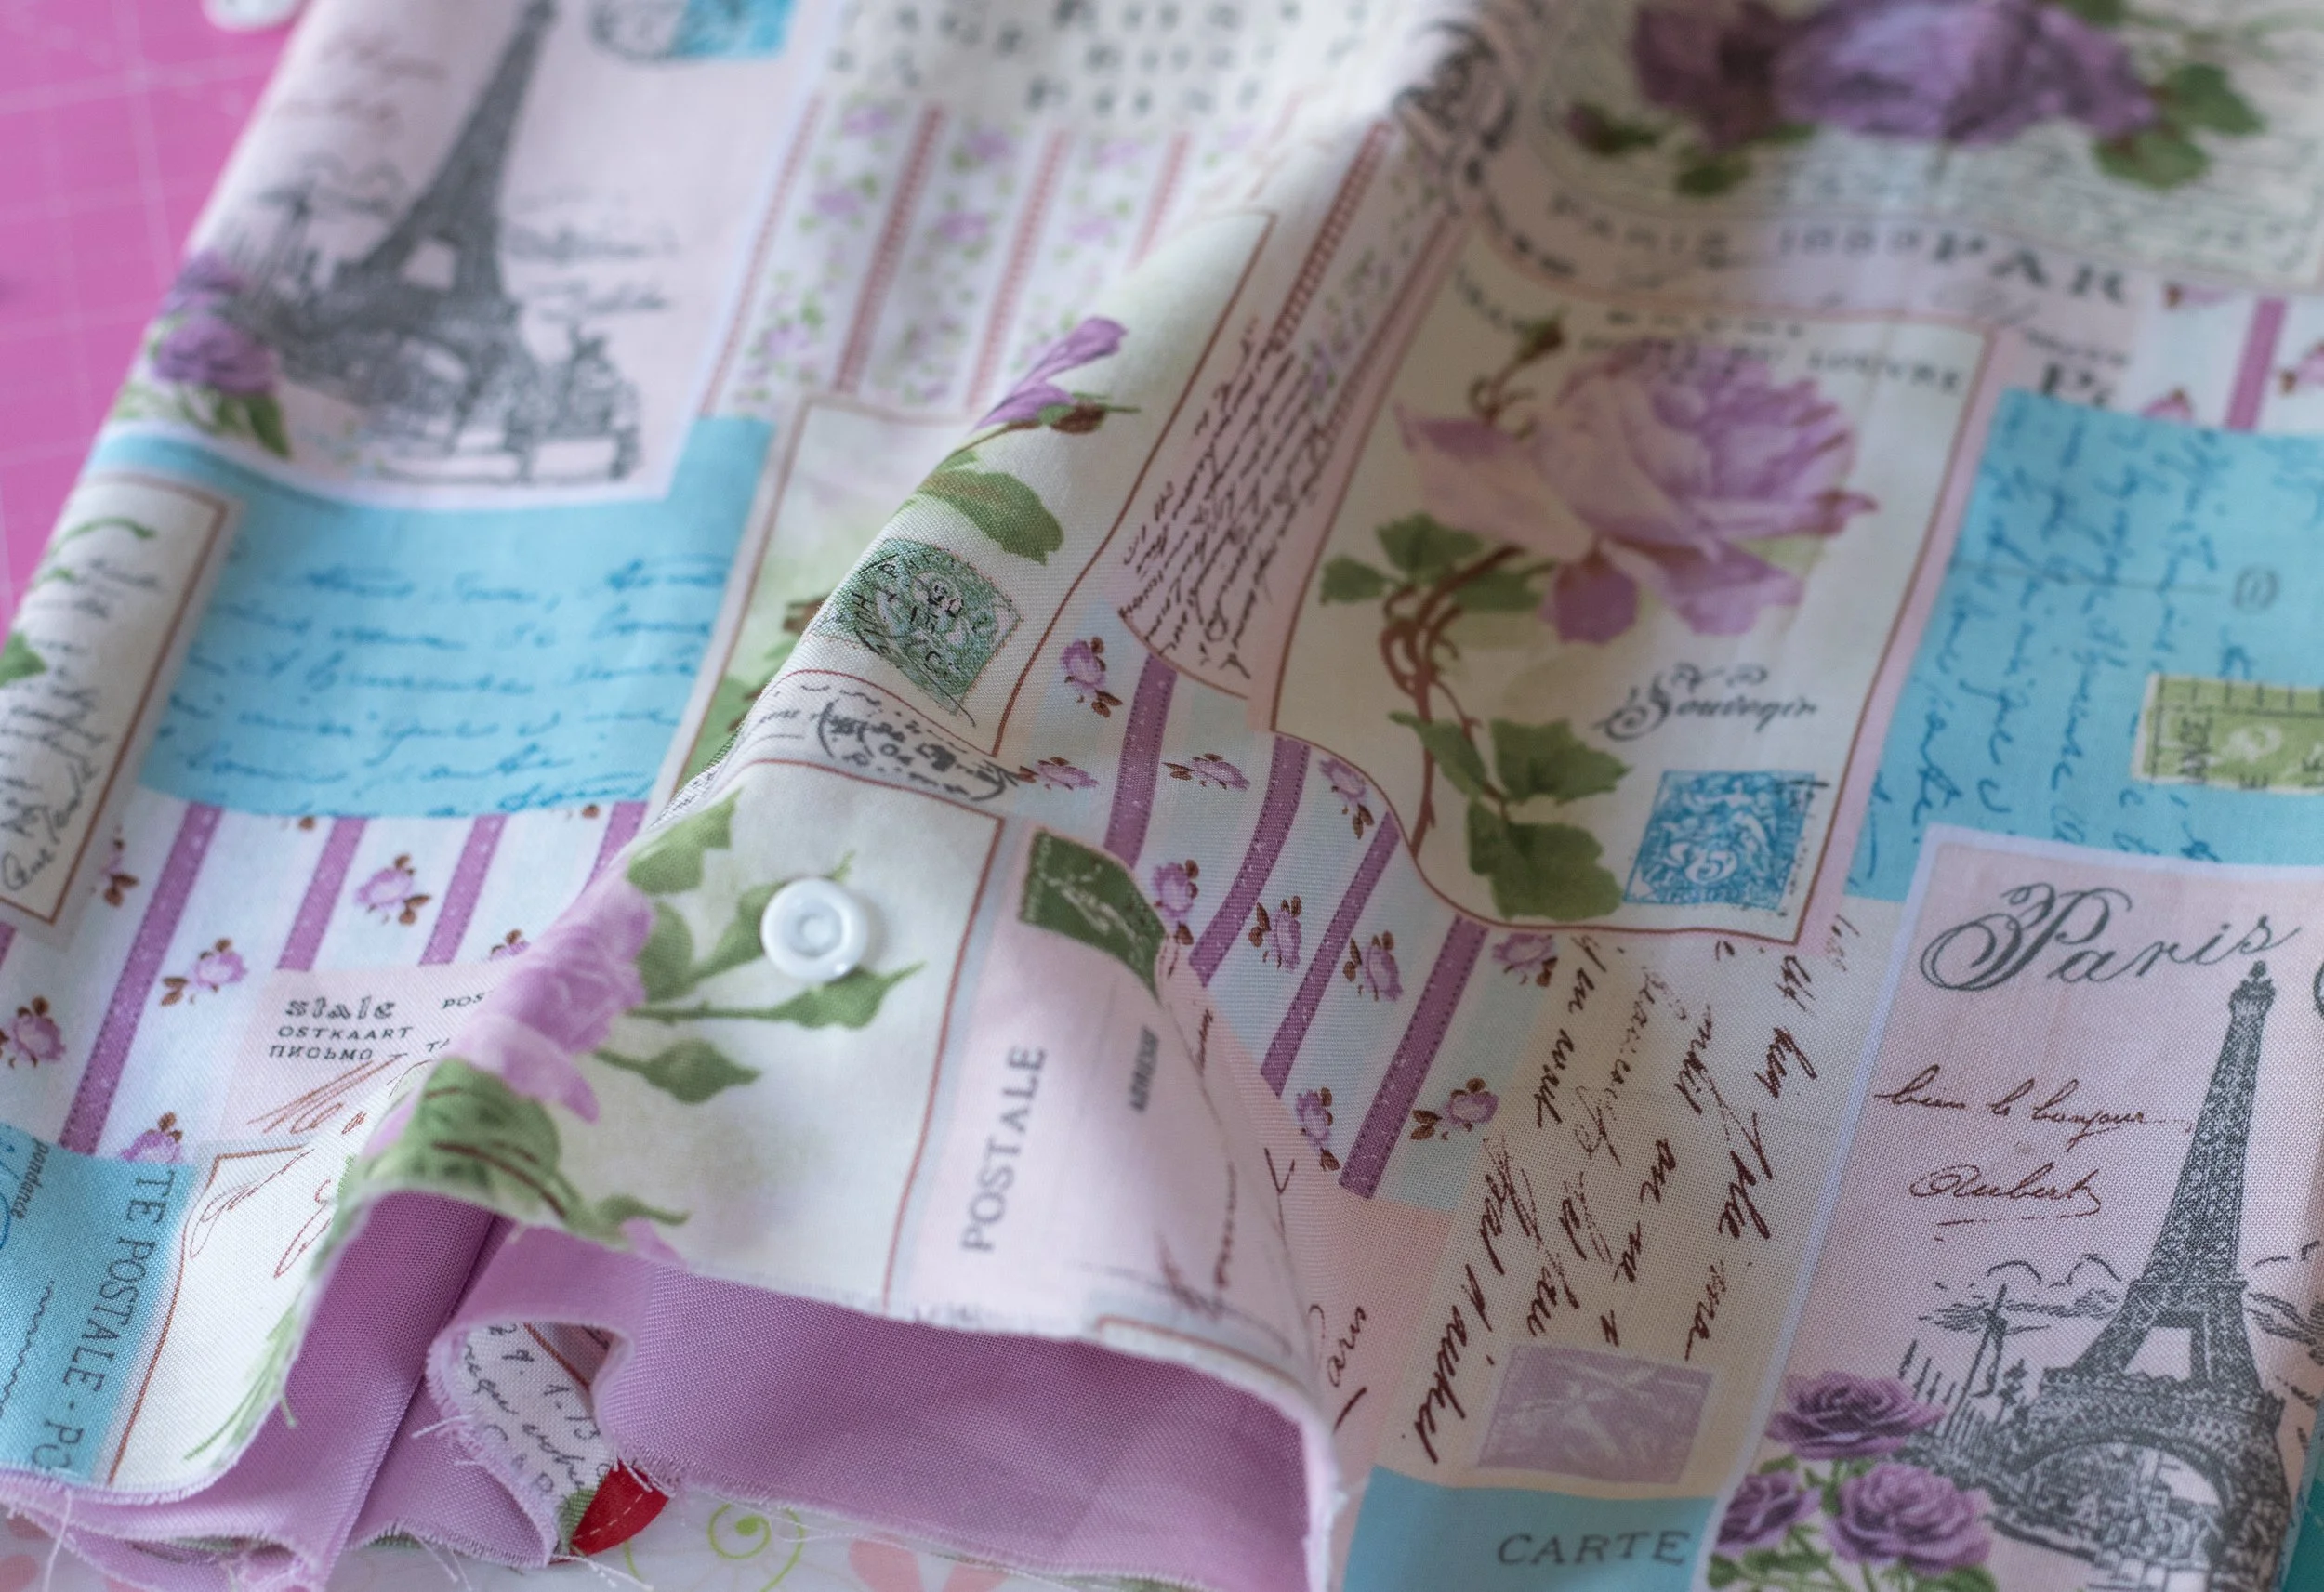
Cactus fabric version.
PDF INSTRUCTIONS
Your downloadable pattern will need to be unzipped; every computer and program is different. If it still doesn’t work, you need to download each file separately. Here is pattern 1, pattern 2, pattern 3, and the Instructions. Sorry, I’m technology-challenged, and Squarespace won’t let me upload a file to make it easy for you. Womp-womp.
You will then need to print it. Don’t resize it unless your printer settings aren’t set to 100%. Each pattern piece is about the size of an 8.5”x11” piece of paper.
Print your pattern pieces.
Line the shapes up and overlap along the dotted line. Tape together.
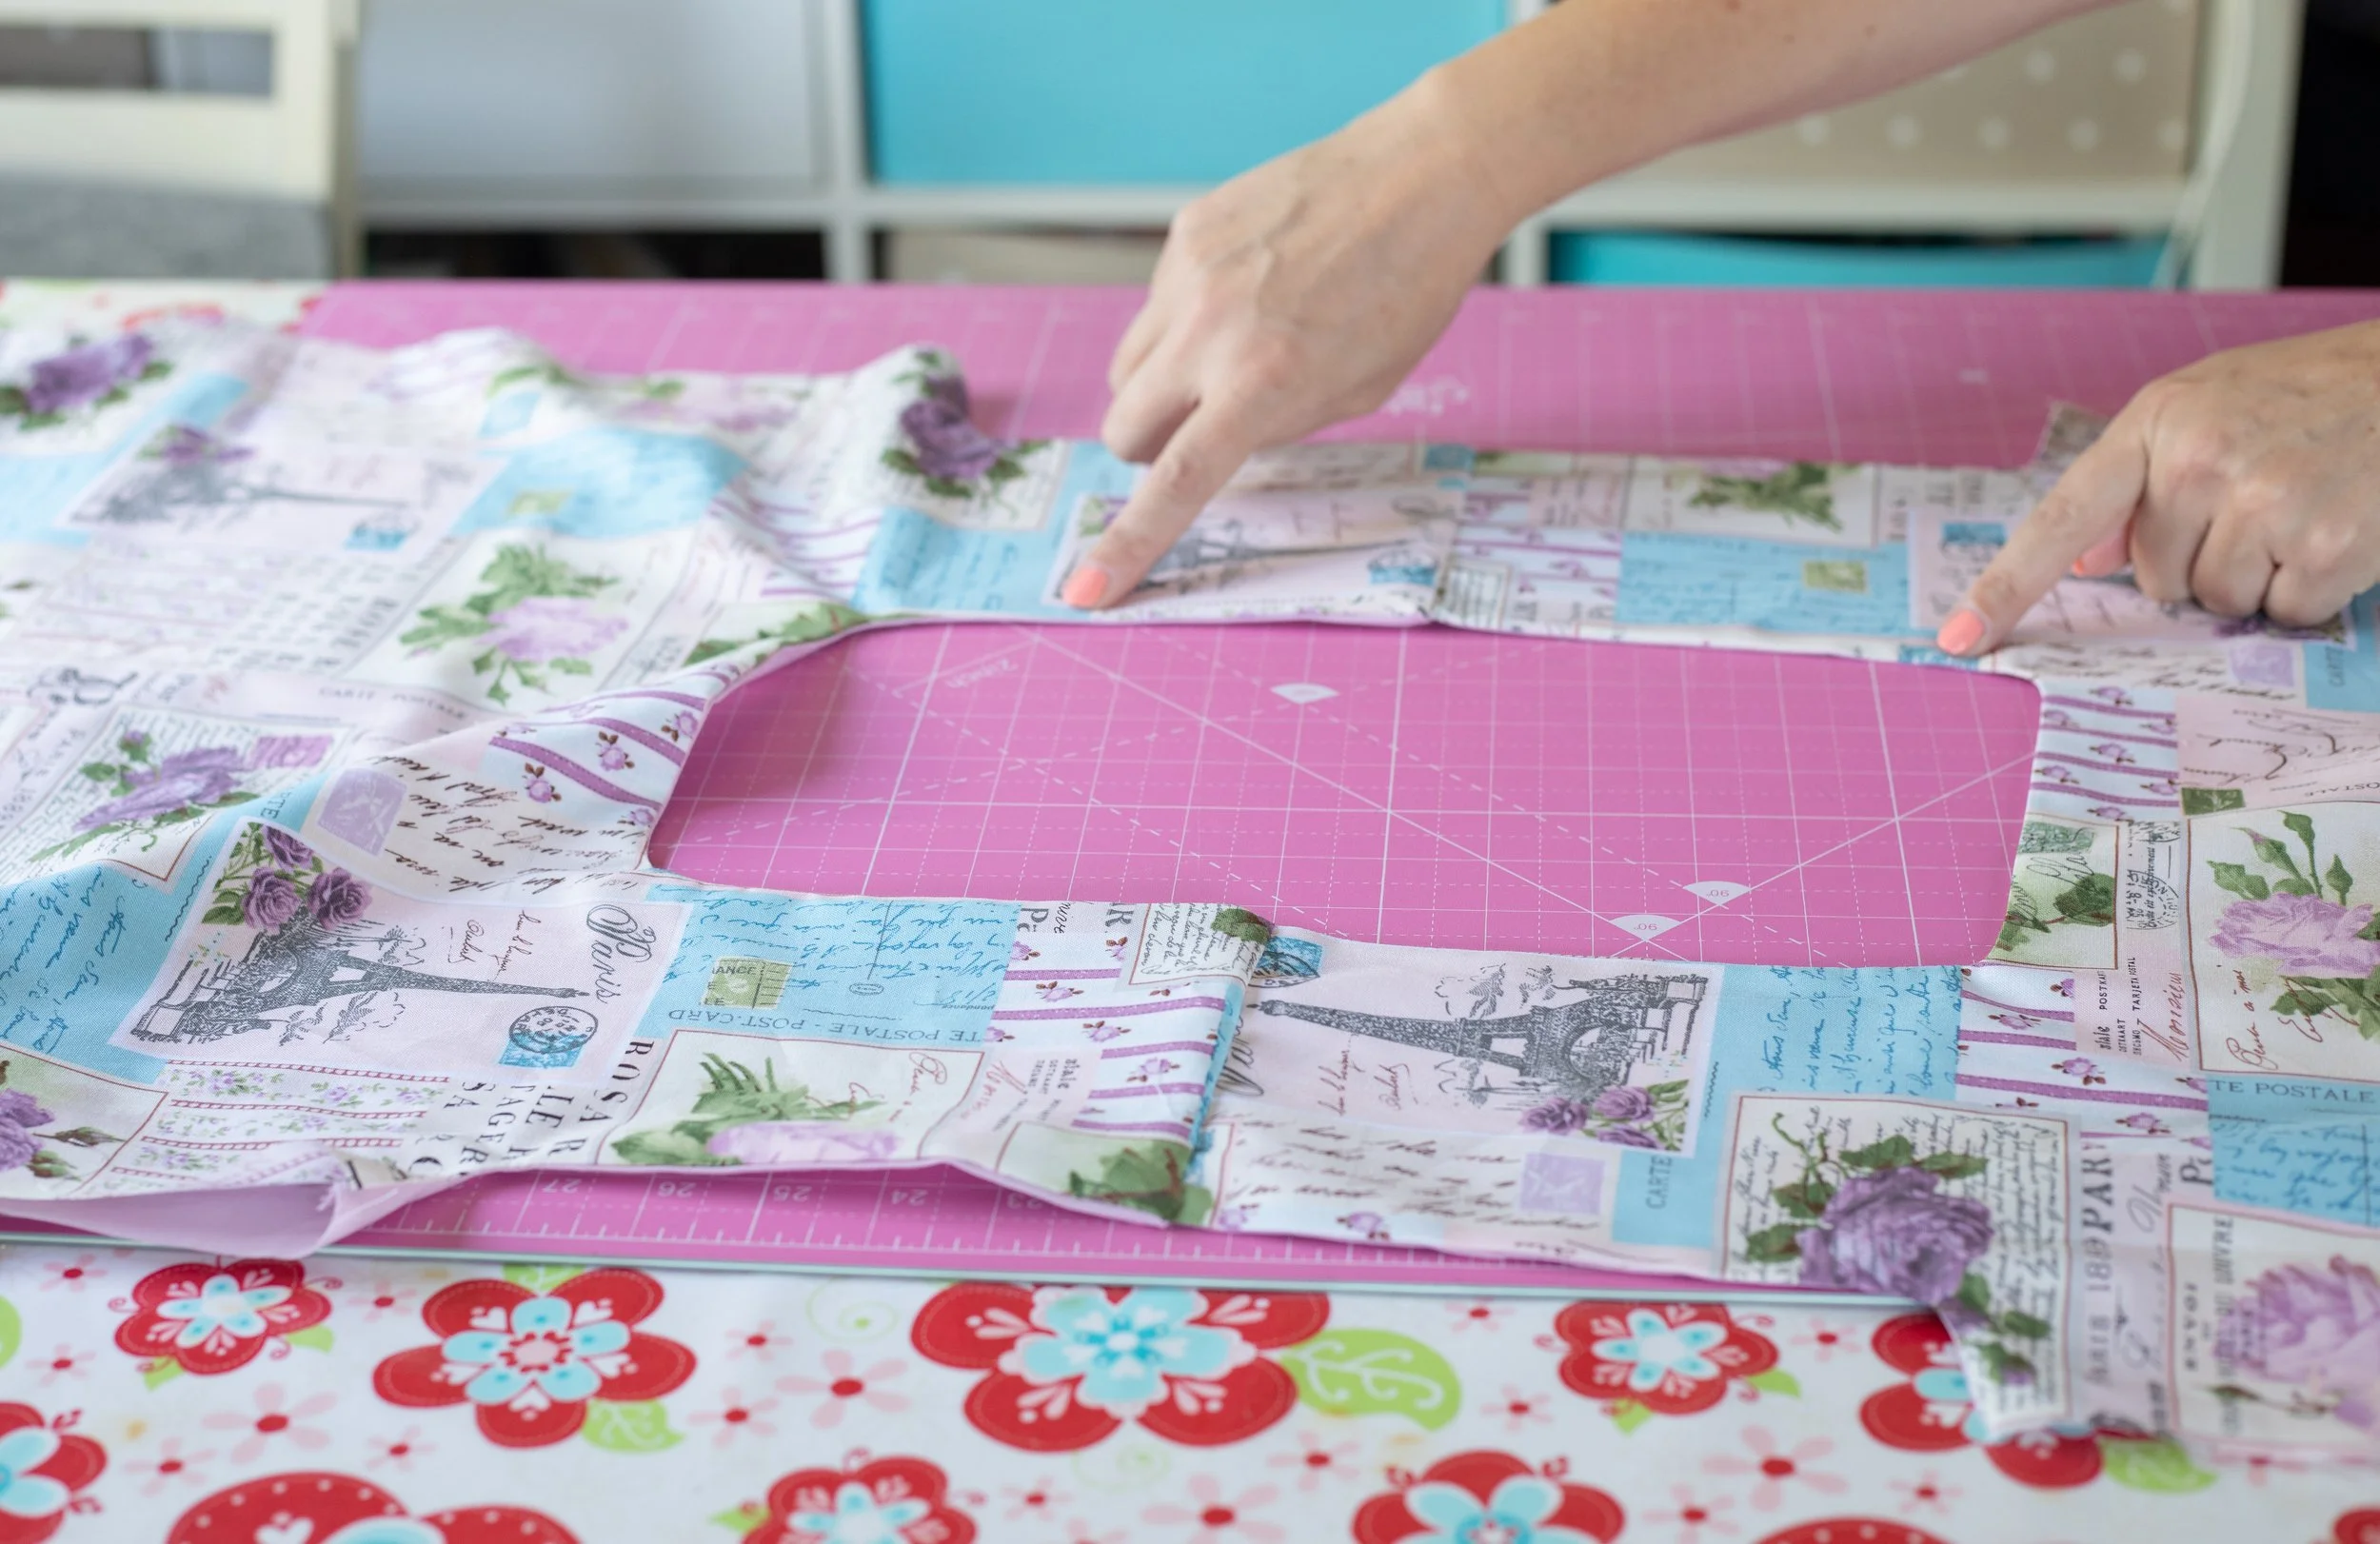
Cut out the bag pattern.
It should measure about 23.5” tall by 10.25” wide after being taped and cut out.
So far, so good?
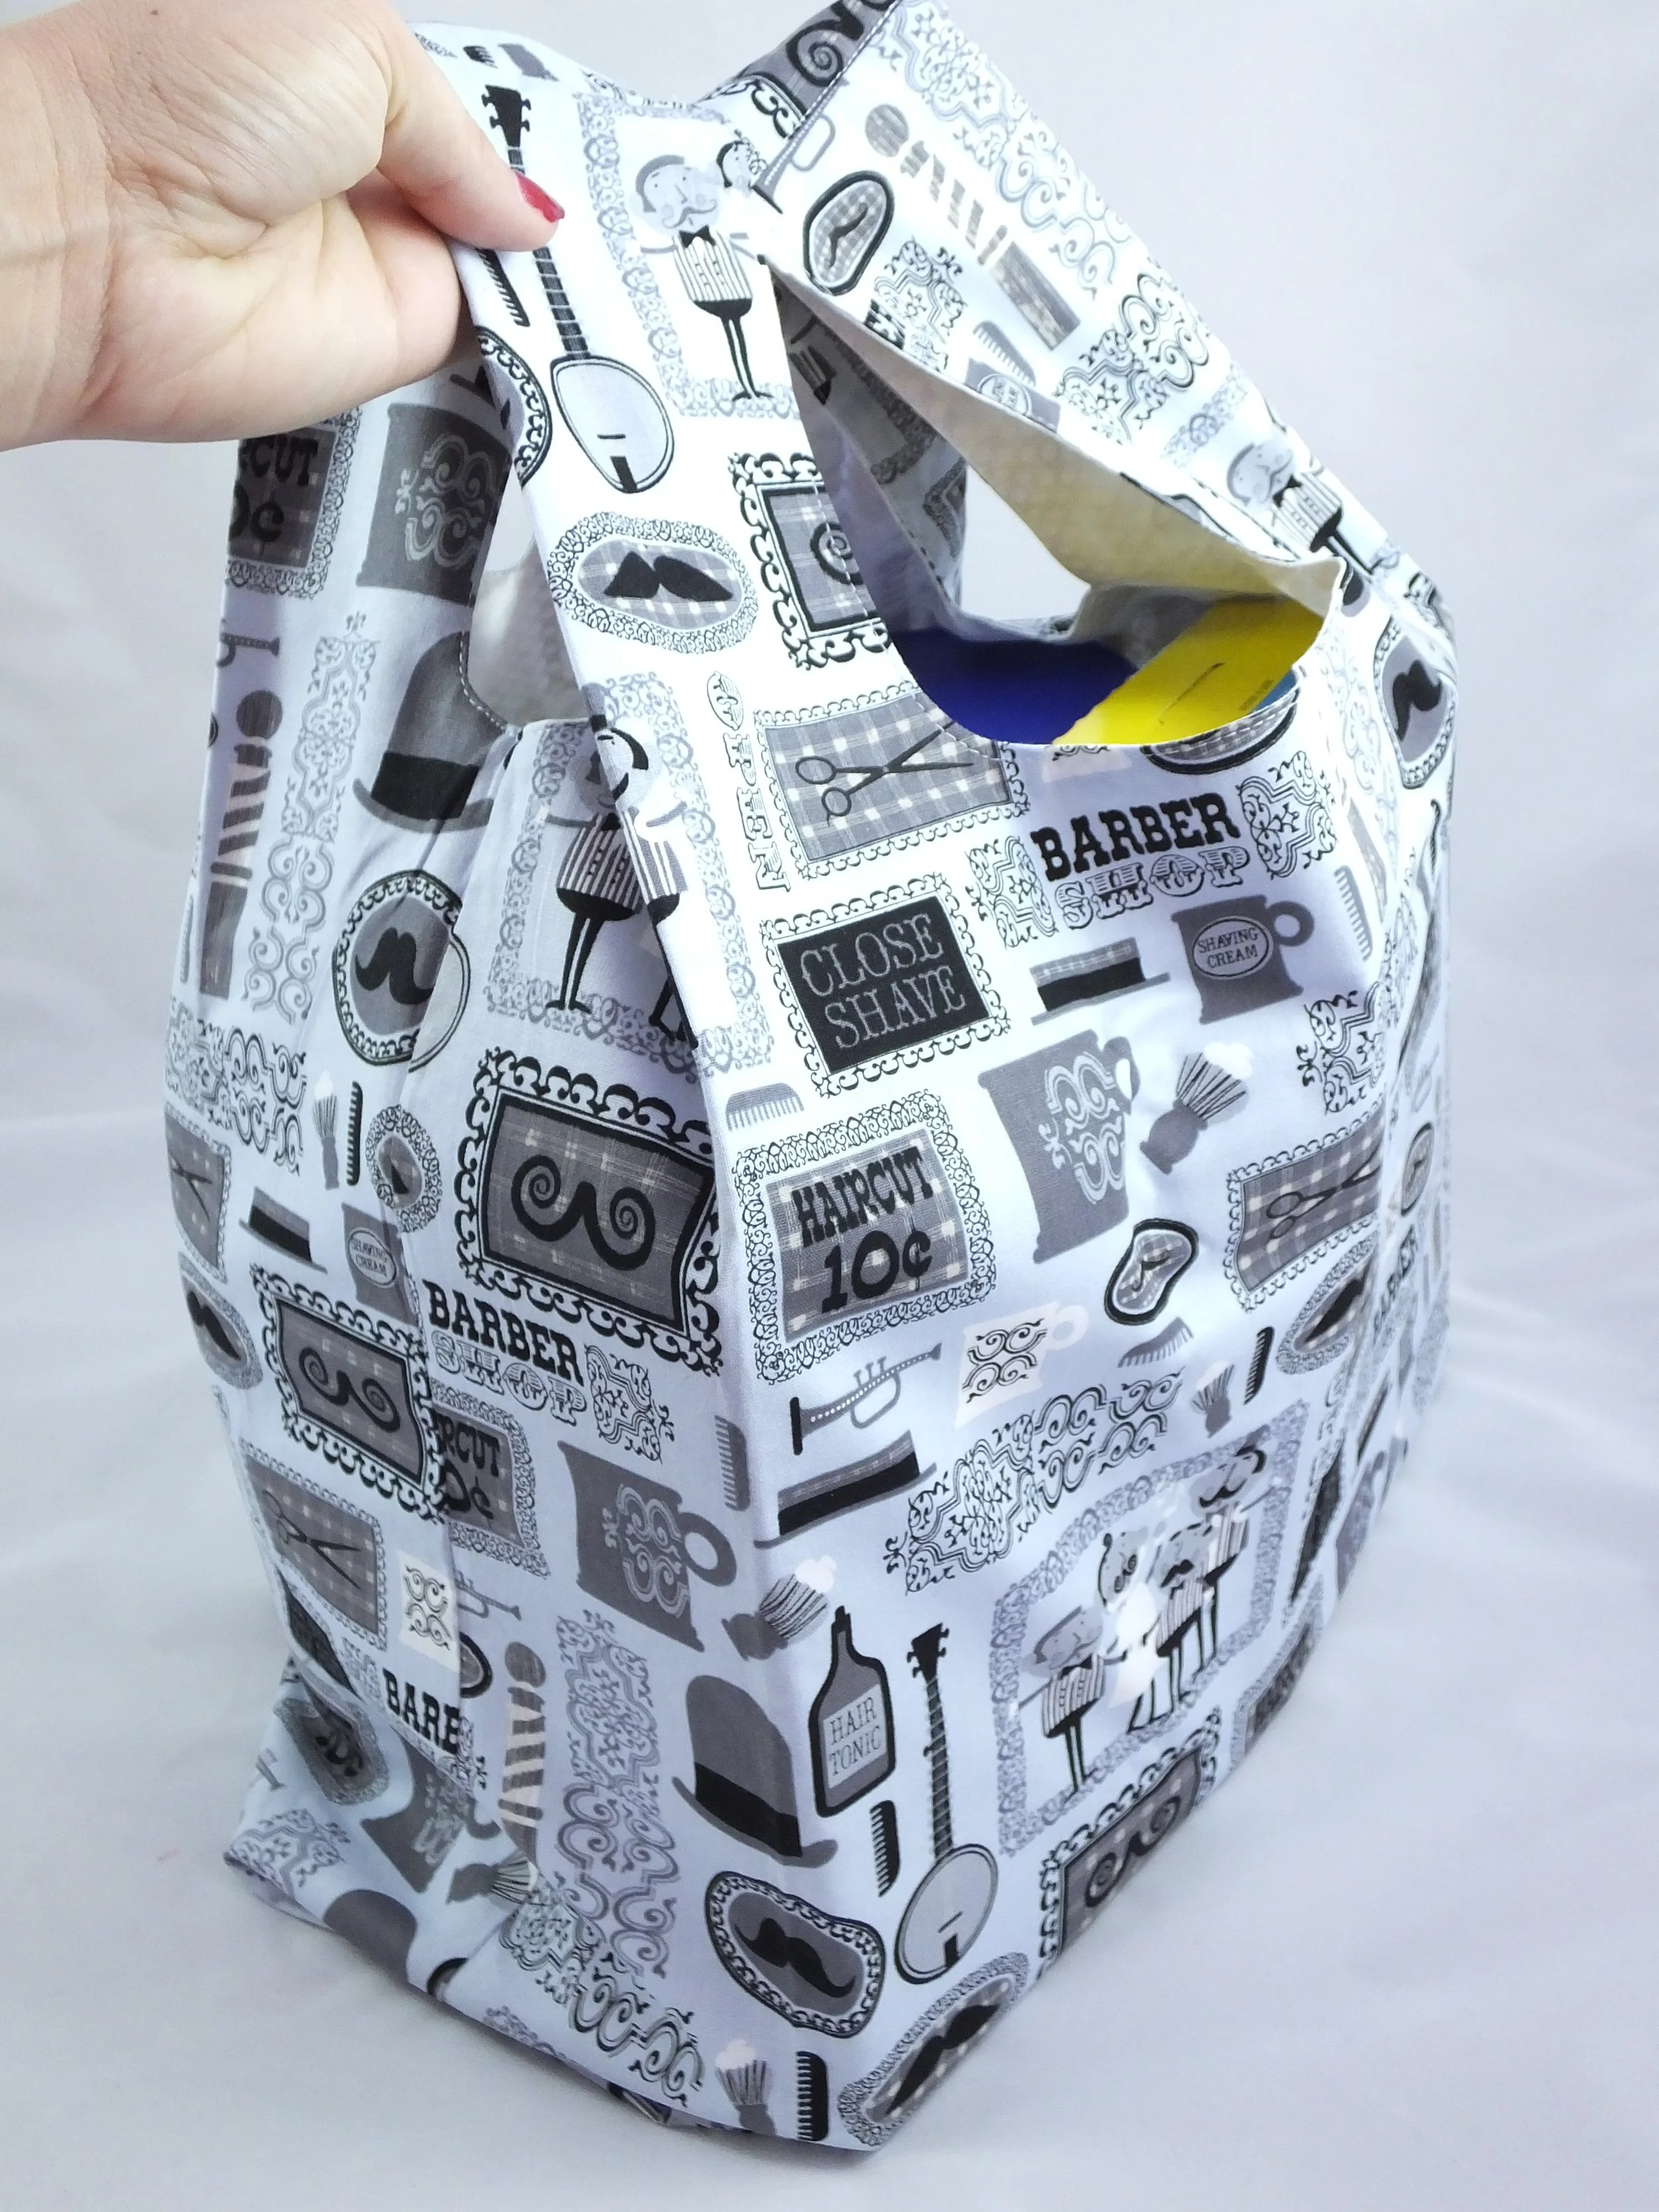
Barbershop fabric version I made for men.
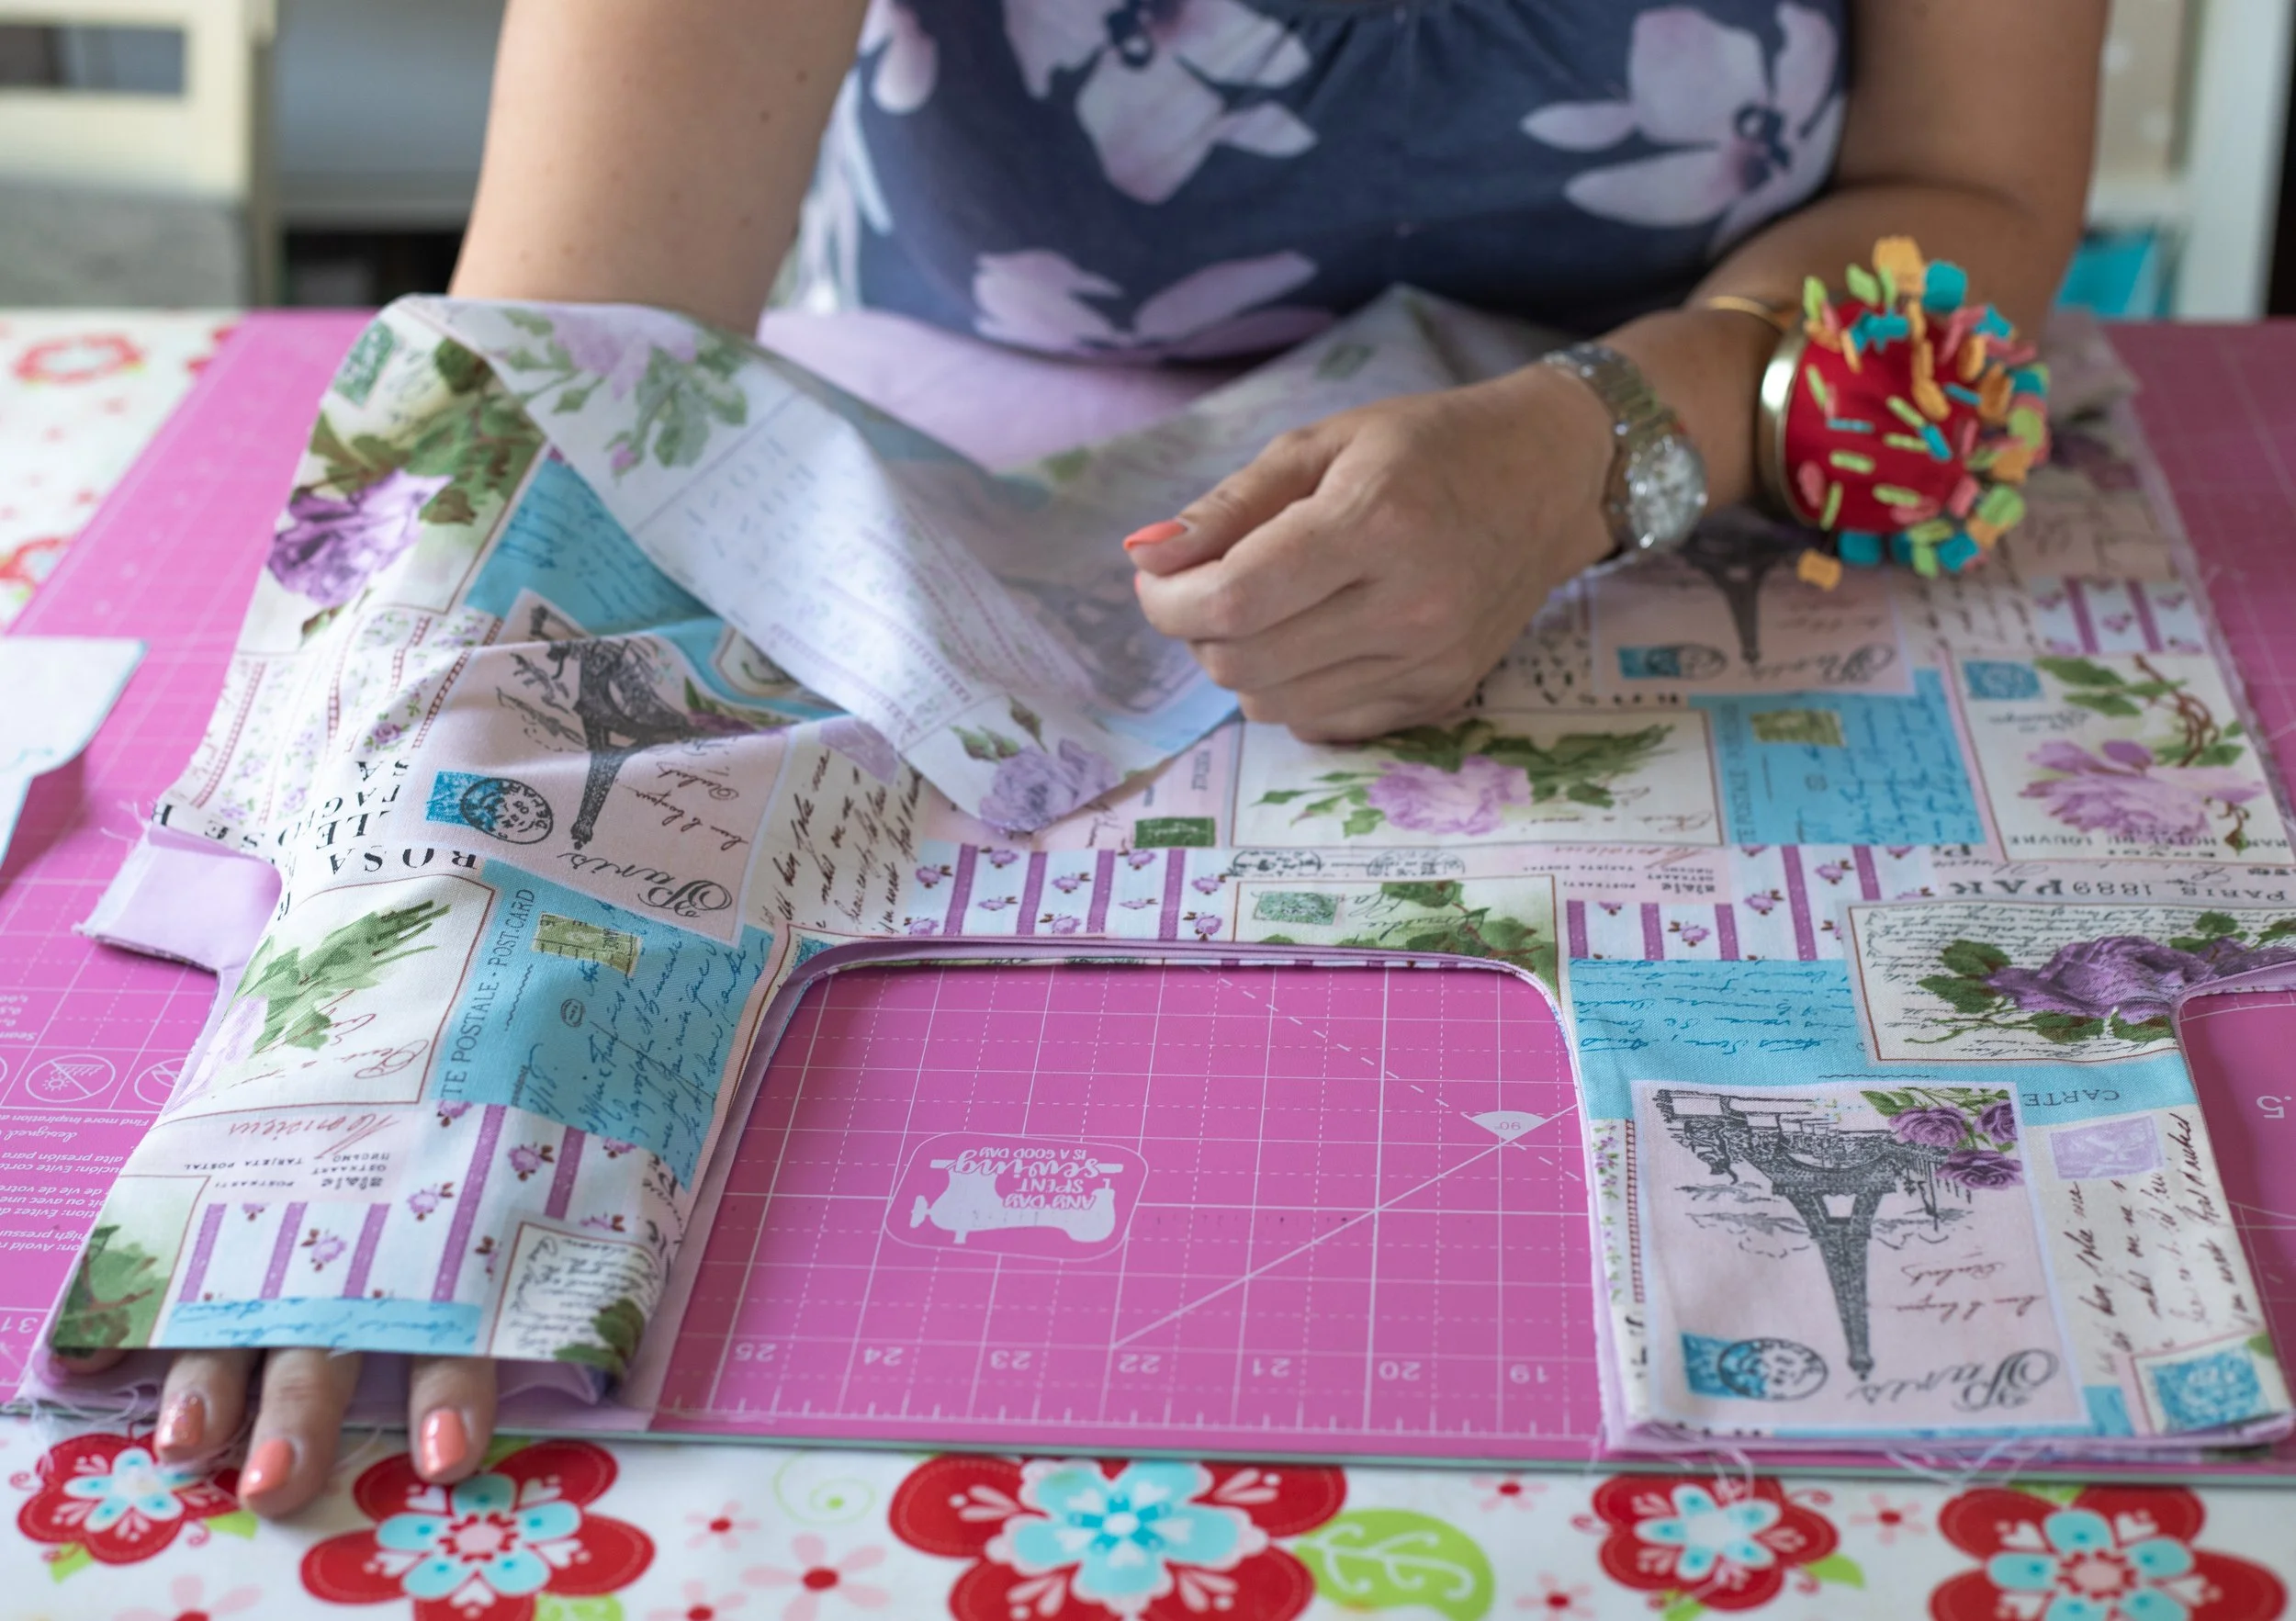
CUTTING OUT THE PATTERN
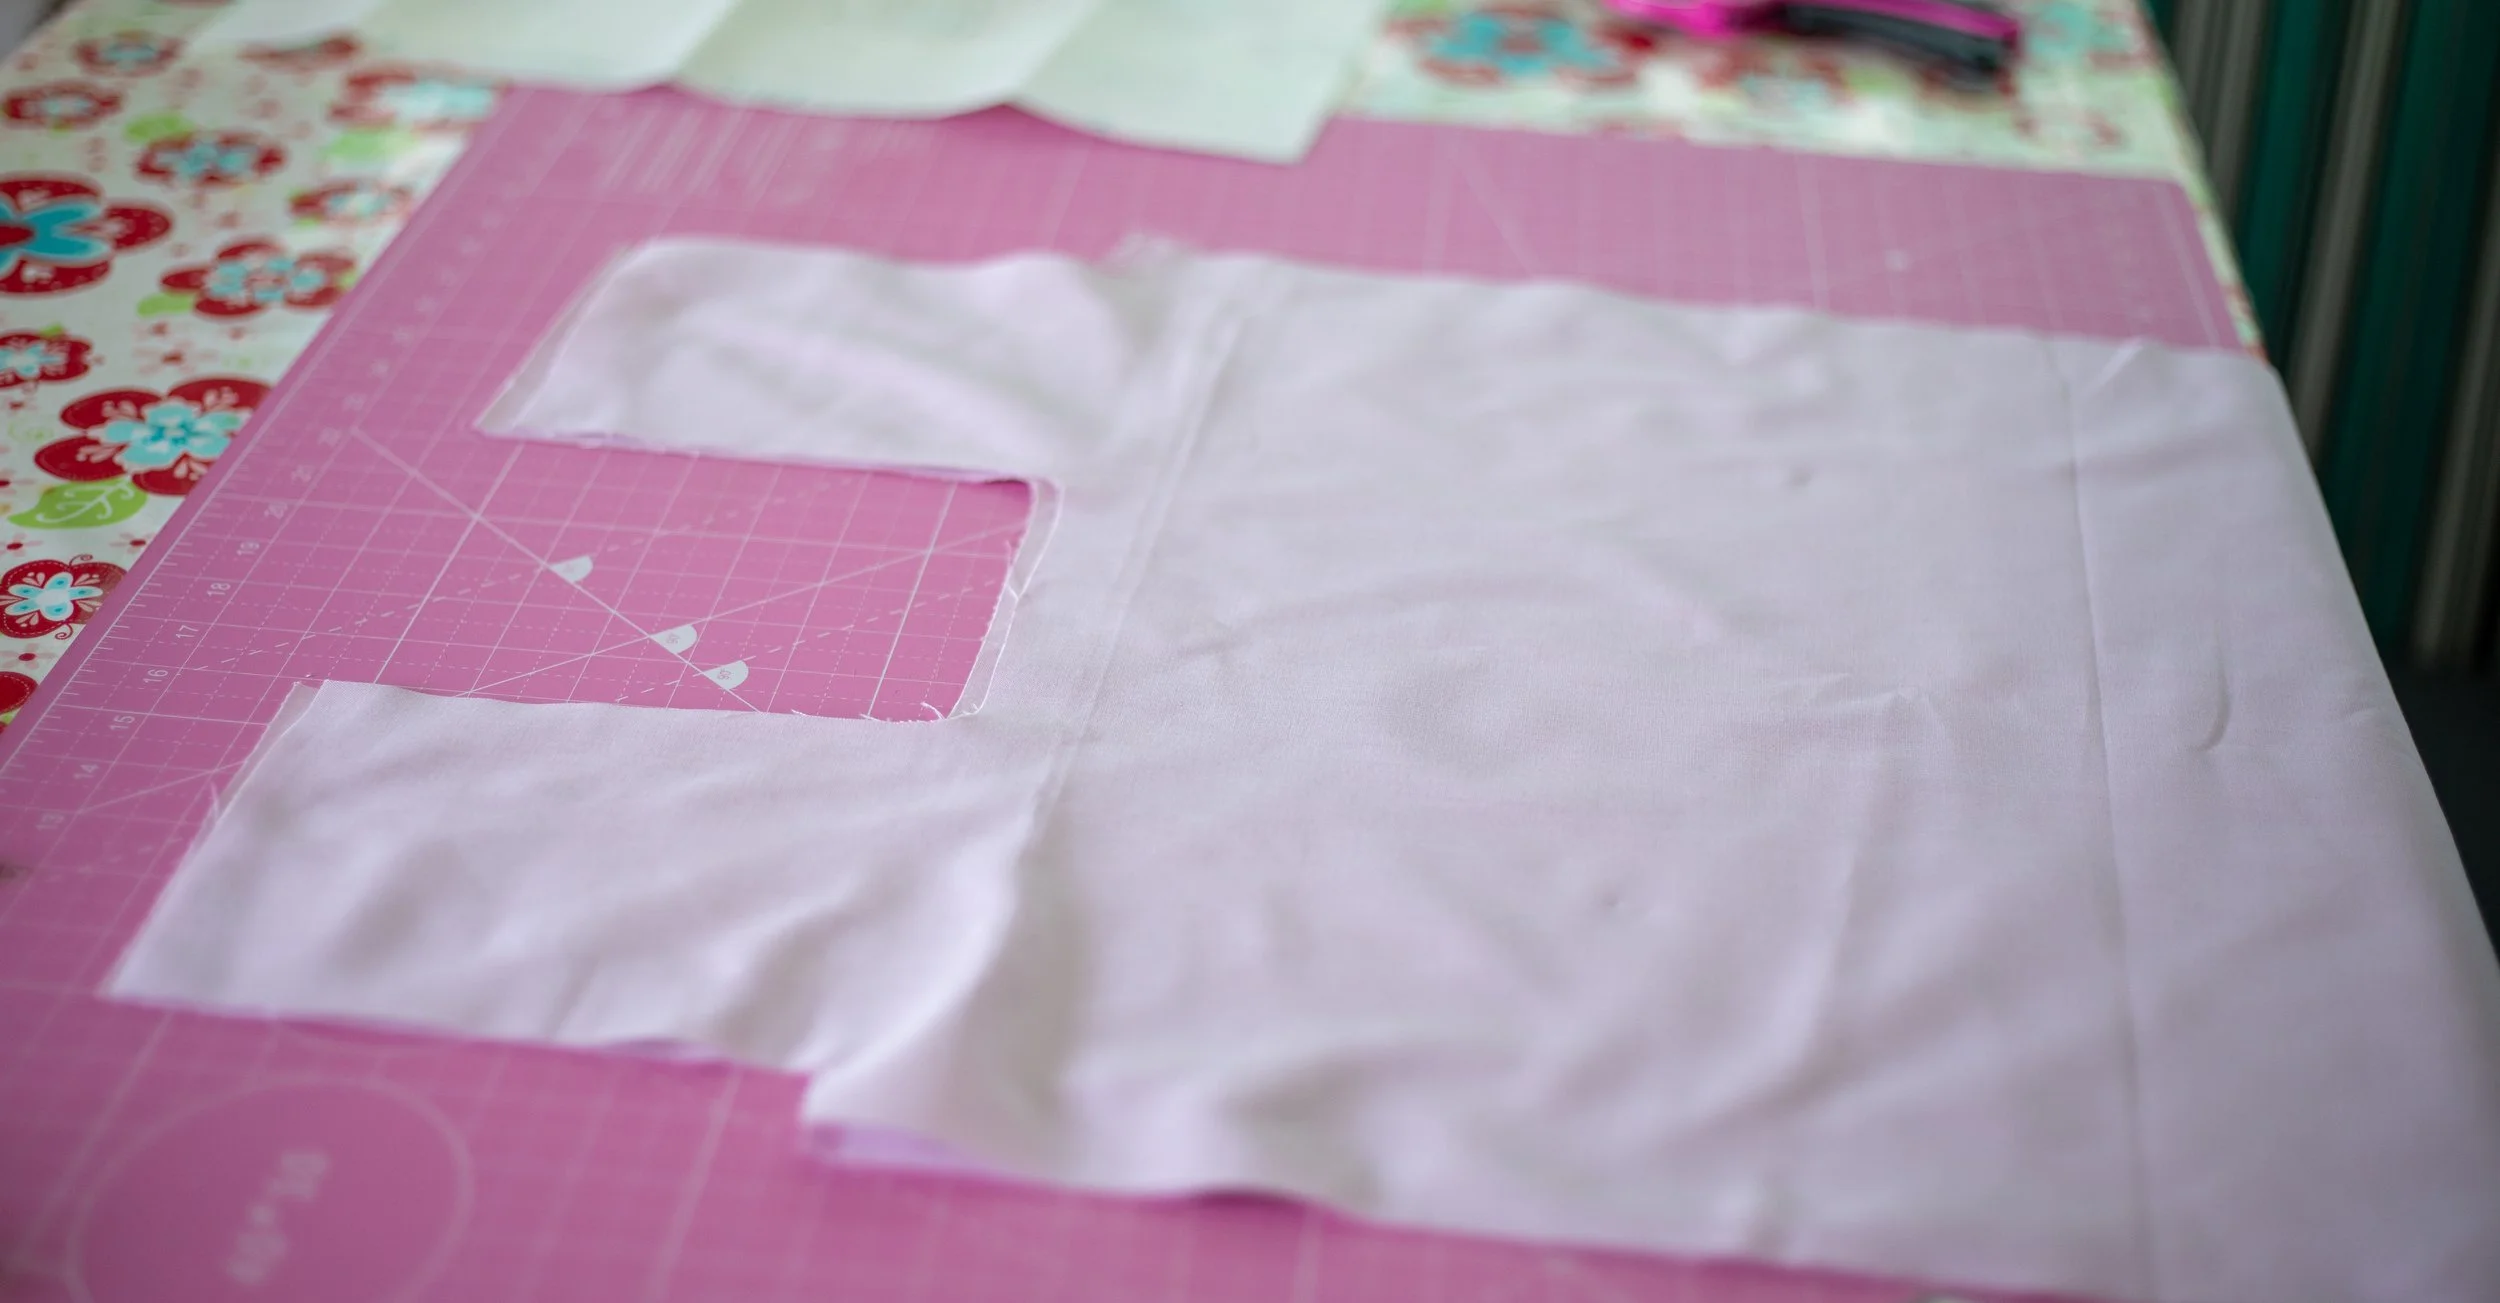
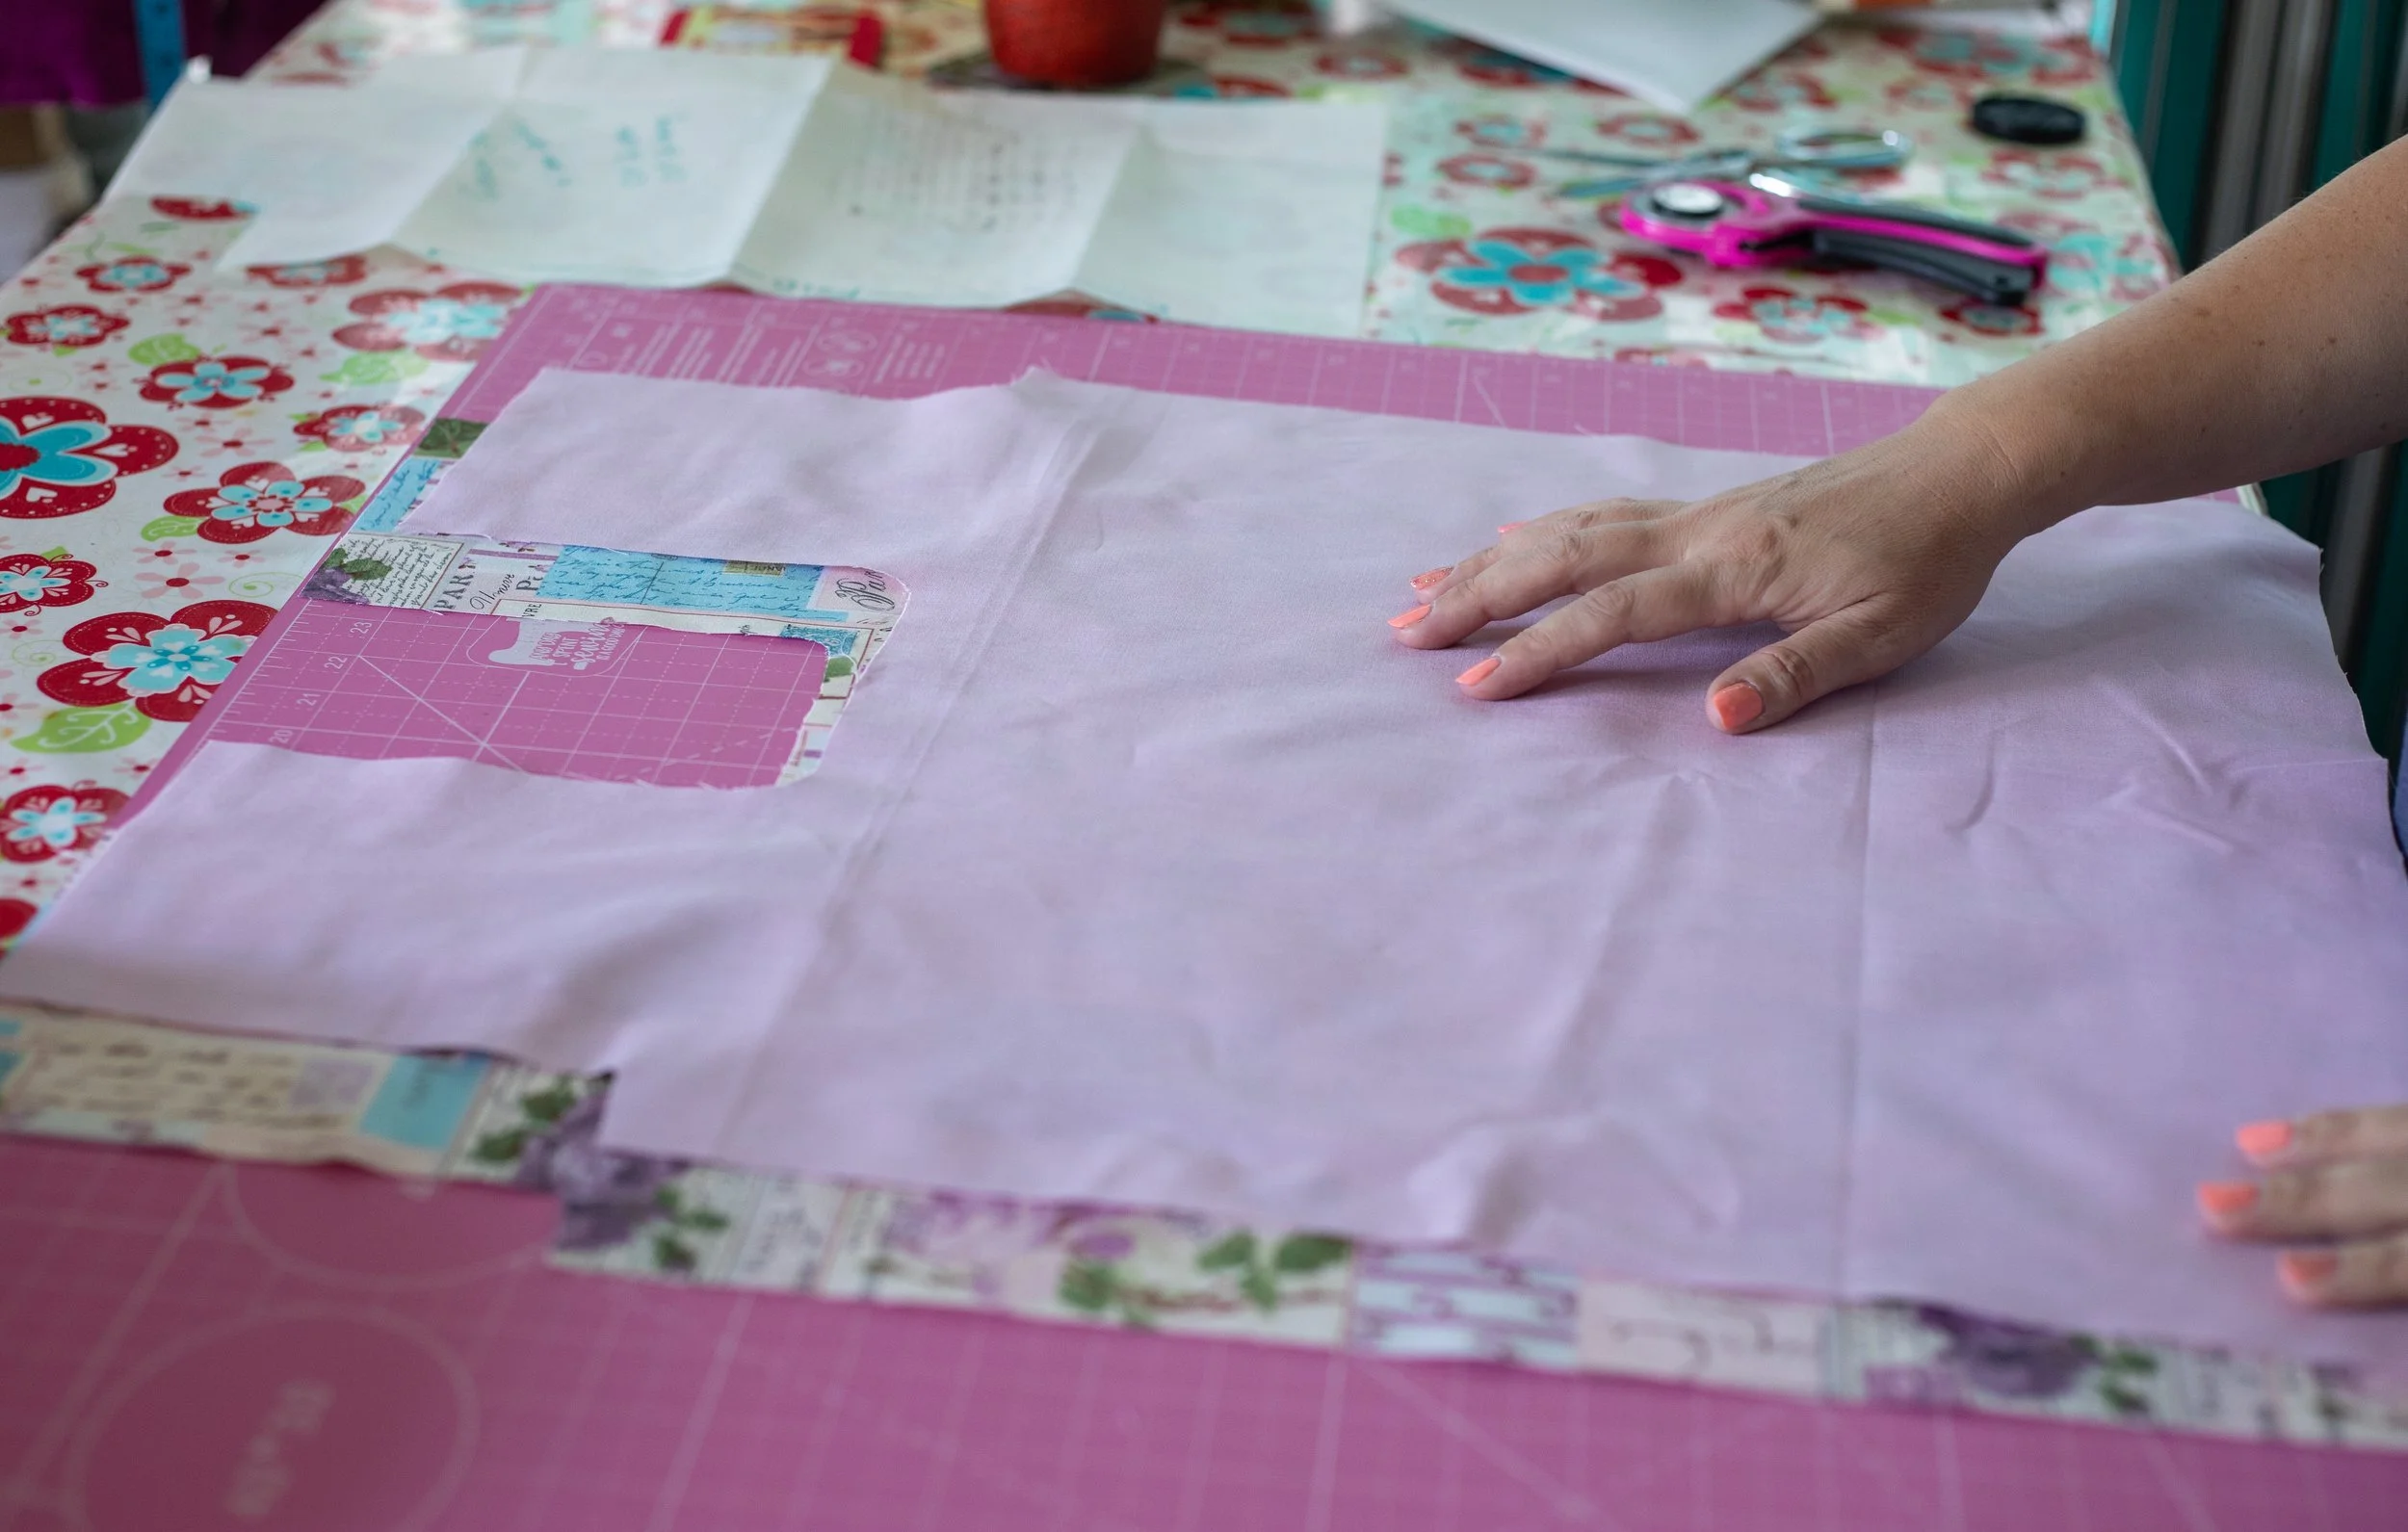
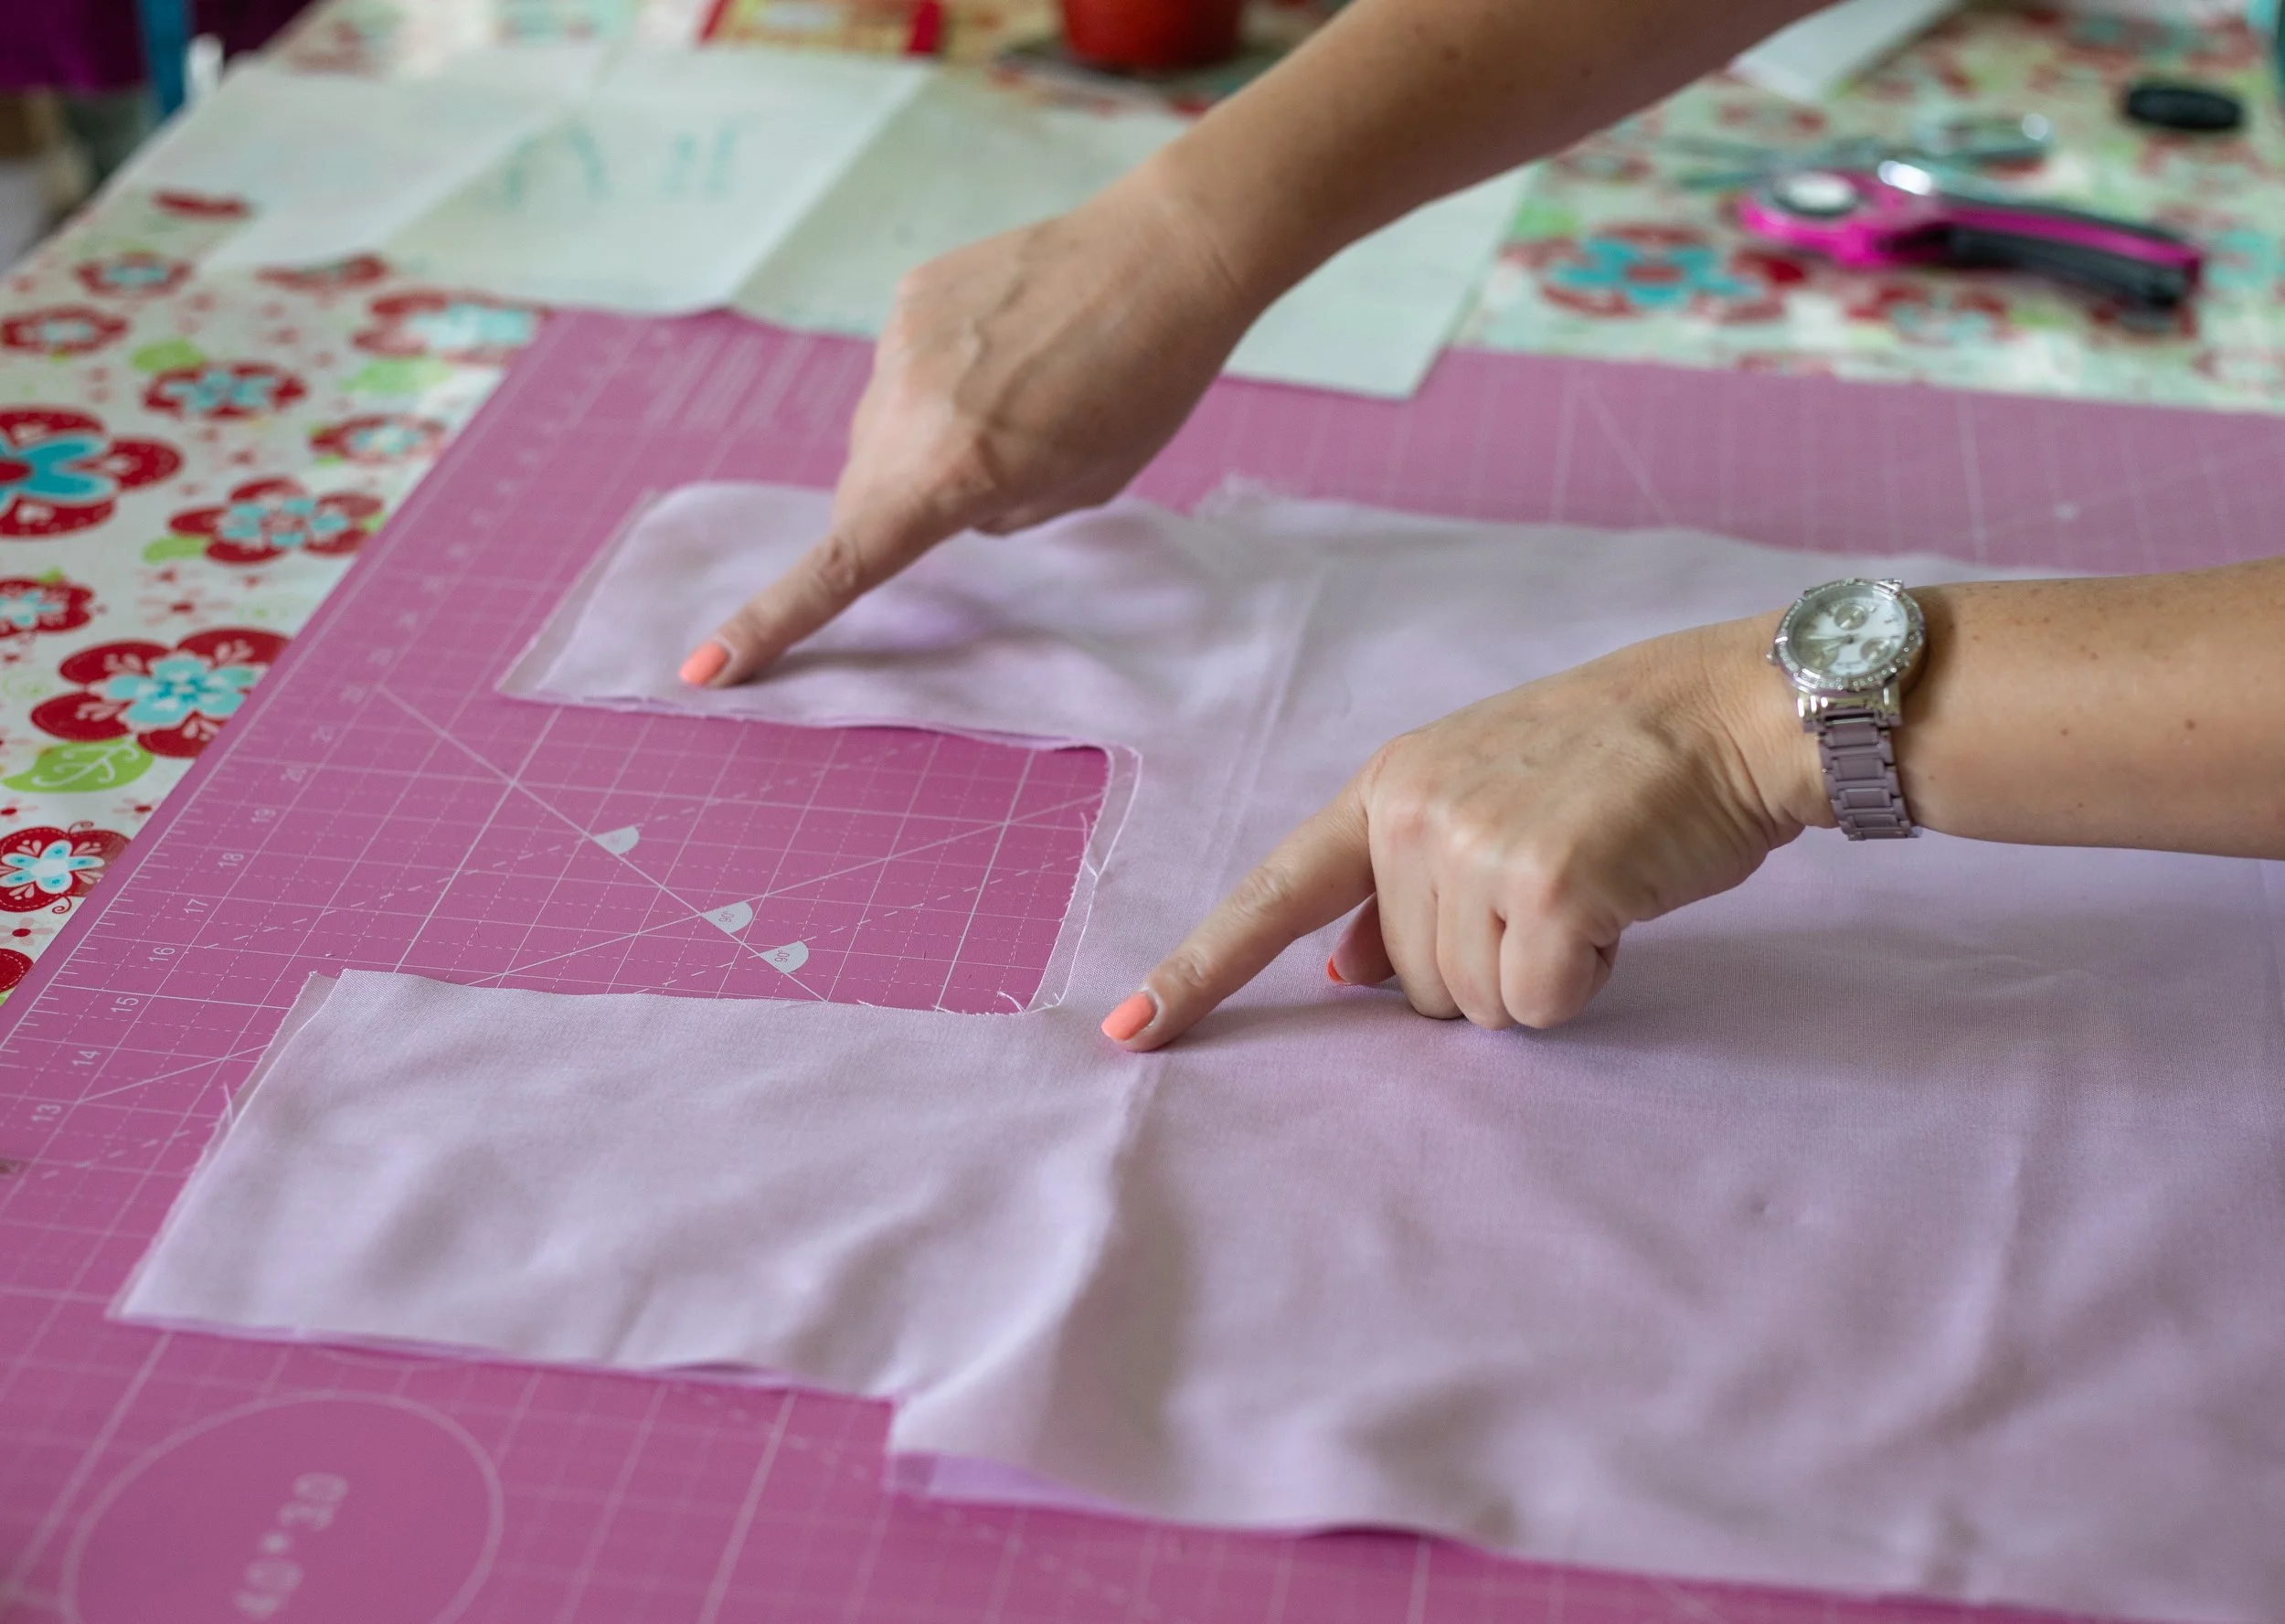
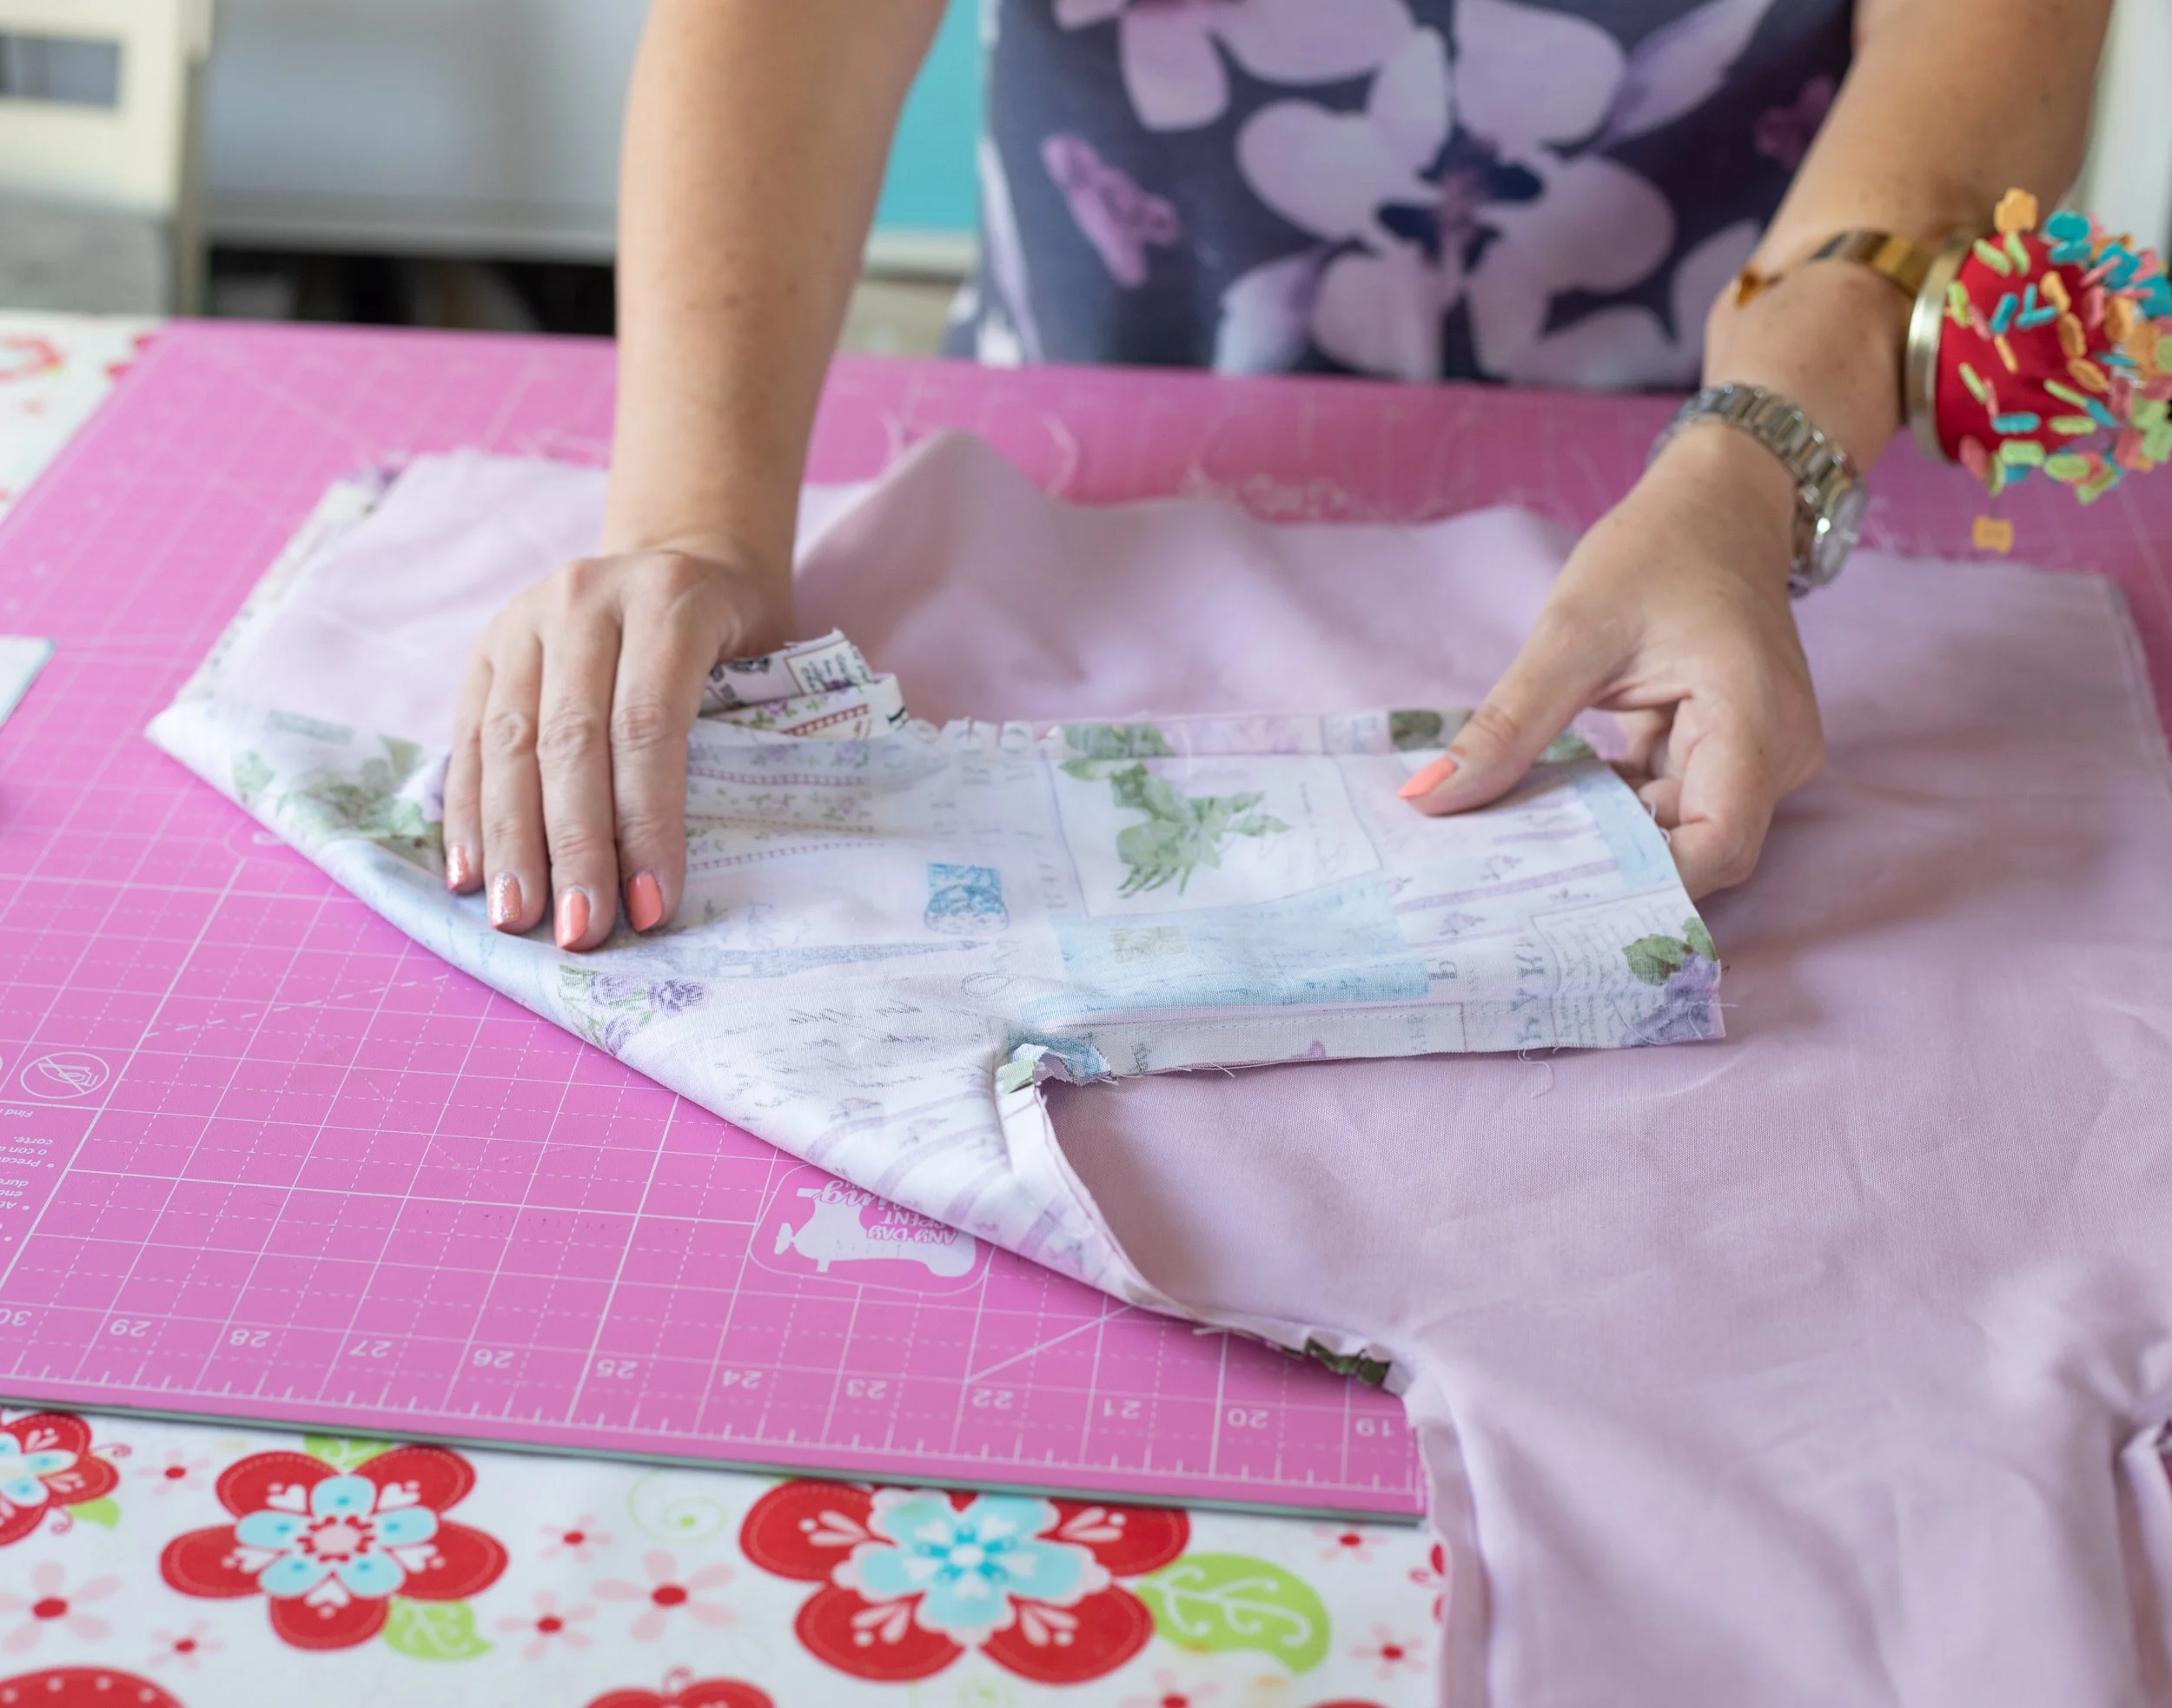
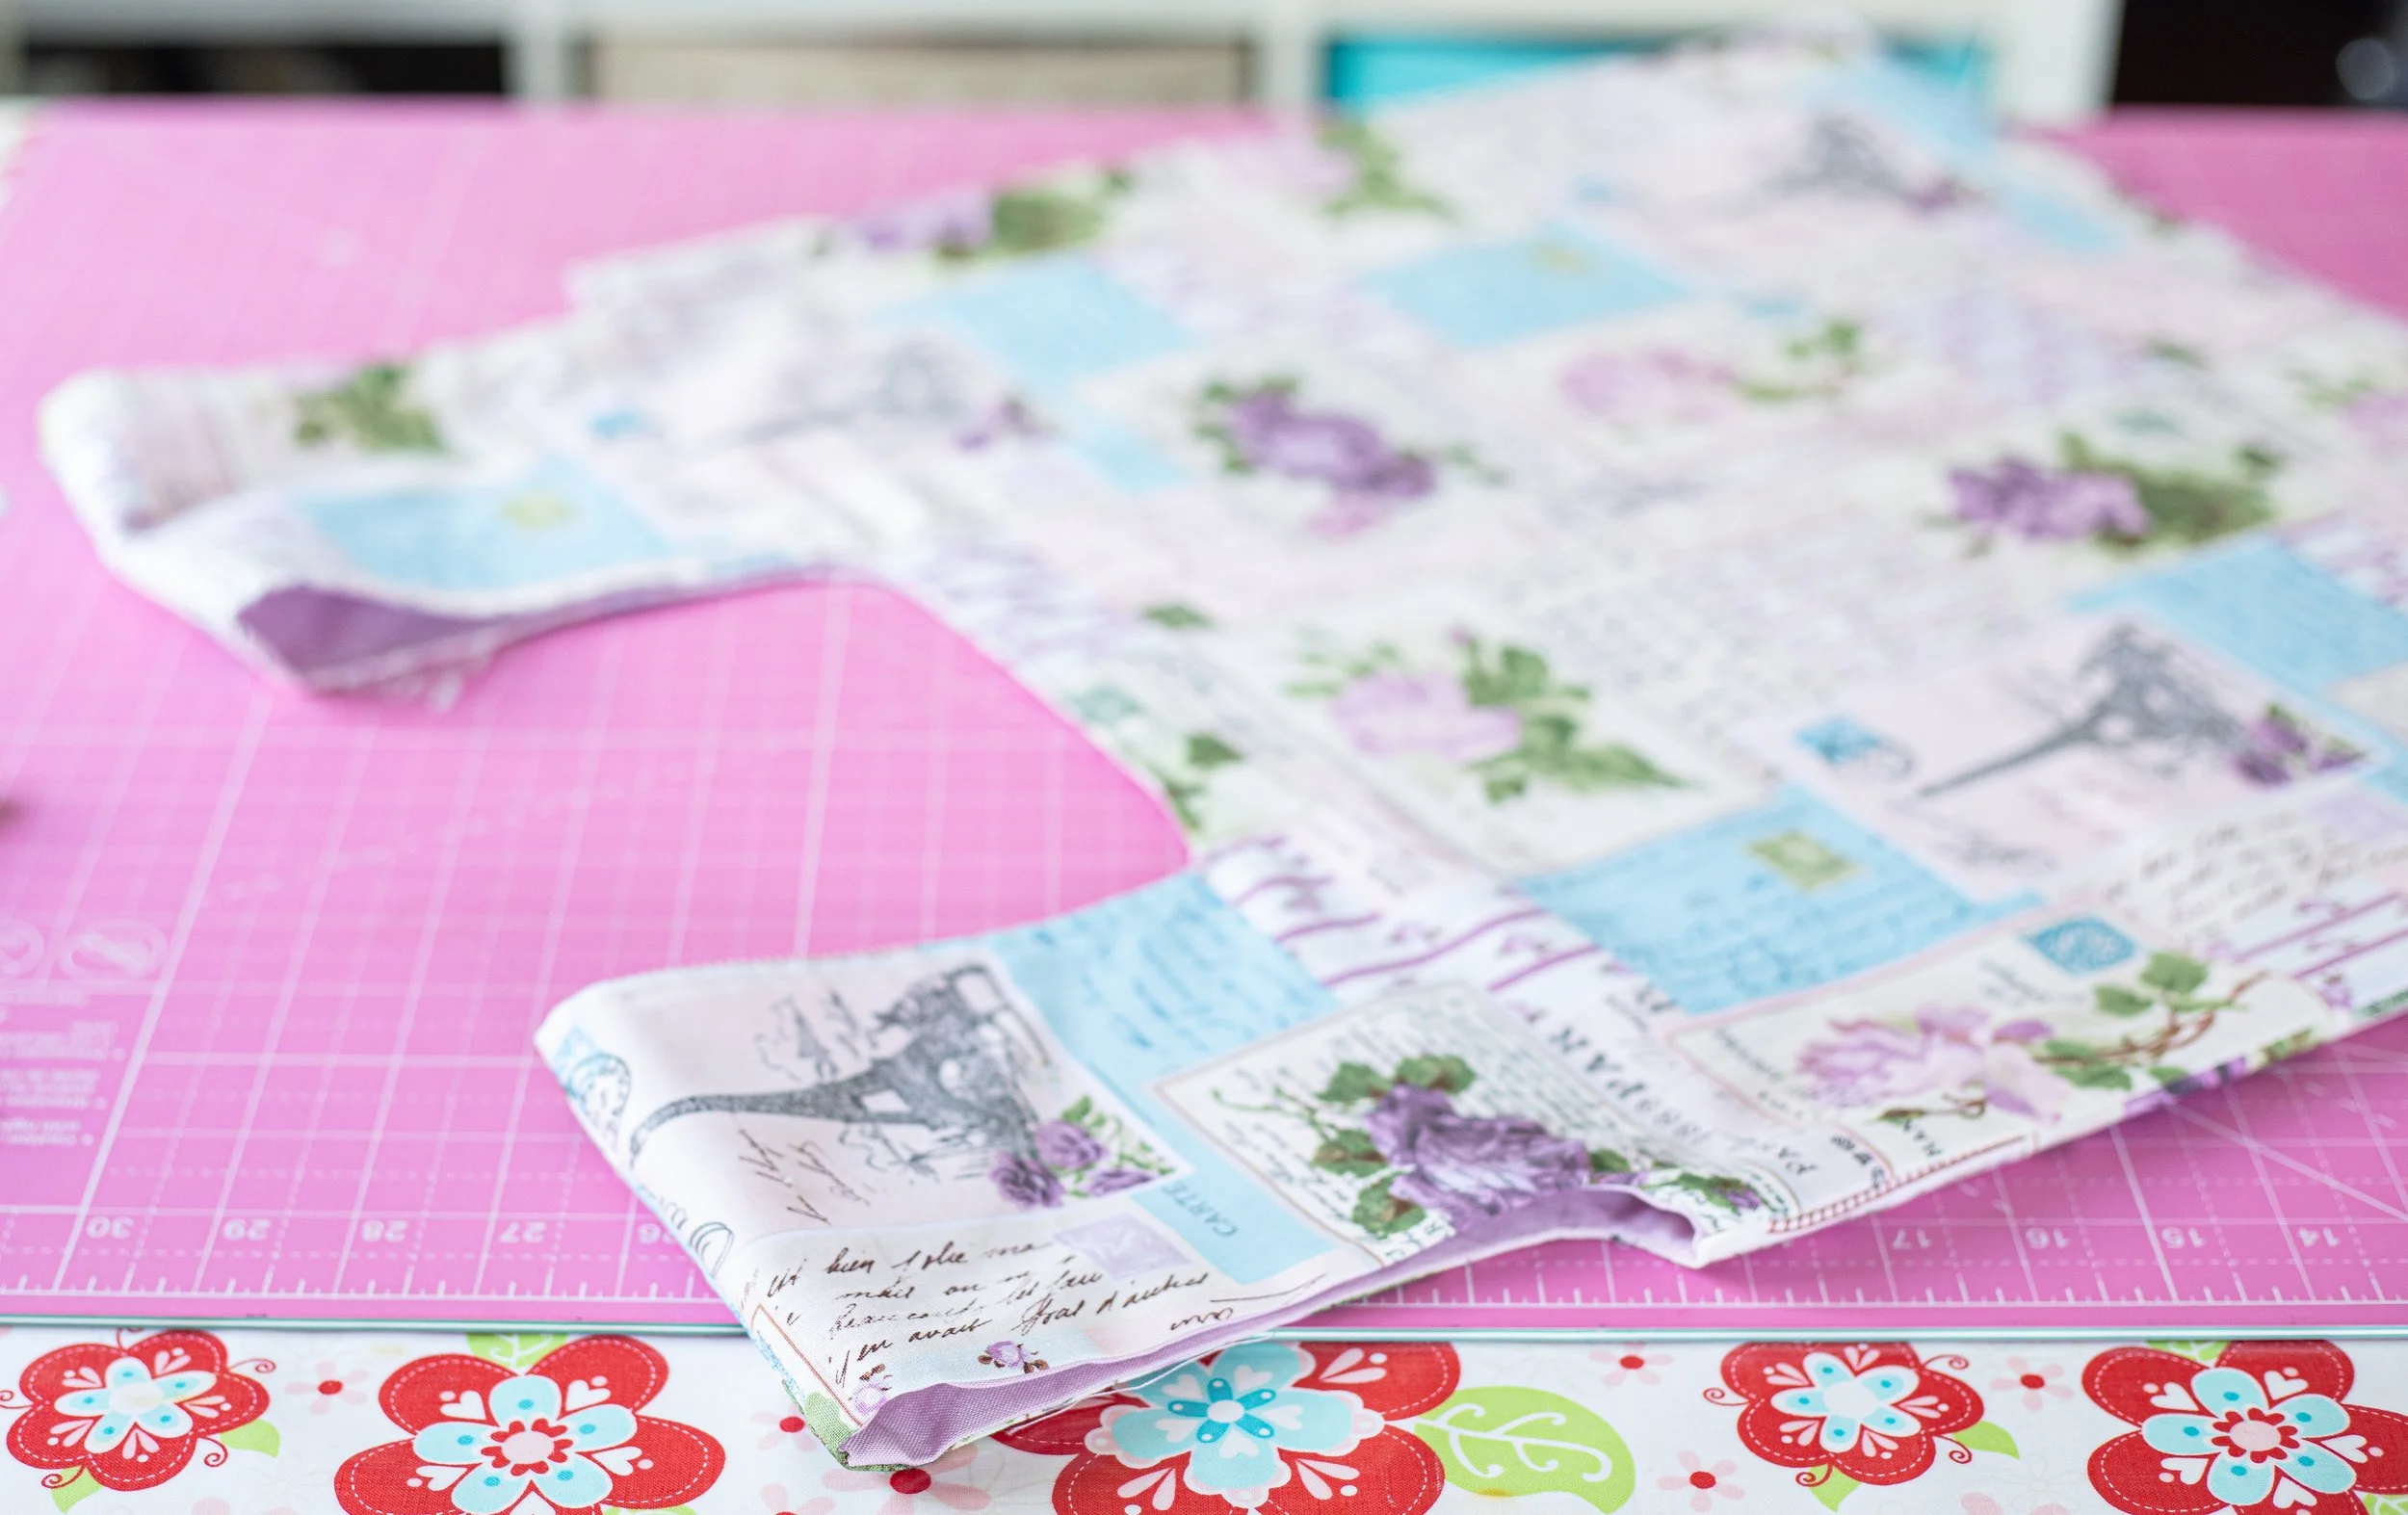
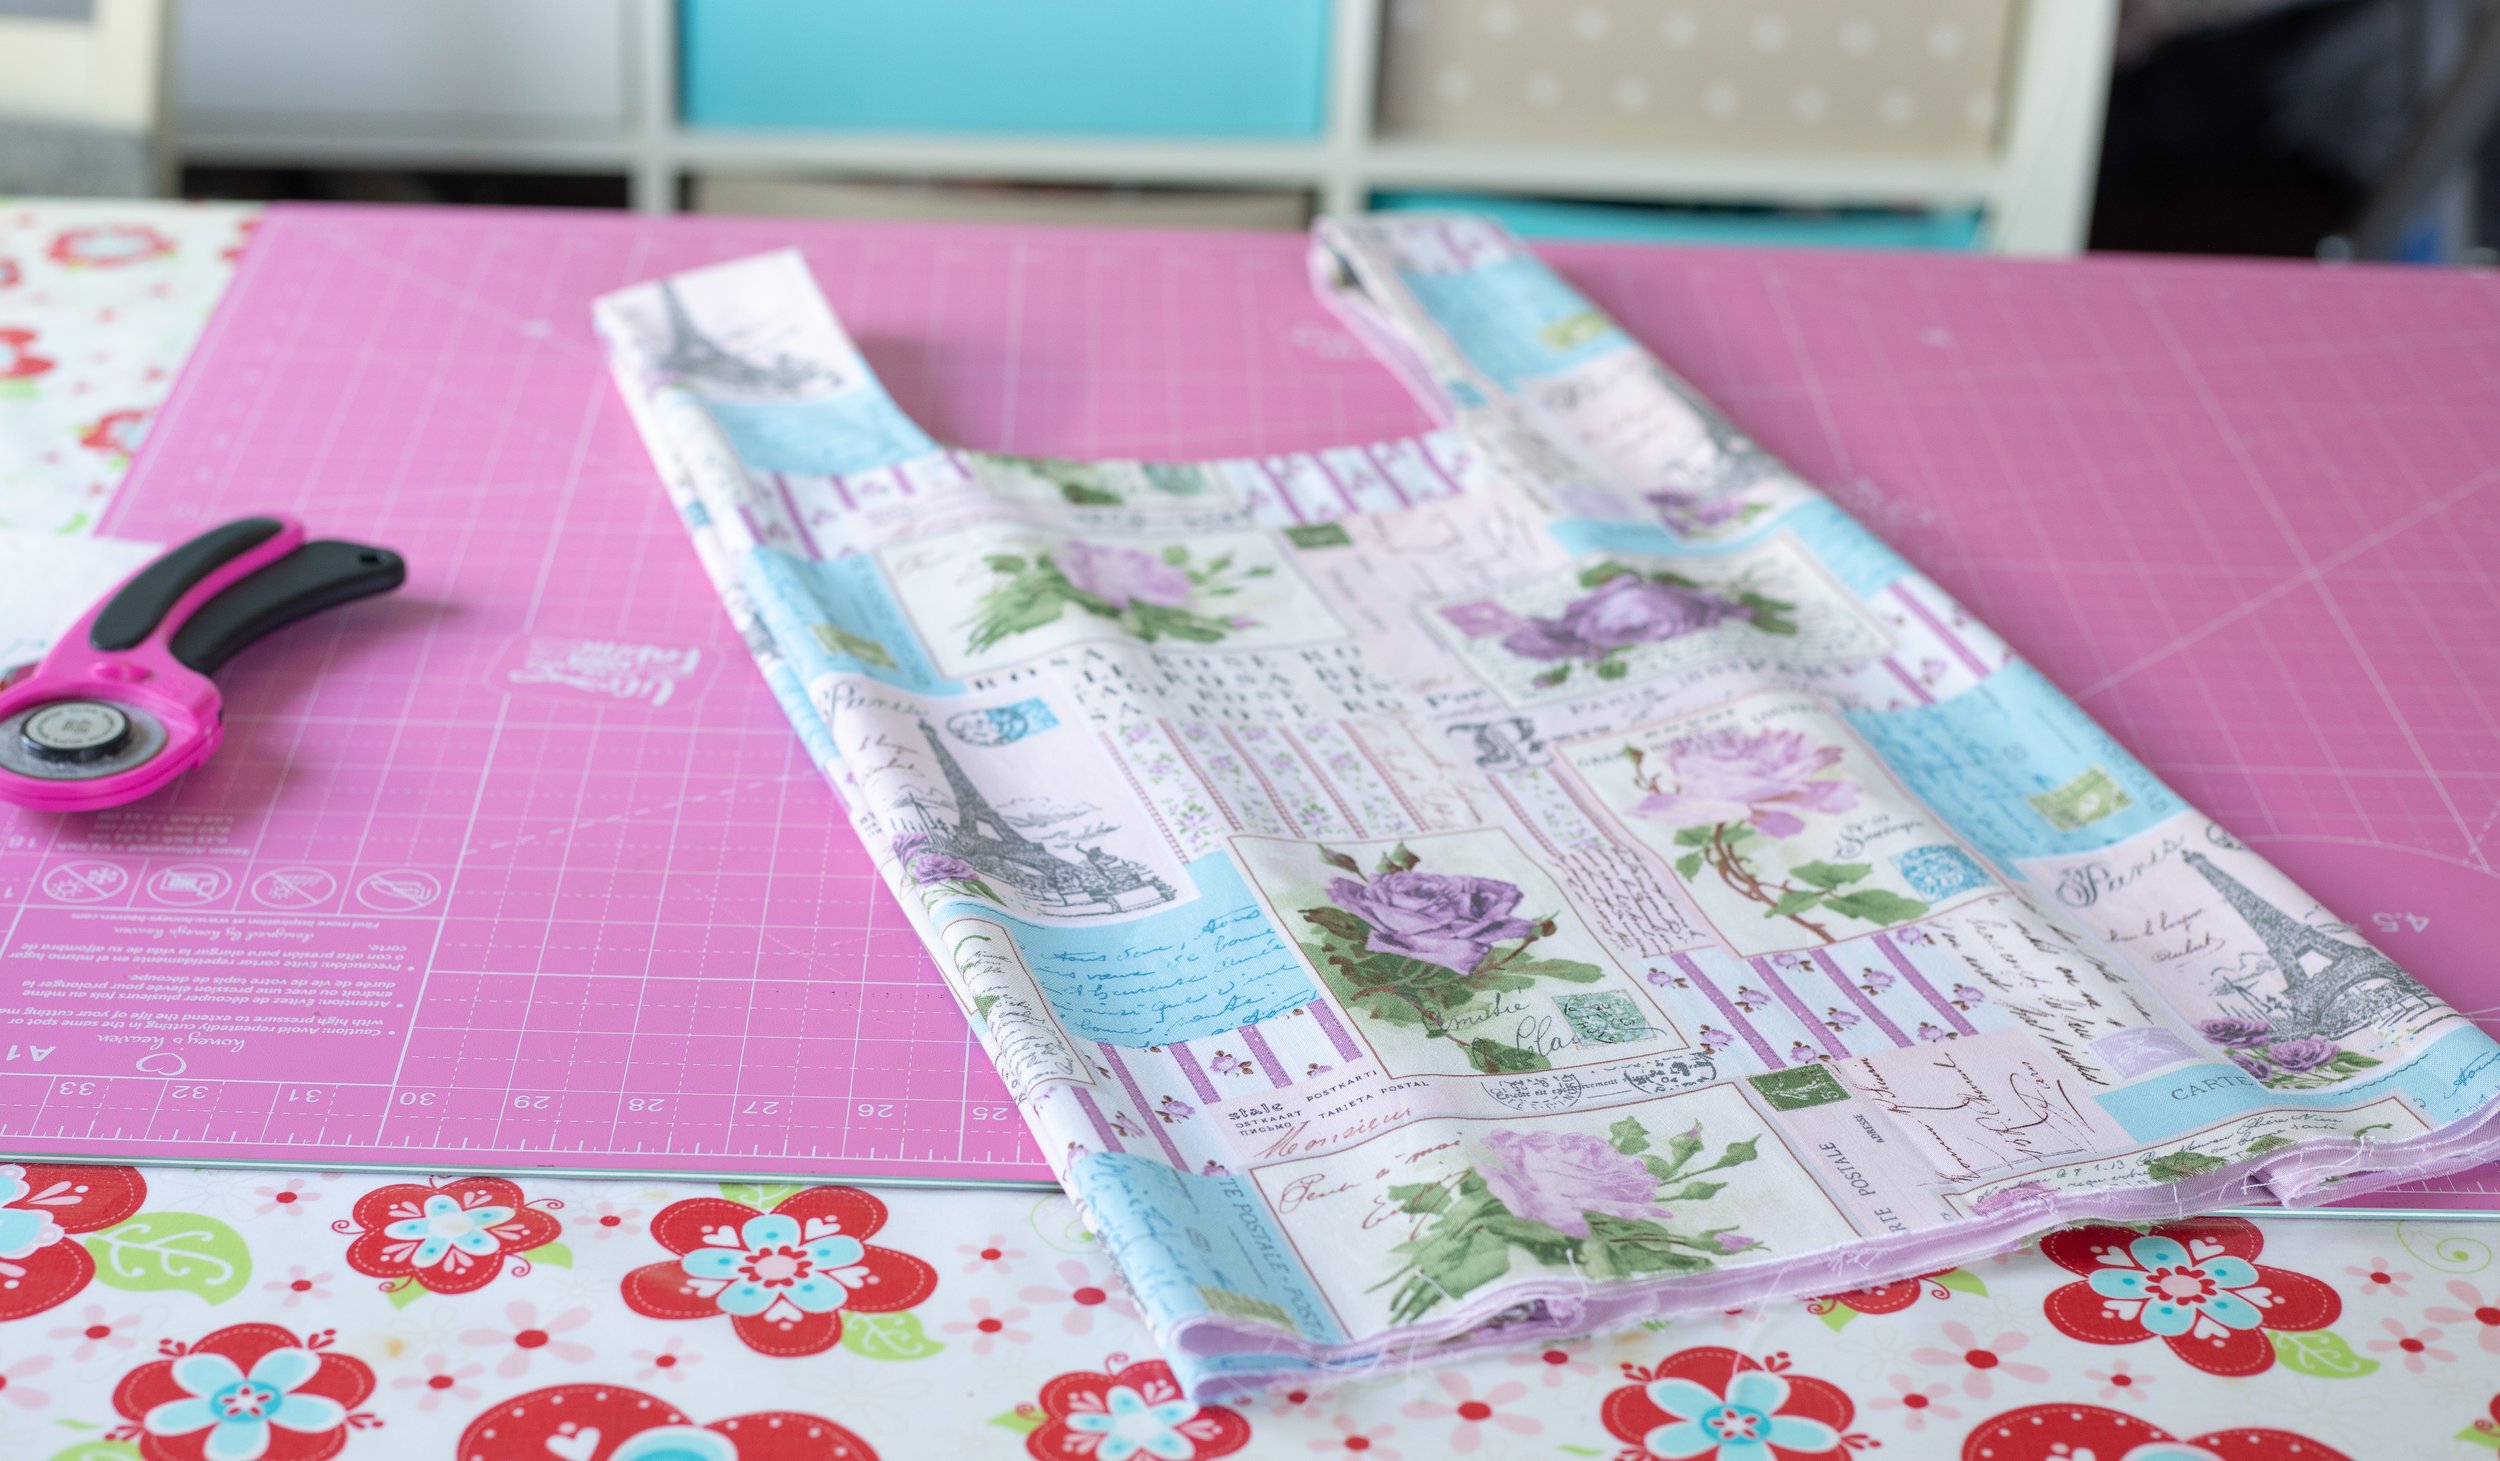
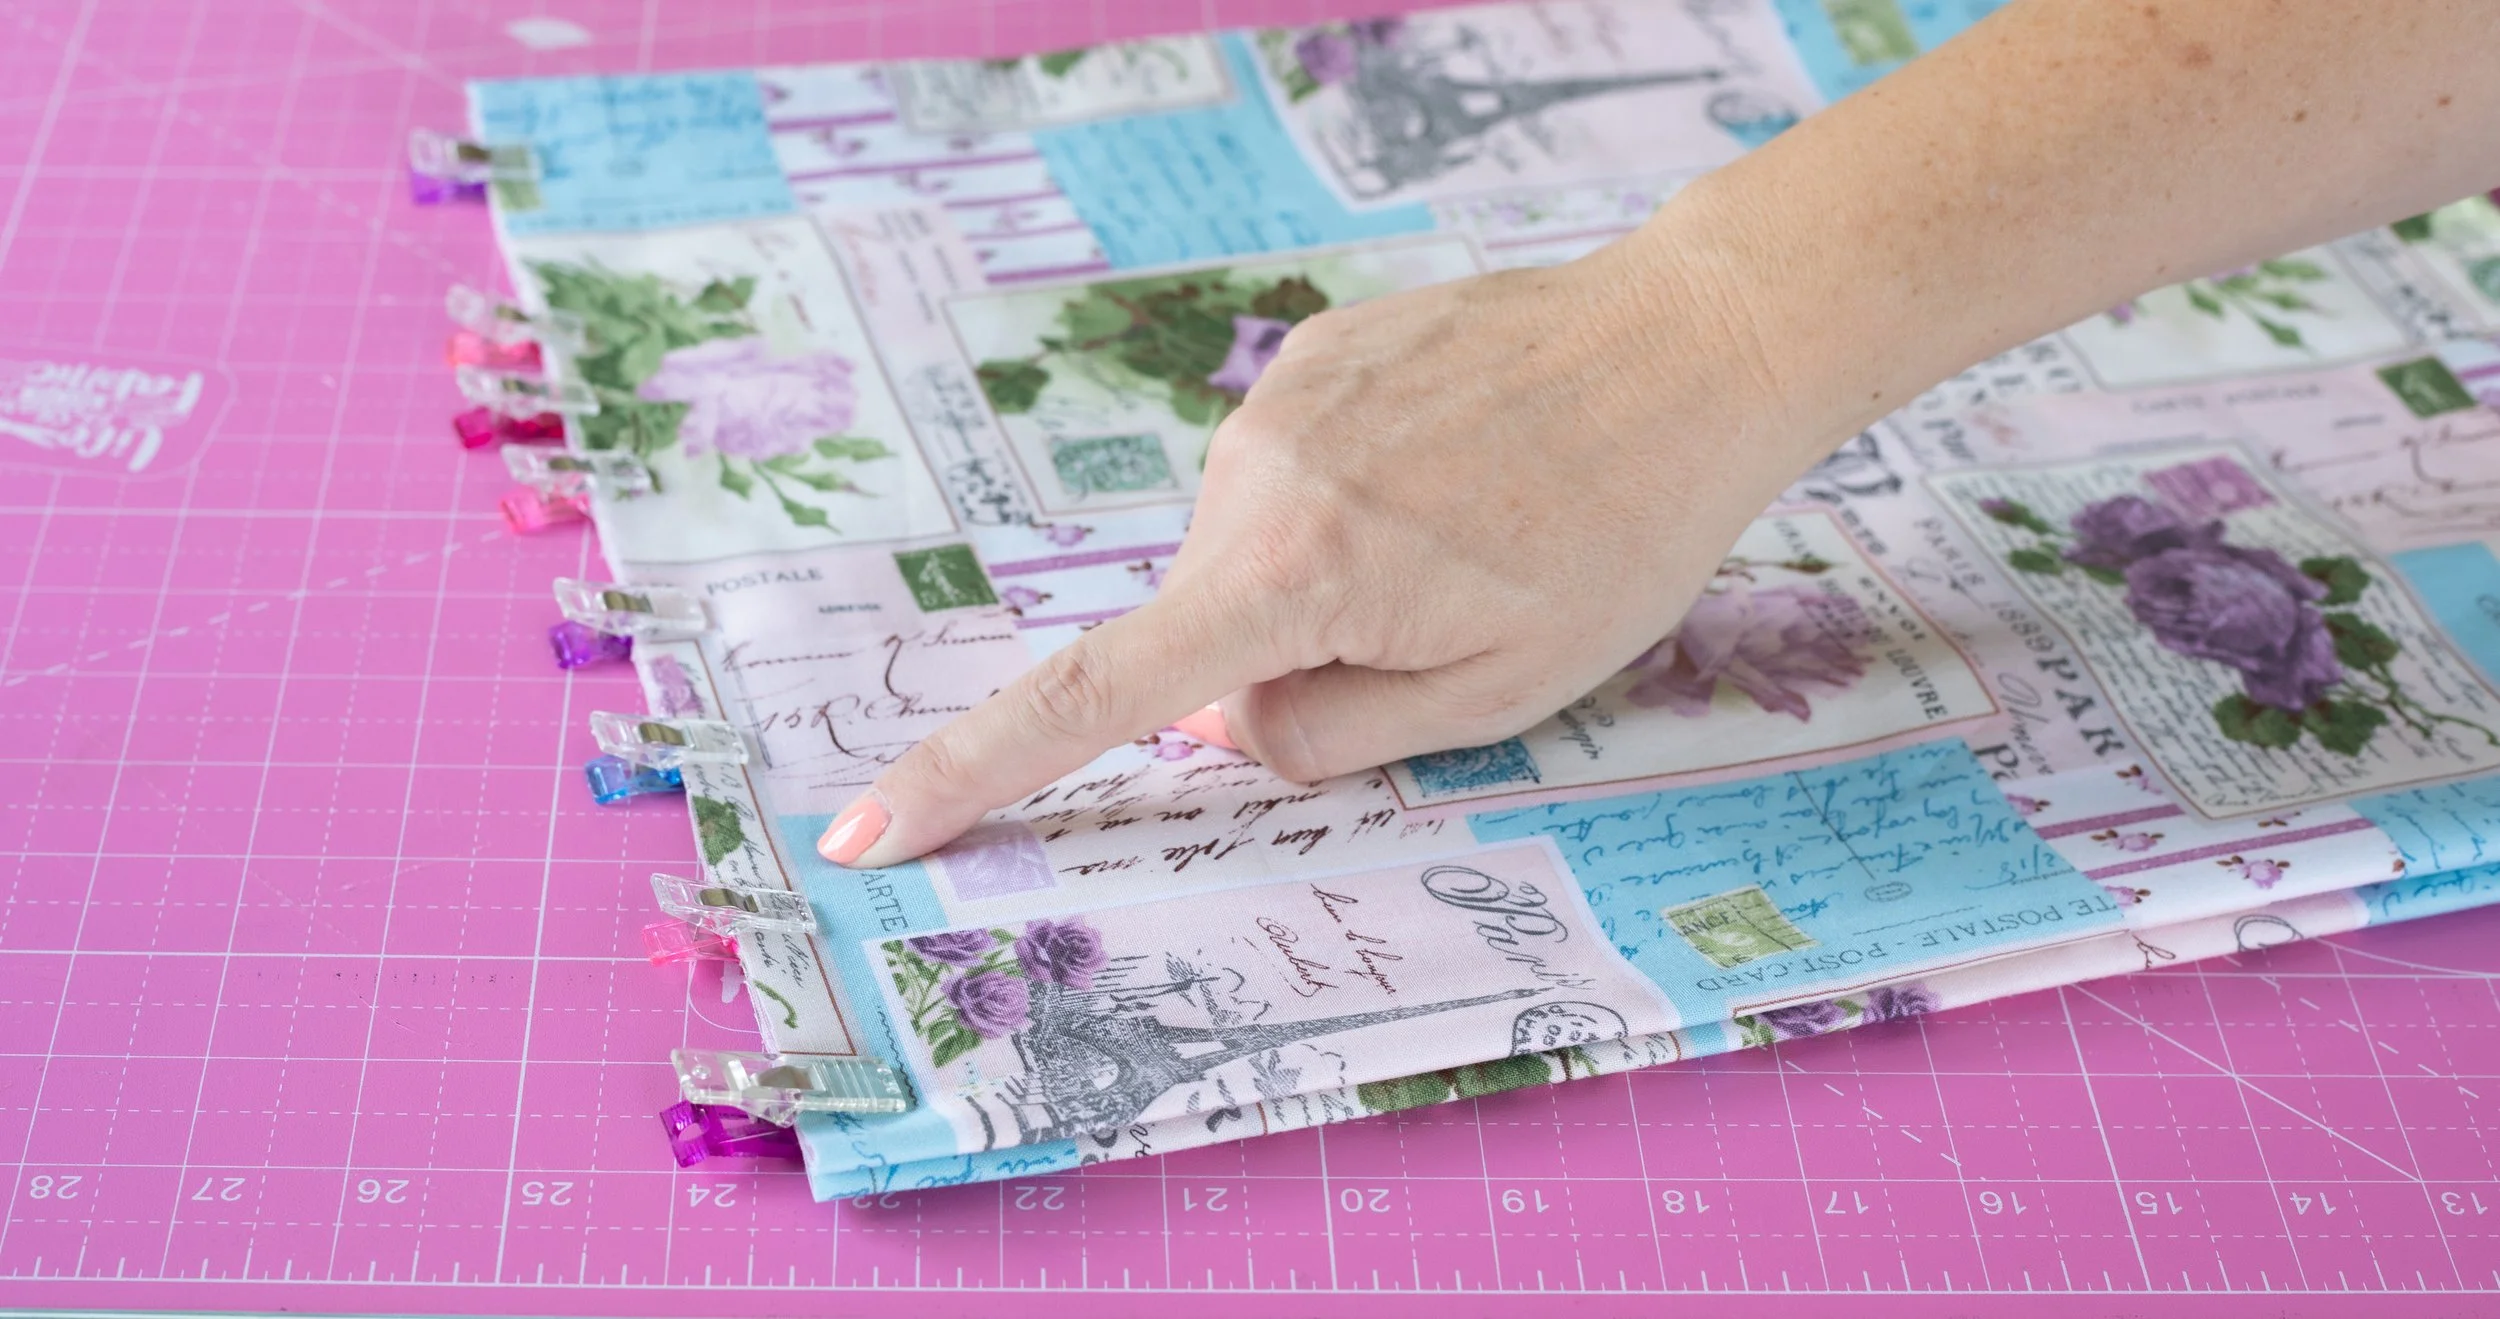
After your pattern piece is ready, you’re going to trace it onto your fabric. You’ll cut 2 pieces of each fabric— 2 linings and 2 outers.
FOLD your fabric by bringing the selvedge edge to the middle.
Place the pattern piece on top of the fabric, along the fold. You will have just enough space.
Place pattern weights on top or use pins in the fabric to keep it from shifting.
Use chalk, a fabric marker, or other marking tool to trace around the pattern. *Please be precise; it makes a big difference in the turning-out method we’ll use later.
Set that piece aside, then repeat with the other side of the fabric. These will be your outer pieces.
Repeat for the lining fabric.
Your lining fabric should be thin if you plan on folding this bag. If you don’t want to add the optional snap to keep it folded together nicely, use whatever fun fabric you have for the lining.
I often like muslin or the colorful thin stuff from the bargain fabric section. You know the fabric, it’s thin and cheap, and you can’t imagine anyone actually using it for something nice. Haha!!

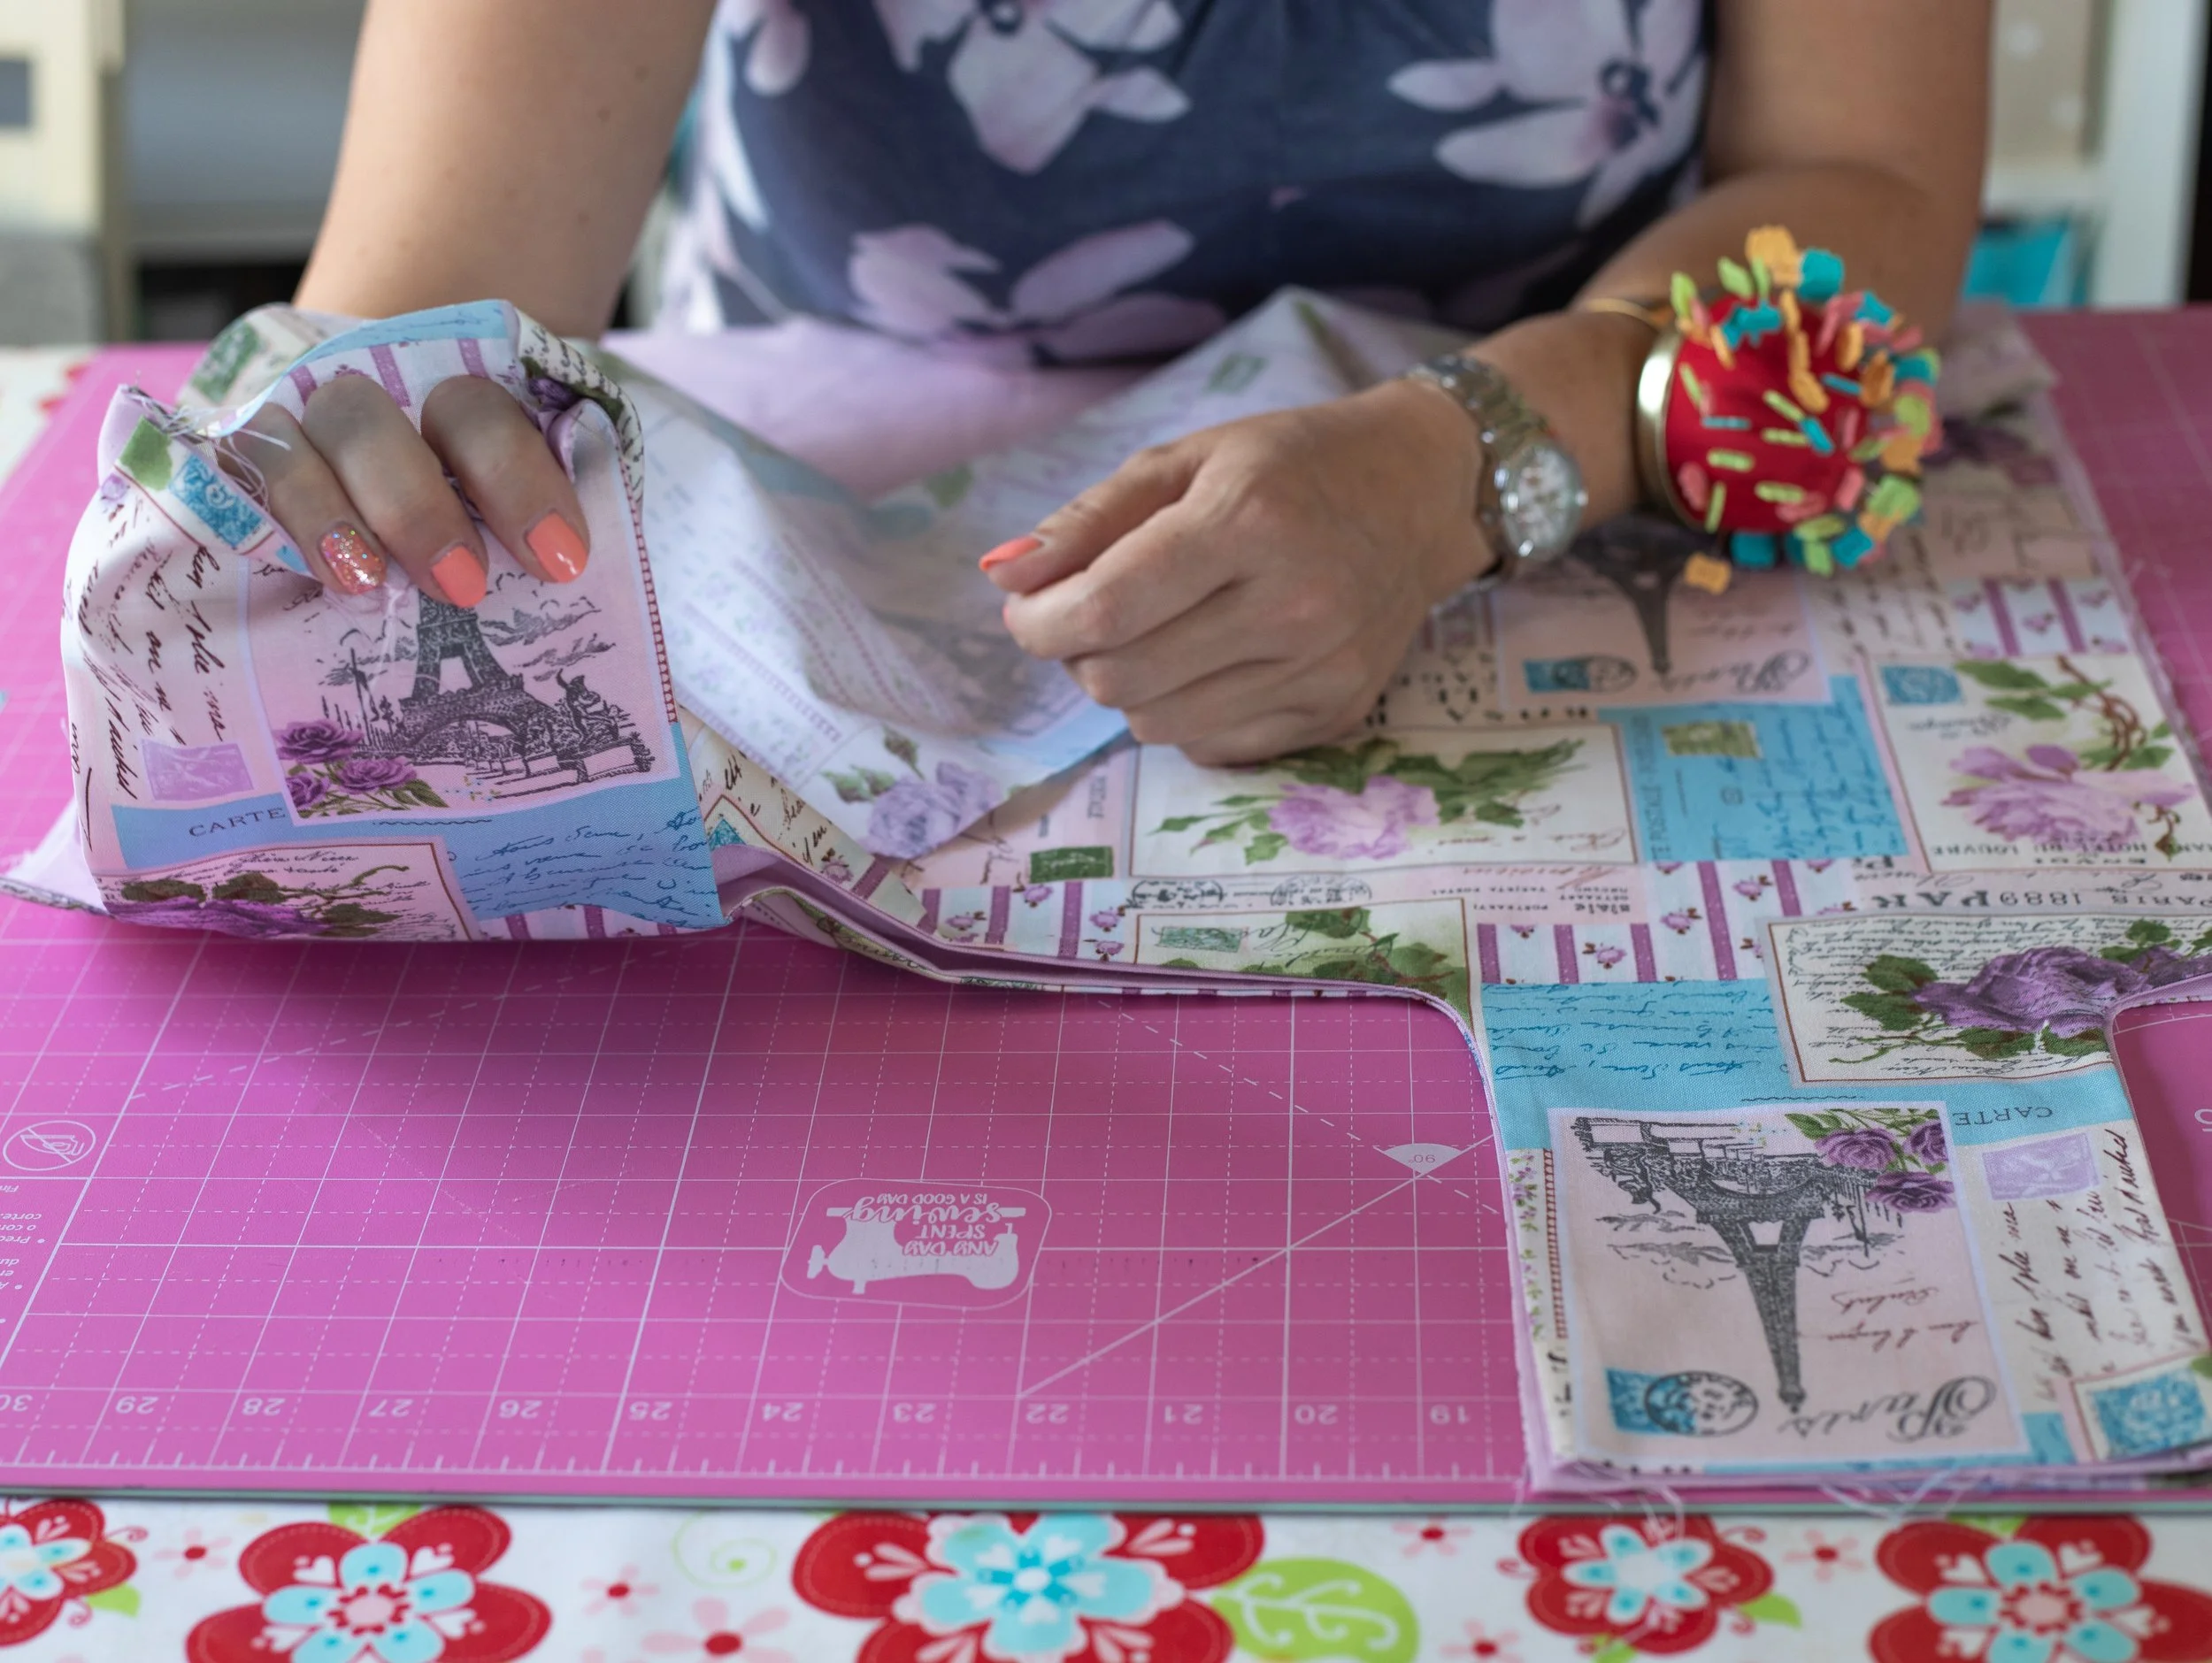
Time to sew.
SEWING TIME
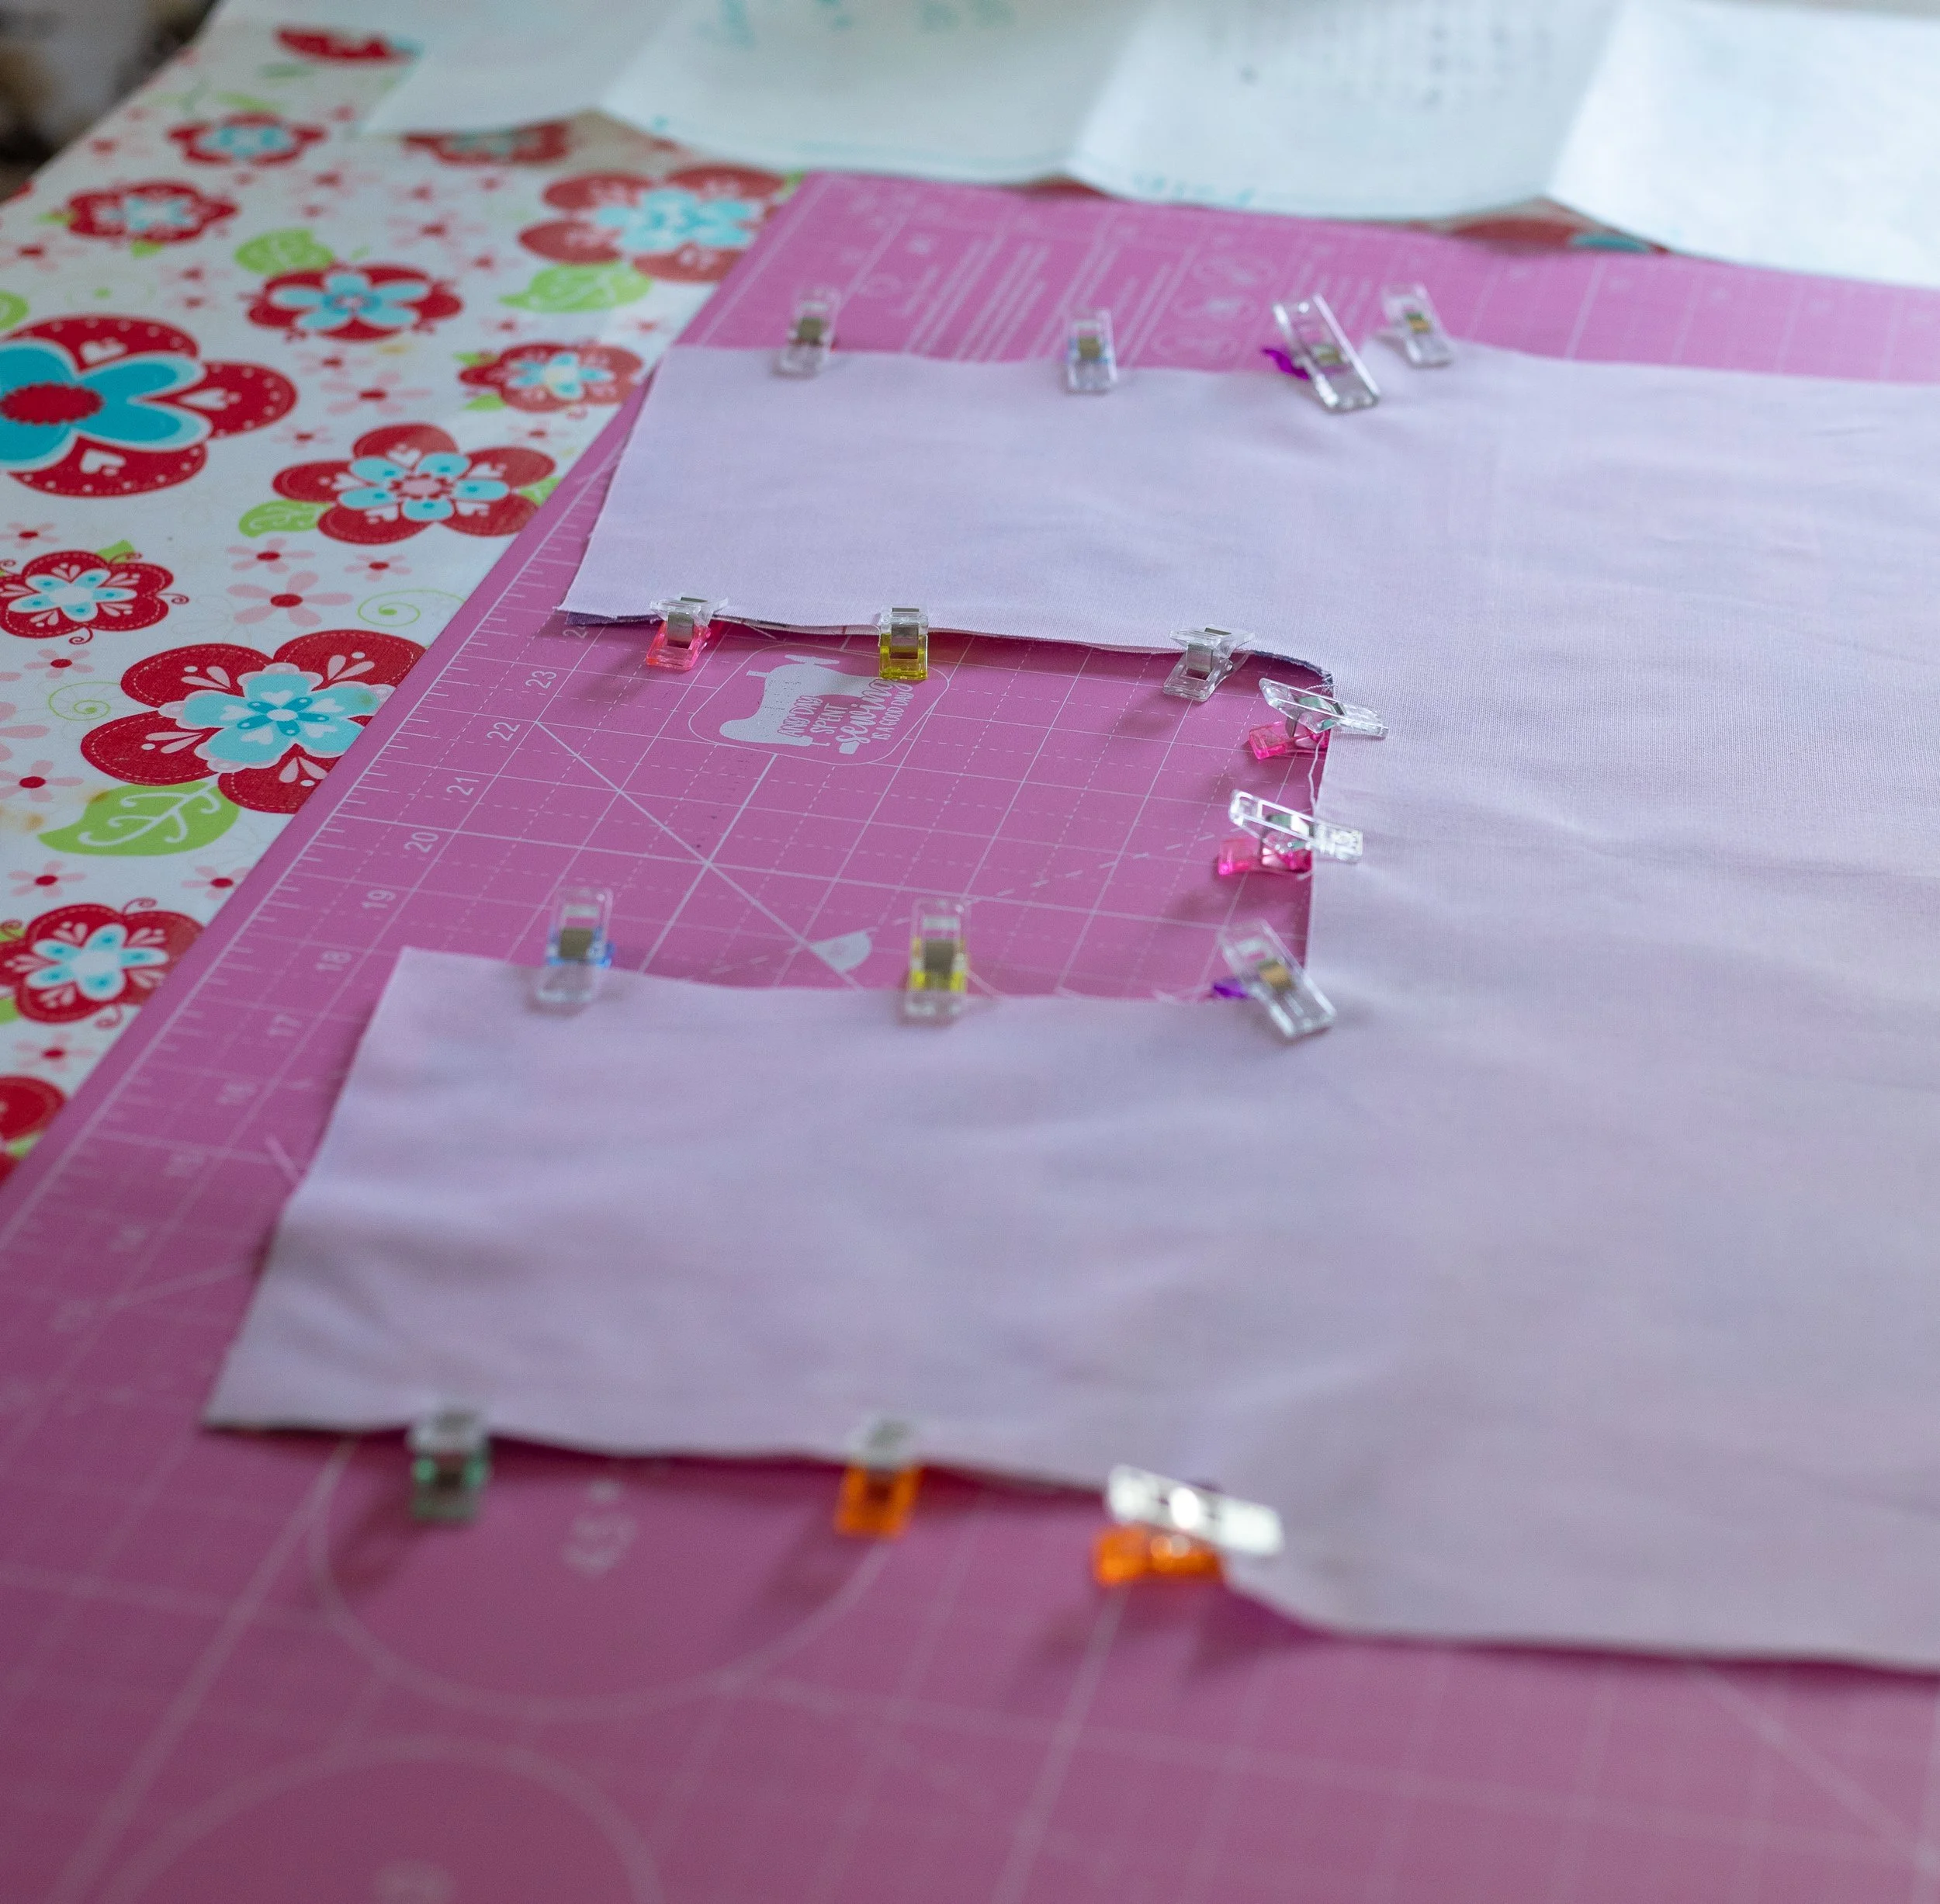
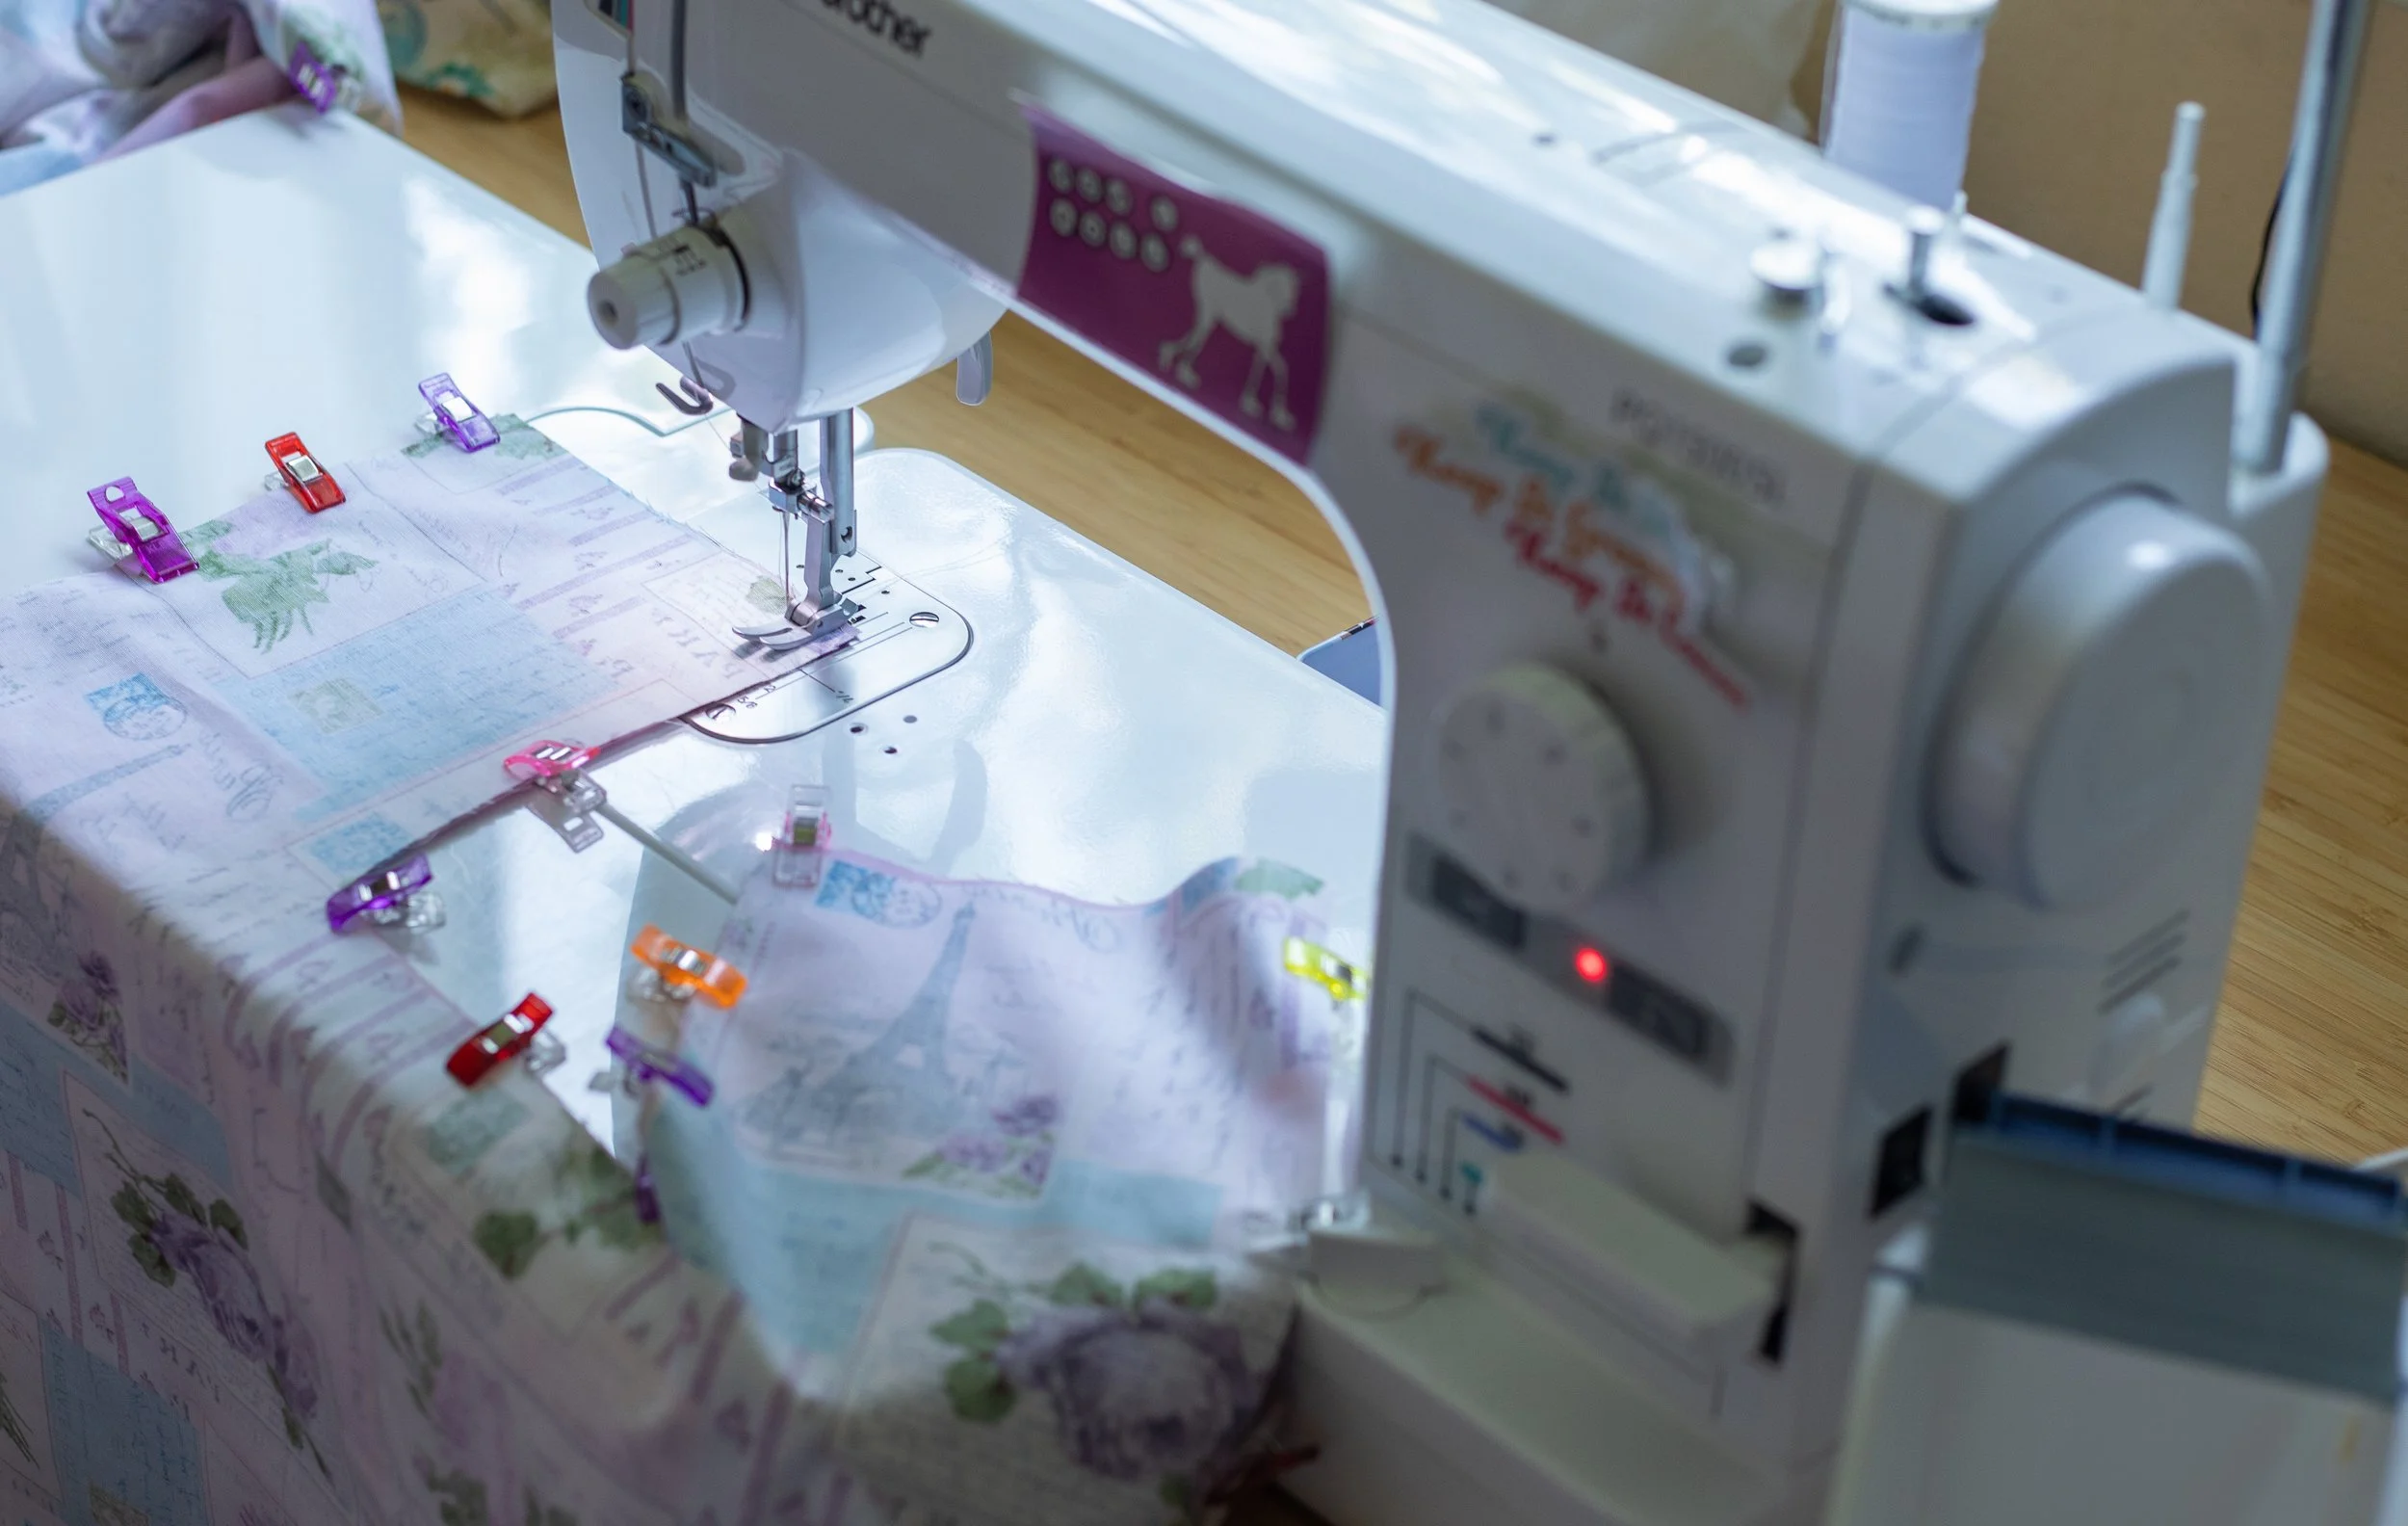
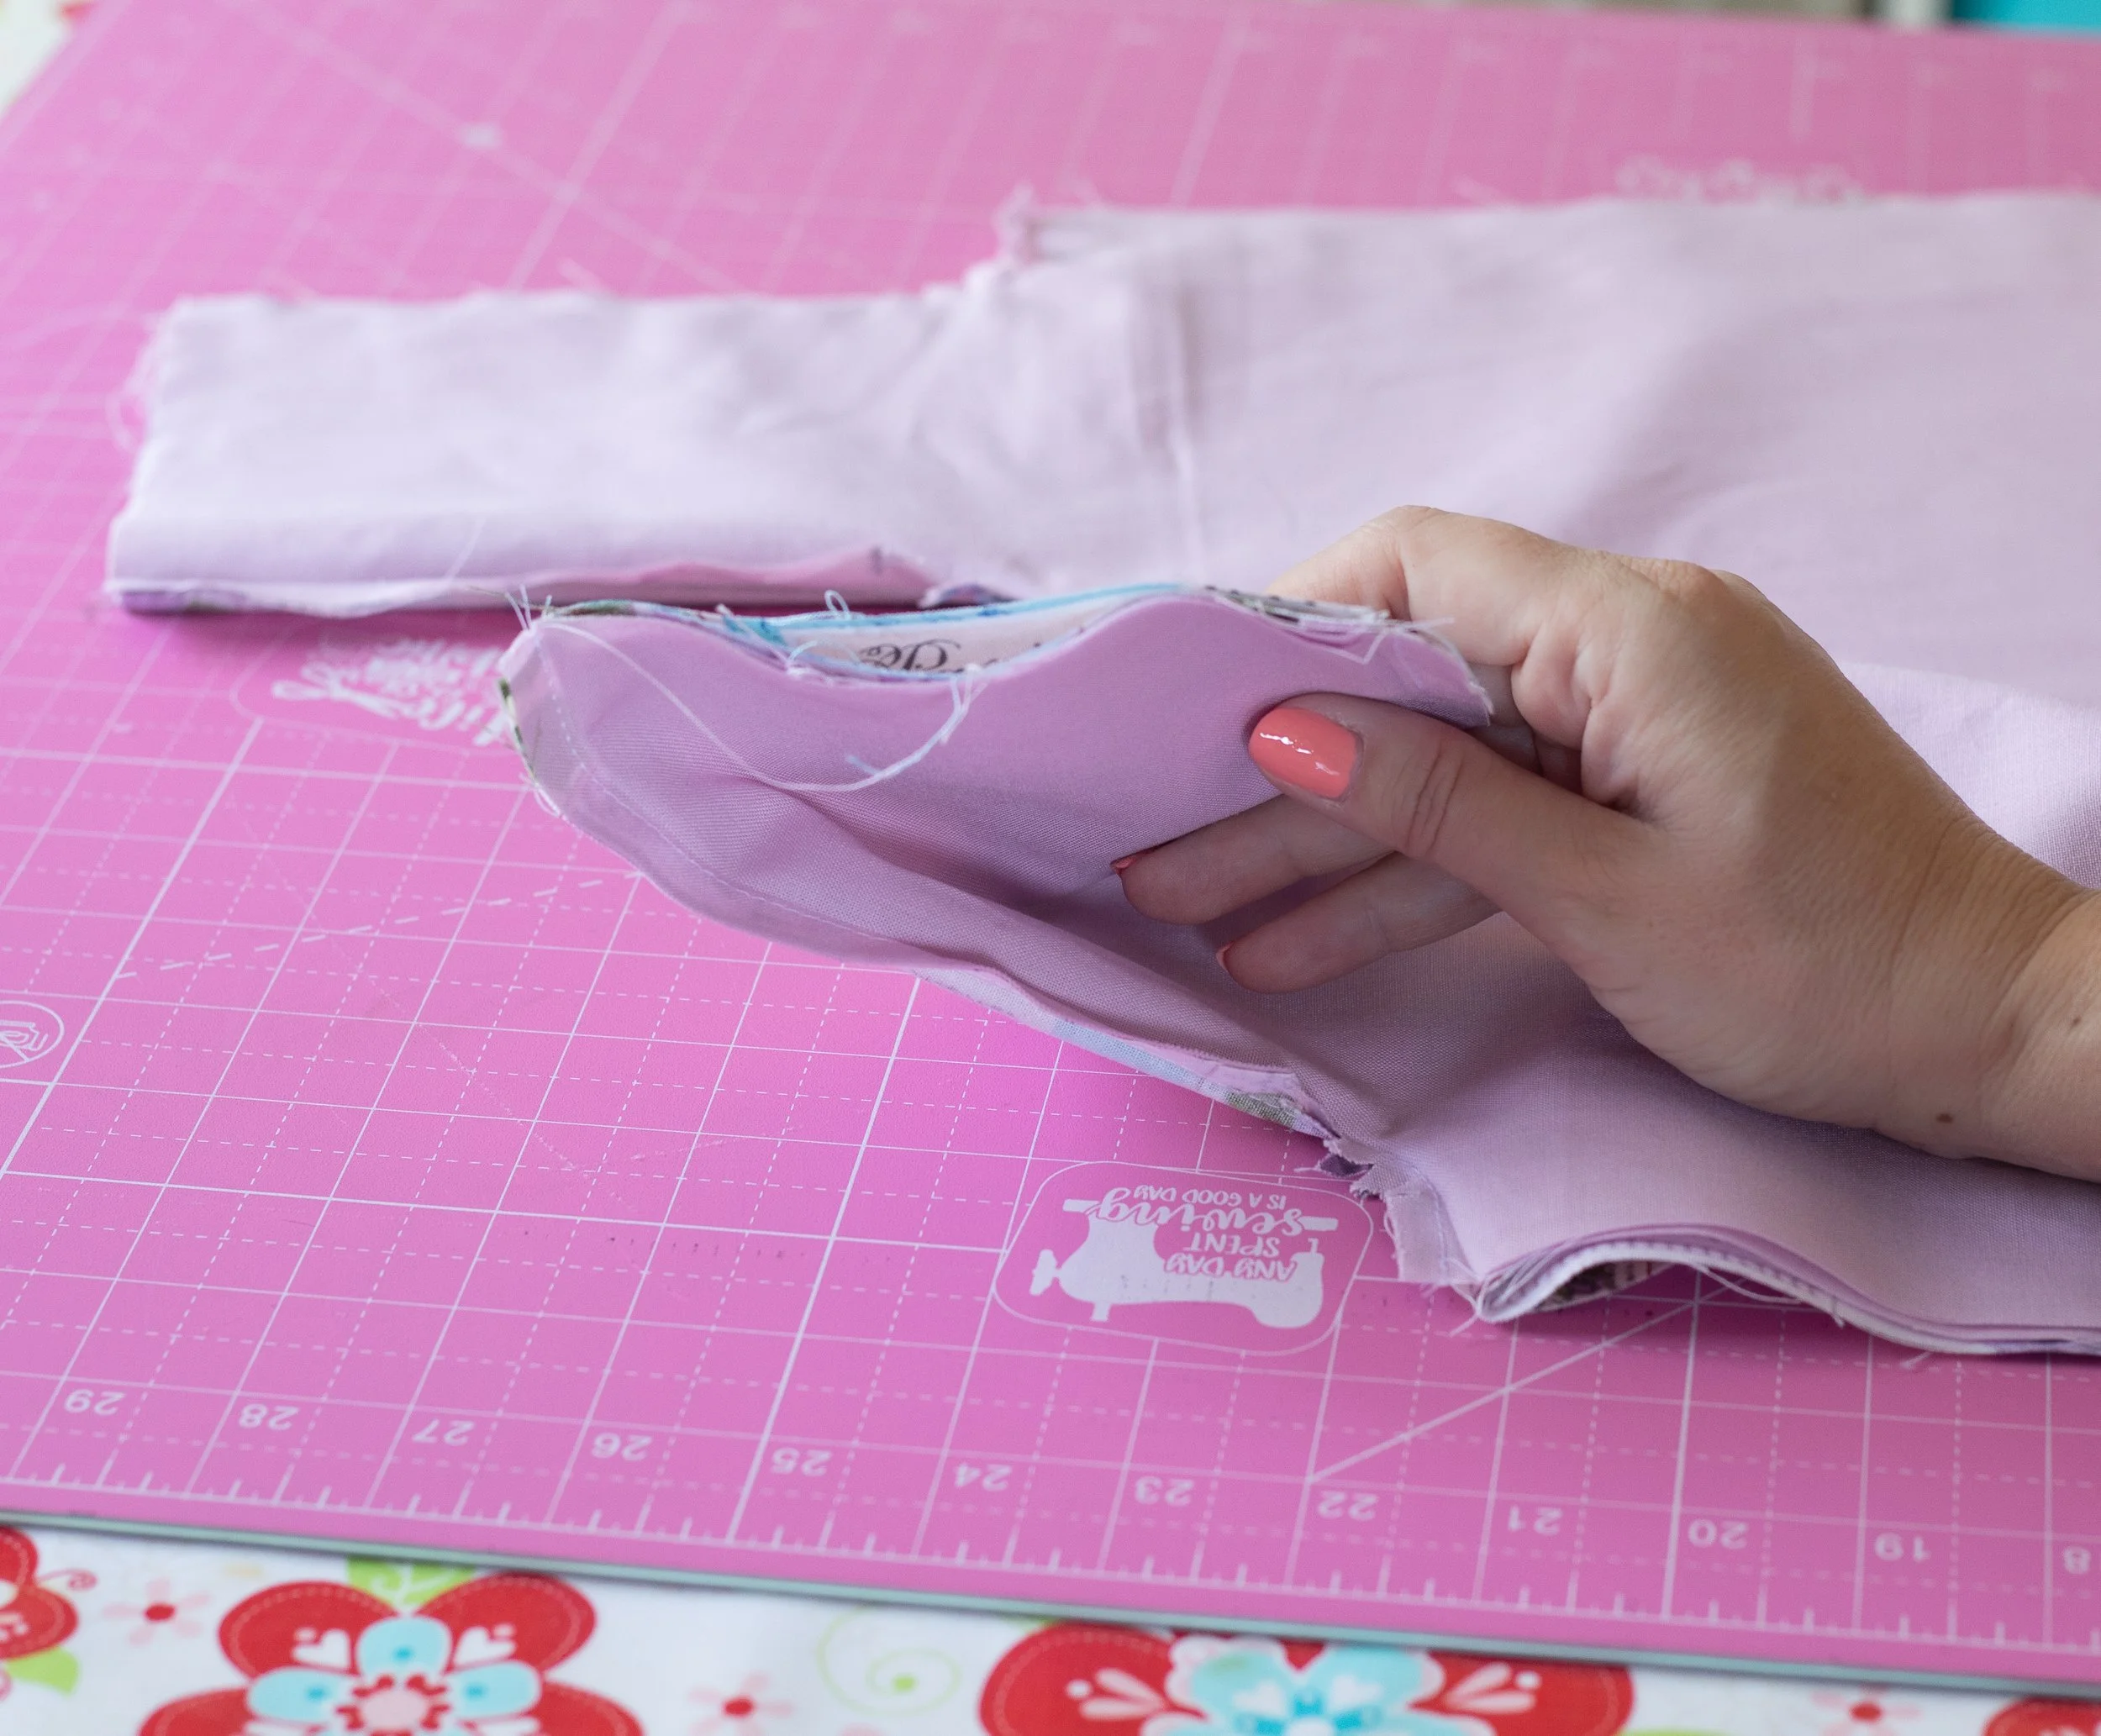
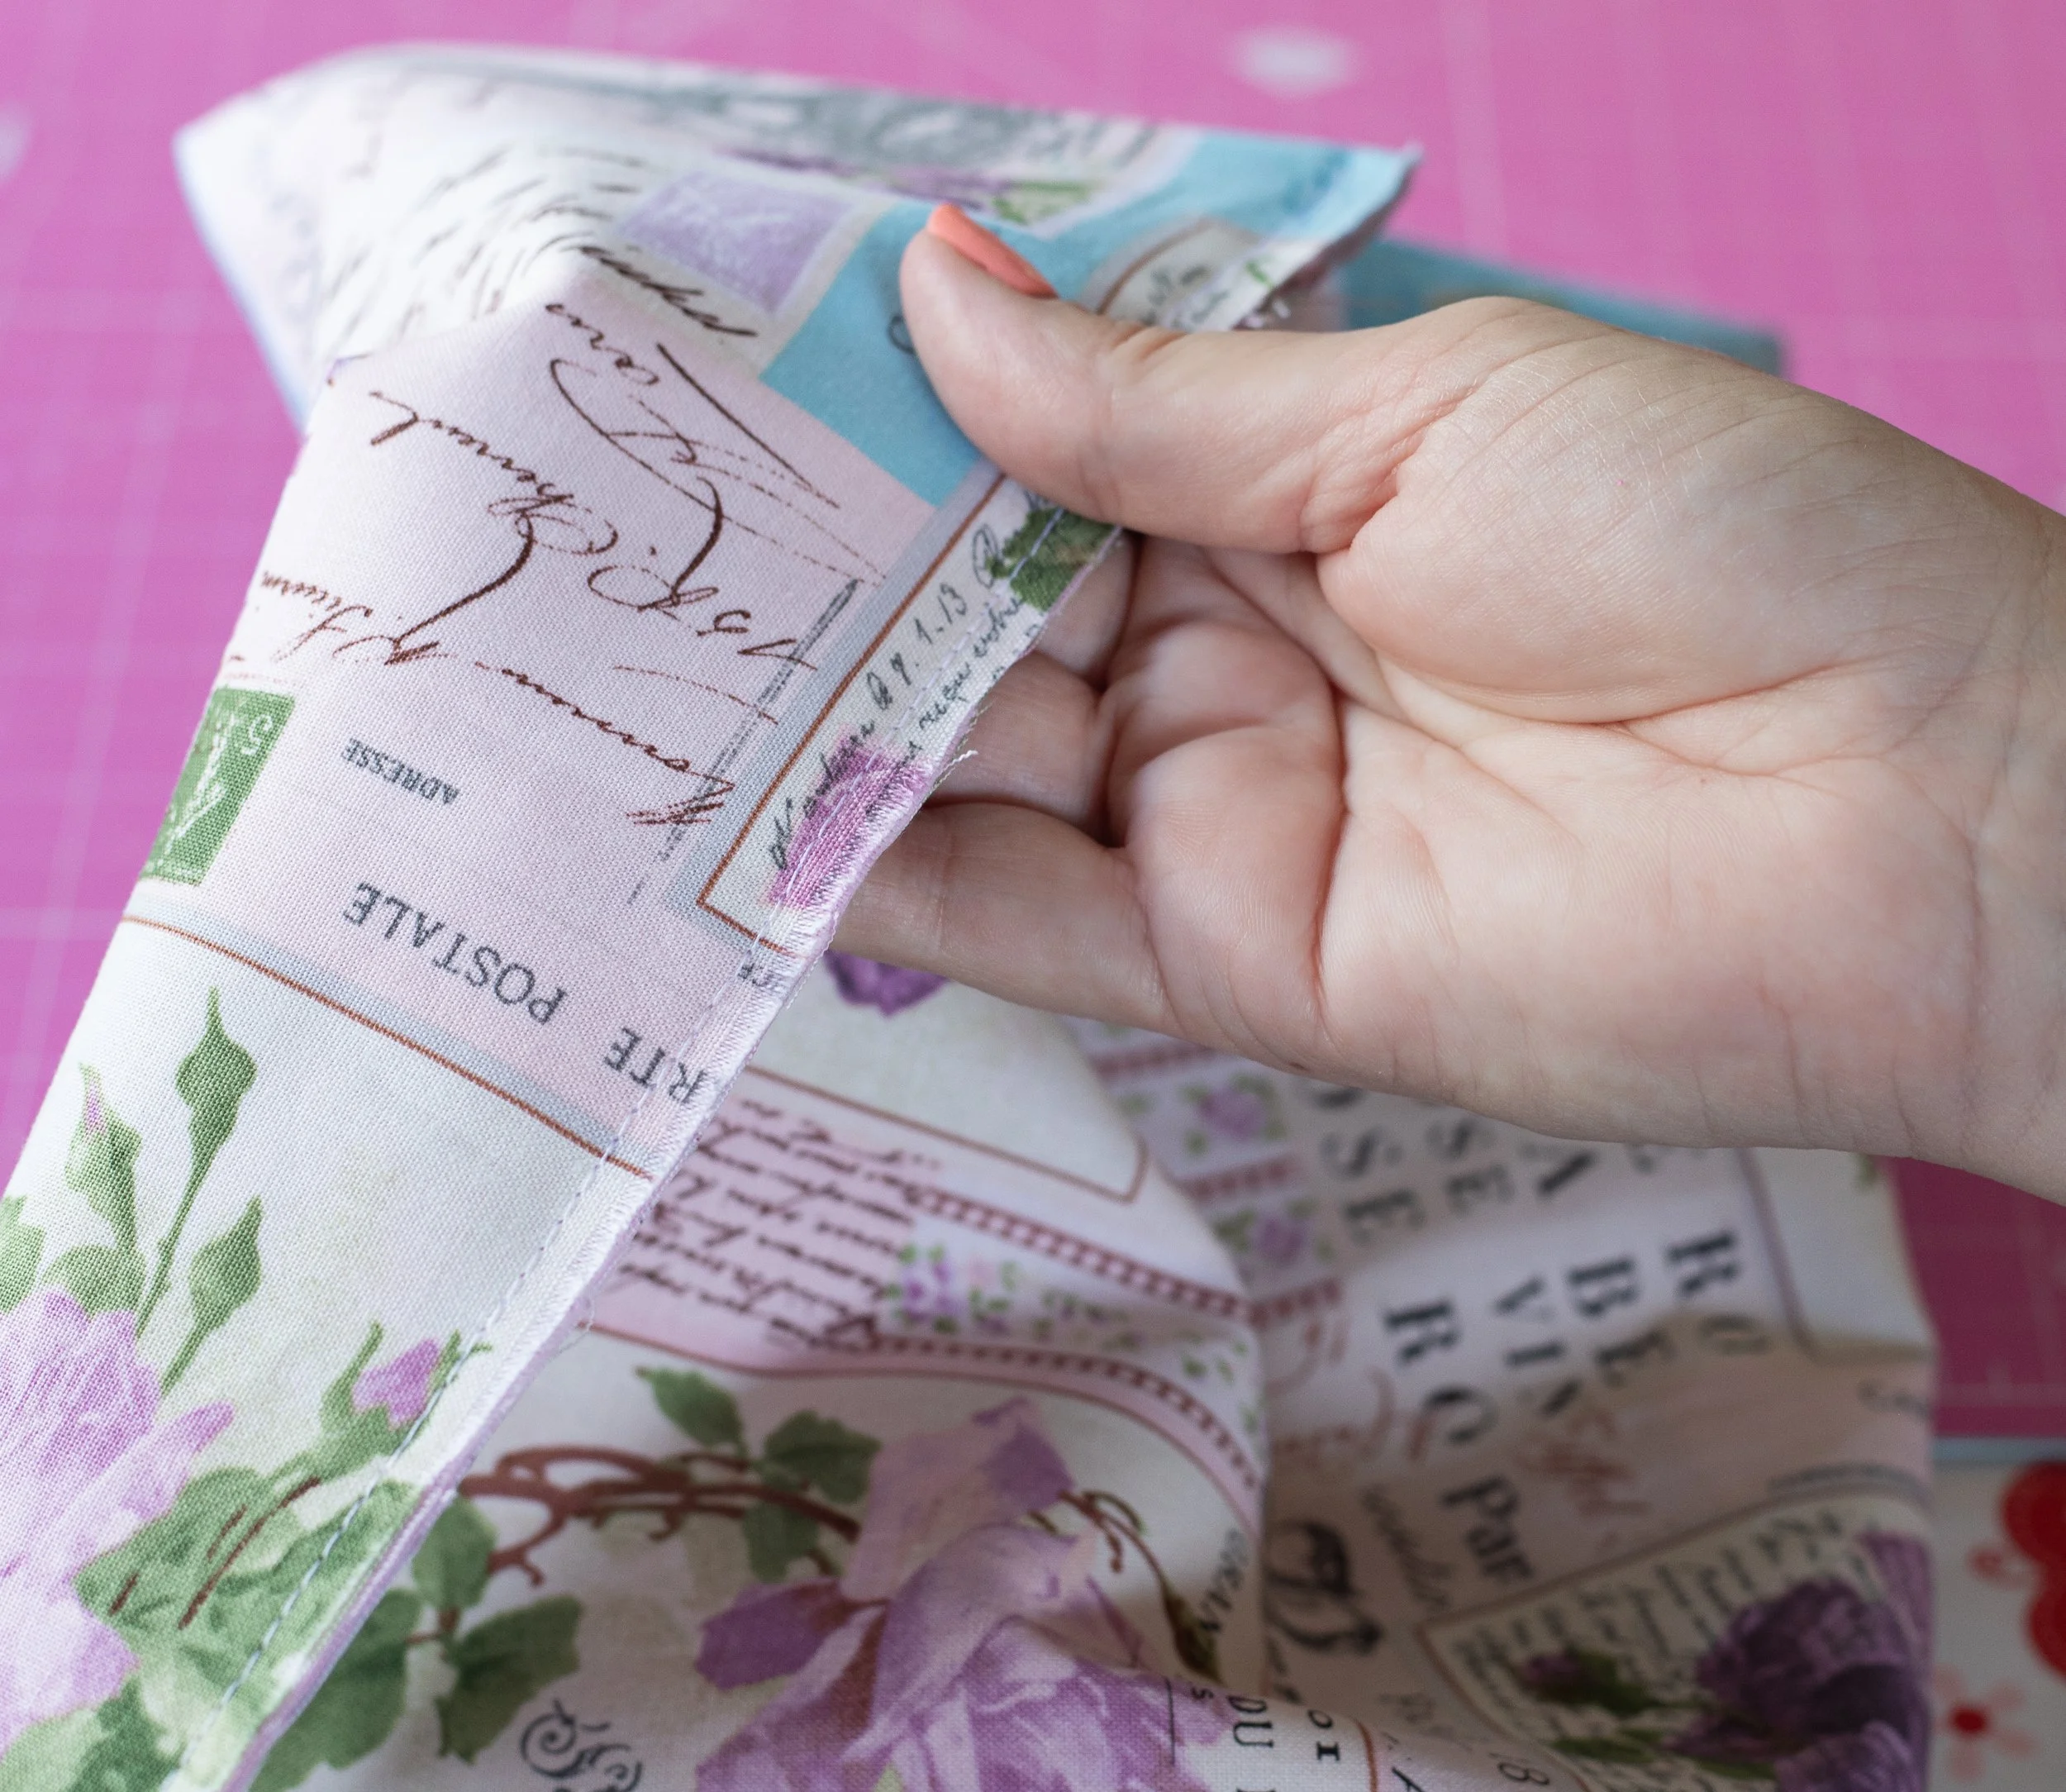
Pin one outer piece to one lining piece, RST (right sides together)
Pin or clip along the “U” and short sides. These will eventually become the handles. I’ll refer to them as handles as well.
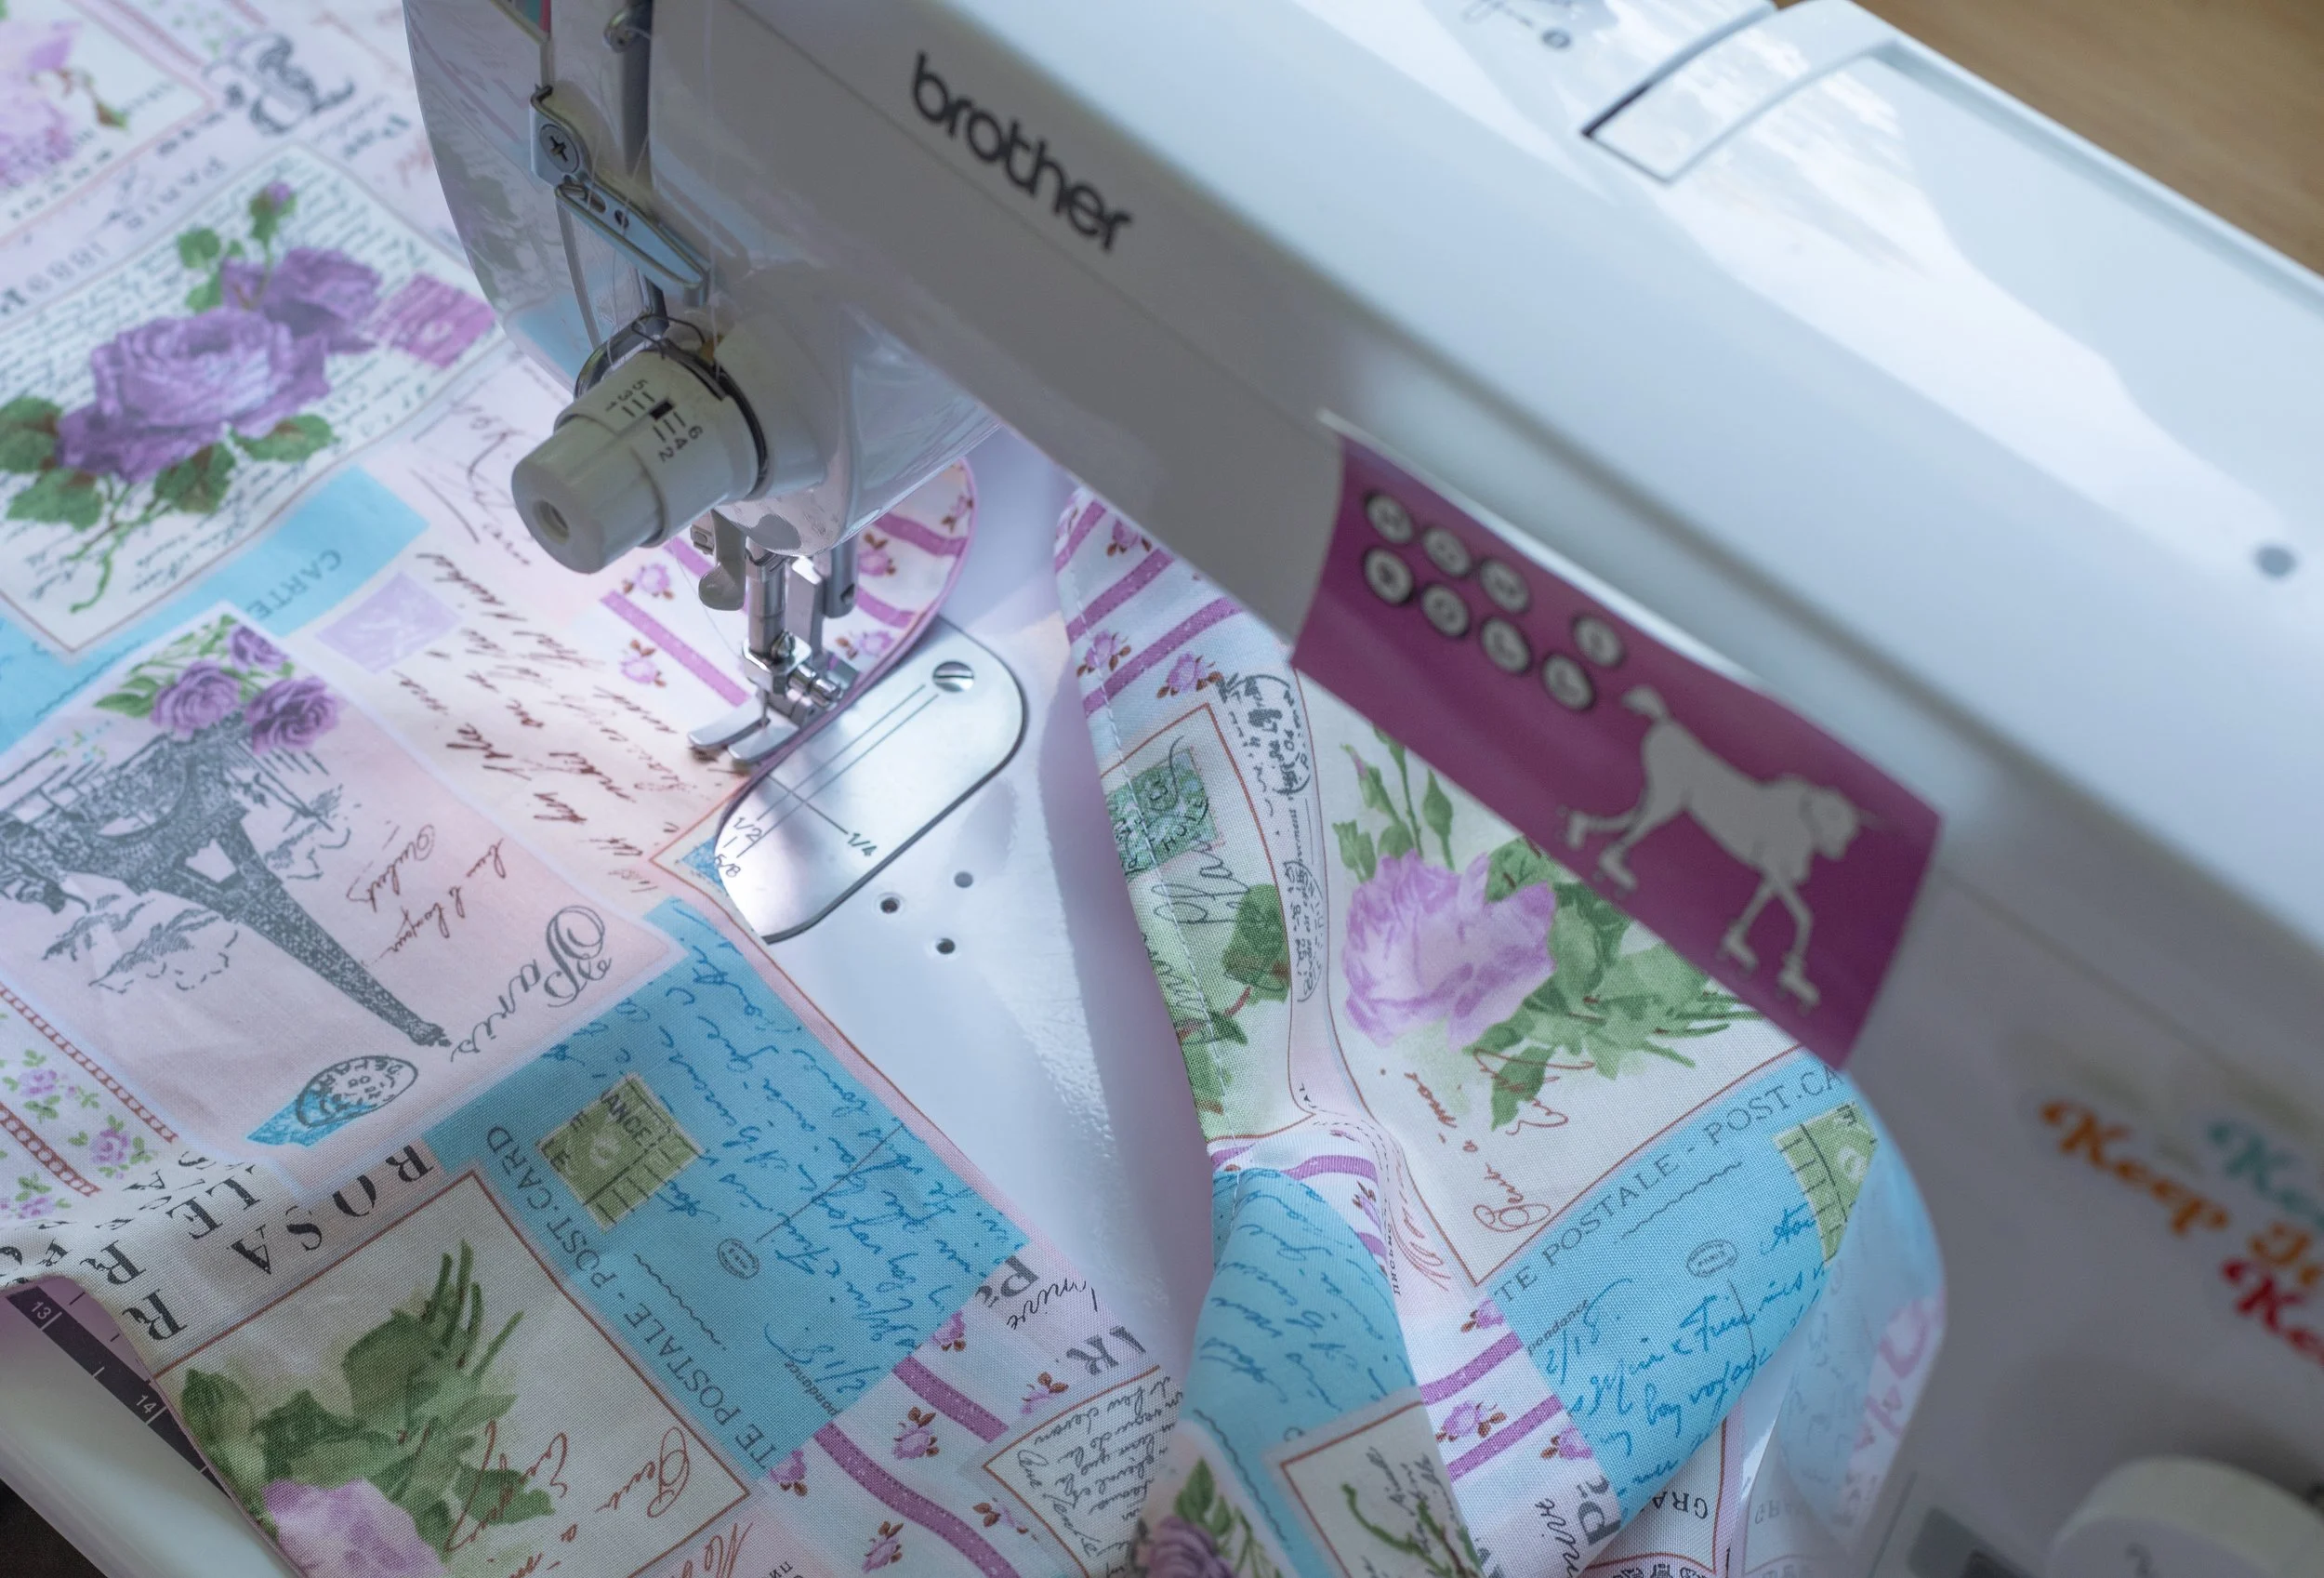
Sew using a 1/4” seam allowance and 2.5mm stitch length.
Start from the top and go down. Backstitch at the beginning and end.
Repeat for other lining and outer fabric pieces.
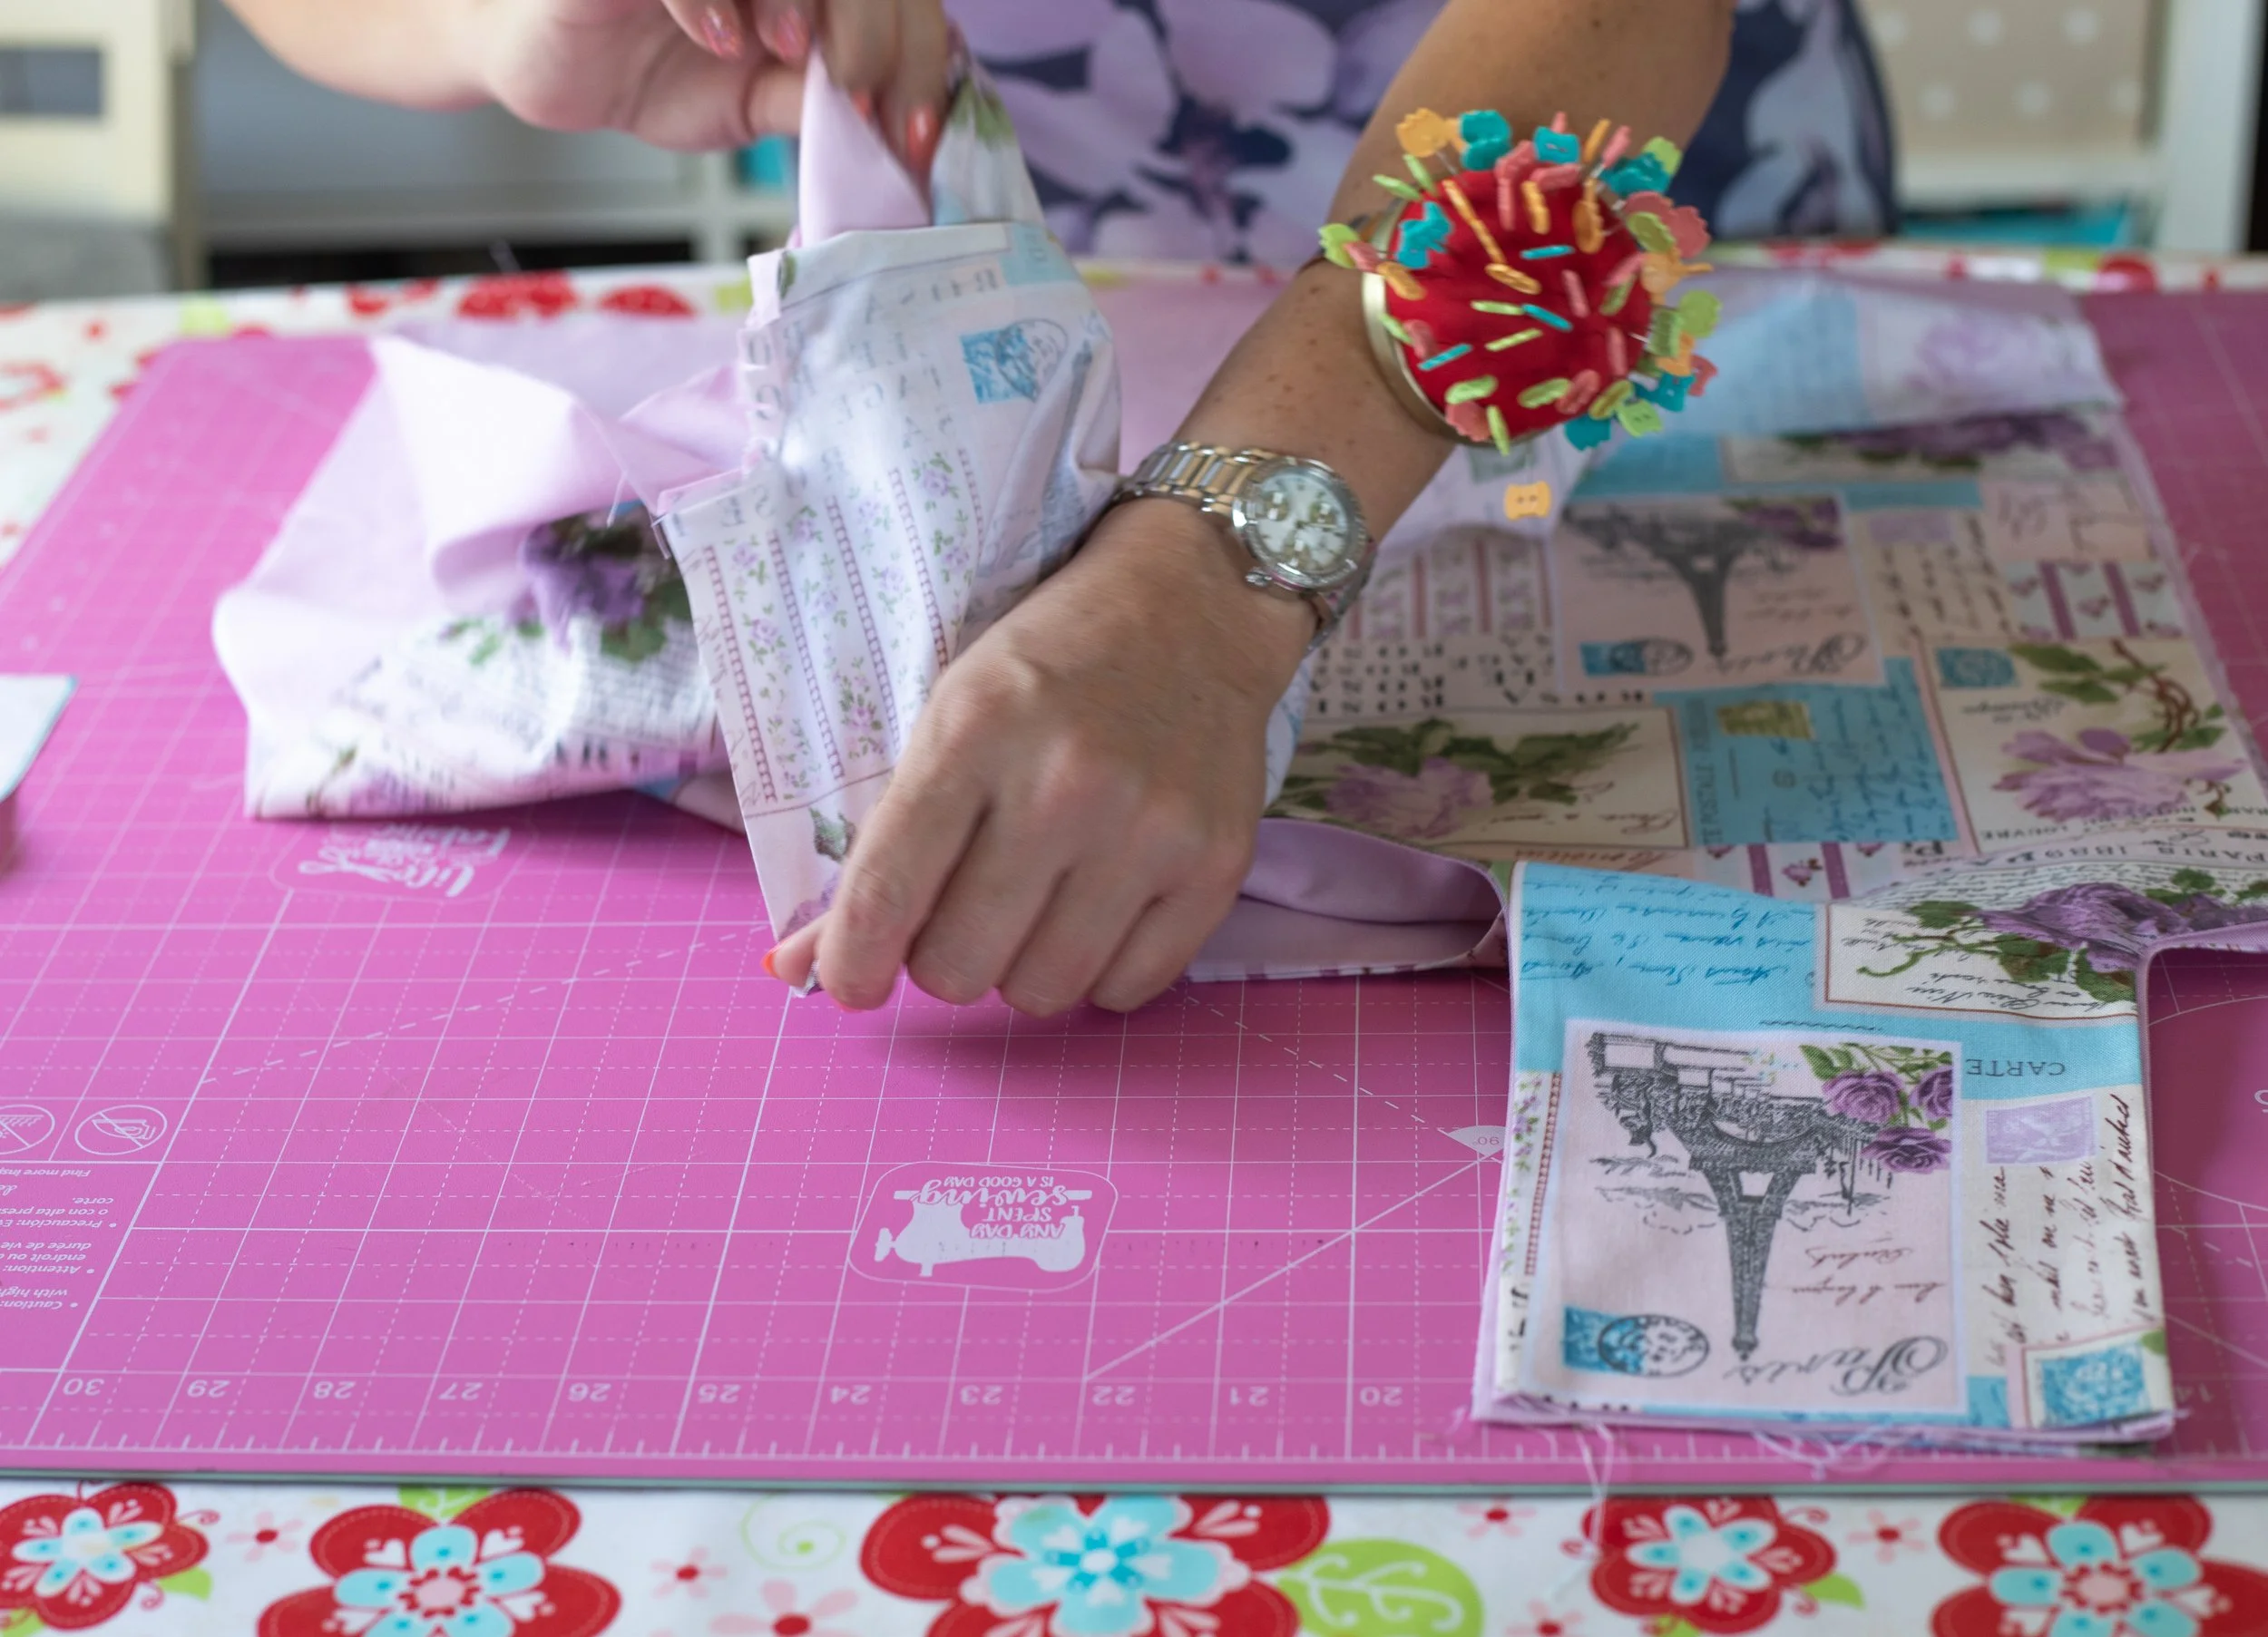
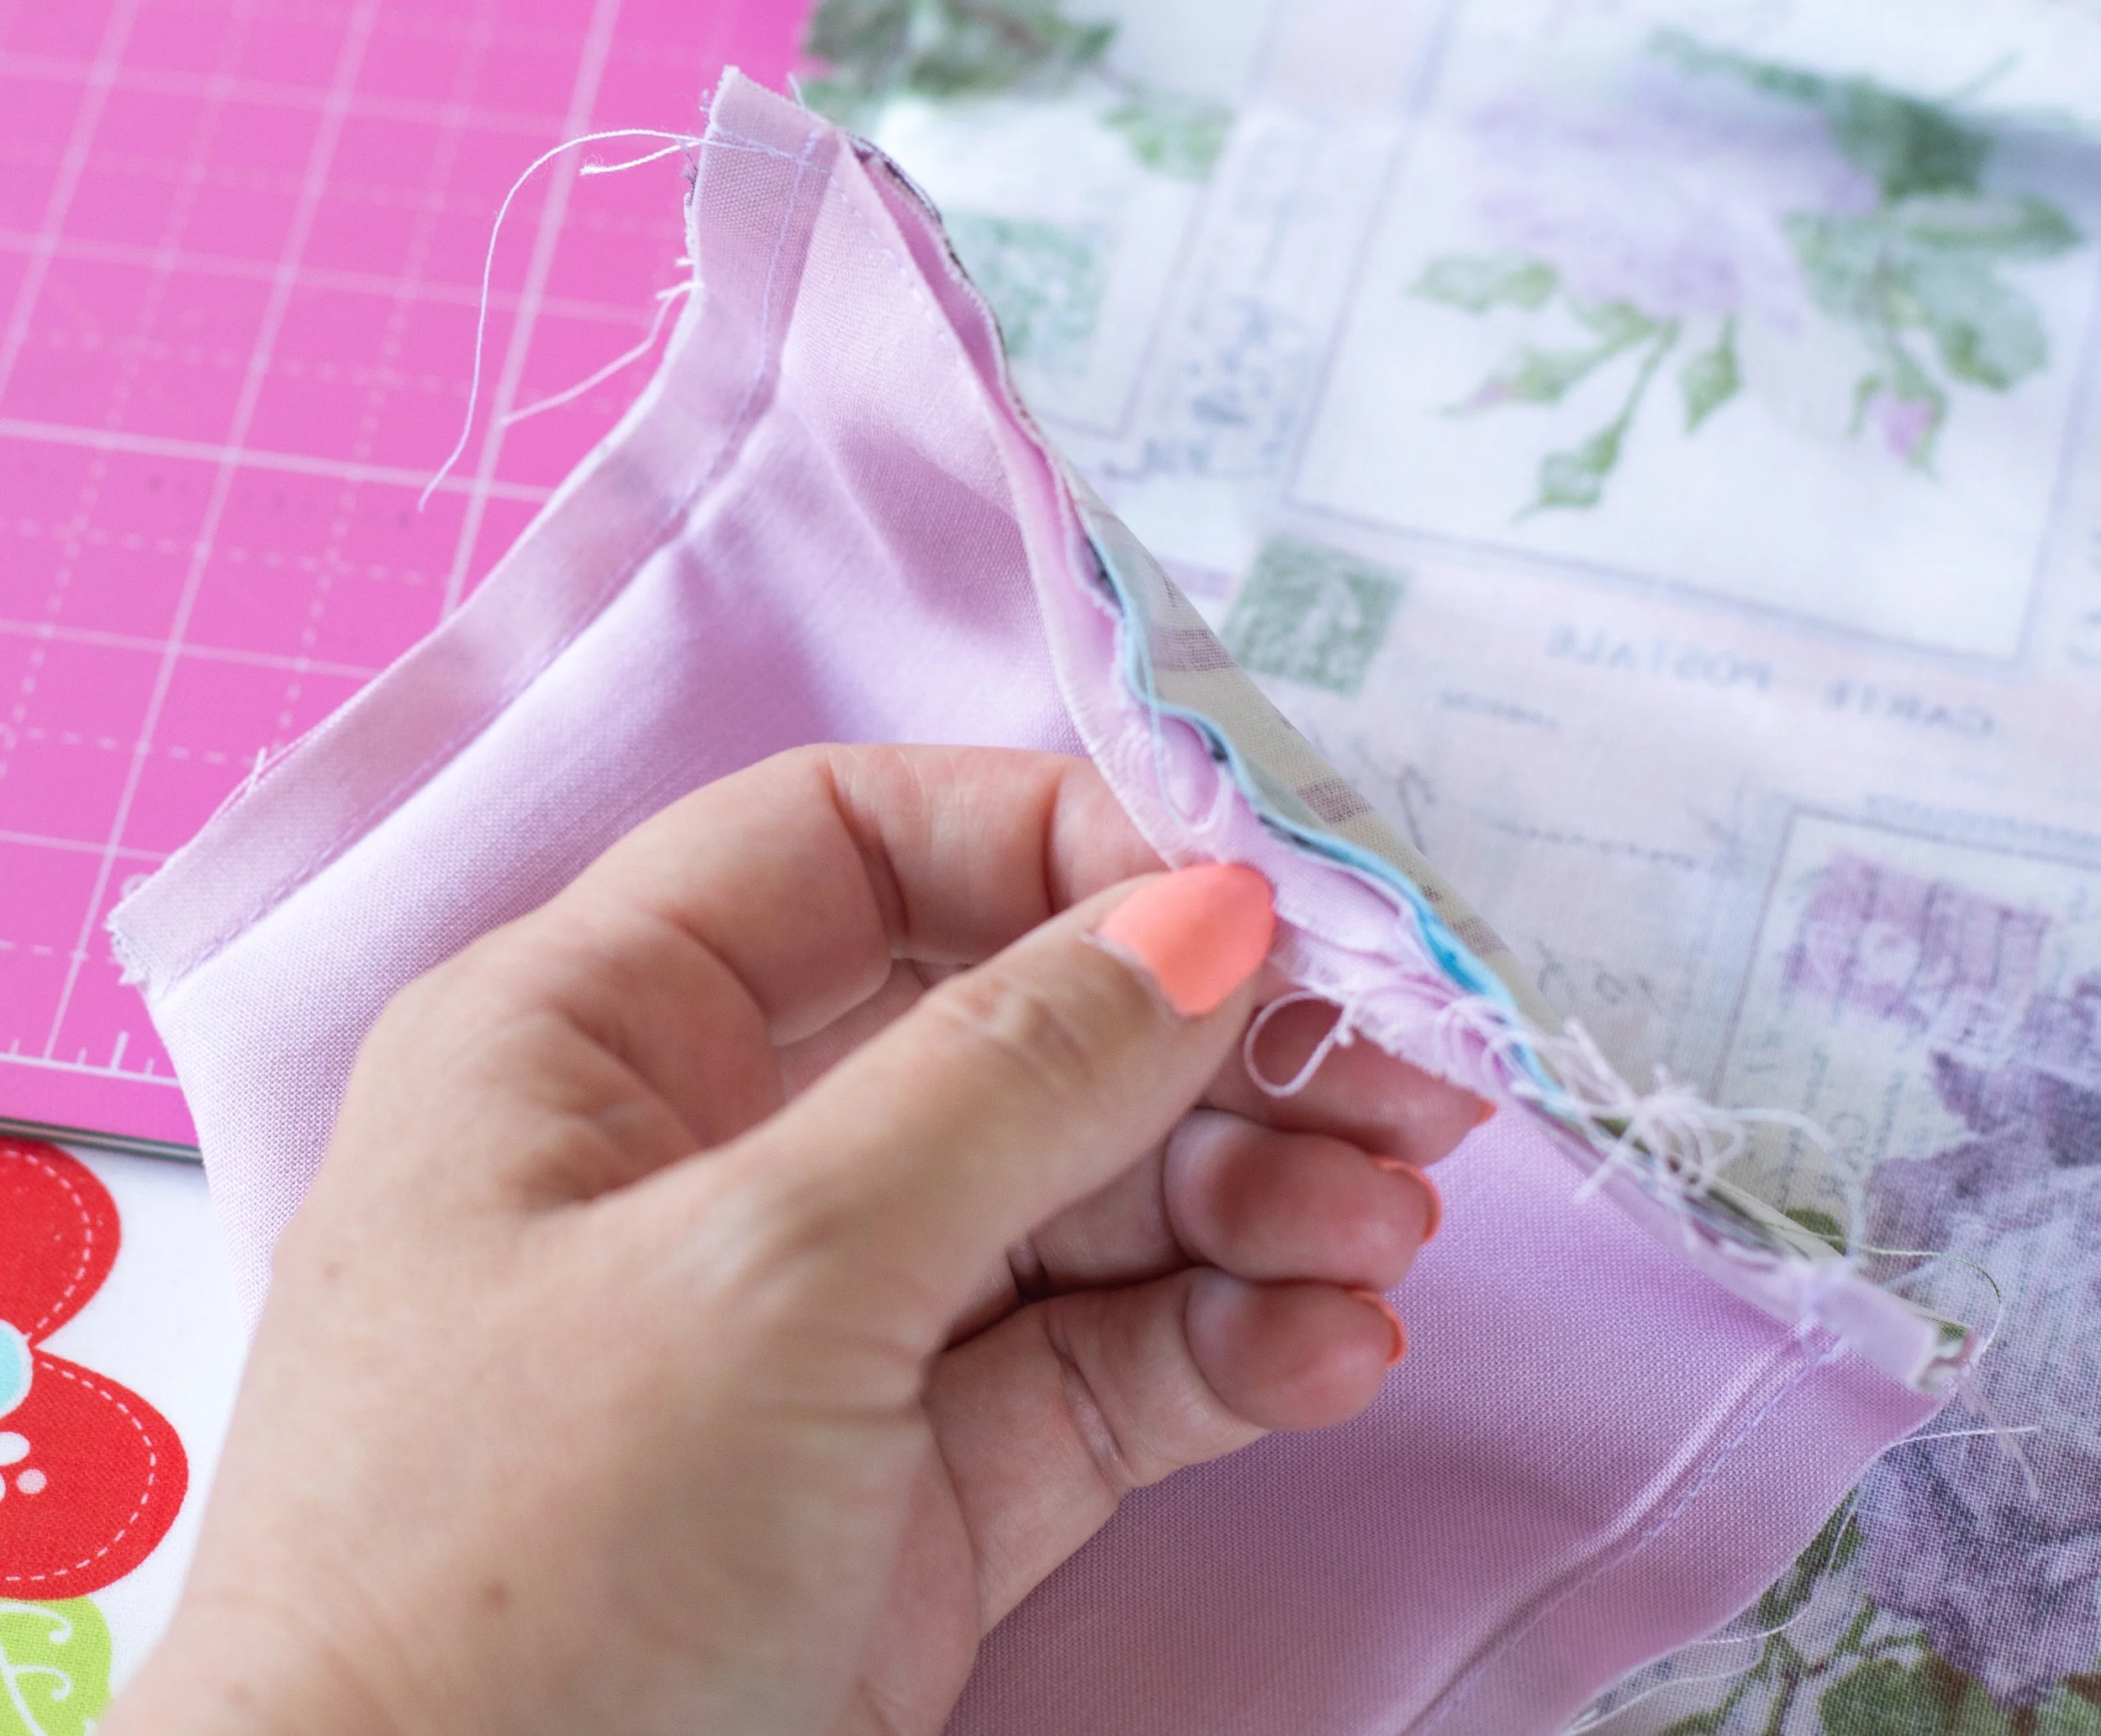
Sew along U curve. Then, around short curved edges.
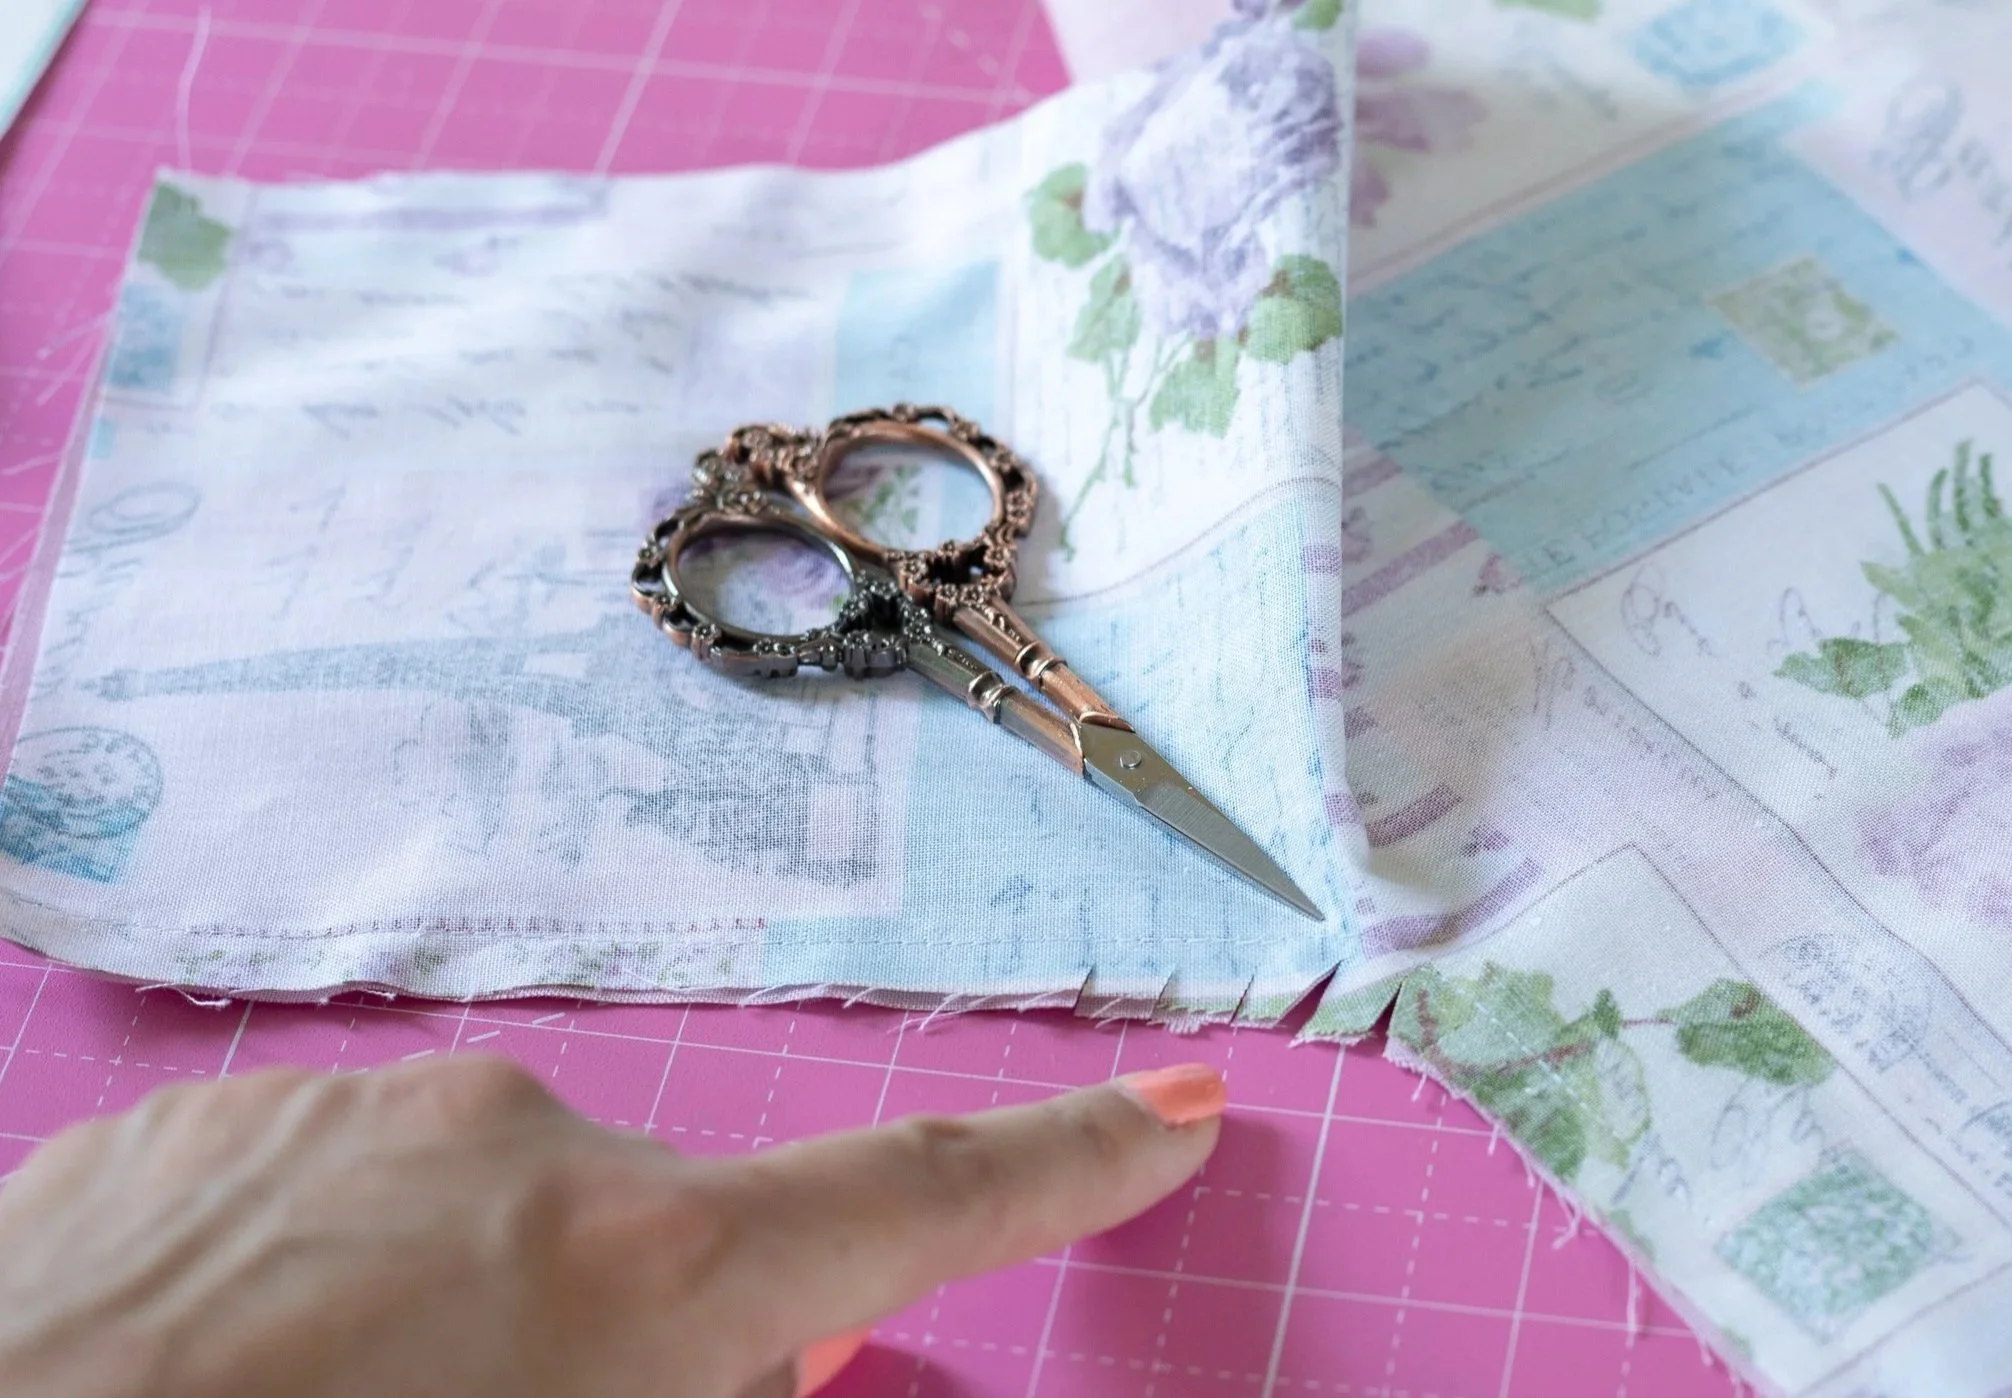
Clip your curves!
This is important and will make your handles look nice and neat.
Be careful not to clip through the stitching.
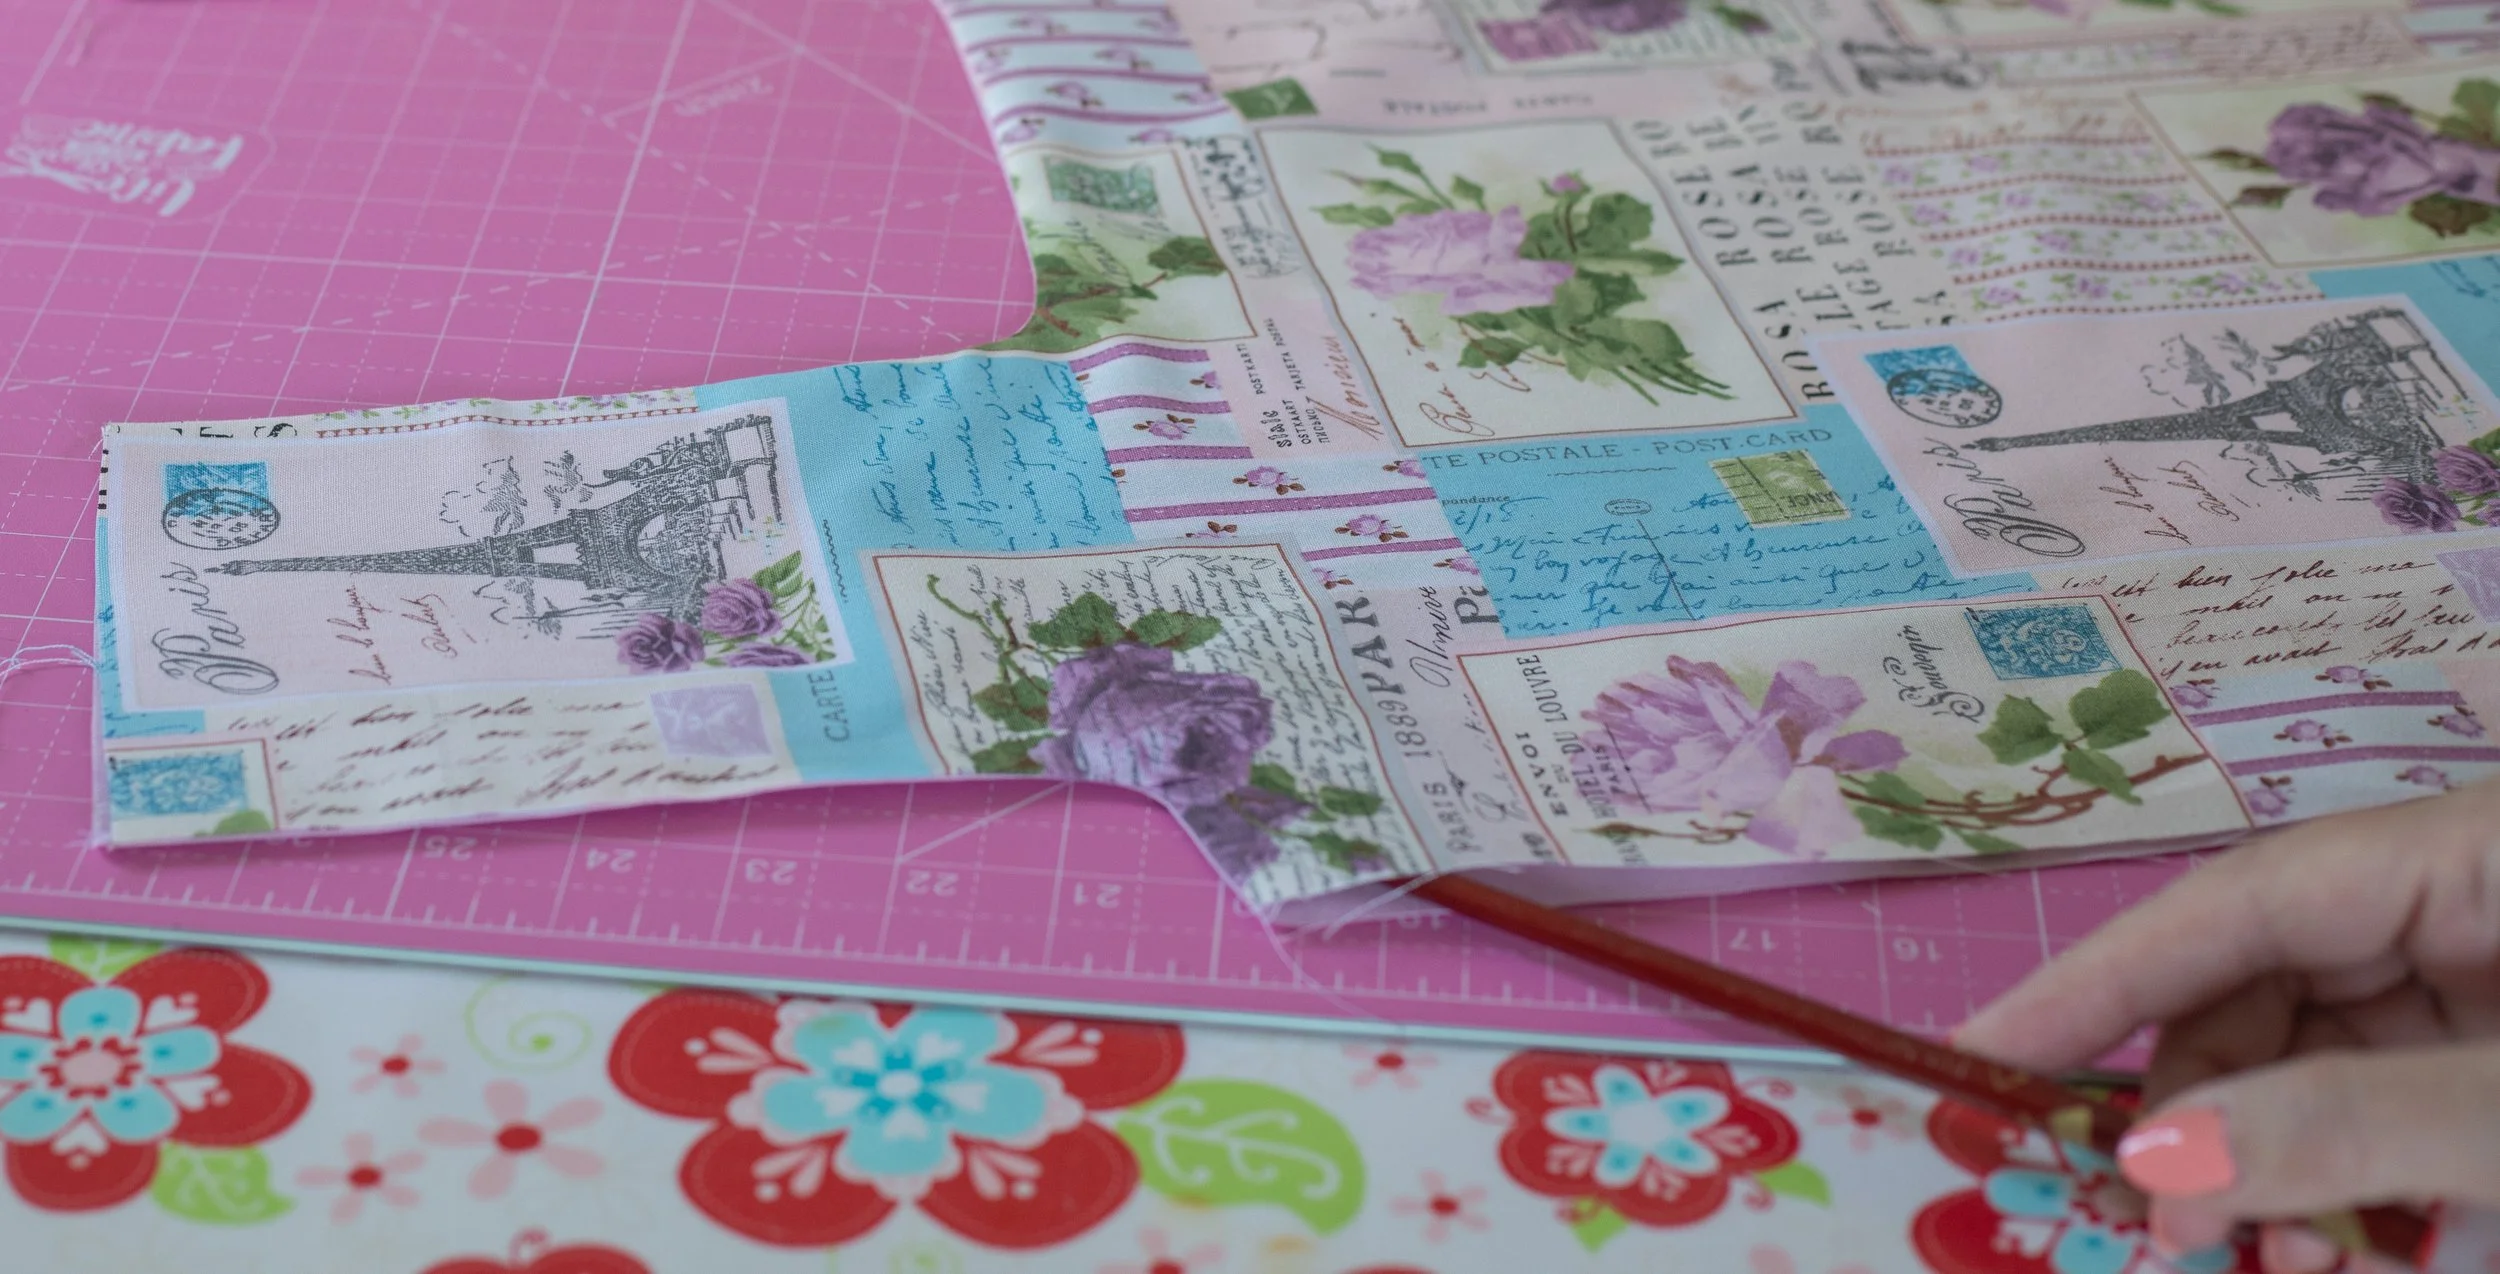
Chopsticks are the best sewing tools. Smooth out the curves.
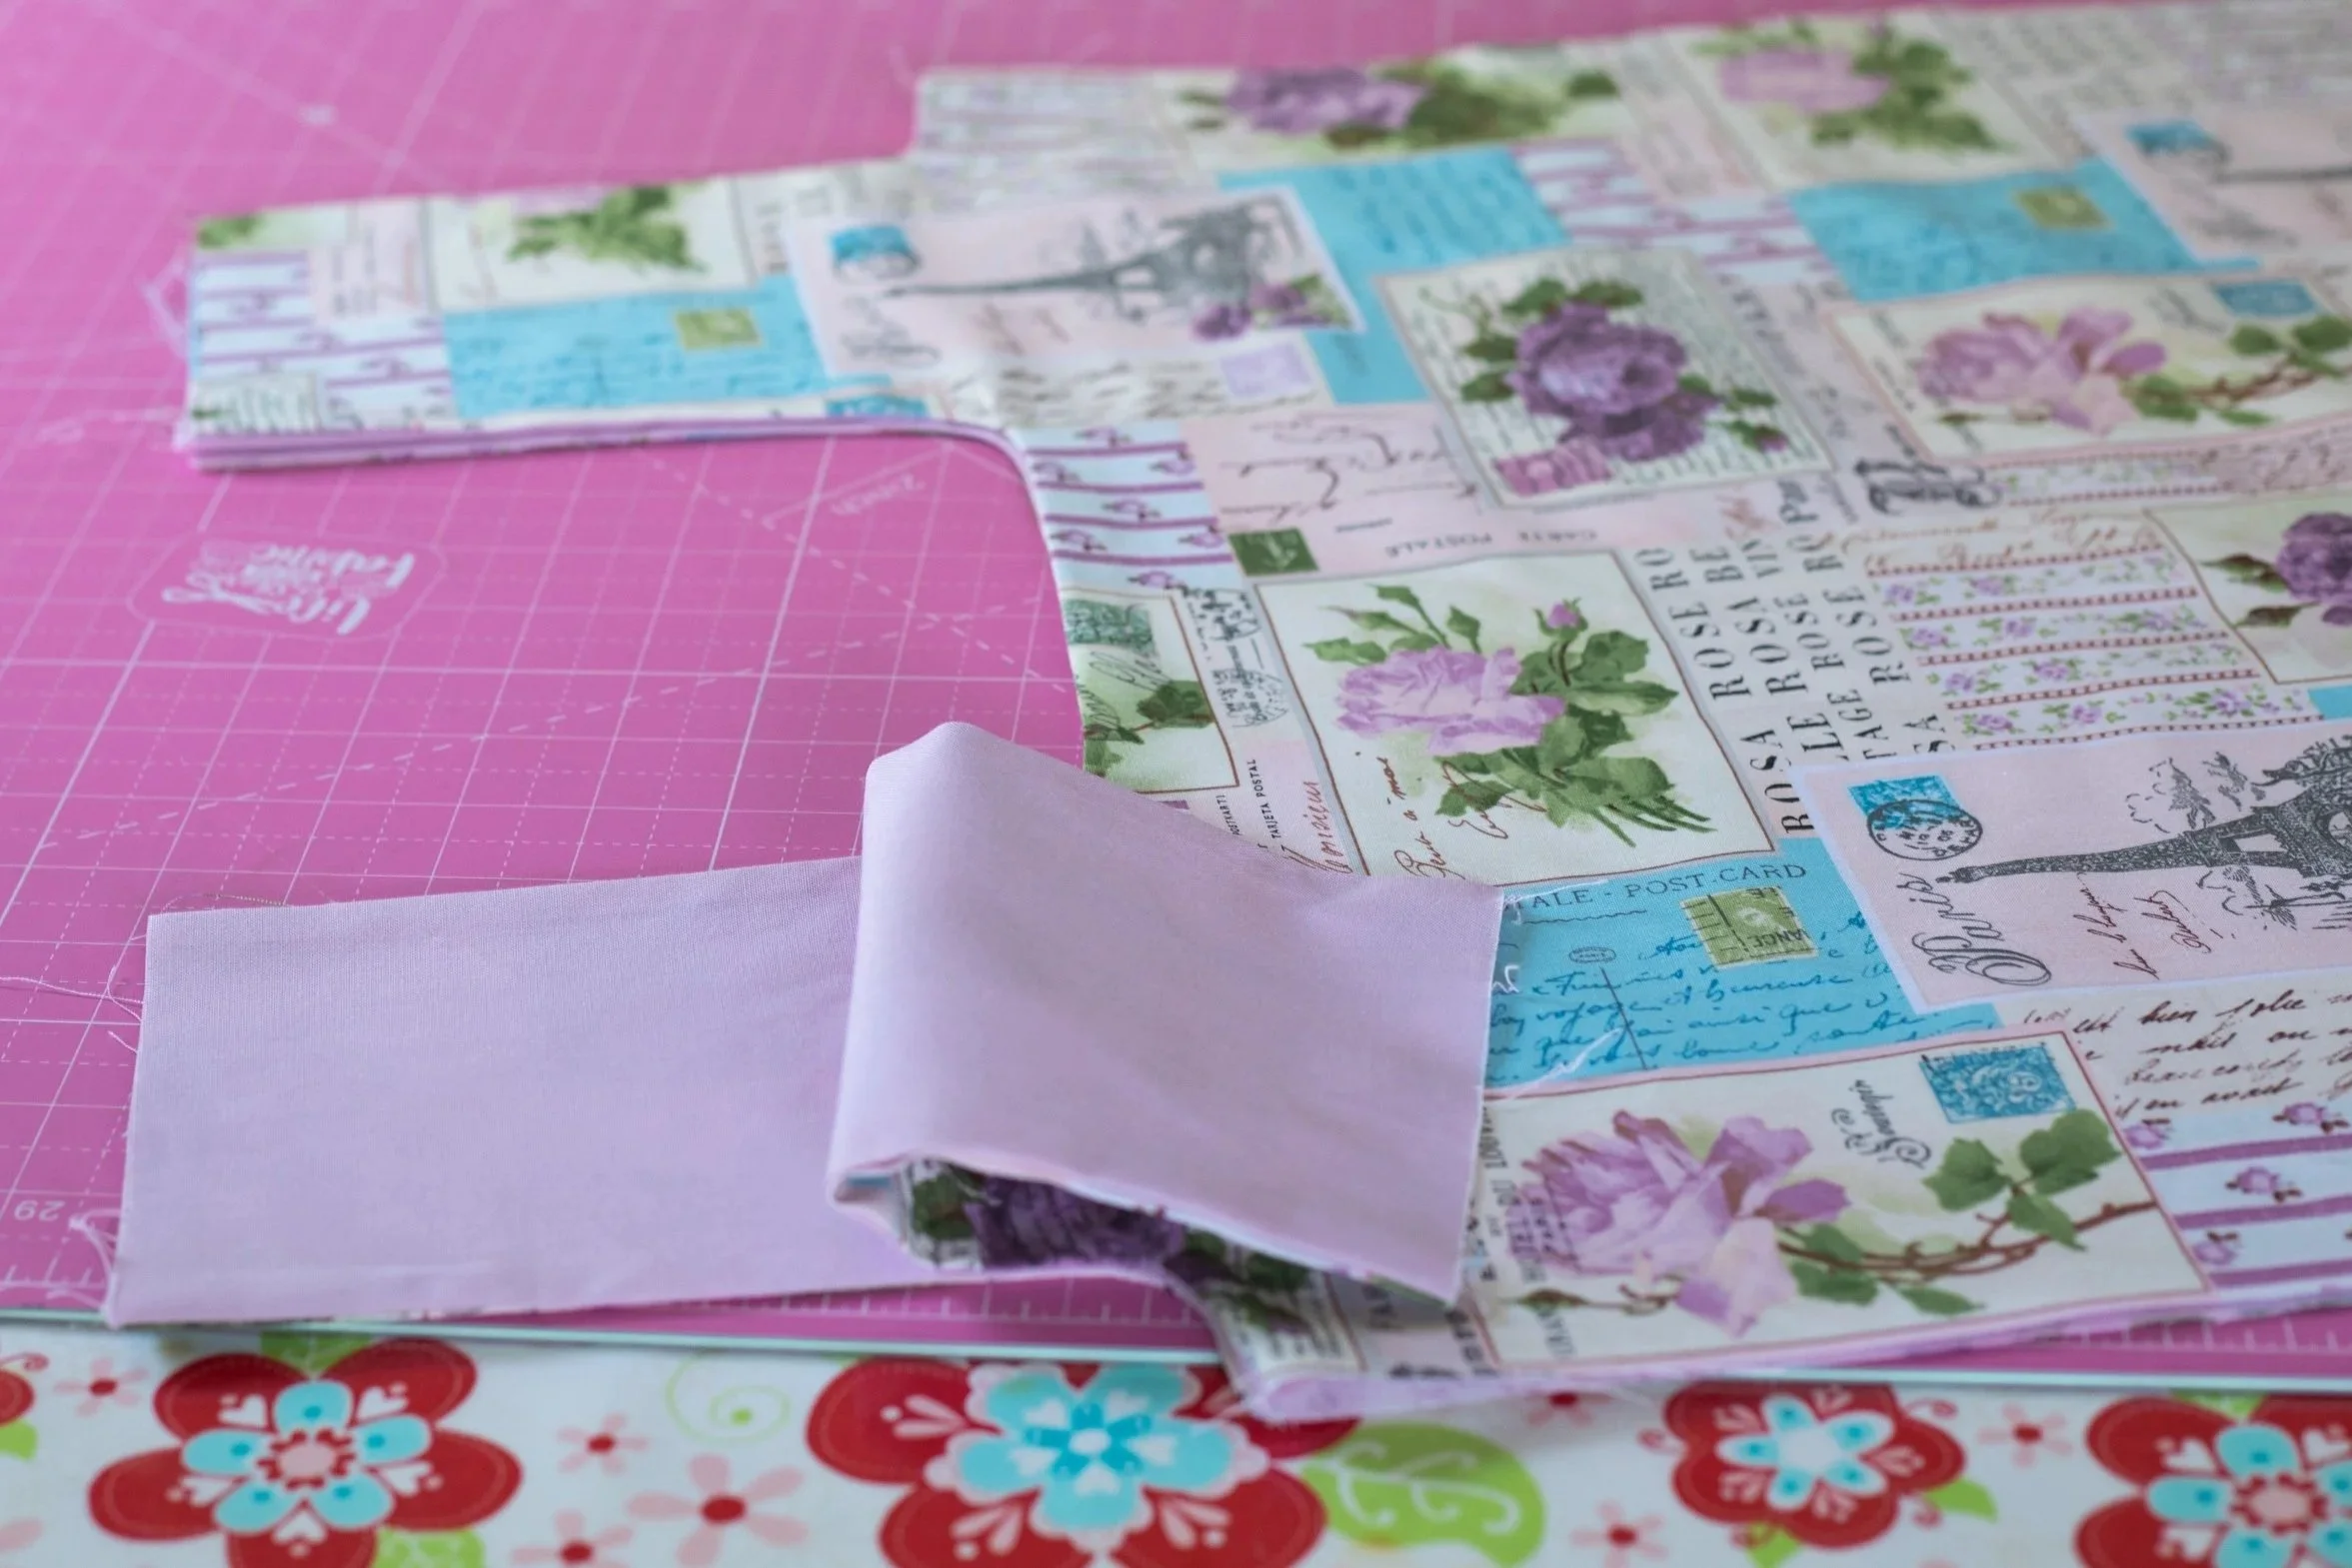
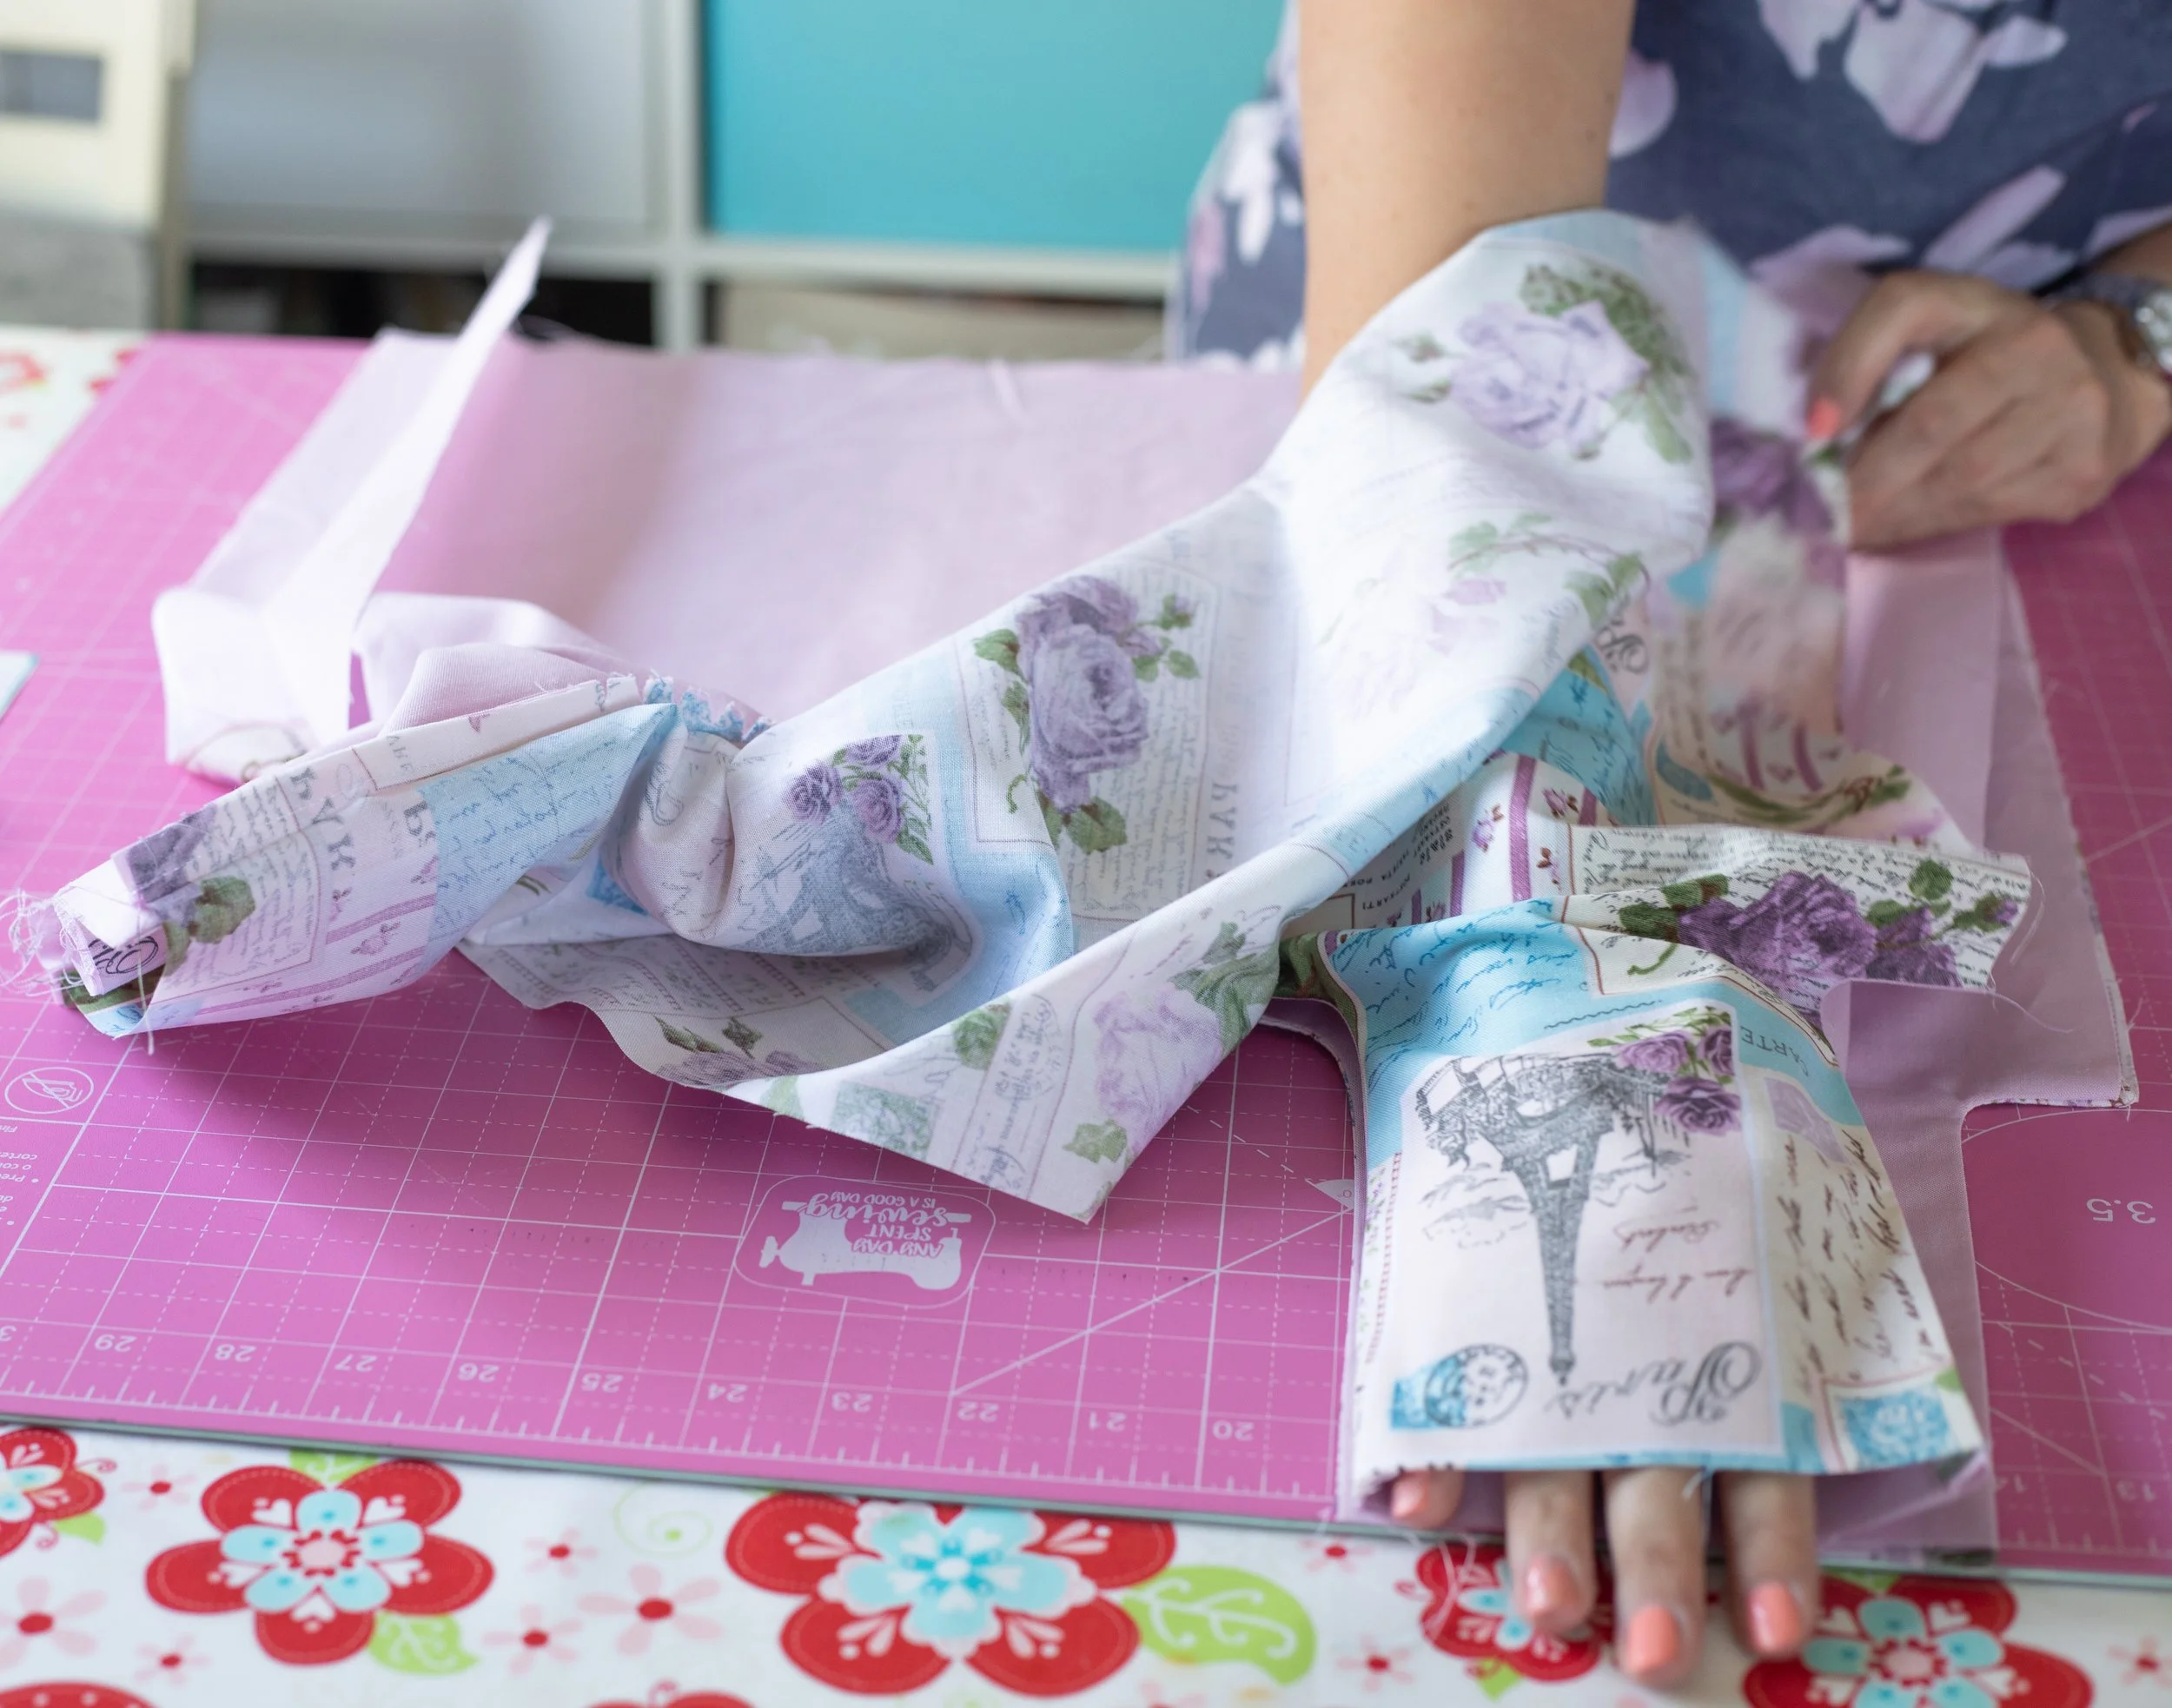
Place front and back together, lining to lining.
Your chopstick is a great tool to use here; use the point to help open up the seam while you press. You want your seams nice and flat.
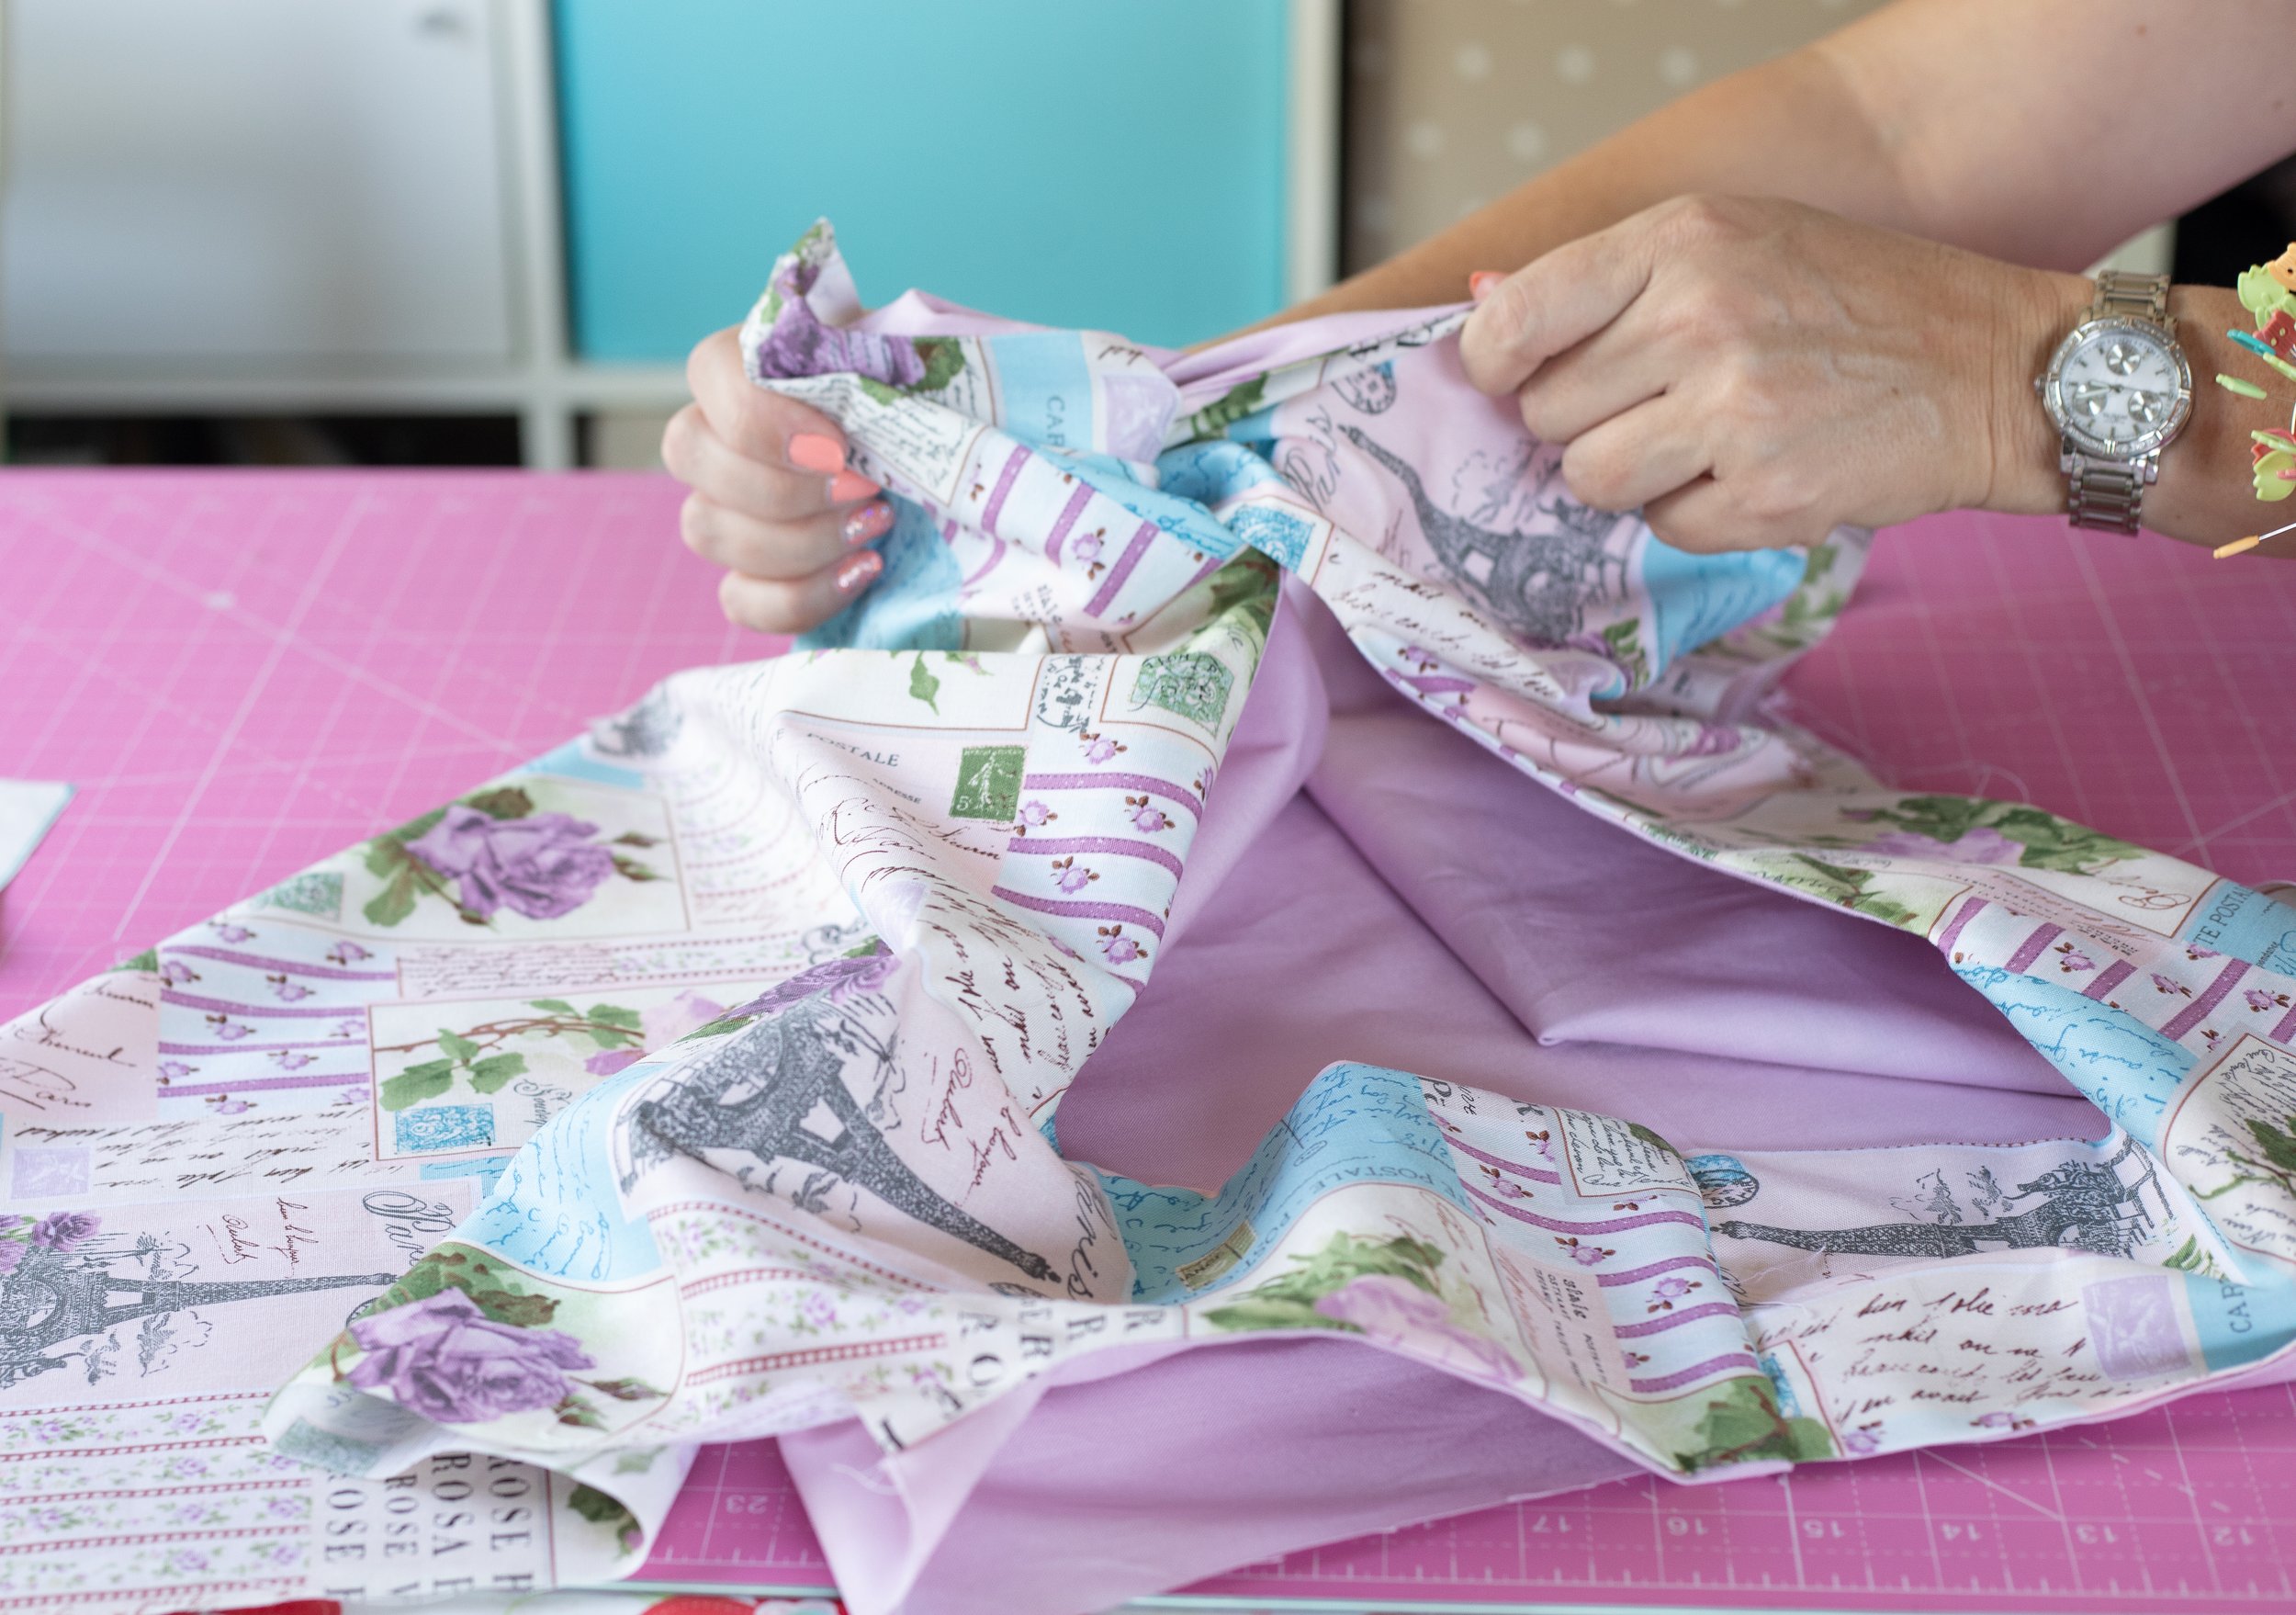
Now is where the MAGIC happens. This is similar to the “burrito method”.
Place the front and the back of the bag together, making sure the linings are touching. Make sure all the layers are even and flat.
Reach into the handle and grab the bottom 3 layers, and pull through the handle hole. It will be inside out now. Repeat for the next handle.
Flatten and smooth everything out. You should see all four layers of your handle.

**If the handles aren’t as flat and smooth as you’d like, you have a few options.
Option 1: Unpick the side seam and increase/decrease the seam allowance to make the handles nest nicely. Resew those few stitches.
Option 2: Fold a tiny pleat on the lining side.
Option: Pull slightly as you sew over the top of the handles—this is my method.
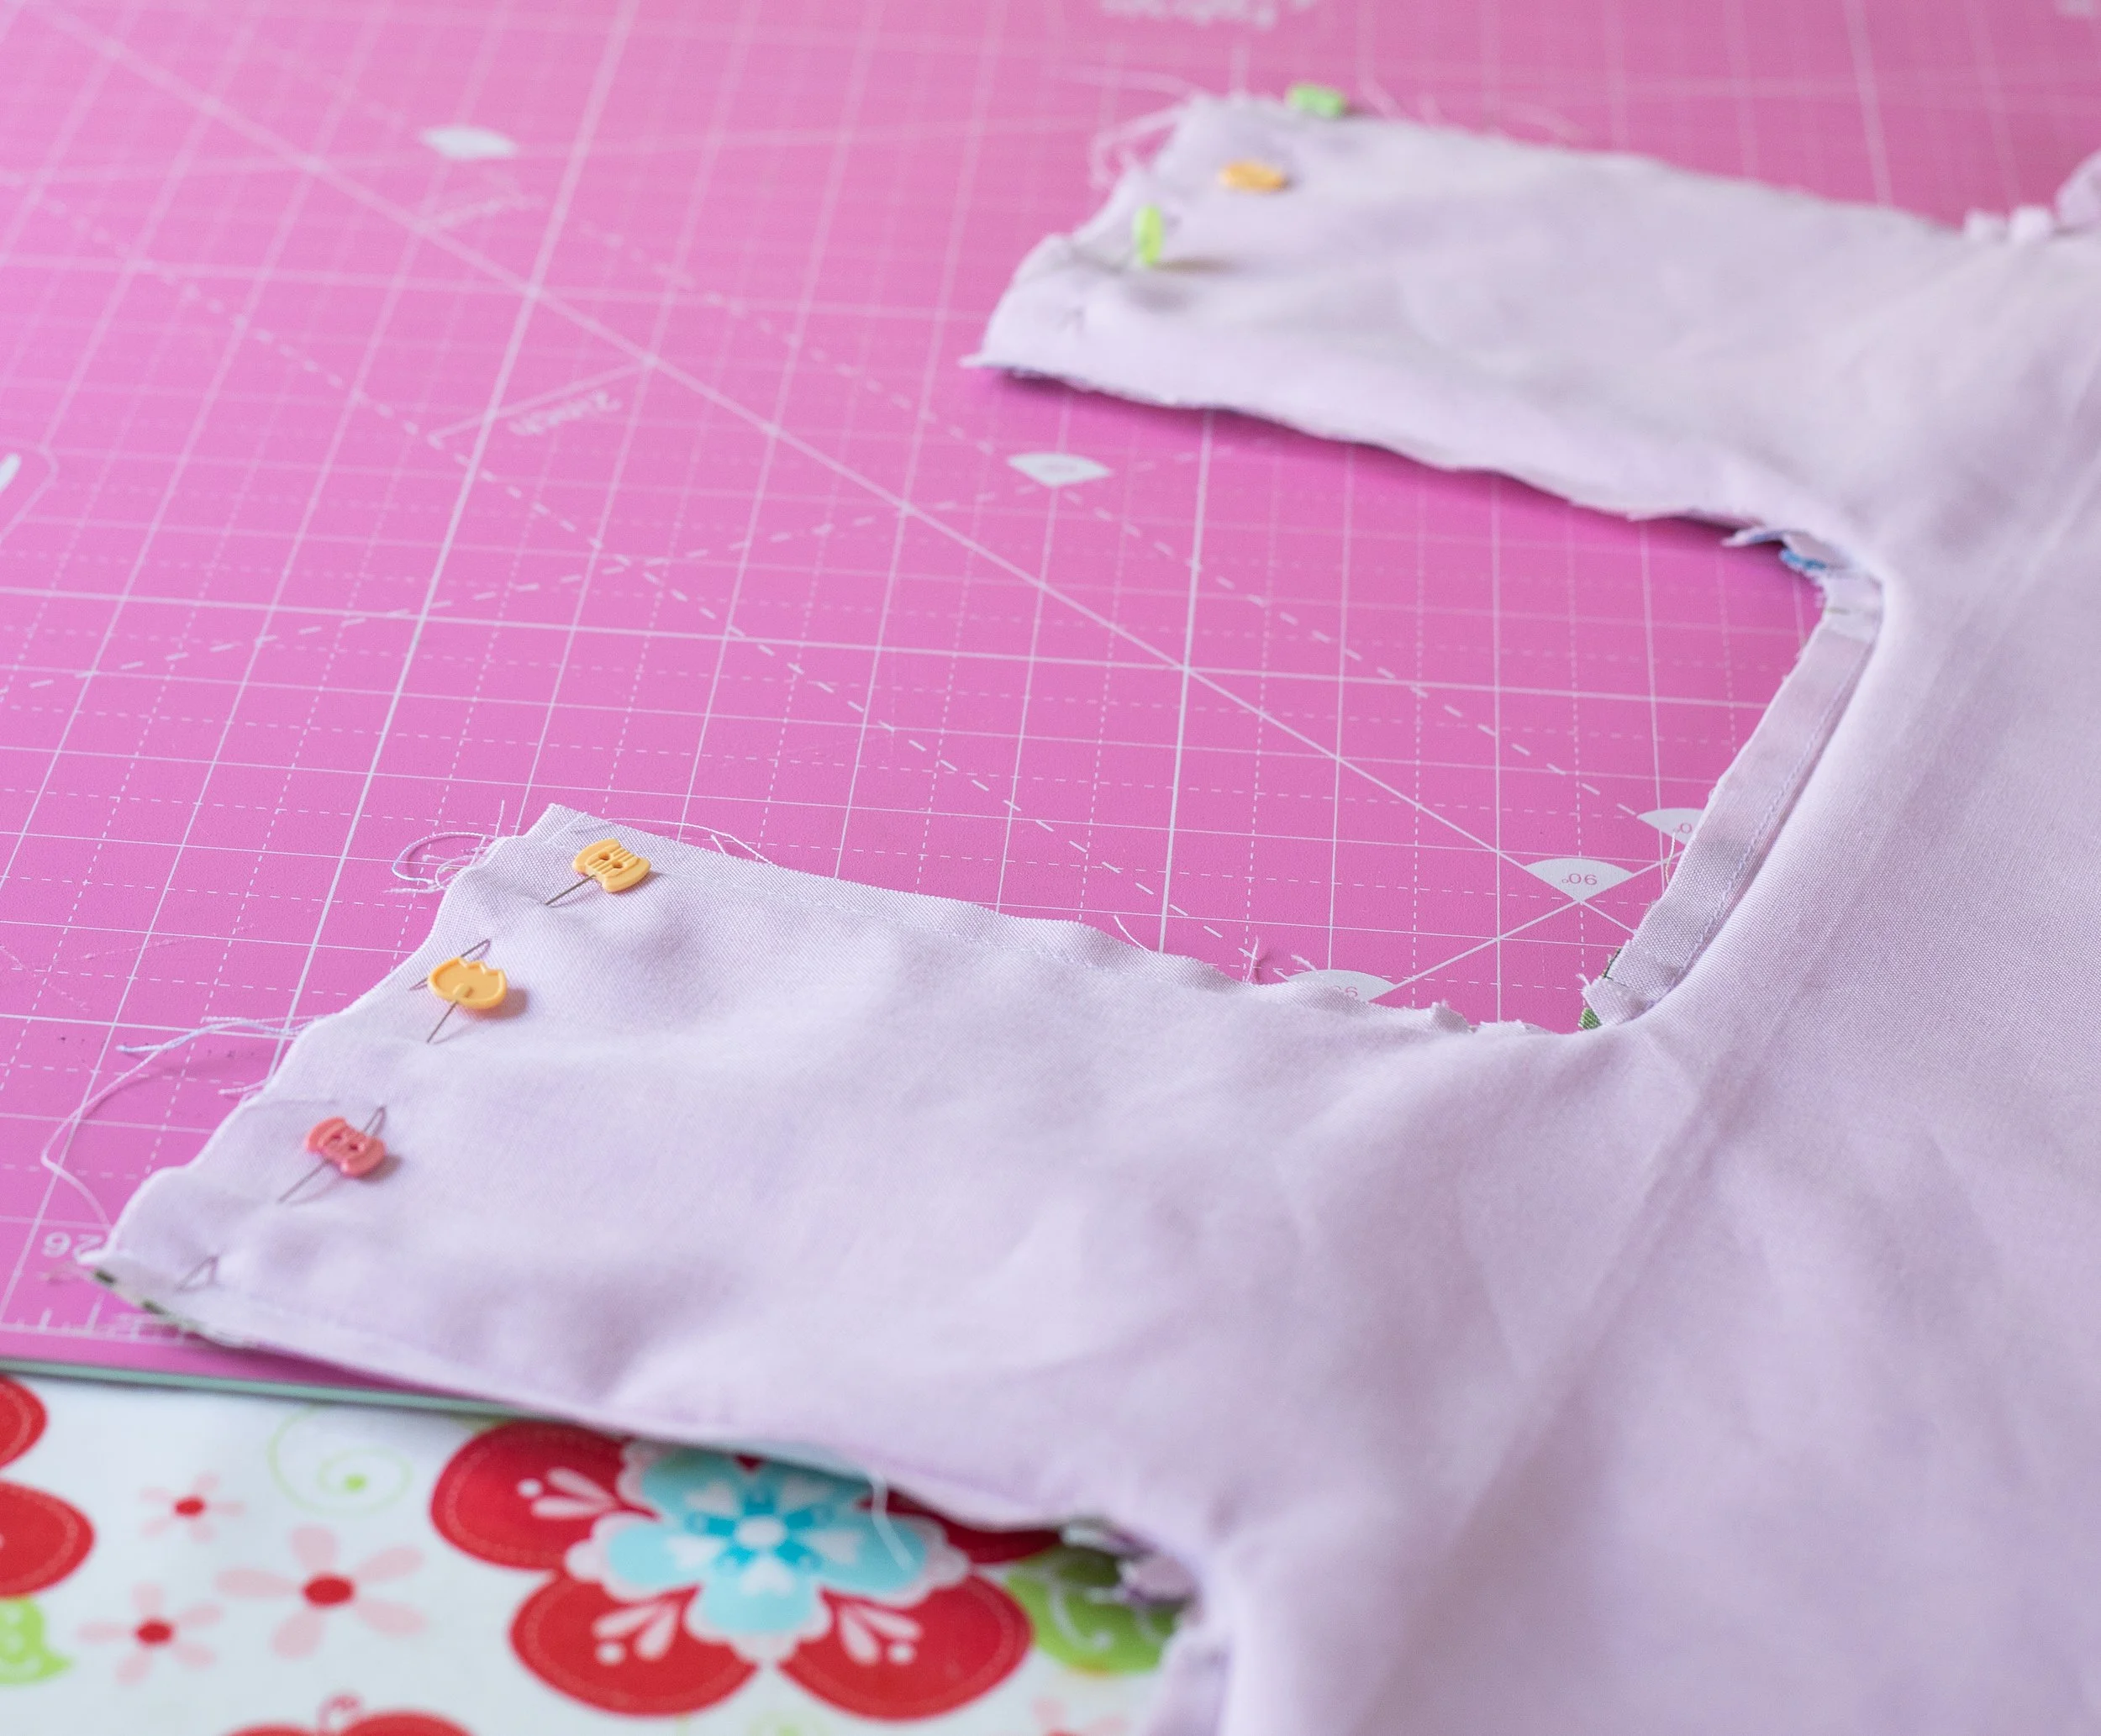
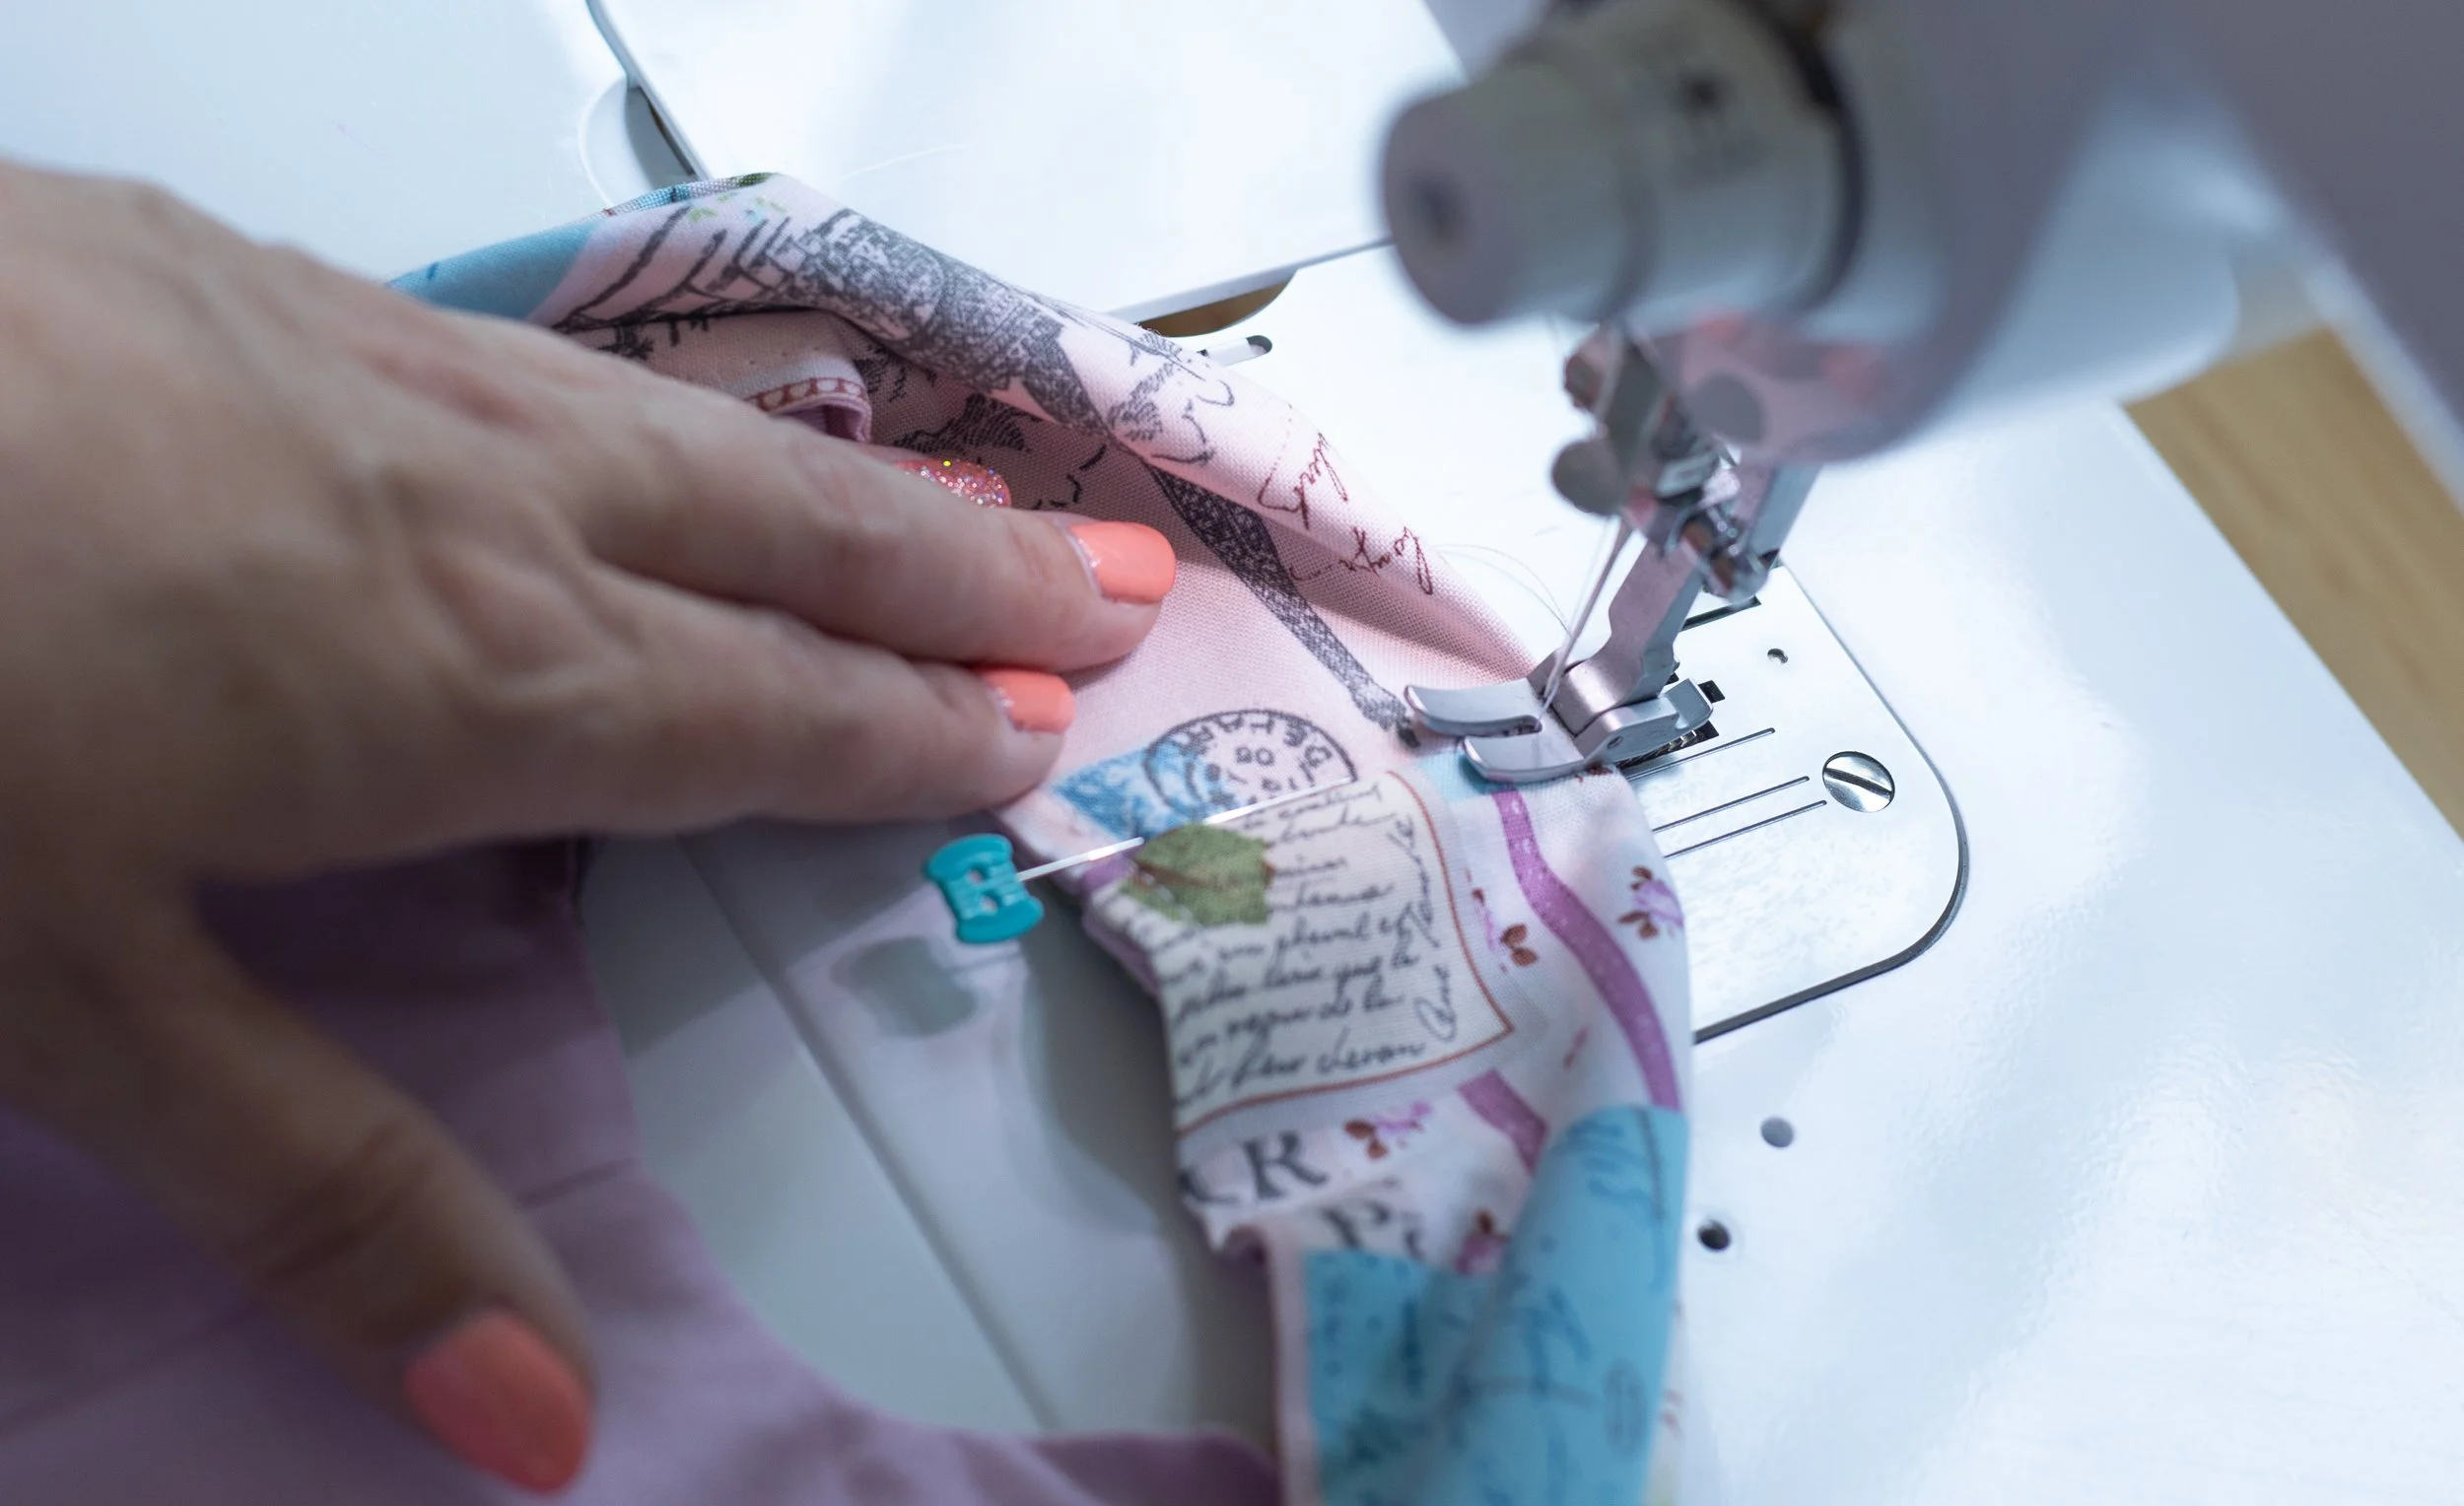
Pin tops of handles and sew.
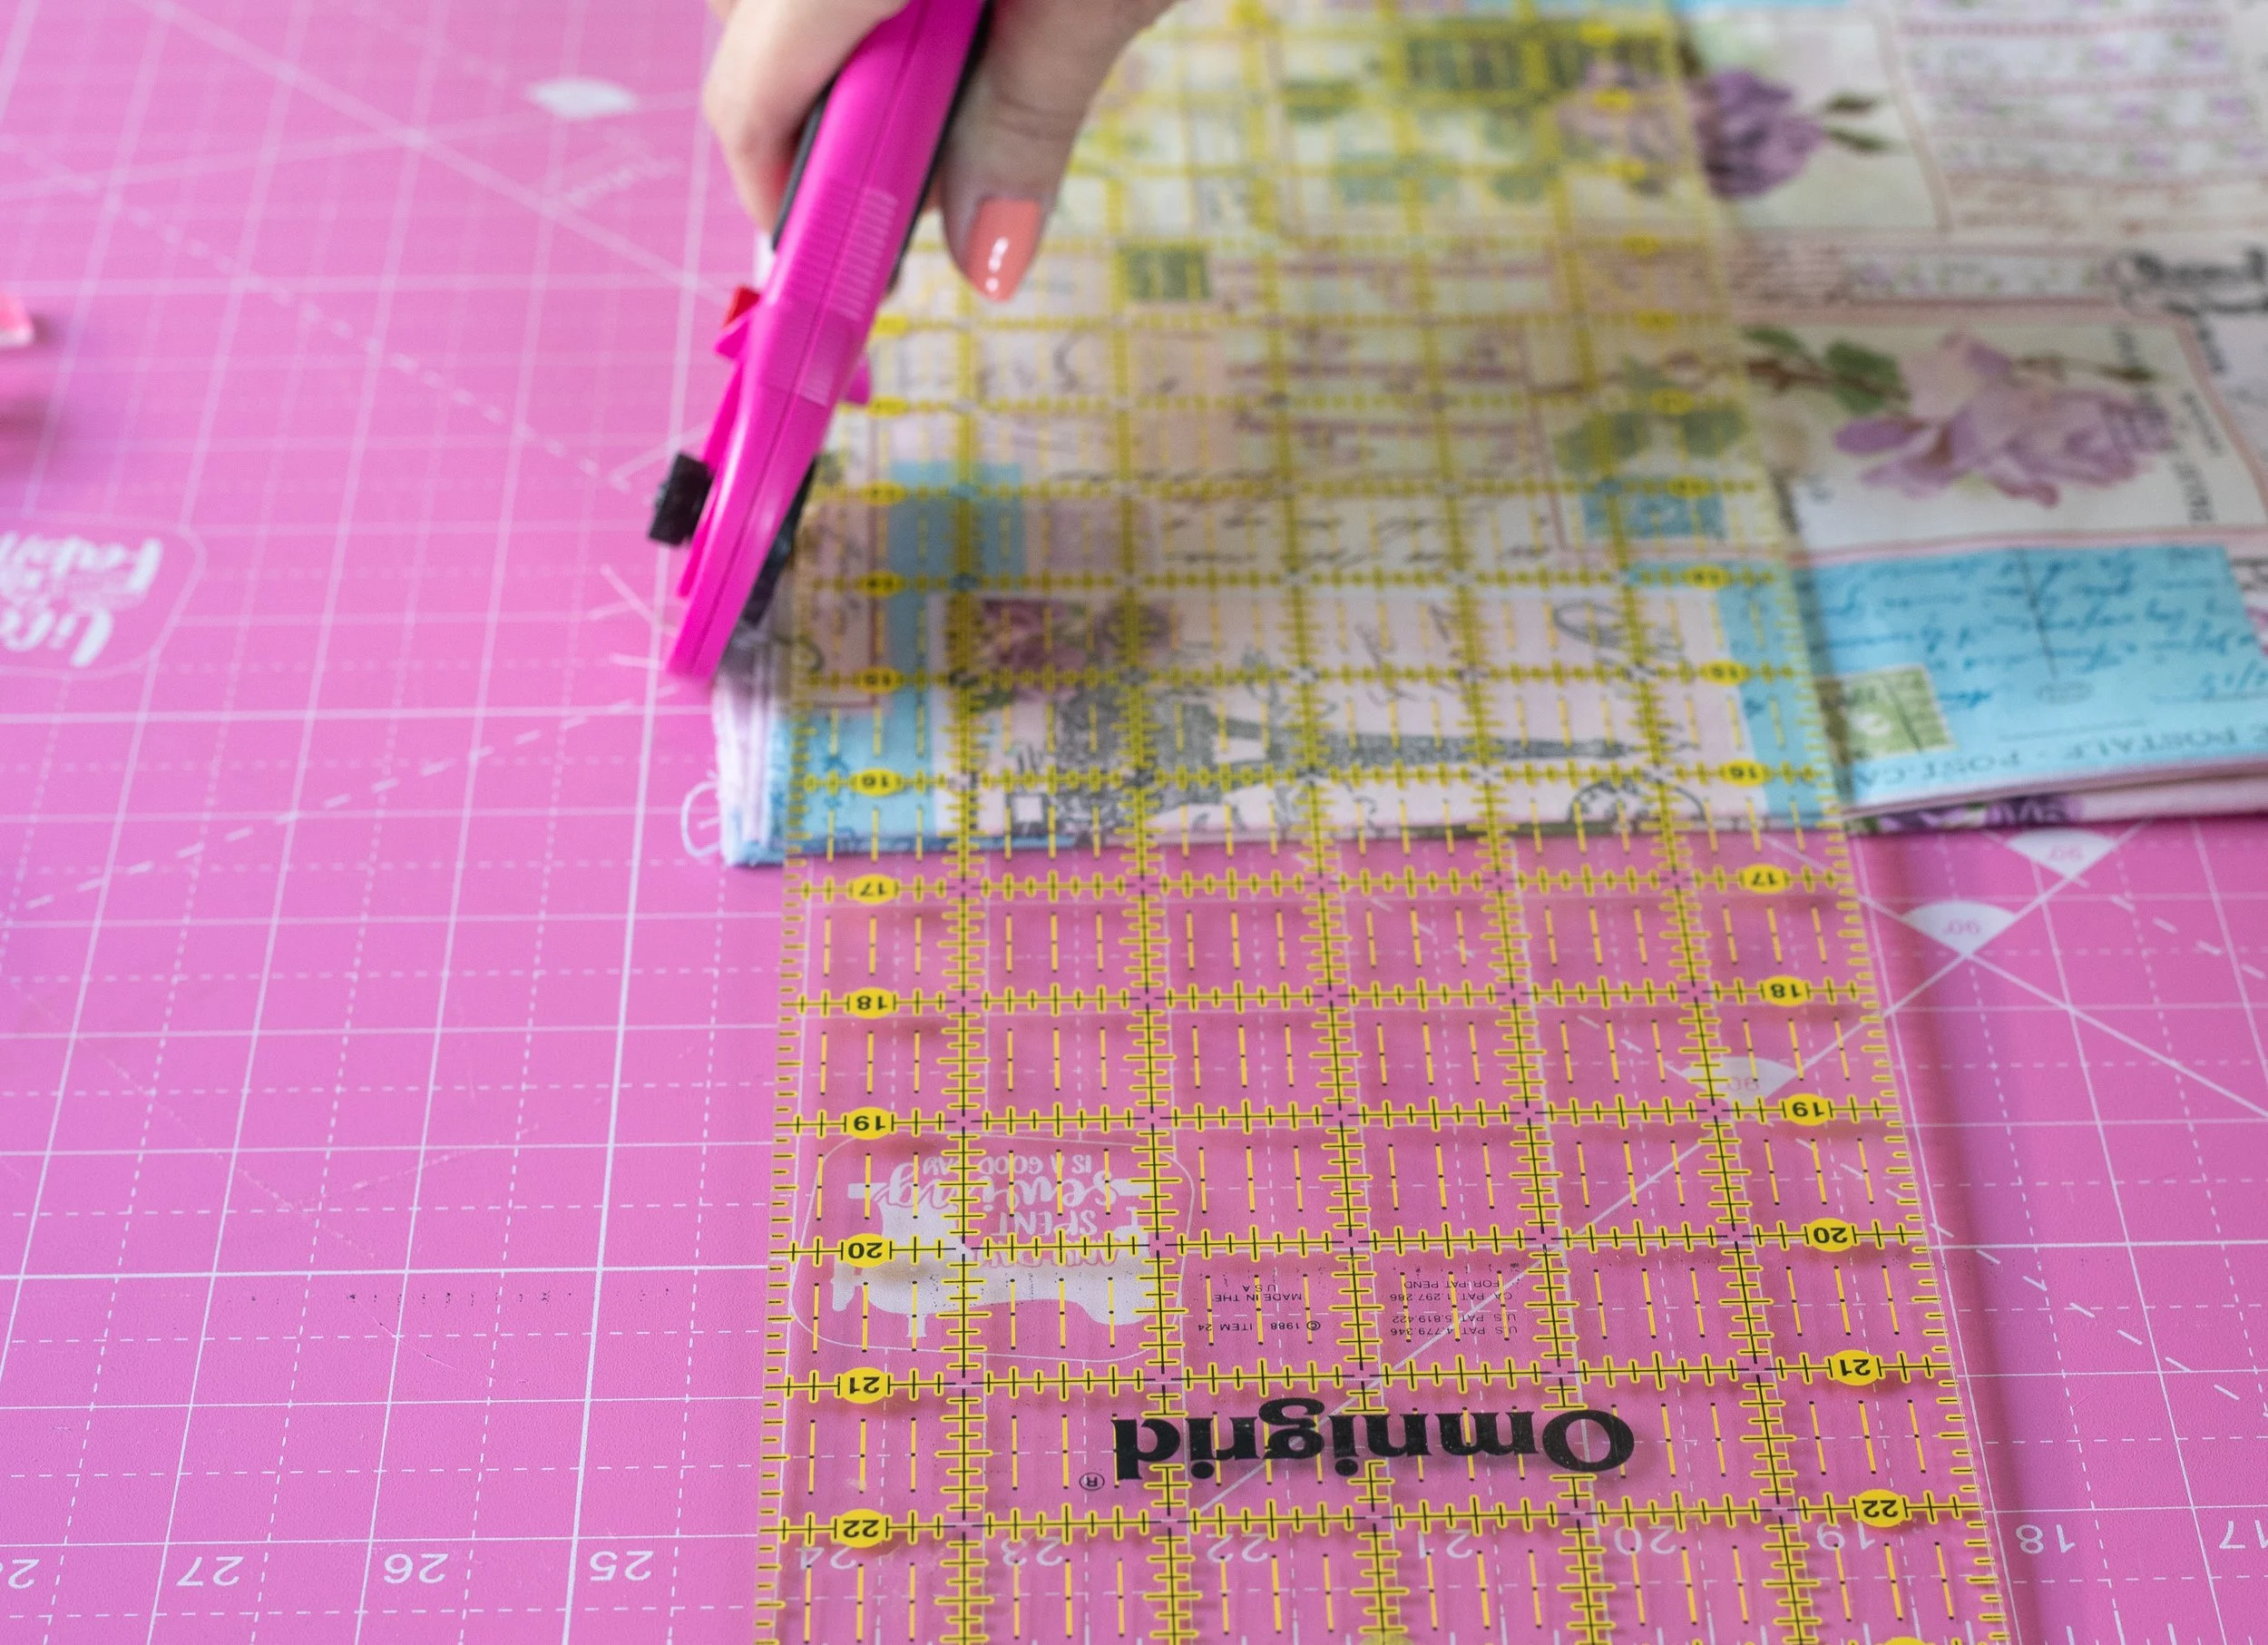
Pin the top handle layers together. Make sure all 4 layers are even. If they are uneven, trim a little off the top using a ruler and rotary cutter.
Sew from one edge the the next, across the top. Backstitch at the beginning and end.
Handle Layers
Make sure all four layers are sewn and showing. If you need to, run another row of stitches to catch each layer.
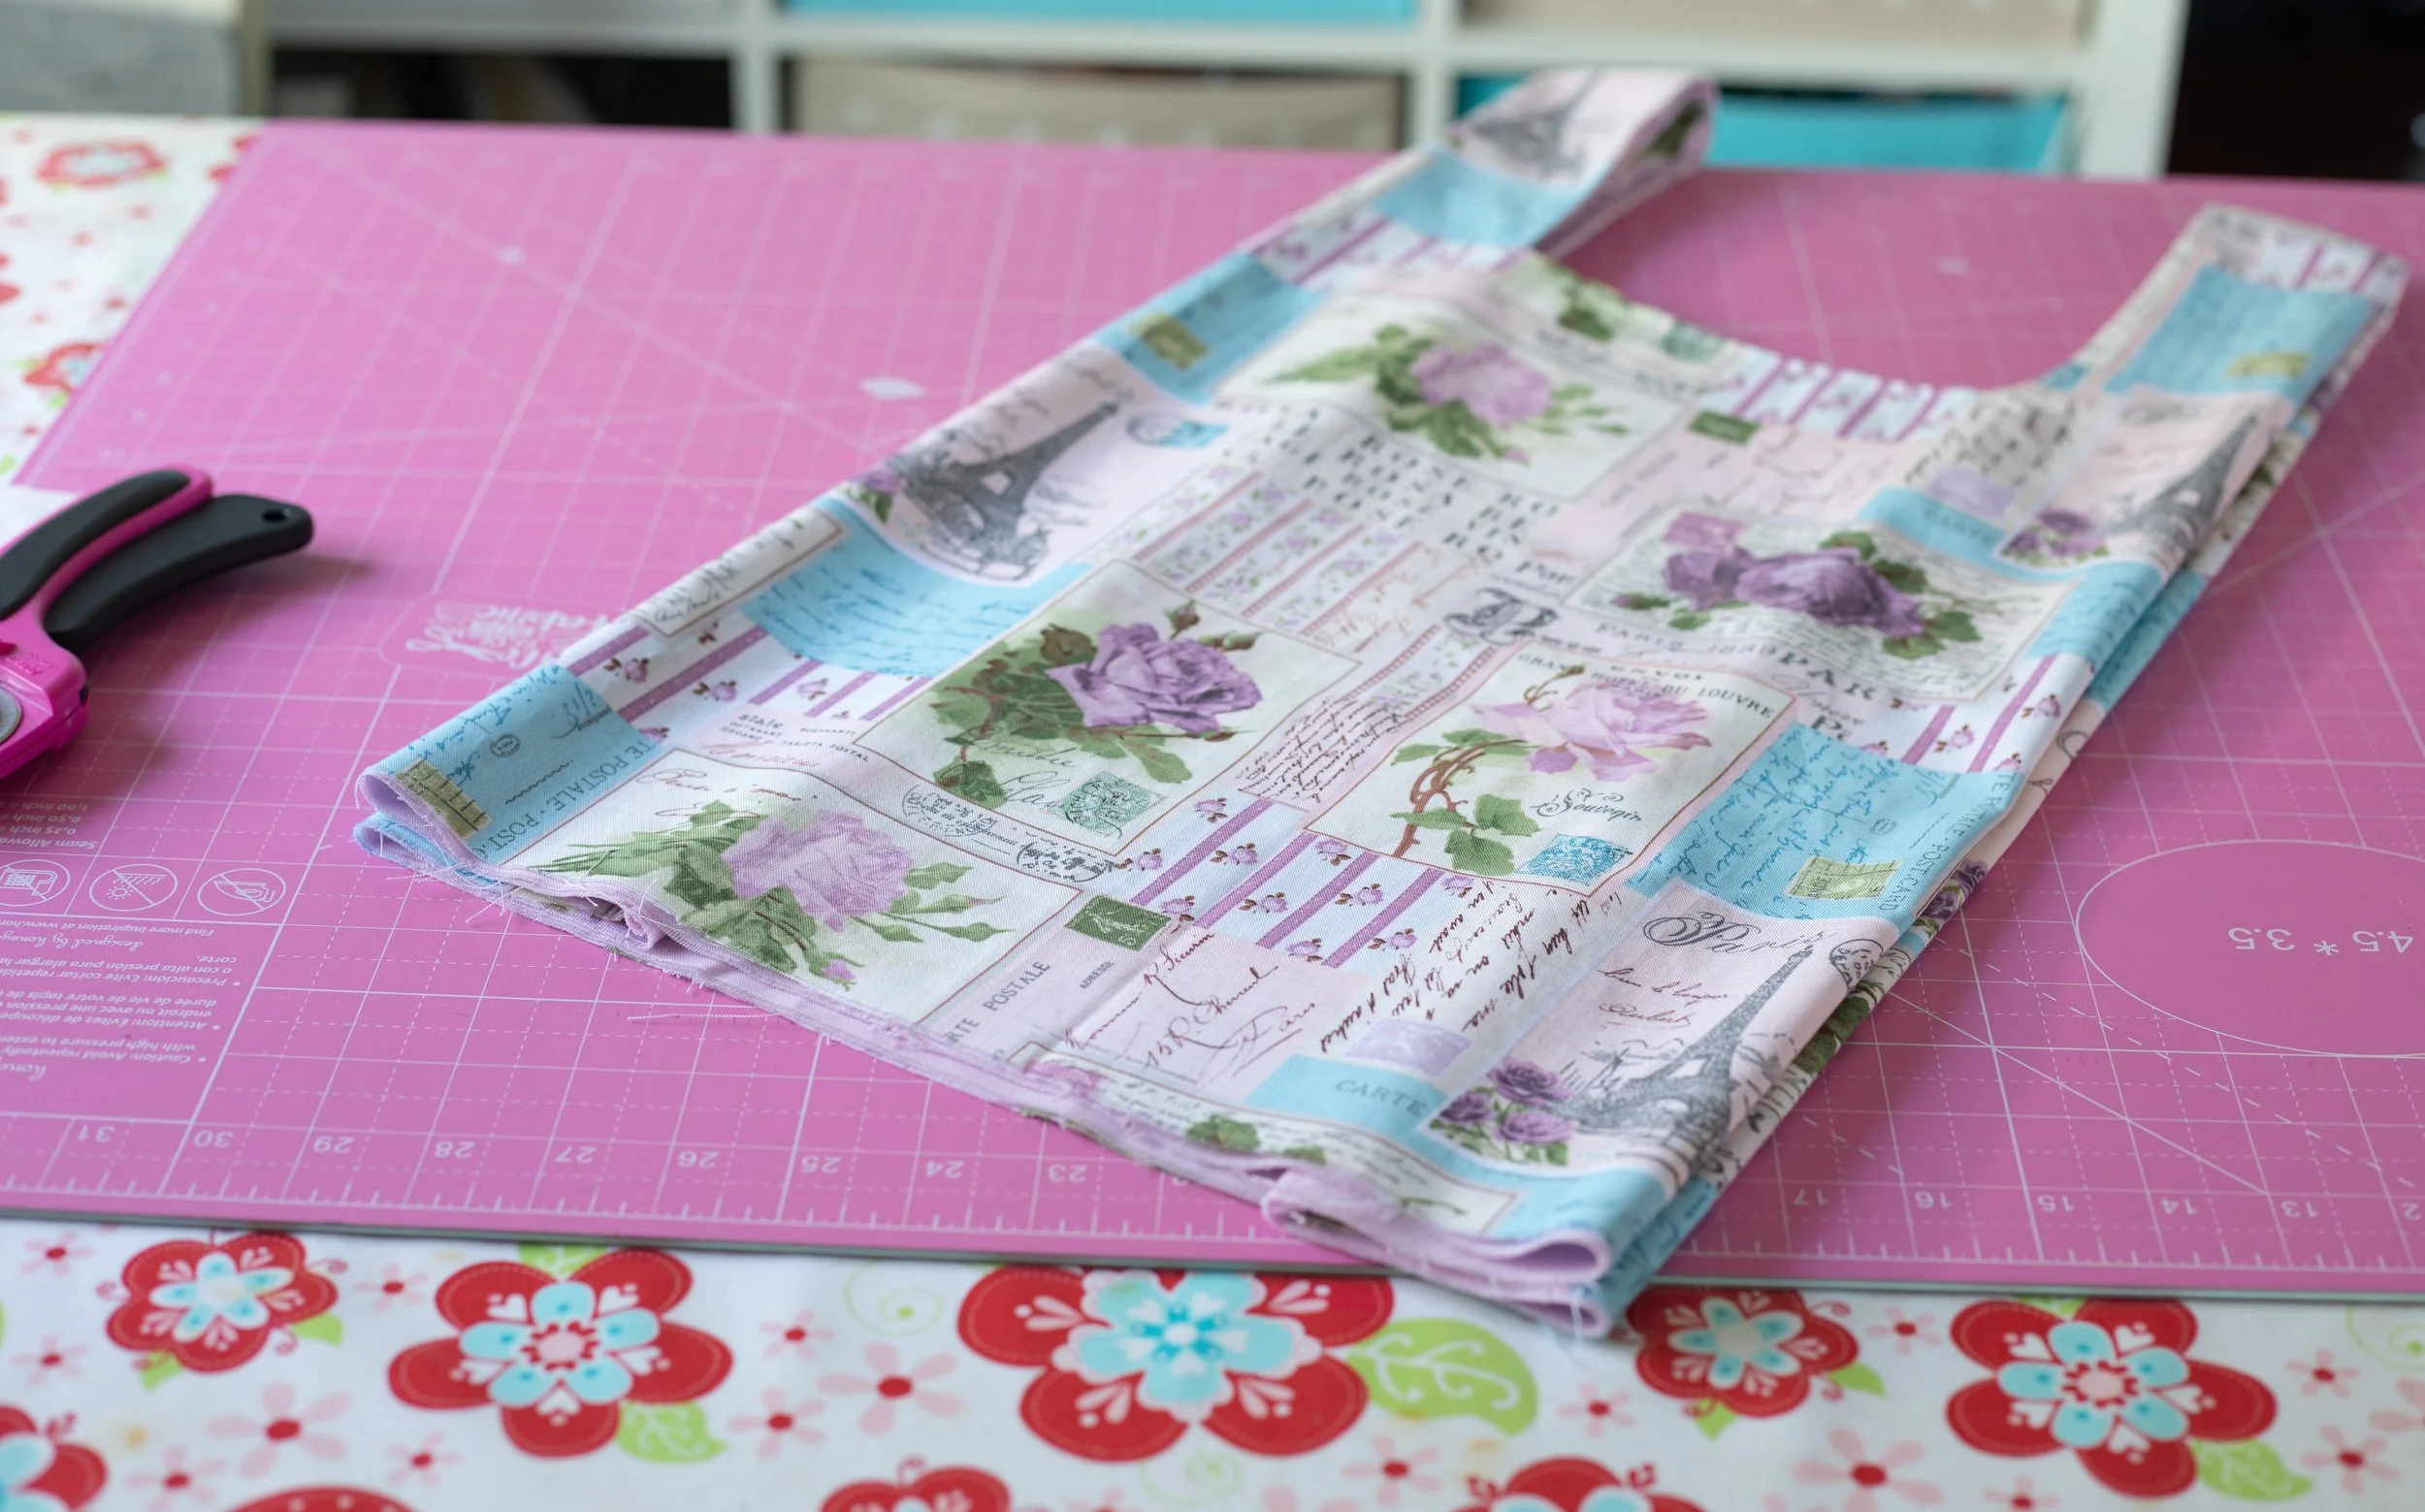
Pull the fabric right side out. This is the most rewarding part. It’s fun, magical, and full of wonder!
Pull the bag out carefully.
Top Stitch around the hole.
After the bag is pulled out, smooth everything out, press seams flat, then top stitch around the opening.
Use a longer stitch length for topstitching, 3.0-3.5mm. It looks nicer.
Top stitch around the opening.
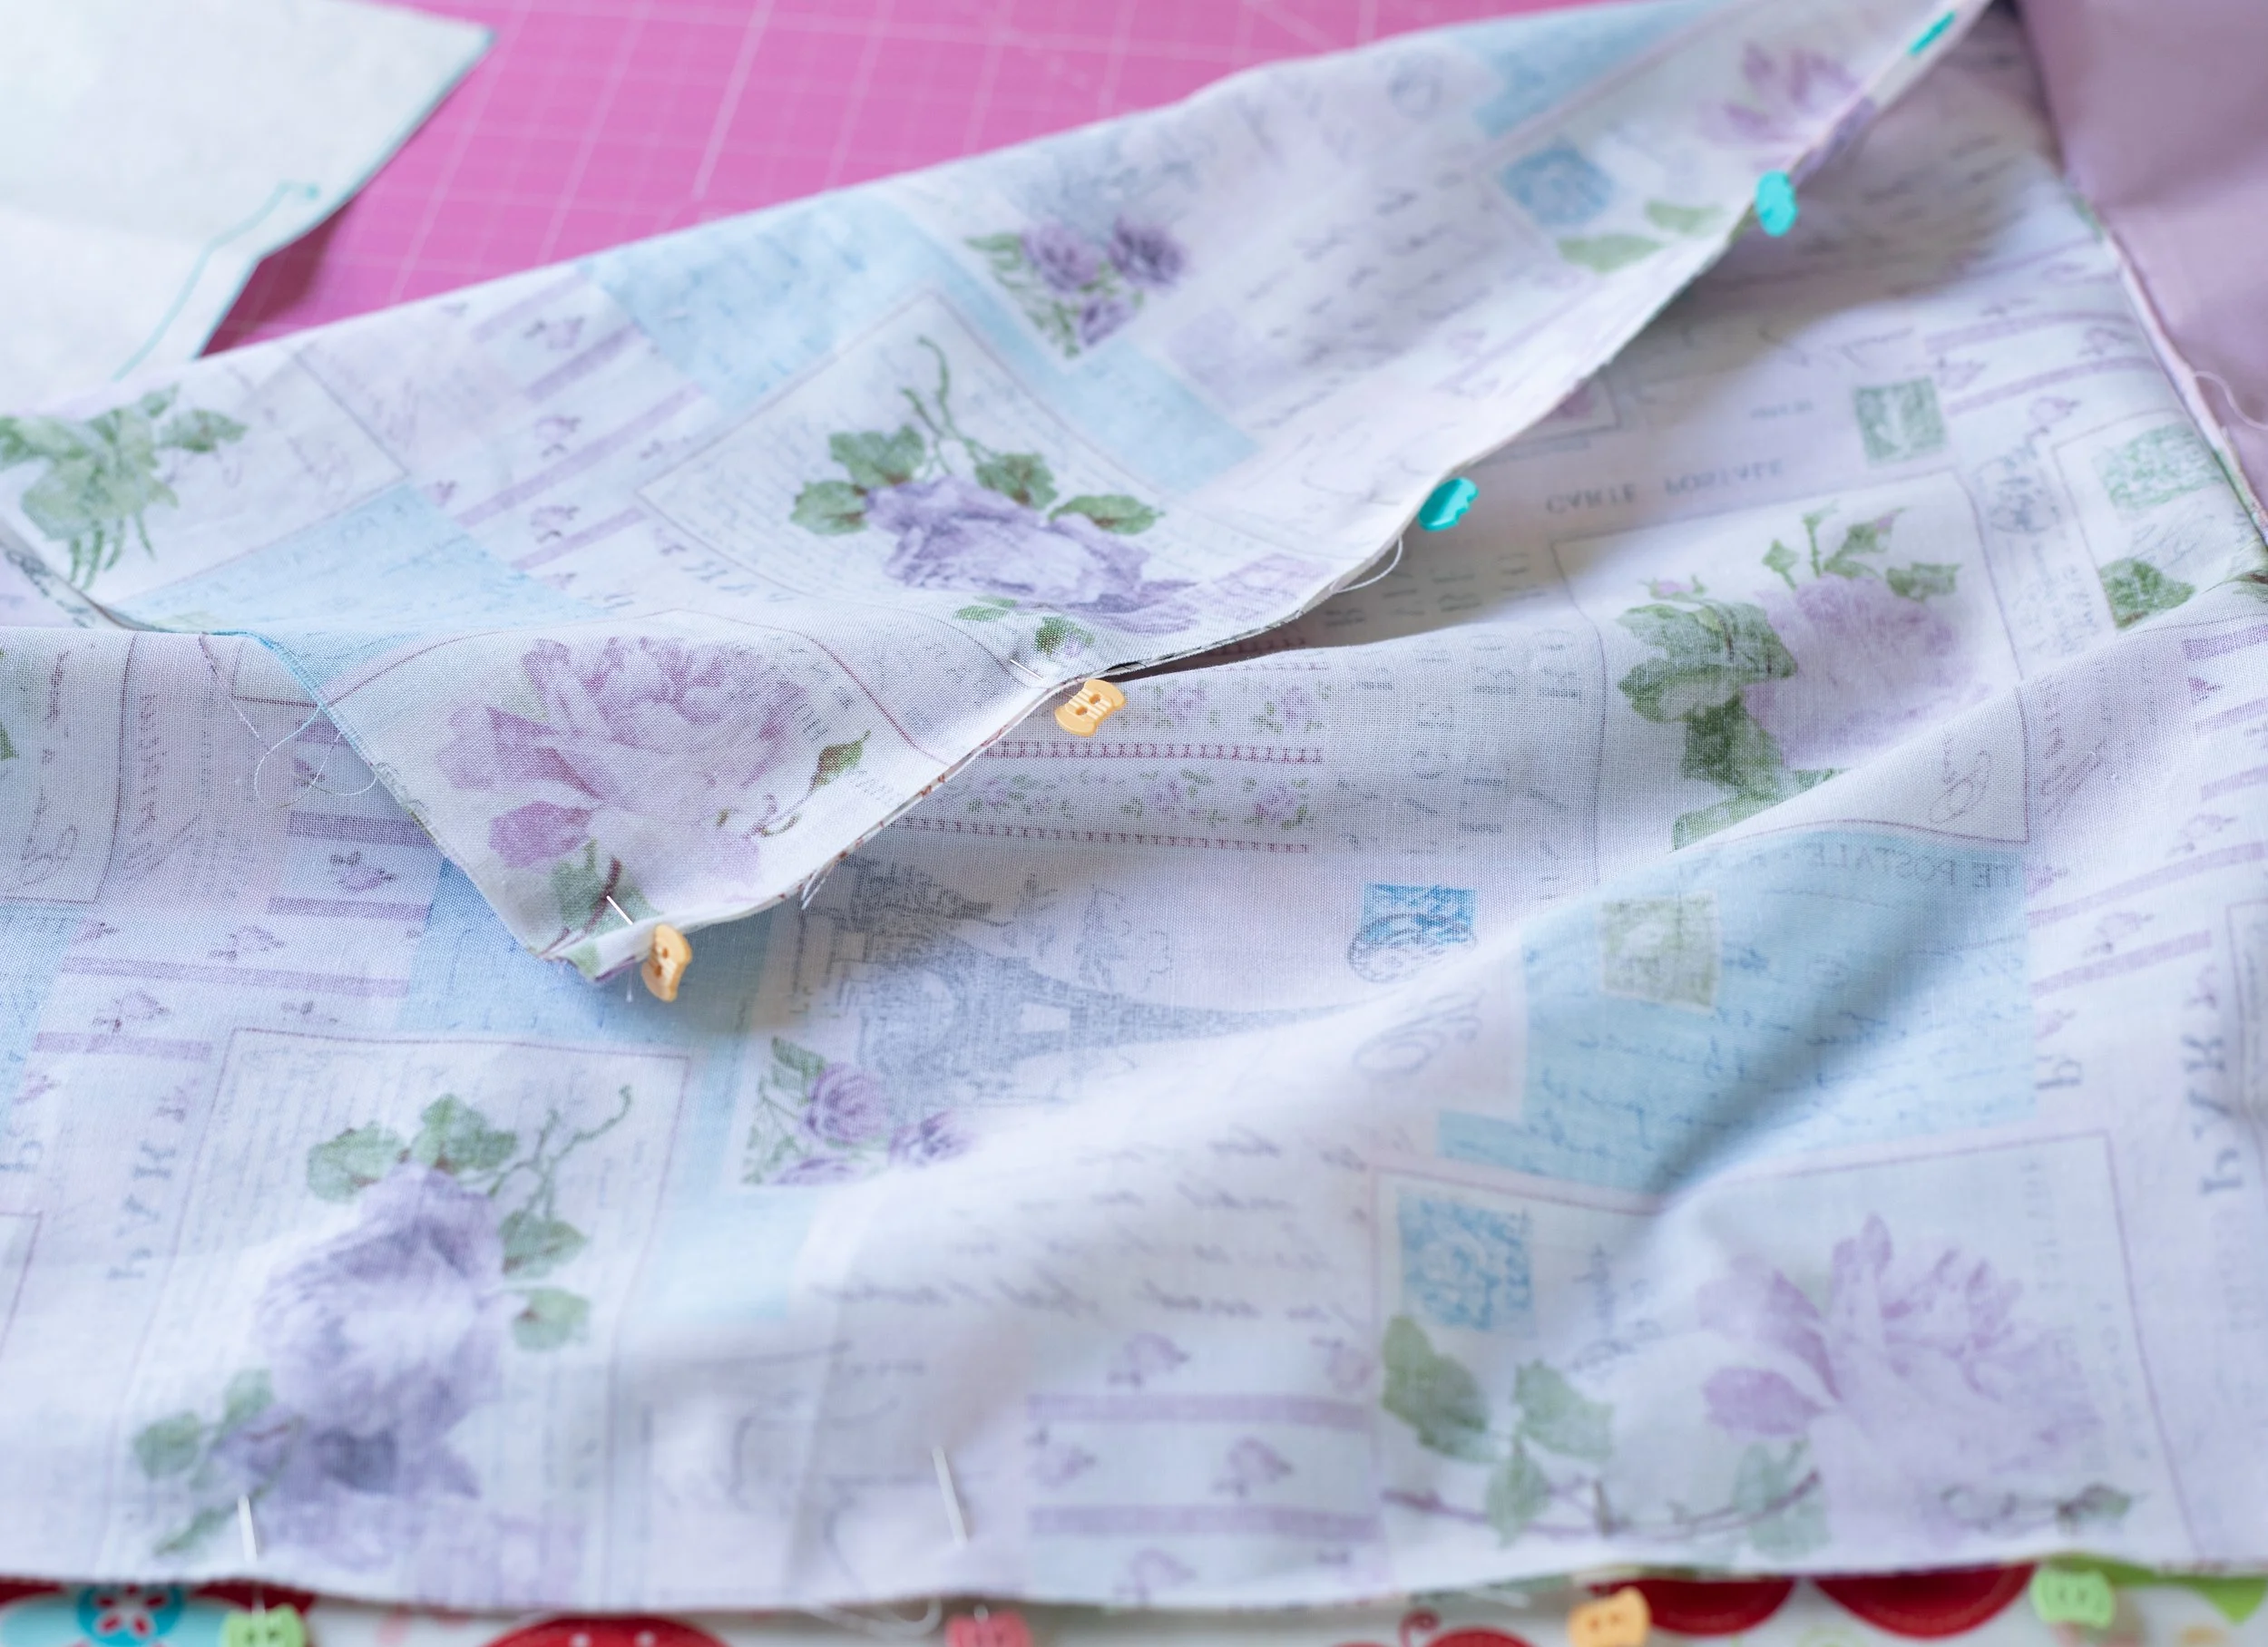
Now you’ll sew the side seams together. Flip one side over the other, handles tucked inside.
Pin Lining to lining. Pin the Outer fabric to the outer fabric, along the sides.
Starting from the handle seam is the easiest for pinning; make sure to line up the edges and the bottom.
Sew one side, backstitch at the beginning and end.
Repeat for the other side.
Turn the bag right side out and give it a good shake as if opening a trash bag. Threads will fly!
It looks more like a bag now.
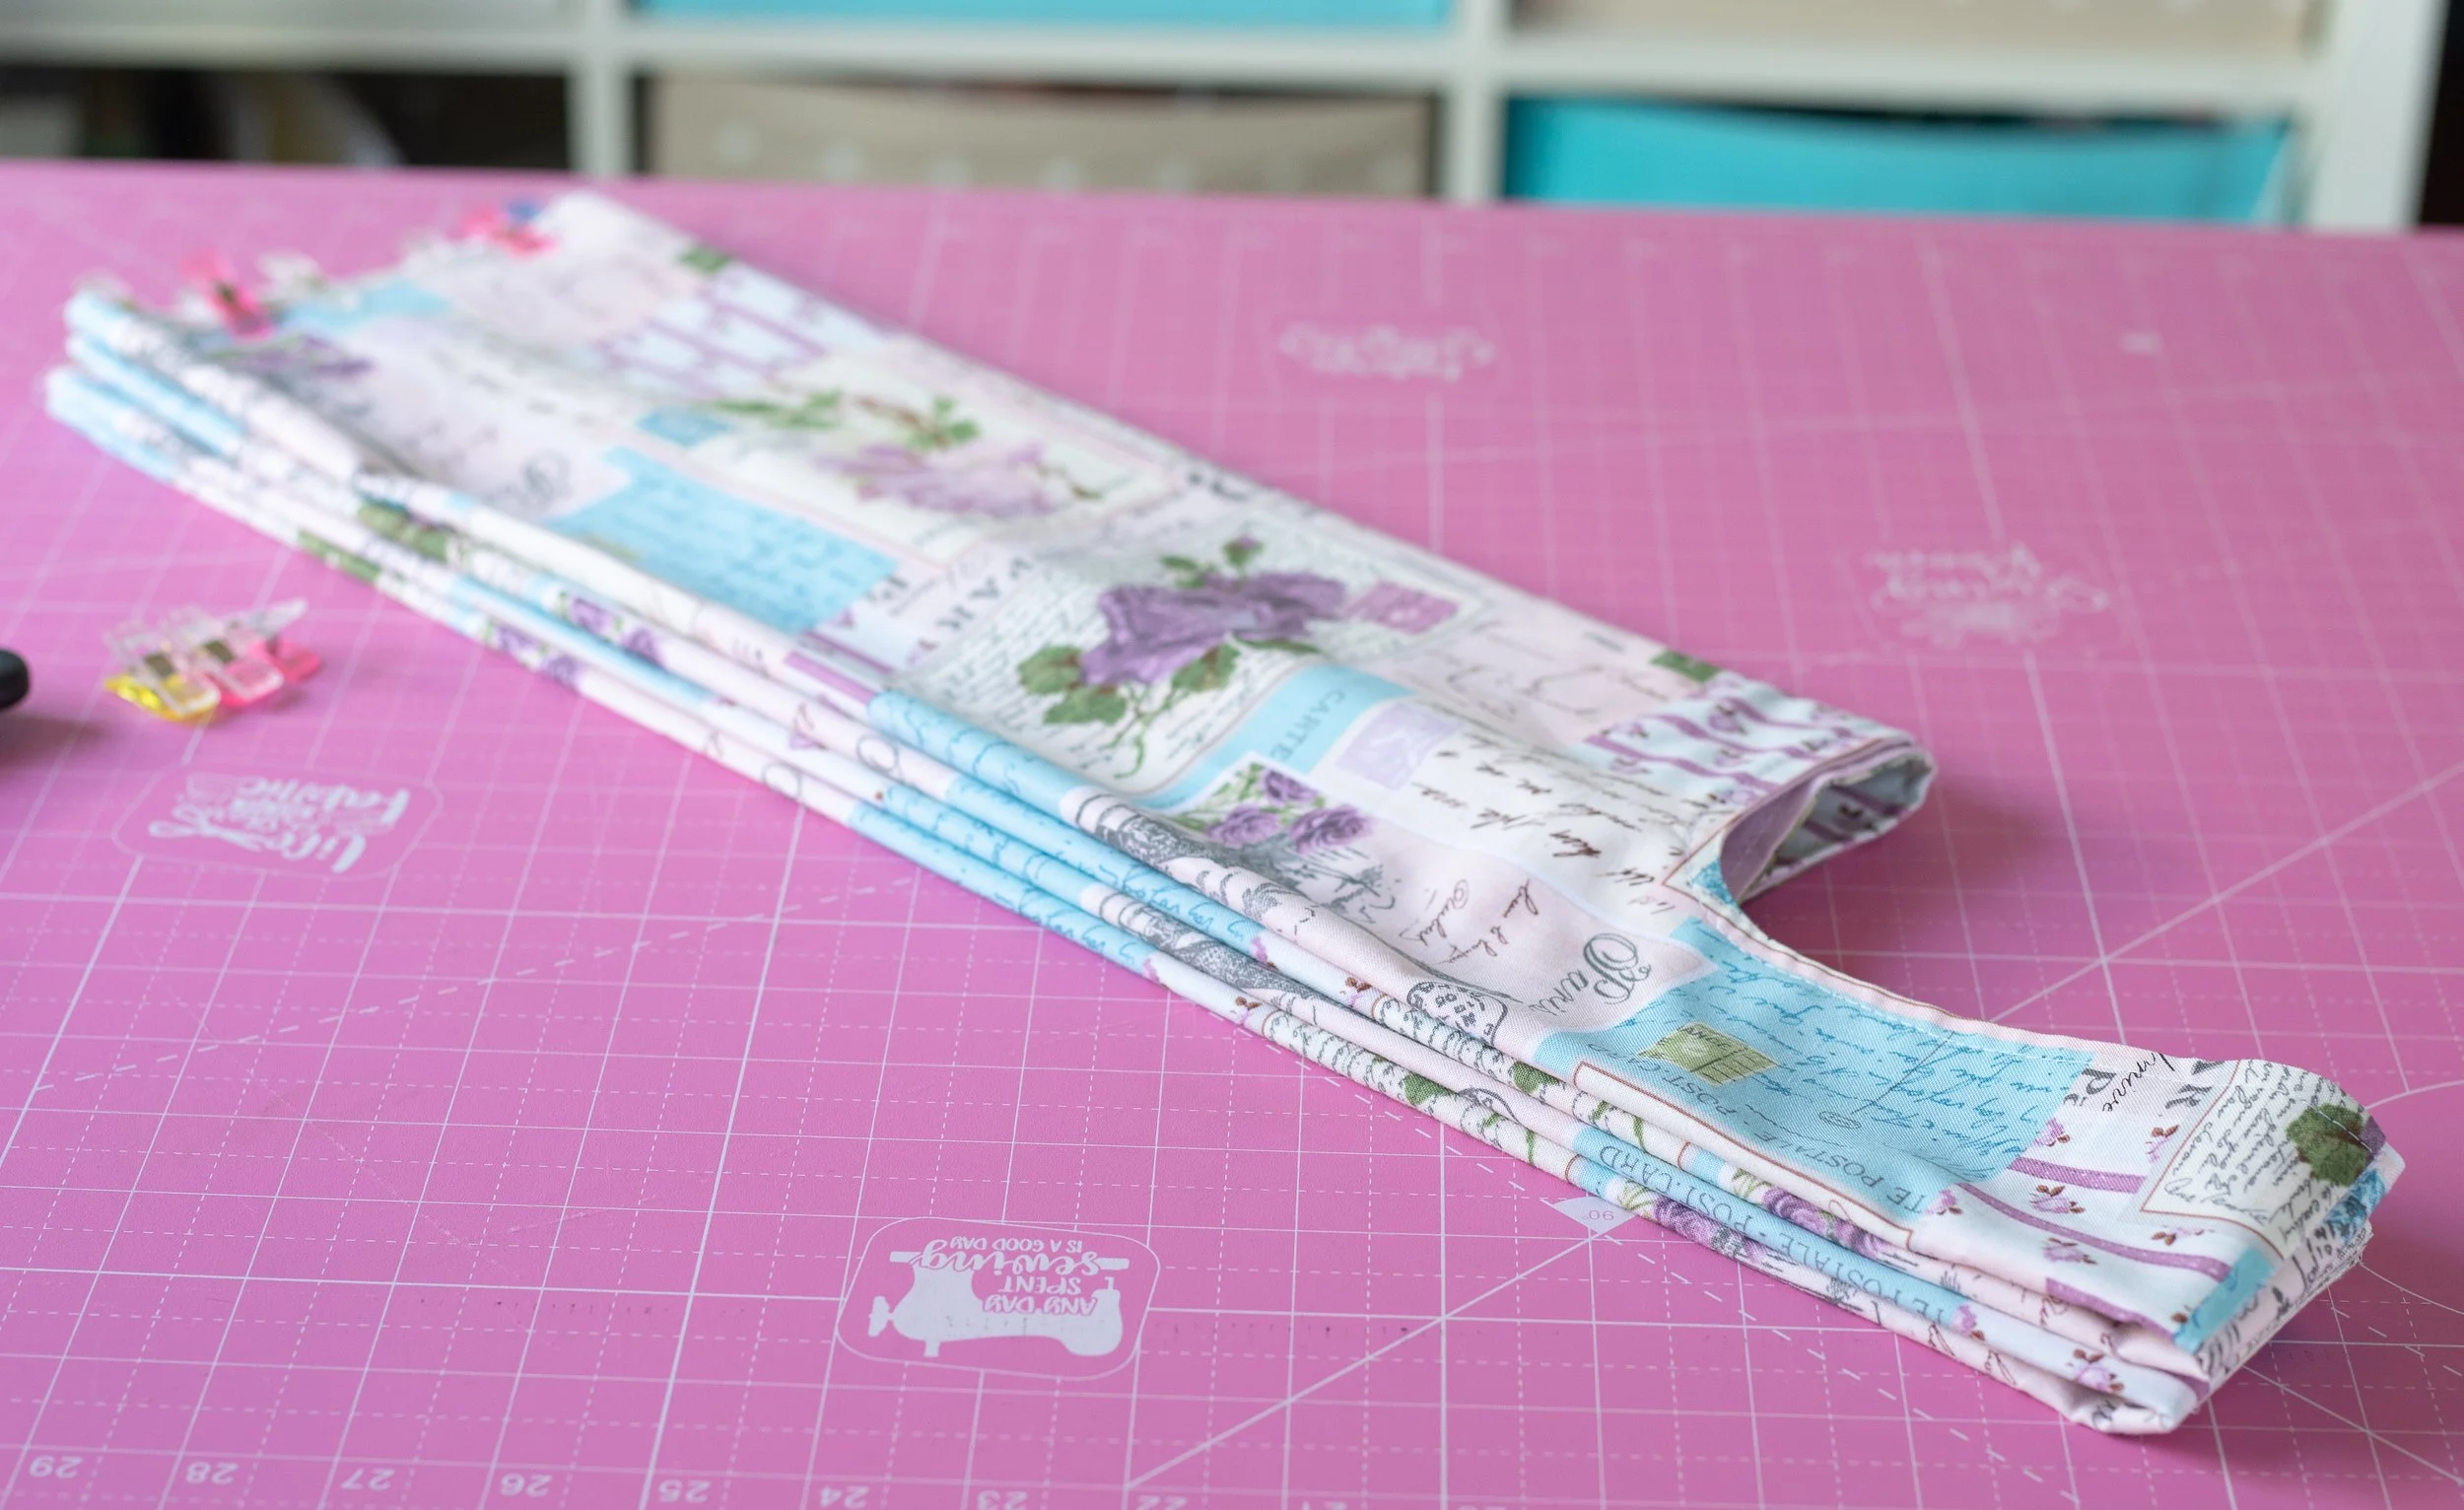
Next up is creating the gusset. This is an internal fold for expanding the bag size.
Fold the handle in half, matching the seam line. This makes the handle narrower and easier to hold. Use pins or clips.
Sew a few rows of stitches over the seam, stitch in the ditch style.

Making the handles.
Sew a few rows of stitches across the seam. Stitch in the ditch.
Slide the bag over your arm and let the bag hang, it will naturally form the gusset for you.
Carefully slide it off and onto your table, keeping the folds in place.
I apologize for the blurry photo, but you get the idea.
Put your arm through the handles and let the bag hang, naturally.
You might have to mess with it a little, but try to make the folds even. Press.
Next up is the optional snap. If you want to skip this step, scroll down past this part. If you would like to add a snap, keep reading.
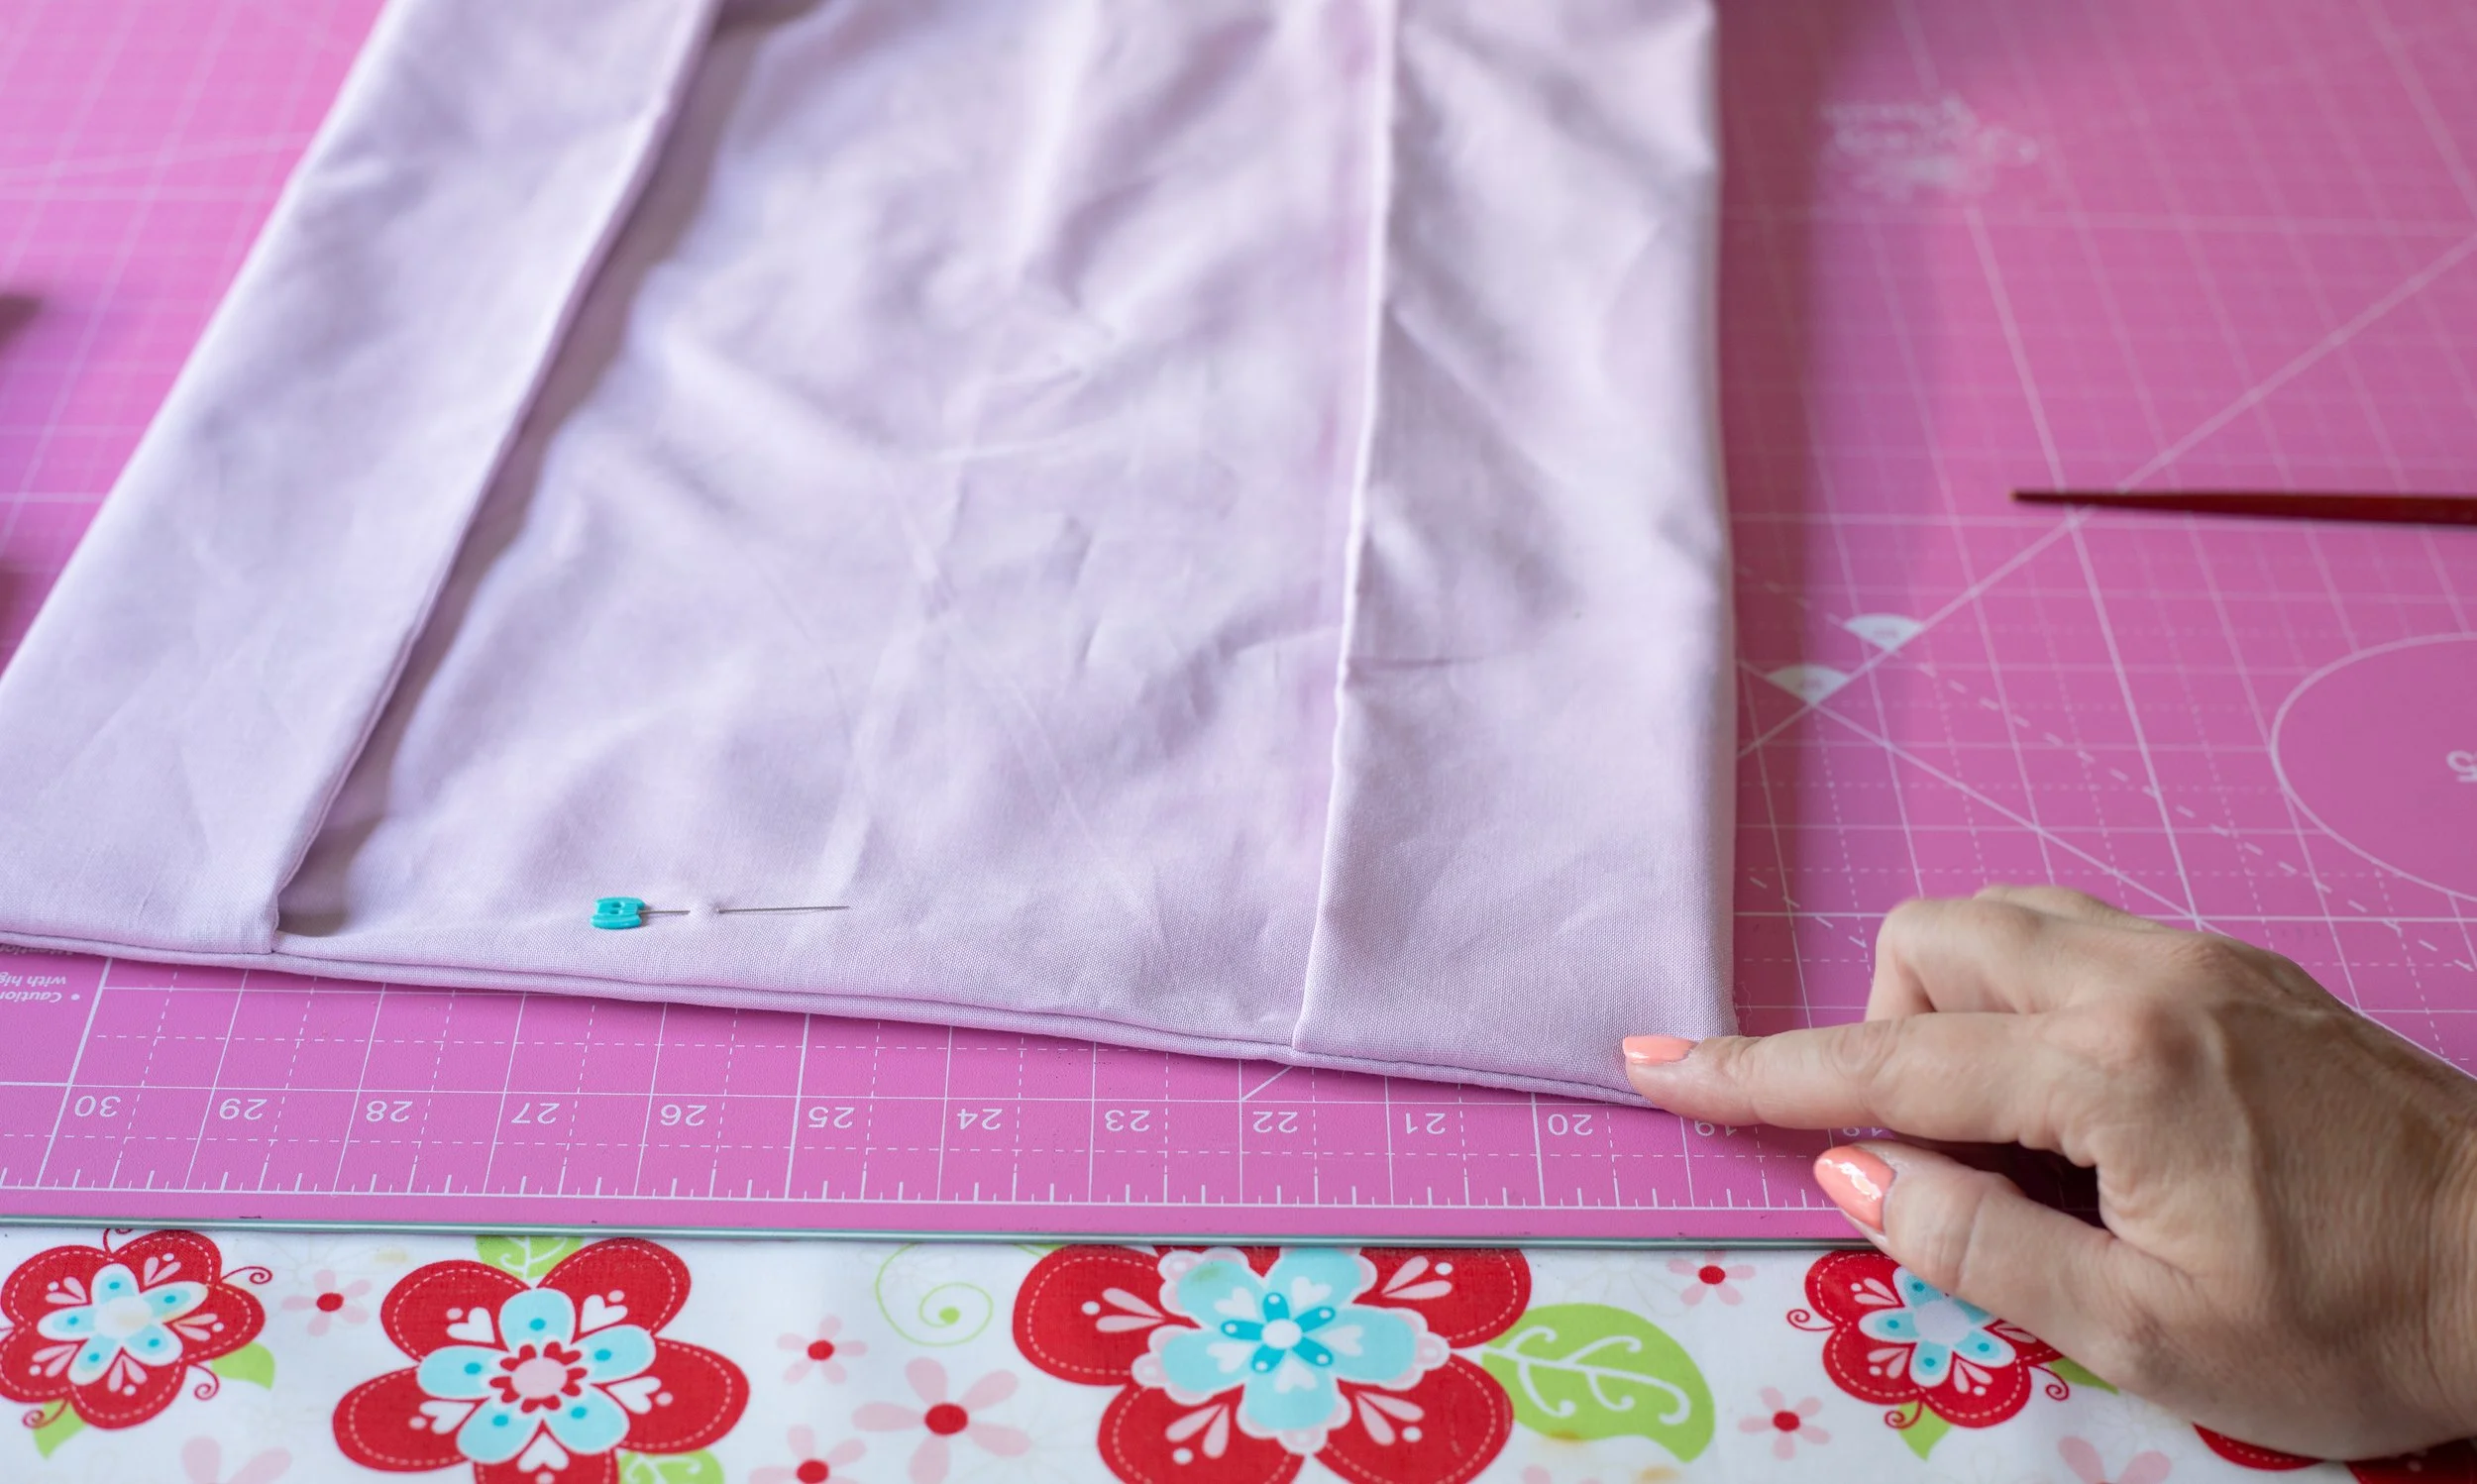
Even up the bottom edge, if needed.
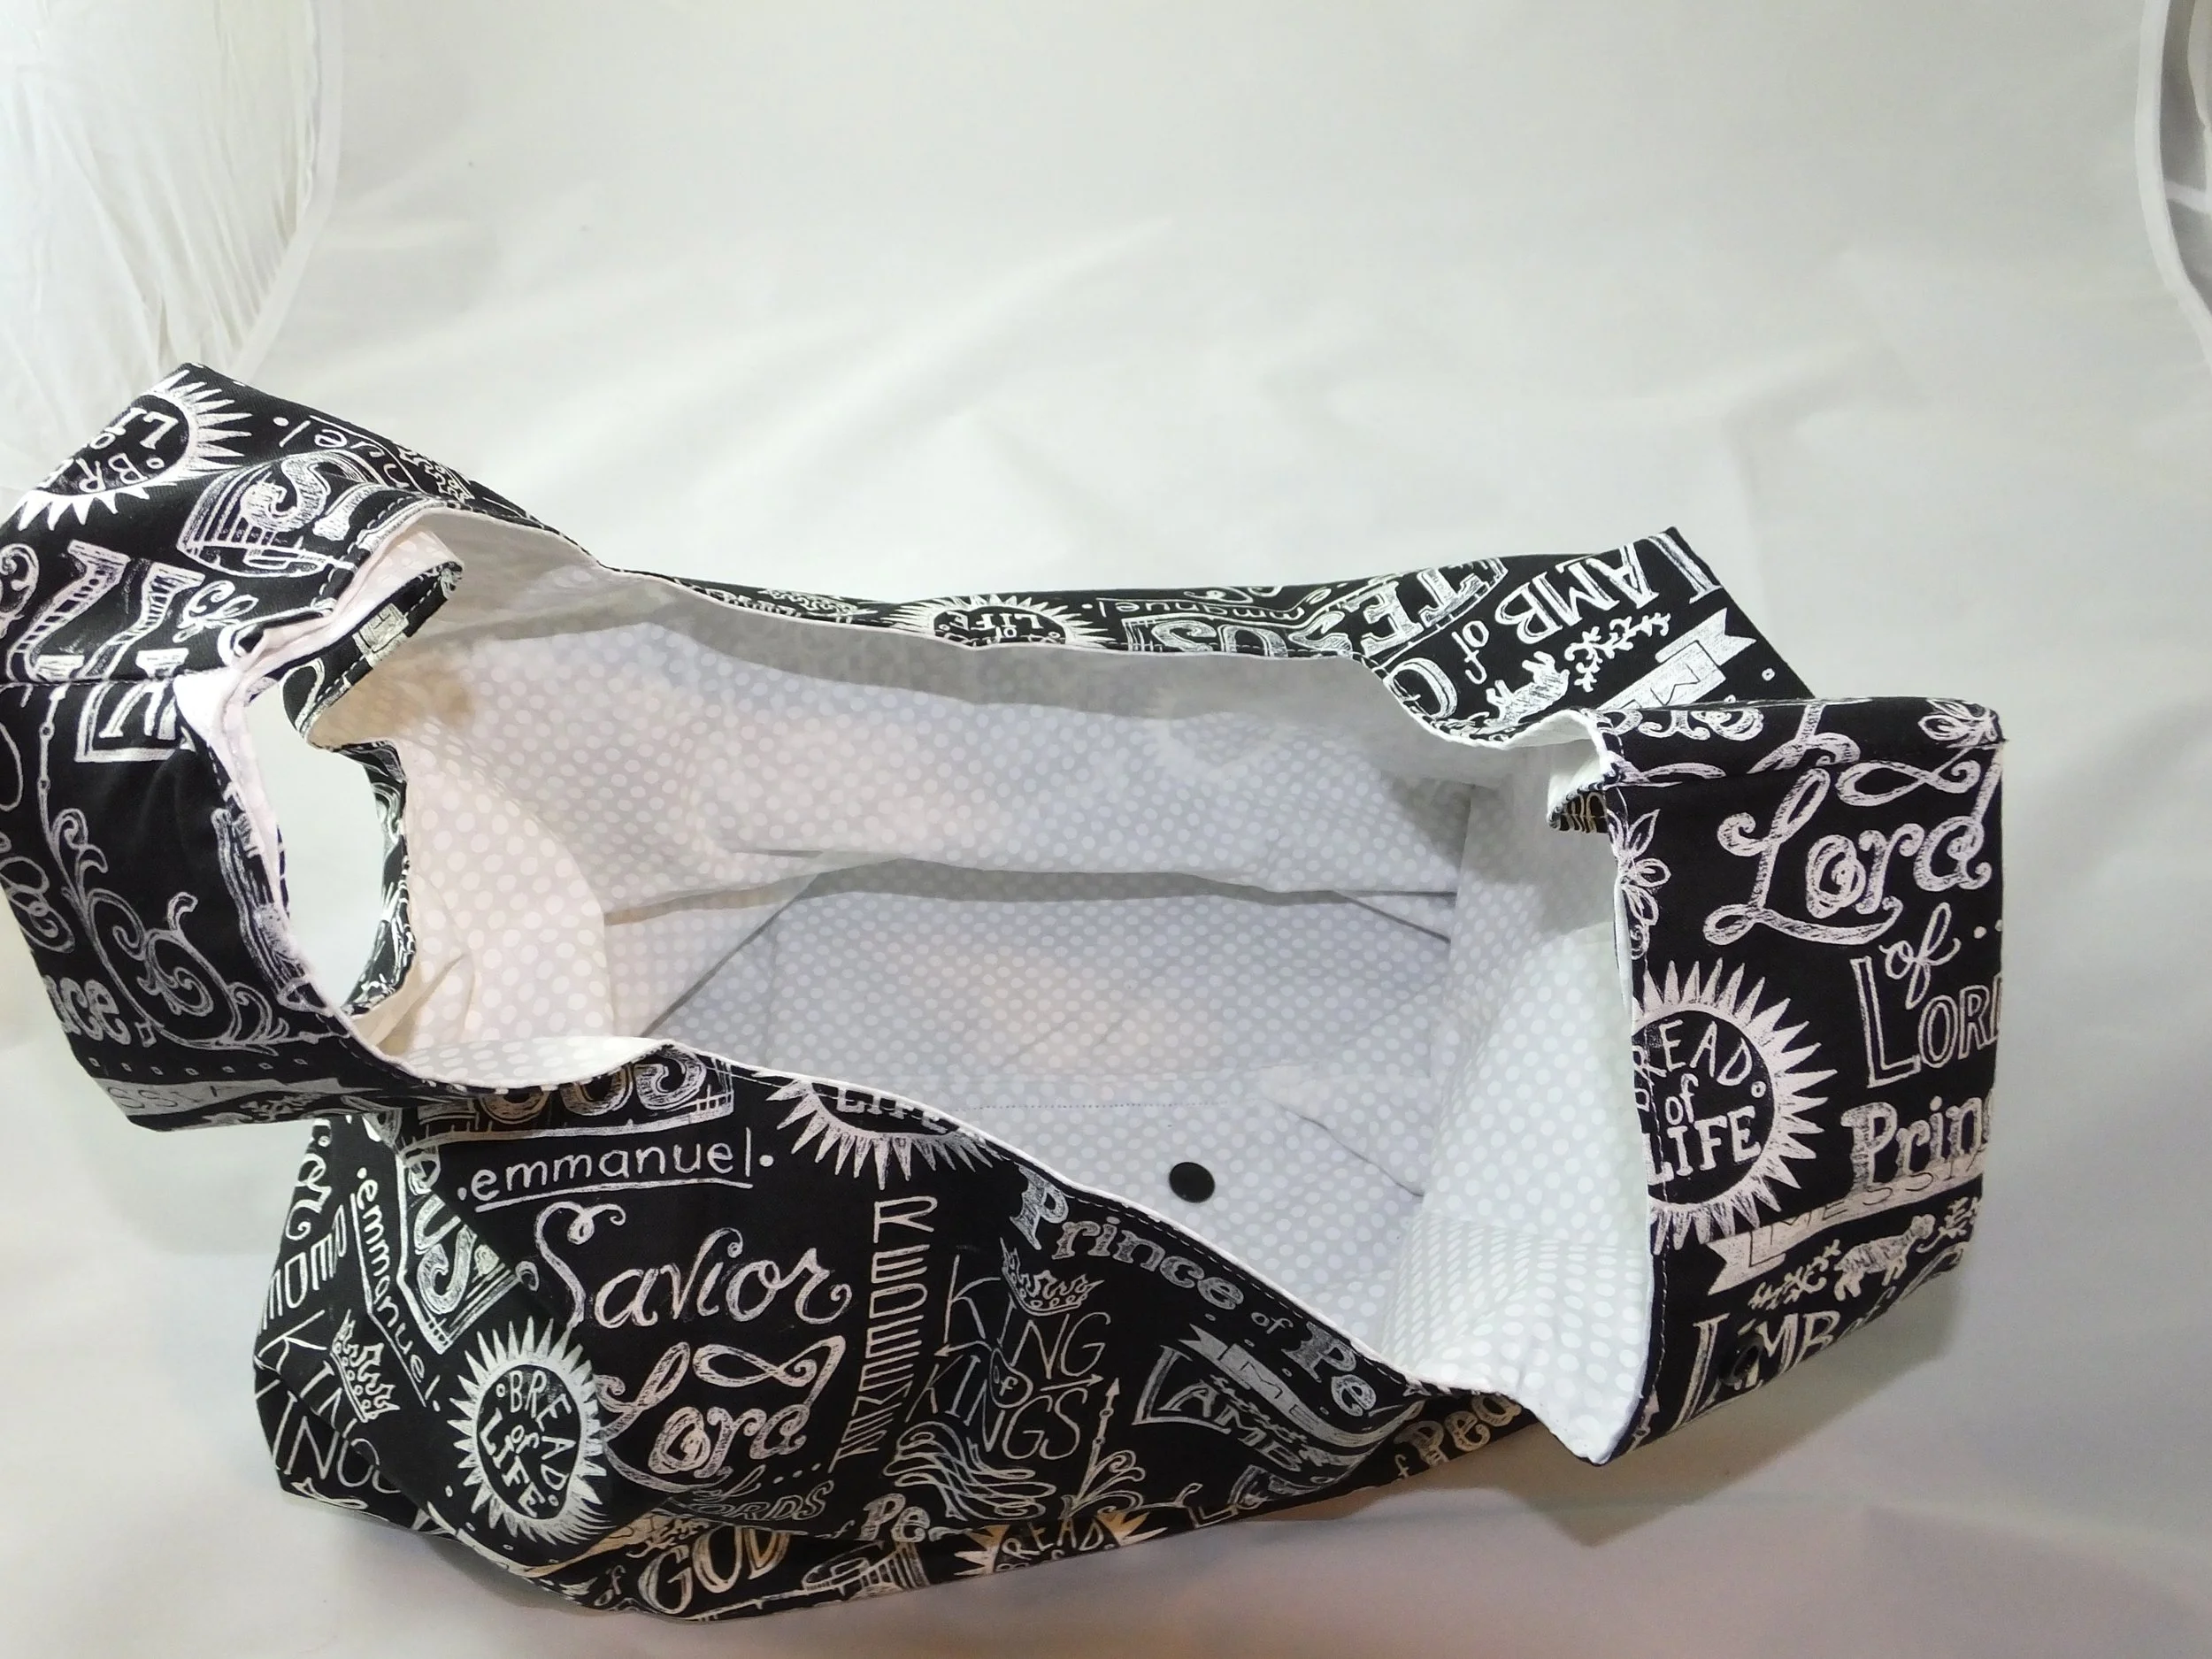
ADDING A SNAP
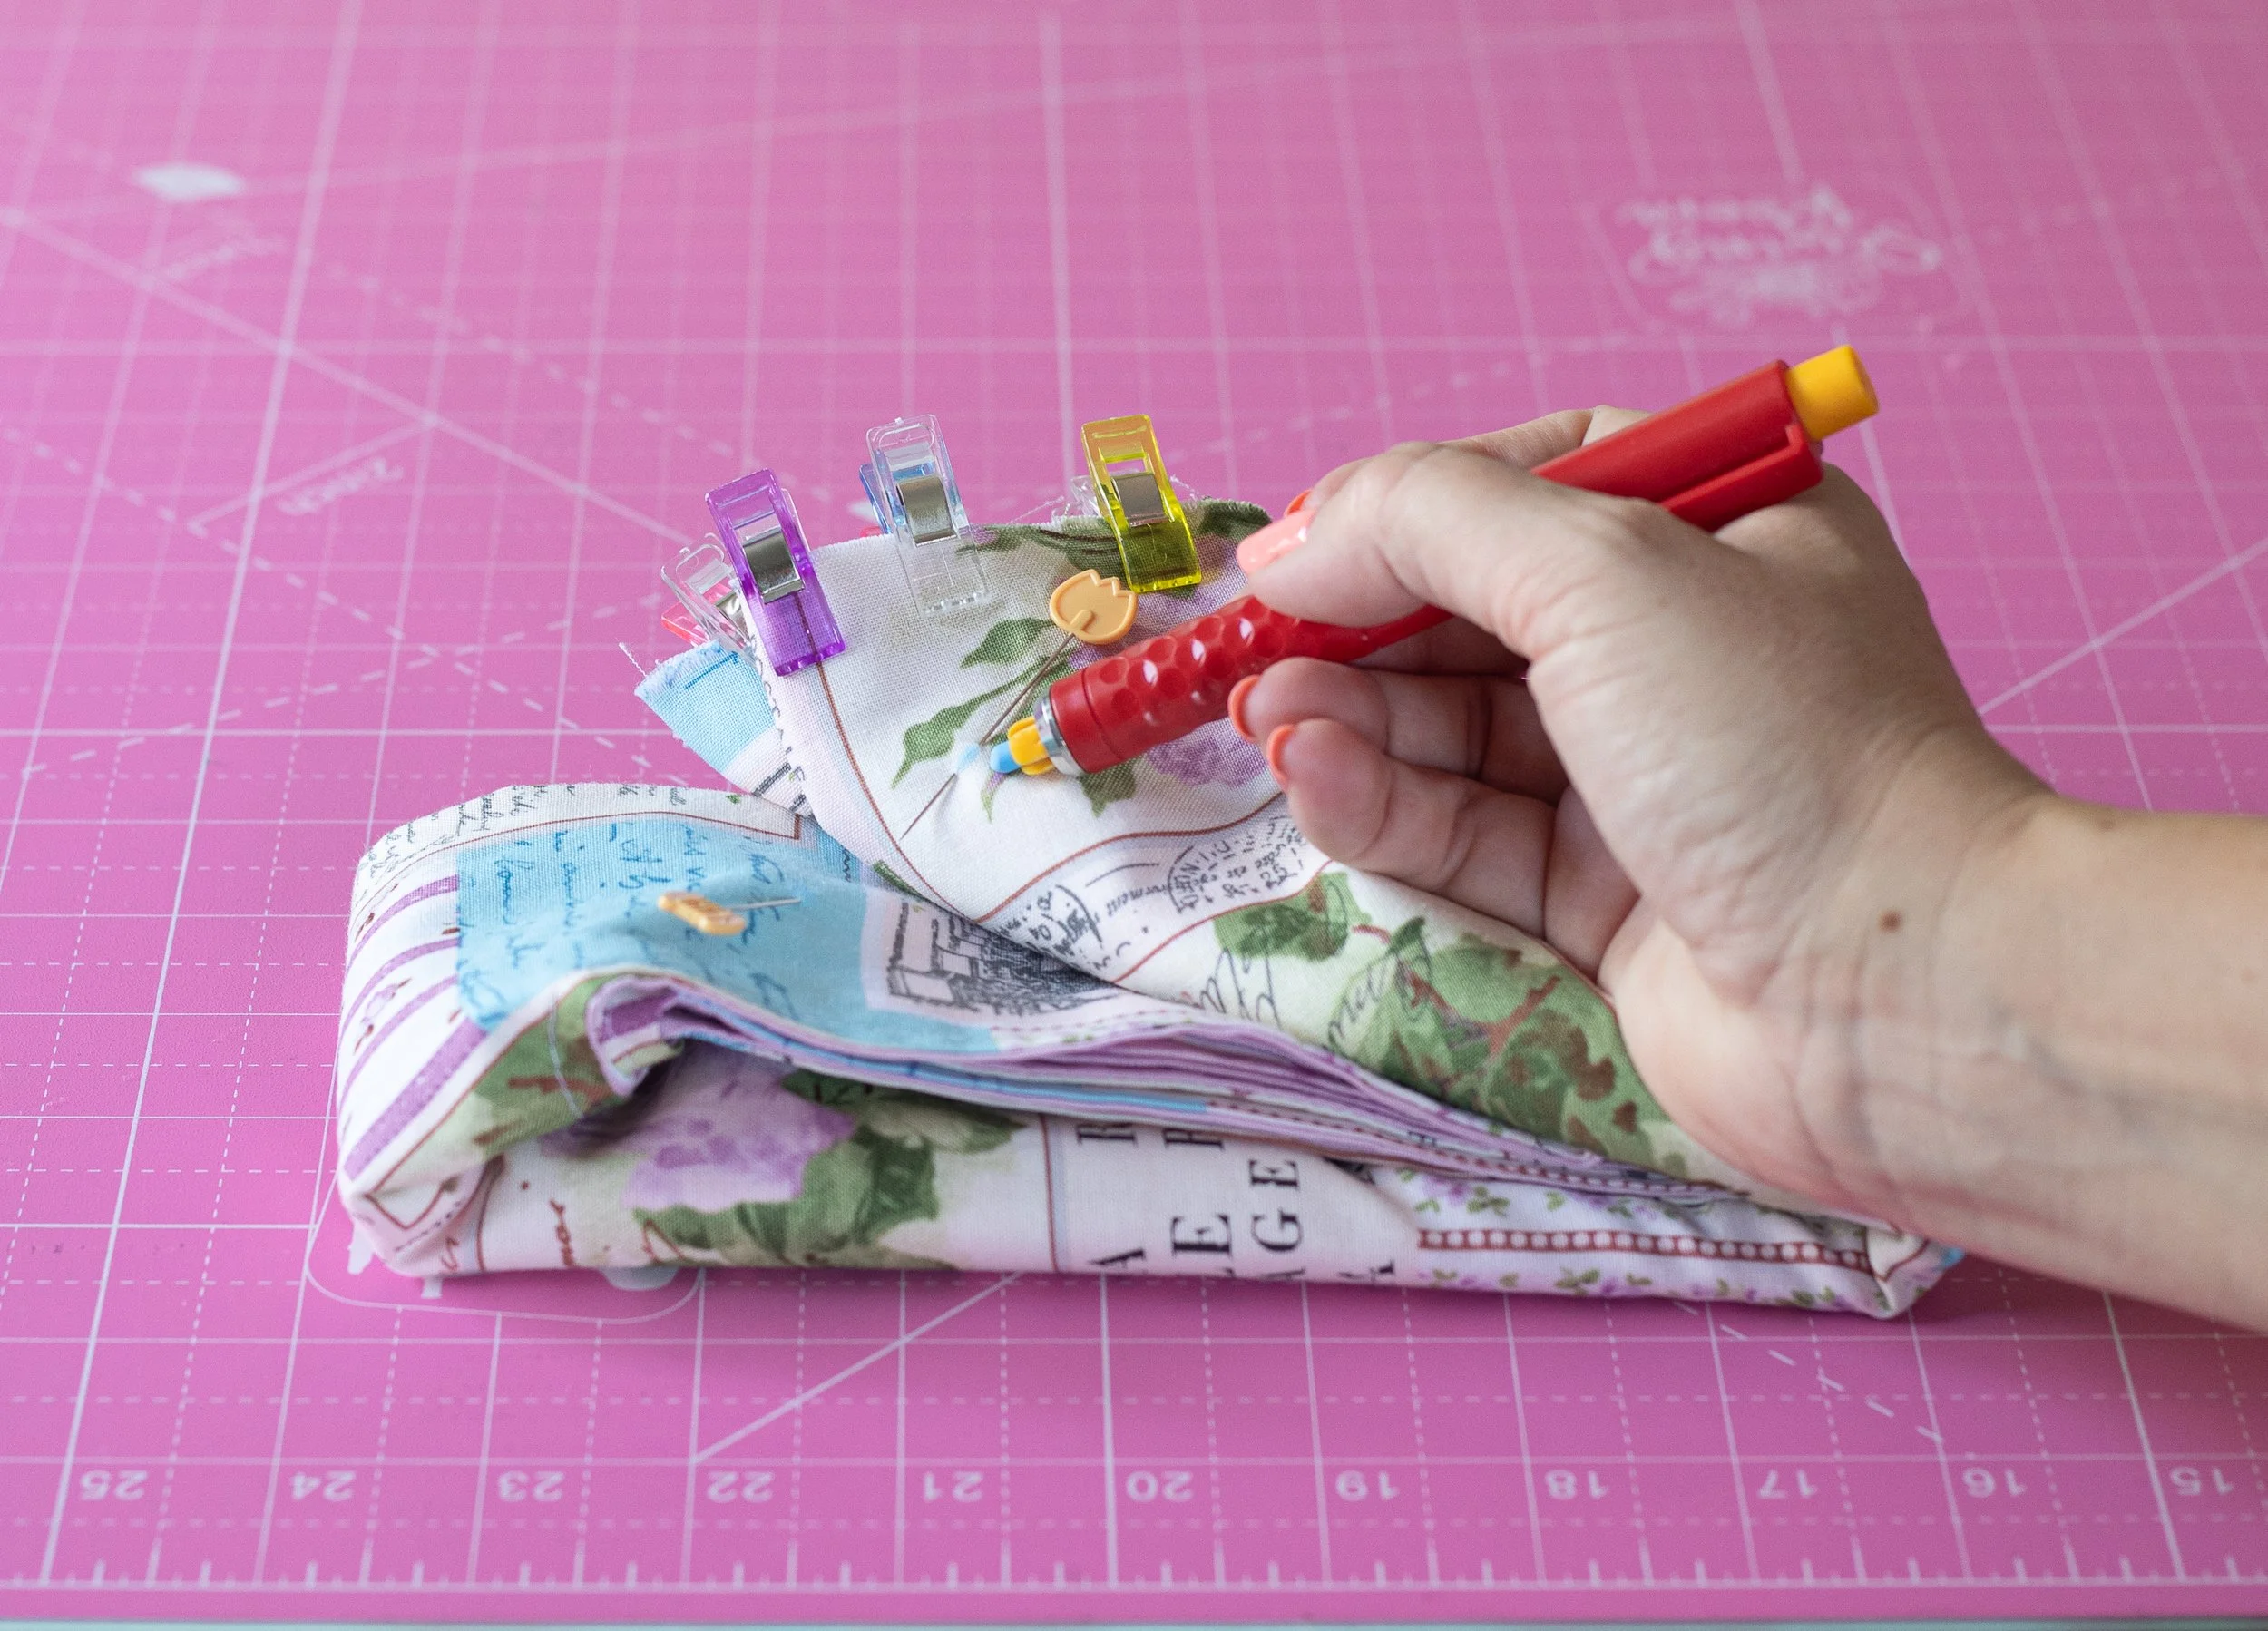
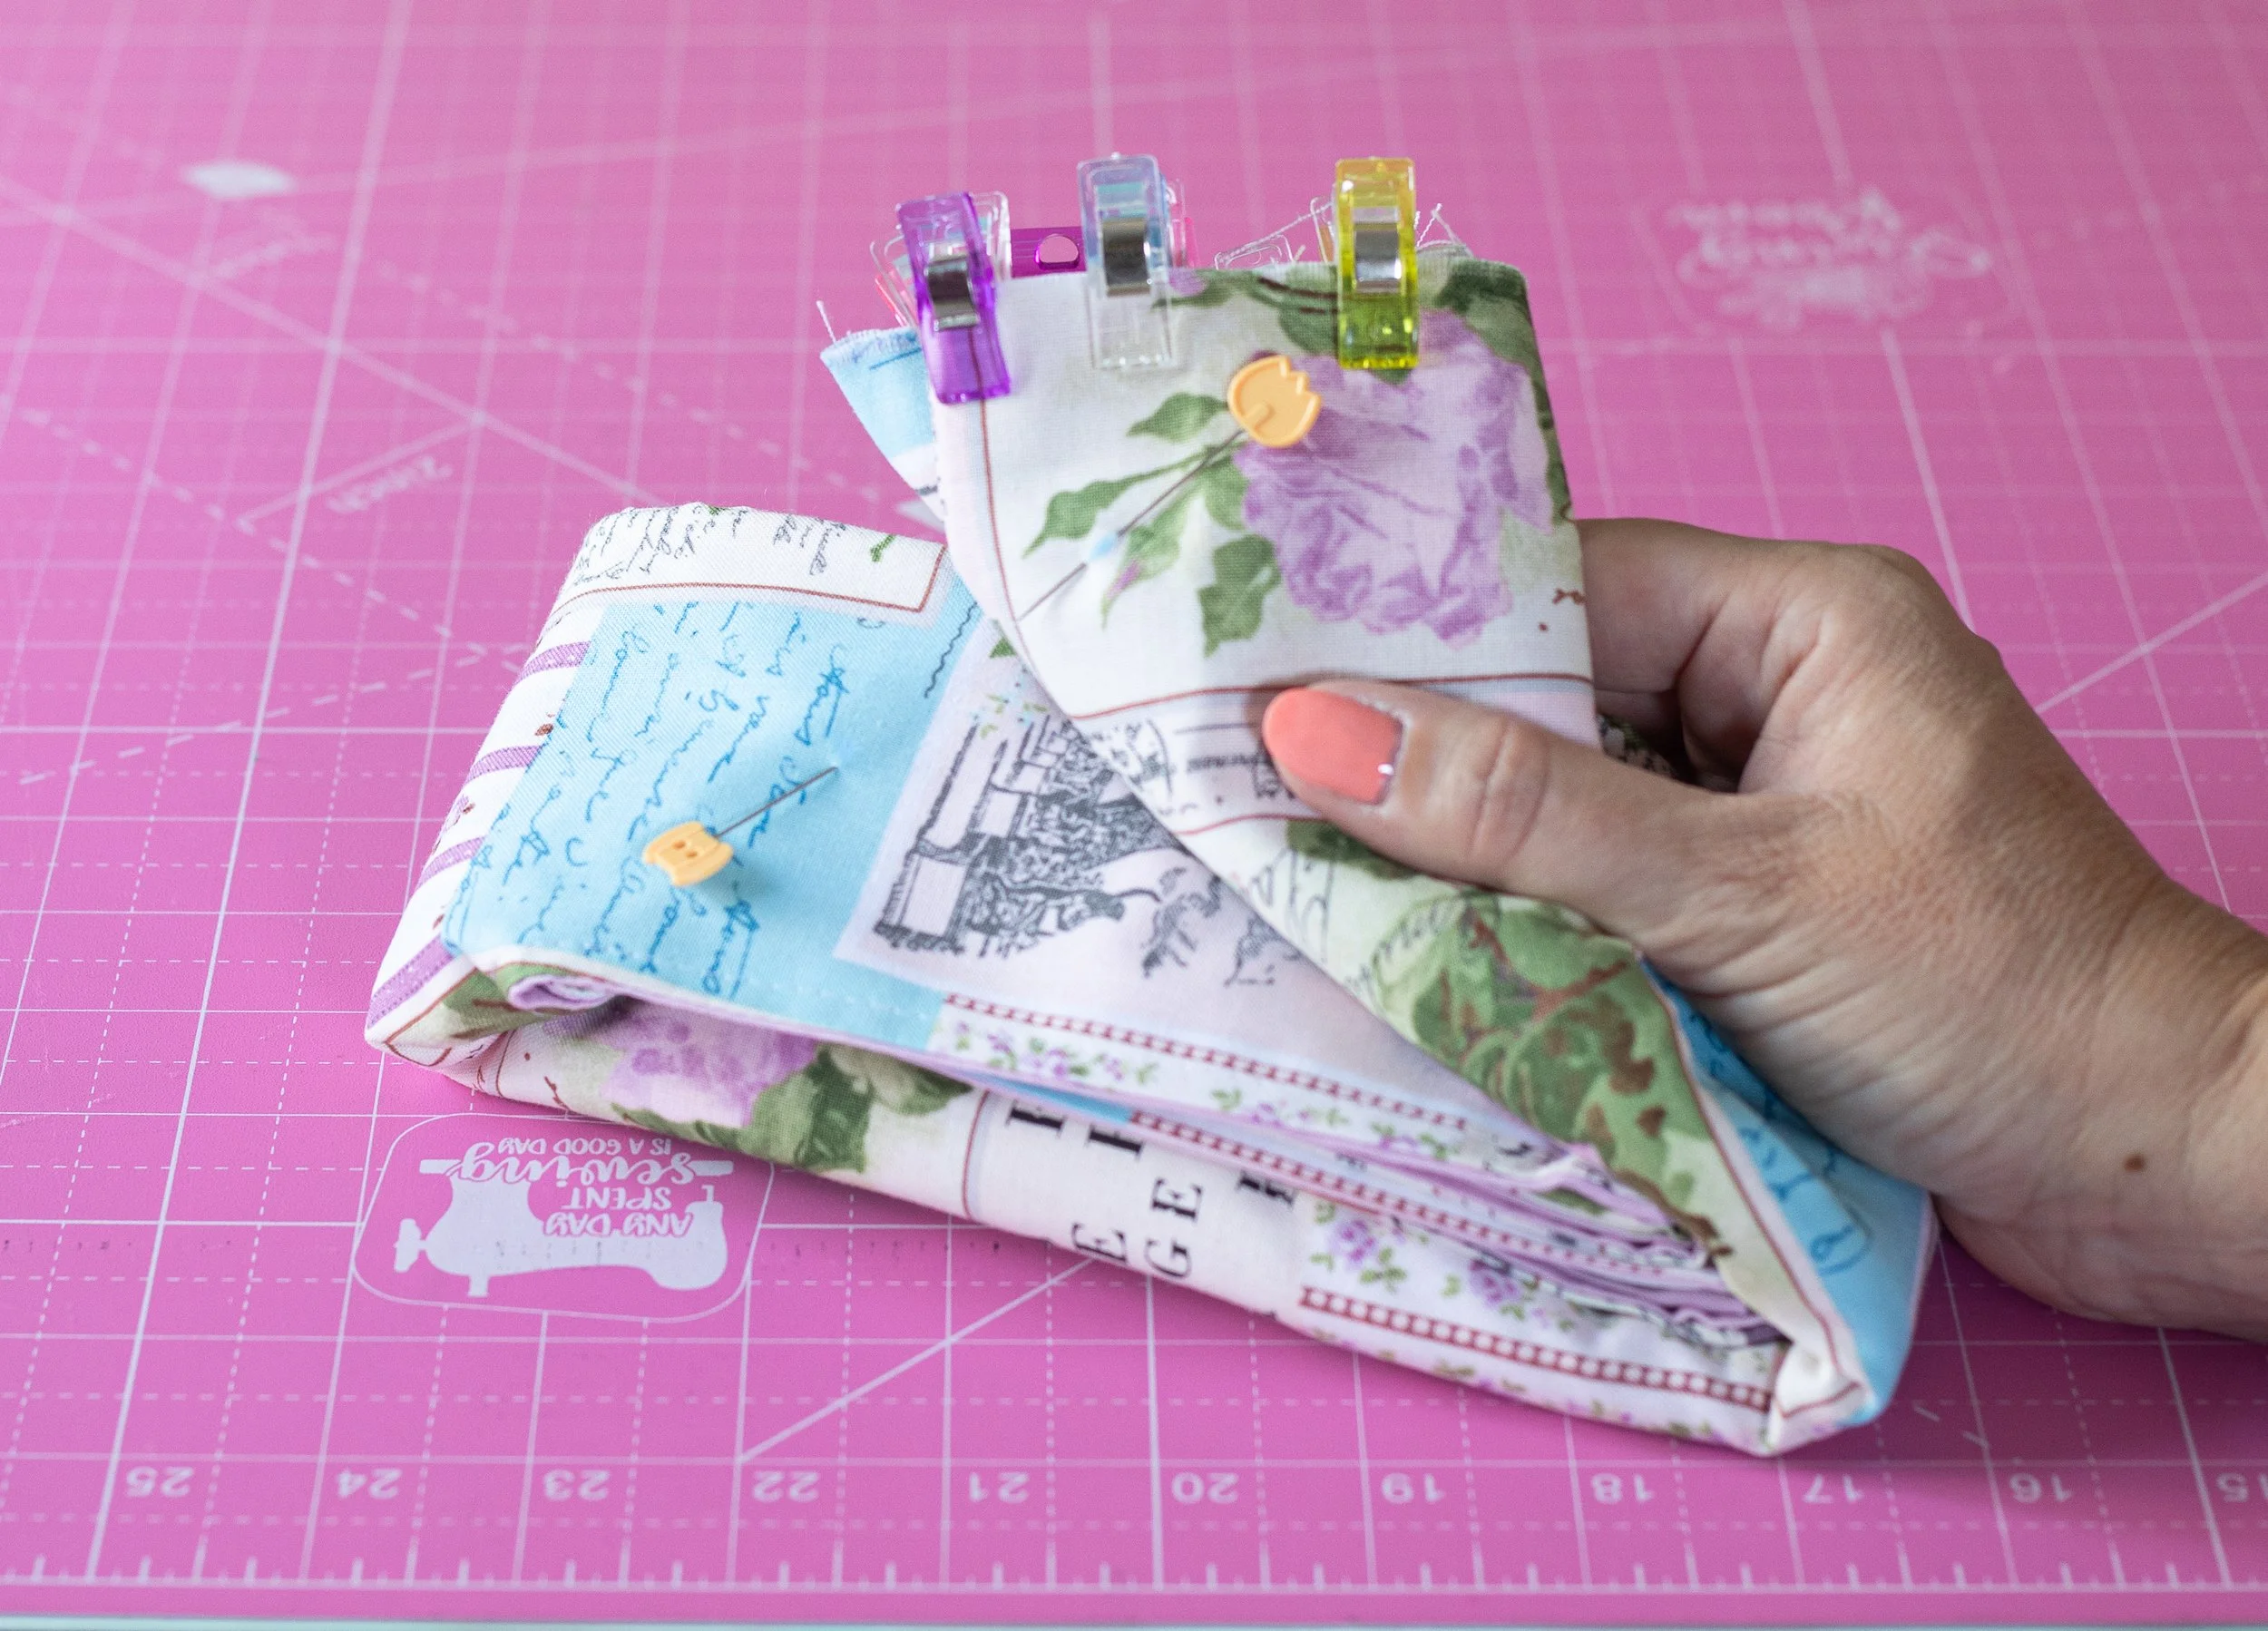
Use clips to keep all the bottom layers together. You have to fold it to figure out where the snap will go. So, this helps keep the layers together.
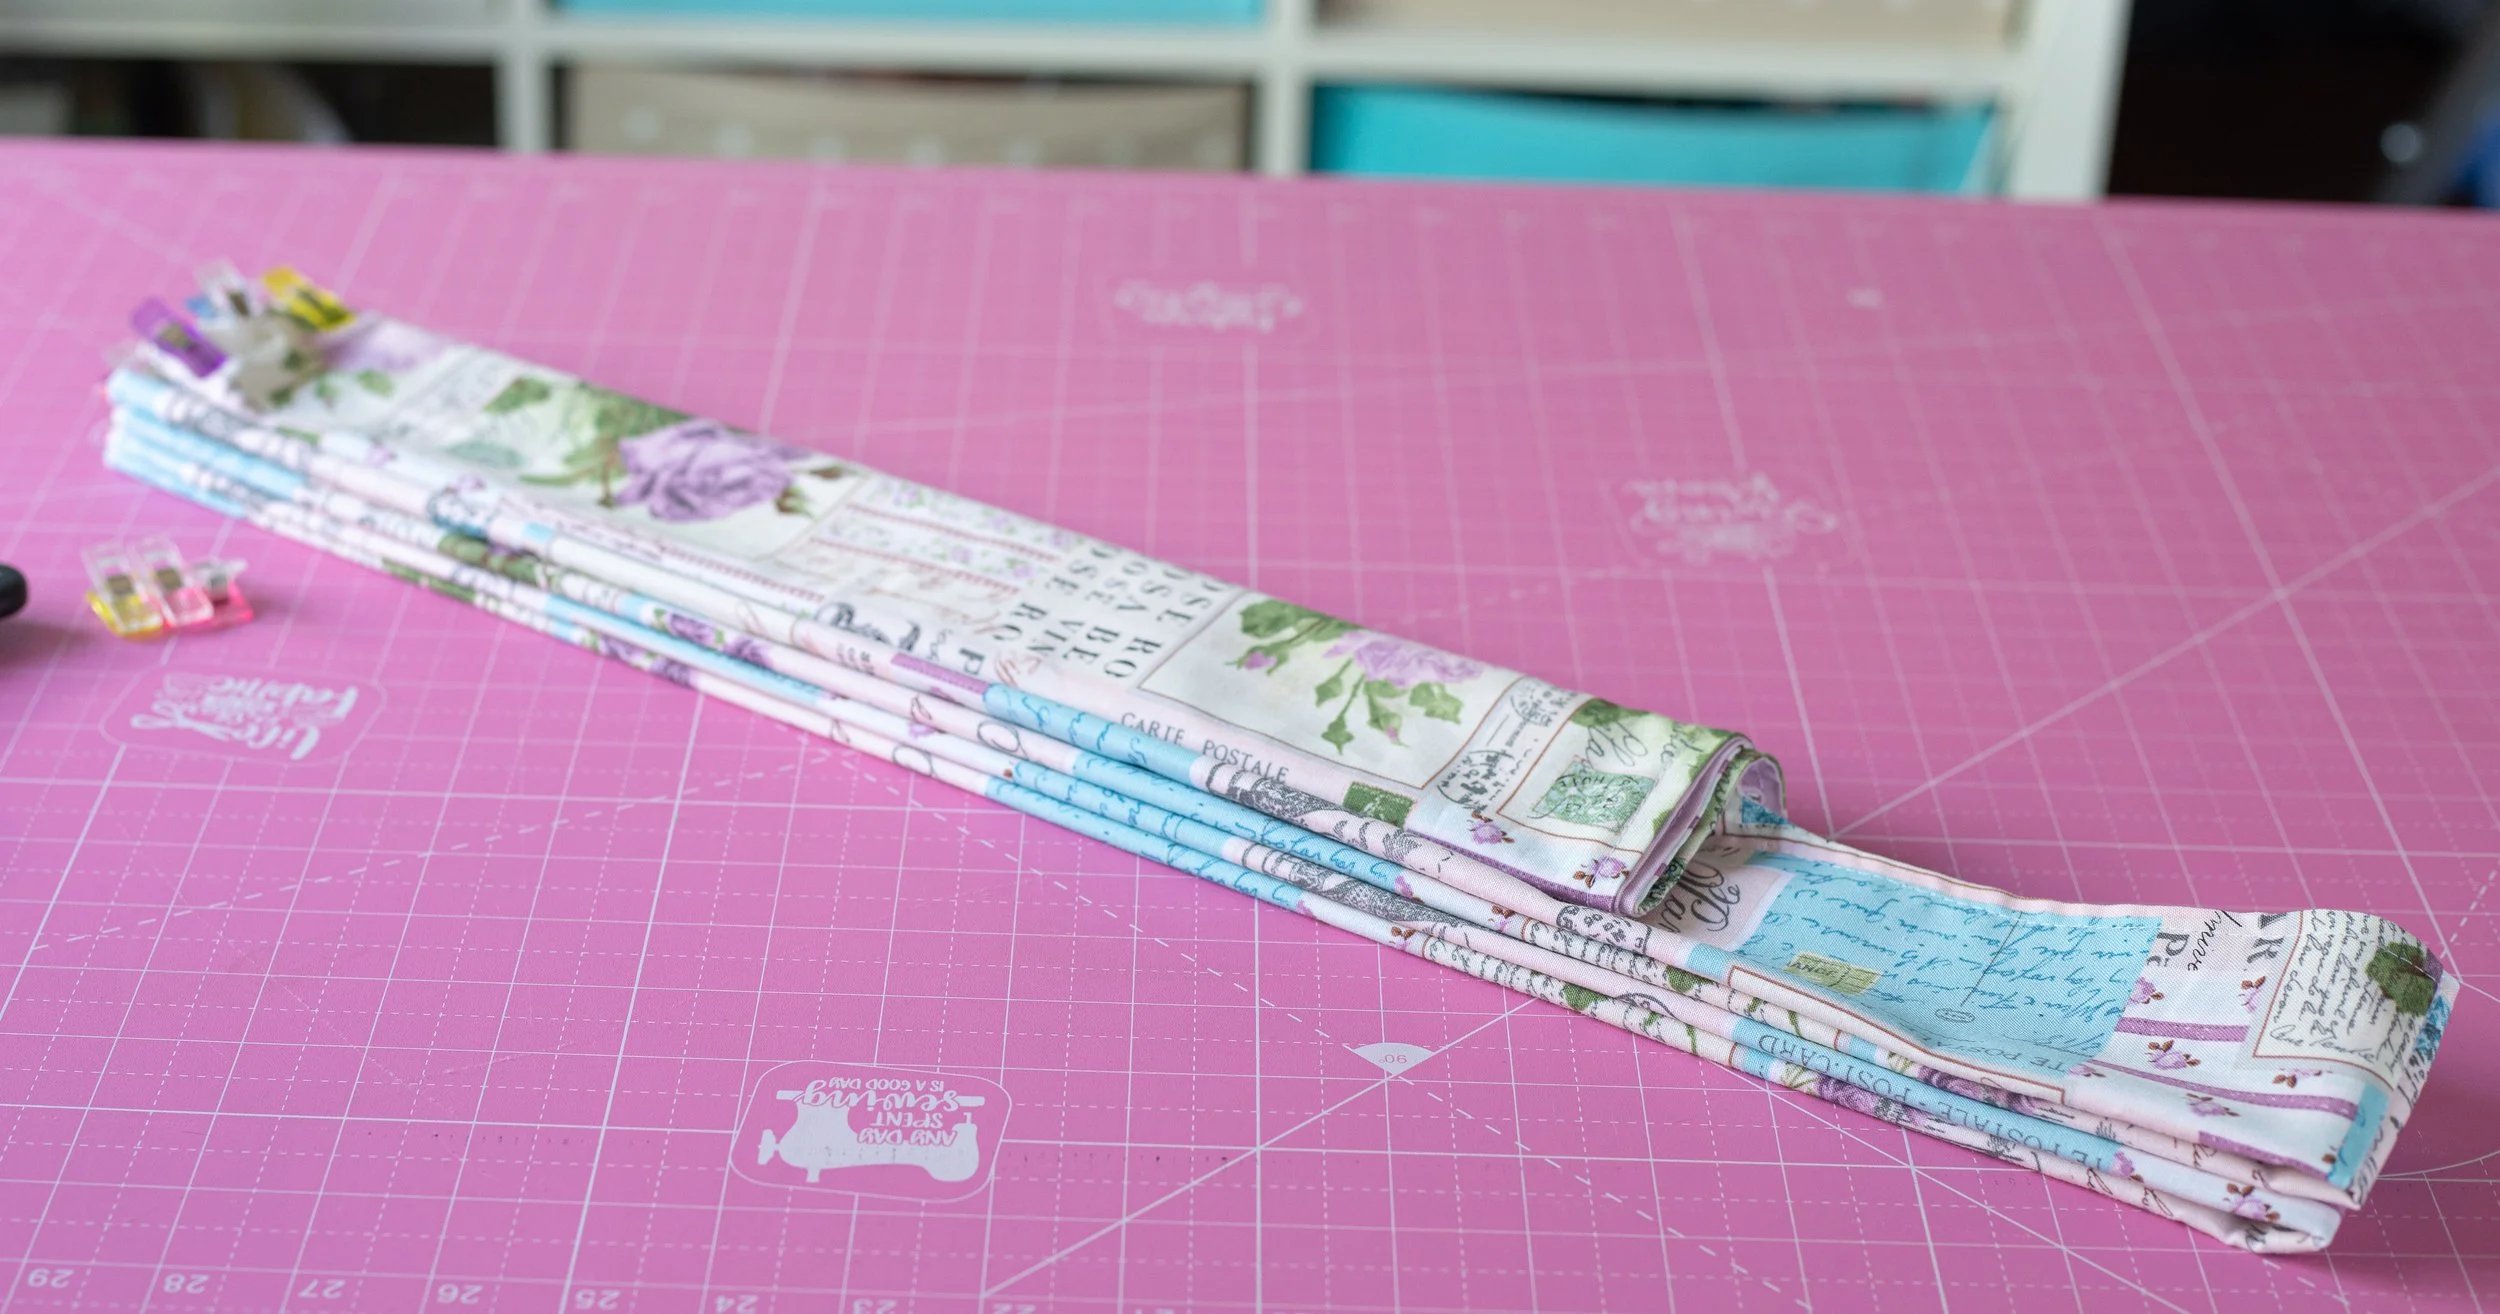
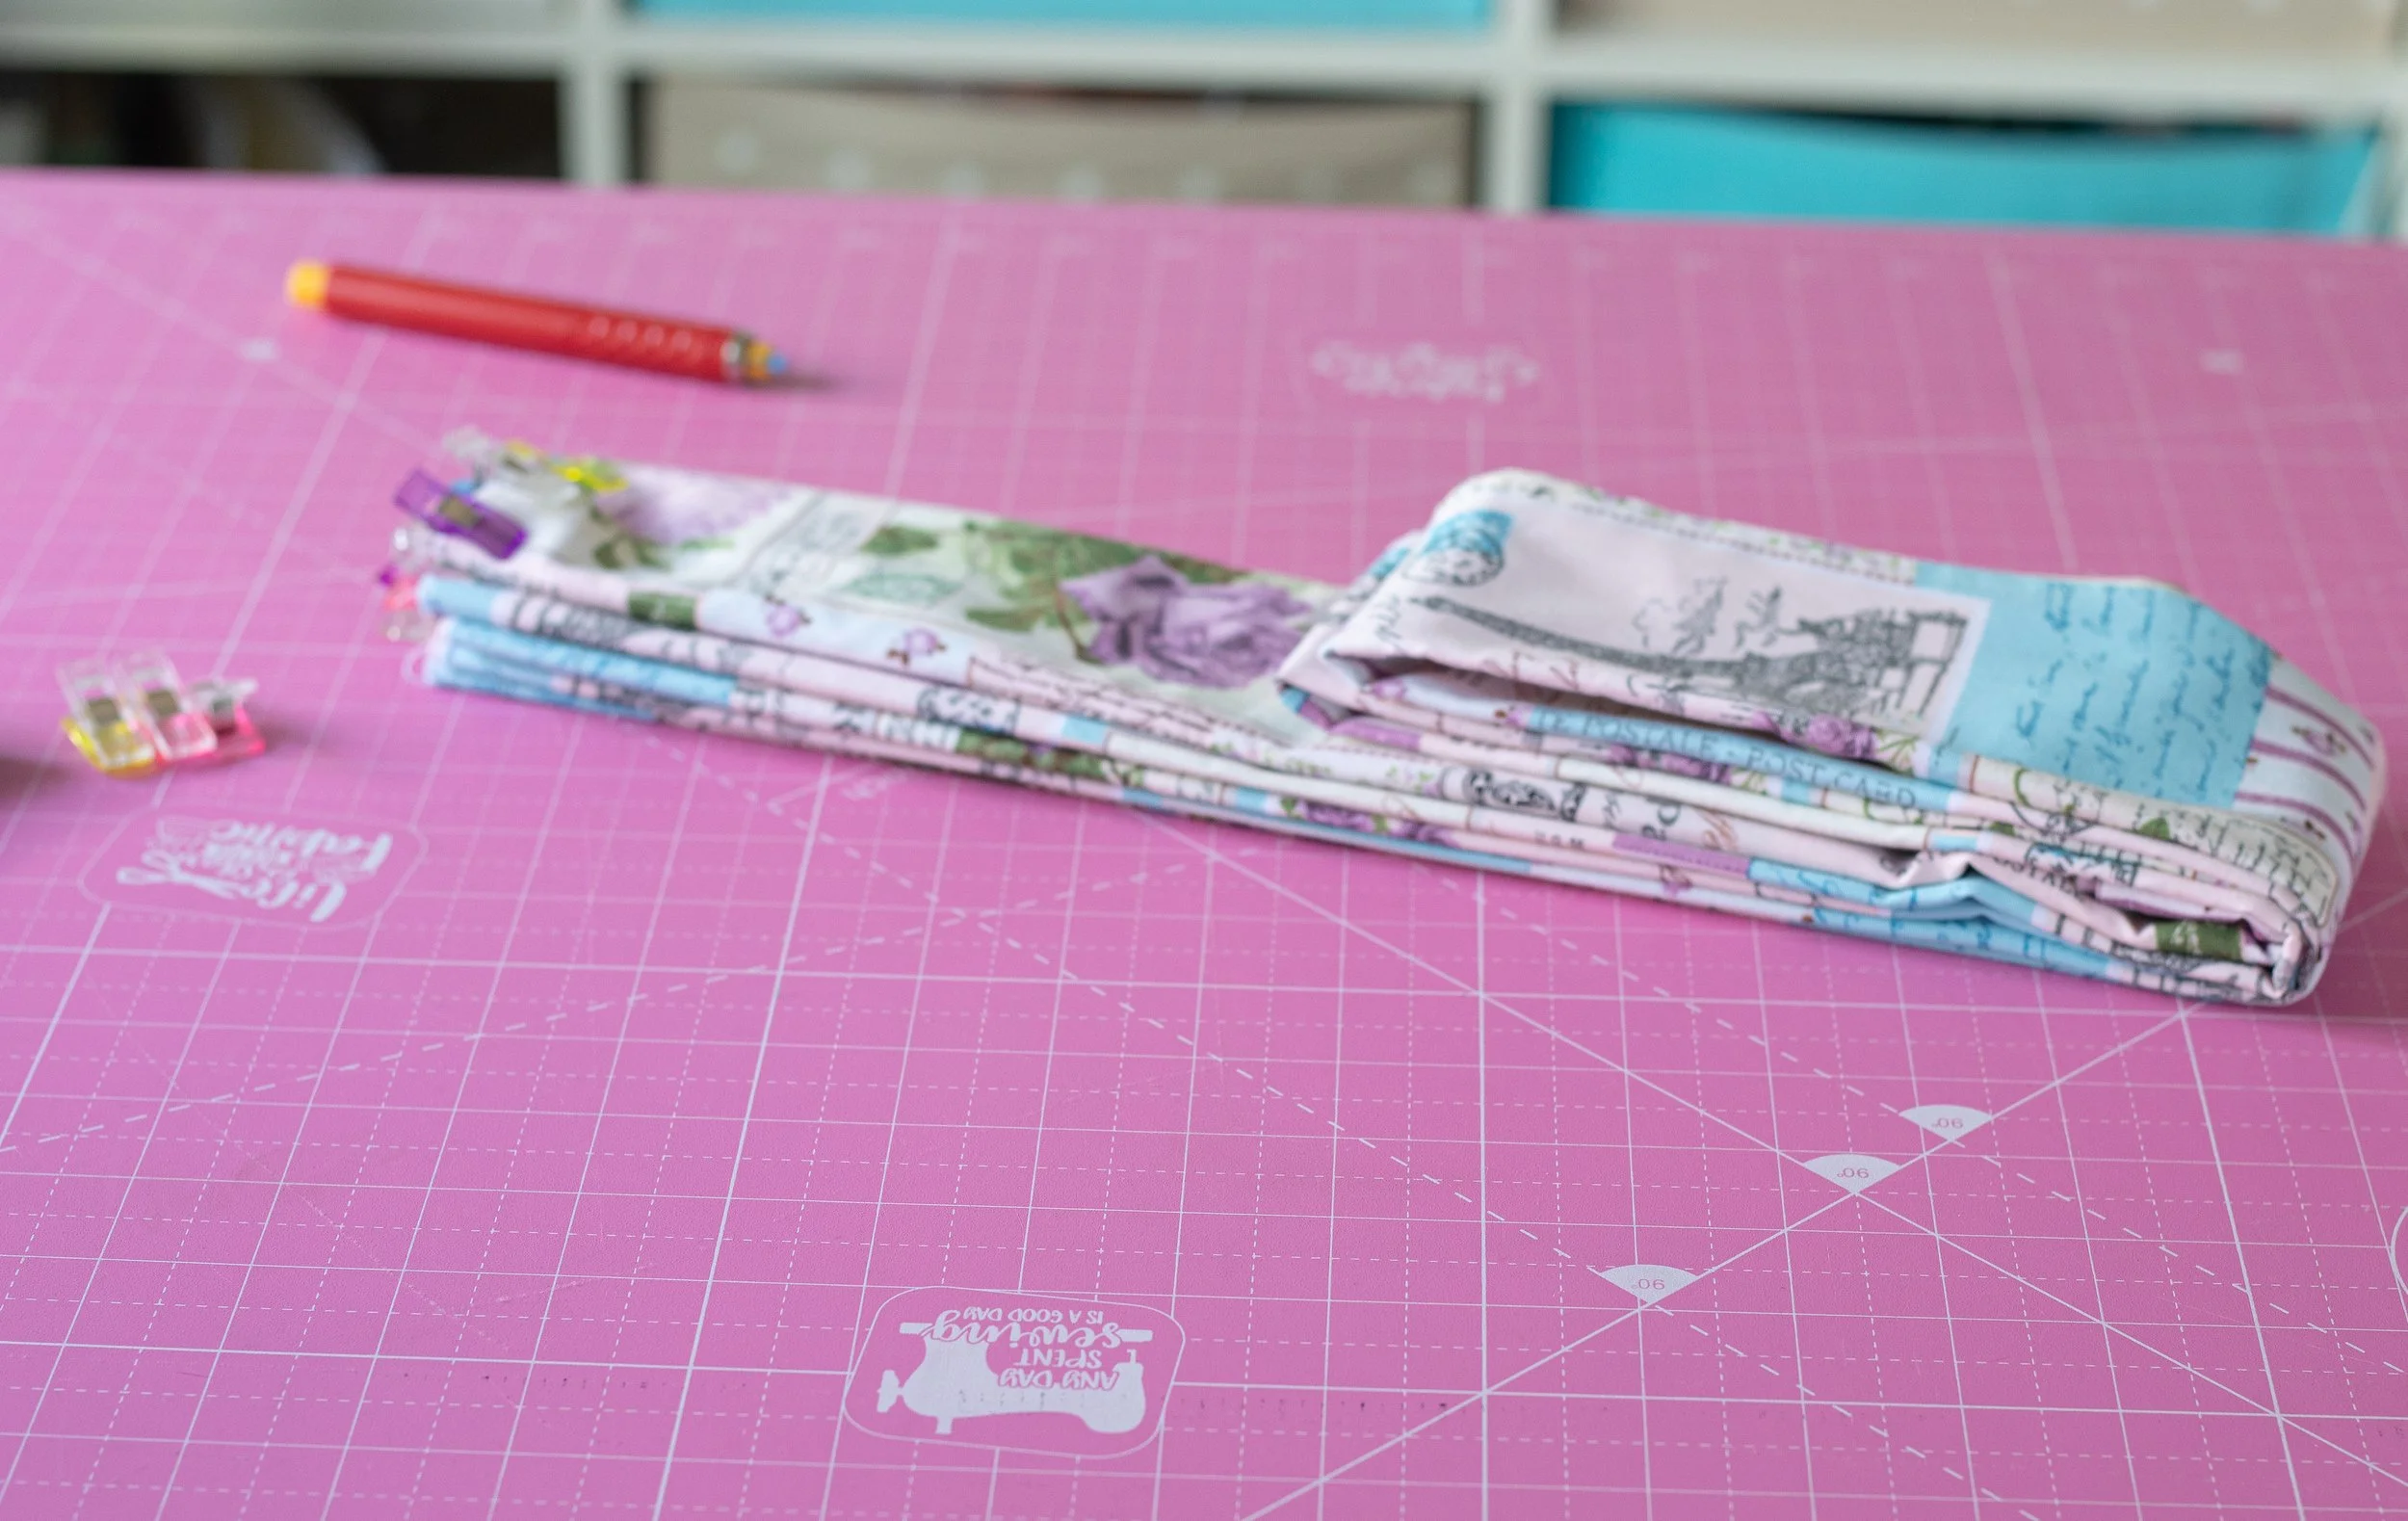
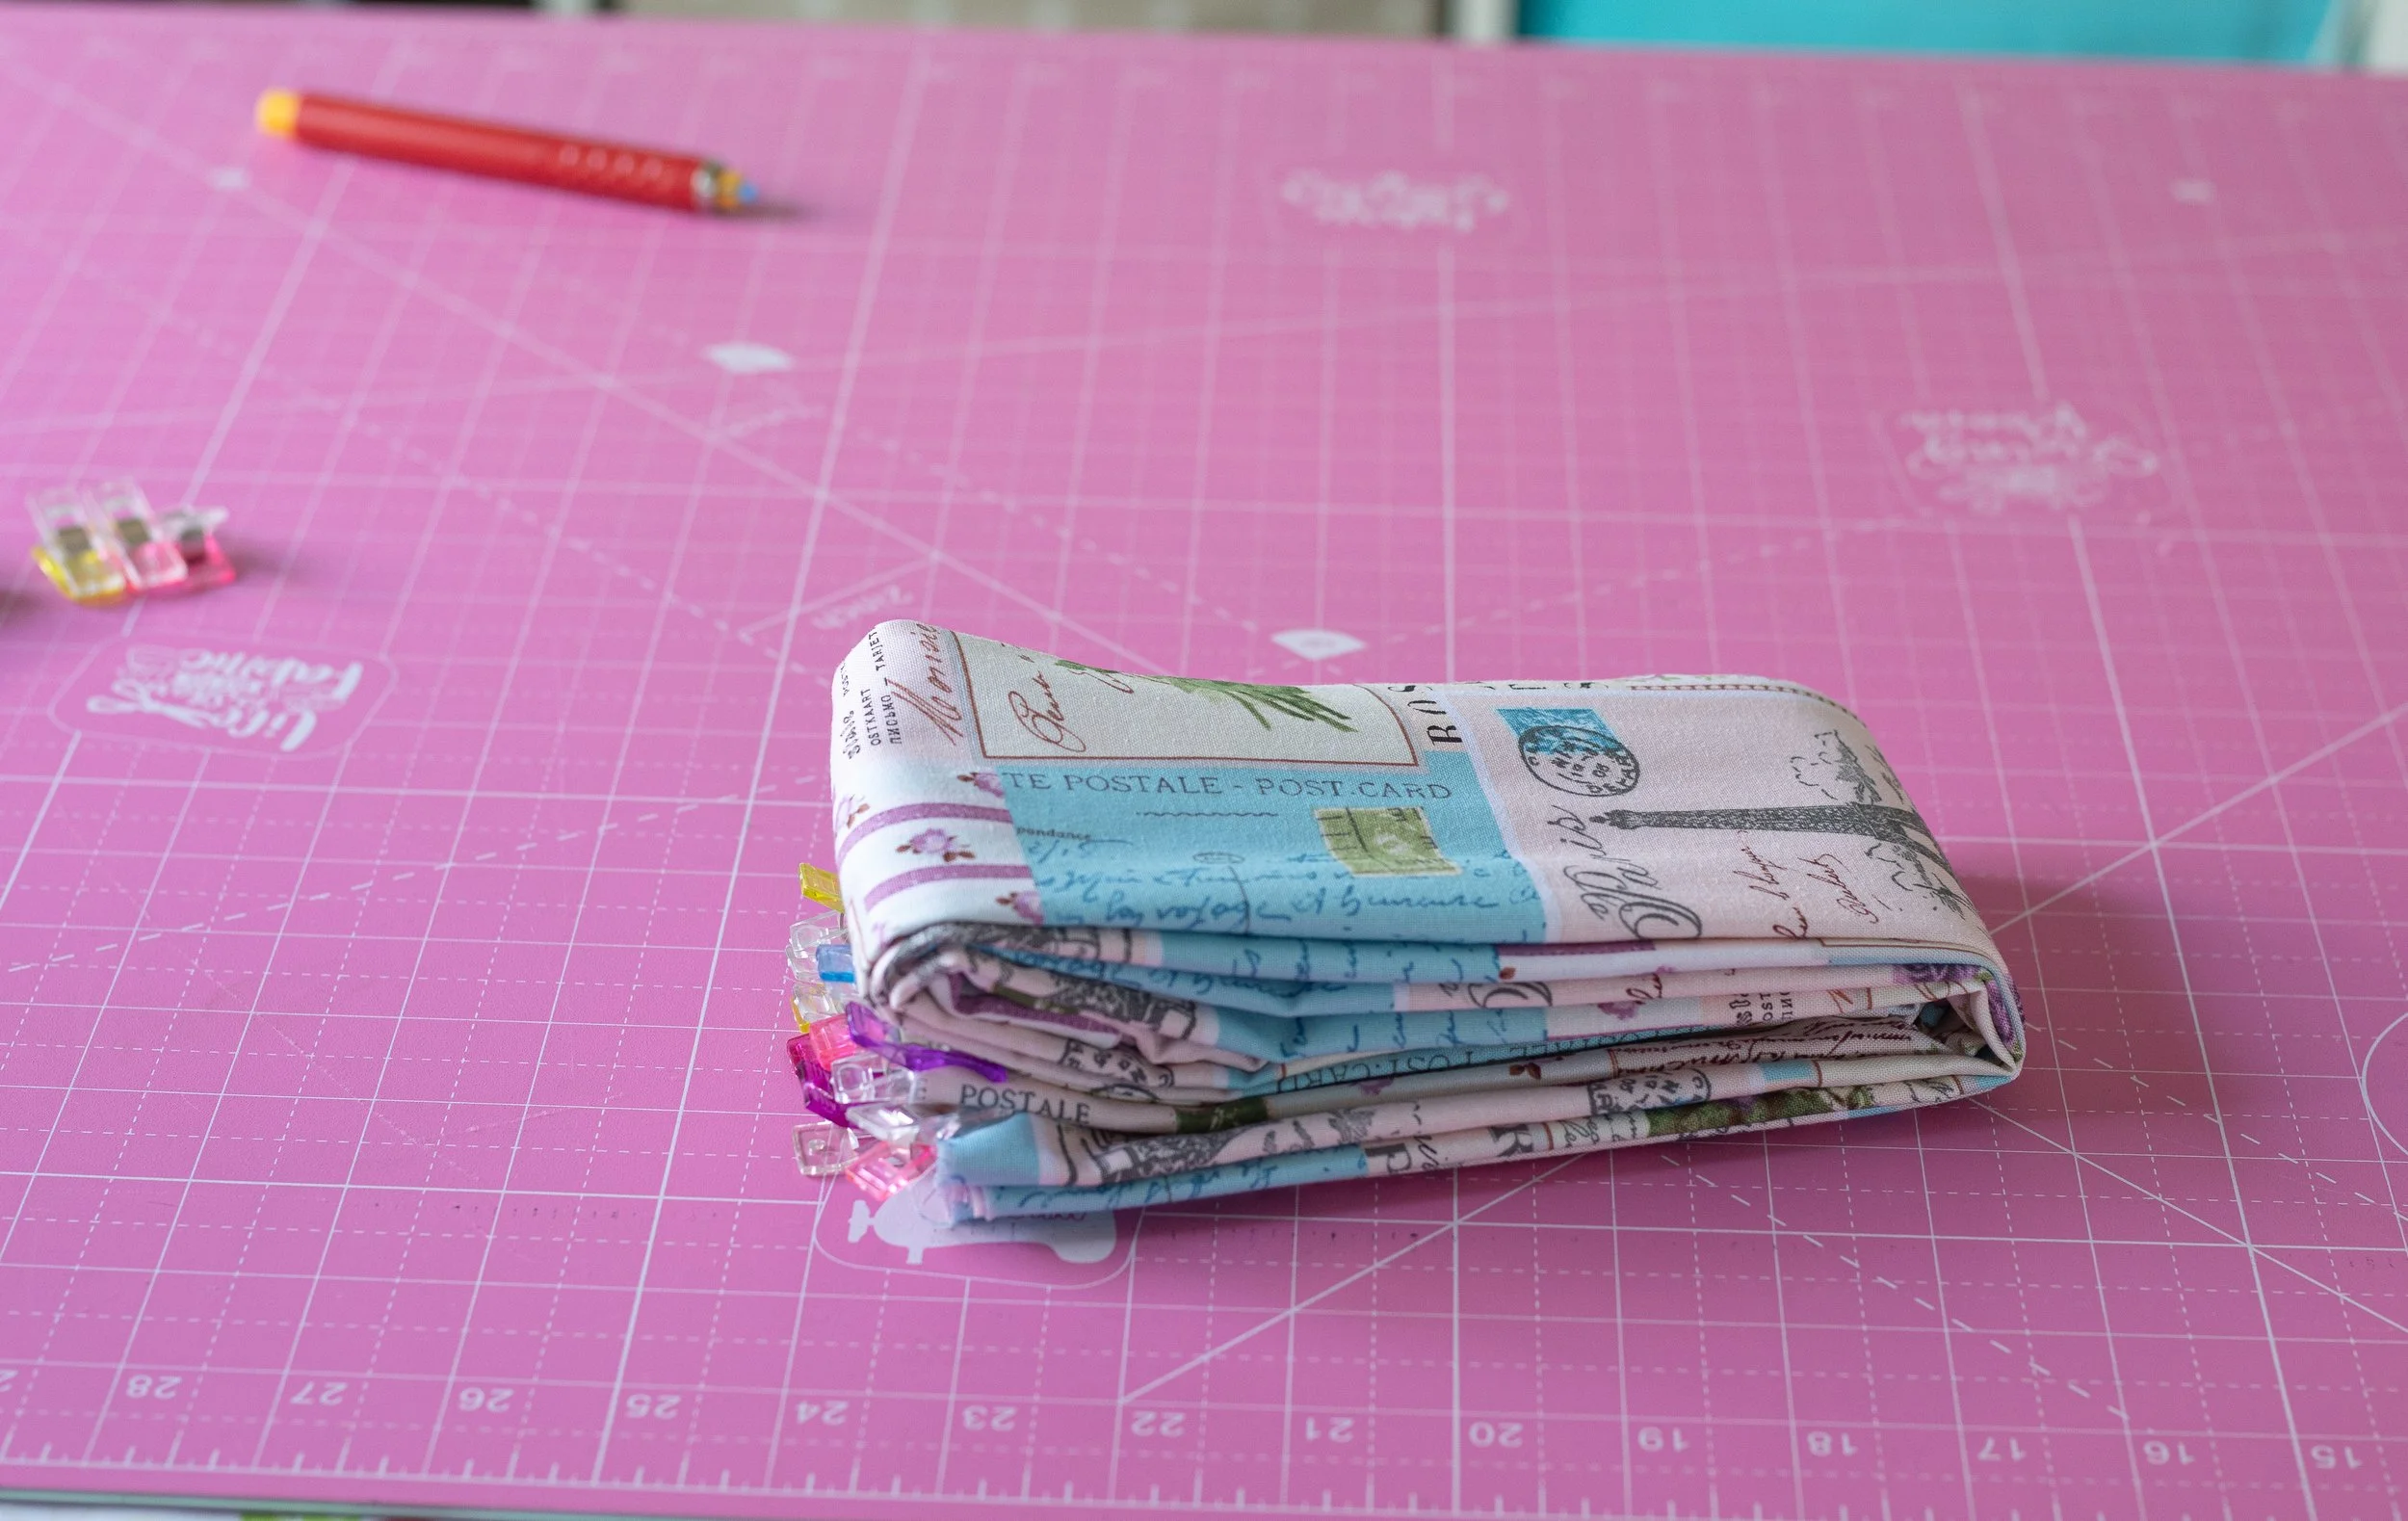
Fold in half longways, like a hot dog. Fold in half again, like a super skinny rectangle.
Next, you’ll fold the bag into thirds.
Fold the handles towards the middle, then, fold over again.
This folding method keeps the handles neatly inside. If you fold it opposite, the handles flap around all willy-nilly.

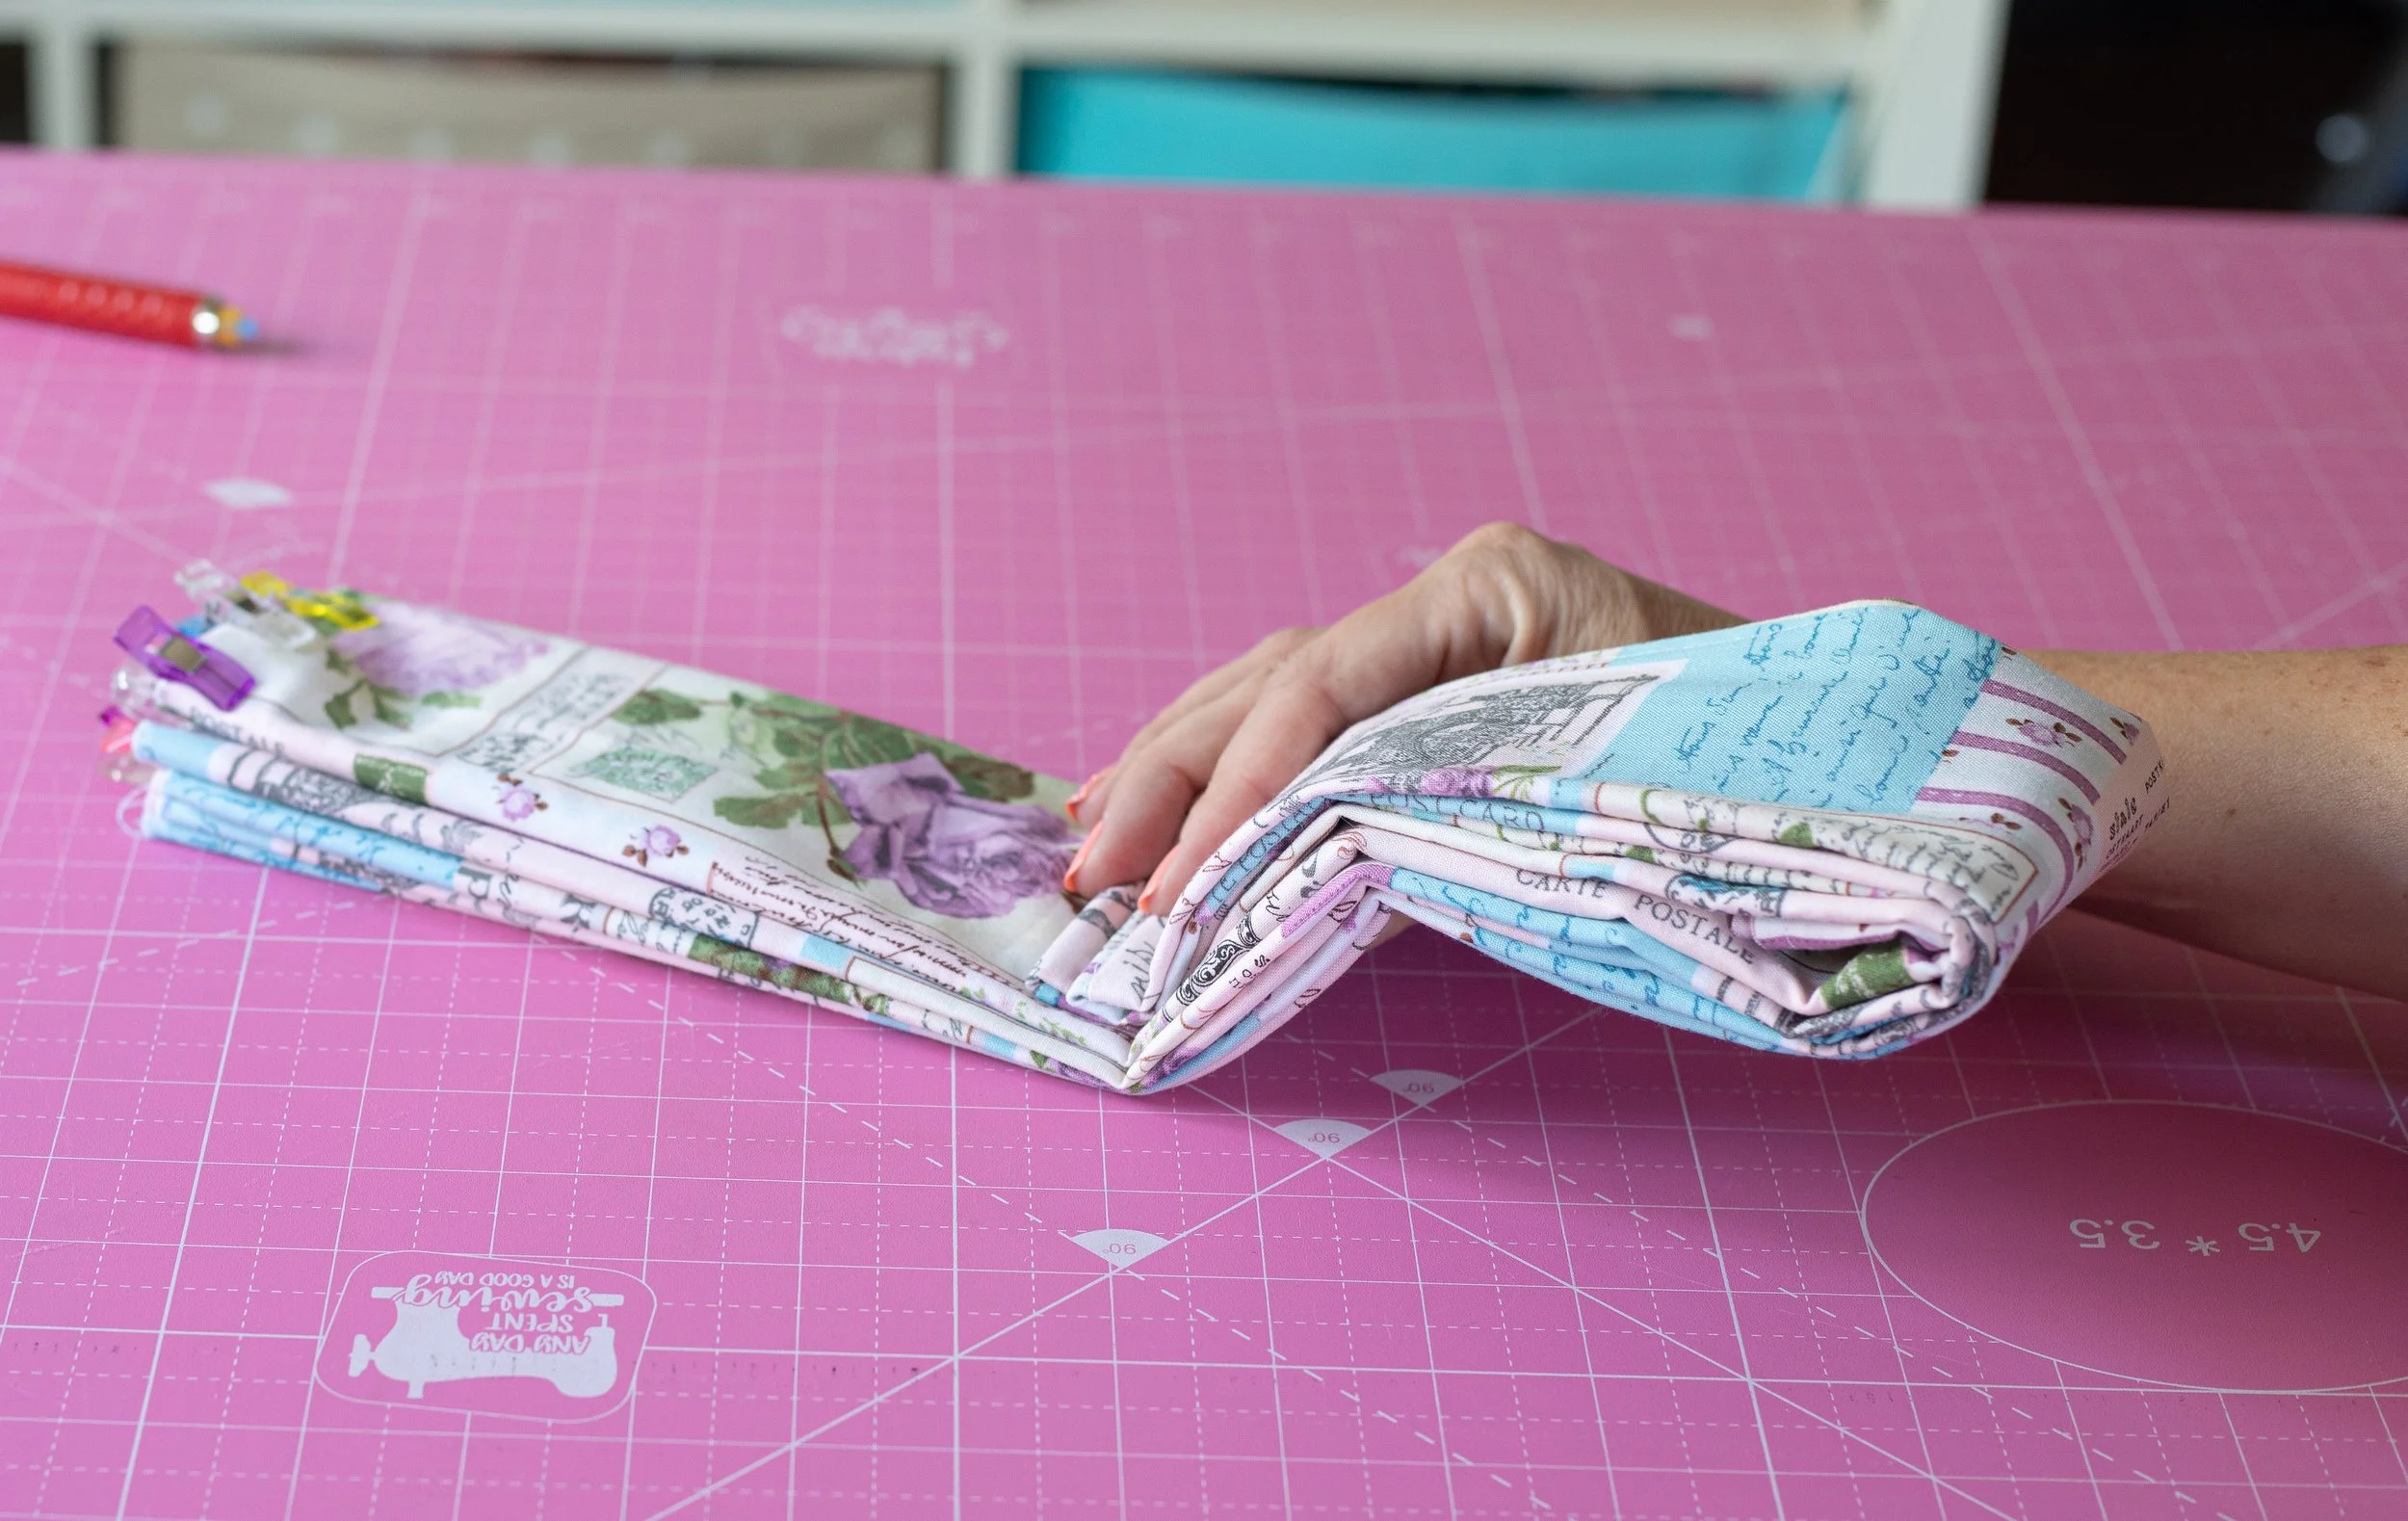
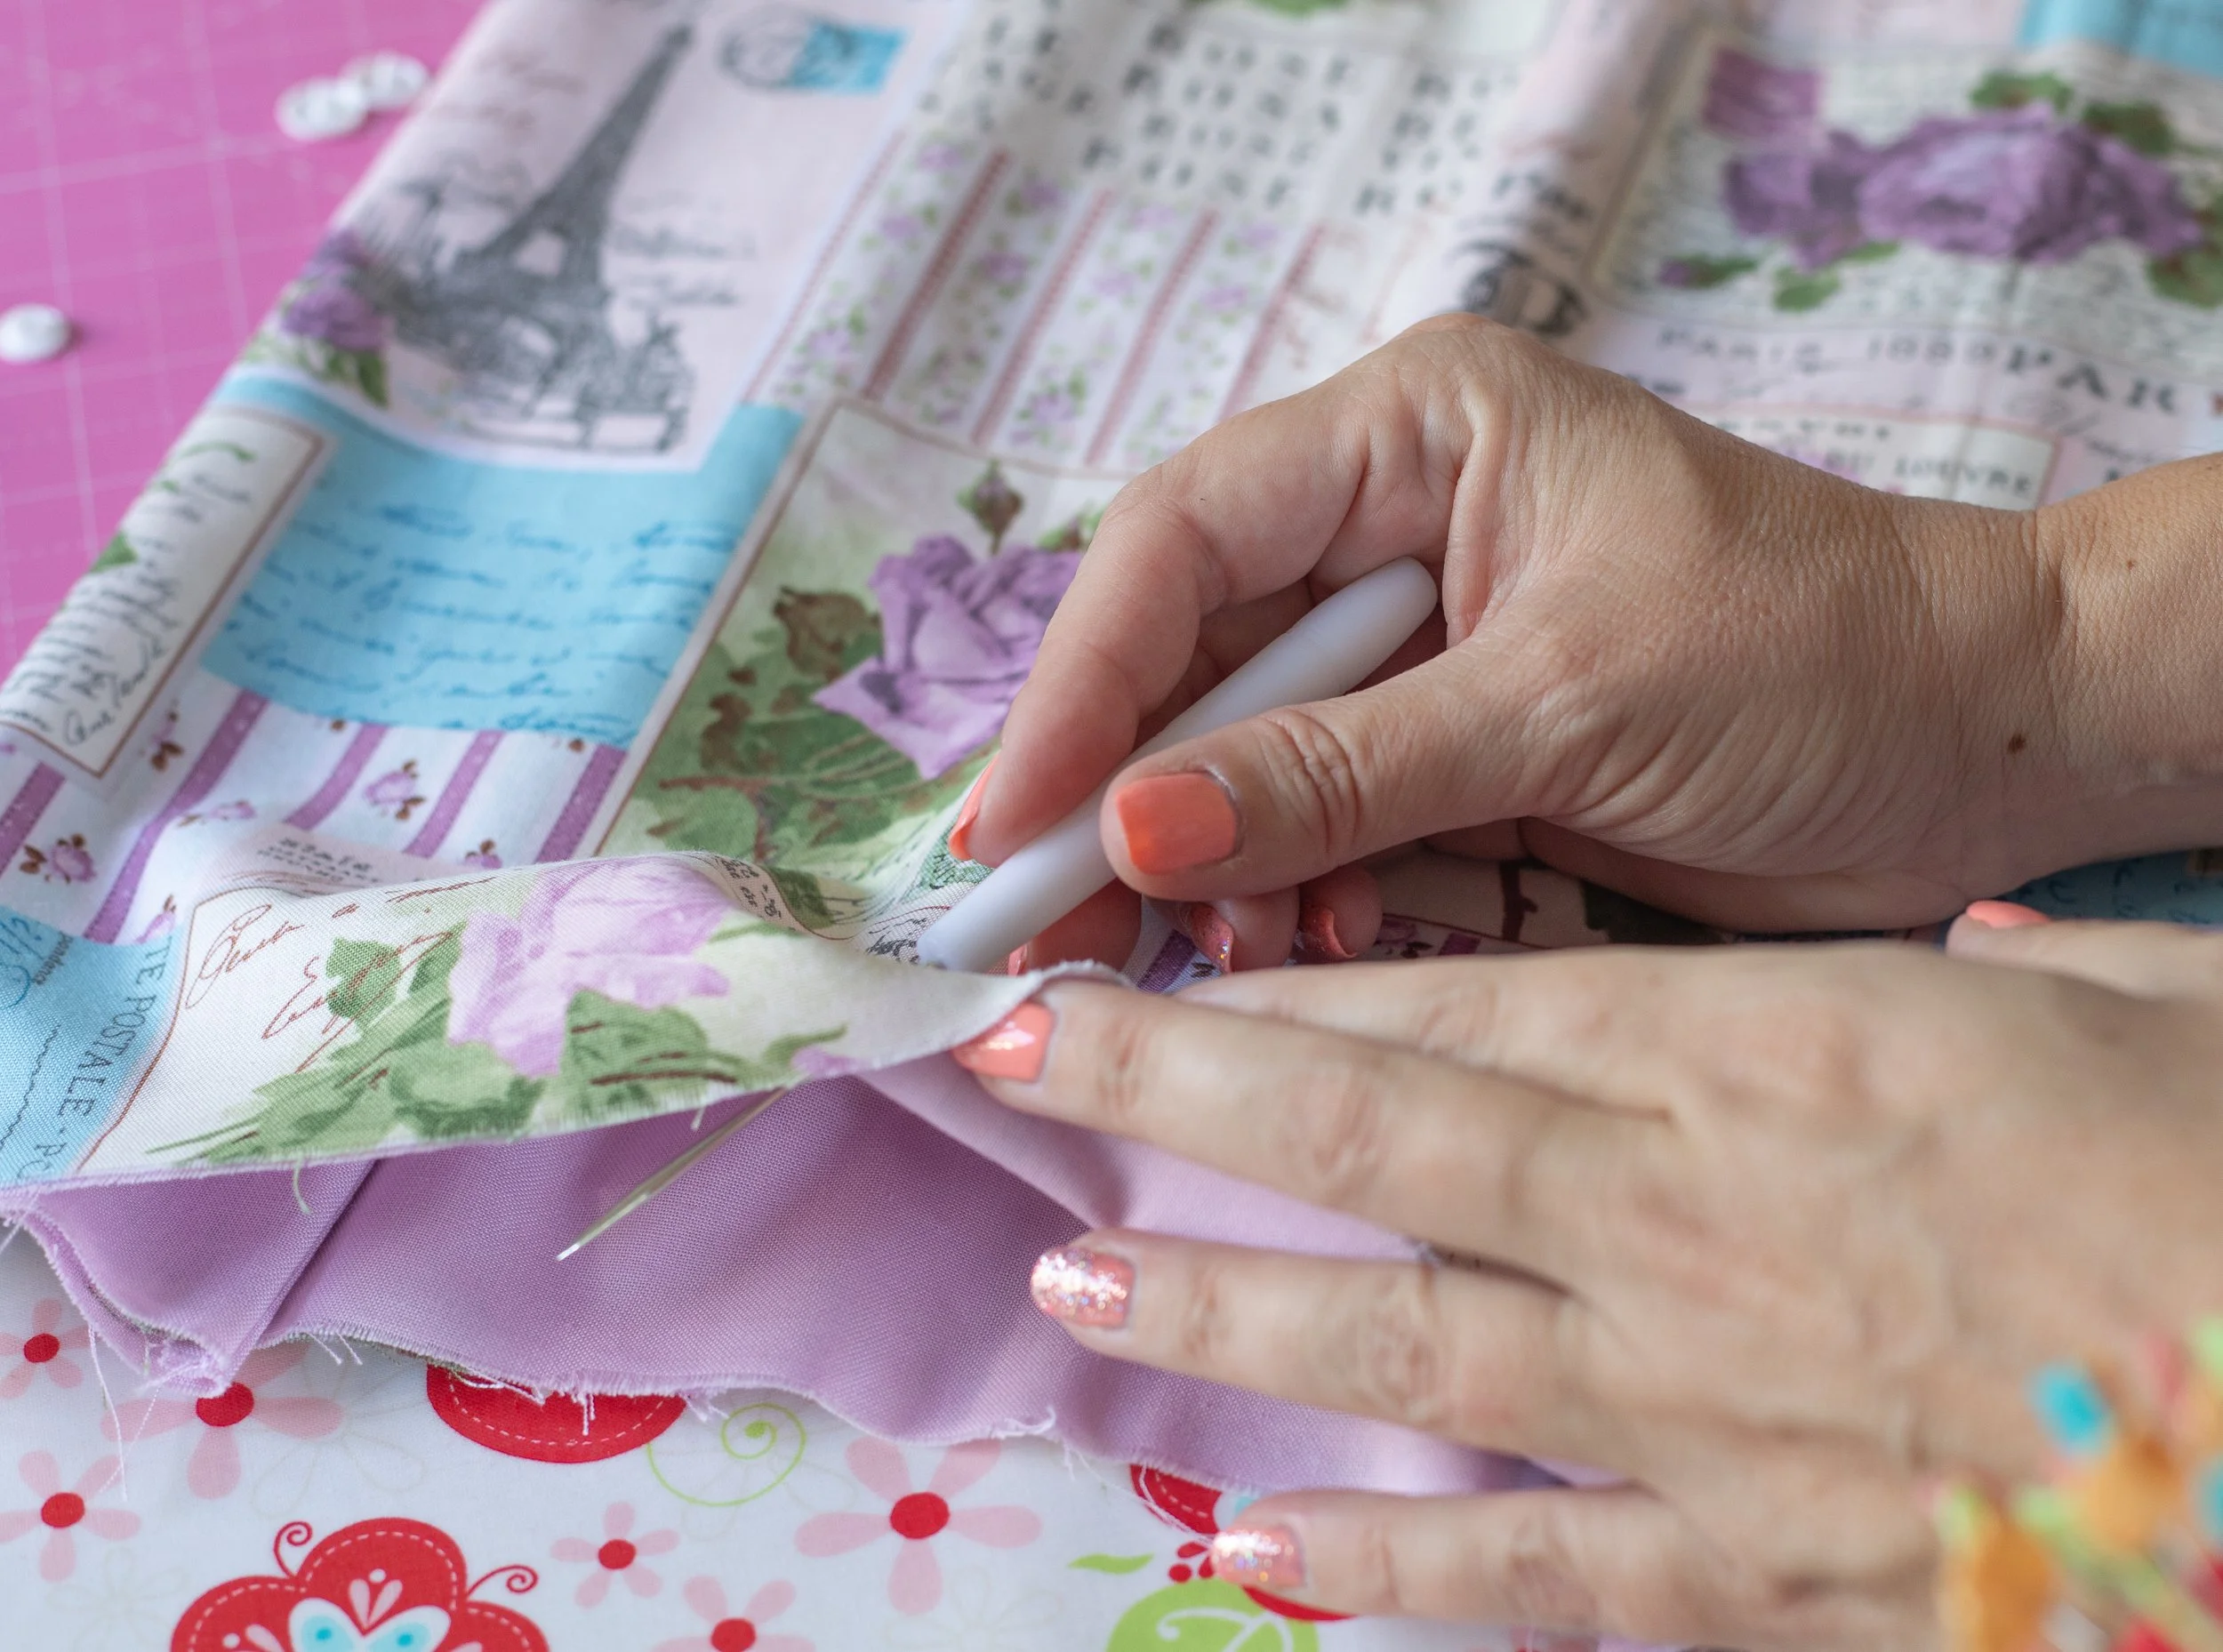
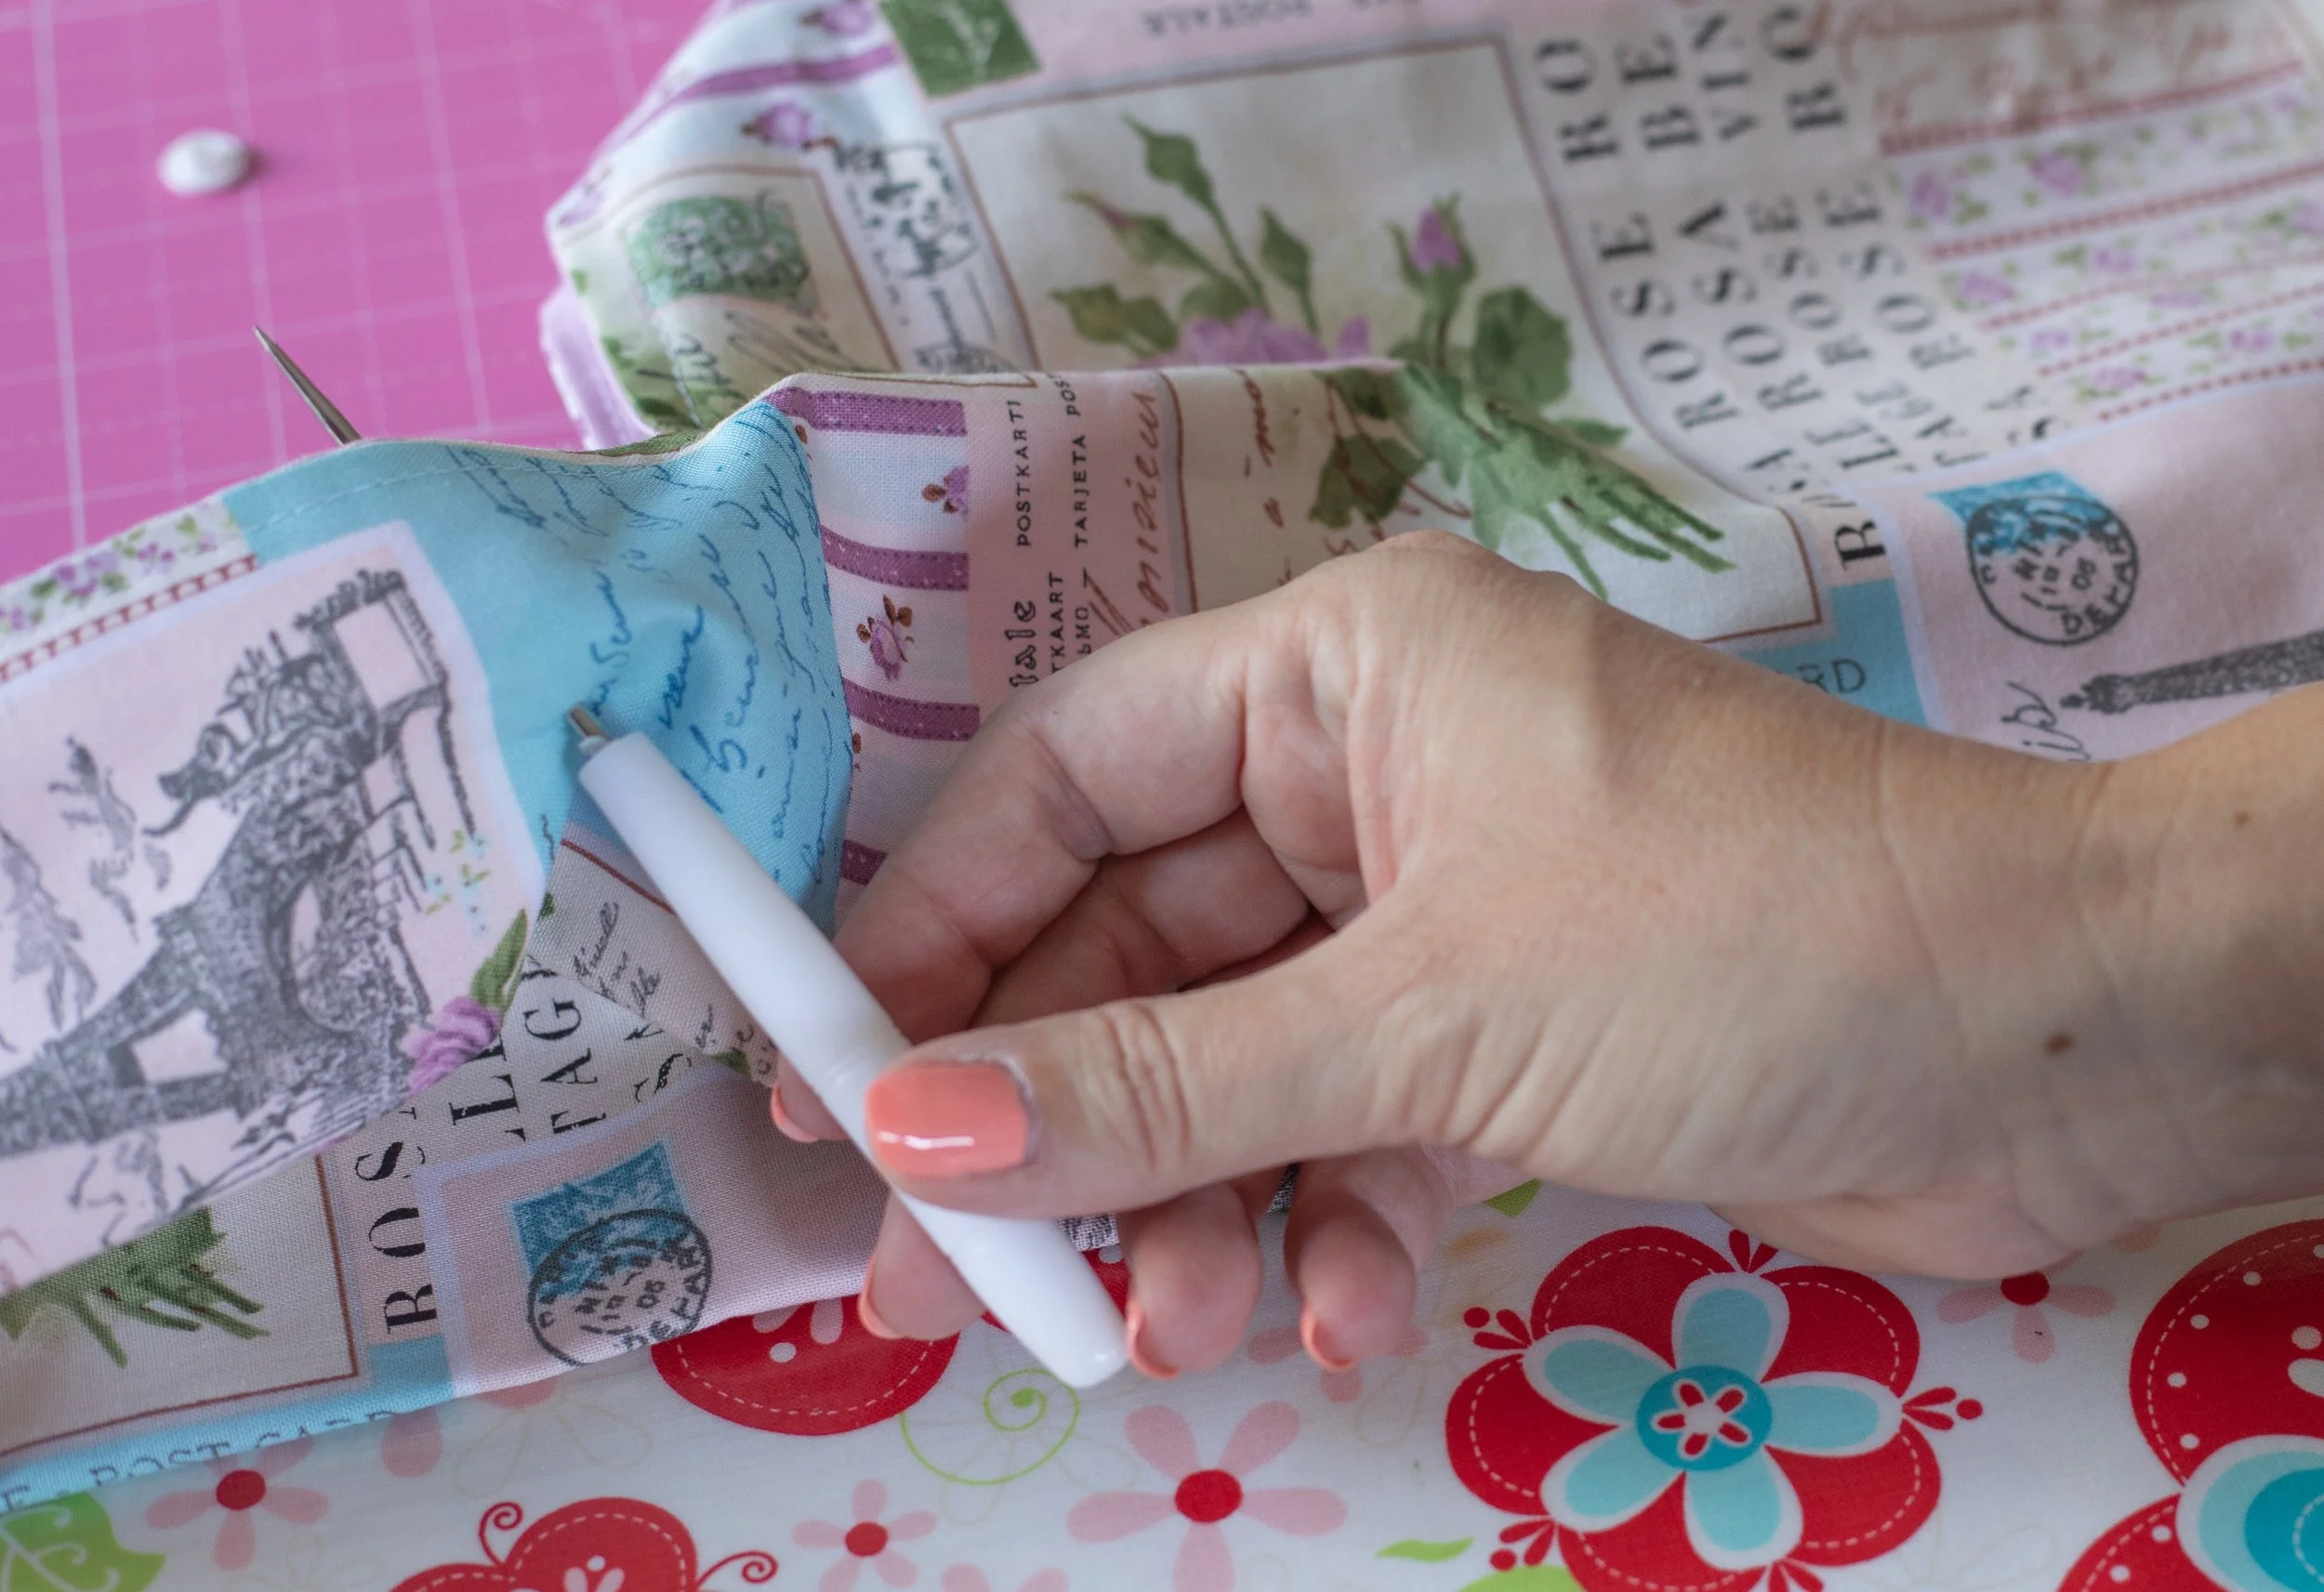
Next, grab a chalk pen or something similar. You will mark where the snaps need to be inserted.
I use chalk, then pins to mark the spot. You are marking the area where the fabric meets. You will insert a snap on each part.
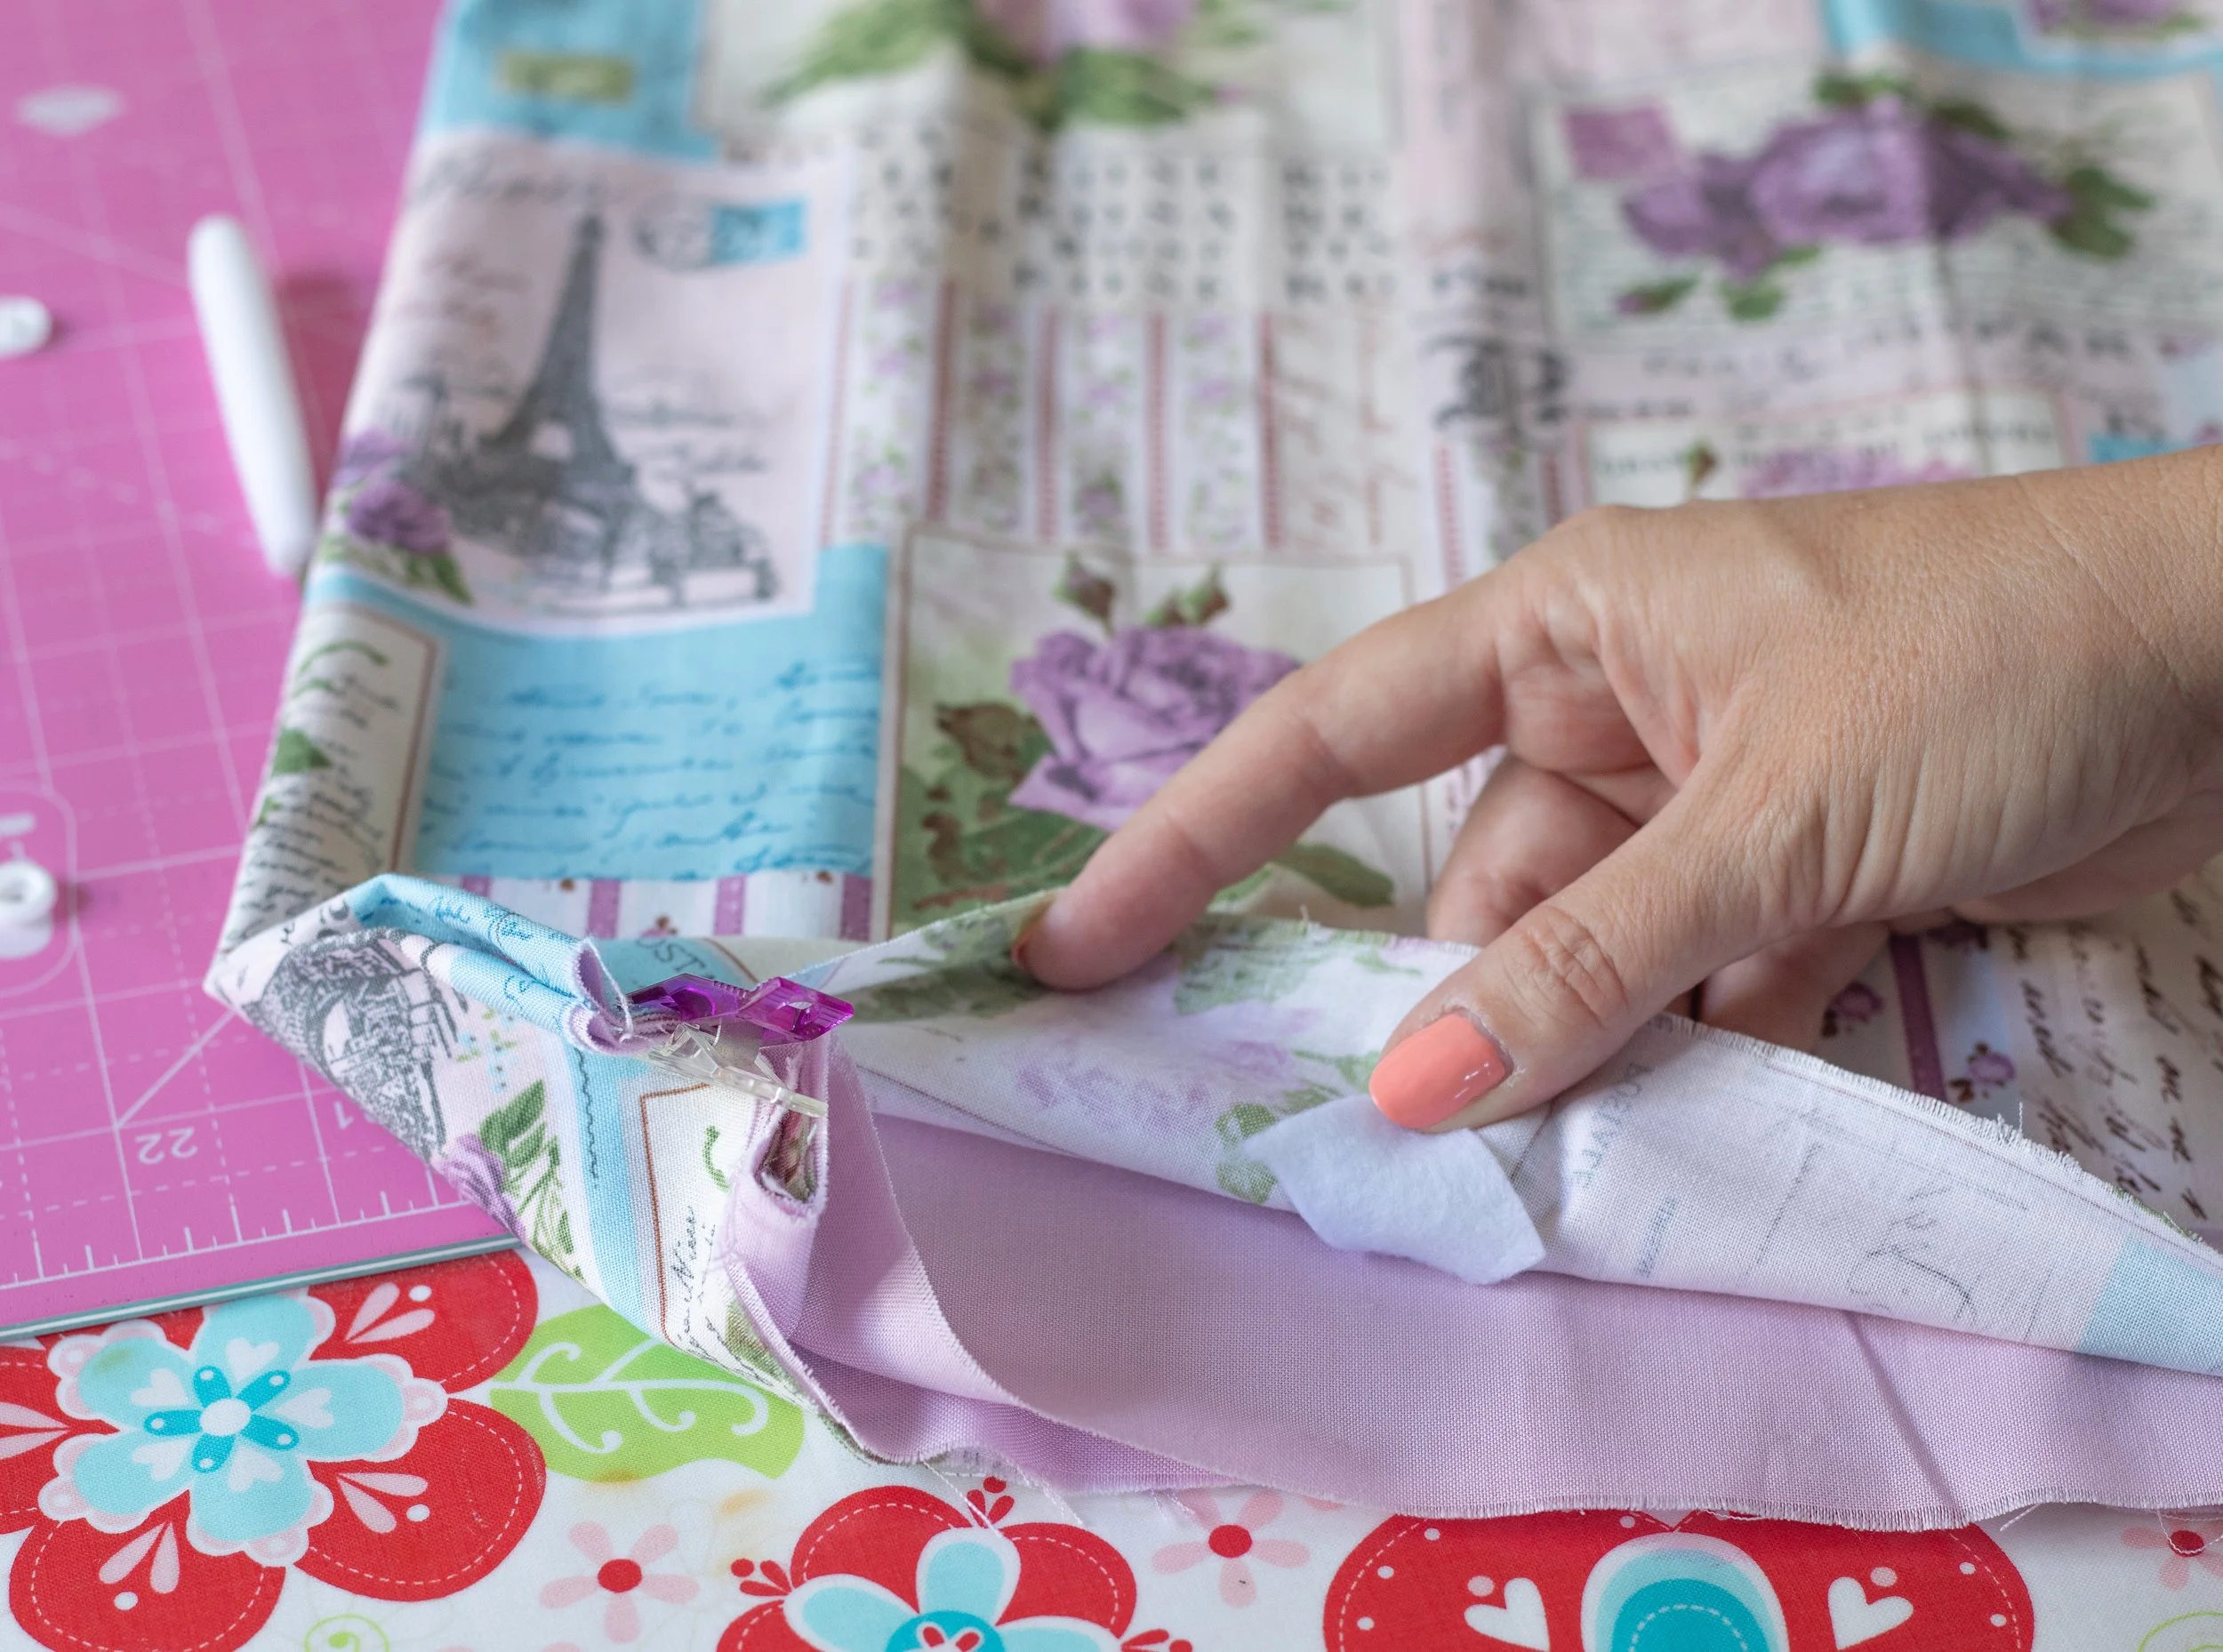
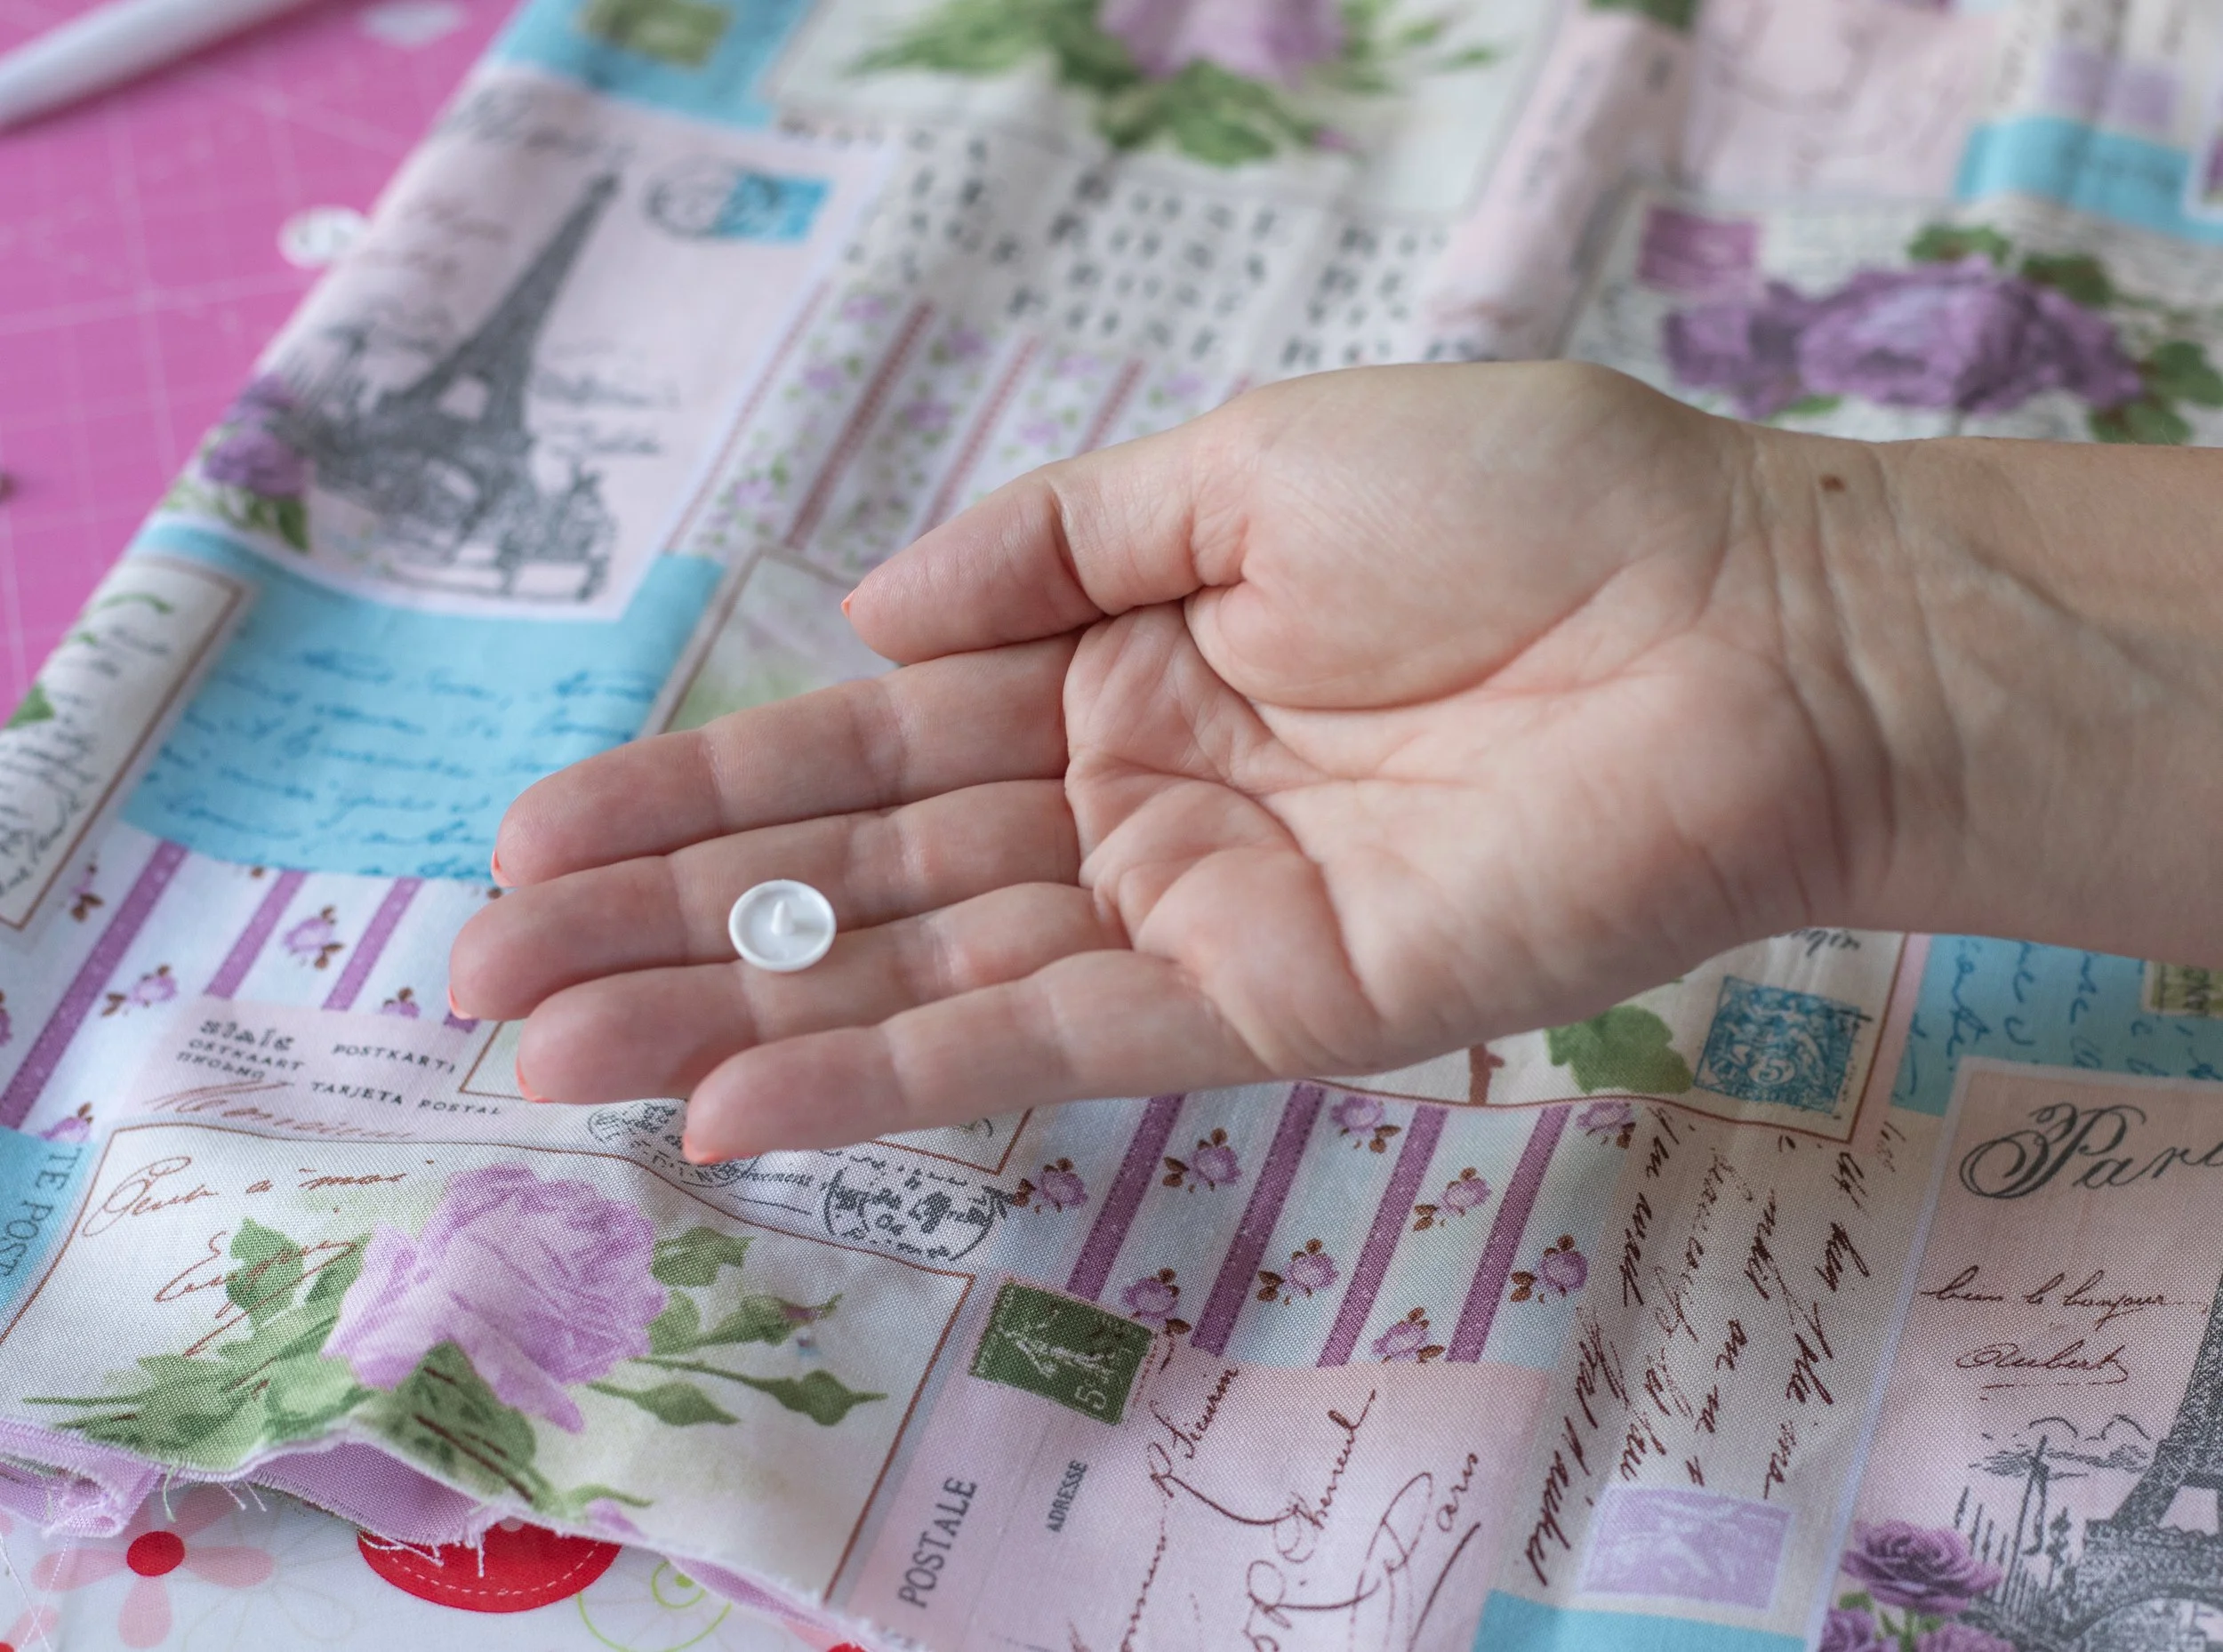
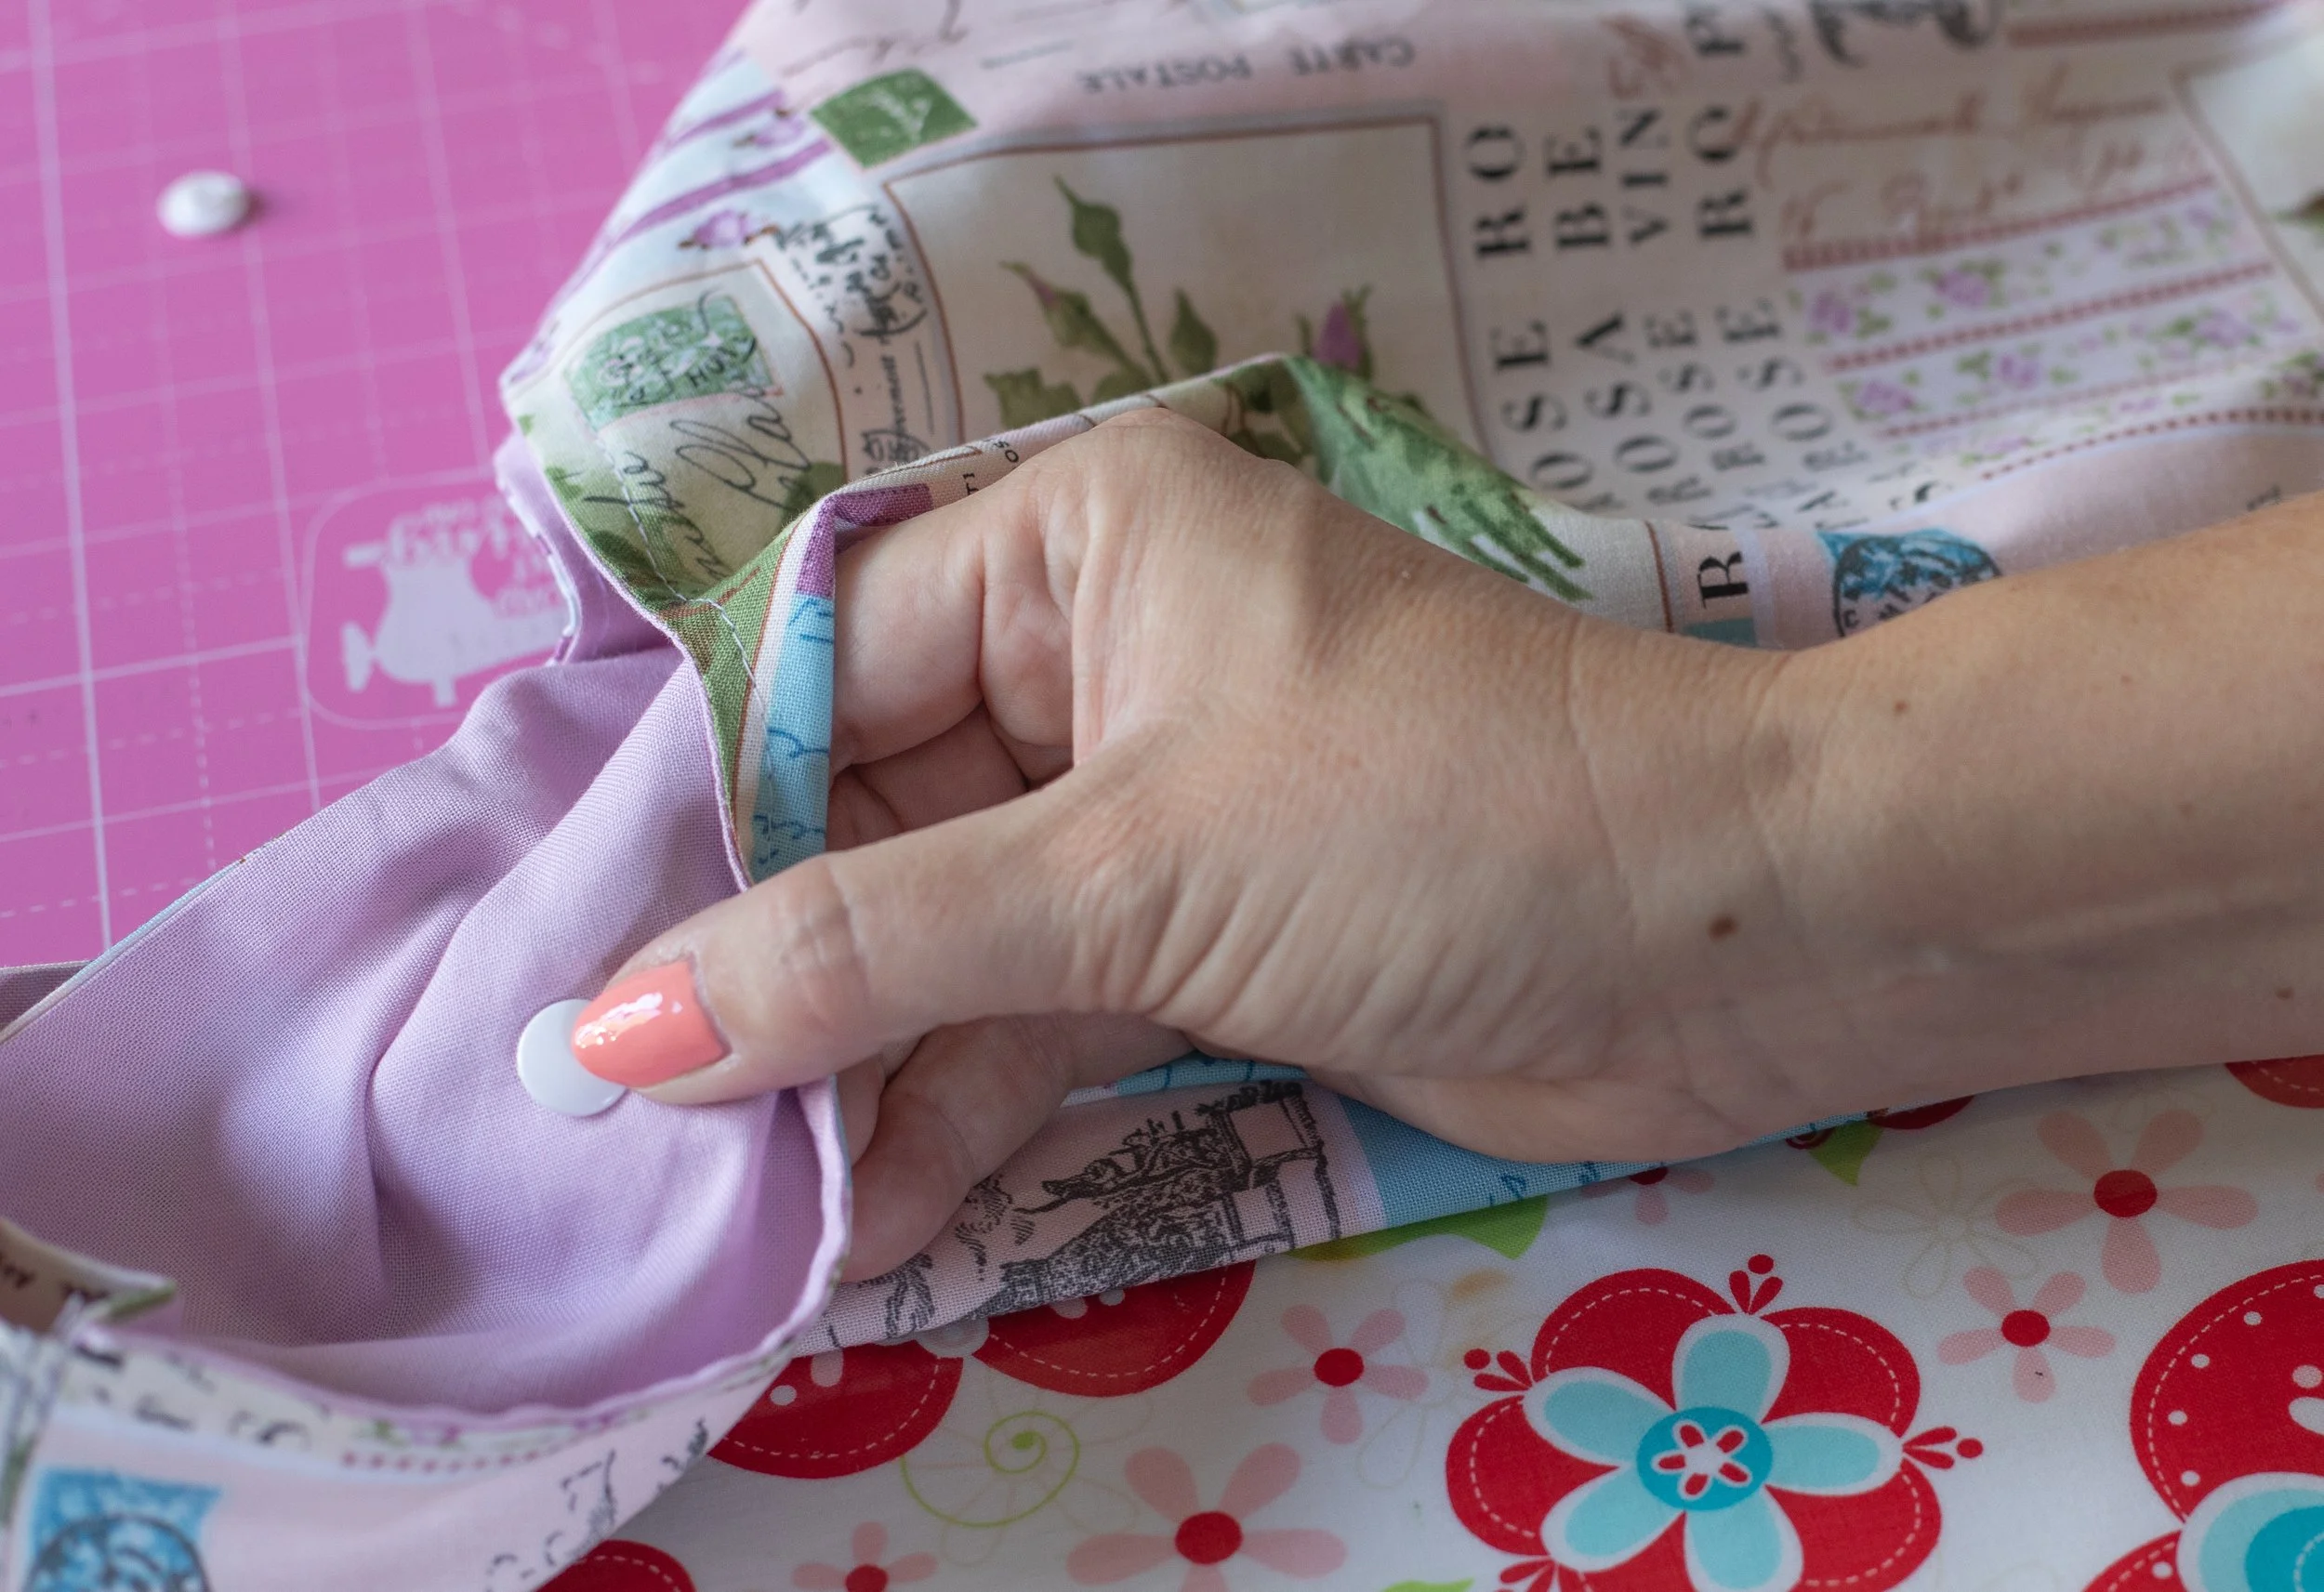
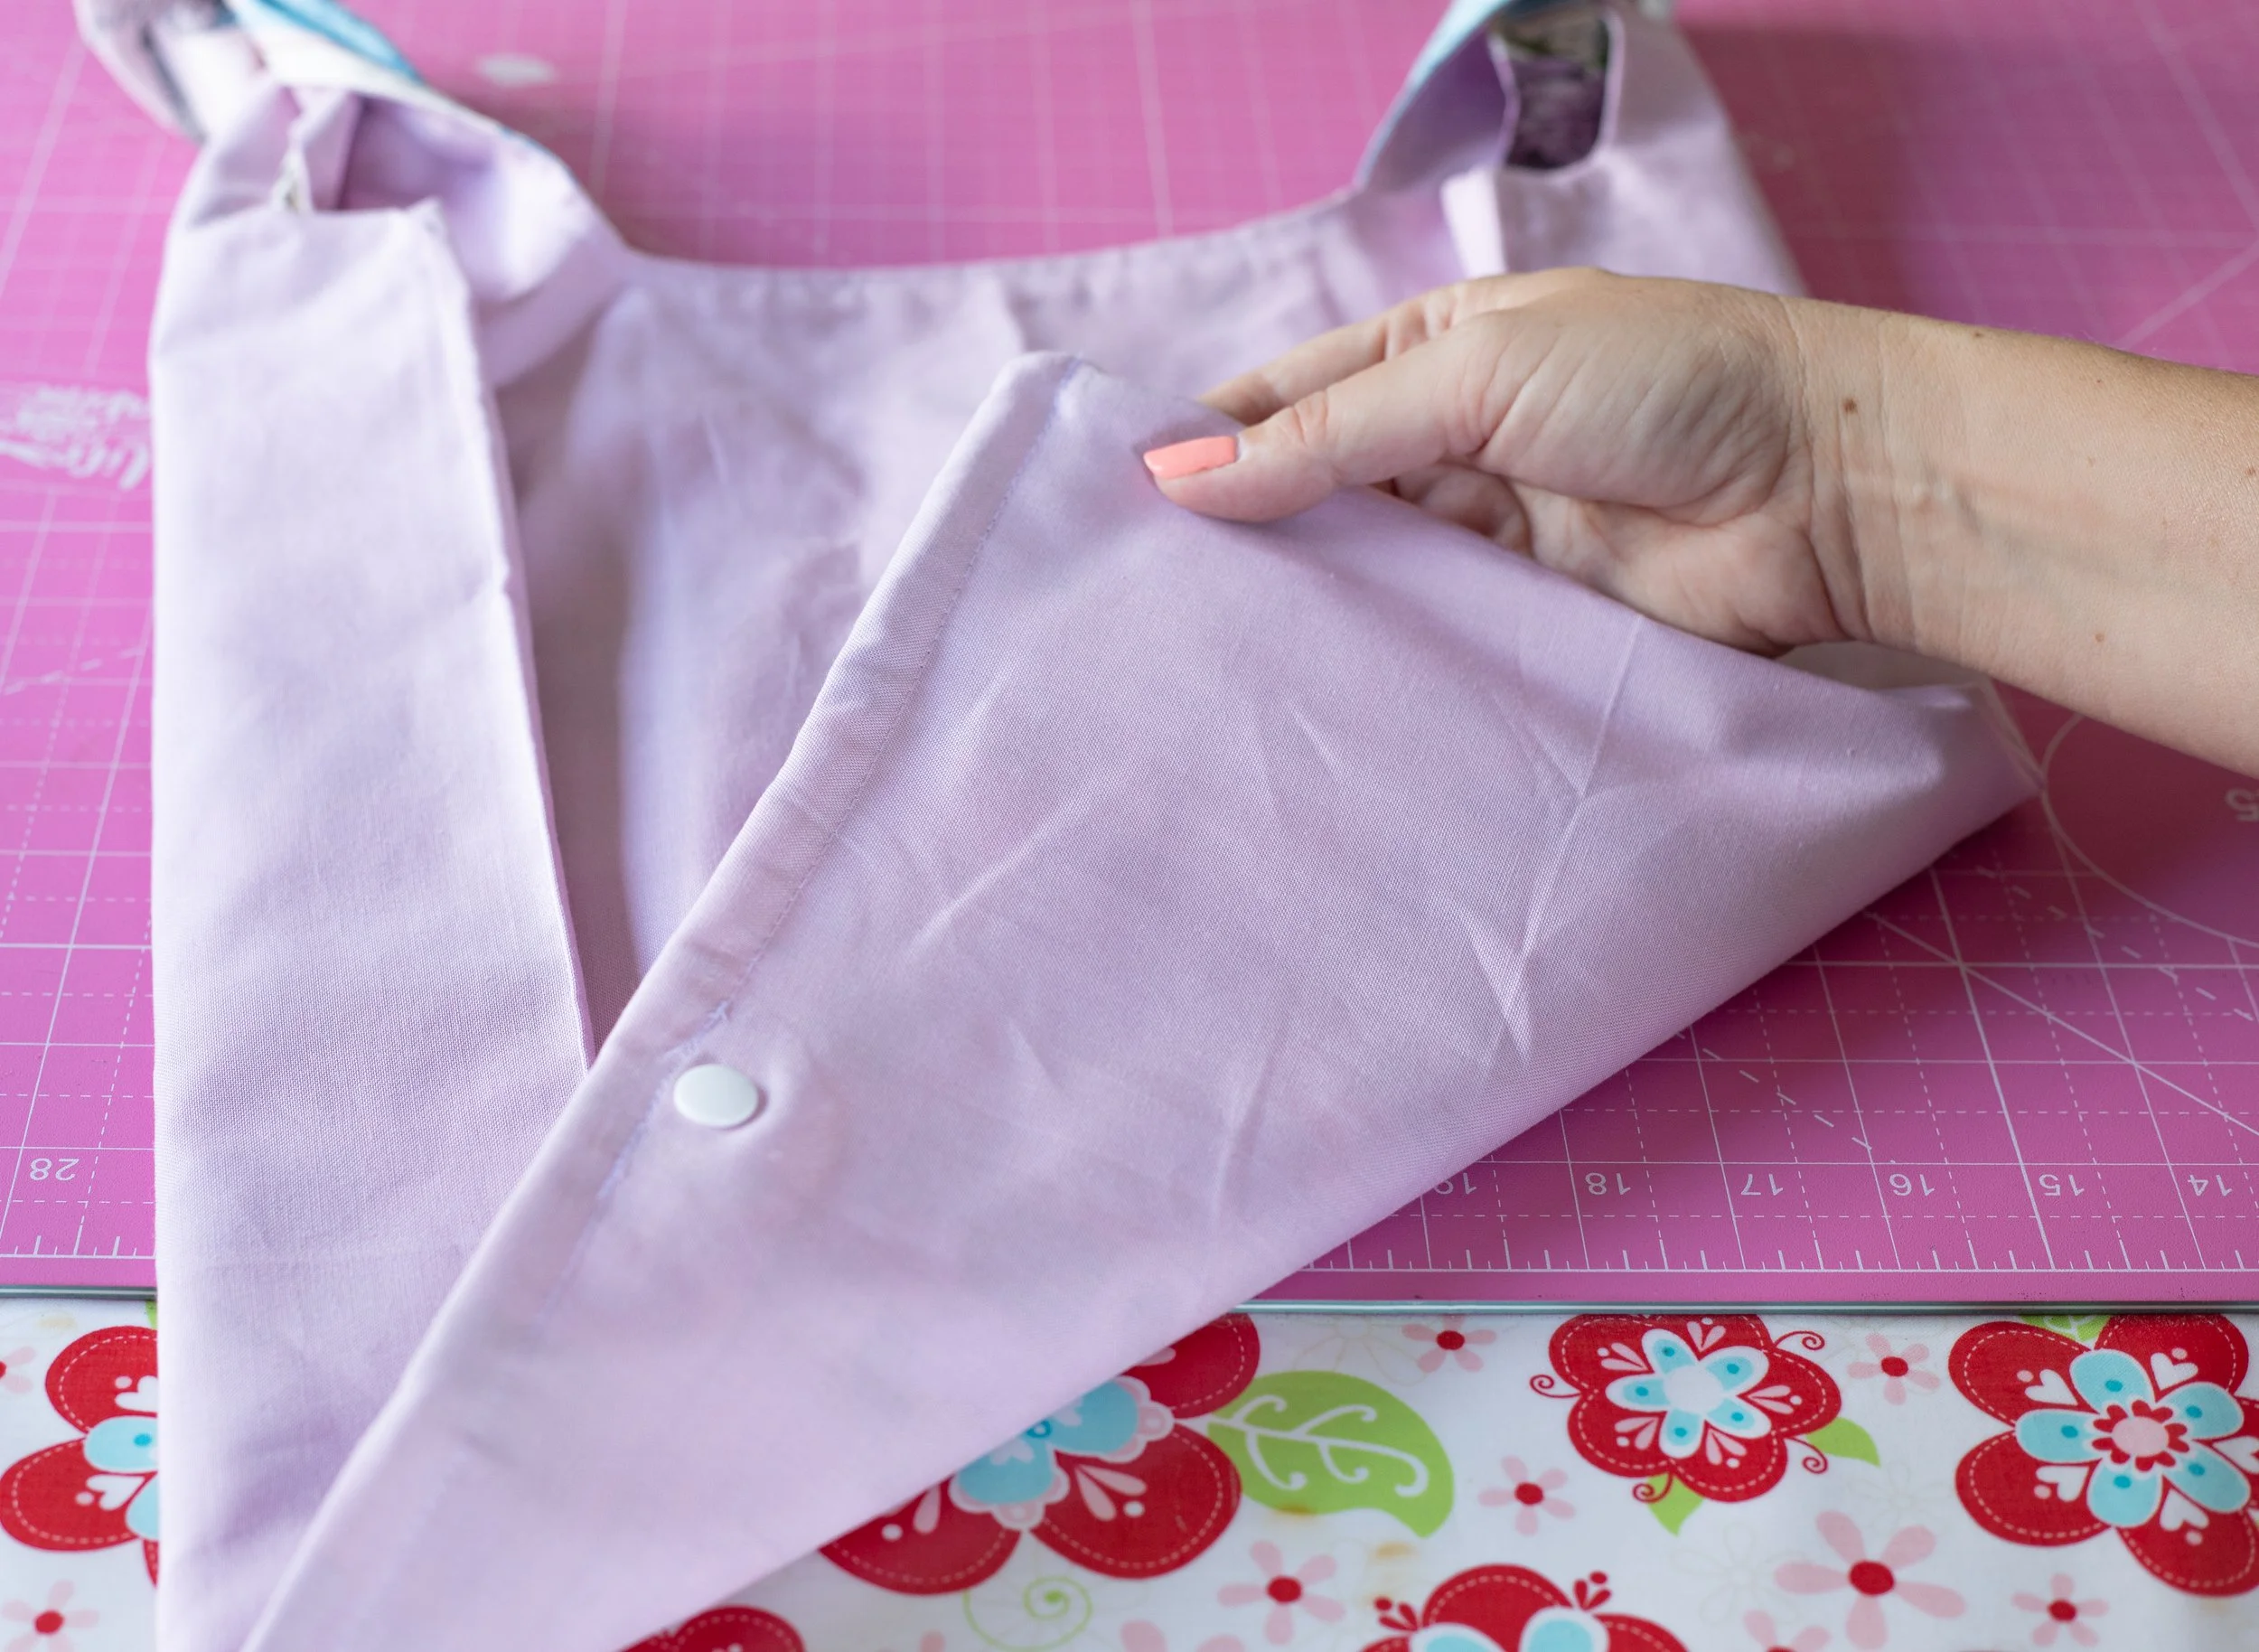
Unfold the bag and grab a tiny scrap of interfacing—about 1” in size, and your KAM snap tool.
Apply your interfacing to the wrong side of the fabric, sandwiching the scrap piece between the lining and outer.
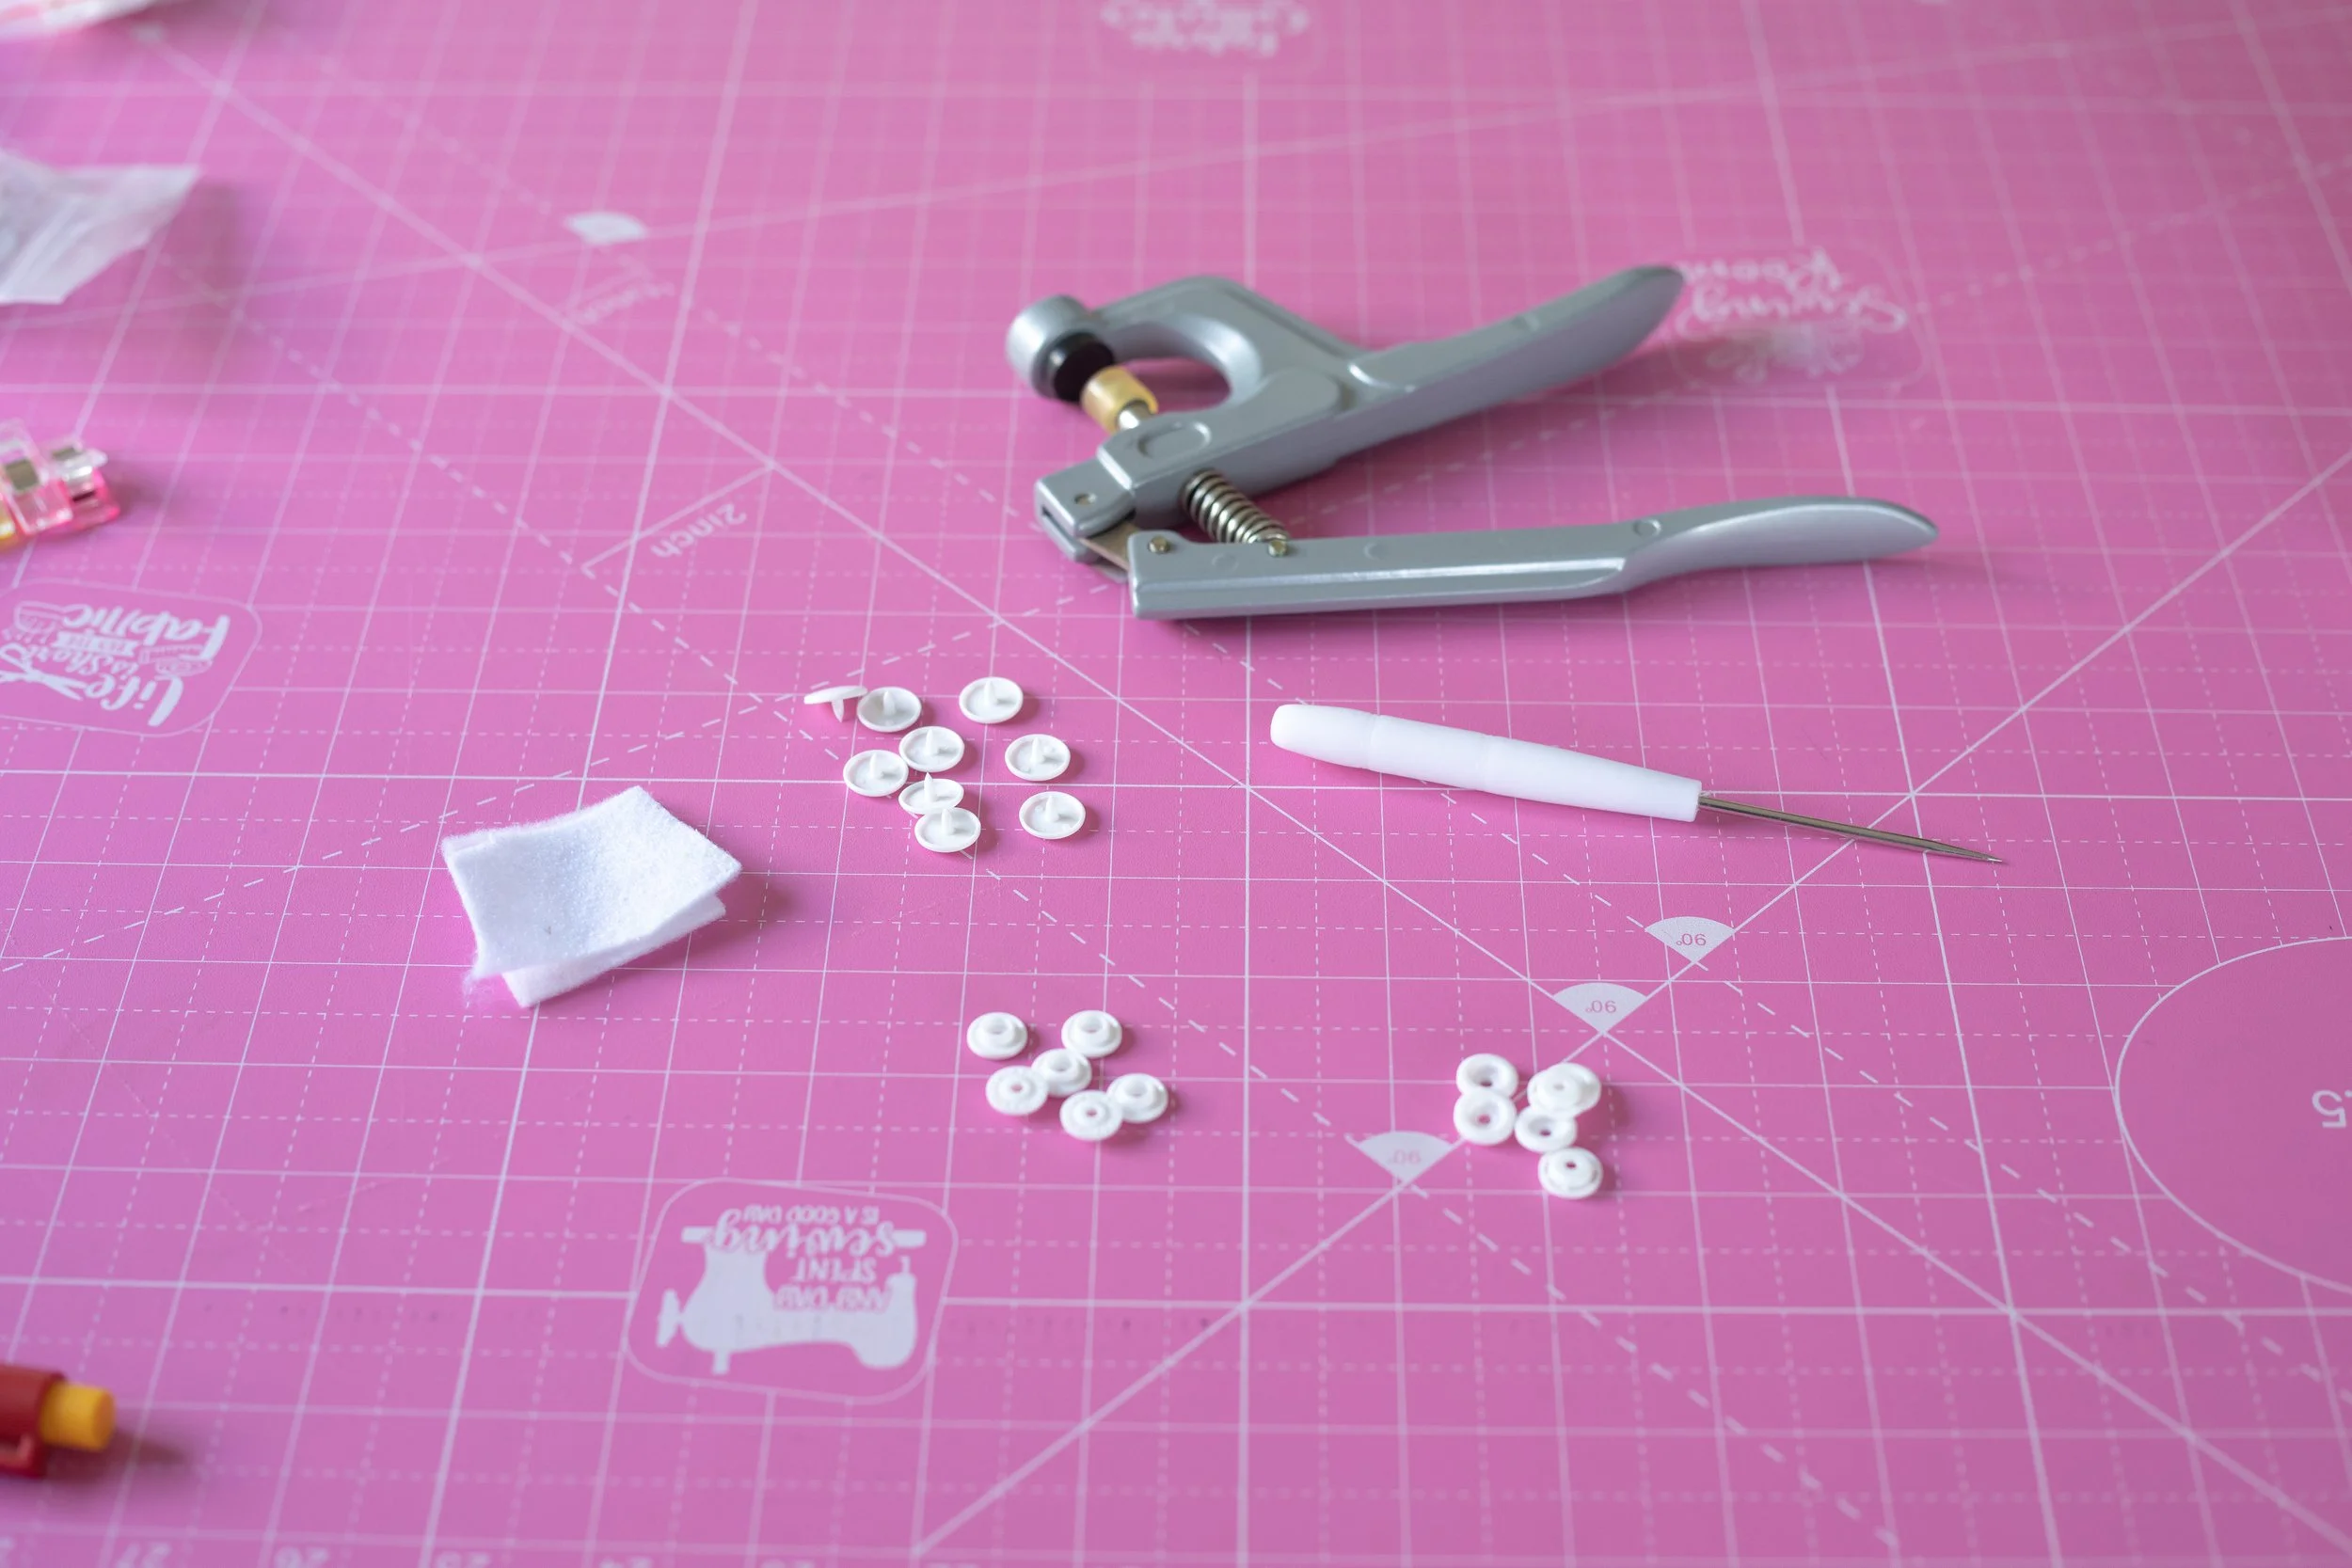
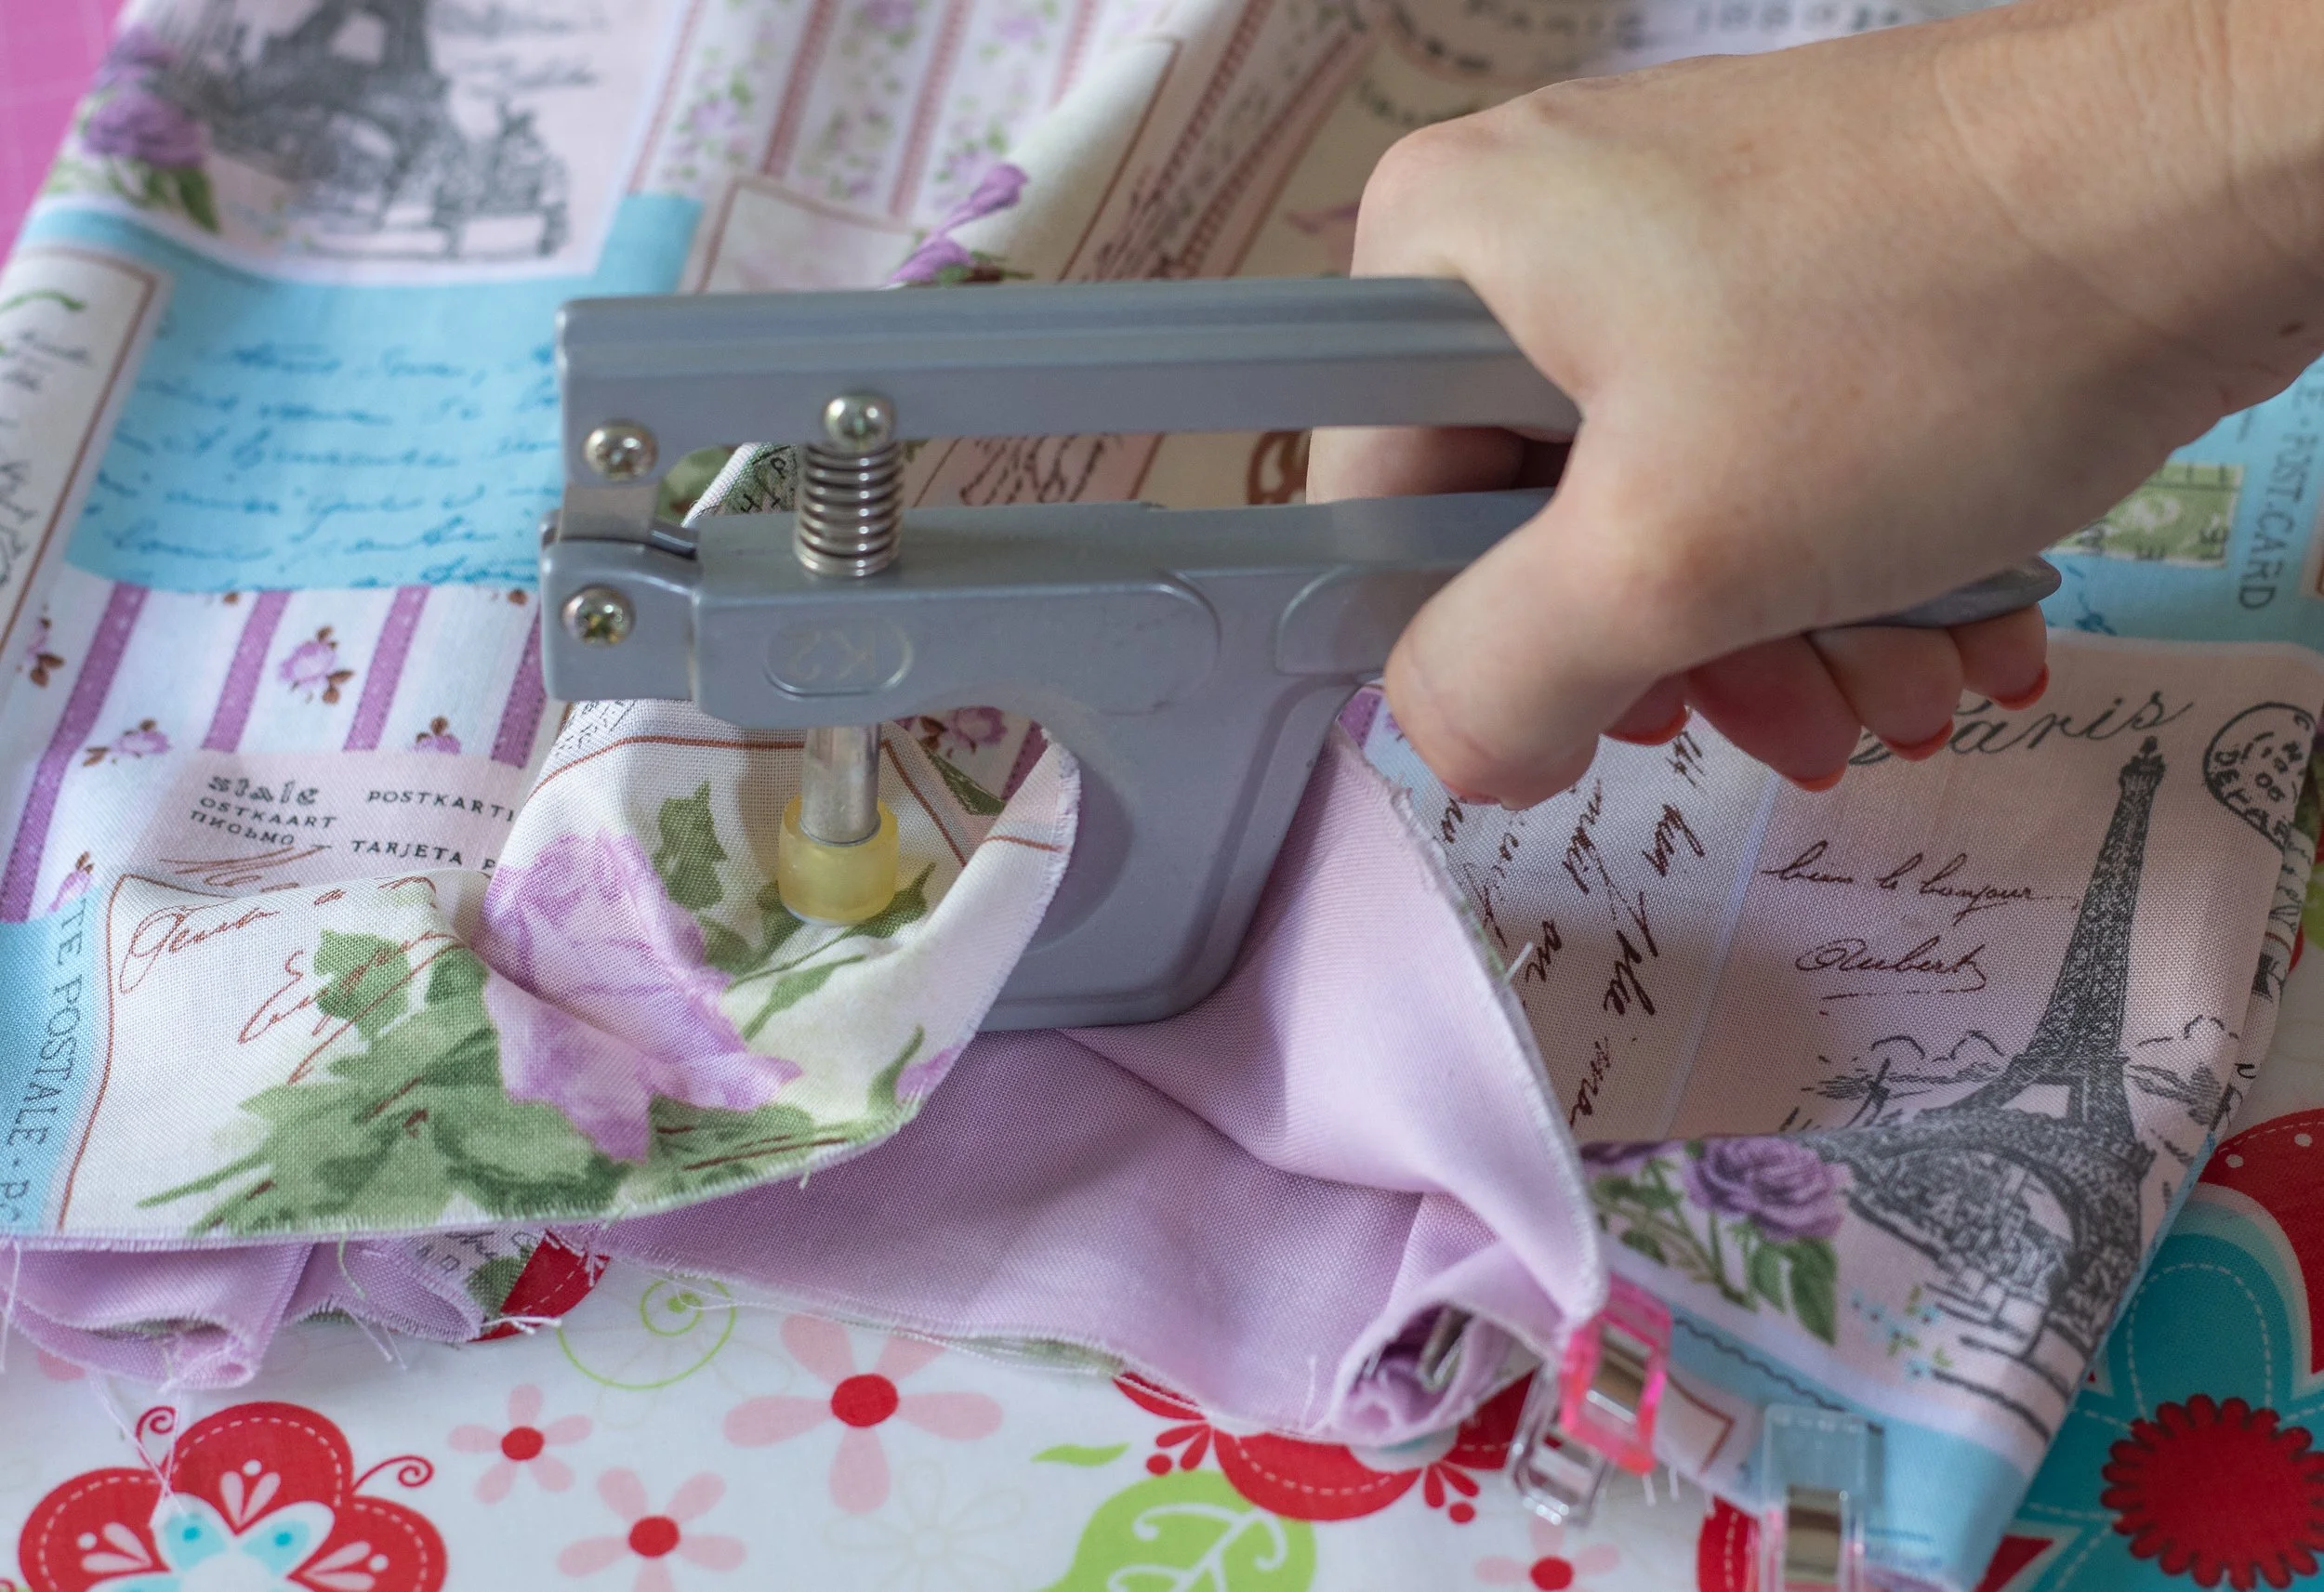
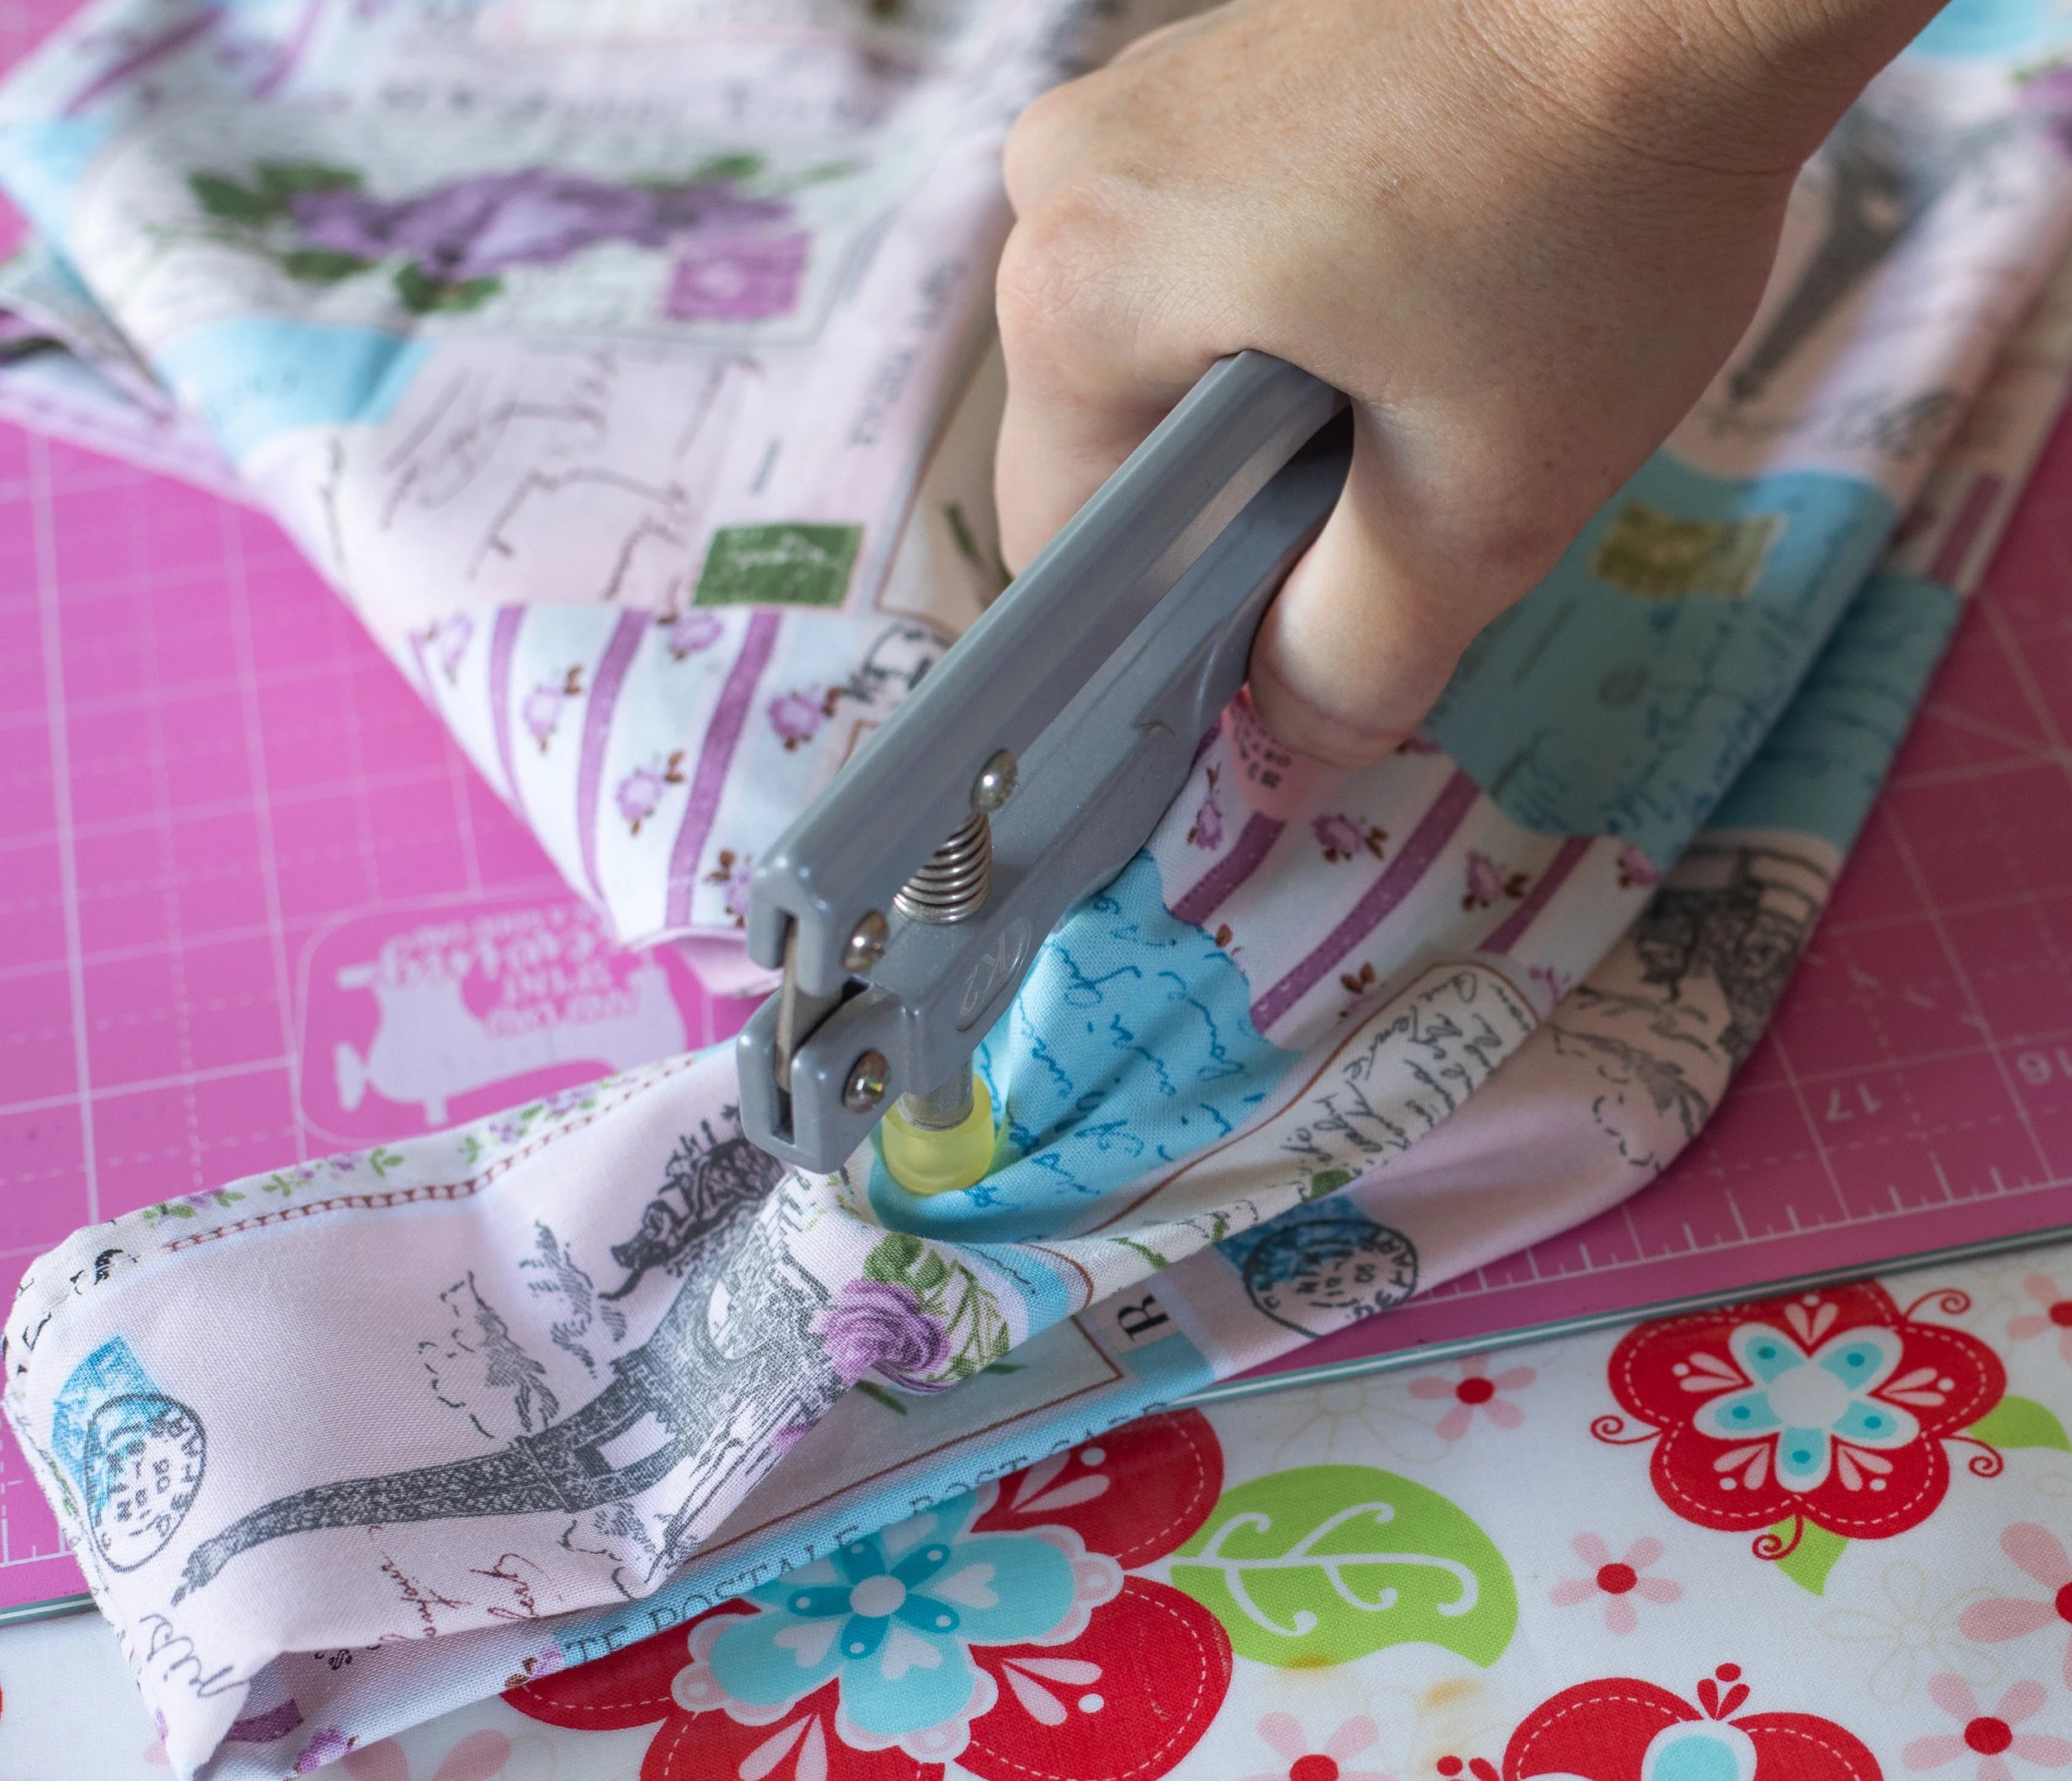
KAM snap kit.
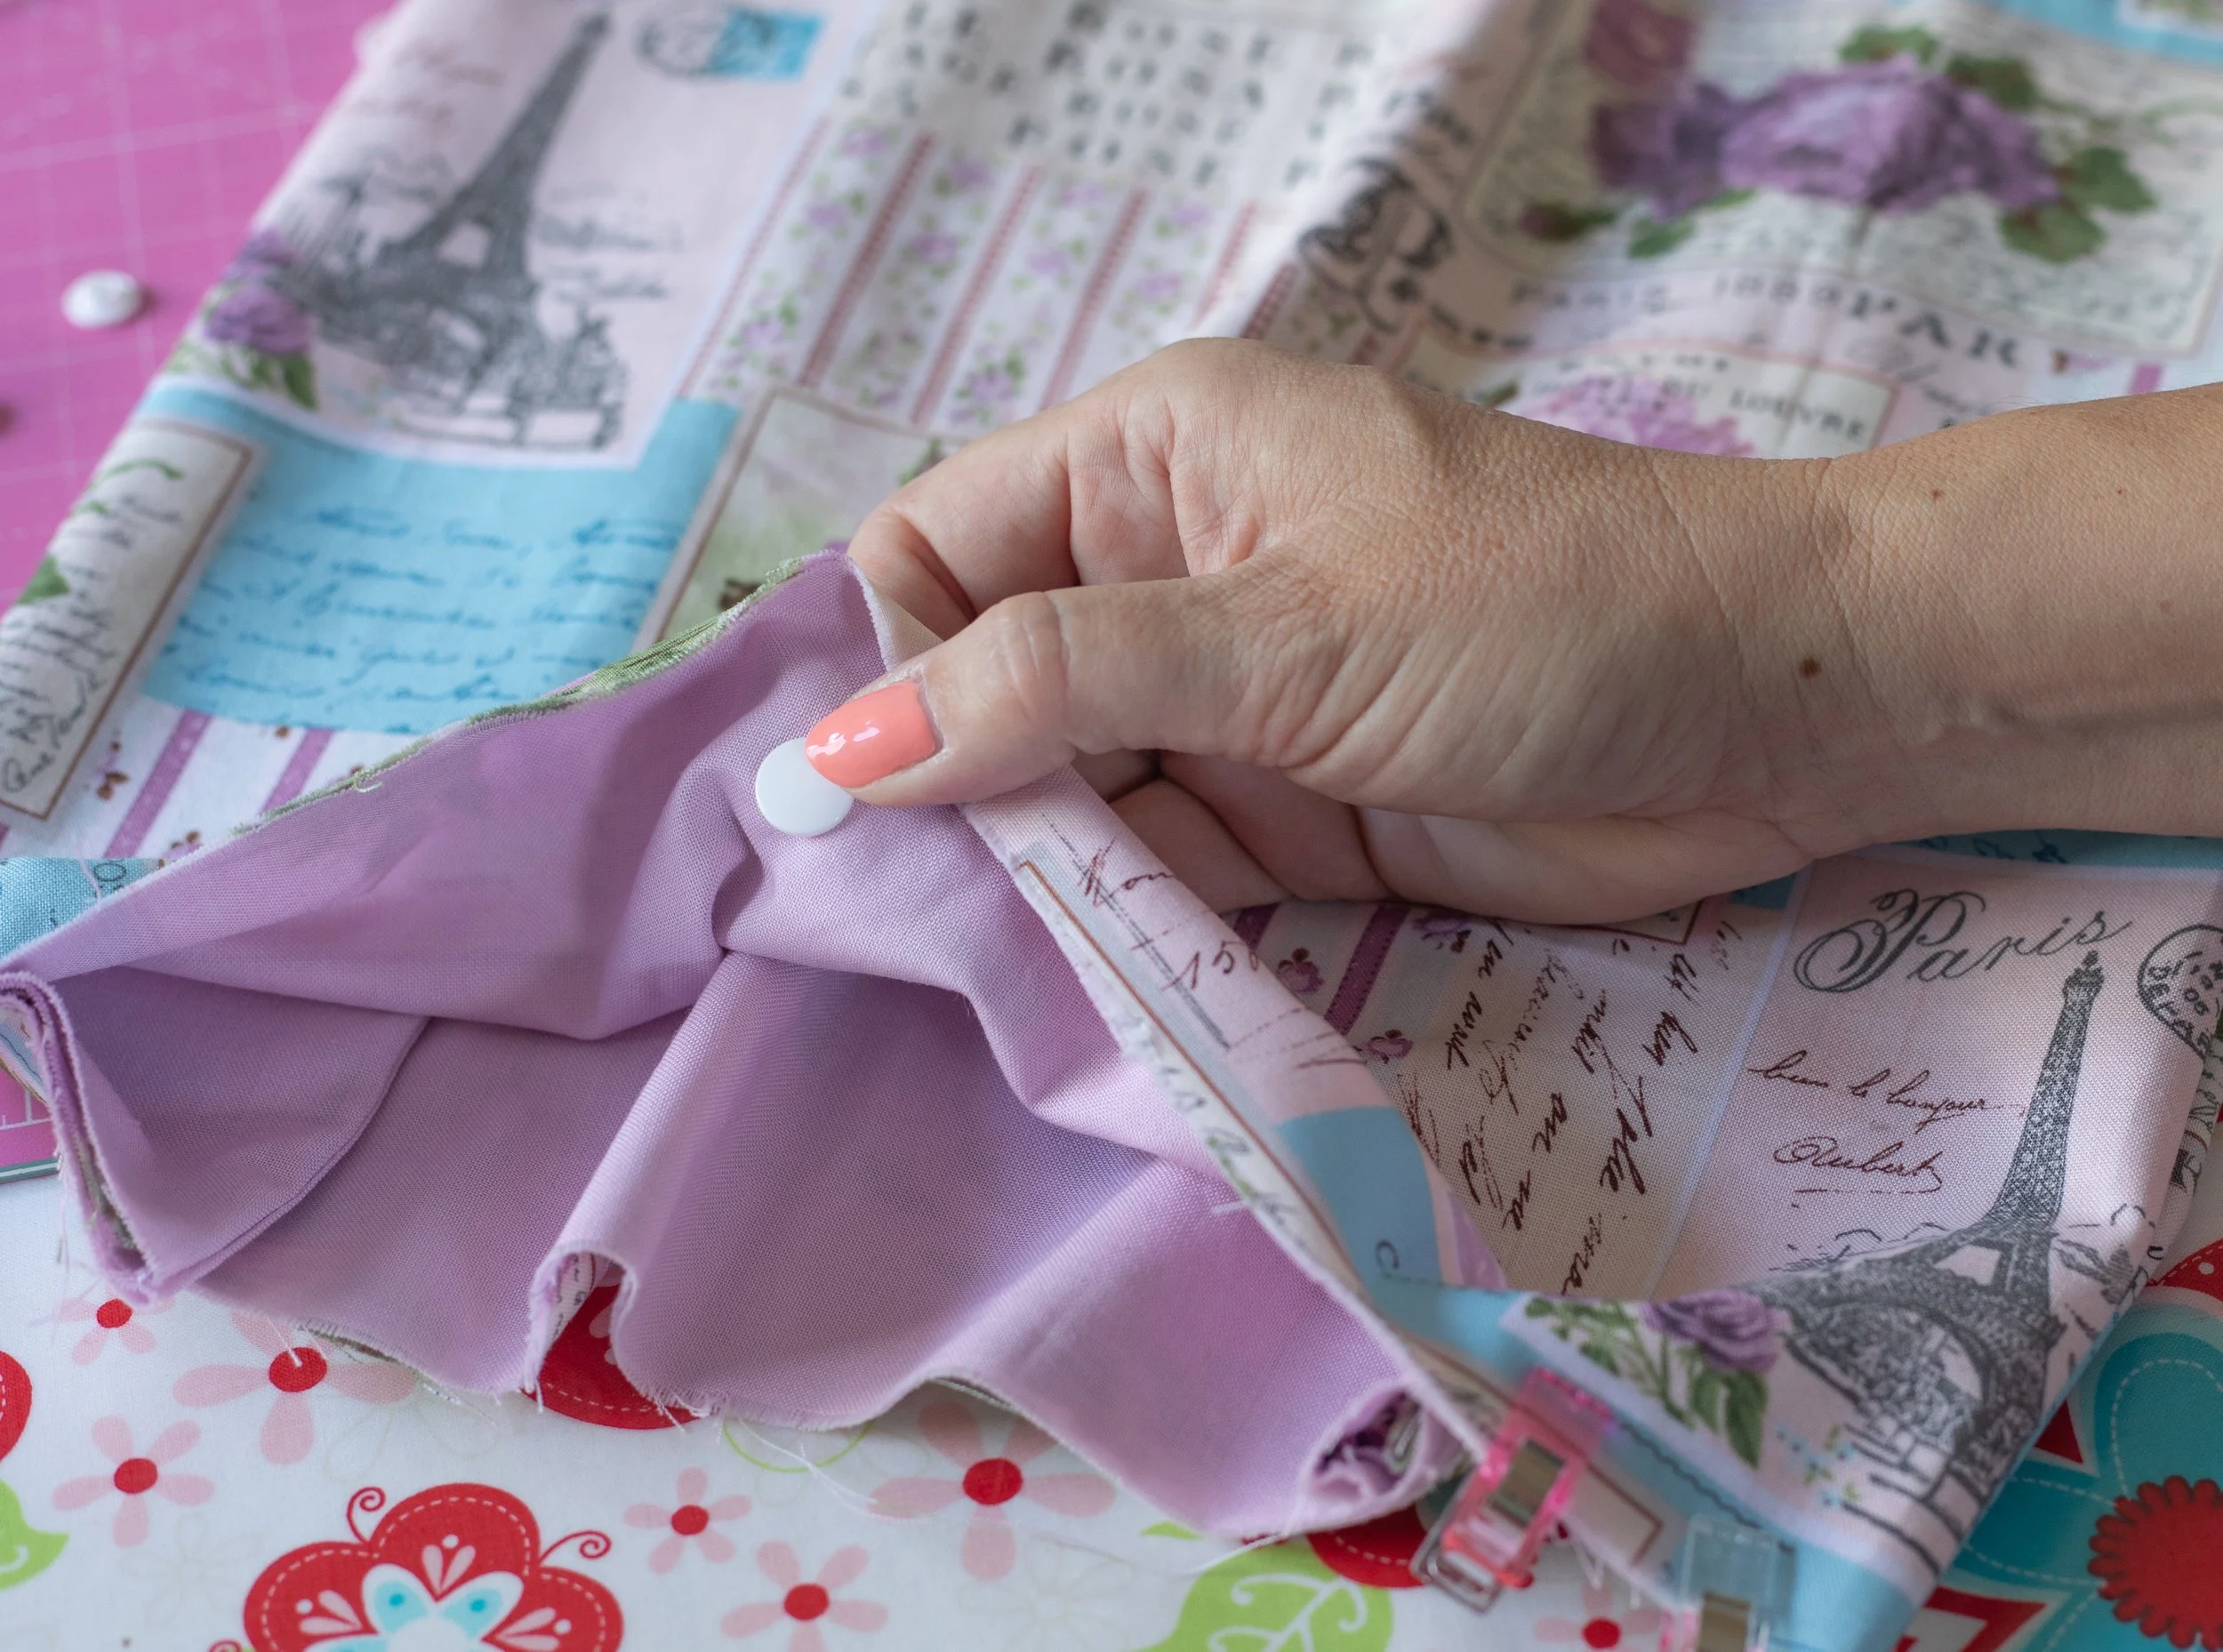
Use the awl to make the hole. Apply your snaps according to the instructions.
Apply one snap about 2.5 +/-” from the bottom. (Make sure you have enough room to sew the bottom hem)
Apply the second snap-up near the handle area.
This might seem silly to insert the snap after the bag is practically together. However, I have made over 100 of these bags to sell in my Etsy shop, at craft fairs, and to gift to friends and family. This is the only way that works. I don’t know why.
Maybe I live in an alternate universe? Who knows.
This is the easiest time to insert the snap. Every fabric has different thicknesses, and I’ve run into issues when inserting them earlier in the bag-making process.
I show how I insert the snap below, but I didn’t go into details because everyone has different snap maker tools. I prefer the KAM snaps. If you’d like to see how they insert their snaps, click here.
Snap insertion is complete!
Next up is the hem.
IT’S HEMMER TIME
You’re going to make a French seam for the hem. It’s a double hem and will feel backwards and wrong at first, but the raw edge gets enclosed, I promise.
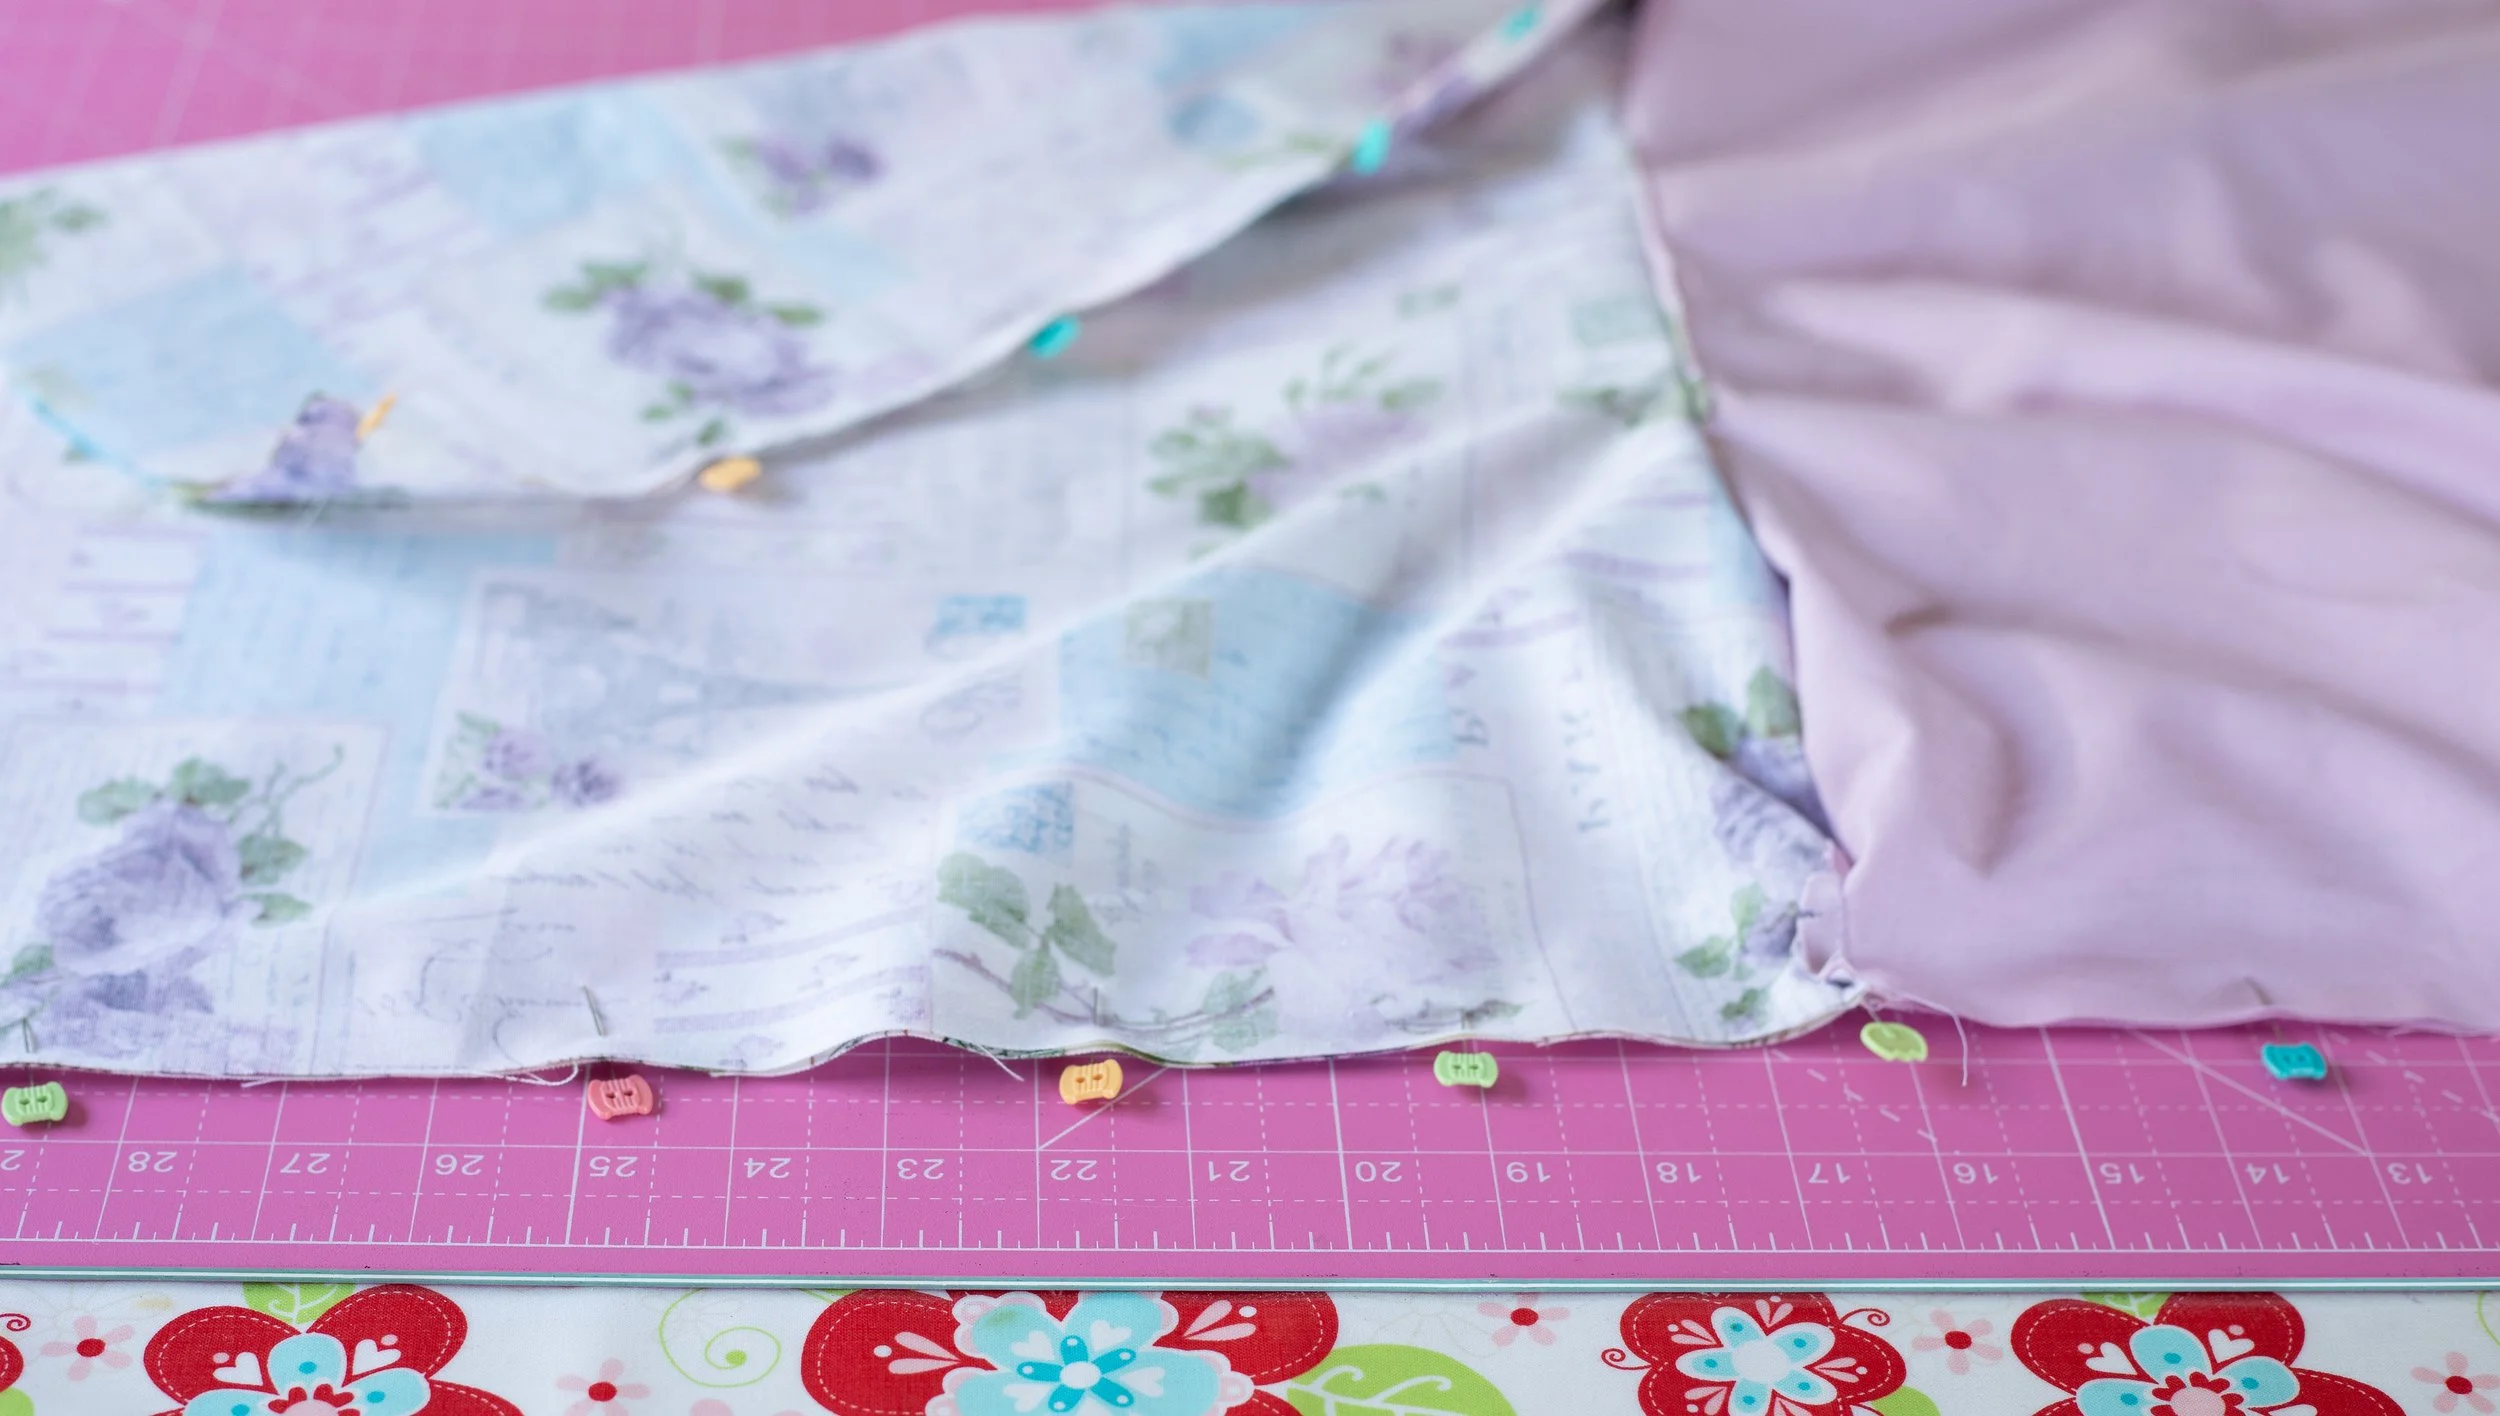
Clip the bottom edge and sew across, catching all the layers, on the right side.
Sew a scant seam across the raw edge on the right side of the fabric.
Pin or clip the bottom edge and sew across. Be sure to catch all layers.
You’ll then flip the bag inside out.
Poke out corners
Flatten with a hot iron, and sew again across the bottom using 5/8” seam allowance. It’s important to enclose the raw edges.
Sew across the bottom using 5/8” seam allowance.
I prefer to sew it with the folded side up.
I stick a pin right where the snap is to make sure I don’t sew over it. It’s gonna be close!
Ta-da! The French seam is done.
The inside looks nice and clean. I did get a little close to the snap, oops!
If that happens, pop on your zipper foot and it should be easier. But, go slow.
Got a little too close to the snap.
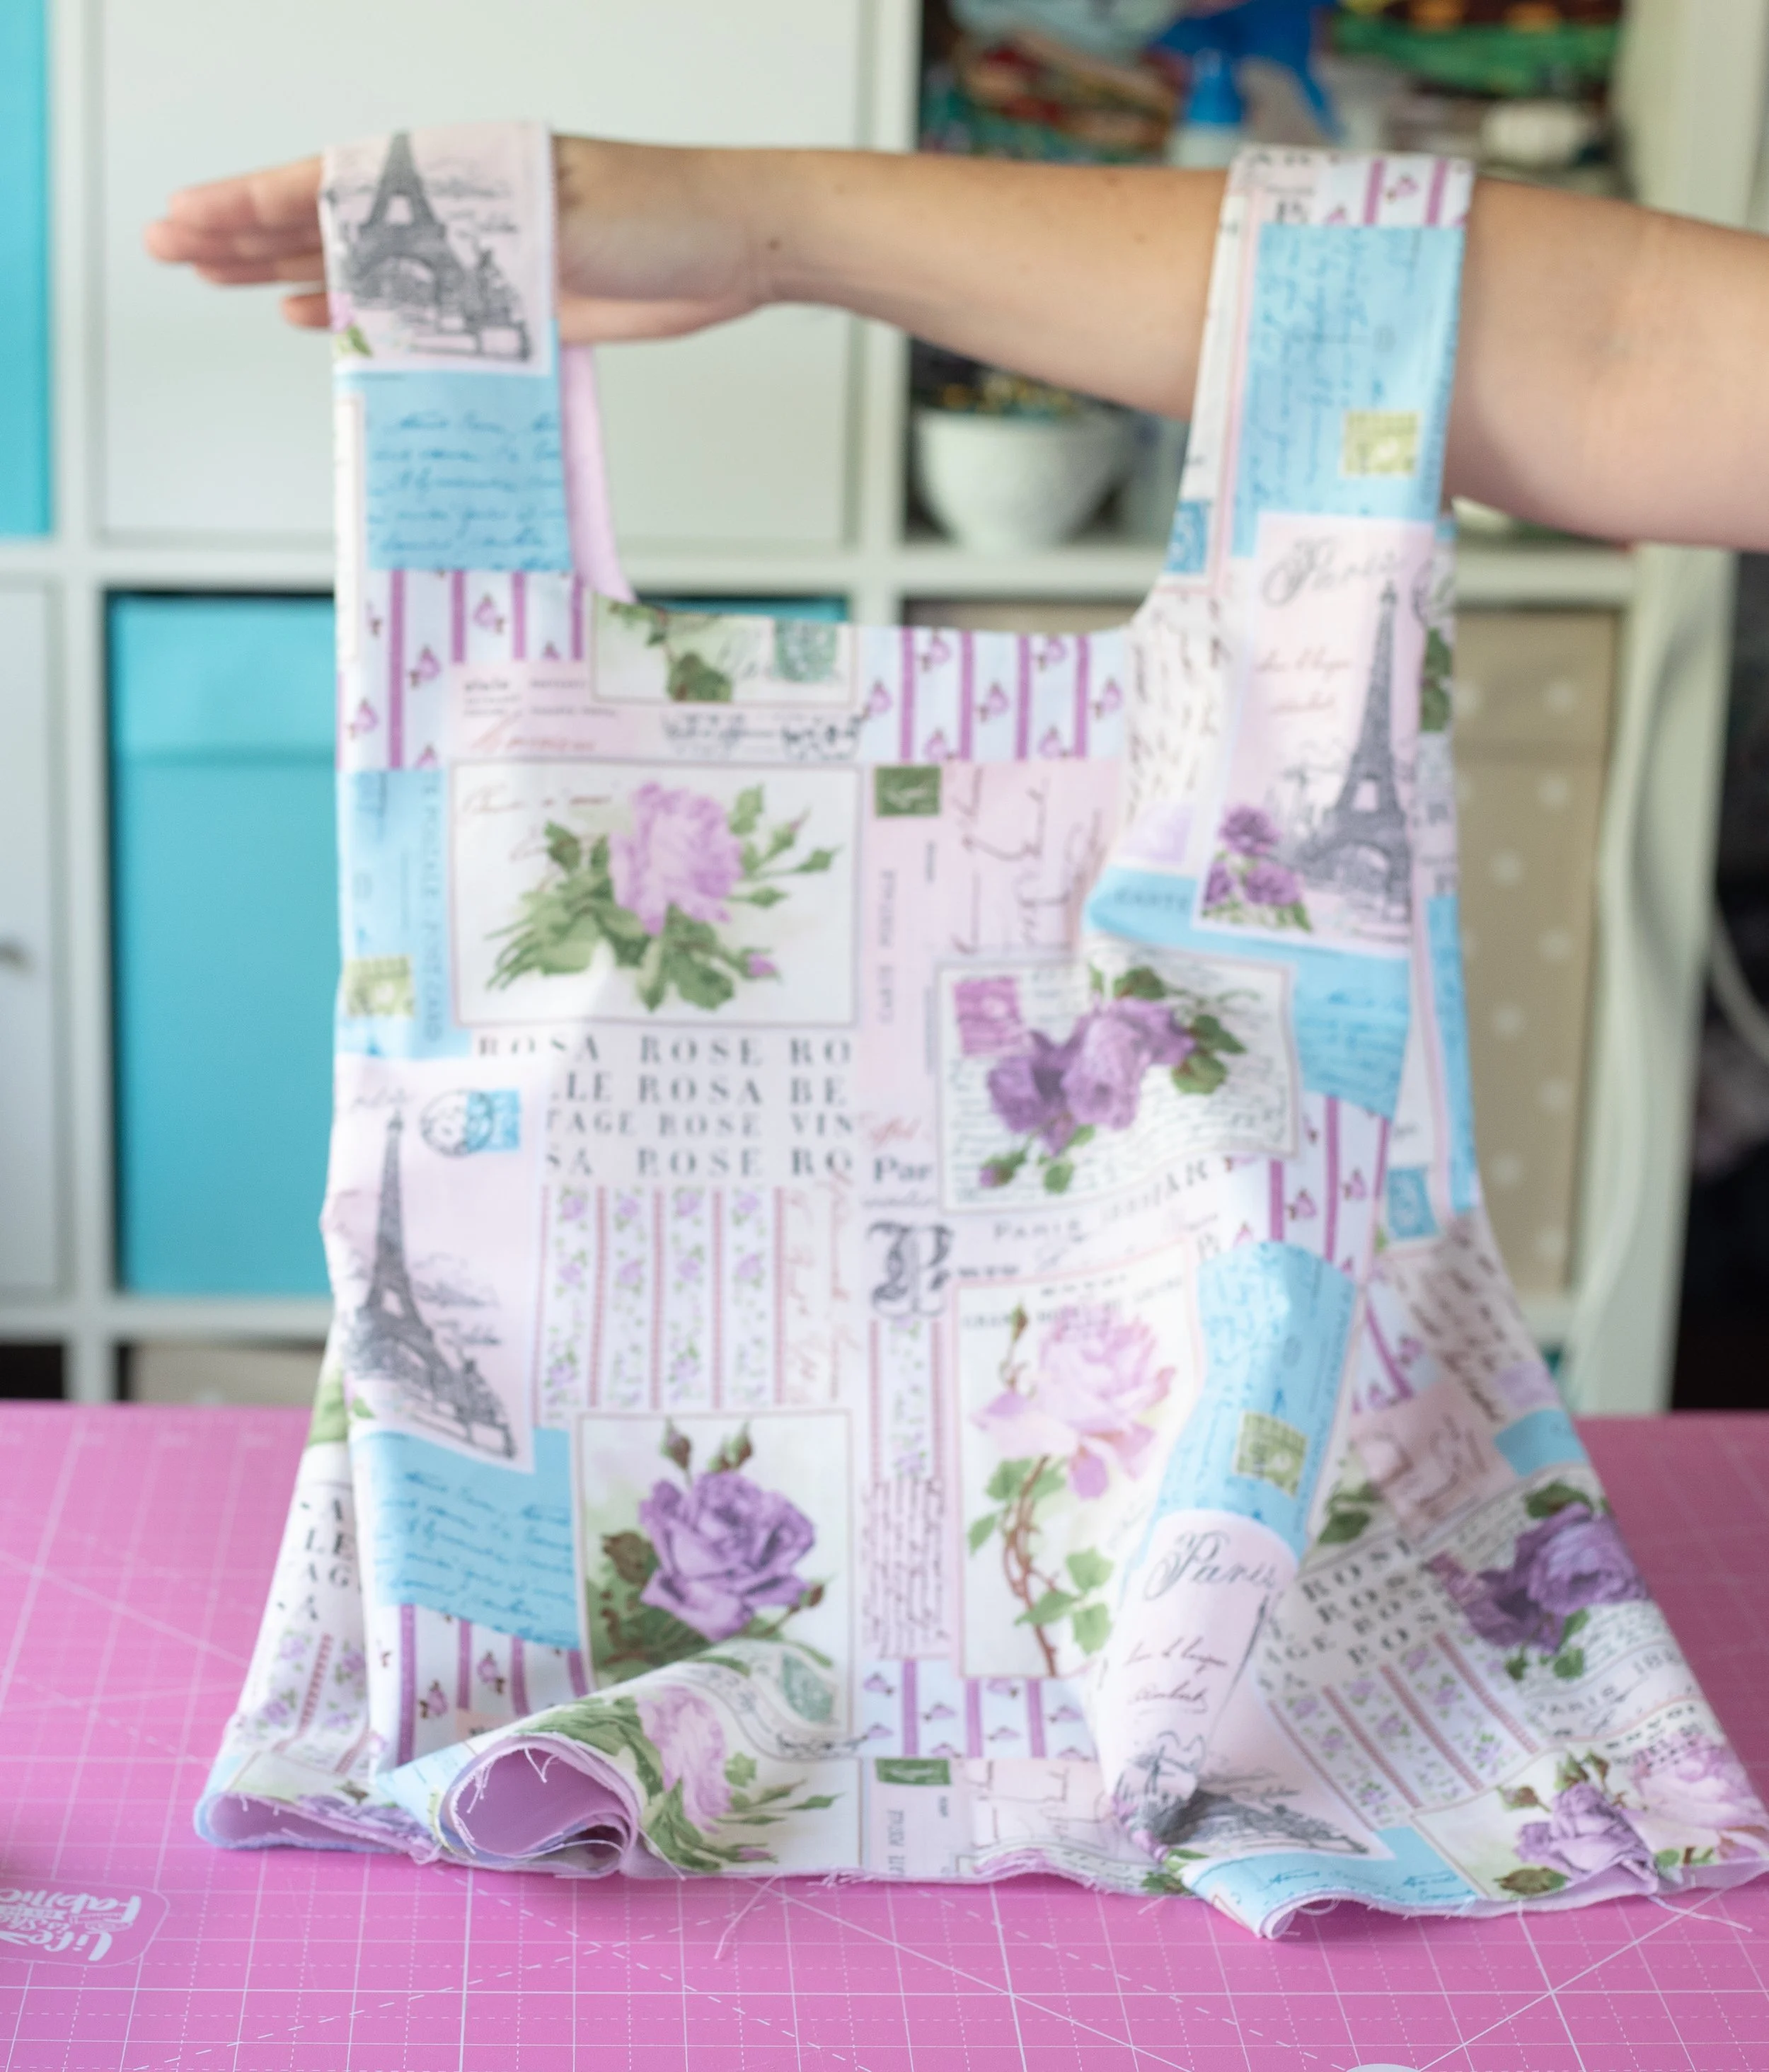
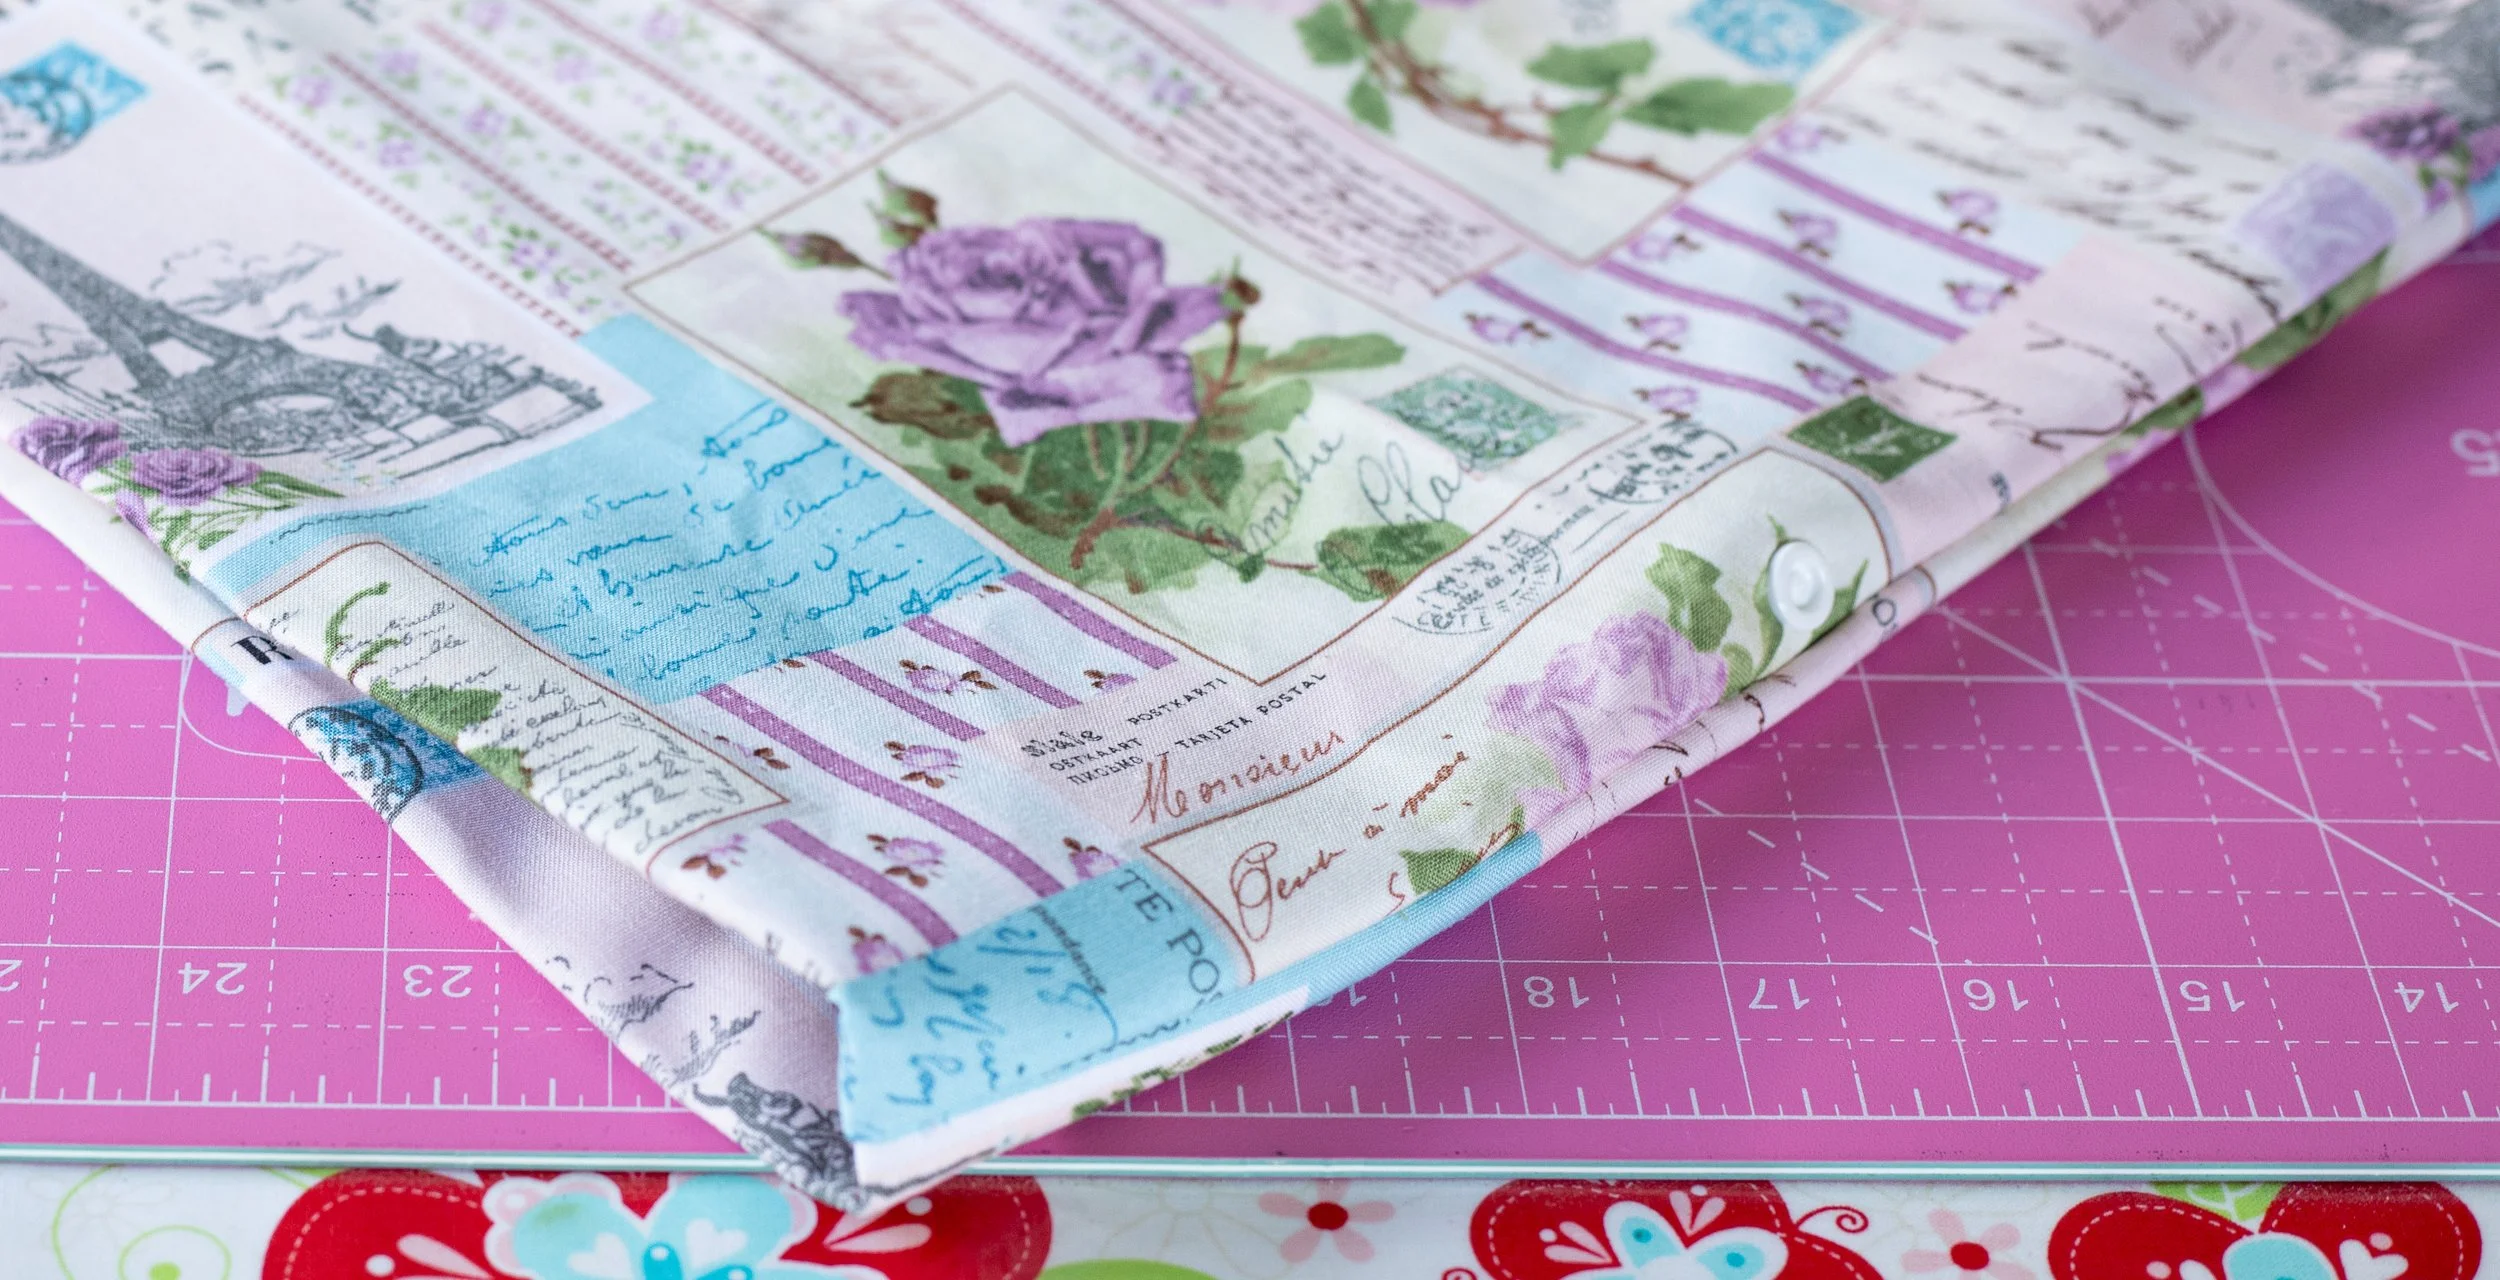
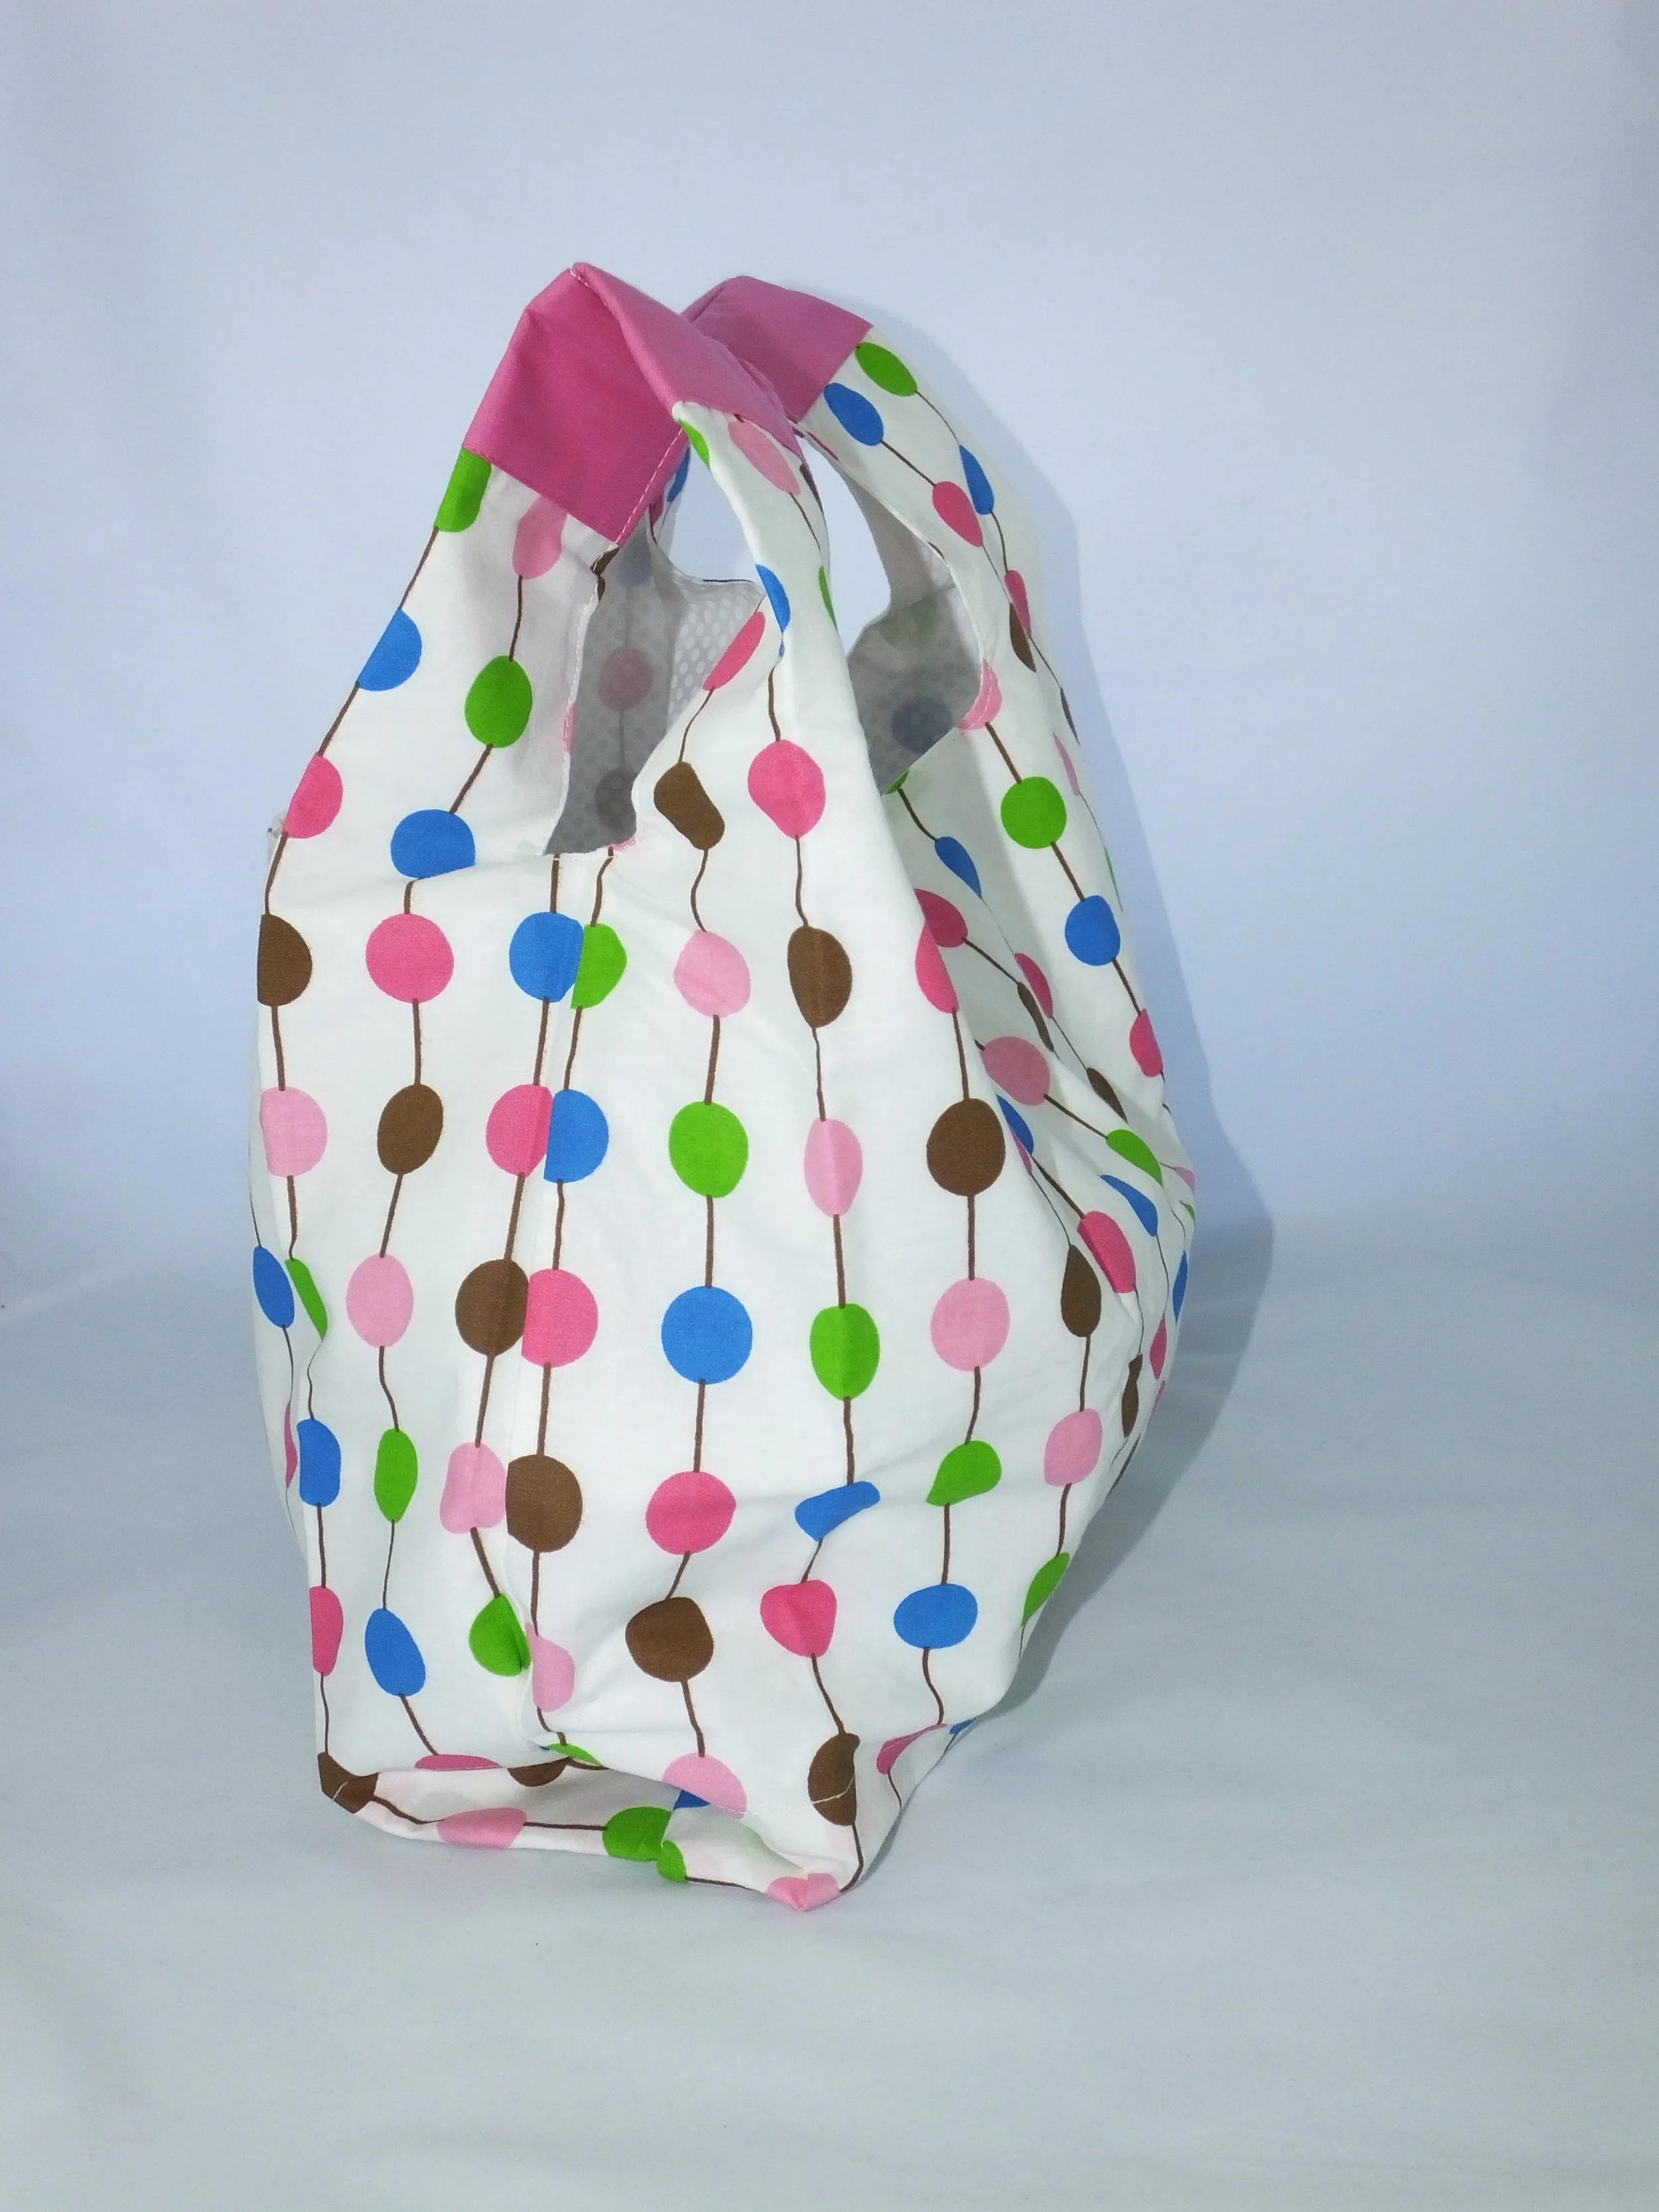
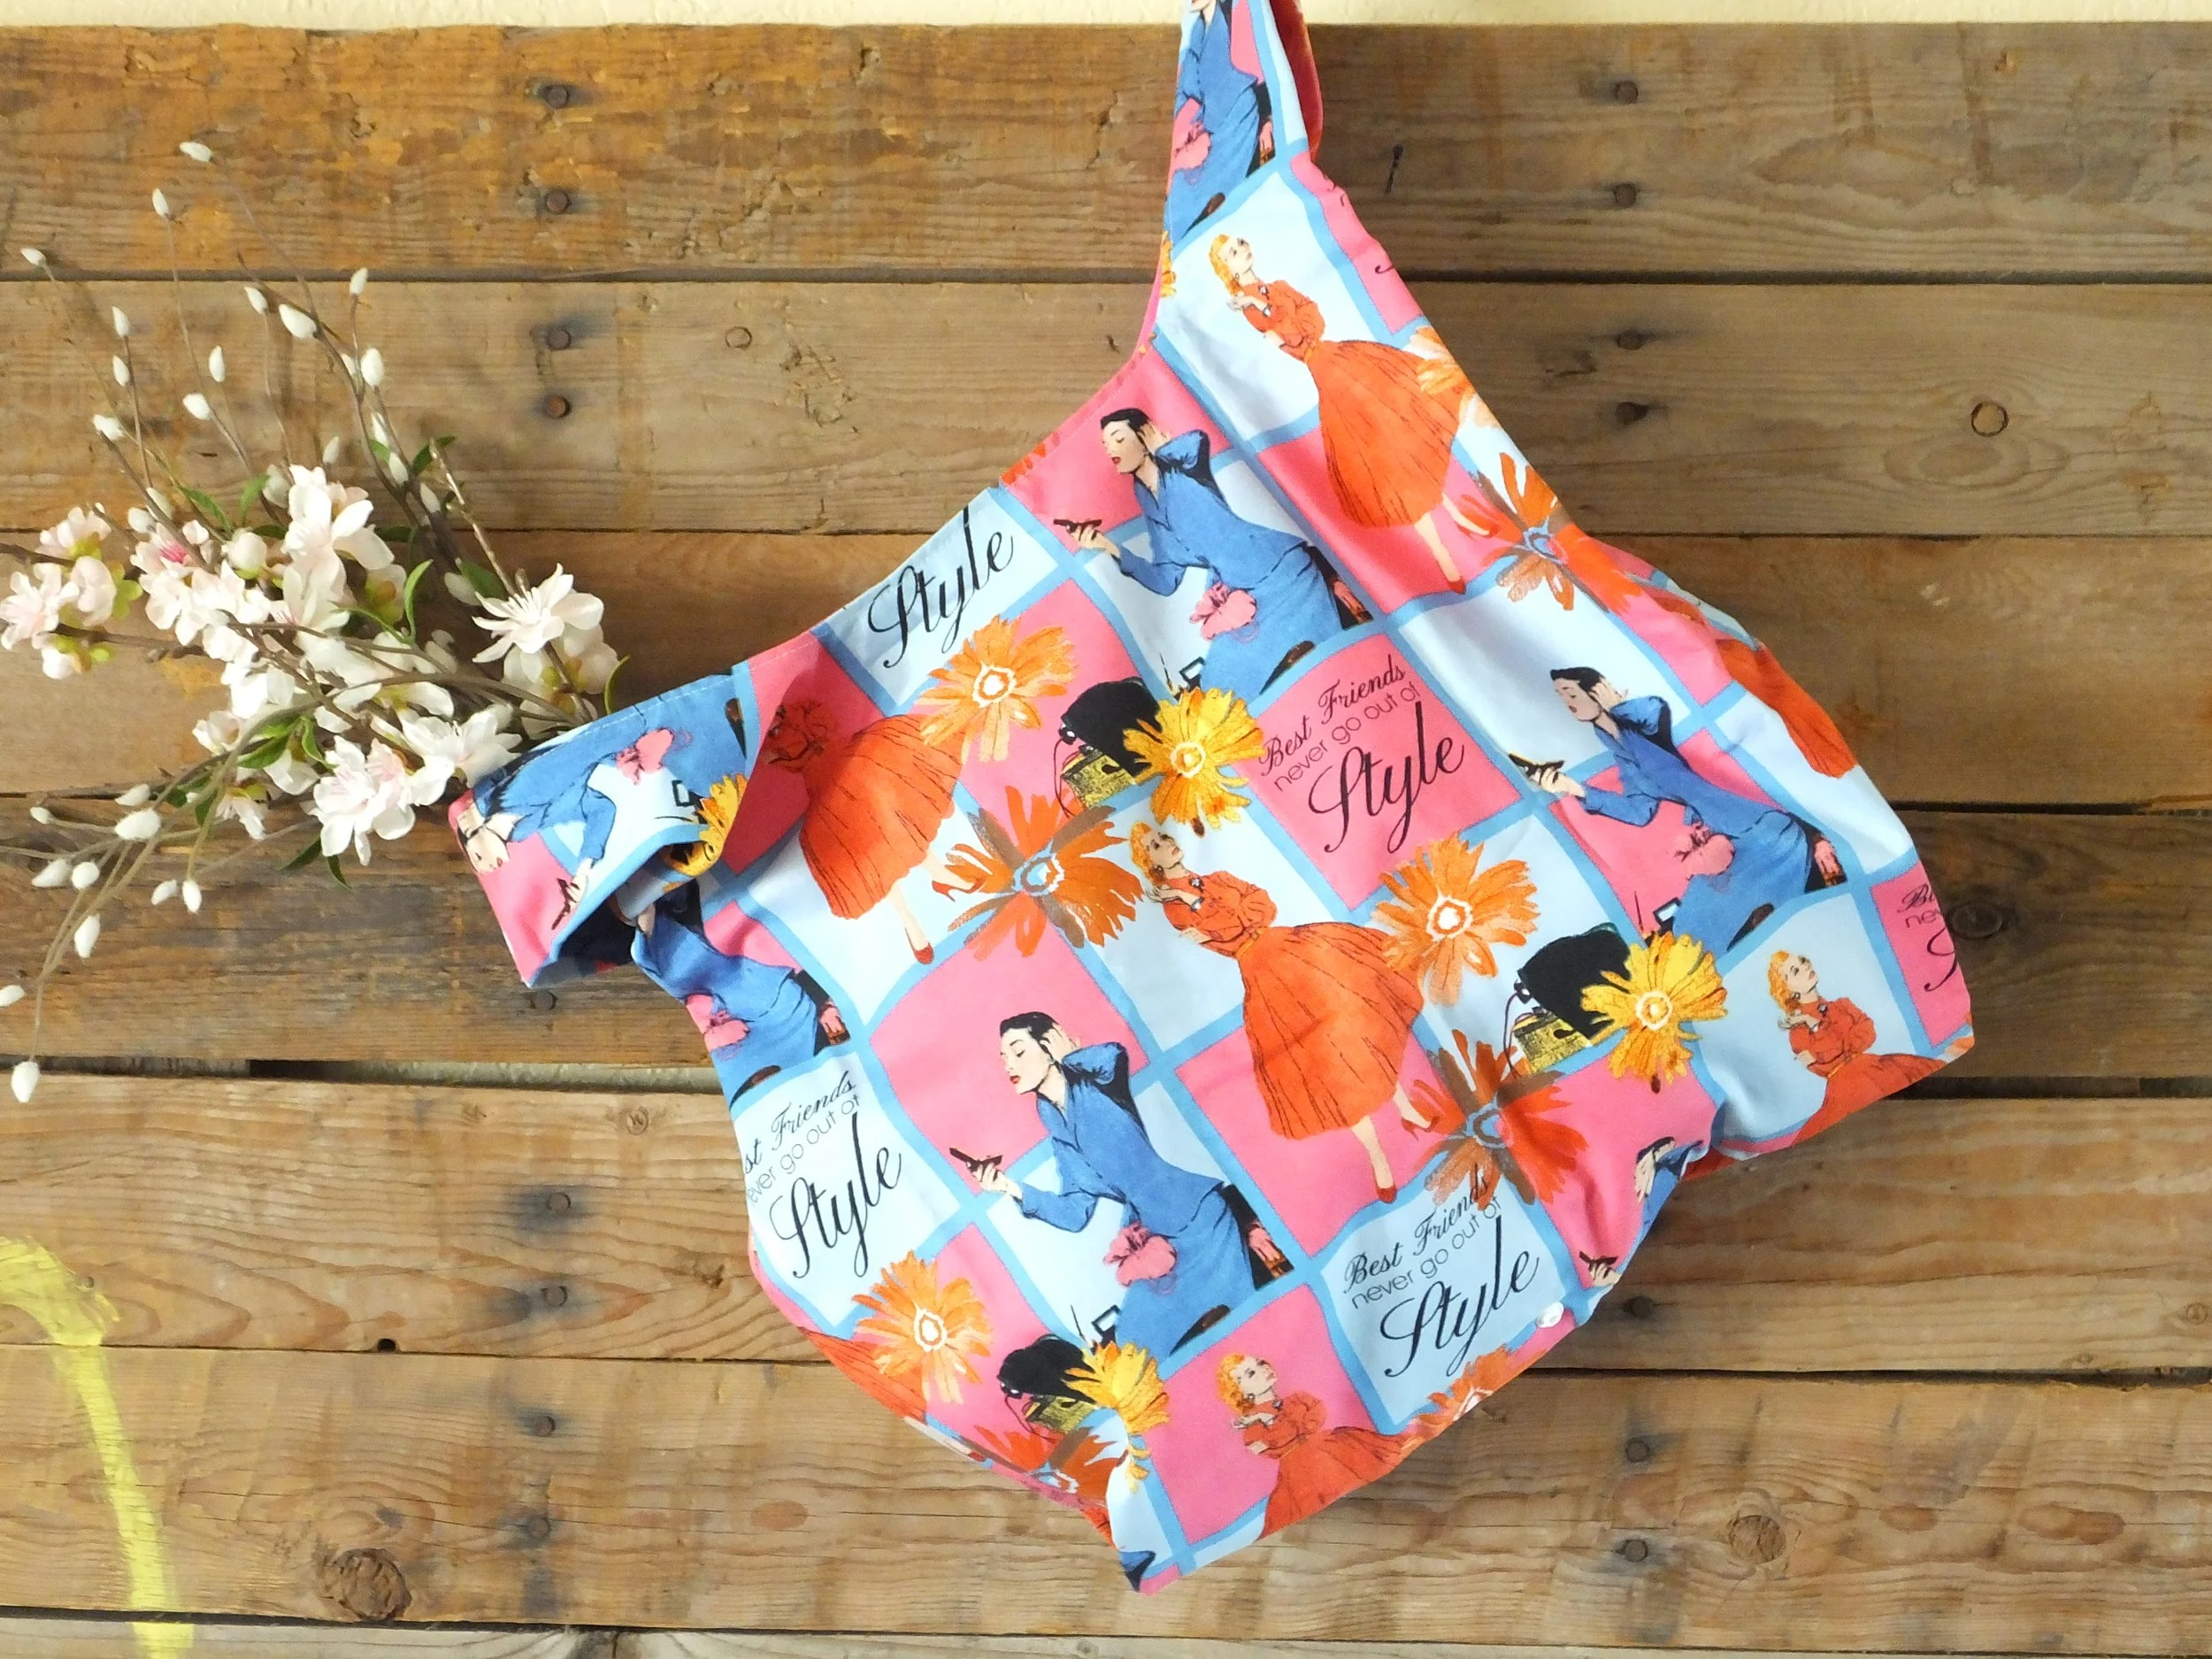
And, just like that, your beautiful reusable, foldable, washable bag is finished!! Hooray!
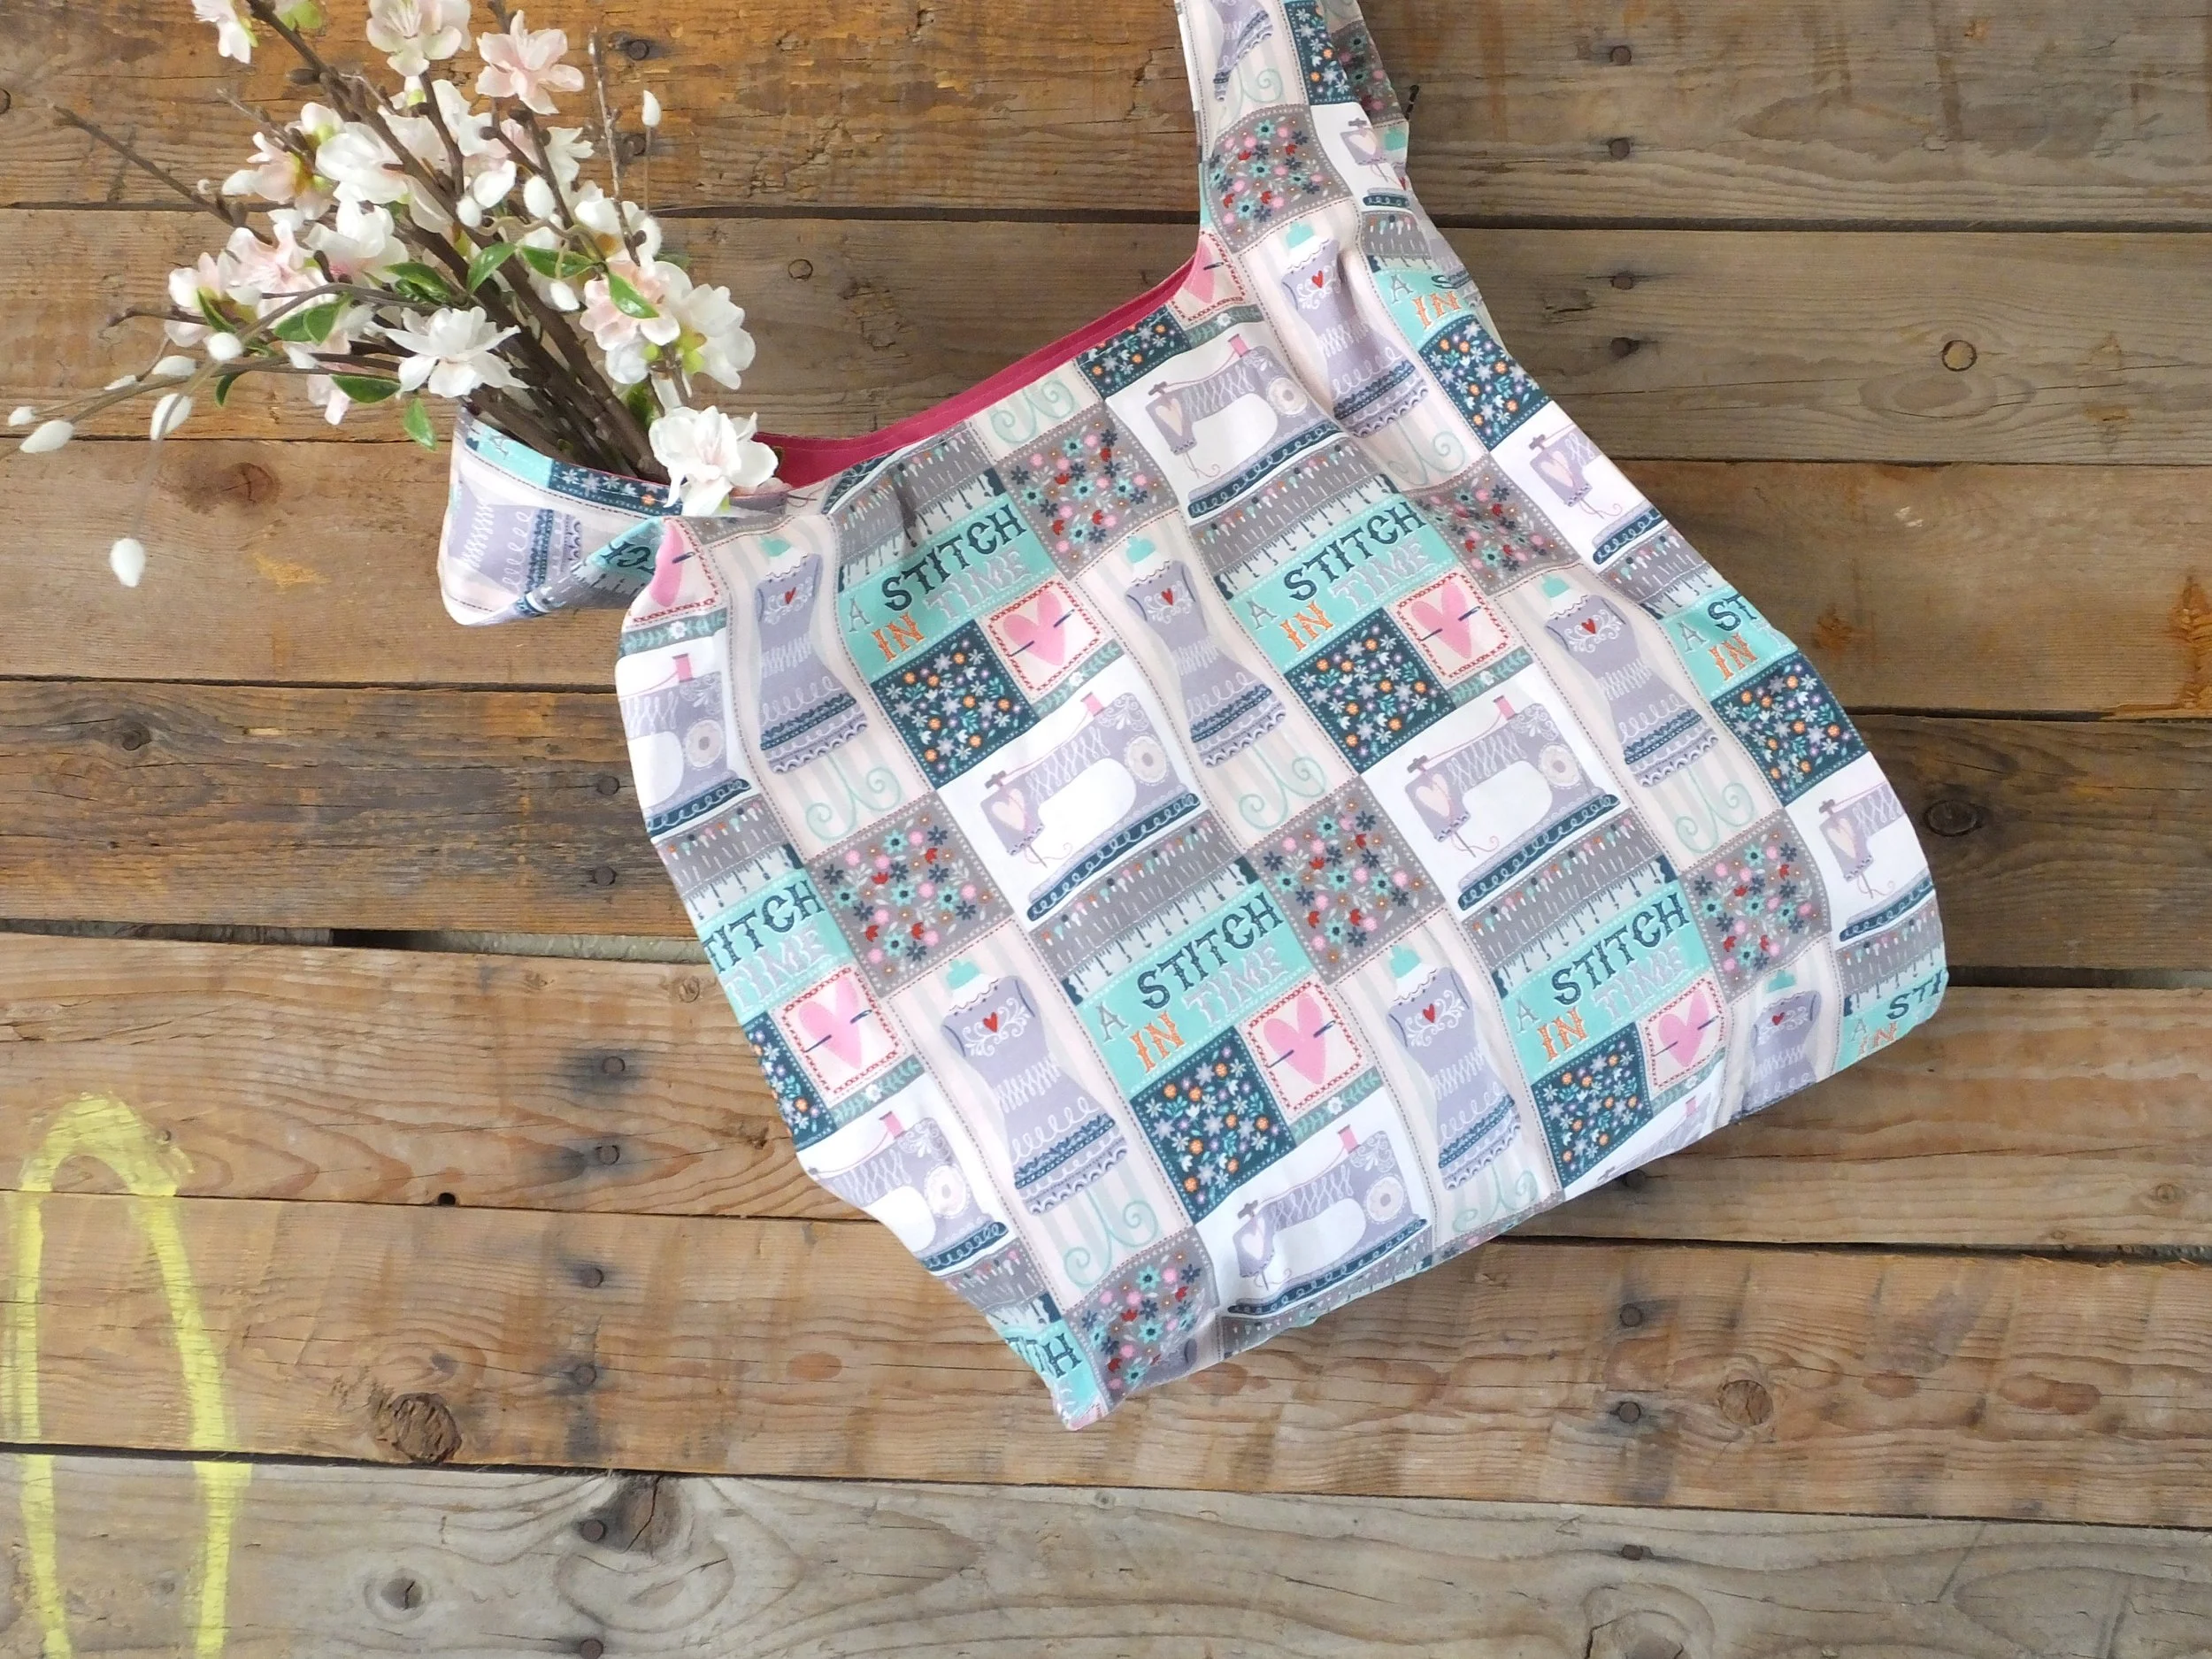
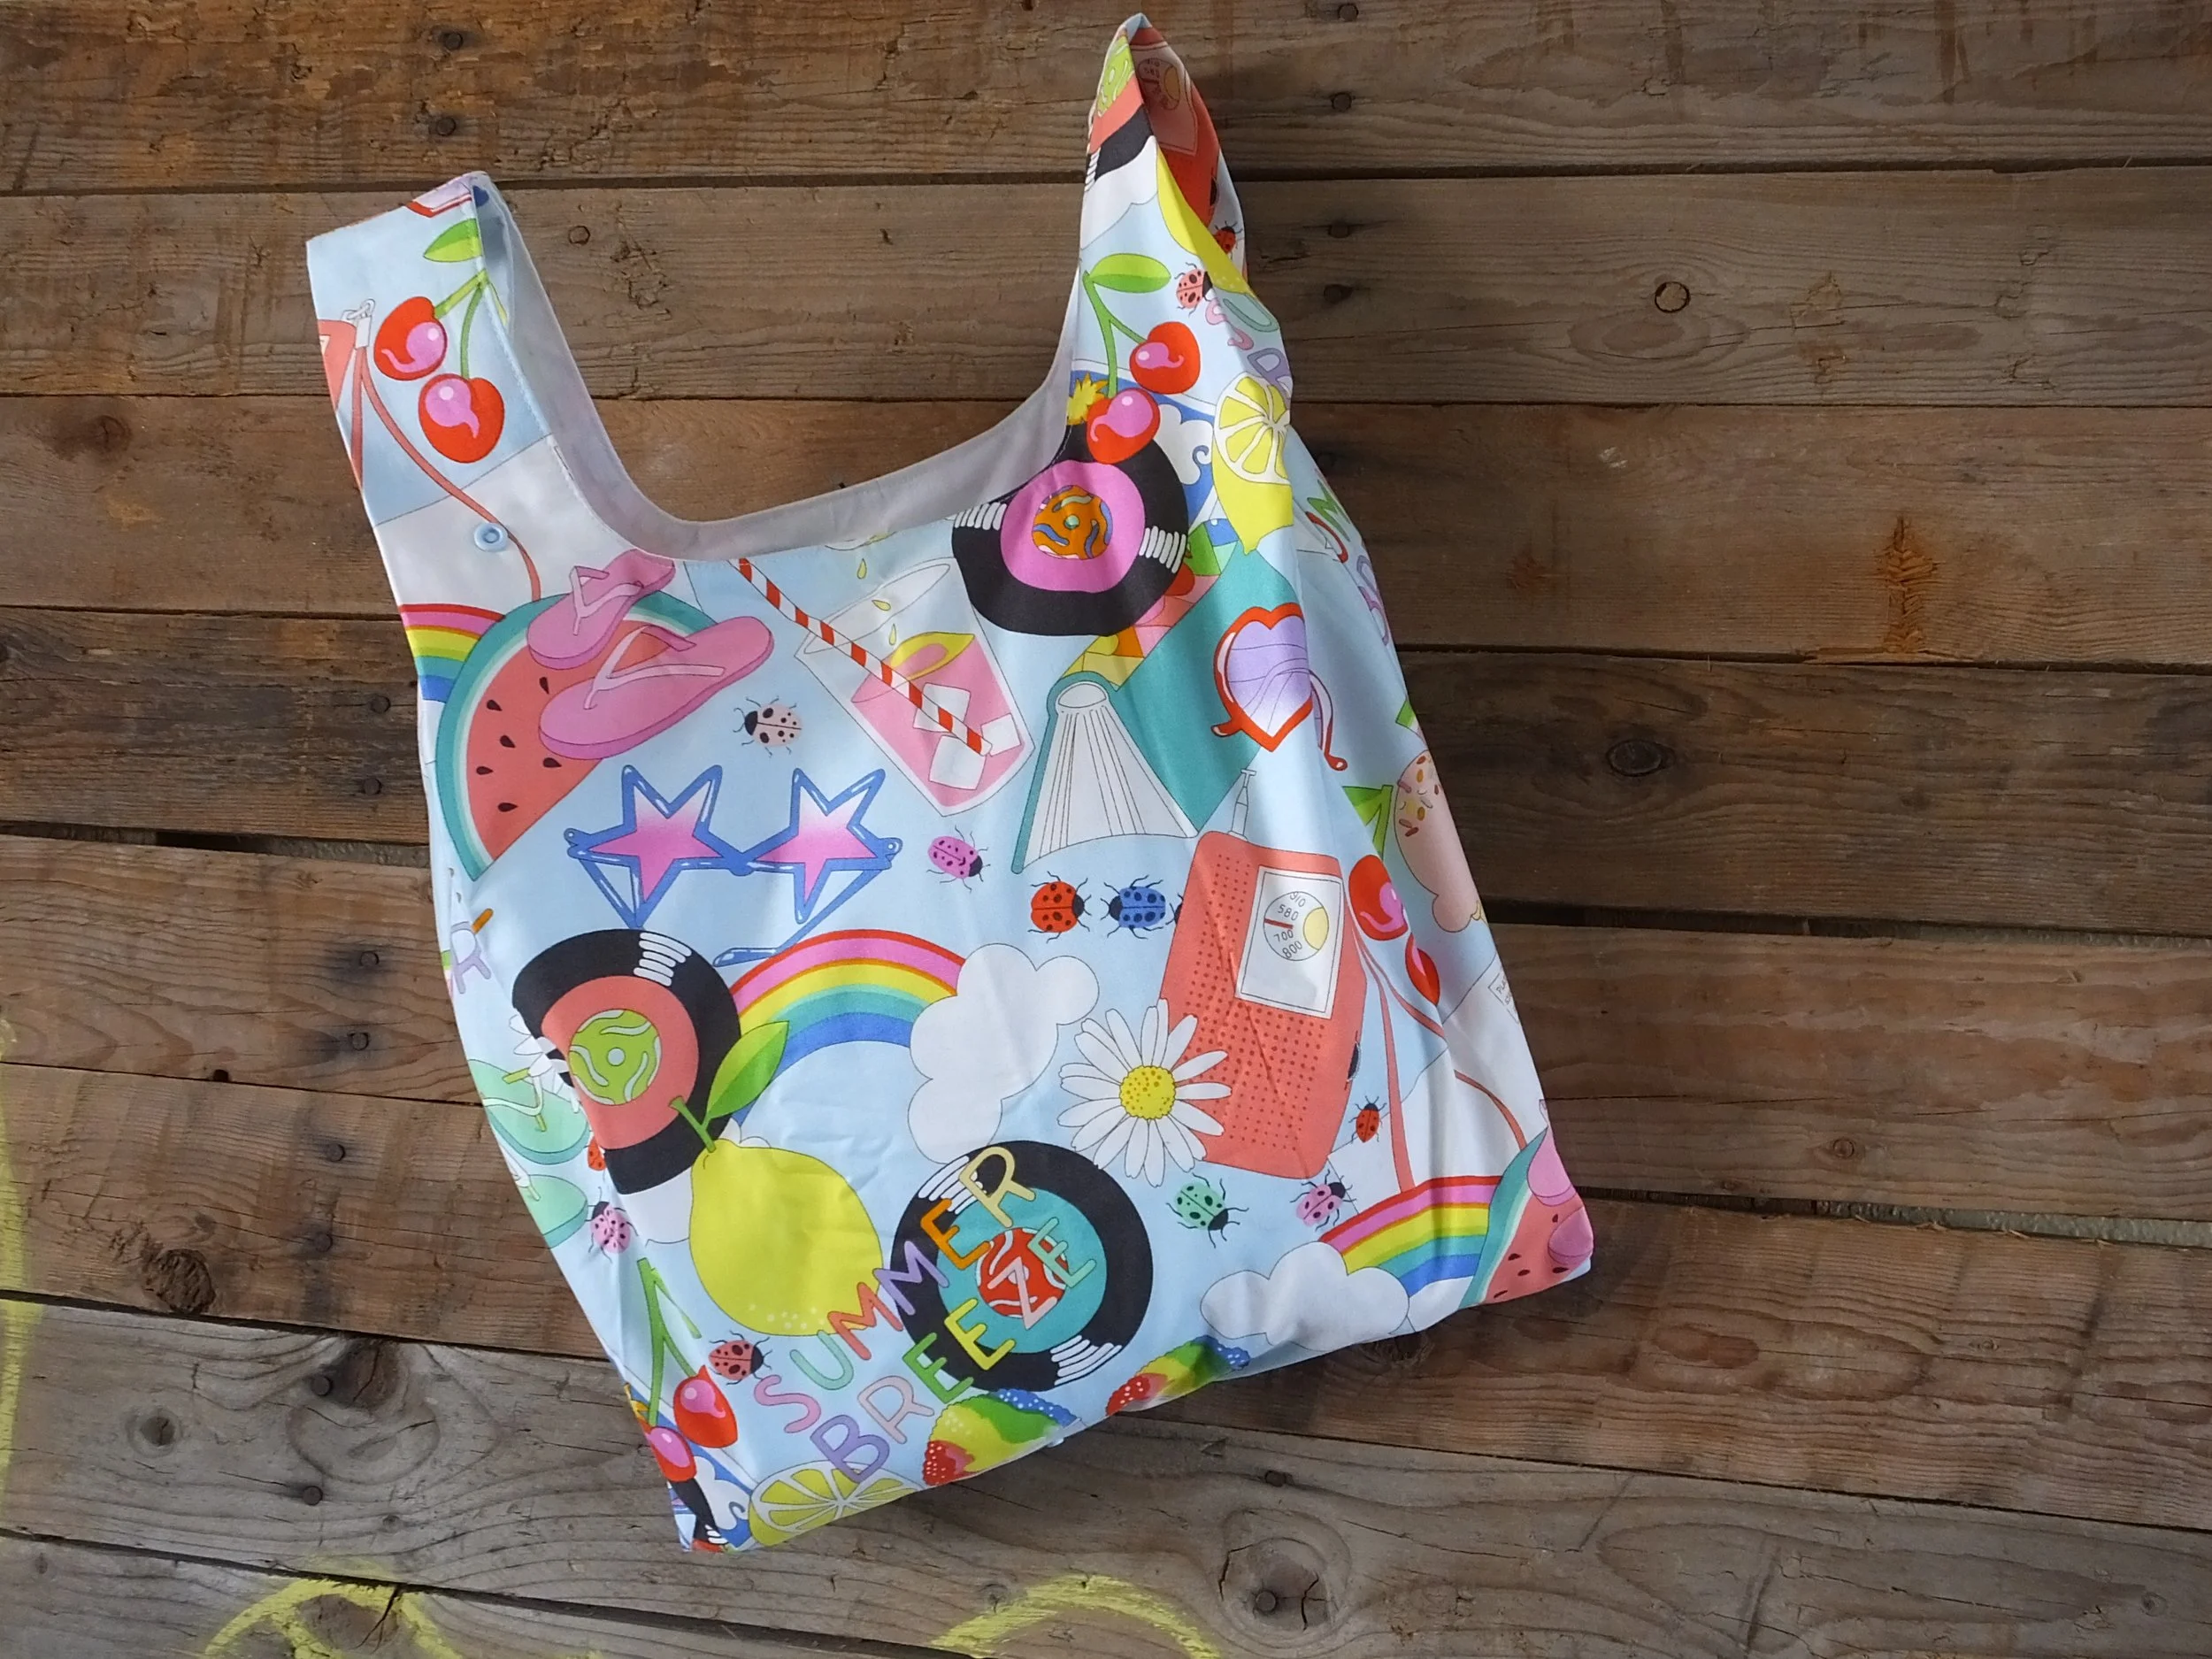
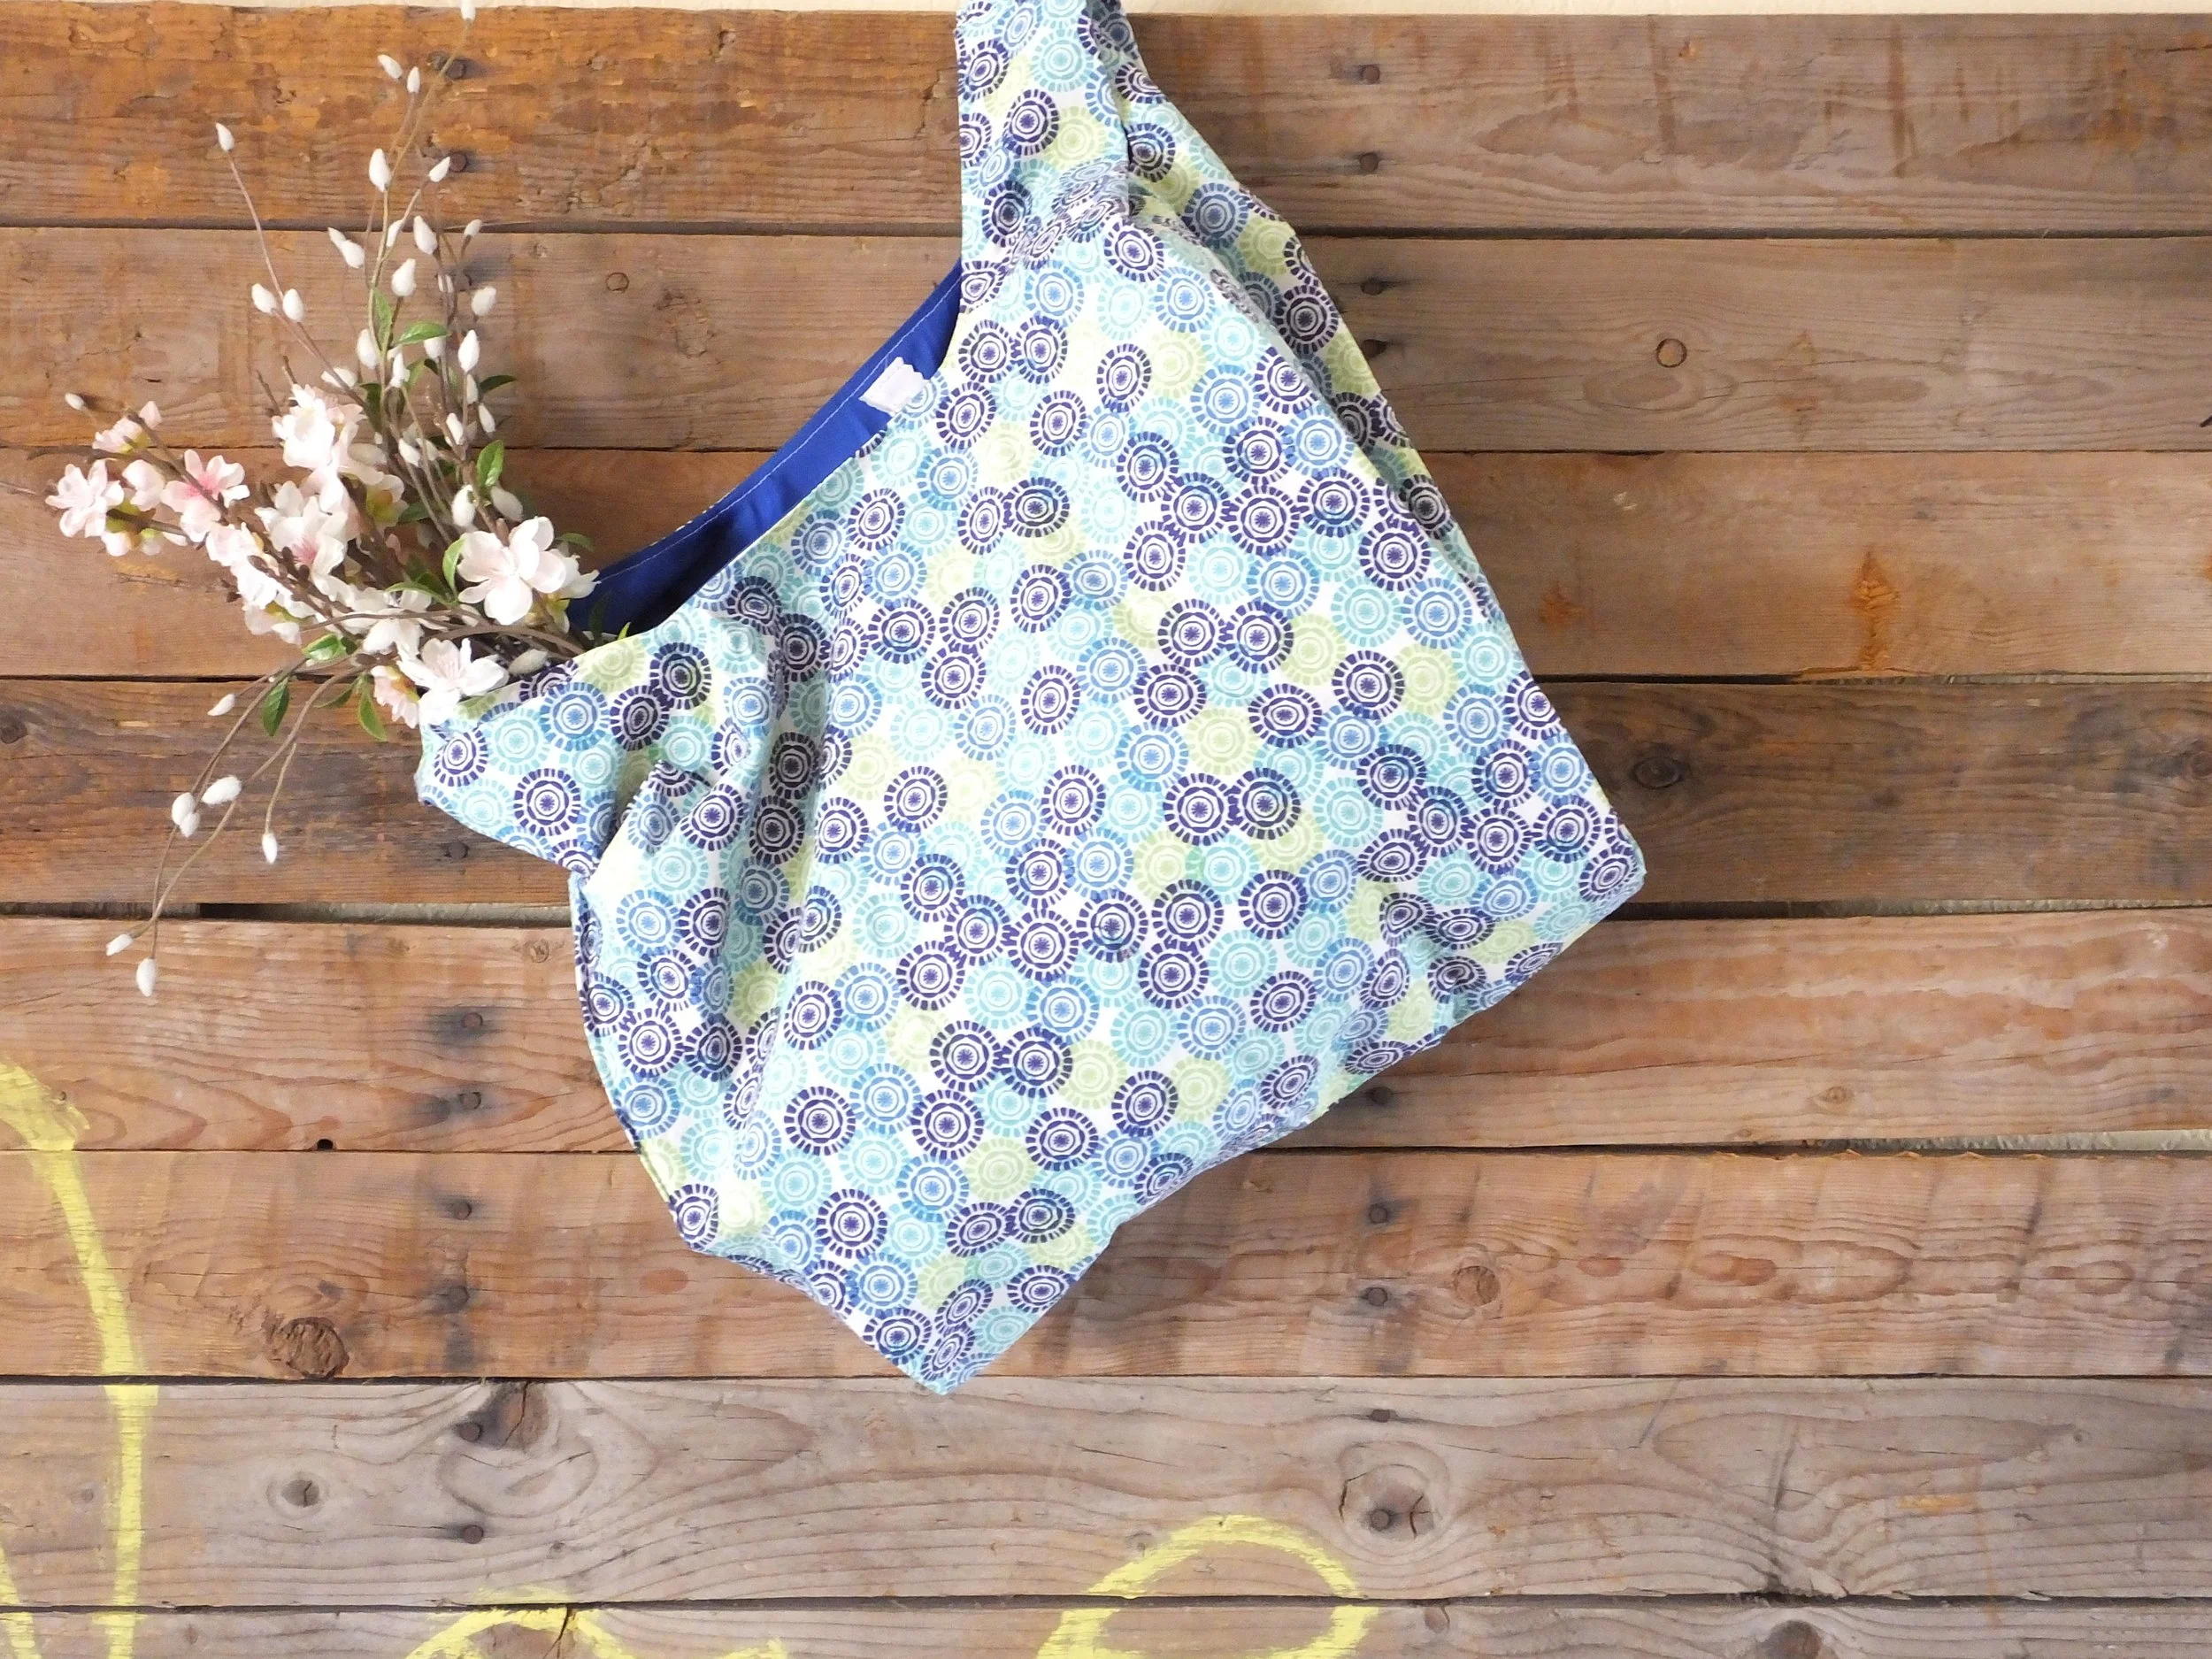
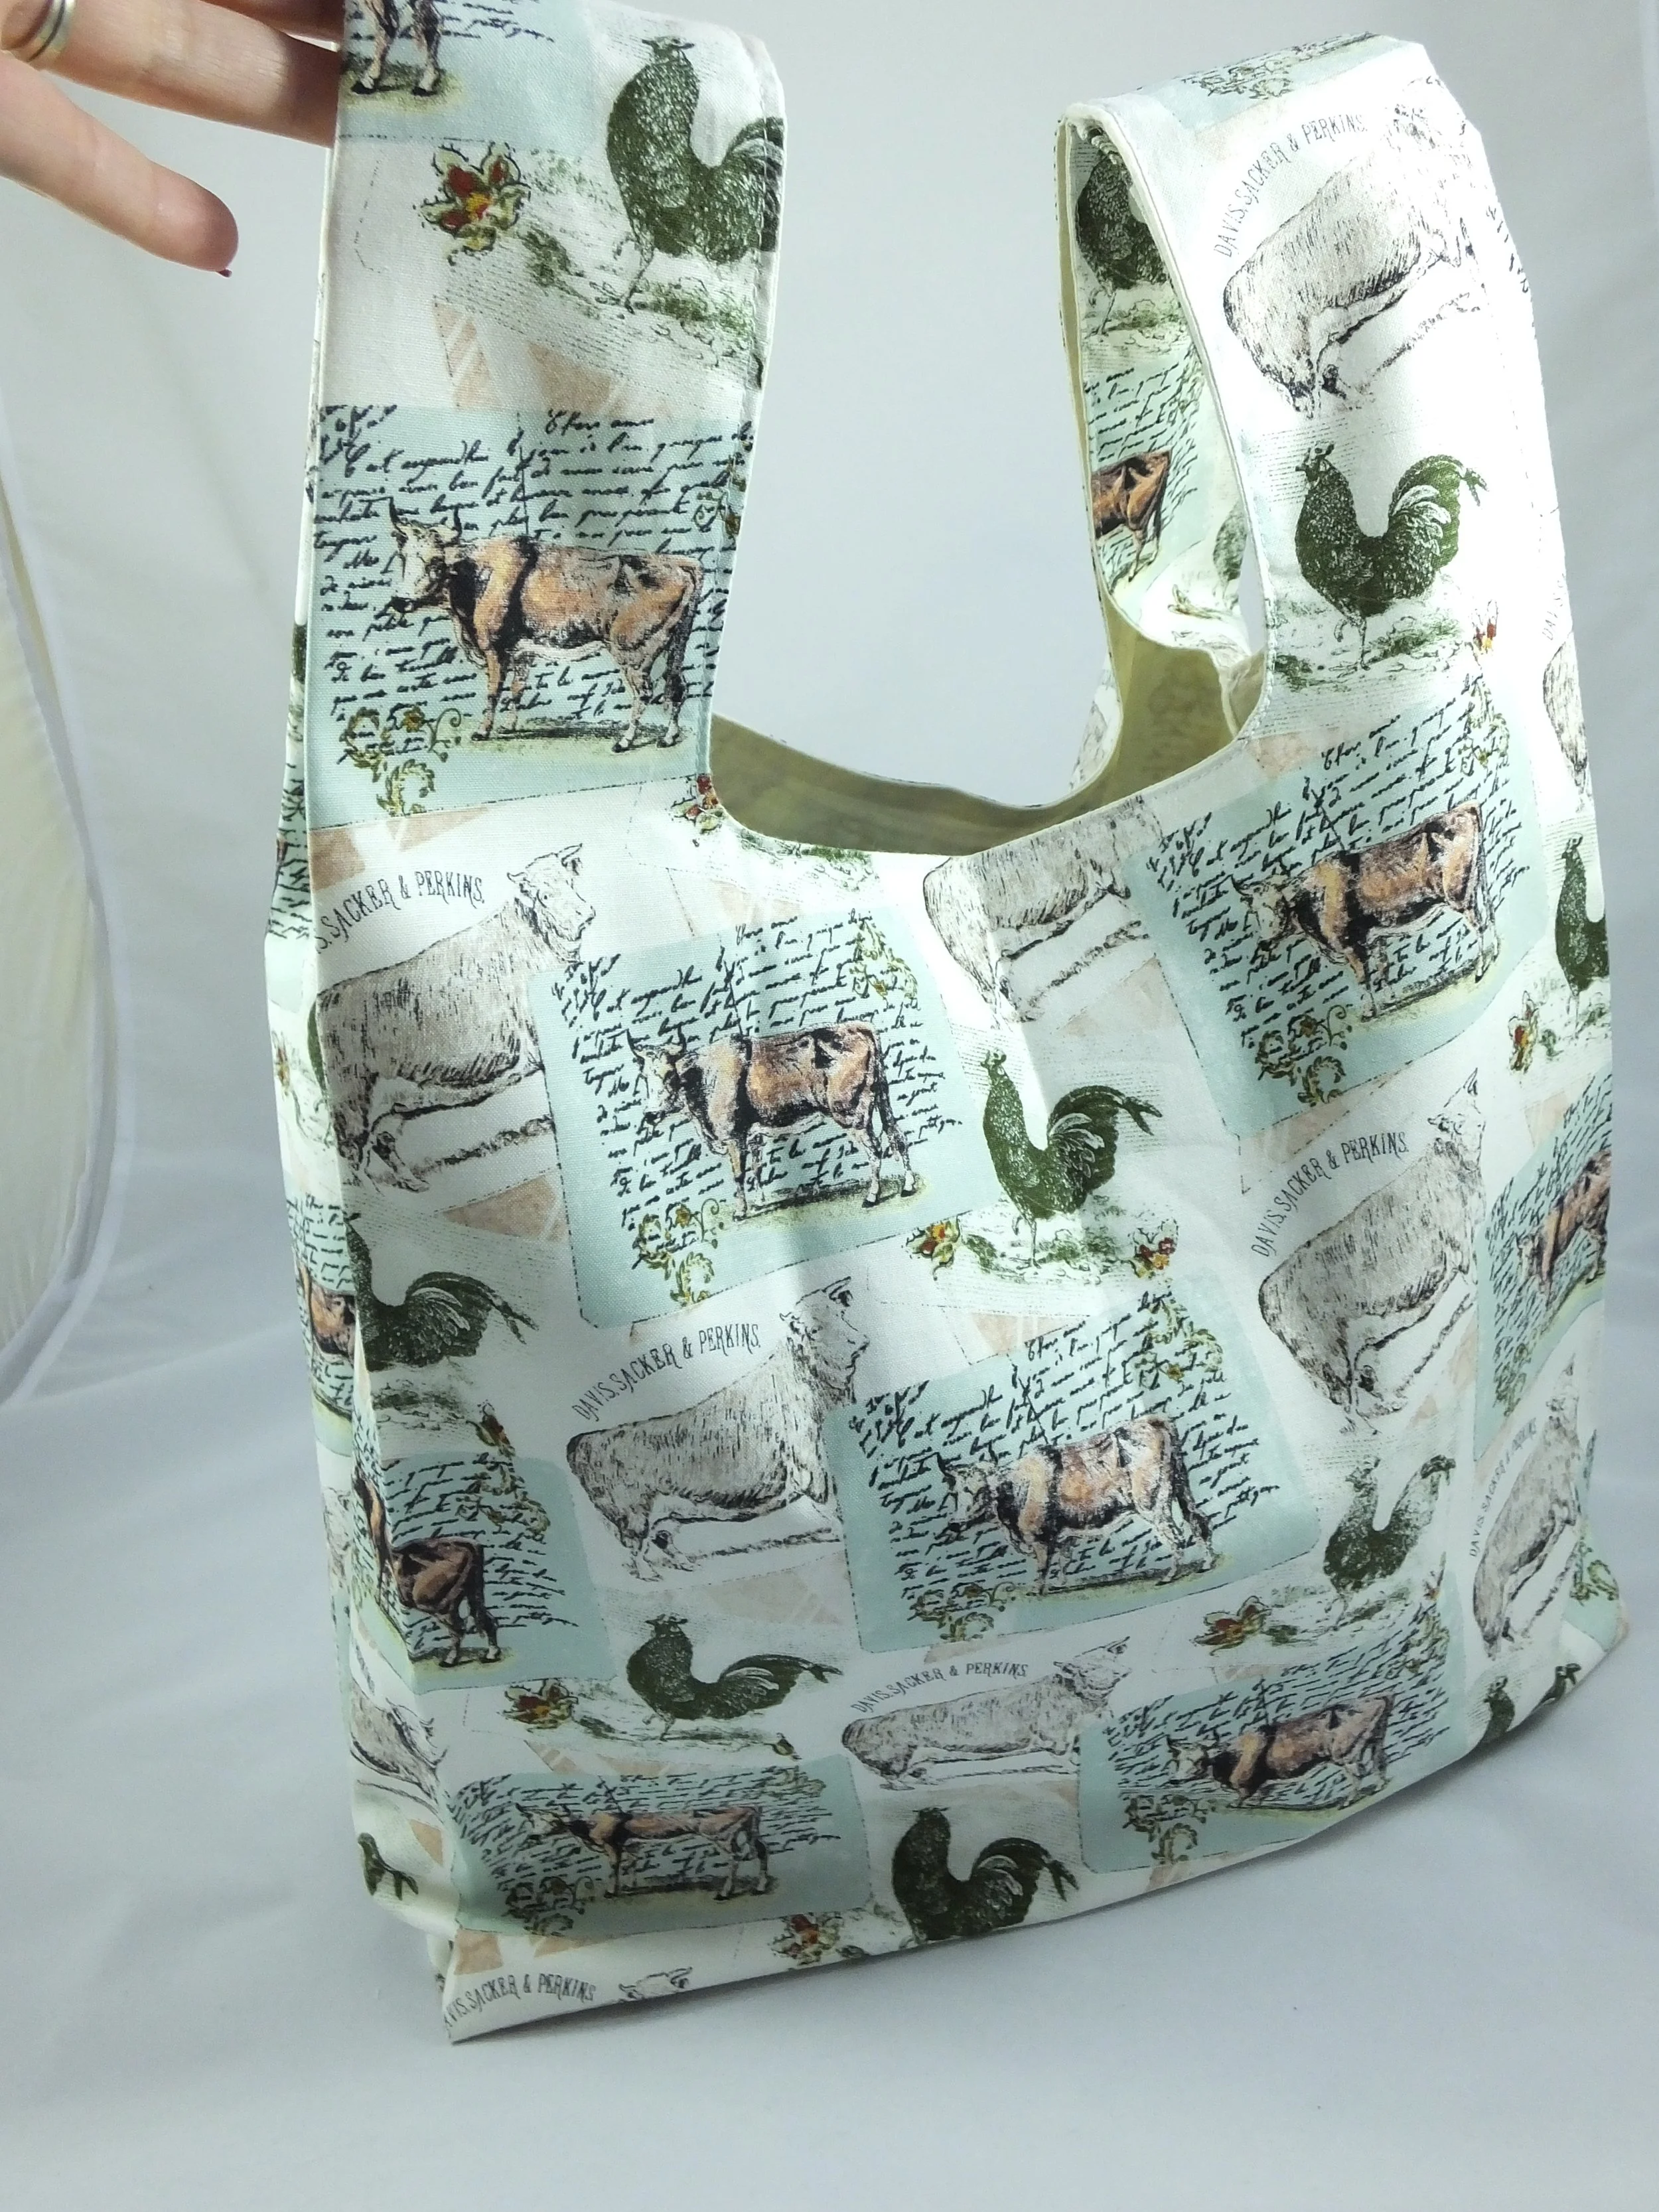
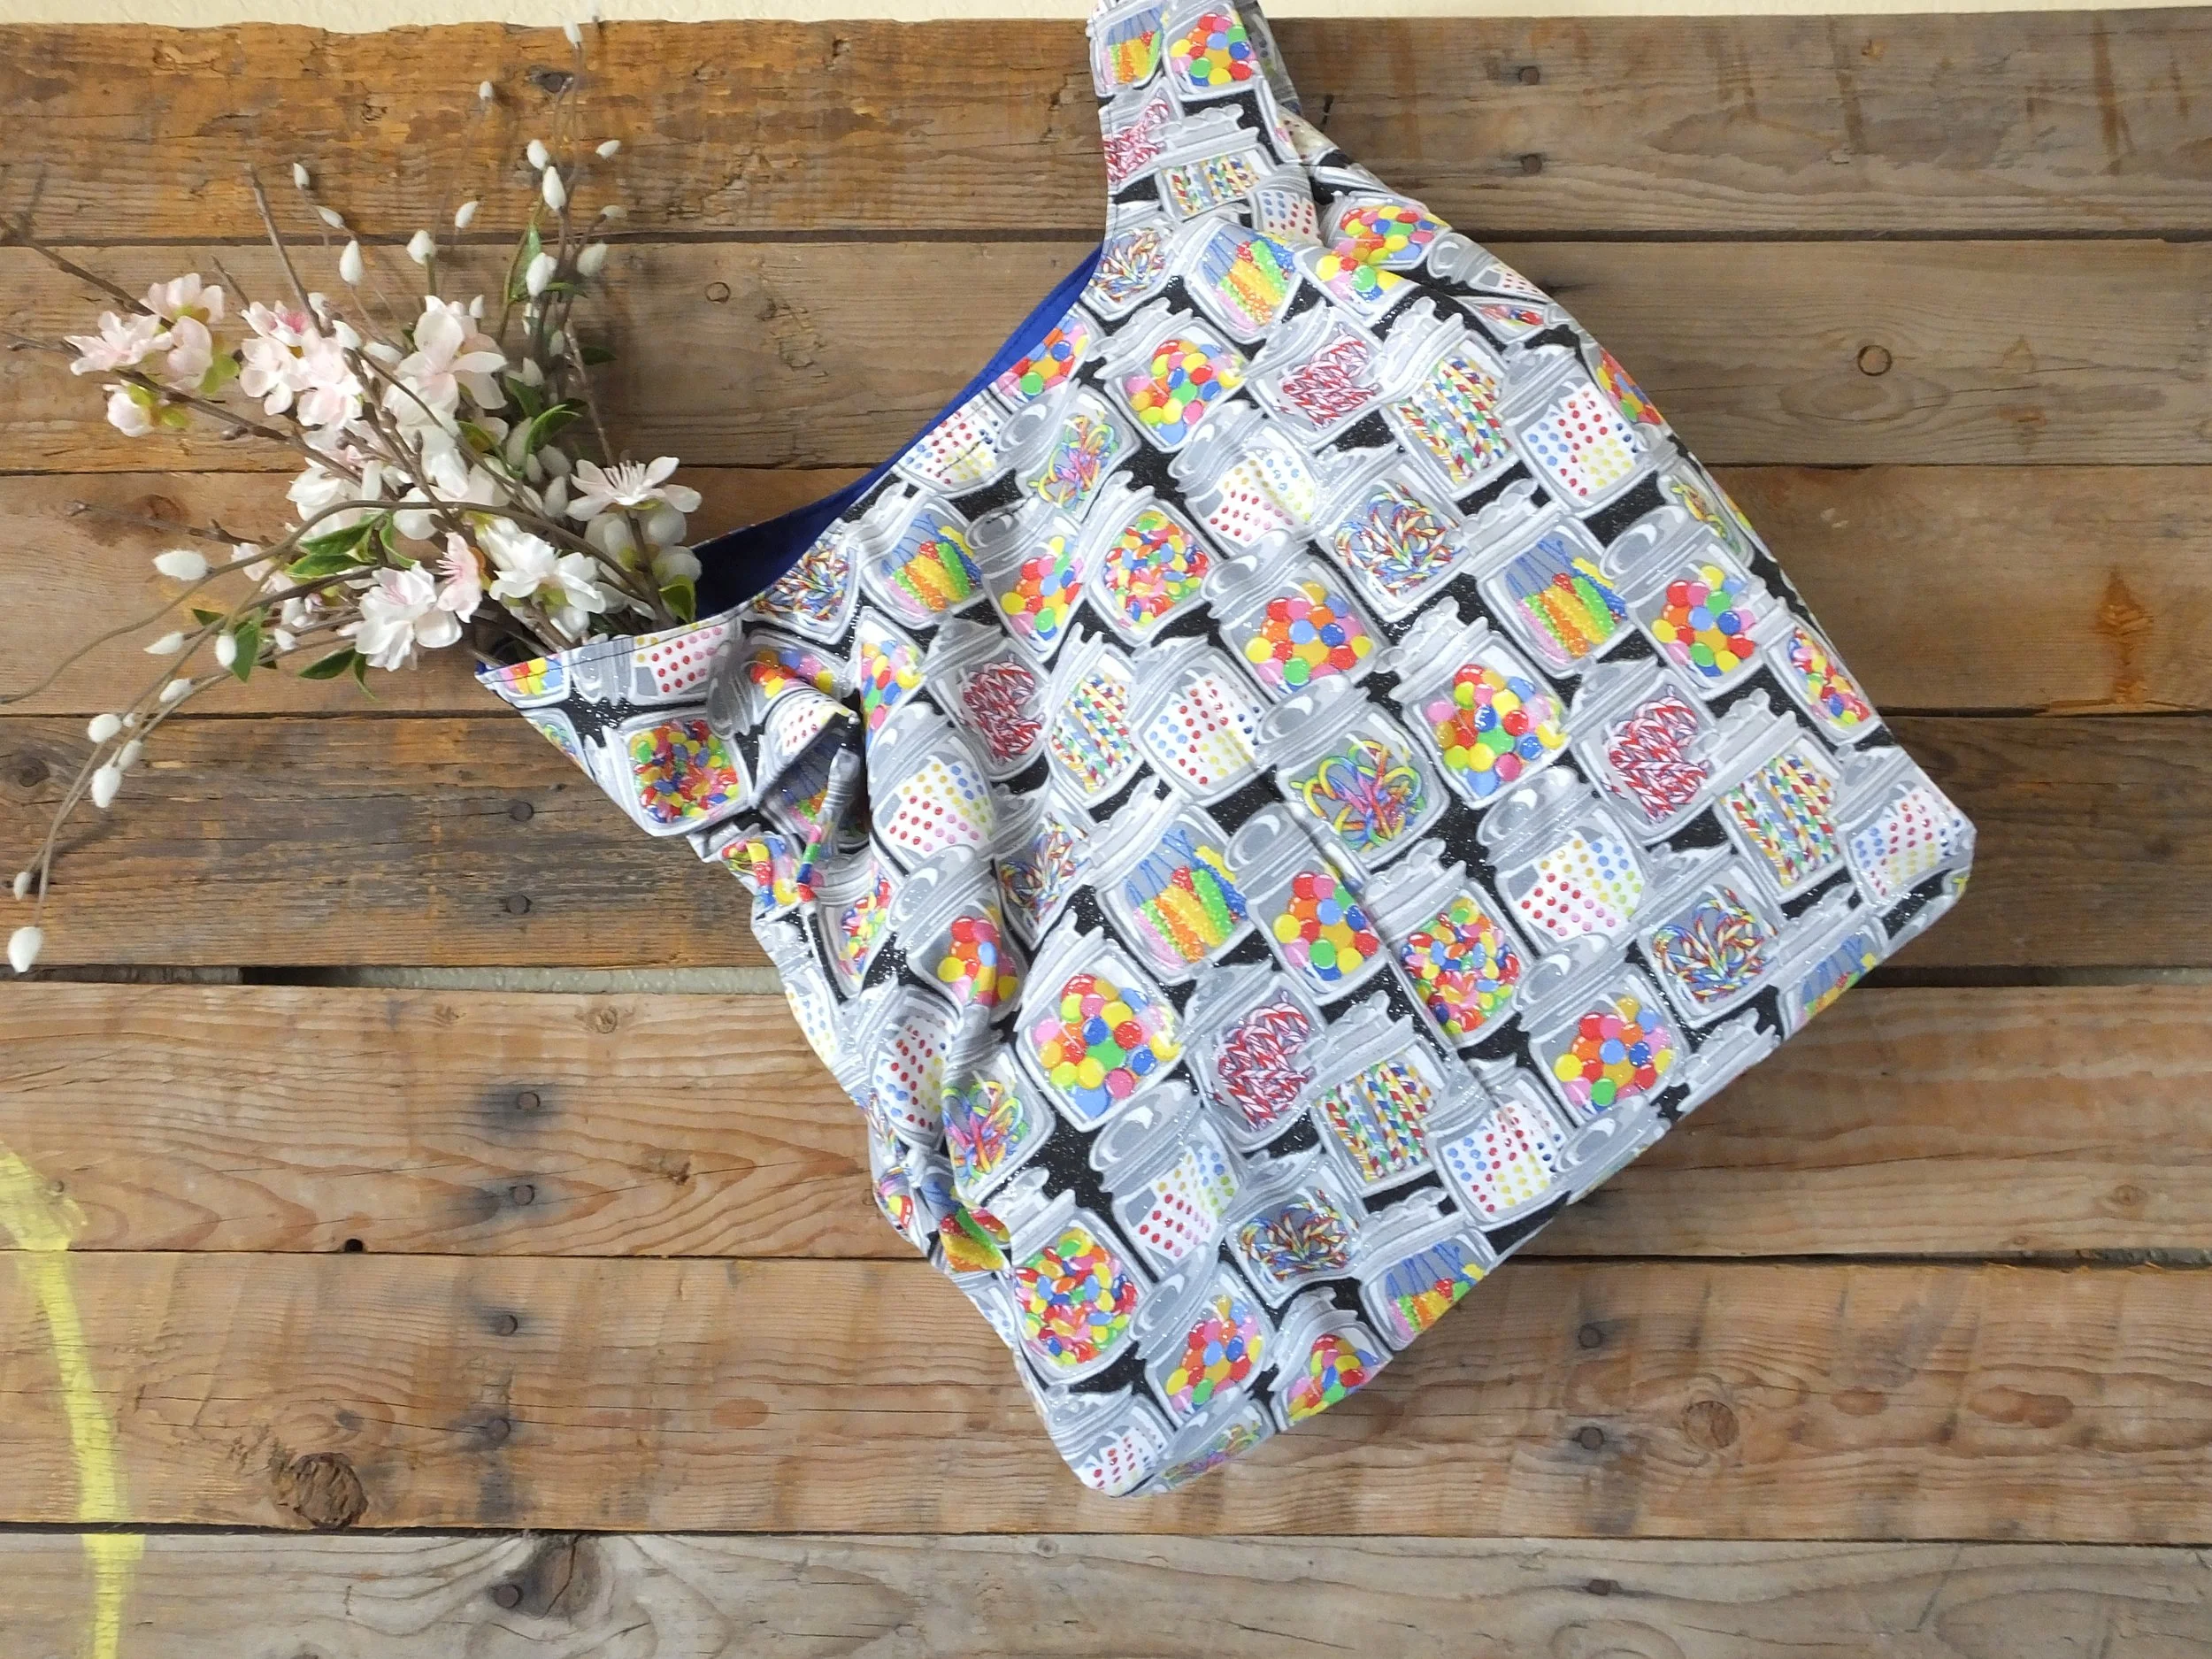
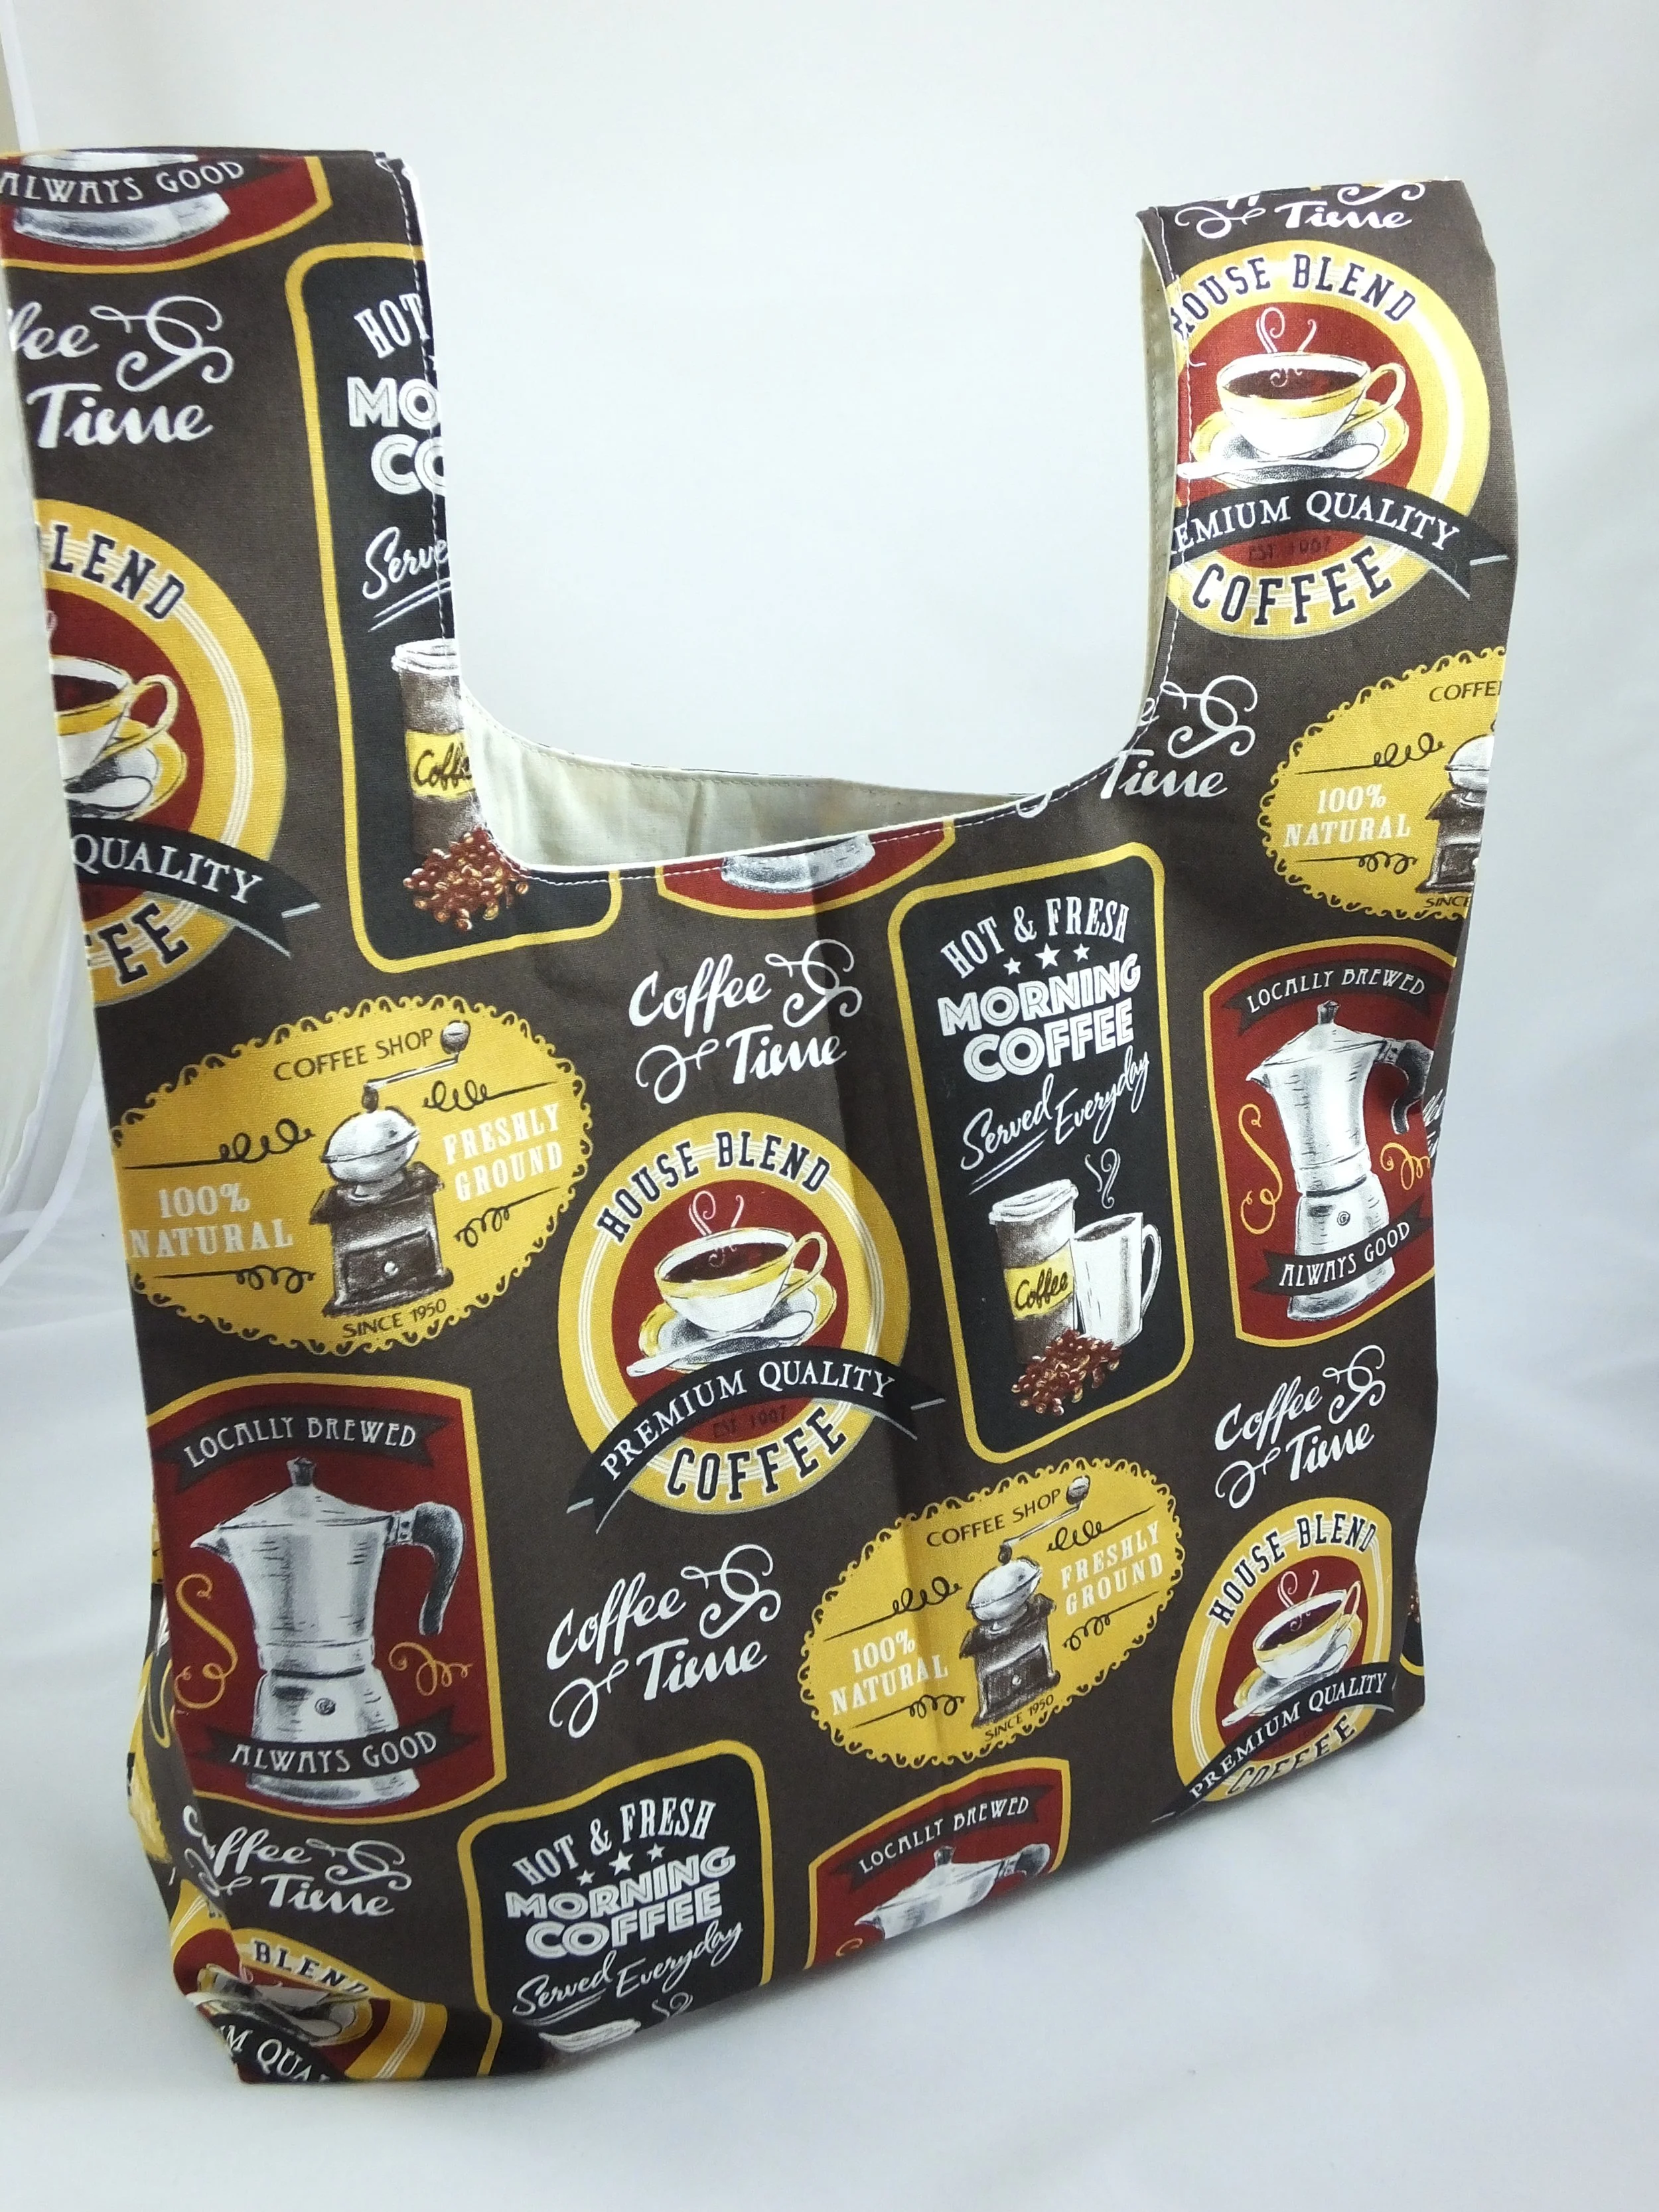
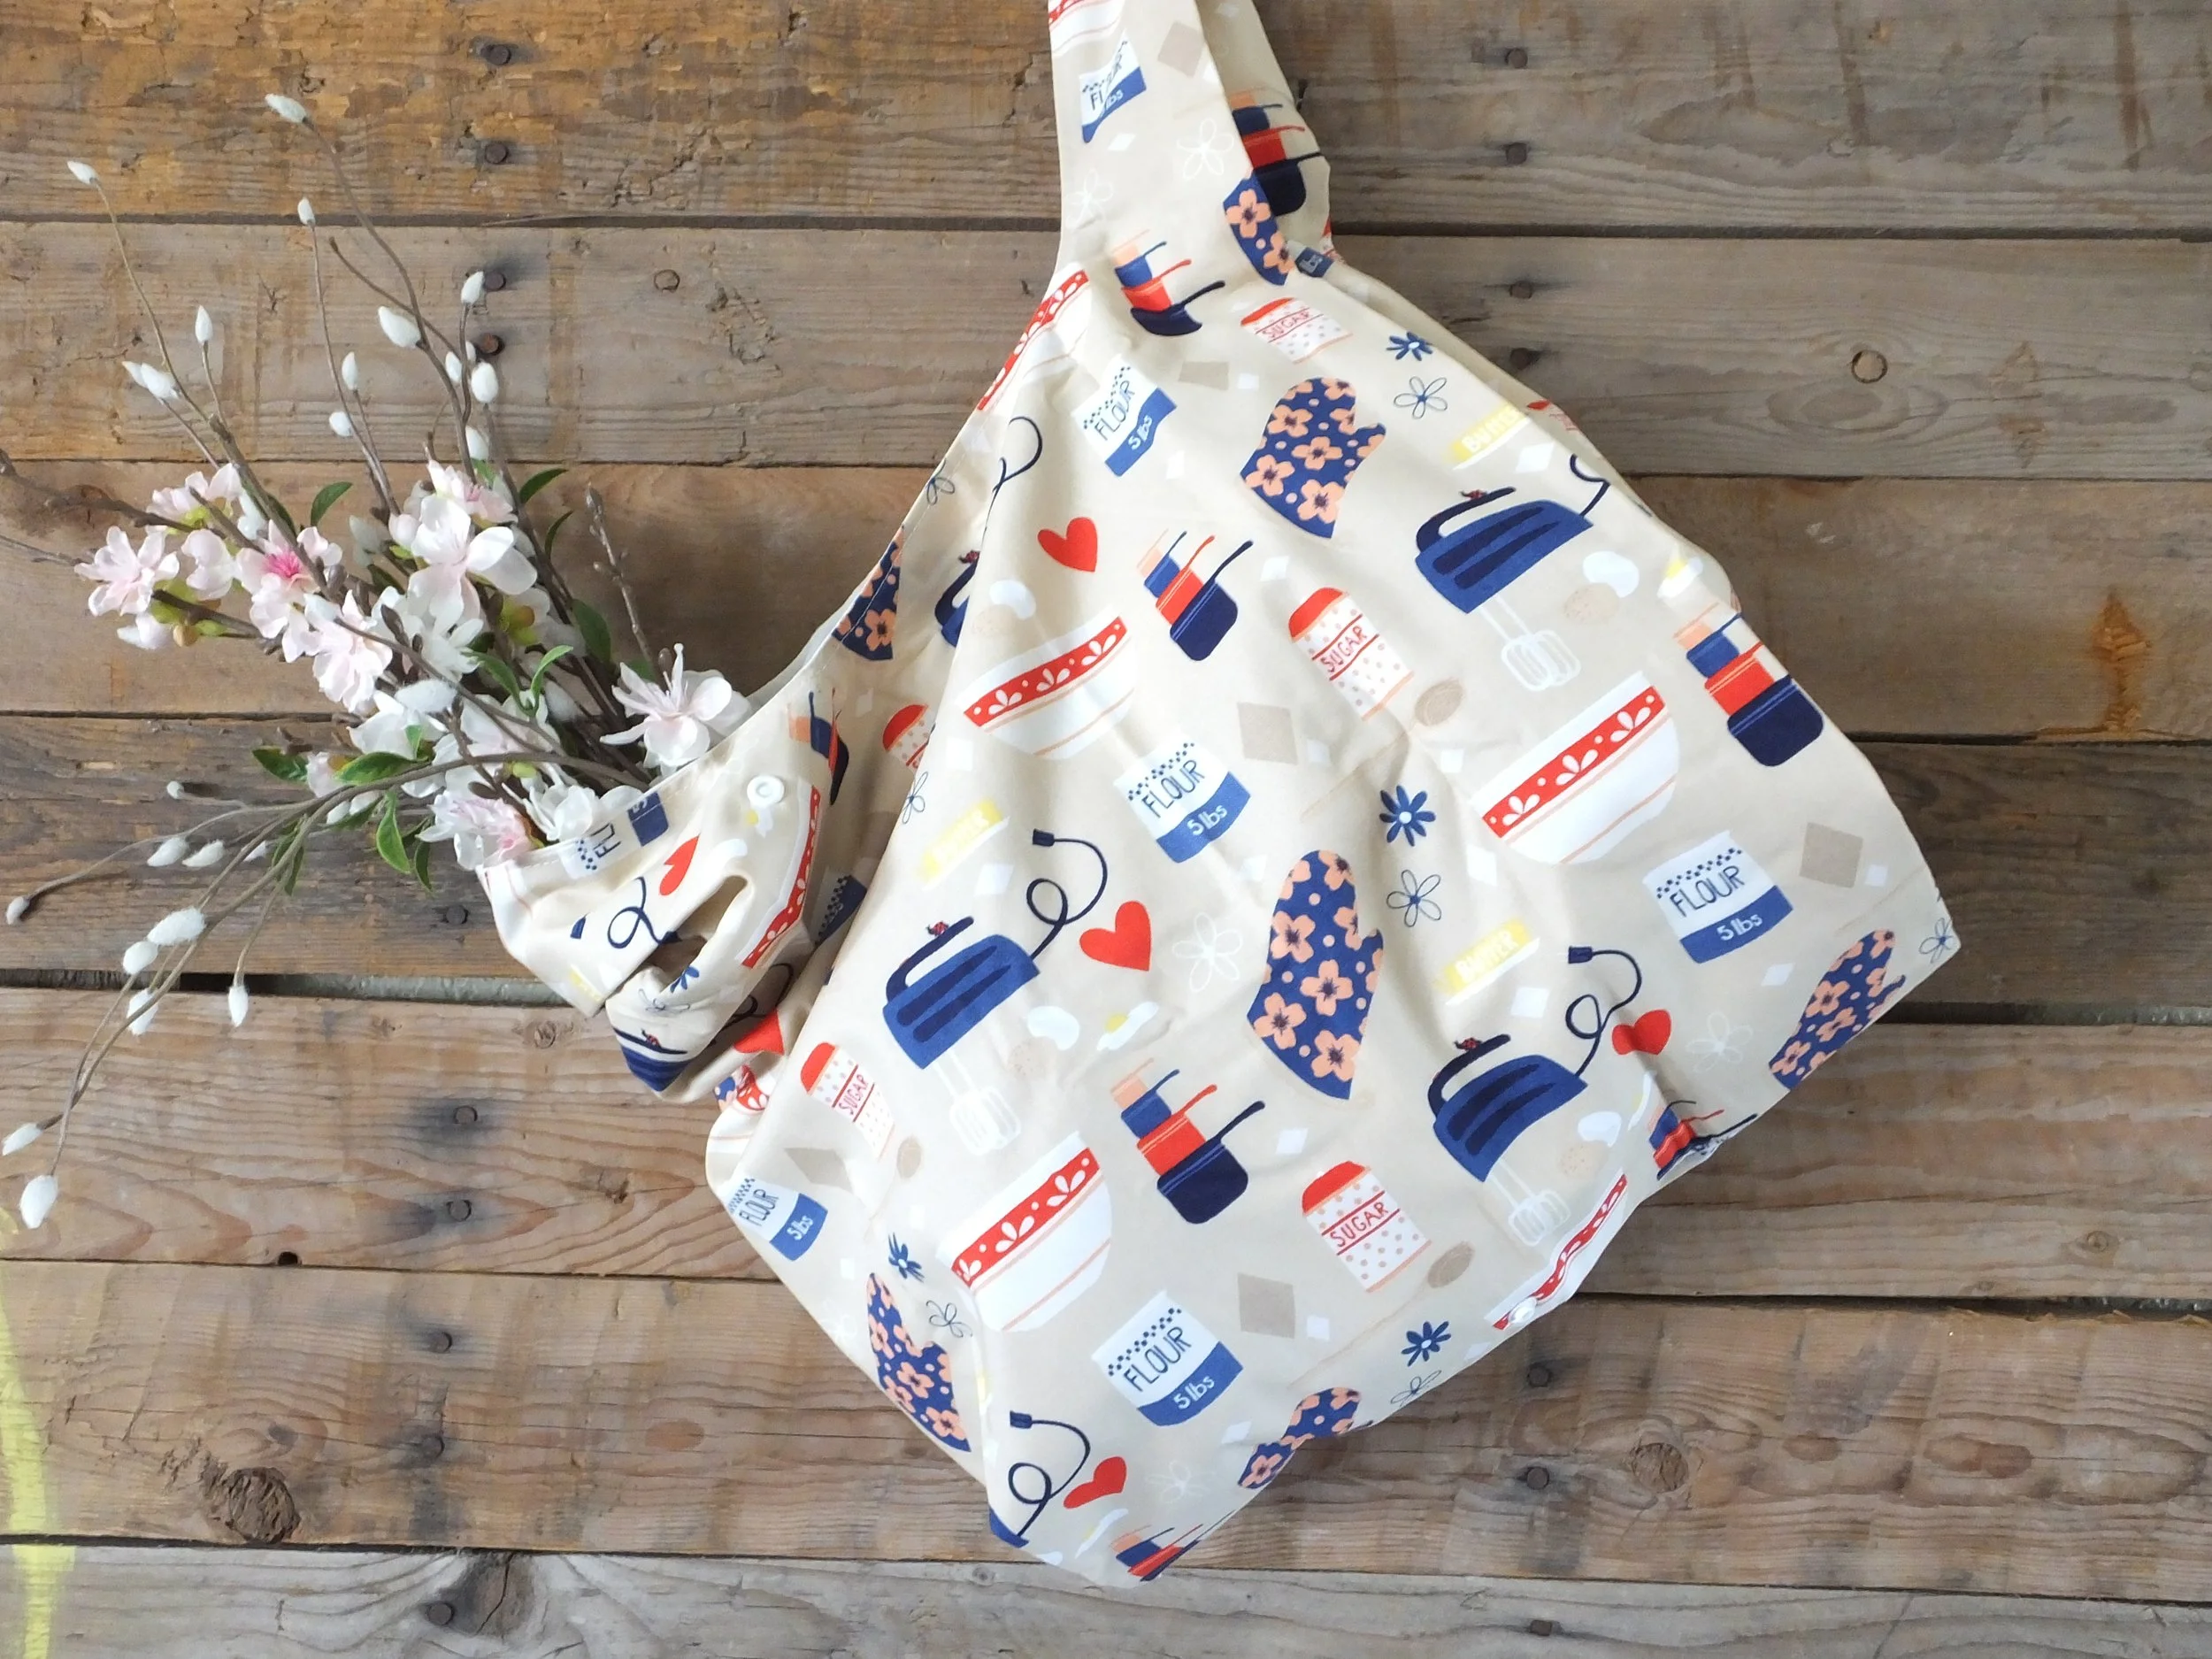
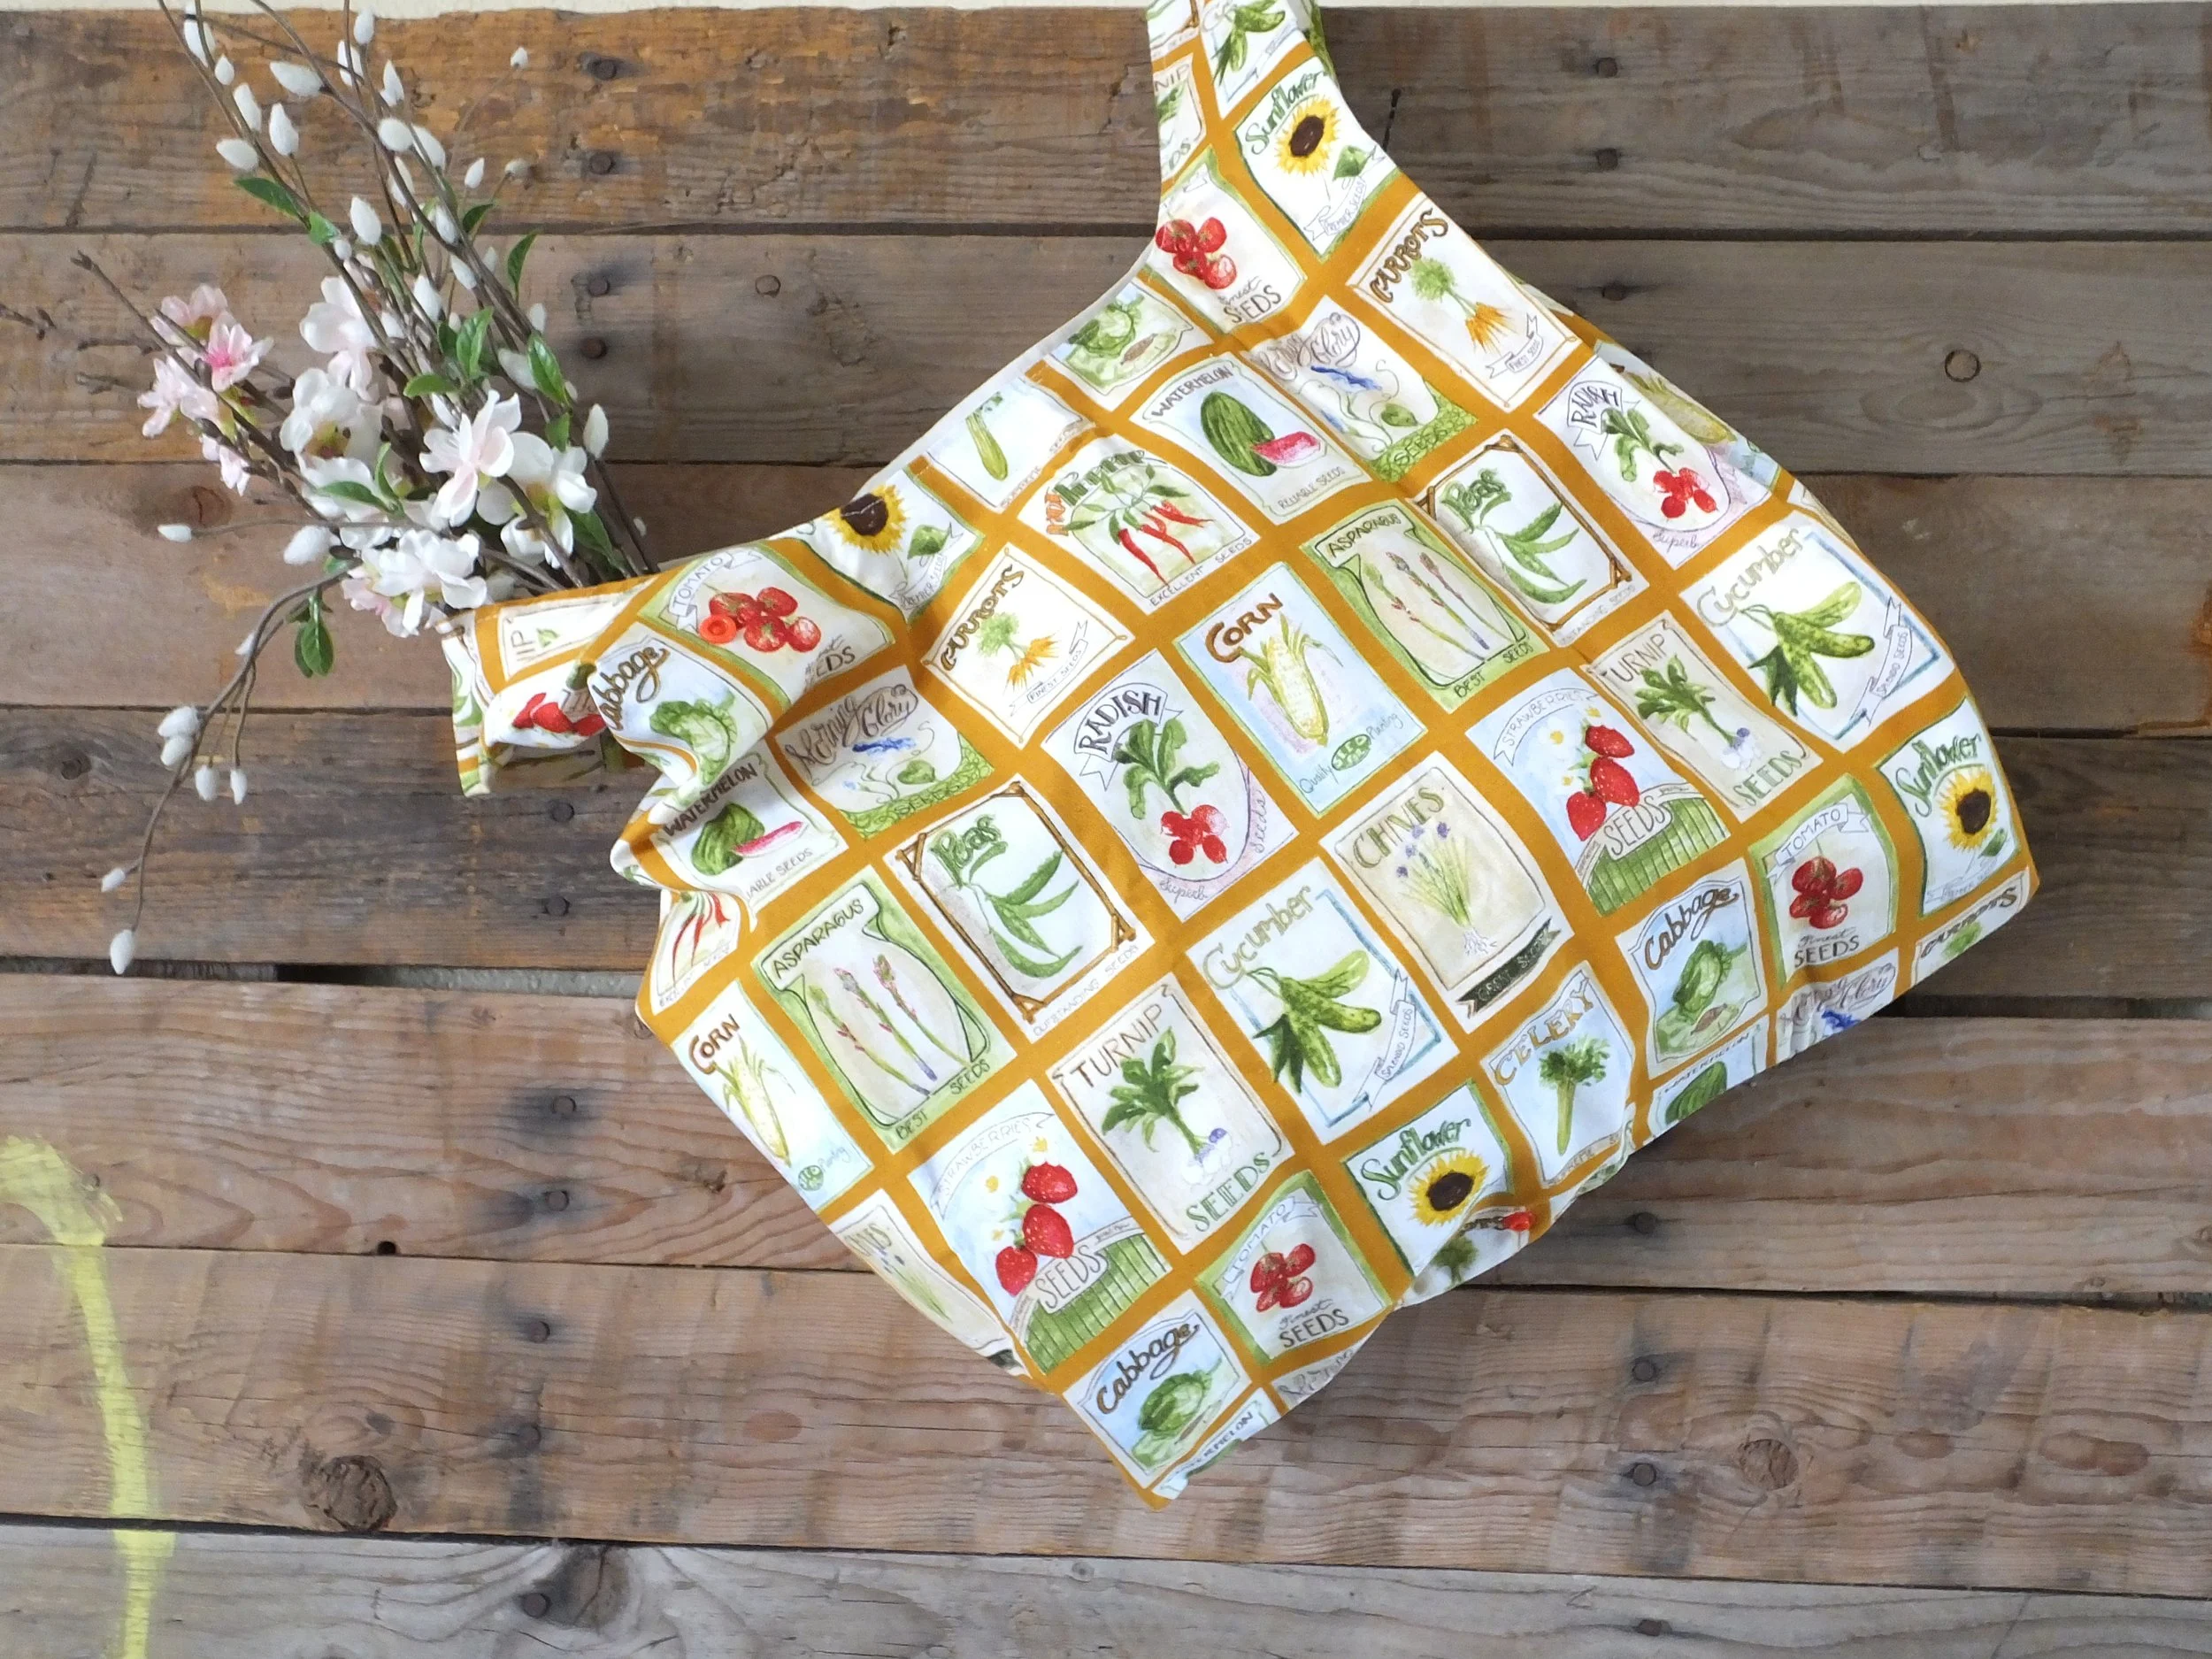
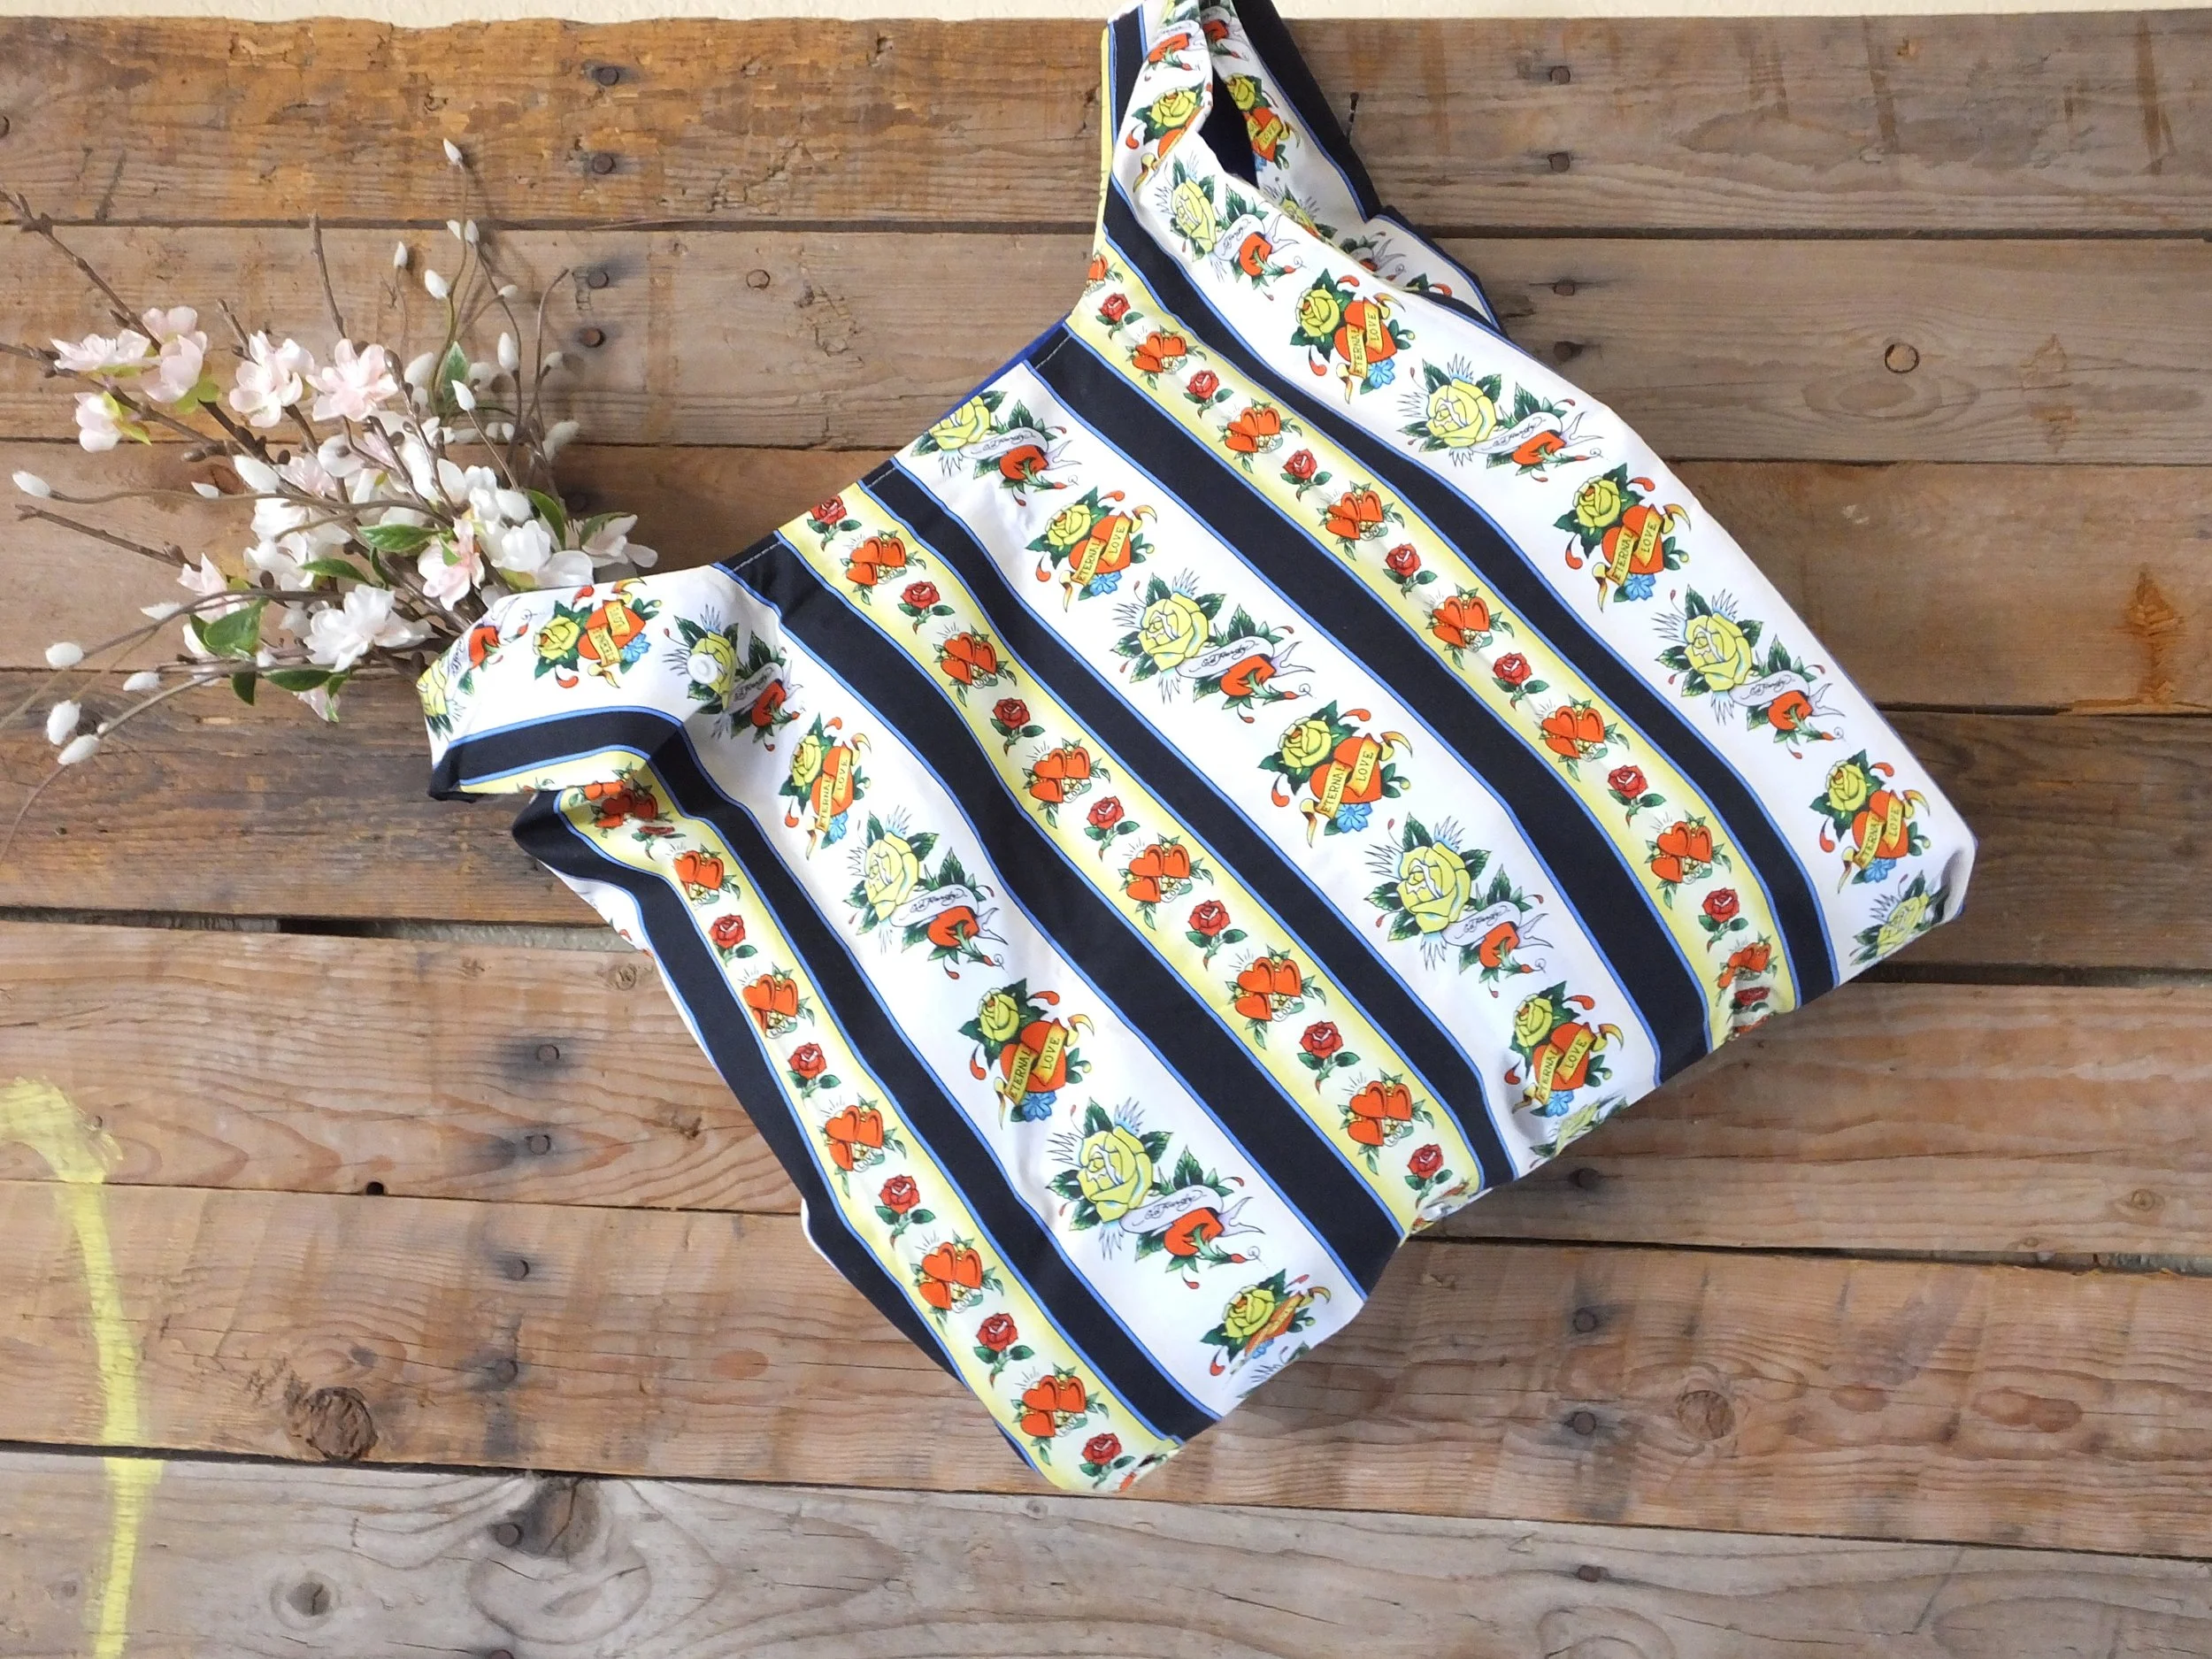
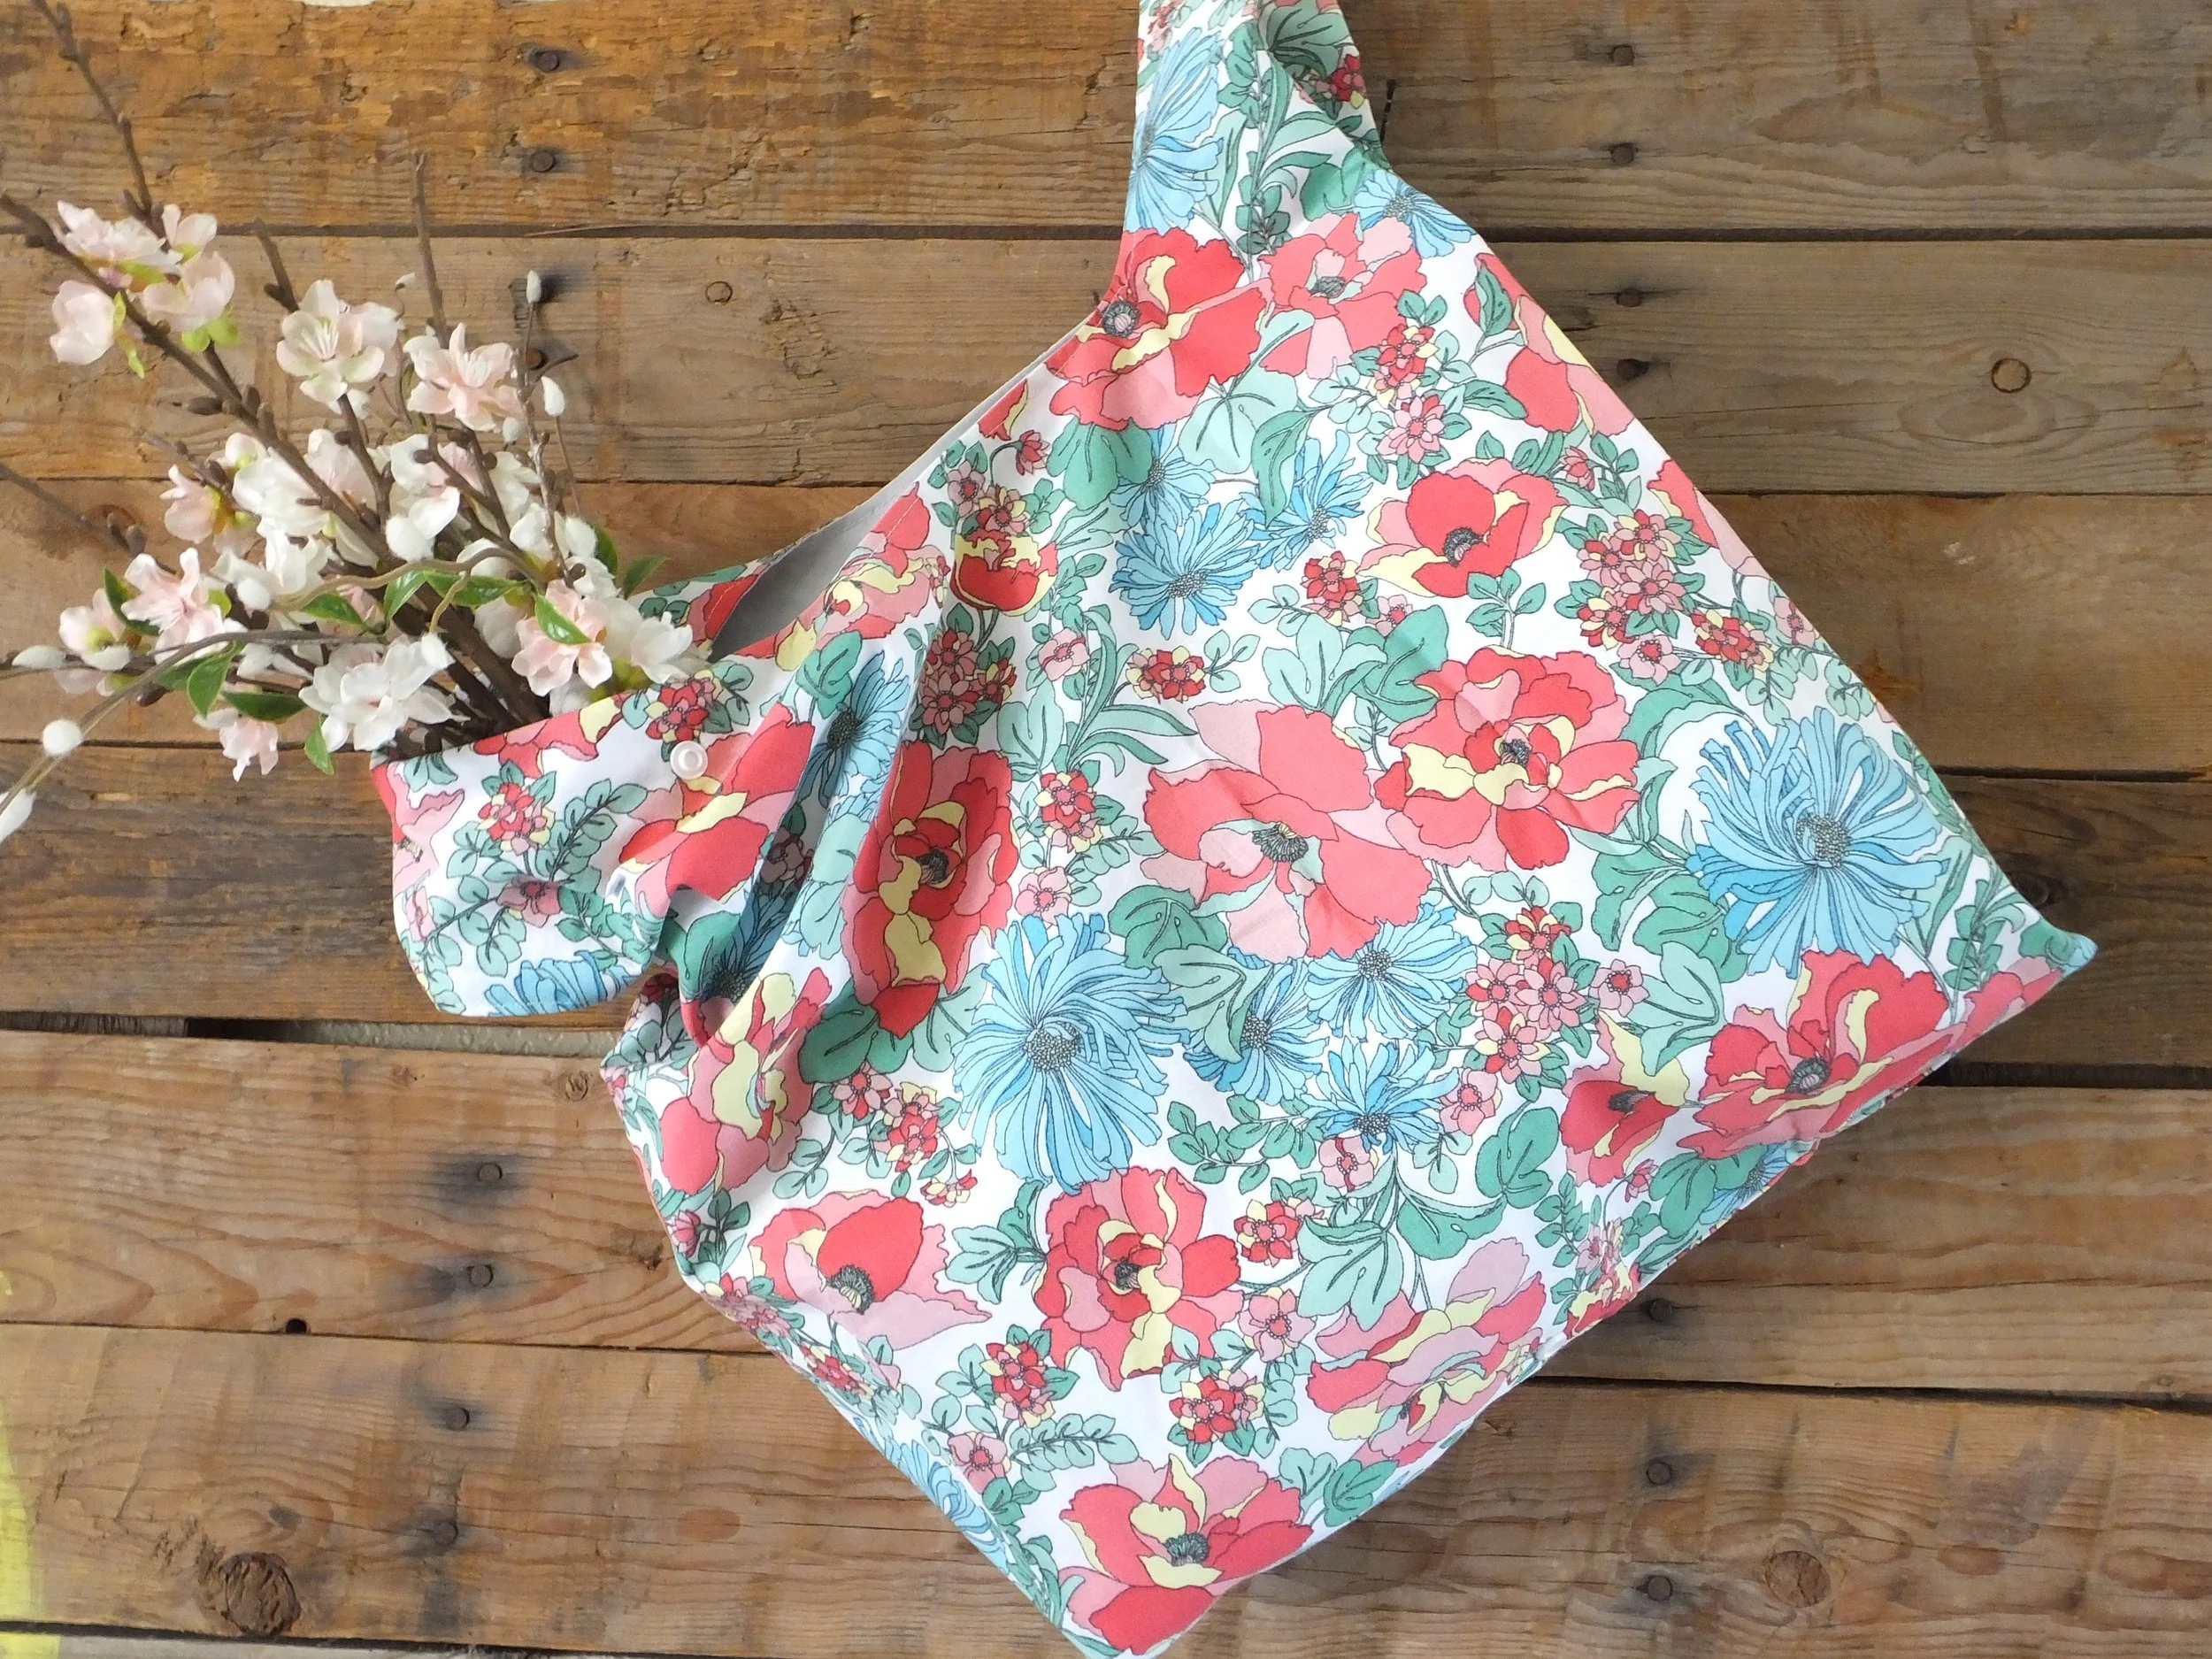
Below are a few of the bags I’ve made throughout the years. I would like to think my phtography got better over the years too. Haha… Yikes!

What do you plan on using your new bag for? I keep mine folded in my purse at all times. You never know when you need a bag. I do have to warn you, though, once friends and family see your bag, they’ll want one. Ha! They do make great gifts.
Welp, thanks for hanging out and sewing with me today. I hope this post will have you making a bag you’ll want to use. It’s a somewhat simple tutorial and is great for an adventurous beginner.
If you want to sew something for Halloween, here are some ideas.
Happy sewing and shopping!
Annette