Cat Mug Rug

The leaves are starting to fall, the mornings are crisp, and evenings are getting chilly. It's almost sweater weather! If you love fall, I bet you dream of warm mugs filled with cocoa, hot tea, fancy coffees, or hot toddies. I know I am. Cue the cat mat, rug mug, or coffee coaster; you decide the name of it. I want to share a cute kitty mug rug pattern with you all. Here is an easy, beginner-friendly sewing project you can whip up in an hour. It’s a great scrap-buster project too.
A mug rug will help protect your kitchen table from the heat of a hot beverage. With the holidays approaching, these would even make perfect gifts. Neighbors, moms, uncles, friends, and teachers will love them. They can also be great for kids. Add a hot cocoa packet inside a cute mug for an easy holiday gift.
I kept this post simple and short. Less time reading, more time for sewing. Let's go!

Supply List
Large scraps of cotton fabric, or 2 fat quarters
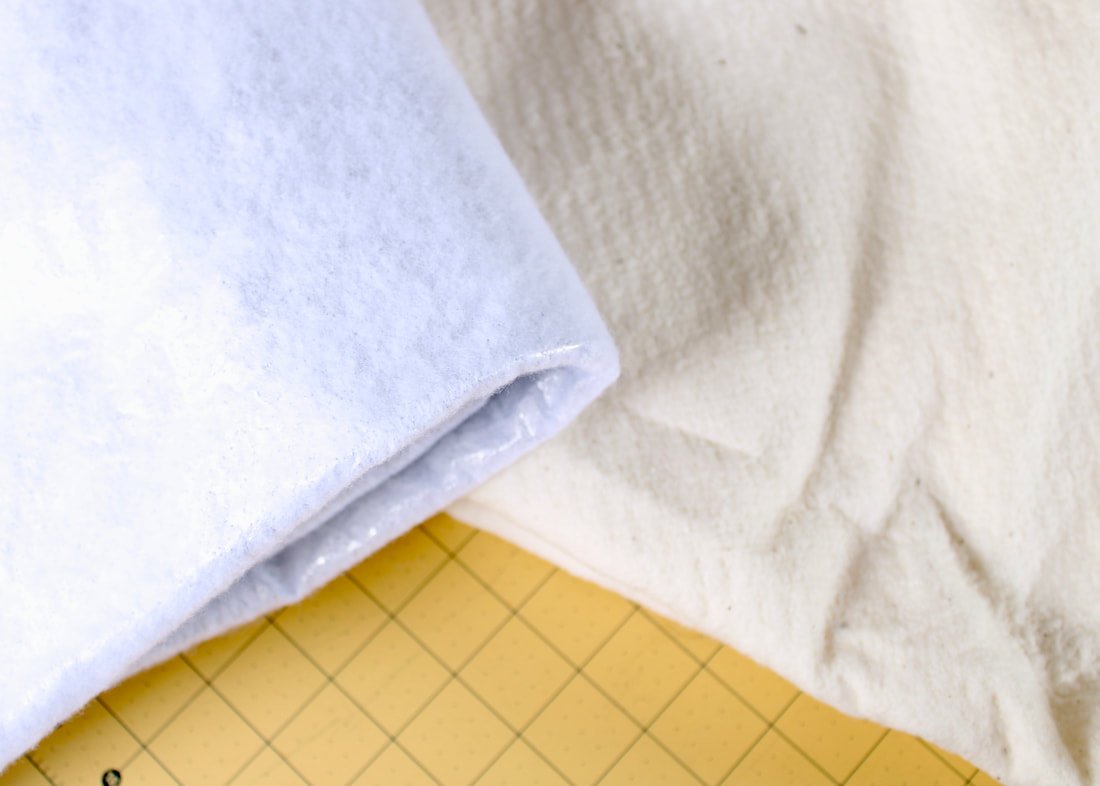
Batting. You can use quilting batting, Insul-Bright, Wrap N Zap, or fusible fleece
Clips or pins
Sewing machine
Air soluble pen
Scissors
Cup of something hot to place onto the mug after it's sewn :)
The finished size is approximately 6.5" wide by 6.25" tall.

Cut and Trace the Pattern
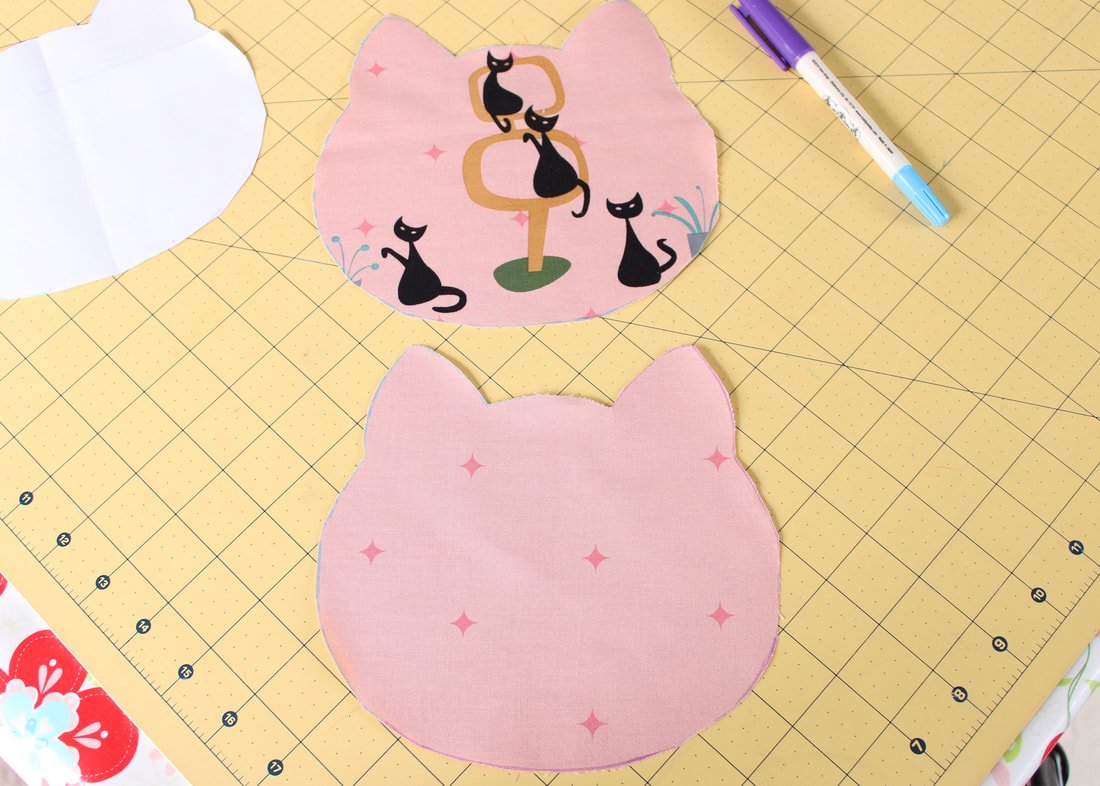
Print and cut out the PDF pattern with non-fabric scissors.
Place the pattern onto the fabric and trace it with an air-soluble pen or other marking tool. Transfer the markings onto your fabric. Trace and cut 2 pieces of fabric.
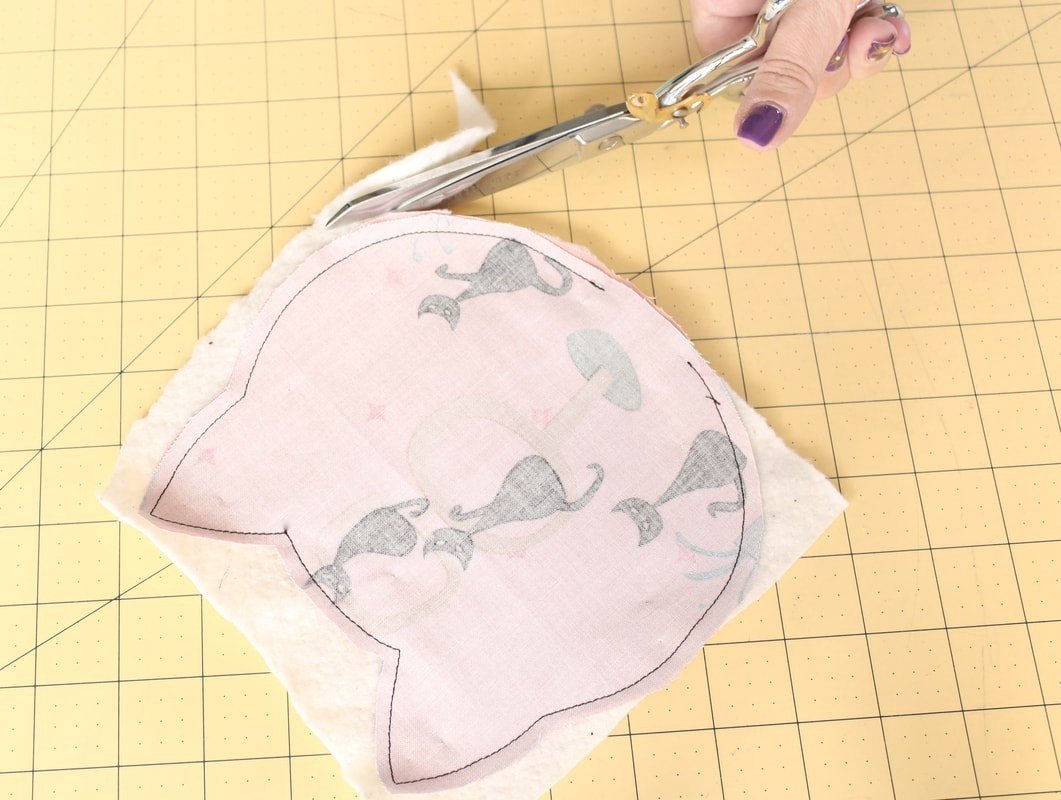
Cut out a piece of batting. (I prefer to cut it larger than the fabric because it will shift during sewing).

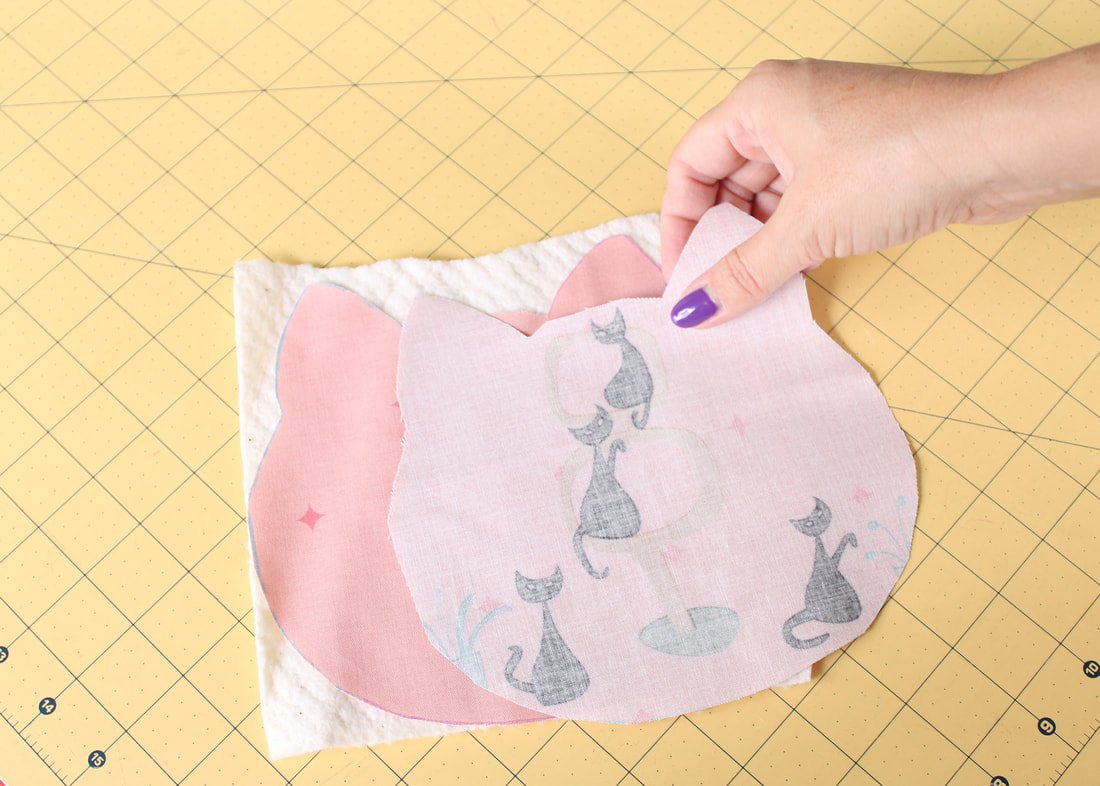
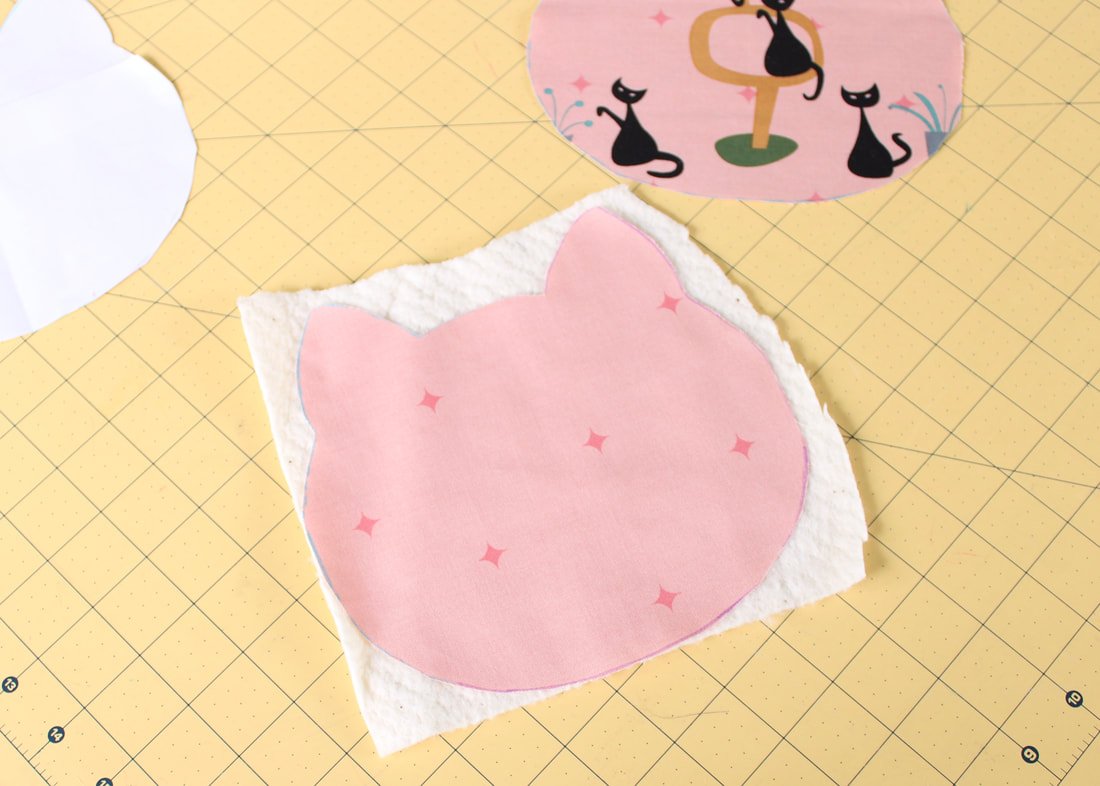
Pin Layers Together
Place the batting onto the table. Then, place the wrong side of the fabric onto the batting. Take the second fabric and place it right side facing down. You'll have a fabric sandwich now. The 2 pieces of cotton will be facing right sides together. Pin or clip the 3 layers together.
Batting, fabric, fabric.
A note on batting: if you use Insul-bright or fleece, do not put your mug rug in the microwave. Fleece is polyester and will melt. Insul-bright has metal and will spark. If you plan on putting your coaster in the microwave, use cotton quilting batting or Wrap n Zap only.
Sew it Together
You'll sew the mug rug using a 1/4" seam allowance. Start sewing at one of the marked spots on the bottom, don't forget to backstitch. Sew all the way around. Go slow around the cat ears, it can get tight. Backstitch when you get to the other marking. You should have a small opening for turning out.
Clip your threads.

Sew from one bottom end, backstitch, then sew around to the other side, backstitch. Leave a gap open for turning.
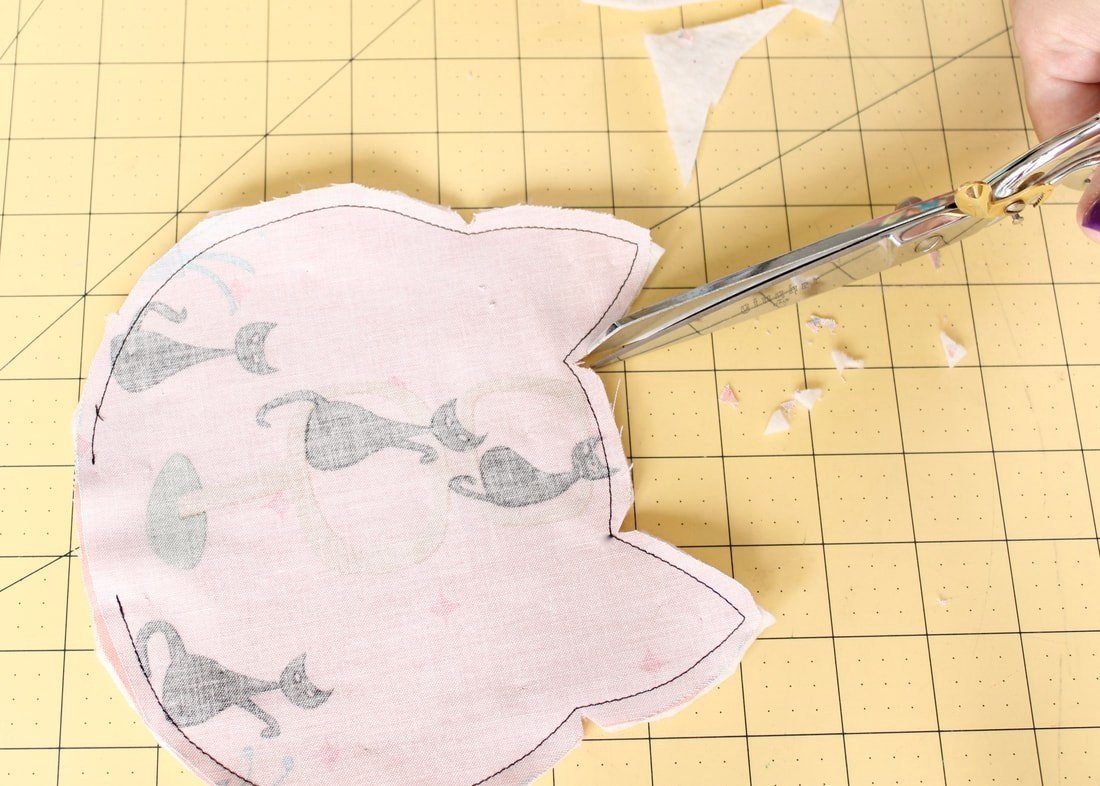
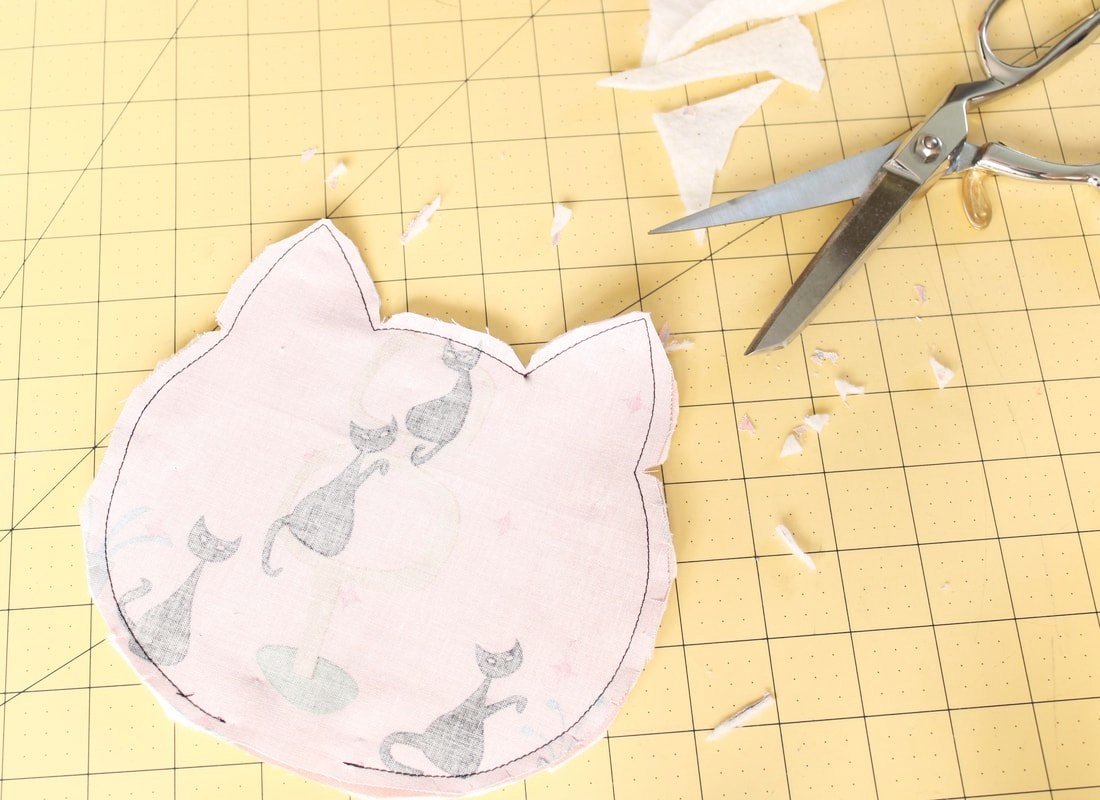
Clip Curves and Turn Out
Trim away the excess batting.
Clip the curves and trim the corners. Clip the sides and top of the cat head. Cut tiny triangles into the inner curved areas near the ears. This makes them turn out nicely without any bunching.
Grab a chopstick or blunt pencil to poke out corners and seams. Press nice and flat.
Tip: Use the chopstick in one hand to push the seam out, while using the iron in the other hand to press. This is the same pressing method I use to make my wide Rockabilly headbands.

Use a chopstick to push out corners.

Topstitch around entire mug rug to close the opening.
Finishing Up
Give the whole mat a good press. Top stitch the opening closed, be sure to backstitch at the beginning and end. Or, you can top stitch around the whole coaster. Stitch using 1/8"- 1/4" from the edge.
You're all done! Now go brew a cup of something warm and tasty, and sip in style. Make one for each holiday or day of the week.
Extra Tips:
Make a few different sets of these to give as gifts. Wrap them with themed ribbon or twine. Add a fun, informative tag to let the recipient know what they are. Using themed fabric can make it extra personal. If your sister-in-law is a nurse, use medical fabric. If someone is a book lover, use their favorite movie or some comic book fabric.
Add some rick rack to the front or seam for added color.
Piece together and quilt to use up tiny fabric scraps.
Add piping to the outside. Go slow around the cat ears because it can get really tight on the inside corners.
Use 2 different fabrics to make it reversible.
A word of caution, these mats are made for beverages that are usually dark in color and can stain. I wouldn't recommend using white or really light-colored fabrics. Fabrics that are dark or heavily patterned work the best. Think of fabrics that will hide stains easily.
Wash your cat coasters with cool water, gentle cycle, tumble dry low, or air dry. Give them a good press if needed. I keep one near the coffee pot as a spoon rest, too.

Cheers to cat mug rugs.
Enjoy the pattern! And, enjoy sipping a cup of something delicious while you use this cute cat mug rug on your desk or table.
As always, thanks for stopping by, and happy sewing!
Annette