Pattern Reviews, Sewing Hacks, Tips & Free Patterns
The Sewing Blog
DIY: Sweatshirt Into Tote Bag
DIY tote bag sewing pattern. Use up old hoodie sweatshirts to make into a bag. Easy free sewing project that is beginner-friendly. Reuse and upcycle sewing project. Use up old children’s clothing and turn their things into a bag. Tote bag sewing pattern.
When I was coming up with a title for this post, I kept thinking of the word Upcycle. But, I don't see it used as much anymore. Do you still use the word upcycle? I opted for the DIY term instead. Anywho, onto the post.
Have your kids outgrown some of their favorite clothes? They can't stay little forever, right? Maybe they have something they used to love that no longer fits. You might have a bin of clothing that you don't want to donate or don't know how to put to use.
A friend asked me if I'd make a bag from her daughter’s old hoodie. It was a rare occasion and I said yes! I was in a rut with my sewing and thought creating something new would pull me out of it. It worked! The result is super cute and useful, too. That's a win in my book!
If you have an old hoodie packed away that you don't want to get rid of, I have the perfect project for you!
I scoured the interwebs looking for a hoodie up-cycle project and found nothing. I was pretty surprised nothing showed up. There were tons of T-shirt projects, but nothing for sweatshirts. So, I went head first into this challenge. After reading this, I hope you'll pull out those beloved hoodies and put them to use.
Supply List
Old Hoodie without a zipper
Ruler
Rotary cutter and scissors
Chalk marker or disappearing ink pen
Sewing machine
Serger (nice but, not necessary)
Clips (pins work but, it's a struggle because the fabric is thick)
The usual sewing notions
A little creativity ;)
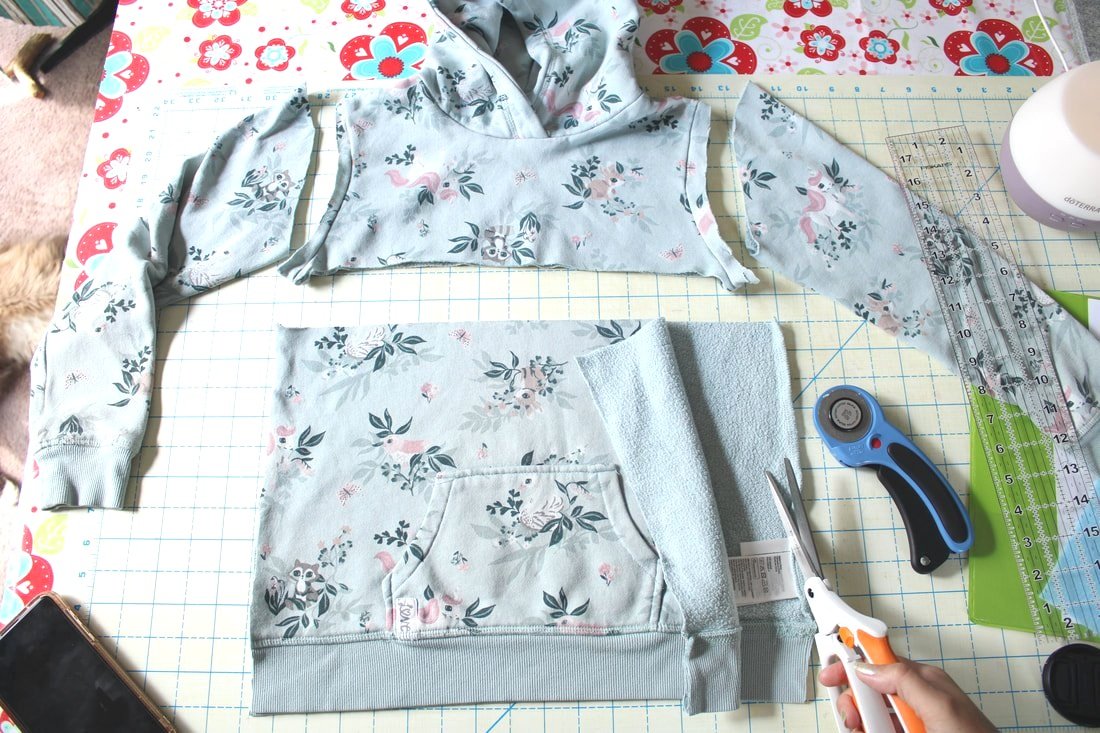
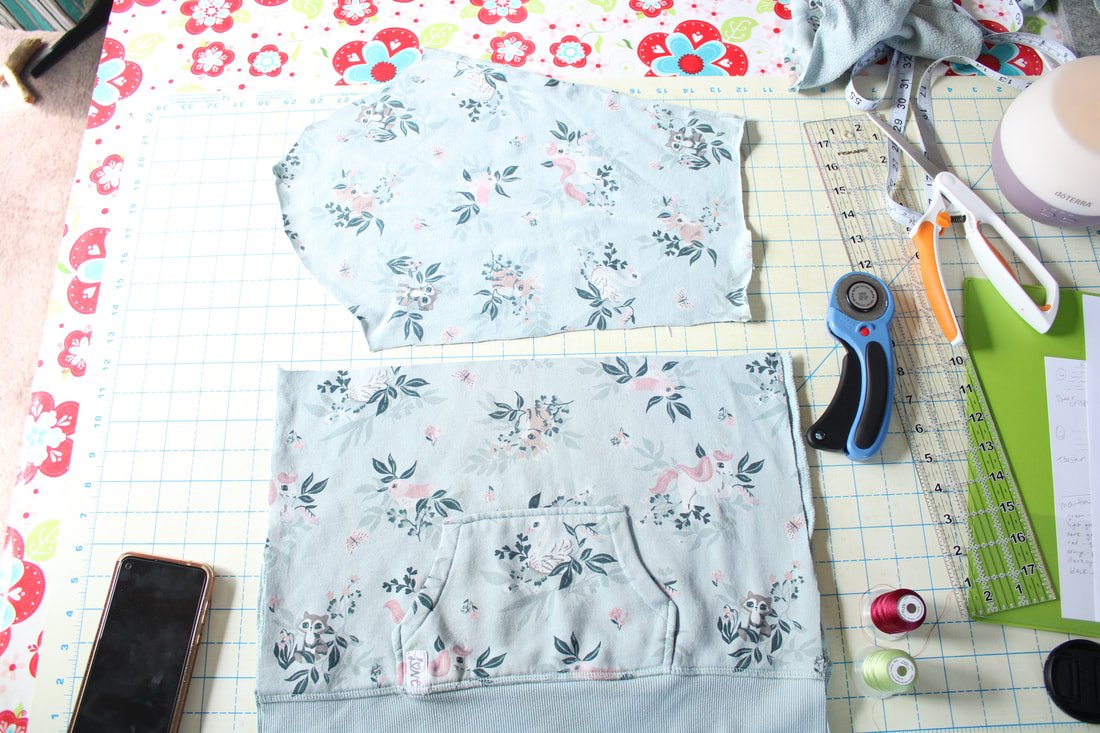
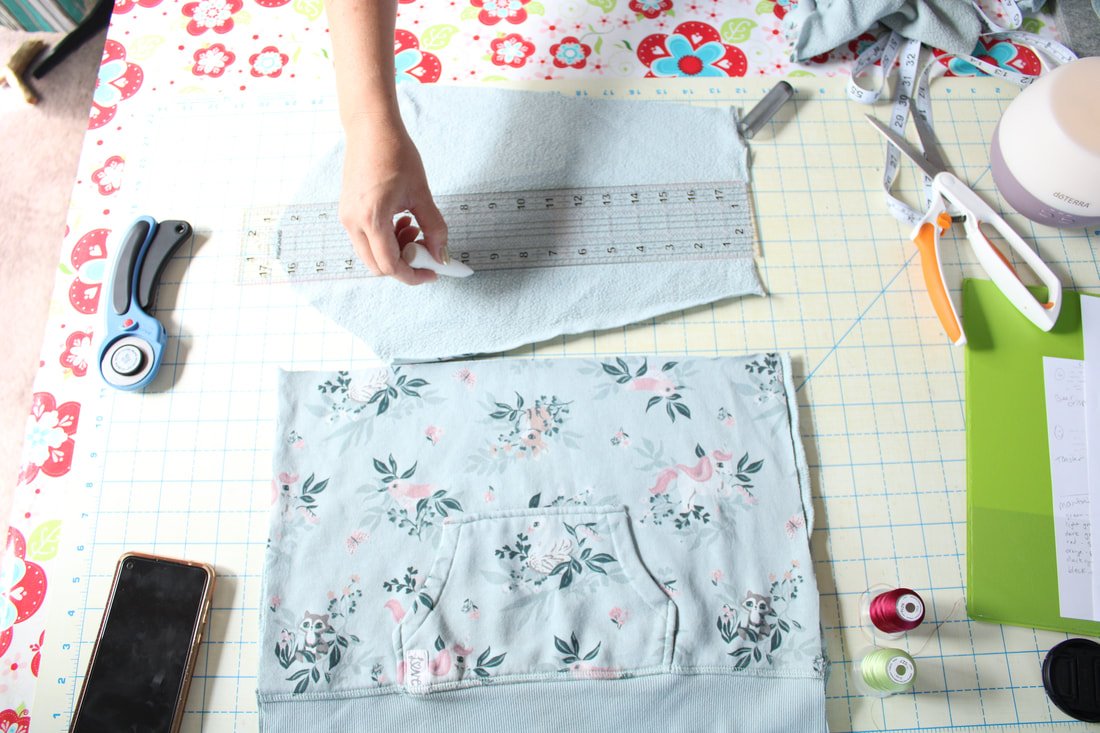
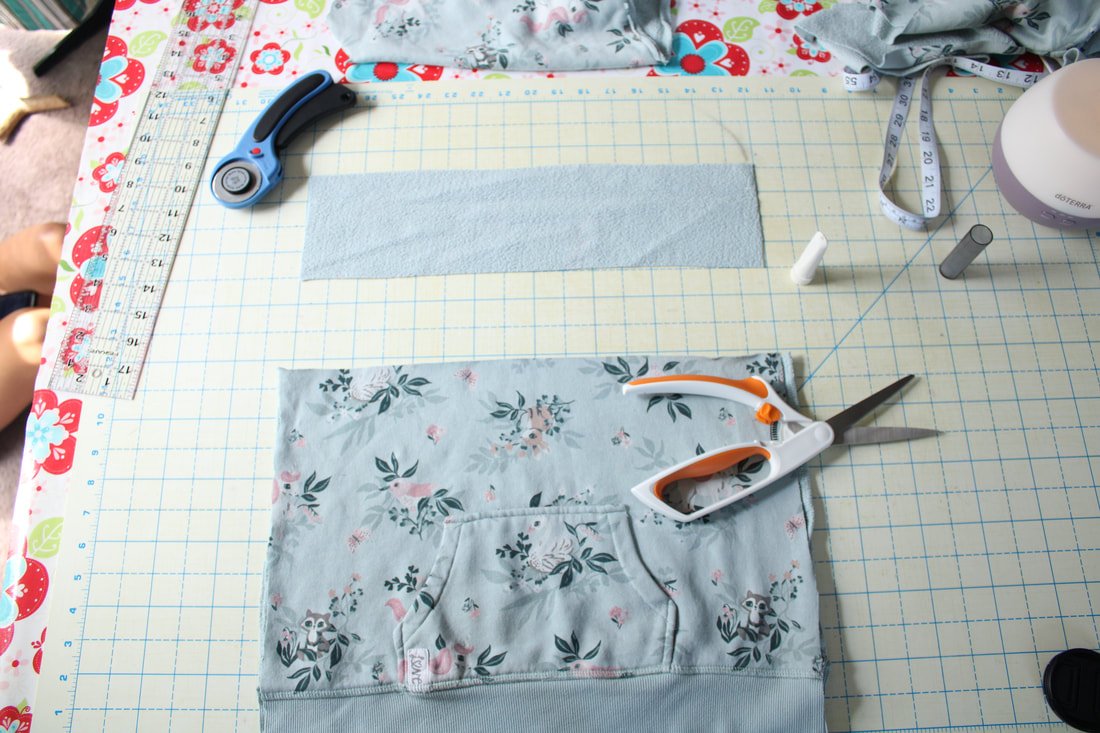
First, you'll want to measure the front. You need to figure out the size of the square or rectangle your bag will be. Use chalk or pen to mark it, and cut. I used as much of the sweatshirt as I could because it was a child's hoodie. I decided to leave the bottom ribbing on the sweatshirt to act as the bottom base for the bag.
Next, cut off the side seam allowances to remove bulk. Cut apart the hood, cuffs, and sleeves and set them aside.
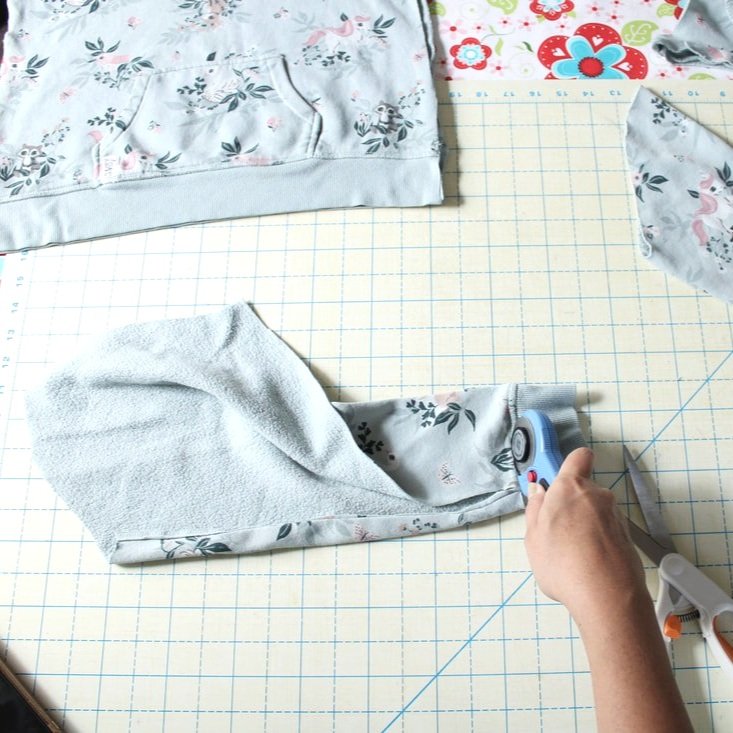
Measure your sleeve length, you'll want to use as much of this as possible for bag detailing. Cut from the shoulder to the wrist, it has the least amount of stretch. I used as much width as I could get away with.
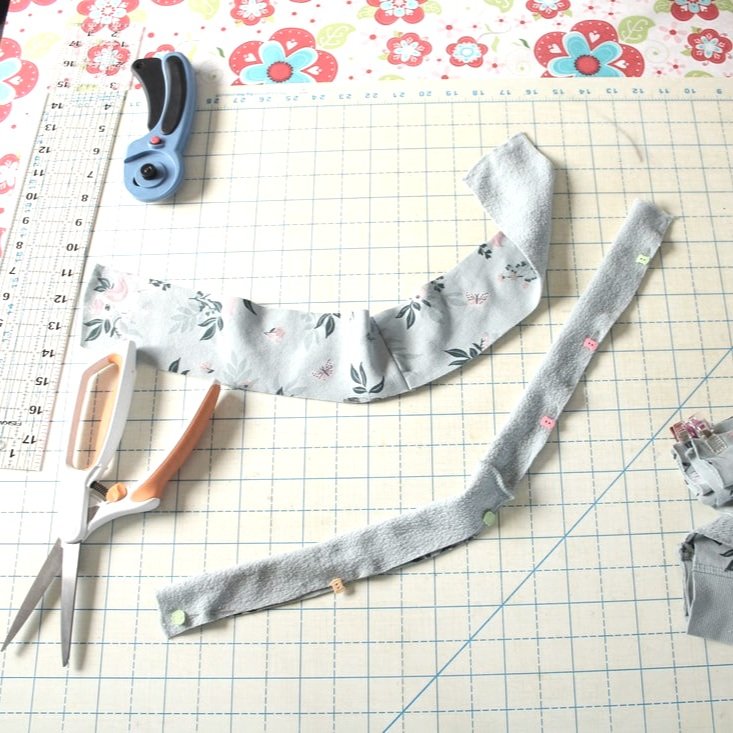
Cut each sleeve strip the same length and width. Pin together, wrong sides together. These will get sewn to the bag top, to add height and some detail. You can baste the edges together before sewing if you'd like but, it's not necessary.
Pin/clip the strips to the top of the bag front and back. Don't sew these on yet.
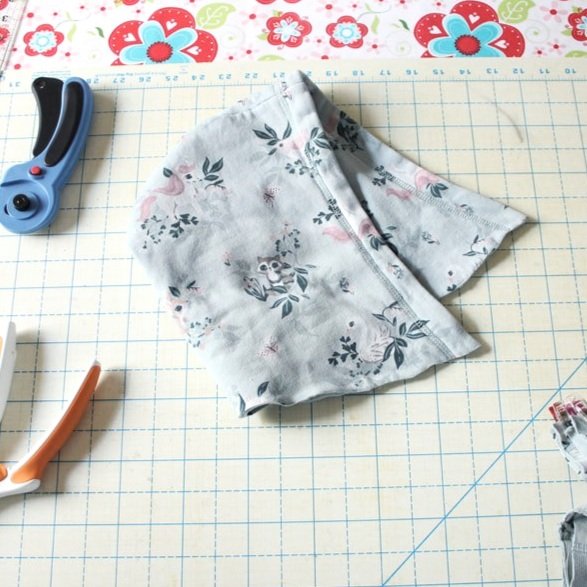
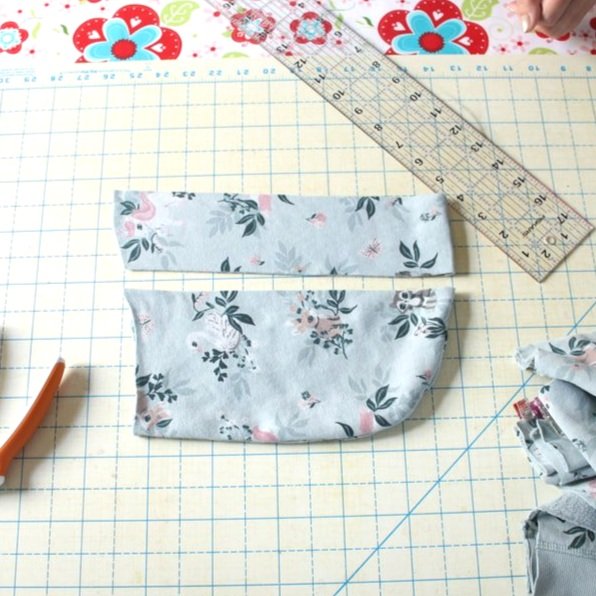
Take the hood and cut off the seam around the face opening. Both layers should separate and you'll have 2 hood pieces. Take one and measure and cut a 3" wide piece using the whole length. Do this with the second hood. These will be your bag handles.
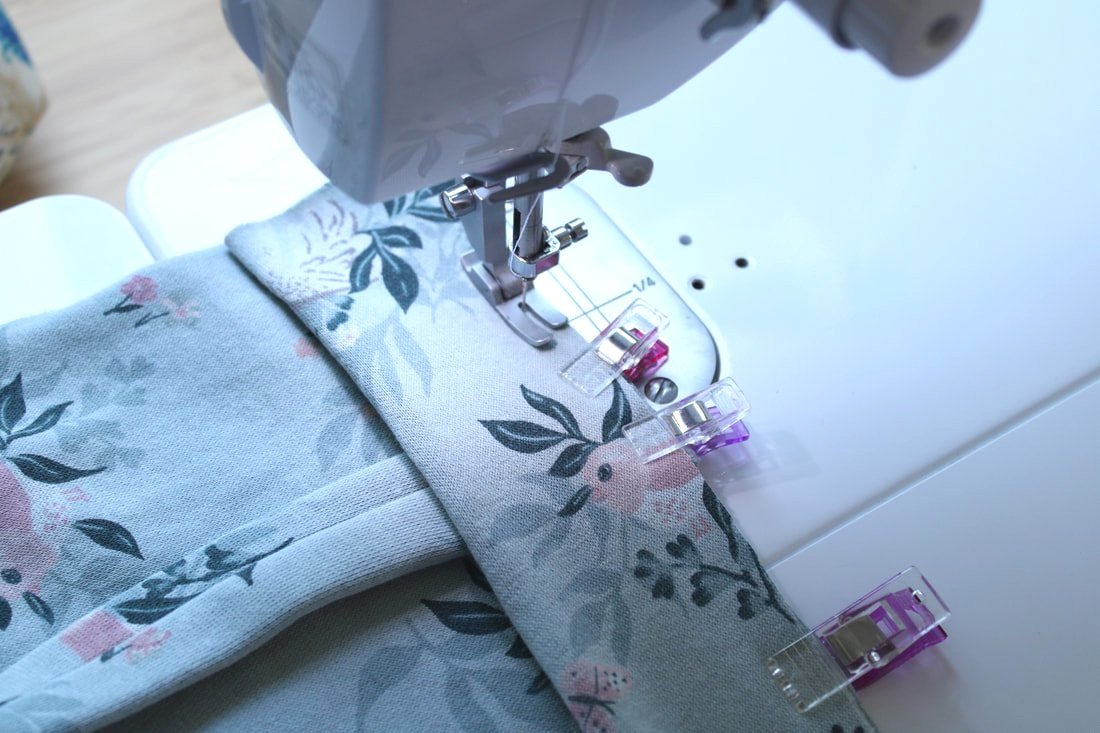
Clip the handles inwards 2-3" from the sides. Sew with a 1/2" seam allowance. Do this on the front and back pieces.
There wasn’t a method to my madness. I didn't make this bag in any particular order.
I used a 1/4" seam but, you should use a 1/2" if you can. I was working with a small hoodie and decided to use a small seam allowance where I could.
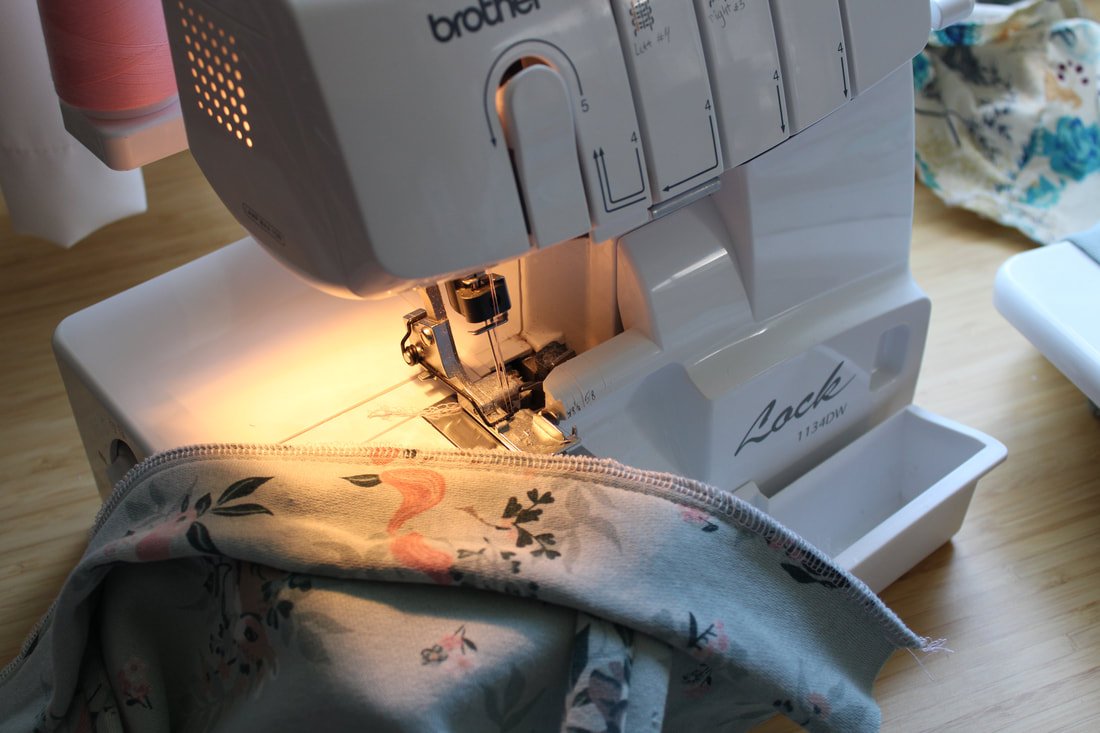
If you have a serger, serge the edges to make it nice and clean. You don't need to do this, the fabric won't fray. I made this for something else, so I really wanted it to look nice inside.
Topstitch with seam allowance pointed down. Move handles out of the way.
Move the handles out of the way and topstitch the seam allowance down with 1/8". This will give the layers extra support.
Next, you're going to clip the sides and bottom together. Sew from one opening, down, and around to the next top. Make sure to backstitch at the beginning and end. Don't sew the top.
If you want to leave your bag like this, you're done! Ta-da! Super easy and it used up a hoodie that has probably been in a drawer or bin, unloved for a long time.
If you'd like to box the corners, keep following along.
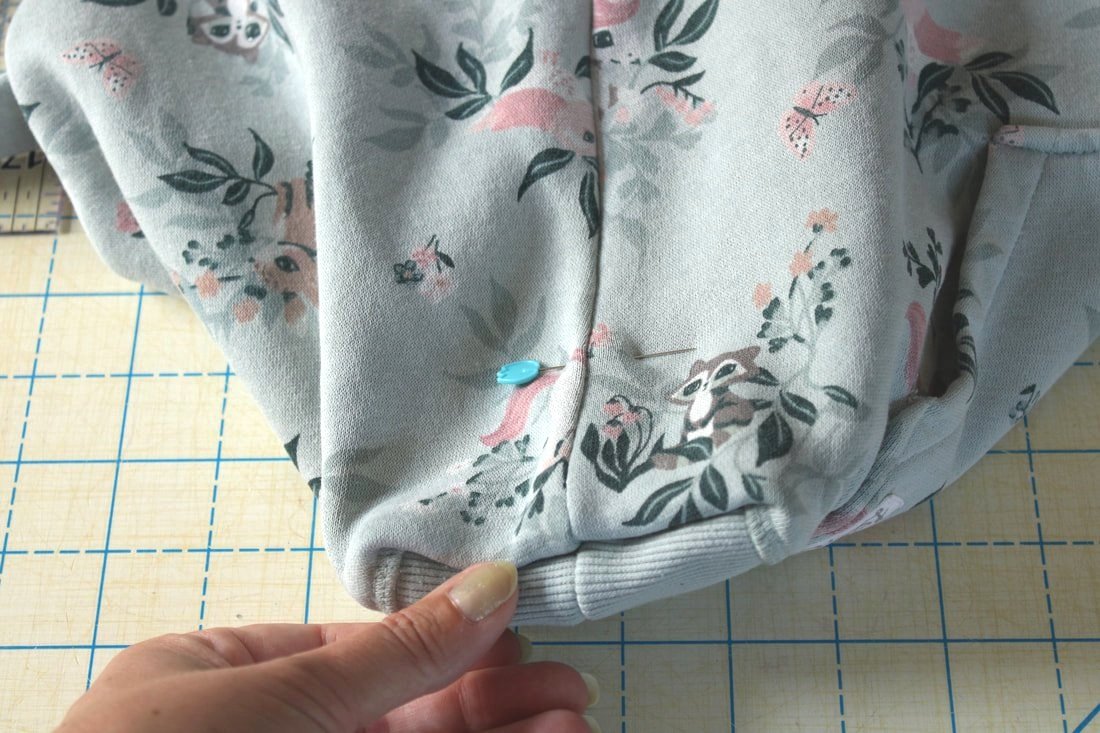
Pinch bottom corner and match it the seam. Sew across.
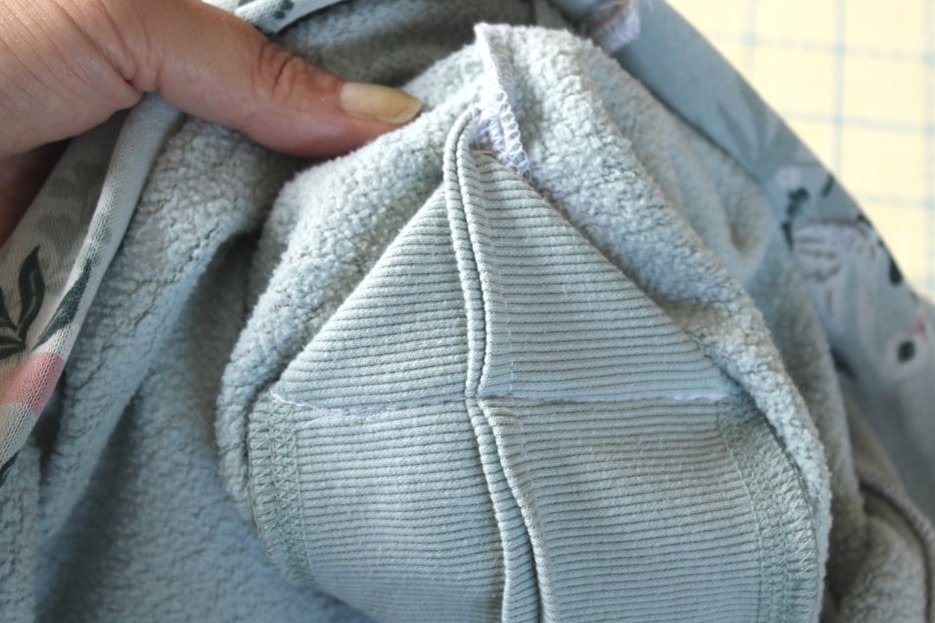
I usually cut the triangles off but, decided to leave it on this time. The extra weight helps hold heavy books, tablets, etc. I stitched in the ditch to keep the triangle from flapping around inside. Just fold the triangle up and pin it in place, then stitch in the ditch (seam in the seam).
Or, simply cut off the excess triangle.
Ta-da! You're all finished. This would make a great gift for a child or anyone with a beloved hoodie lying around.
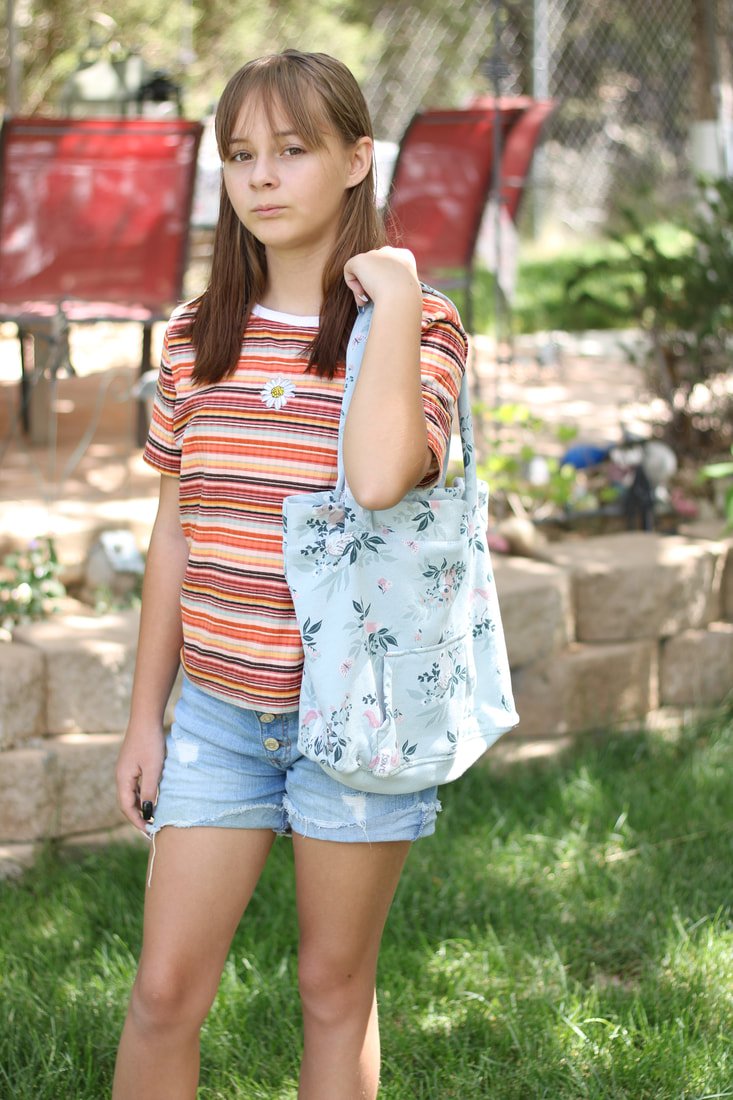
All finished!
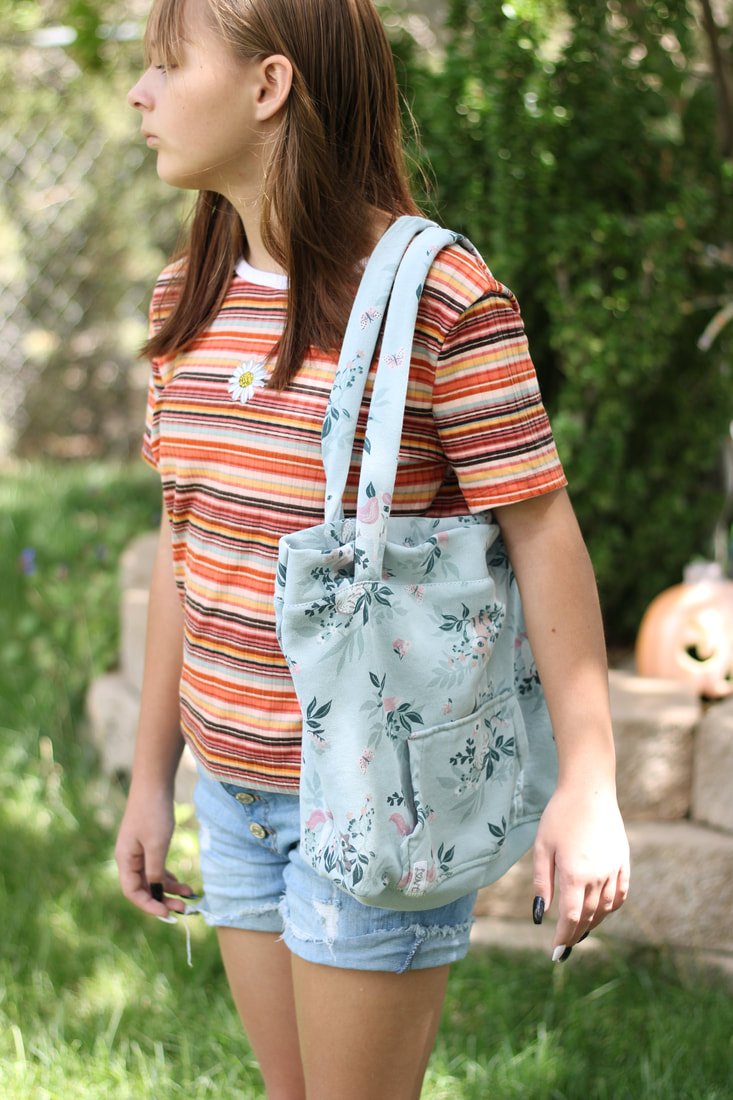
The bag is a good size and will be loved and used for years, I'm sure.
I loved leaving the front pocket on so, others would know if was from a hoodie. Such a cute turnout.
This was the fabric that was left over. Not too bad.
There wasn't too much leftover fabric. I'm sure you could make another cute bag or add pockets inside.
I had my daughter model the bag so you could see the size reference. It's a good size!
Thanks for reading along!
Happy hunting and happier sewing,
Annette
Cat Mug Rug
Sew a cat-shaped mug rug. These make perfect gifts for parents, neighbors, teachers, and anyone else who drinks warm drinks. Great scrap-busting sewing project and a free sewing pattern. Sew cat-themed things for the home.
The leaves are starting to fall, the mornings are crisp, and evenings are getting chilly. It's almost sweater weather! If you love fall, I bet you dream of warm mugs filled with cocoa, hot tea, fancy coffees, or hot toddies. I know I am. Cue the cat mat, rug mug, or coffee coaster; you decide the name of it. I want to share a cute kitty mug rug pattern with you all. Here is an easy, beginner-friendly sewing project you can whip up in an hour. It’s a great scrap-buster project too.
A mug rug will help protect your kitchen table from the heat of a hot beverage. With the holidays approaching, these would even make perfect gifts. Neighbors, moms, uncles, friends, and teachers will love them. They can also be great for kids. Add a hot cocoa packet inside a cute mug for an easy holiday gift.
I kept this post simple and short. Less time reading, more time for sewing. Let's go!
Supply List
Large scraps of cotton fabric, or 2 fat quarters
Batting. You can use quilting batting, Insul-Bright, Wrap N Zap, or fusible fleece
Clips or pins
Sewing machine
Air soluble pen
Scissors
Cup of something hot to place onto the mug after it's sewn :)
The finished size is approximately 6.5" wide by 6.25" tall.
Cut and Trace the Pattern
Print and cut out the PDF pattern with non-fabric scissors.
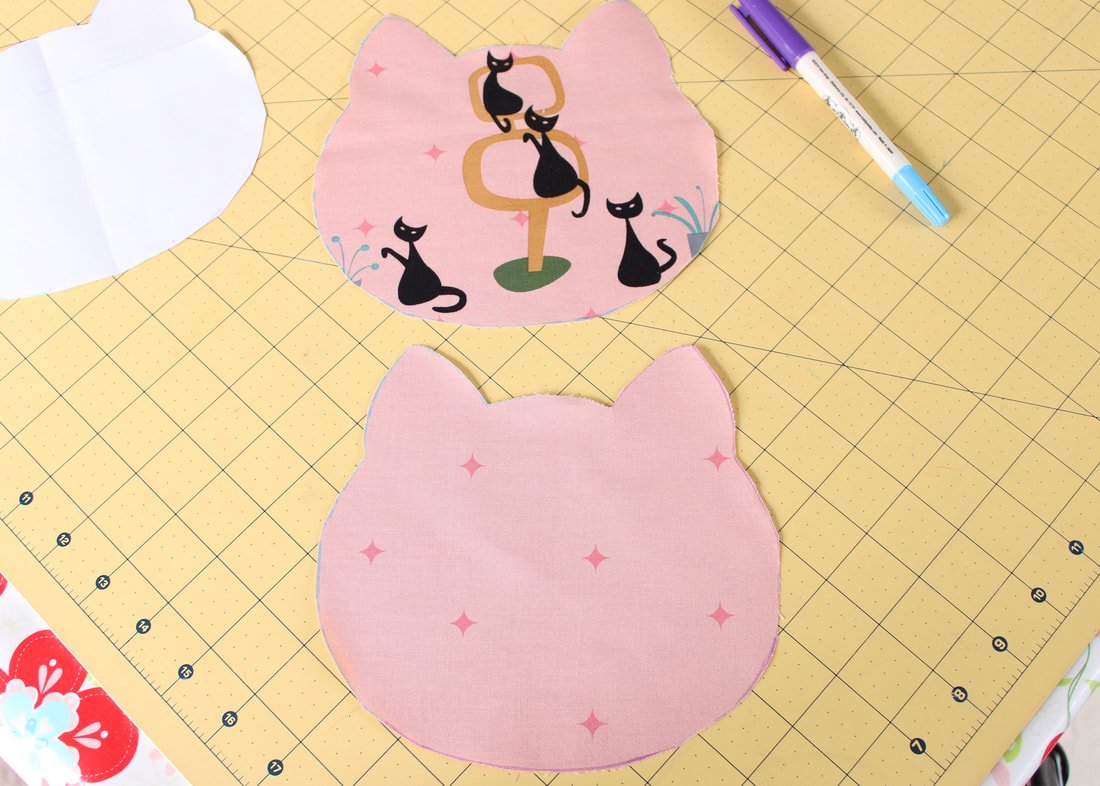
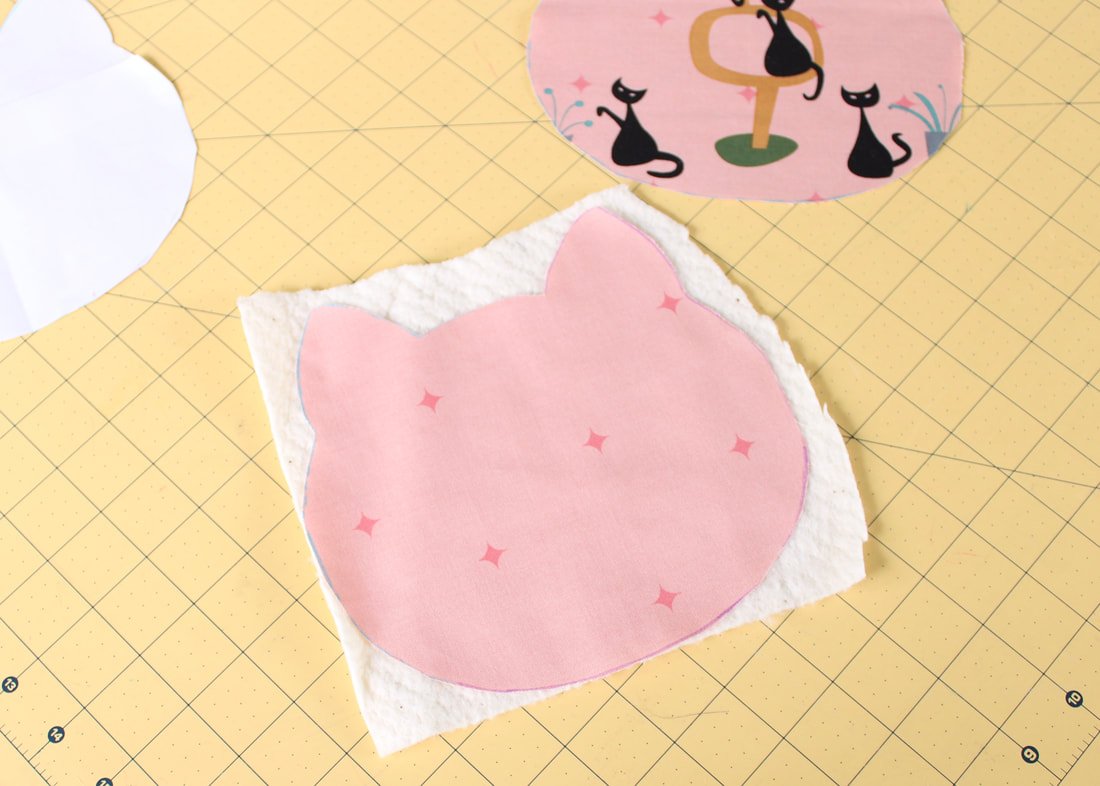
Place the pattern onto the fabric and trace it with an air-soluble pen or other marking tool. Transfer the markings onto your fabric. Trace and cut 2 pieces of fabric.
Cut out a piece of batting. (I prefer to cut it larger than the fabric because it will shift during sewing).
Pin Layers Together
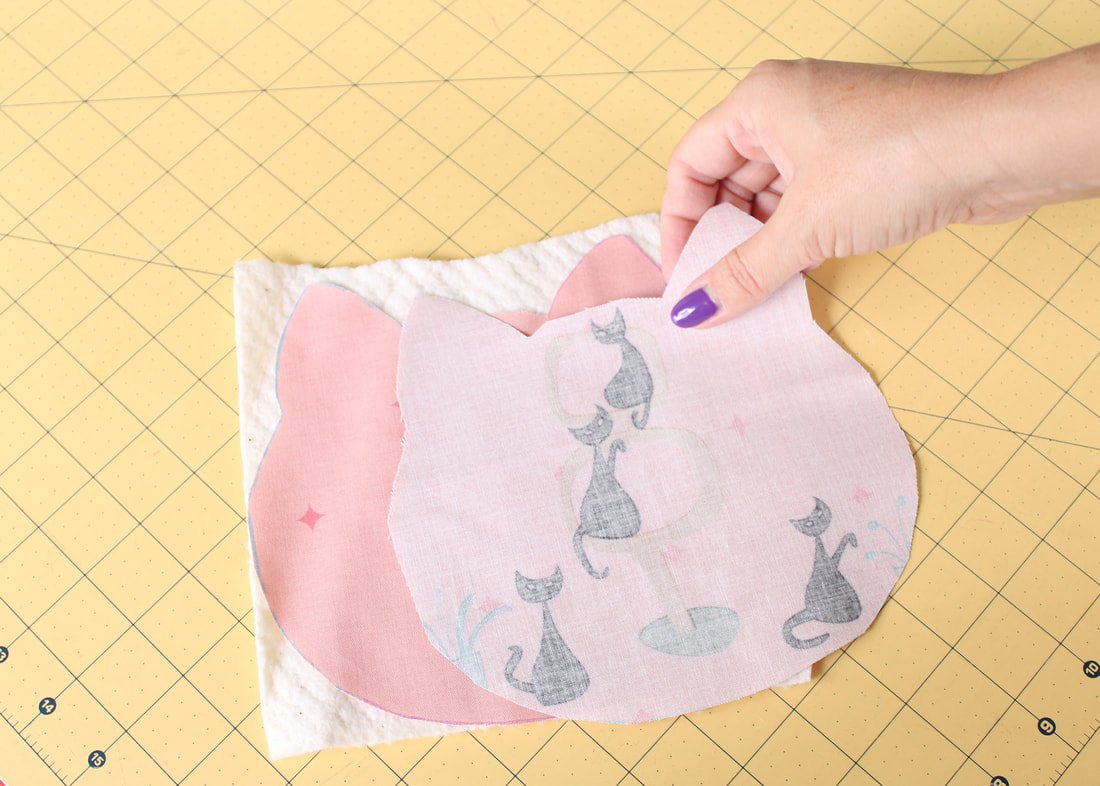
Place the batting onto the table. Then, place the wrong side of the fabric onto the batting. Take the second fabric and place it right side facing down. You'll have a fabric sandwich now. The 2 pieces of cotton will be facing right sides together. Pin or clip the 3 layers together.
Batting, fabric, fabric.
A note on batting: if you use Insul-bright or fleece, do not put your mug rug in the microwave. Fleece is polyester and will melt. Insul-bright has metal and will spark. If you plan on putting your coaster in the microwave, use cotton quilting batting or Wrap n Zap only.
Sew it Together
You'll sew the mug rug using a 1/4" seam allowance. Start sewing at one of the marked spots on the bottom, don't forget to backstitch. Sew all the way around. Go slow around the cat ears, it can get tight. Backstitch when you get to the other marking. You should have a small opening for turning out.
Clip your threads.
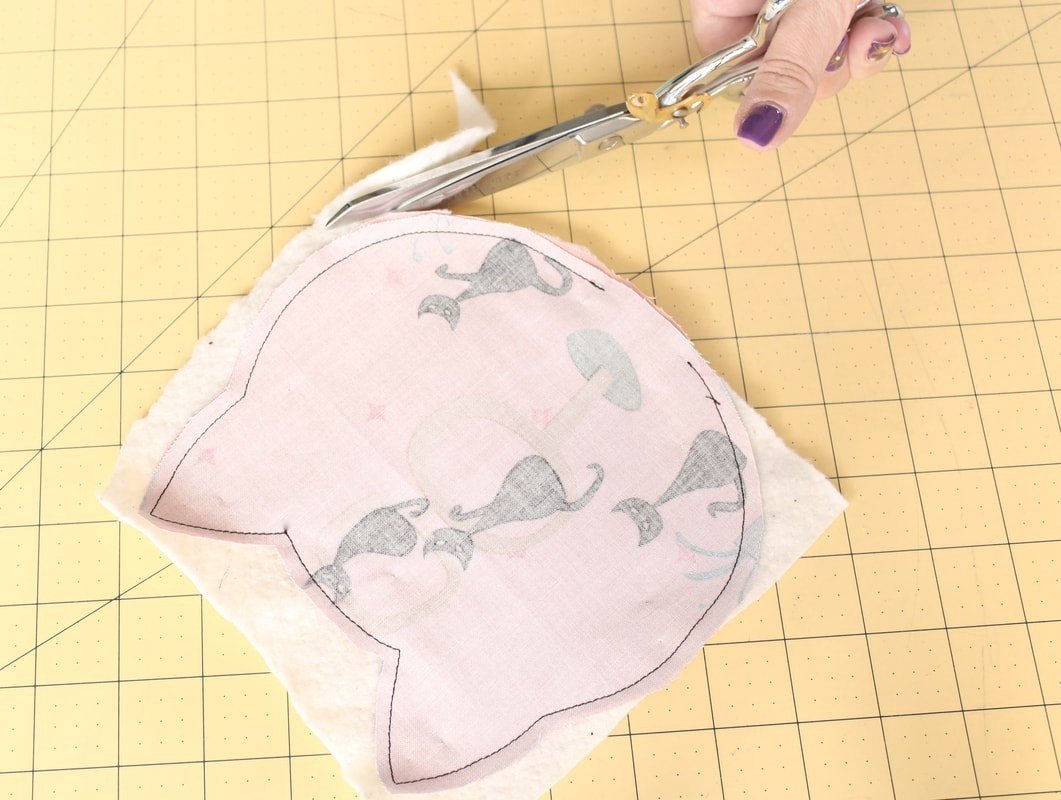
Sew from one bottom end, backstitch, then sew around to the other side, backstitch. Leave a gap open for turning.
Clip Curves and Turn Out
Trim away the excess batting.
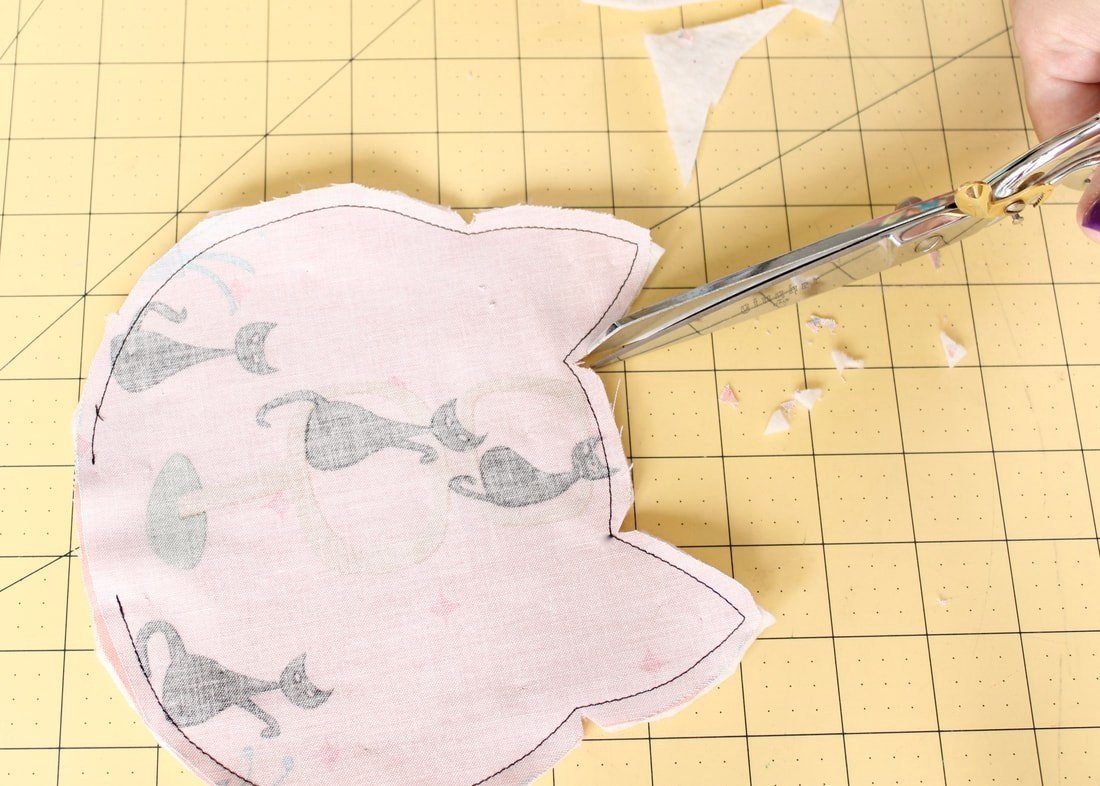
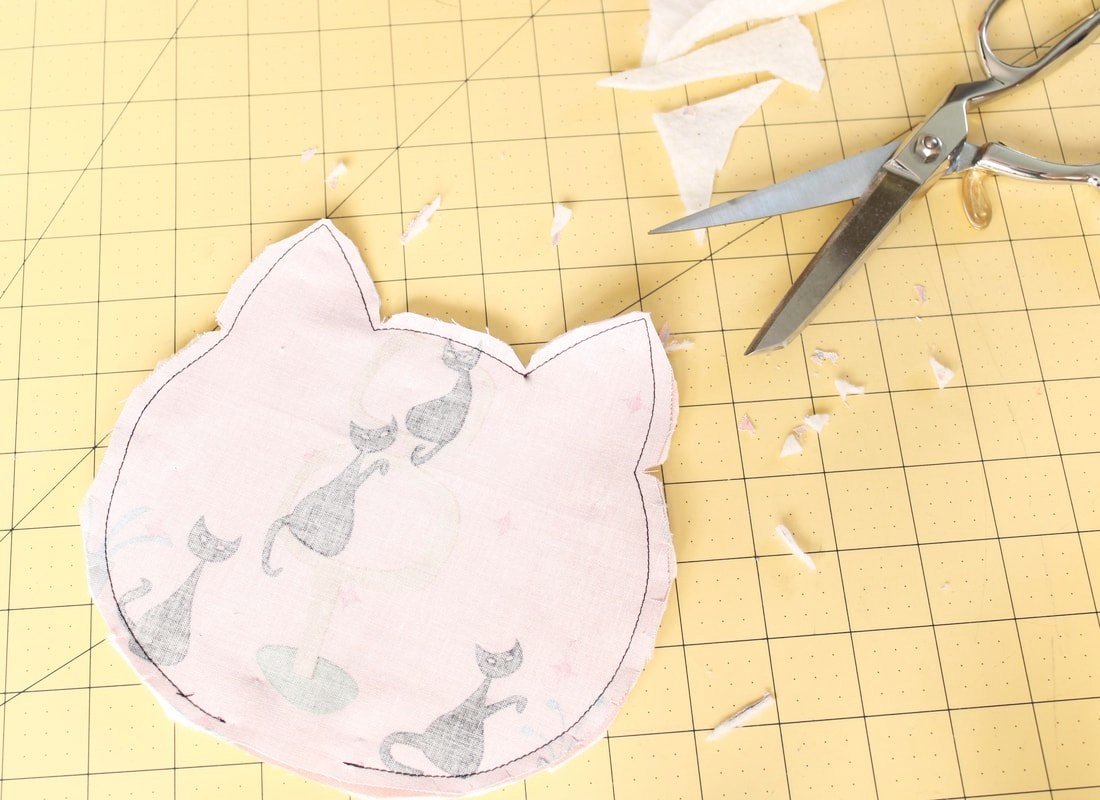
Clip the curves and trim the corners. Clip the sides and top of the cat head. Cut tiny triangles into the inner curved areas near the ears. This makes them turn out nicely without any bunching.
Grab a chopstick or blunt pencil to poke out corners and seams. Press nice and flat.
Tip: Use the chopstick in one hand to push the seam out, while using the iron in the other hand to press. This is the same pressing method I use to make my wide Rockabilly headbands.
Use a chopstick to push out corners.
Topstitch around entire mug rug to close the opening.
Finishing Up
Give the whole mat a good press. Top stitch the opening closed, be sure to backstitch at the beginning and end. Or, you can top stitch around the whole coaster. Stitch using 1/8"- 1/4" from the edge.
You're all done! Now go brew a cup of something warm and tasty, and sip in style. Make one for each holiday or day of the week.
Extra Tips:
Make a few different sets of these to give as gifts. Wrap them with themed ribbon or twine. Add a fun, informative tag to let the recipient know what they are. Using themed fabric can make it extra personal. If your sister-in-law is a nurse, use medical fabric. If someone is a book lover, use their favorite movie or some comic book fabric.
Add some rick rack to the front or seam for added color.
Piece together and quilt to use up tiny fabric scraps.
Add piping to the outside. Go slow around the cat ears because it can get really tight on the inside corners.
Use 2 different fabrics to make it reversible.
A word of caution, these mats are made for beverages that are usually dark in color and can stain. I wouldn't recommend using white or really light-colored fabrics. Fabrics that are dark or heavily patterned work the best. Think of fabrics that will hide stains easily.
Wash your cat coasters with cool water, gentle cycle, tumble dry low, or air dry. Give them a good press if needed. I keep one near the coffee pot as a spoon rest, too.
Cheers to cat mug rugs.
Enjoy the pattern! And, enjoy sipping a cup of something delicious while you use this cute cat mug rug on your desk or table.
As always, thanks for stopping by, and happy sewing!
Annette
How to Sew an Ironing Board Cover
Want to spruce up your sewing space? Make your own ironing board cover. Pick out cute fabric that matches your aesthetic. This is an easy, beginner-friendly sewing project that will take less than one hour. Make laundry and ironing fun again, with a personalized ironing board.
Recover Your Ironing Board in About an Hour
Spruce up your dingy ironing board, it's simple and quick. There's one thing almost every sewist says, "I only iron when I sew." That rings true for me 95% of the time. I'm not a big fan of wrinkles so, I do iron the occasional laundry basket of clothes. However, my ironing board lives in my sewing space. Unless we have people over, it hangs out in sewing land.
There's nothing fun about pressing open seams on a musty crusty ironing board, am I right? I've bought countless pads for my board over the years. They've worked fine enough until they flatten and get ugly. It was time to make my own cover.
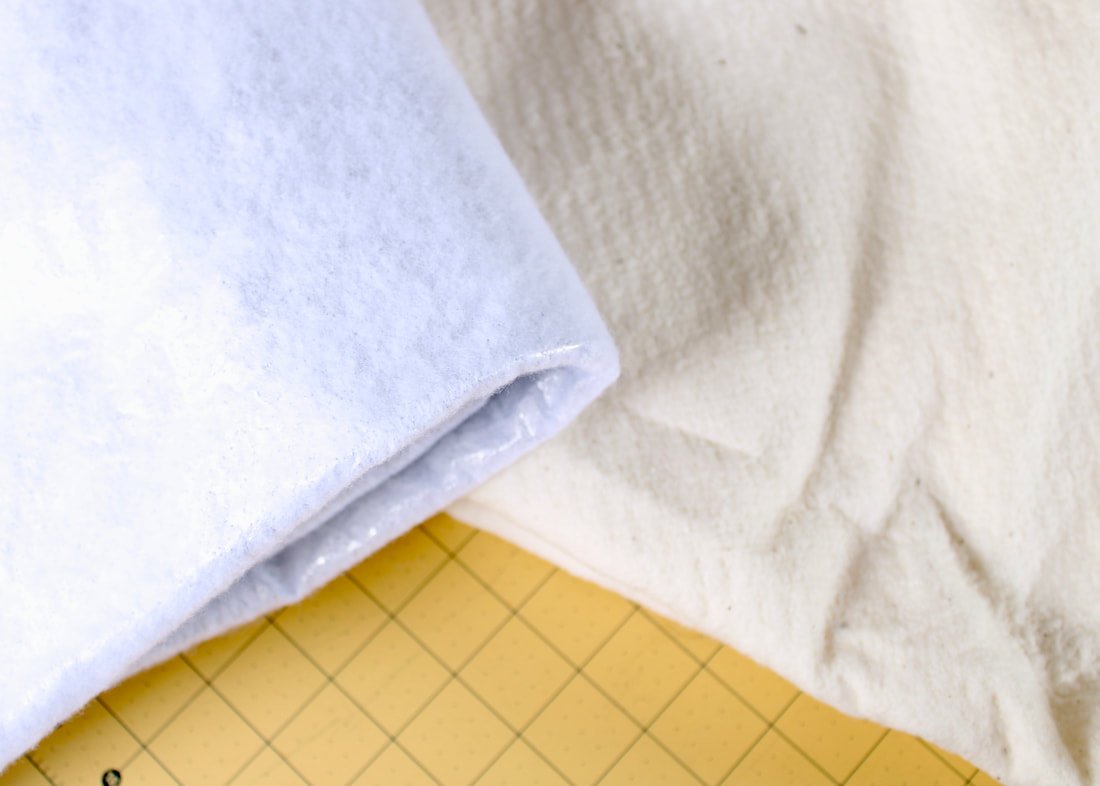
After going down the rabbit hole that is Google, I discovered people using felt blankets on their boards or Insul-Bright. You're going to use both for your new cover! No more wimpy covers that leave board indents on your project or, dare I say, laundry.
Your new board will be thick and lofty, oh and it'll look cute too. Yay for pretty things. :D
Are you ready to re-cover your ironing board? Let's do this.
Supply List:
2 yards of pretty cotton fabric, you may end up with some leftover
2 1/2 yards of elastic, 1/2" wide at least
1 wool blanket (buy it new, thrifted, from a military surplus store, or an old one in the closet)
2 yards Insul-Bright
Thread
Sewing Machine
Pins or clips
Iron and ironing board, of course
Ironing boards come in all shapes and sizes. 2 yards for the fabrics should be more than enough. Measure your board length to be sure, don't forget you'll need extra for the seam allowances.
This whole project takes about an hour. You'll be pressing those seams open on a pretty new cover in no time.
Let’s Get Started
Start by removing your old cover and after you've washed it, stuff it inside this floor pillow. ;)
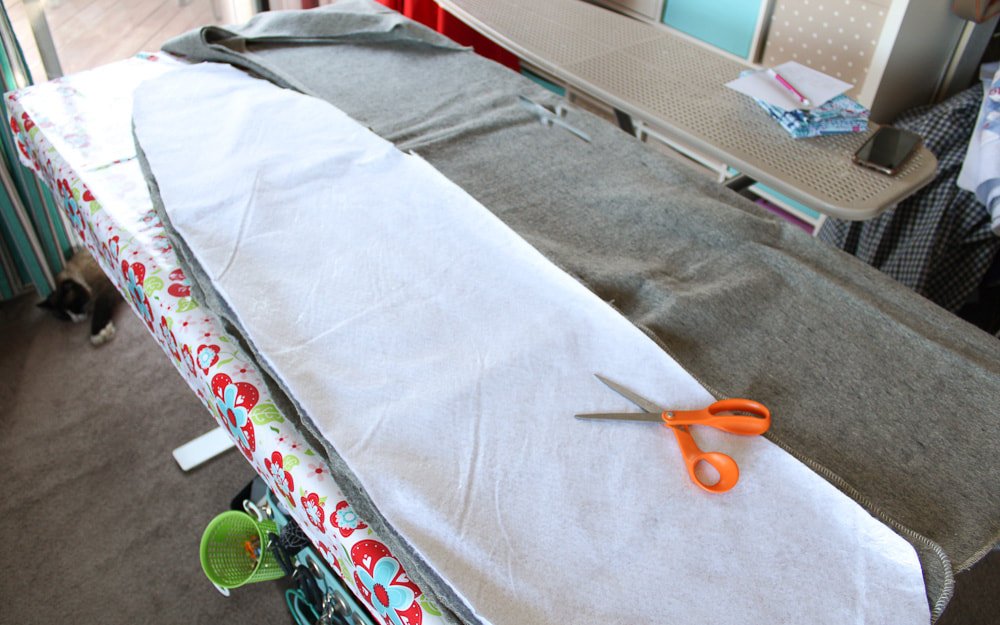
Use the thin foam piece as a cutting guide for the wool and Insul-Bright layers. If you don't have one, just eyeball it. This is an easy project, and it's all about winging it here.
Cut 2 layers from your wool blanket
Cut 1 layer of Insul-Bright batting
I cut the wool and Insul-Bright pieces one inch larger around. Set aside.
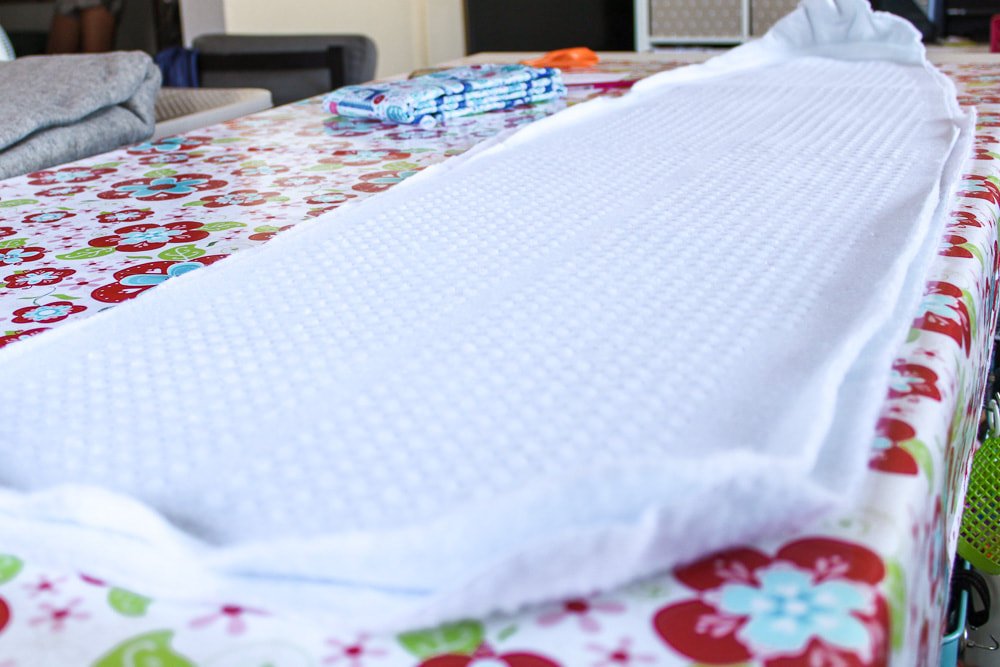
Place the 2 wool layers onto the board, then the Insul-Bright layer on top. Iron over the layers to smooth them out. Look at those wrinkles. Yikes!
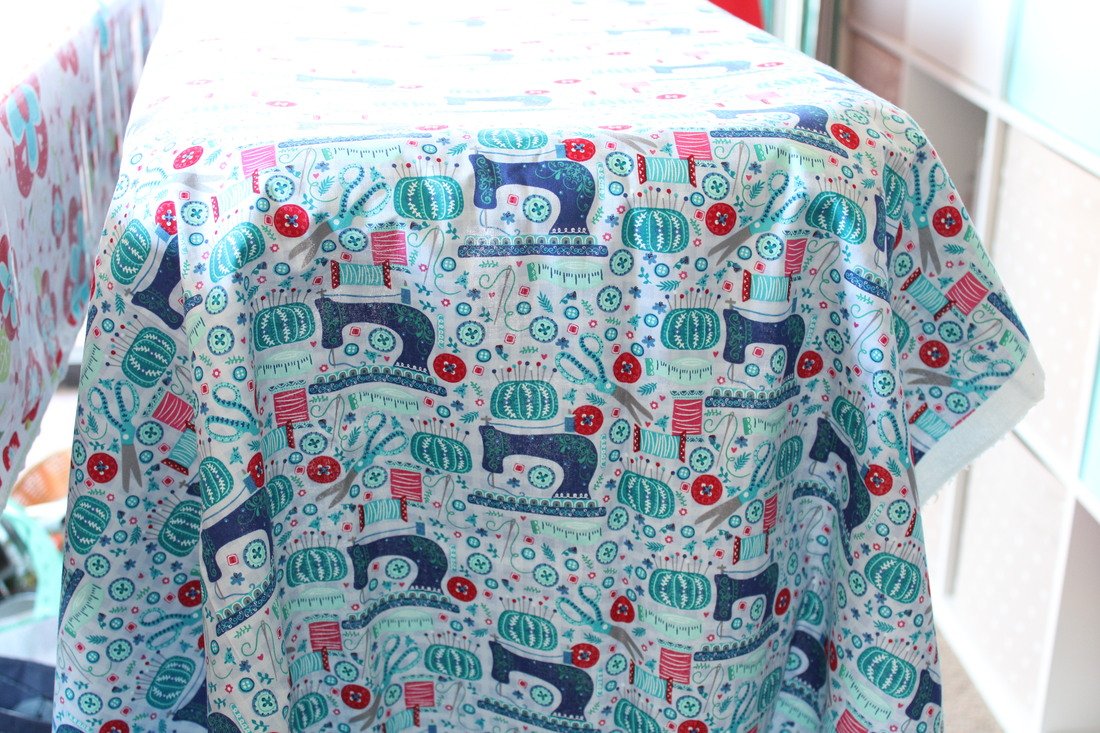
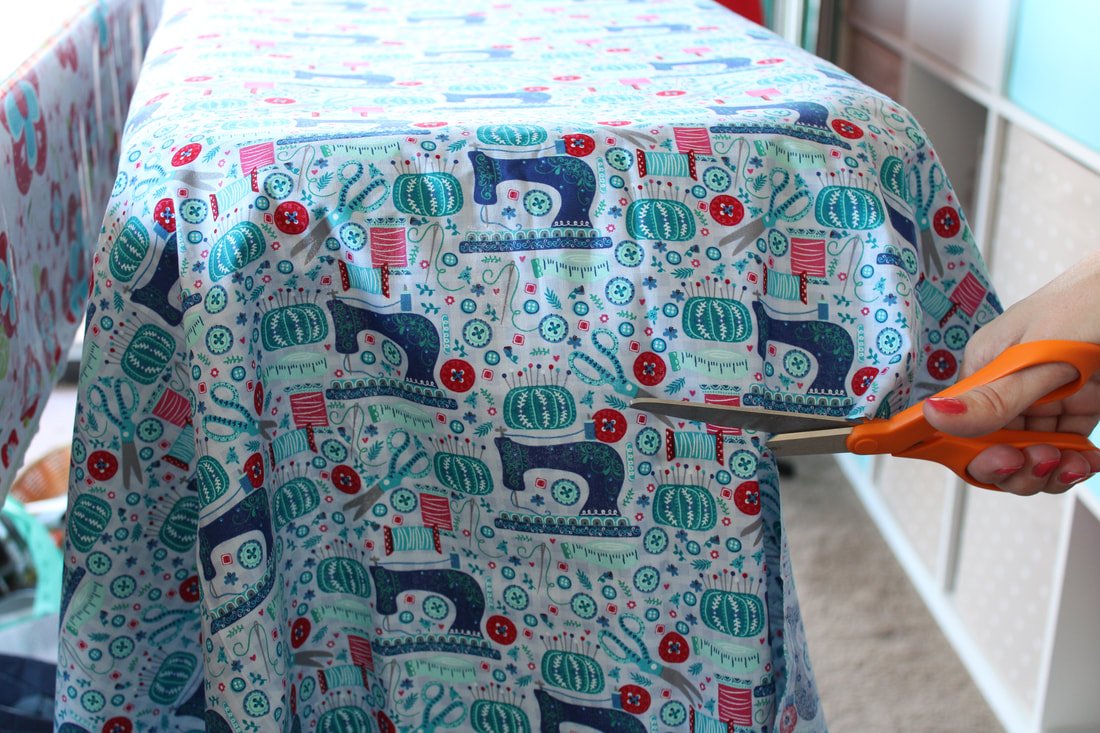
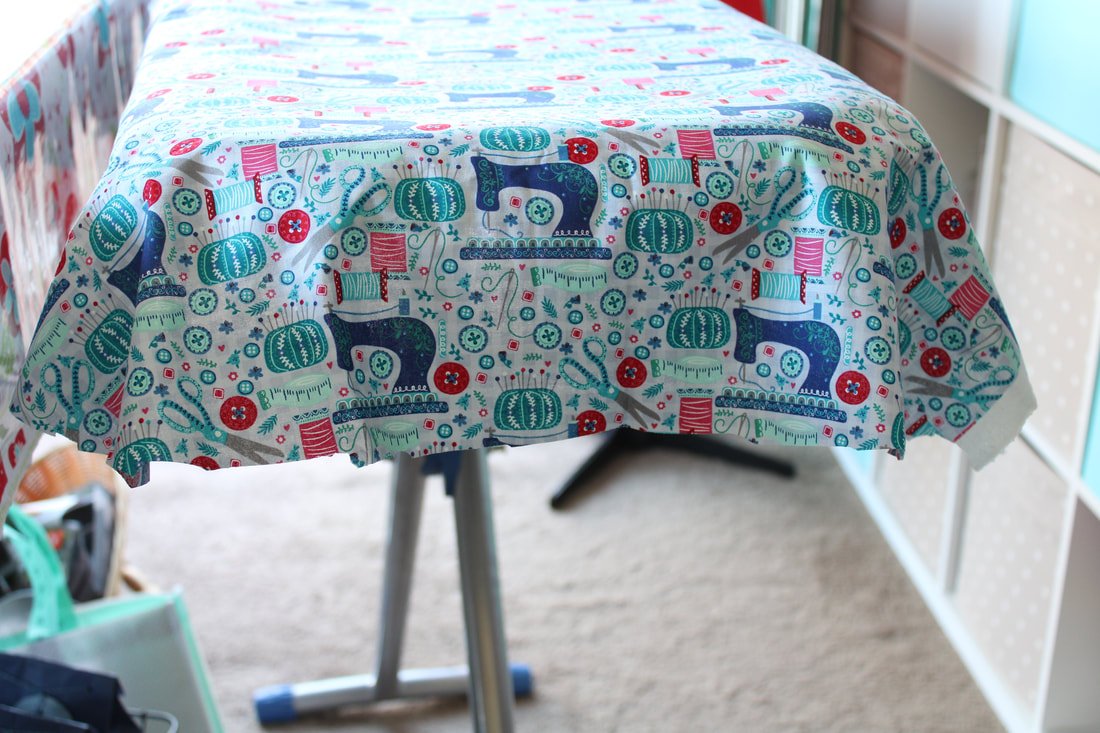
Drape your cotton fabric over the board. You'll want it to hang 4" all around. Give everything a good press, sliding your iron back and forth over all the layers.
Cut your fabric, it doesn't have to be perfect but, make sure your edges are smooth and not jagged. I'm speaking from experience. ;)
Fold it in half and even out the shape.
Fold the fabric corners onto themselves to create curves. Pin. Do the same thing for the nose of the board as well. Then, pin the long edges 1/2" under.
You could pin the whole cover under 1/2" or not. I found pinning helped but, it's up to you.
Sewing Time
Take your fabric cover to the machine. You're going to sew with a 1/2" seam allowance. Use a 2.5 or 3mm stitch length. It doesn't have to be perfect, the seam will get covered.
Sew using 1/2” seam allowance.
Now, grab your elastic. You're going to sew a zigzag stitch over the seam you just sewed with the elastic on top.
Pull the elastic taught with one hand while gently pulling the fabric behind the machine with the other hand. Use a zigzag stitch and sew. You want to pull the elastic tight enough so it will make the cover fit nicely and snug over your board.
Sew the elastic on with a Zigzag stitch. Place the elastic over your raw seam edge and sew, pulling the elastic as you go.
The zigzag stitching isn’t perfect, but nobody will see it except you. The elastic covers the raw edge of the folded seam.
You will have something that looks like mine up above. If not, grab that seam ripper, grab a cup of tea, and start ripping.
If your fabric doesn't fit snugly enough, clip a piece of elastic and attach it on the underside along a long edge. Clip. Then, pull it toward the other side to get a snug fit. Clip or pin. Take it to the machine and zigzag over both ends. You may have to slide it on and off the board a few times to get a perfect fit.
My old cover came with elastic straps that fit like this, except they had a button. That's where I got the idea. I added two elastic strips under the cover. One at the nose and one at the bum. ;)
Yay!! You just made a cute ironing board cover and it will work much better than any store-bought one.
Add a crosswise piece of elastic to tighten the fit. This will sag over time due to the steam. Add a new piece every year or two.
Maybe I'll like doing laundry again with my new, pretty ironing board cover. Nah, probably not!
I've wanted to recover my ironing board for a while, and I'm so happy I finally did it. With the multiple layers, everything presses nicely and quickly too.
Are you excited to make your ironing board cover? Or is it something you'd rather not make? I'm curious, so tell me in the comments below if it's something you're excited to make.
Thanks for hanging out with me today. Now go sew something fun. :D
Happy ironing,
Annette
Looking for something else? Click through the posts below.
Have a ton of fabric scraps? Want to use them up? Sew a floor cushion.
Are you new to sewing and want to jump right in? Read this Budget-Friendly sewing post here.
Is your machine not working properly? It might need a quick cleaning session, find out how here.
Do you love vintage style and want to incorporate it into your everyday wardrobe? Grab this easy free pattern for a vintage headscarf.
Do you have chickens? Yes! Well, you need an egg apron. Grab the free pattern and tutorial here.


