
Pattern Reviews, Sewing Hacks, Tips & Free Patterns
The Sewing Blog

Easy Tips for Storing Fabric
Store your fabric neatly and discreetly. Organize it by type, color, or project.

Fabric, glorious fabric. We stash yards and pieces here, there, and everywhere.
Are your closets bursting with bags or stacks of fabric? Maybe they are still in the shopping bags from the store. Or, you have everything nicely folded and organized in plastic bins.
Take a second and think about your fabric. Is it hidden and out of site? Is it rolled up in the linen closet, boxed in the garage, or maybe you have all your ducks in a row and it looks as pretty as a peach?
Heck, maybe you're not a fabric hoarder and none of this pertains to you.
Welp! I'm a fabric lover. I love feeling it, buying it, and then trying to decide what to make with it. Hi, my name's Annette and I'm a fabric addict/ hoarder/ stasher.
Cue the audience: "Hi, Annette."

Photo by Erica Lancaster
Stash-busting projects are always my go-to for gift-giving. Use what you already have on hand. All that fabric took precious time to shop for. Use it, if you can. If you can't use 40 yards of fabric on one gift, then make sure it is accessible to you and stored properly.
Do you prewash your fabric? I'm guilty of not doing this. I'm ashamed to admit it too. There's nothing worse than diving into a sewing project and spending time and energy making something, only to find that it doesn't fit after it got washed.
So, I have started washing my garment fabrics right when I buy them. As soon as I get the fabric home, I launder it. That way, everything gets preshrunk, clean, and ready to be transformed! I do not prewash cotton fabric if I'm making non-garment items, I prefer the stiffness of the fabric while sewing. I should probably wash everything, but.... hey, I'm not perfect.

photo by Erica Lancaster
“I collect vintage machines that I find beauty in. I’m a hoarder of all things sewing. ”

photo by Erica Lancaster
I'll save my collection of vintage sewing machines for another post though.
I am lucky enough to have a whole sewing space. It's not a room, just space. I share my sewing life with workout machines, game consoles, and the computer. The computer is okay to stay though, I use it daily. Some day I'll have a huge She-shed (or bedroom) and it will be decked out in all things sewing. One can dream, right?
Let's get back on topic.
After my fabric is washed and dried, I'll hit it with the iron. No, not literally. Get rid of those pesky wrinkles and you'll have an easier time folding.
I buy 2 yards or more when shopping for garment fabric. 2 yards is a good amount to make a skirt or most tops like my Rita Blouse. The fabric is usually 60" wide as well. Fold it together lengthwise (hot dog), then again so you have a really long and narrow piece. Now, this depends on where you'll be storing your fabric so my particular method, might not work for you.


Take a wide quilting ruler that is 5" wide and use as a template. I've seen some people use comic book dividers, narrower rulers, etc. Use what you have on hand or make your own object out of cardboard. I then "roll" my fabric over the ruler and get the size I want. I store my fabric on IKEA shelves in 2 stacks. I can see everything I have.

I often find random fabric from the remnant section at my craft store. Friends and family who know I sew, give me bags of fabric and notions as well. I wash those pieces and fold what I want, donate what I don't want.
I'm constantly going through my fabric stash to donate as well. Things go out of style. You might be over that fairy cotton print you planned on making something for little Suzie with- who is now 30. Life is a cycle and change is good. Donate what you don't want. It'll make room for new pretties.
I keep my smaller pieces in baskets. I also keep pieces that are leftover from previous sewing projects. This helps remind me:
A. I've already sewn with this fabric, so I must like that particular fabric.
B. This is an odd piece, so don't try and make a shirt with it. Use only for small projects.

Fabric scraps go in my big glass jar. These are where the tiny pieces the size of my hand go to die. Anything smaller, I toss in a bag to donate.
Leave a comment down below if you know of places that take scraps of fabric. H&M does, but that's the only place I'm aware of.

I organize other fabrics that I don't reach for on the daily, in a more discreet way. I do have an Etsy shop and sell handmade items as well. I used to make custom baby items, so I have minky, fleece, and flannel for that. I keep those fabrics folded nicely, but hidden. They take up a few drawers that I can pull out and find what I need quickly.
I also keep felt pieces in a drawer, less organized but it works.

If you don't have a designated sewing space, and you use a temporary space to sew in. Store your fabric in clear bins and stack it in a nearby closet. You will see everything you have and it will be convenient to grab. Make sure they are folded neatly so you can tell what everything is.
I store all my items that are ready to sell in clear bins for my shop. It keeps smells out of the fabric and I can see my inventory.
If you'd like, take it one step further and organize fabric by type. Store knits together, quilting cotton, etc. Or store by color. Whatever makes it easier for you and gets you sewing will take loads of stress off your shoulders. Sewing is supposed to be fun! And fabric storage should be too. ;)
Leave a comment on how you plan on storing your fabric. And, where you donate scrap fabric. We all have fabric we could donate.
XO,
Annette
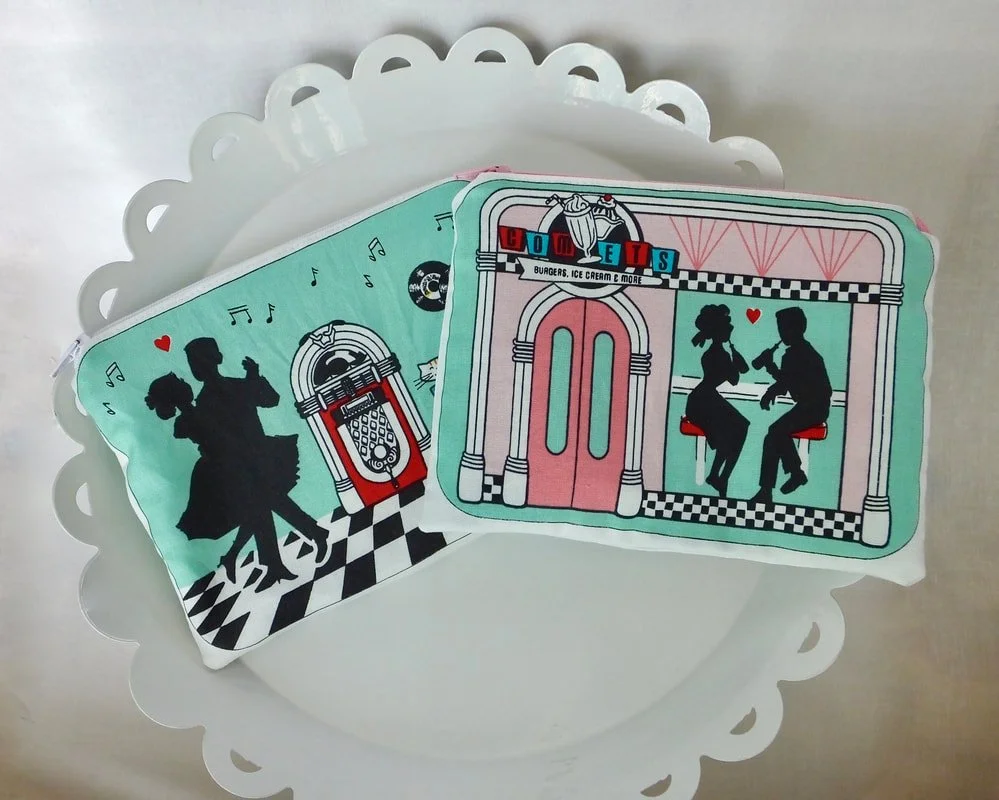
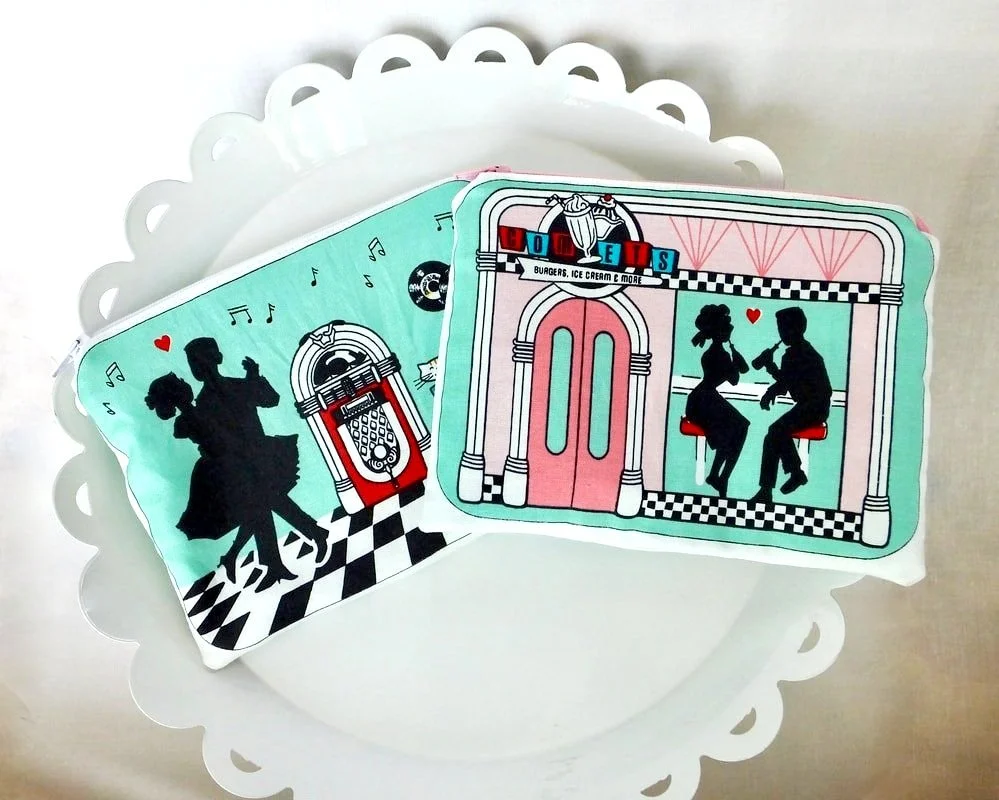
How to Make an easy Zipper Bag
Sew a quick and easy makeup bag. Zipper pouches are great and can hold everything.
Is your makeup bag worn out or do you need a quick gift to make? You can make a new zip pouch quickly. No tears, I promise. ;)
You probably have some cute fabric already in your stash. You don't need a lot, just a few large scraps.

Materials:
2 pieces of outer fabric measuring 7" wide by 9" long
2 pieces of inner fabric measuring 7" wide by 9" long
Fusible fleece interfacing for stability
12-14" Zipper ( I prefer a longer zipper, it makes it easier)
Sewing machine
Matching thread and bobbin
Zipper foot
Chopstick or sad unsharpened pencil for poking out corners
Labels if you want to add a personal touch
Iron and board
Seam ripper... just in case
Begin by cutting the fabrics to your desired size. I gave the dimensions above for my bag, but you can make yours taller or wider if you want. That's the best part of sewing, you get to make it unique.
Cut the fusible fleece a tad smaller than the size of your lining. You can apply the interfacing to the wrong side of your lining or outer fabric. I chose to apply it to the lining of this bag. Follow the instructions paper on how to fuse it to your fabric.

Once the interfacing has been added, we'll attach the zipper.
Don't be scared, zippers are really easy and if you mess up... you have that trusty seam ripper.
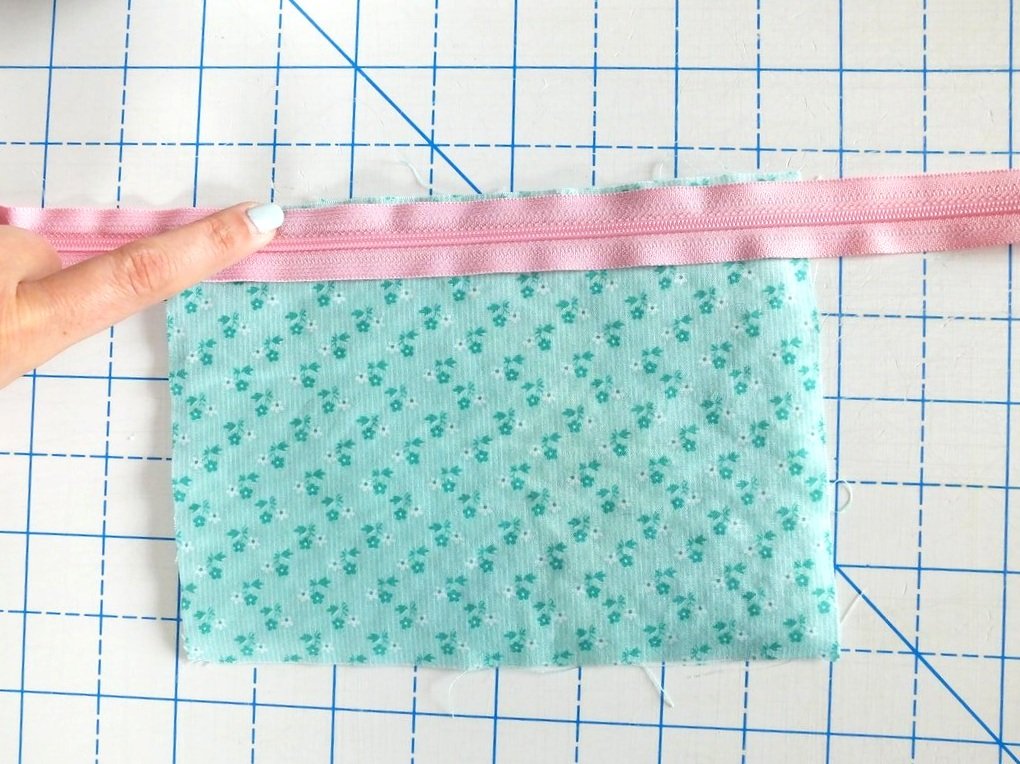
Lay the lining right side up. Place the zipper with the teeth facing up. Zipper pull on the left.


Adjust your needle position to the middle. This is important, you don't want to break a needle. Ask me how I know this. Sigh…
I use clips to keep the 3 layers secure. But, I adjust the layers manually while I'm sewing the zipper in.
Sandwich your fabric and zipper together. Sew.
I start sewing forward a couple of stitches, then backstitch and go forward again. Take it slowly. Your foot will keep the needle away from the zipper teeth, but go slowly, just to be safe. I readjust my layers as I go if needed. Sew until the end and backstitch a few stitches.

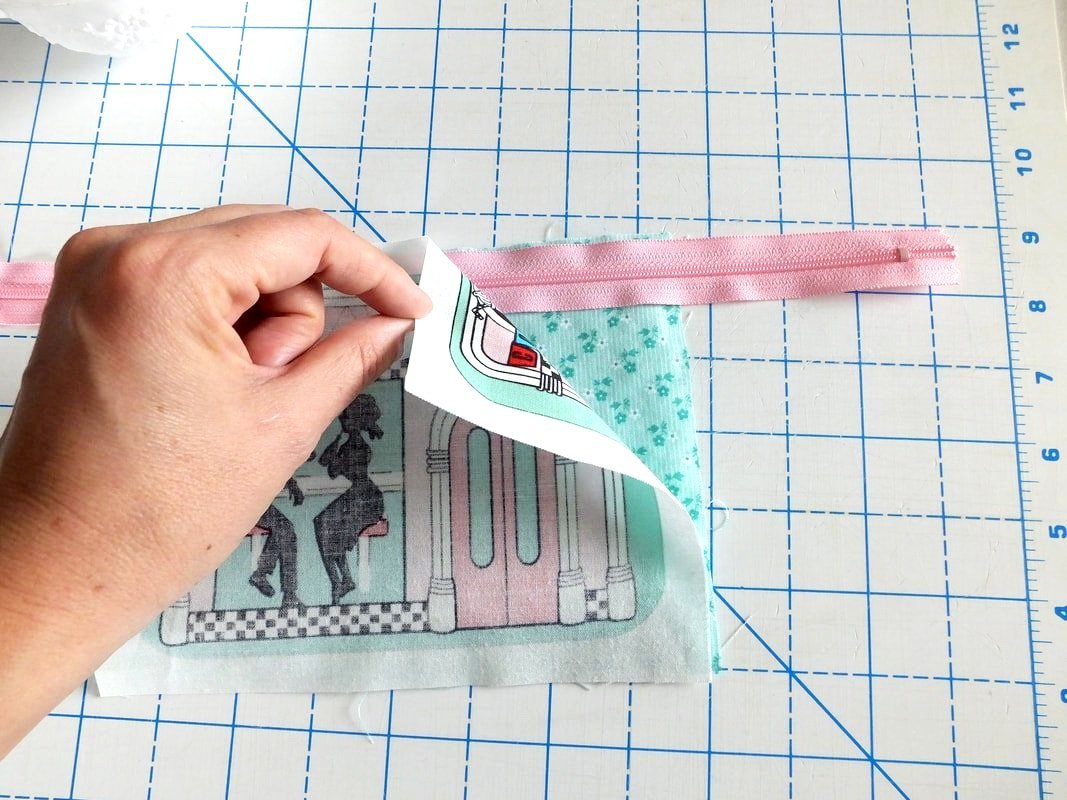
When you're done. Get your other 2 pieces of fabric and we'll sew those onto the other side of the zipper tape.

Sandwich the first half between the next outer and inner piece. Right sides together. Clip, then sew.


Press, avoiding the zipper teeth. Then topstitch.
Lay your lining face up and match it with the lining piece that has been sewn to the zipper tape, right sides together.
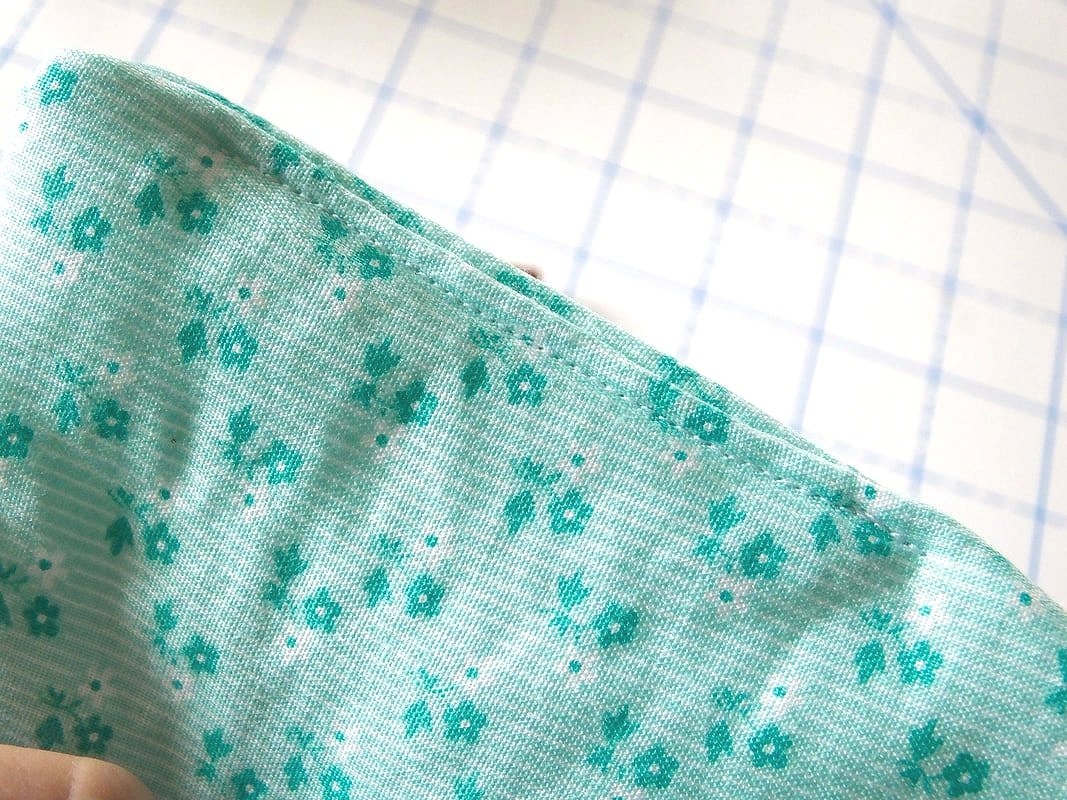
Take your outer fabric and lay it face down matching with the outer piece that has been sewn to the zipper. Both fabrics should be aligned at the top of the zipper. You'll have one massive sandwich. Don't taste it though, yuck! Take the sandwich to the machine and sew the zipper side just like you did with the first half. Backstitching at both ends. Flip the fabric pieces over so you see the zipper teeth, it should look like mine above.
Now you're going to top stitch the zipper. This keeps the fabric out of the way of the zipper teeth and gives it a nice finish. I keep my zipper foot on for this part. Adjust your stitch length to a 3.0 or 3.5mm. Top stitching is a decorative stitch, so try your best to make it straight. Go slow if you need to. After you're done, give yourself a high five! You just rocked that zipper. Wooo!

Open your zipper up, but not all the way. Keep the zipper inside the bag area, 1 inch away from the seam edge. You don't want to sew over the zipper pull. That would stink. And hurt. Broken needles are sad.
Change your foot back to your usual presser foot. You won't need the zipper foot anymore. Here we go.
This is an optional step. If you have some labels that are handmade or store-bought, attach one now. It will give your bag a polished look. Add your label at this point because it's easier and you don't really have to think about the exact position. Just eyeball it.

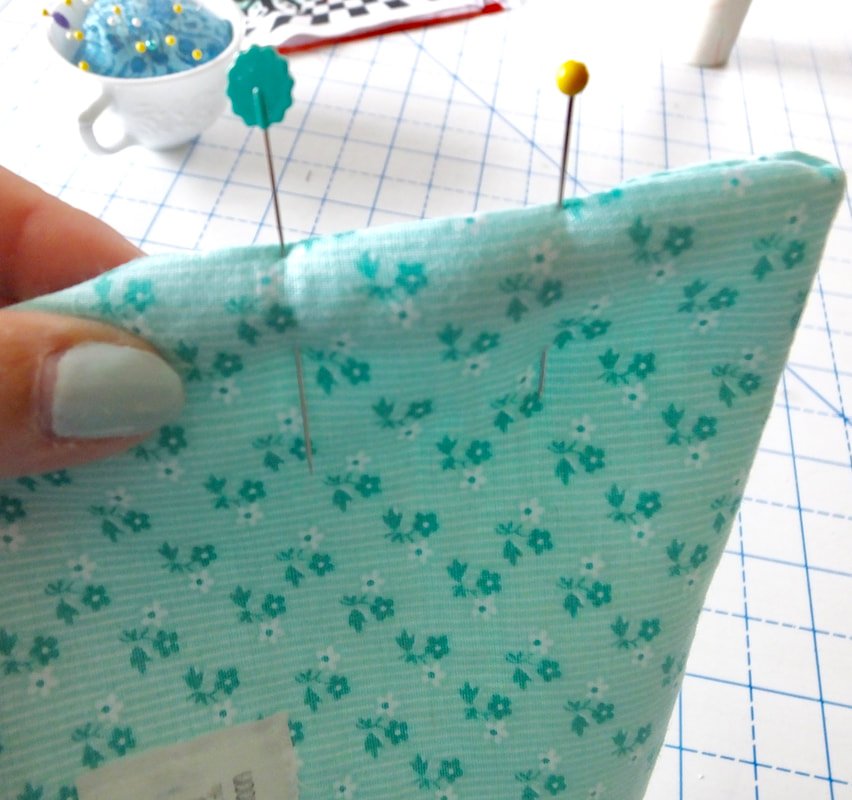
Now flip your pieces so they face each other, right sides together.

Be sure to move your zipper pull to the middle.
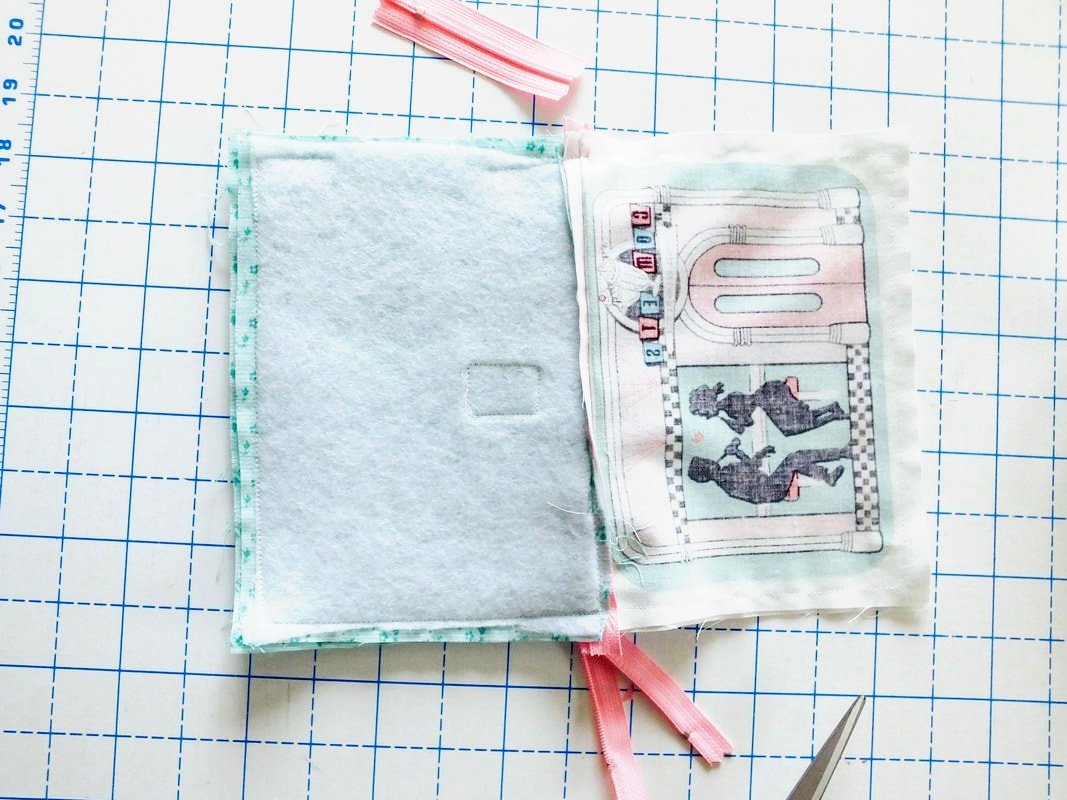
Pin the pieces together all around the bag. Leave a 2.5” gap in the side of the lining to turn the bag out. When you use the inside side seam, you don't see the seam afterward. It is tricky because it's close to the zipper, but the look of the inside is clean.
Start sewing at one side of the opening making sure to backstitch. You'll sew in a clockwise direction until you get to the other side of the opening. Go slowly over the zipper when you reach it, use your hand wheel if needed.
Pull your pins out before the needle hits them. When you come to the corner, leave the needle in the fabric. Lift the presser foot and pivot the bag. Drop the presser foot and continue sewing.


Go slowly over the zipper.
When you reach the other end of the opening, backstitch and cut your threads. Time to turn out the bag.

Using a pair of utility scissors, trim your zipper tape ends. Toss the excess in the trash. Trim the corners of the bag too.

Now it's time to turn the bag out. Find the opening, reach inside if you can, and pull the fabric out, slowly but firmly. Is that an oxymoron? Hmm..

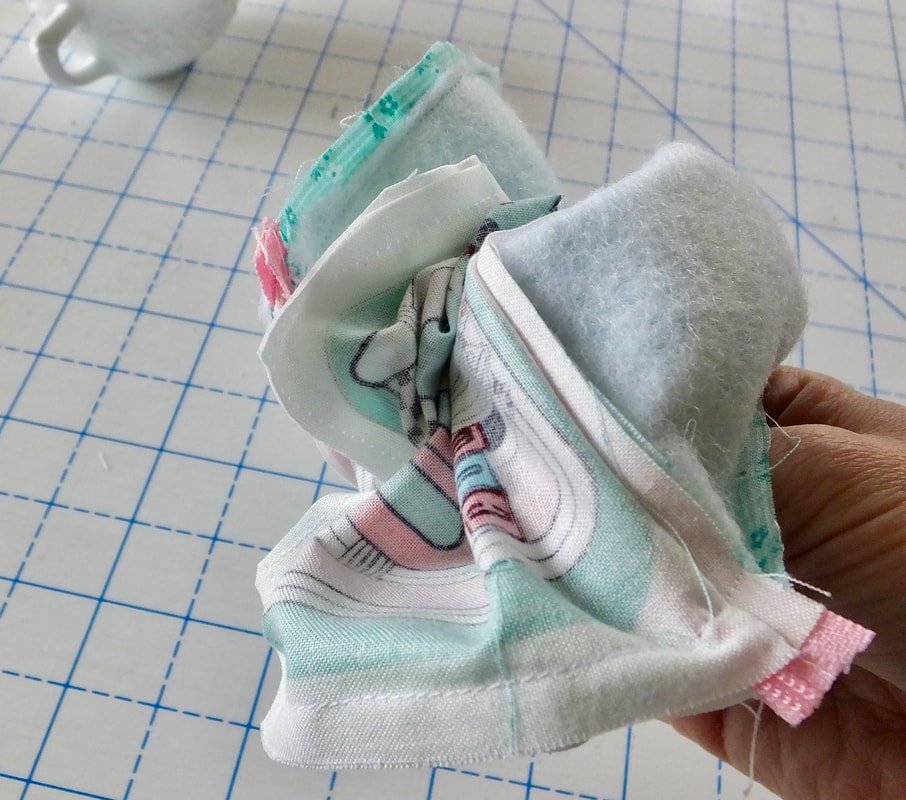
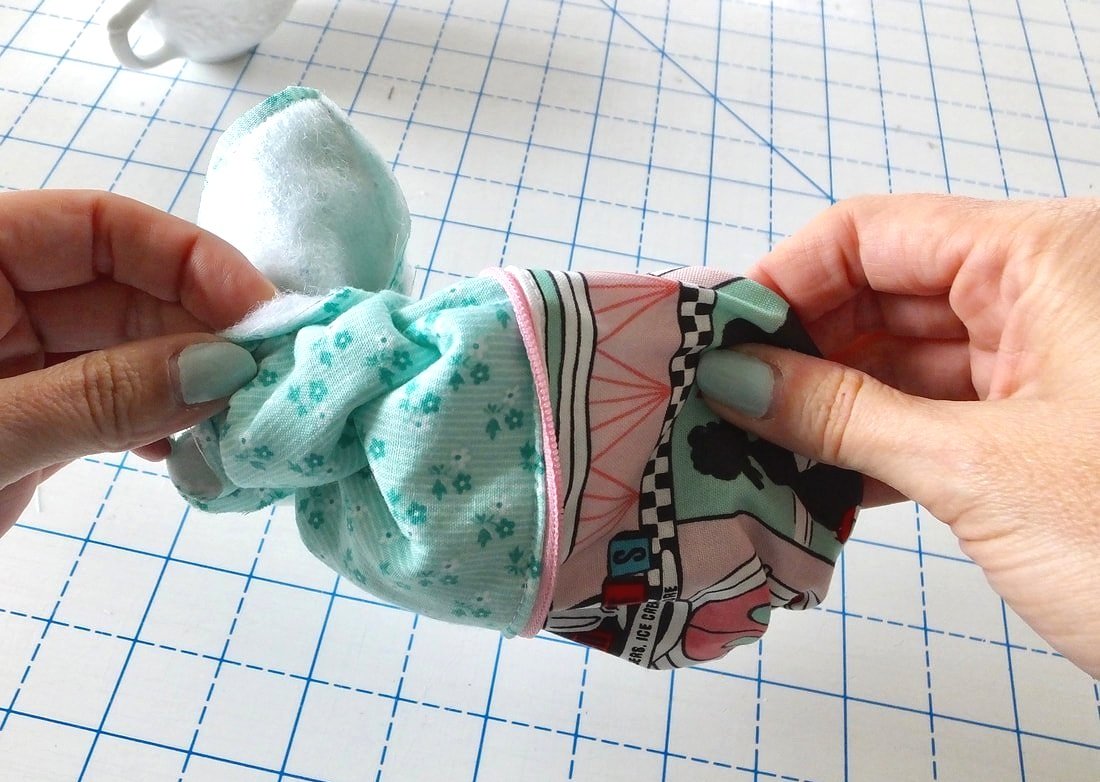
This part can get tricky, just take your time. Don't pull roughly, you might pop a seam. That's not fun, I've been told. Haha
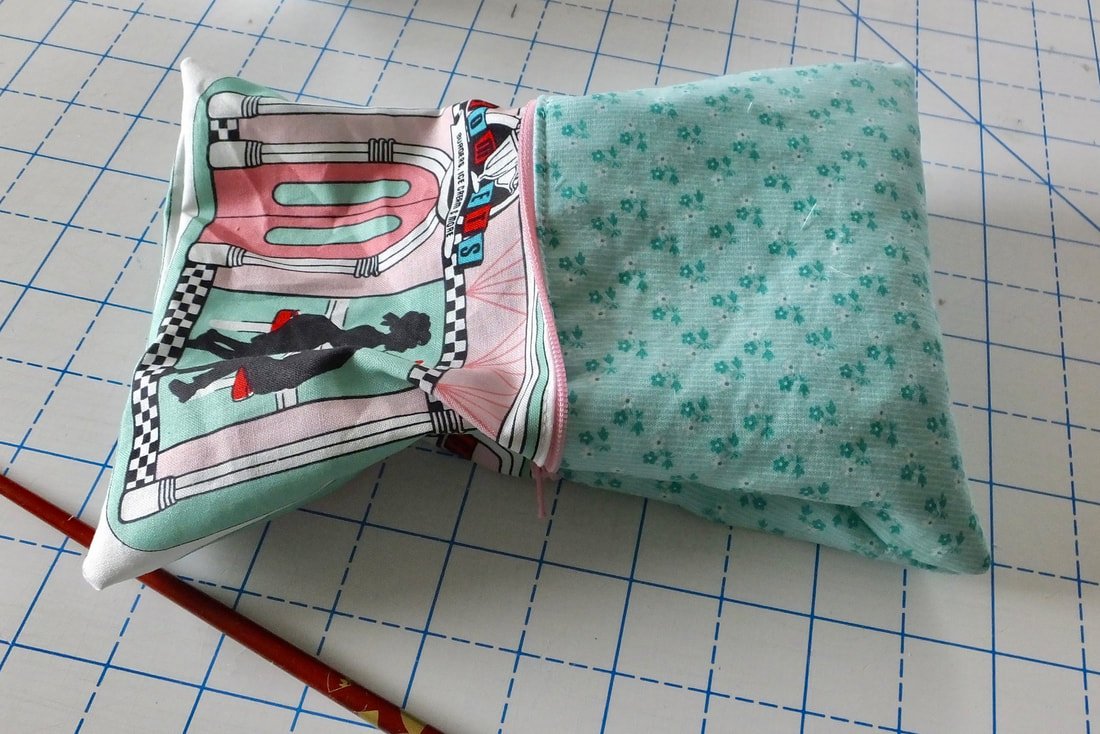
Grab your chopstick to push out the corners and make them look sharp. Be careful not to poke through the corner.
You're almost done, Yay!
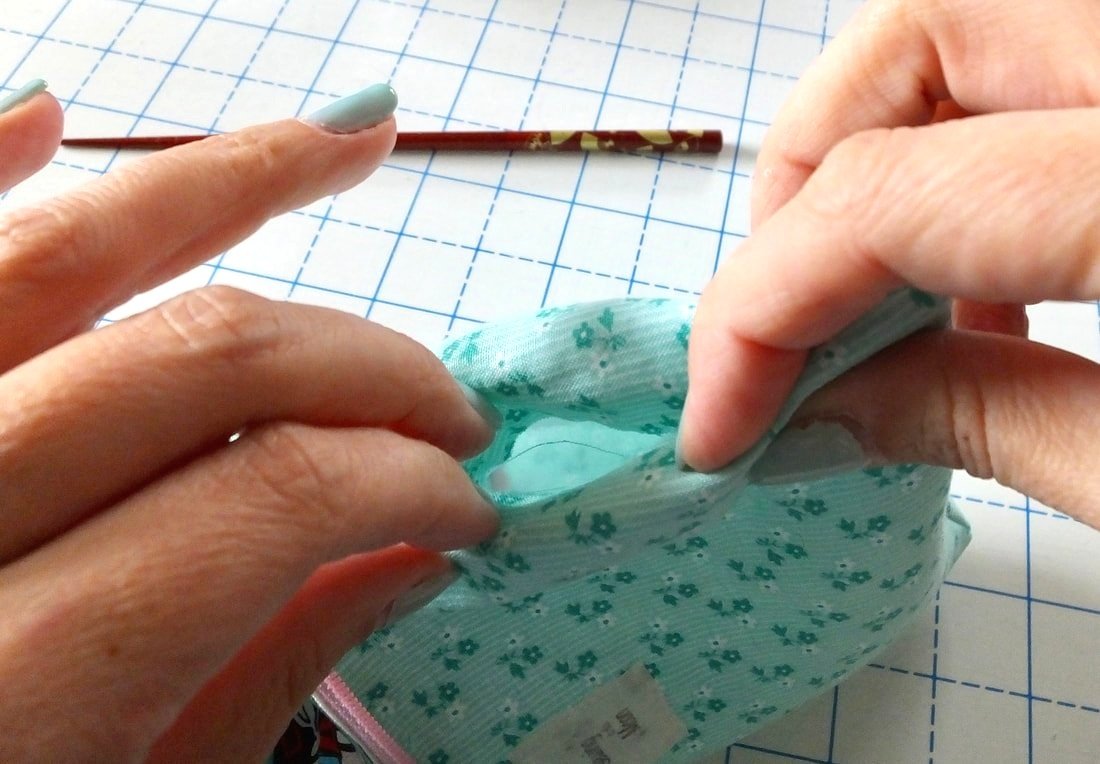
Find the opening in the side seam and tuck in the fabric within the seam allowance. Press the opening closed and add 2 pins or clips to keep the layers together. Sew the opening shut, making sure to backstitch at the beginning and end.

Push your lining inside the bag. Poke out corners. Press flat with the iron.
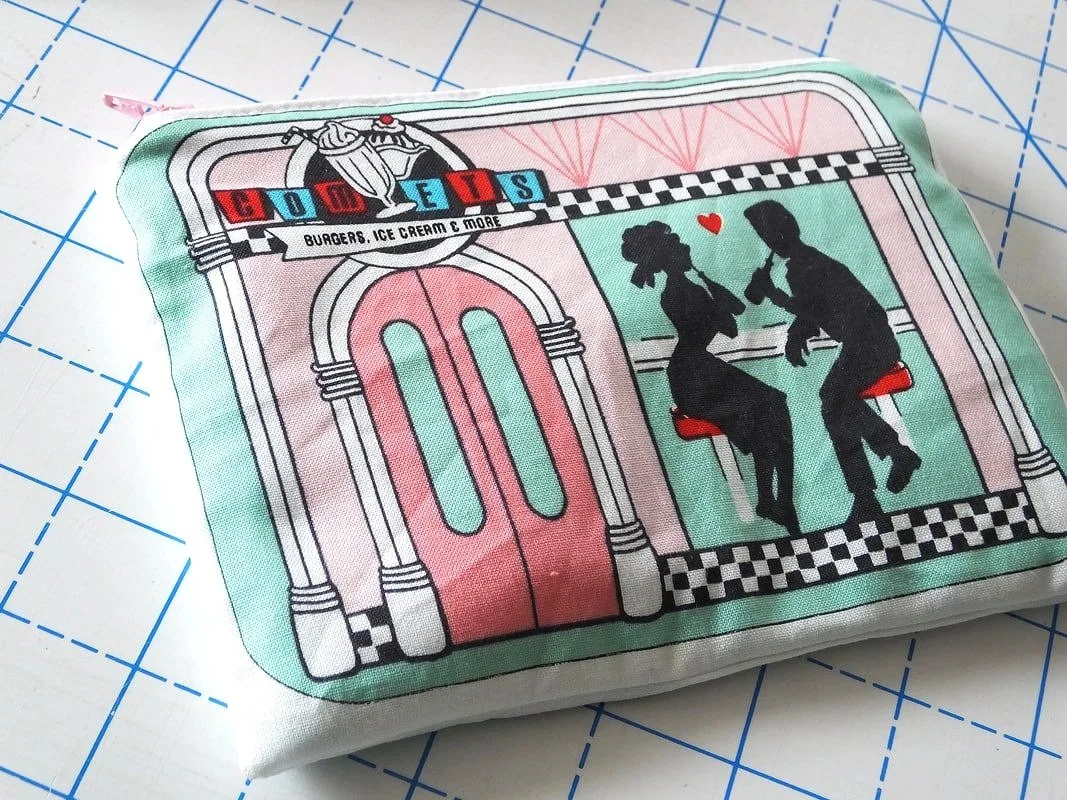
Your bag is ready for eyeliner, lipstick, a cute mirror, and tissues. Make one for your friend, child's teacher, sister, everyone, and anyone. Bags make great gifts.
What a cute bag!! Tag me on Instagram so I can see the bags you've made. @sewingtothemoon
Thanks for reading along and hanging out with me. Let me know in the comments below who you're making the bag for. Yourself or a friend?
Happy Sewing,
Annette
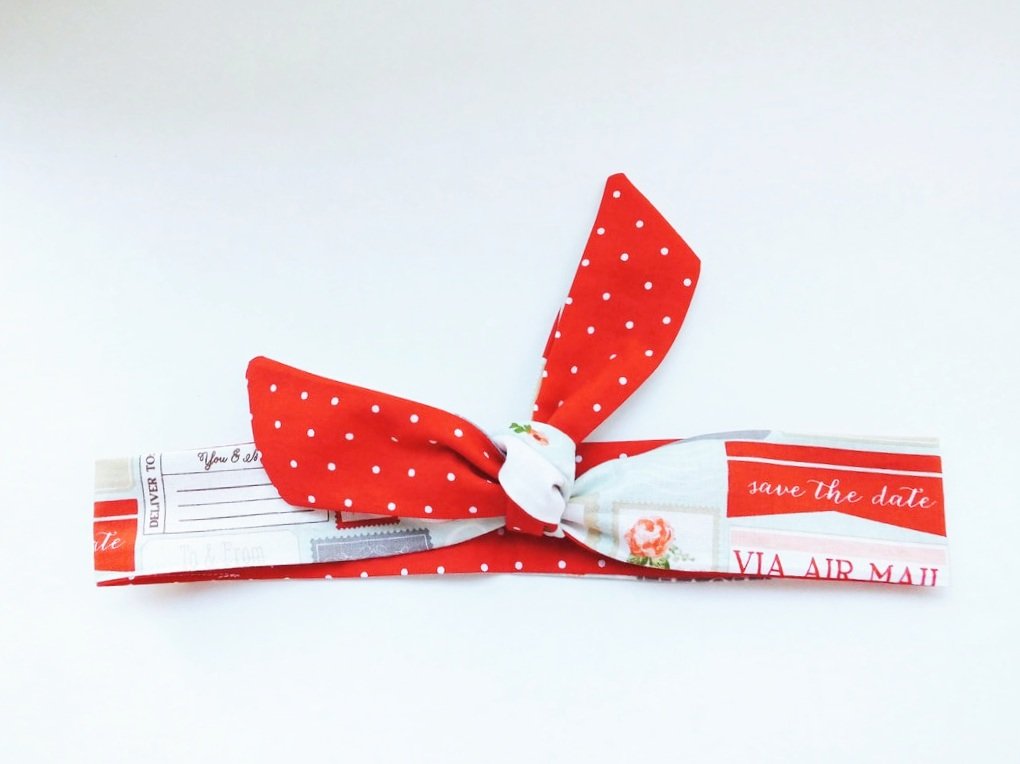
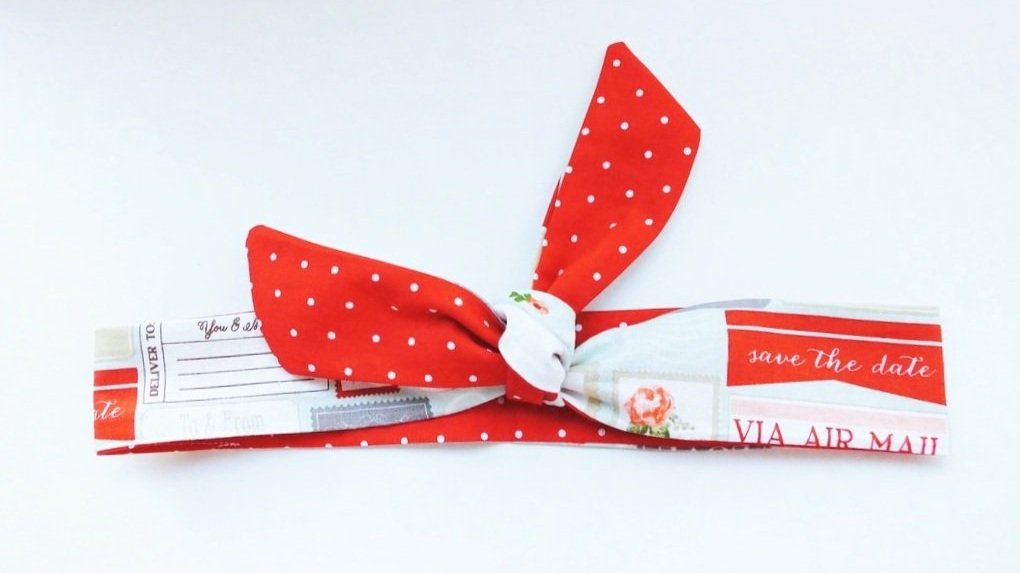
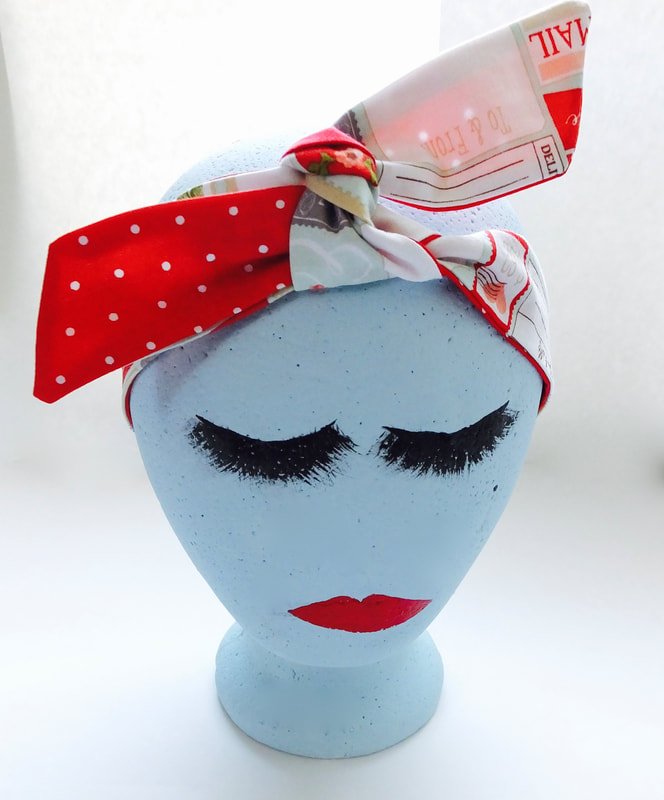
Rosie the Riveter Headscarf
Sew up the easiest 1950s-style hairscarf. Uses minimal fabric and is customizable.
When getting ready, is your hair the last thing you do? Laziness can set in hard when doing your hair, amiright? But, it can still be cute when done quickly. I want to share with you an easy hair scarf pattern and tutorial. Great for beginner sewists or seasoned ones. We could all use a little help in the hair department when we’re short on time. ;)
You'll look cute as a button if you’re having a bad hair day. Or maybe you want to sew up something quick and easy to give to a 1950s-loving friend? This is the perfect project either way.
Materials You’ll Need:

1/4 yard of cotton fabric
Ruler
1/2 yard of contrasting fabric
Chalk pen, or other marking tool
Matching thread
Measuring tape
Sewing machine
Chopstick, unsharpened pencil, or other turning tool
Scissors or rotary cutter and mat
Pins or clips
Instructions
Measure your head or the person you are making the headscarf for. Write it down to use as a size reference.
Take your outer fabric and cut a long strip of the outer fabric measuring 36" by 2-4" wide (your choice). You can add or take away length and width at this point. This is the starting size that I prefer.
Use your chalk marker to trace the rectangle shape onto the wrong side of your fabric. You can use scissors or a rotary cutter and mat to cut out the fabric.
Cut an angle off the short ends from top to bottom, this is easy... just eyeball it. (The angle will give the scarf some style when it's on your head and tied.)
Iron the 2 strips nice and flat to get all the wrinkles out.
Sew with RST, pivoting at corners. Leave a 2-3” gap for turning out scarf.
Place the fabrics RST (right sides together) and pin, pin, pin. I left a 2-3" gap about 1/3 of the way on one side for turning out. This is important. Mark with pins where your opening is.

Trim the corners. Be careful not to cut through the stitching. This will make turning out easy and the corners will be crisp.
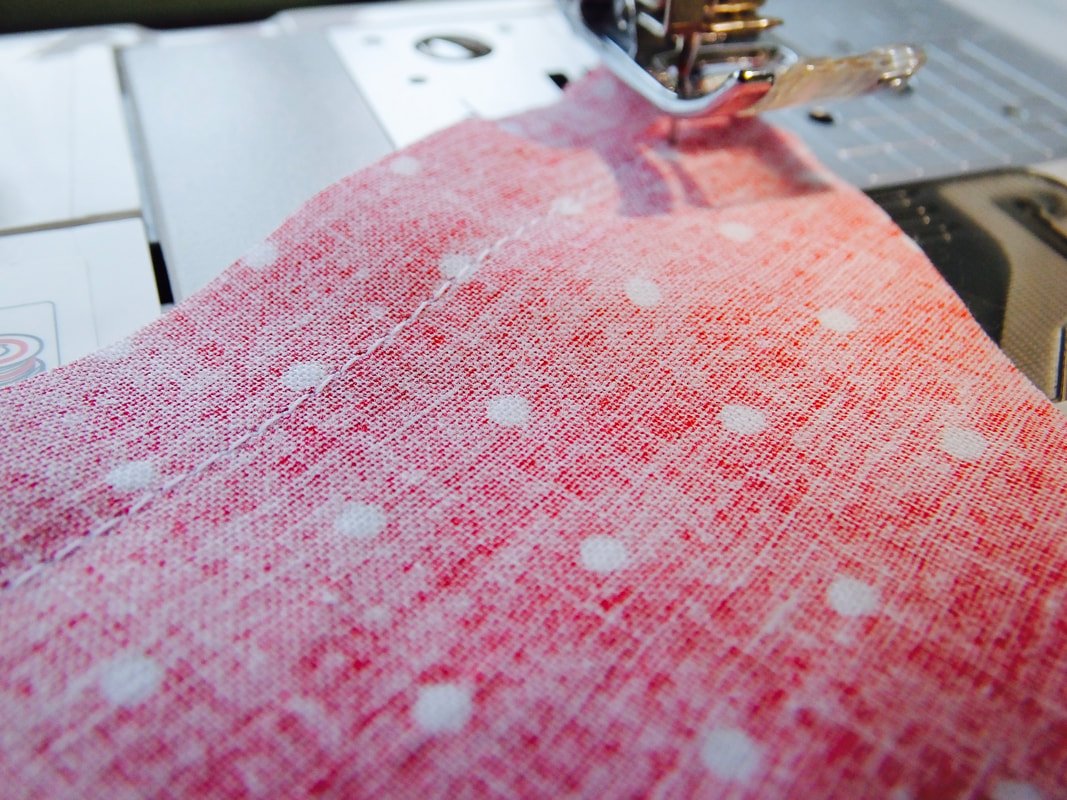
Sew with a 1/2" seam allowance and 2.5mm width. Start at the end closest to you and backstitch. Take your time, this is a long seam, and you want it to be straight.
When you get to the corner, stop sewing, leave the needle down in the fabric, and put the presser foot up. Pivot your fabric. Put the presser foot back down and continue sewing until you reach the long side again. Repeat the pivot method.
Sewing, sewing, just keep sewing. When you've come back to the gap you left, backstitch. If you forgot to leave a gap, no big deal. Pull out the seam ripper and take out a couple of inches of your seam. Take a few seconds to check your stitching. Make sure both pieces of fabric are stitched together and you don't have any accidental openings.

Trim edges to make turning easier.
Use sharp scissors to trim away the excess fabric at your corners. This will take away the bulk and give you nice, crisp corners.
After everything is trimmed everything, grab a chopstick!
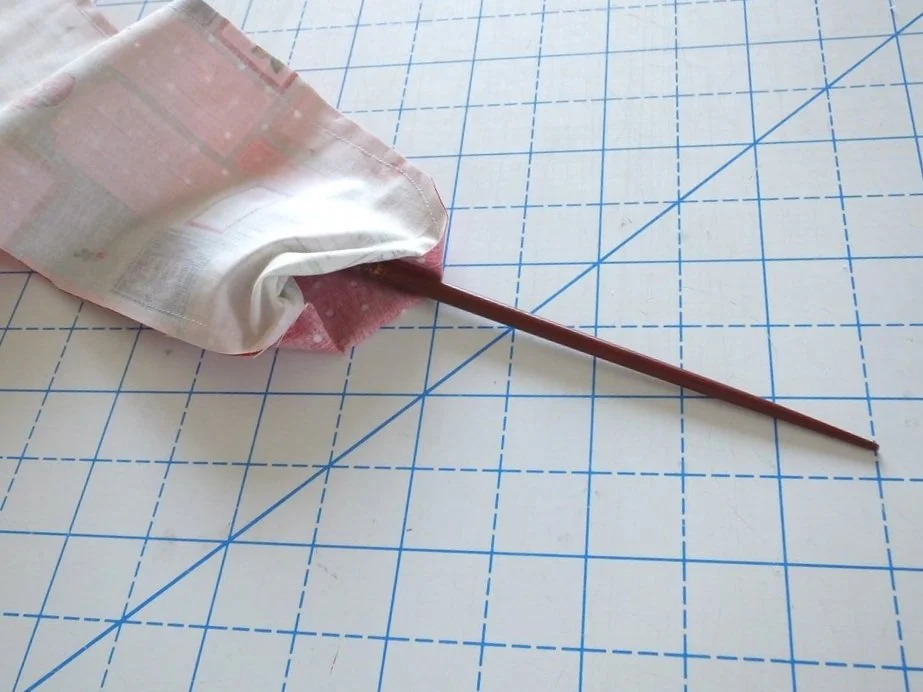
Start by poking the blunt end into a corner.

Use a chopstick or other blunt end tool to help turn your scarf.
It's time to turn the scarf right side out. Take the larger end of the chopstick, wiggle it into a corner, and gently slide the fabric over it. Once you get this tricky part done, it makes turning out easy.

Almost done. We just need to press and close the gap.
It's starting to look wearable. Woohoo!! If yours looks similar to this, yay! If not, uh-oh.

Iron your head scarf flat. If you need to, spritz water on the whole thing and iron away. Wrinkles be gone!

Ta-da! Looking good.
Now, stitch the opening closed. Fold the raw edges under making sure they are flush with the seam. Pin the opening closed. Take the scarf to your machine and topstitch the seam closed. Stitch 1/8" from the edge. Backstitch at the beginning and end. It will look like the photo below when it's finished.

Top stitch the opening closed, backstitch at the beginning and end.
Yay!! It's finished. Where will you wear your new scarf first? Super easy, right? You can whip up quite a few of these from one yard of fabric. They make great gifts for others as well.
To Wear the Scarf:

Place on head, comfortable. Cross the ends over each other and tie.
1. Place the center at the back of your neck and pull the ends up towards the sky at an angle
Tie into a loose double knot. Add bobby pins above your ears if needed.
2. Tie a loose but, not too loose knot where you want the scarf to sit.
3. Complete the knot and add bobby pins to the sides of the scarf. The pins keep it from sliding off your hair.
Your 1950s Rosie the Riveter hair scarf is complete!
When you make one, tag me on Instagram. I want to see your version! @sewingtothemoon
If you have any questions or comments, leave them below.
Thanks for hanging out today, and happy sewing!
Annette

Fold your scarf into a heart shape. Yes, I have this kind of time. Haha