
Pattern Reviews, Sewing Hacks, Tips & Free Patterns
The Sewing Blog

Sew Custom Fit Leggings
Sew a pair of custom fitting leggings for yourself or your little one. This is simple pattern drafting.

Do you love wearing leggings? How about sewing your own leggings? Yes, no, maybe? We are 100% team leggings in this house. I don't buy my youngest daughter any other kind of pants. Heck, they are even my go-to pants (read: secret pajama pants) to wear out of the house. So, if you aren't on board with making your own leggings yet, you will be after reading this. At least, I hope you will.
If you're not interested in making leggings for yourself, scroll down to the bottom. I share a tutorial I use for making little kid leggings.

If you've been dying to make leggings that actually fit your body, look no further. Grab this FREE pattern to get started. You'll be cozy and cute in no time. Lately, simple patterns have been more my jam. Take all your measurements and write them down on paper.
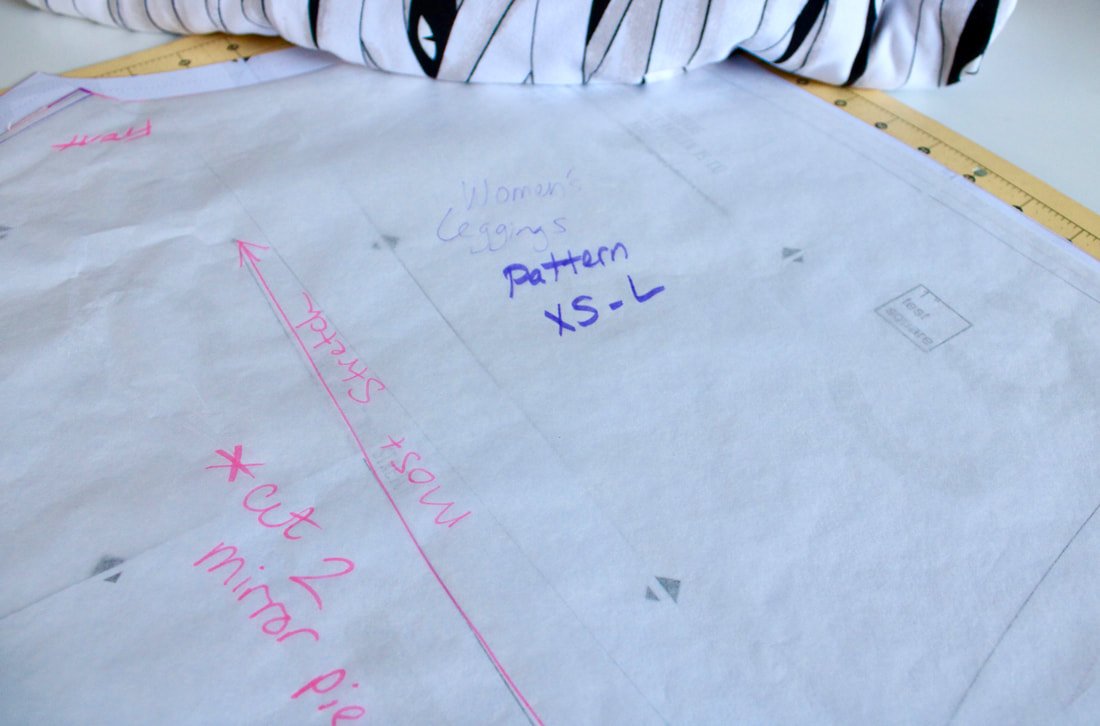
I measured my waist, hip, knee, calve, thigh, and ankle widths. The sizing put me into a size Large waist, Medium hips, and narrowed down to an X-Small in the ankle department. I love my weird body. Buying leggings from the store is never fun because they are baggy in all the wrong places. You might be the exact opposite. We're going to make these leg prisons according to your own measurements. Wooo!!
My original plan was to follow a tutorial and draft my own pair. Well, my brain couldn't do all the math. So, in the end, I found this pattern that worked perfectly for me! Let's get started.

What You’ll Need
Just over a yard of knit fabric
Thread
Measuring tape
Stretch or ball-point needle
Twin needle (optional for leg hem)
1 inch thick elastic for the waistband (I prefer non-roll)
Sewing machine that can do a Zigzag stitch
Serger (optional)
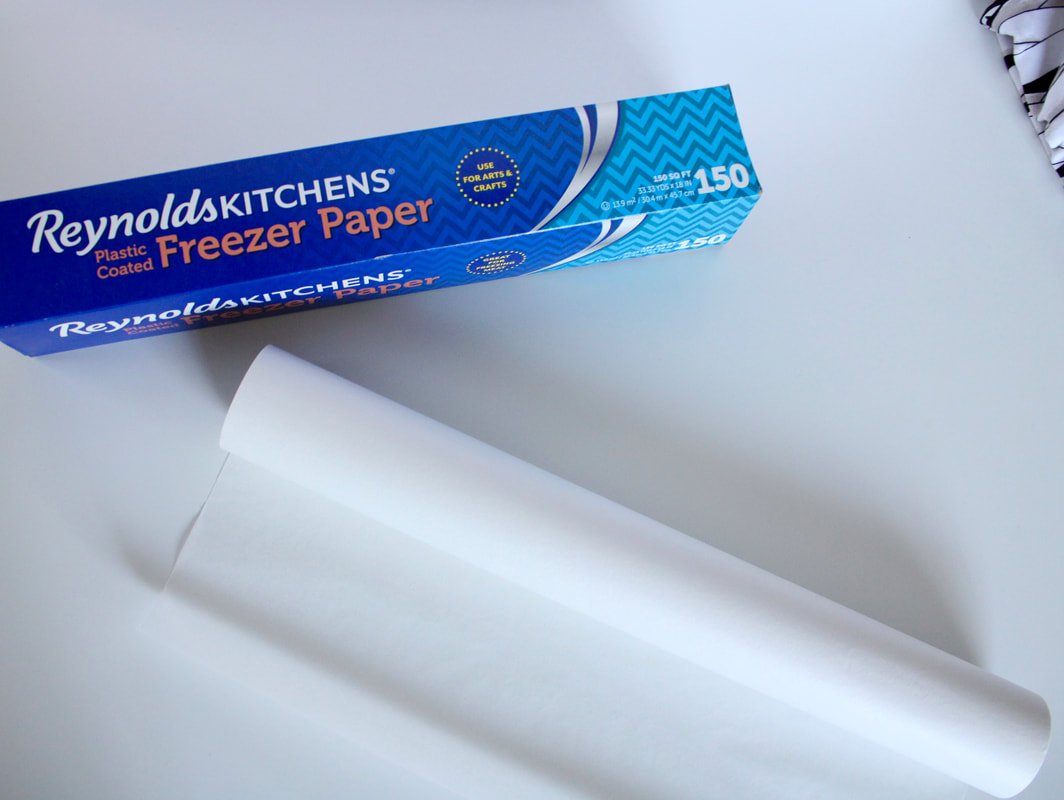
Roll of tracing paper, medical paper, or freezer paper (my preferred paper for tracing)
Pencil and pens for tracing
Seam ripper because, let's be honest...
Tape for taping pattern pieces together
Printer to print out the PDF pages
All the other sewing notions you usually use ;)
Pattern Set-up
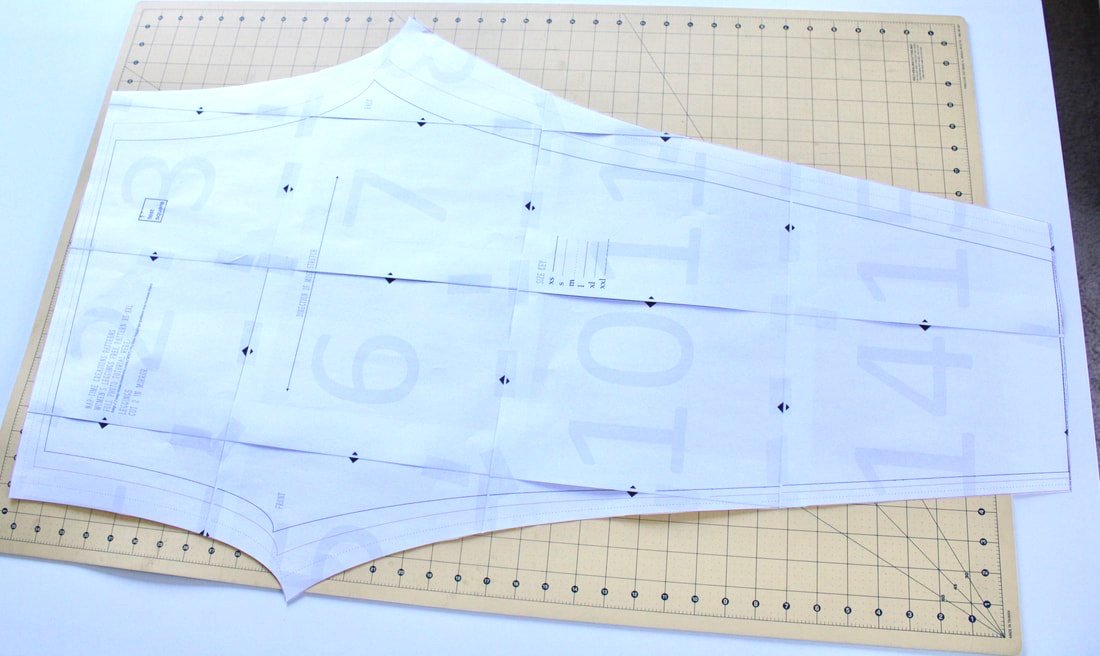
Click here for the FREE pattern. You will add to cart but, it is a free PDF. After you "purchase" you will be able to print out the pattern.
Match the lines and arrows, then tape everything together to form your pattern. Figure out where your measurements lie in the legging pattern size range. You might have to grade between sizes. Grading is easy and doesn't take any extra time. You simply blend the sizes to fit your unique body shape.
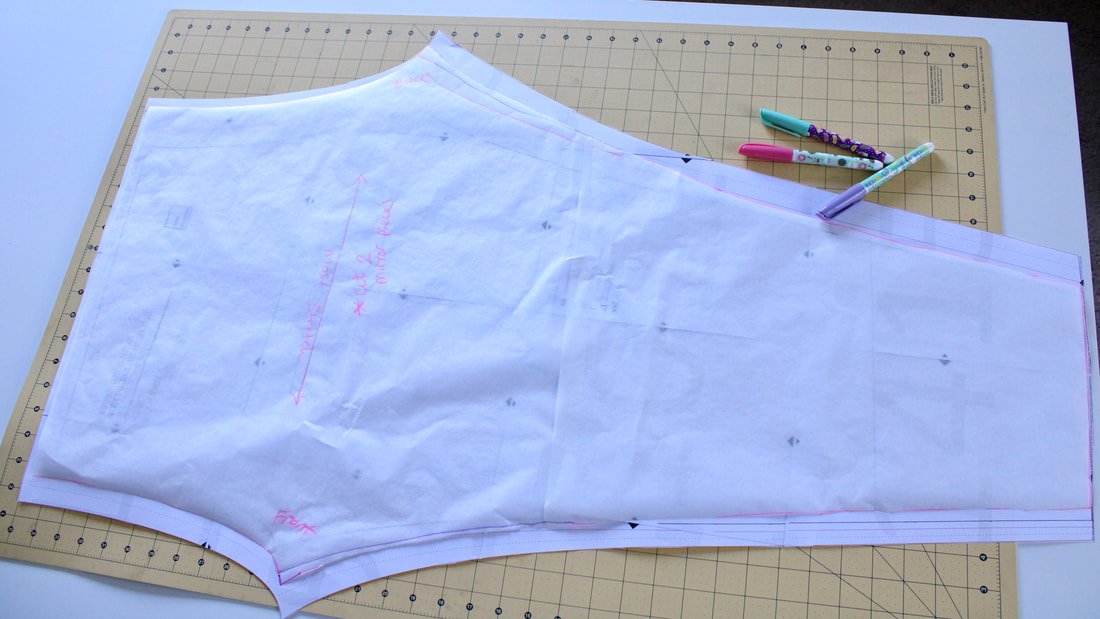
You can use a highlighter or other light colored marker to grade your sizing, directly onto the pattern. Or, Take your tracing paper and lay it over the pattern. Trace your new pattern size. Doing this saves the PDF for future use or if you decide to make a smaller or larger size for a friend.
I suggest making a muslin before cutting into your beloved fabric. If you have stretch fabric you're not in love with, use that. you want to get the length correct too. If you're taller or shorter, you will need to make adjustments accordingly.
Sewing the Leggings
Sew each inner seam with right sides together. You can use your sewing machine or serger for this.
Then, take one leg and turn it right side out. Place your arm back through and feed the leg through the other leg, making sure right sides are touching. Straighten the leg, matching the seams together. You're going to sew the large "U" shape crotch seam from one side to the other. Use pins or clips to keep the layers from shifting around. You can use the sewing machine or serger for this as well. After the crotch seam is sewn, pull out the legs.
If done correctly, it should look like a pair of pants. If not, grab that seam ripper because something went wrong. Uh-oh!
Perfecting the length
Try them on. They should fit nicely.
If they fit too snugly, use your seam ripper to let out the seam in the snug areas.
If they fit too loose, go back over those spots with the sewing machine to make them fit more snug.
If the length is too long, you can shorten them at the ankle hems. If you want them to have a lower rise, shorten the waist. If you need more length, add those inches to the pattern.
All you have to do is sew the hems at the ankles and put in your elastic waistband. Comfy and super simple.
Hopefully, you found the PDF pattern easy to print out, tape together, and use. I will be making more leggings for myself soon.
I LOOOVE leggings!! And, now they will fit my funky shaped bottom half of my body. Hahaha!!!
Will you be making leggings for yourself? If not, keep reading. I include a tutorial for making leggings for a little one.

Leggings for Little Ones
Maybe leggings still aren't your cup of tea. But, they are great for kids.
Follow this fun tutorial on how to make a pair for a child. My youngest daughter wears leggings every day. They are the only leg prisons she allows in her dresser. When we go camping, she may or may not wear the one pair of jeans we keep in our RV for her. Yep, she's that committed. Ha!
What You Need
The tutorial
Elastic for the waistband
1 Yard of knit fabric
Sewing machine or serger
Thread
Ballpoint needle
All the regular notions
A small child ;)
You use a pair of leggings that already fit or are too short. You trace off the pattern based on that pair of leggings. Add length if needed. Sewing them is the same as the adult pair I made. Easy-peasy. I've made quite a few pairs for my daughter. She loves them. Mom-win!

So, that's it. Go make some new leggings for yourself and everyone around you. Hooray for comfy pants!!
Check out my Batwing top here. It's fun and makes a quick costume! Oh, and it's perfect for those chilly October evenings.
Thanks for hanging out today and happy cozy sewing,
Annette

Sew a Circle-Shaped Bag
Sew a circle shape bag for fall or any other season. You could even turn this into a hip or sling bag. DIY bag making project.

The air is crisp and the leaves are sprinkling the ground as I type. Apple picking season is among us. I tried to hold on to summer but, there's no escaping it. Fall is here. Yay! I am ready, bring on my favorite season.
My creative side has been lacking lately so, I wanted to try something new. Usually, I only share patterns that I love or have created myself. But, I wanted to shake things up around here. So, I'm sharing one of my sewing fails. Yes, a fail. A major sewing fail. Face-palm.
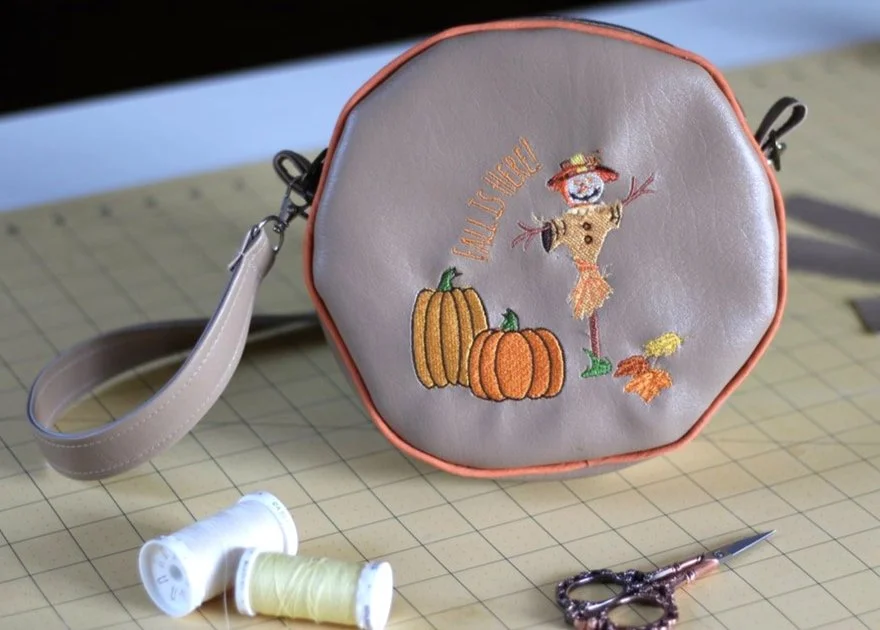
Here's the circle bag.

I wanted to try my hand at something new for the upcoming season. I saw a circle bag in a shop and knew I wanted to make one. I had light brown vinyl and planned on using it for a cute Autumnal bag. After scouring the interwebs for a free pattern, I settled on what I thought was a good one. Welp, the pattern was not great. I don't want to throw anyone under the bus so, I'm not saying where I got the pattern. But it was "meh" at best.
I knew from the beginning this was going to be an experiment. Yay for experiments! I created a fall-themed embroidery file to place on the front, just in case the purse turned out cute. I didn't want a boring brown circle bag.
The embroidery design has leaves, pumpkins, and a scarecrow. Fun! Although, the scarecrow was a little wonky.... don't look too close. ;)
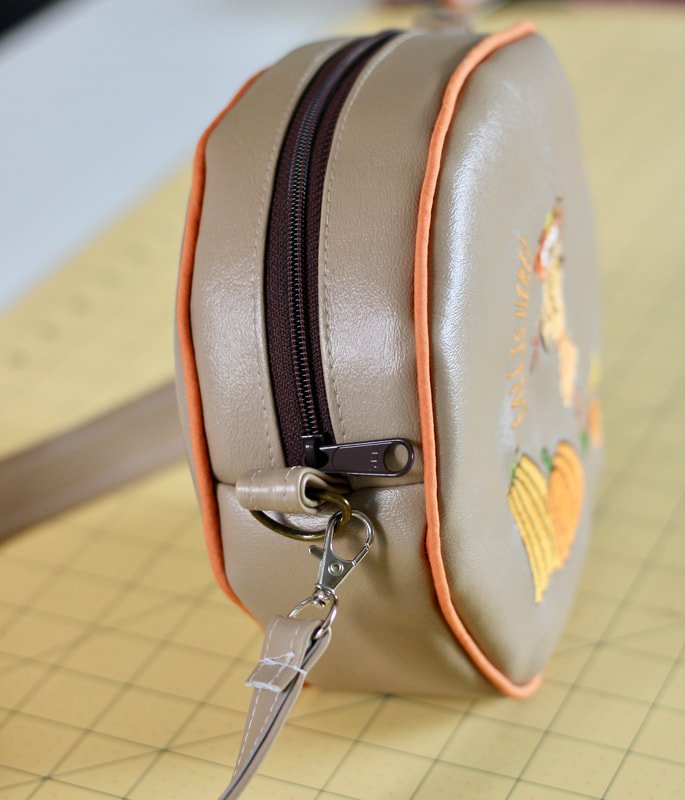
Following the instructions, I gathered everything that was needed and cut out the pieces. I embroidered on the front circle only, that's the only area everyone will see. I used mismatched hardware for the strap (it's what I had on hand) and I used a brown zipper. Fall bag, here I come!

The seam ripper was using a lot. I horribly sewed a piece of fabric to cover the embroidery. Next time, I’ll just leave it alone.
Putting The Purse Together
The pattern didn't call for a stabilizer, which I thought was odd. But, hey, I've never made a circle bag before so, I forged on.
You start with the zipper and long fabric strips that get sewn to the zipper tape. I didn't get a photo of this part.
Then, you take the bottom bag piece and sew it to the zipper at the short ends. This makes a long loop that connects at the zipper ends.
You're then going to take a circle piece and clip the heck out of it, to your piping. I just used pre-made piping from the craft store. You can find it next to the bias tape. The instructions didn't include piping but, long story short... you need piping in a circle bag. ;)

I used my zipper foot to sew closely around the perimeter of the bag. You have to work with the vinyl during this part. I found it easier to use tons of clips and pull as you go. I didn't use as many clips during the first round and it was more fiddly to work with.

Using the zipper foot helped to get closer to the piping.

Clip the edges.
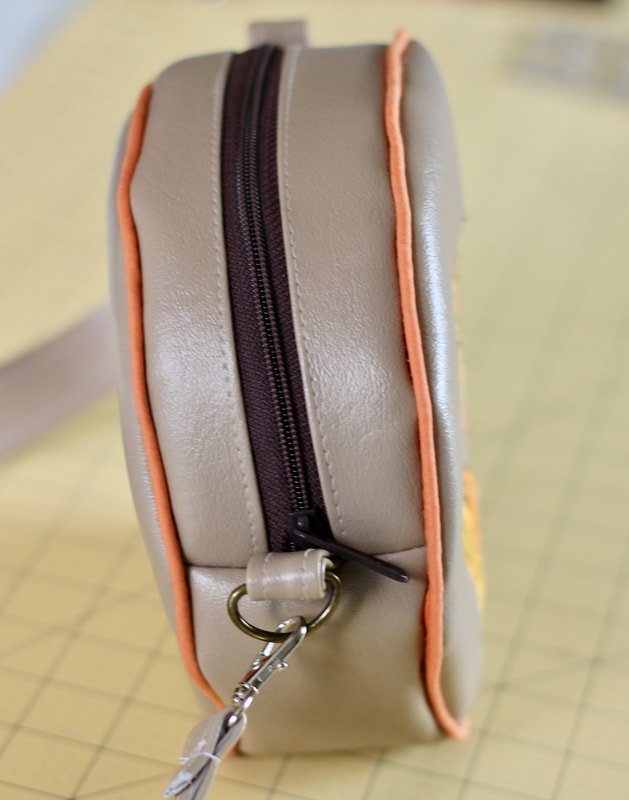
After both circles are sewn on, turn the bag out and cry. Ask yourself why it isn't round and perfect like the picture. Retrace your steps and check if you missed something. Nope. You did it all. You followed the directions perfectly. The bag just wants to be rude and un-round. Major face-palm moment.
Carry on to the long shoulder strap anyway. Attach the hardware and add the strap. This part is easy. And, you're done!
It was an easy bag to make, but so disheartening. Why isn't it a perfectly round shape? I think it's because this is a 2020 bag. That's the only logical explanation. This bag, along with all of 2020, stinks. LOL
So, what was learned from this experience?
Piping is your friend and foam interfacing should have been used. Vinyl and faux leather are stiff, but they benefit from something added.
I will use this bag throughout the Fall season because it's cute. It's not perfect by any means and I'm somewhat embarrassed to show it to you. But, as sewists, we know there are wins and sewing fails.
The circle bag has not defeated me though. I've accepted the challenge and will conquer this bag! Stay tuned for a pattern that will be free to you and will work! I'm creating and experimenting as you read this.
Have you ever made a circle bag? Was it amazing and round? Or whackadoo and rude like mine?
Please, share any tips, tricks, or fails in the comment section. We're all in this together! LOL
If you'd like a quick pattern that is a no-fail one, click here. You're welcome.
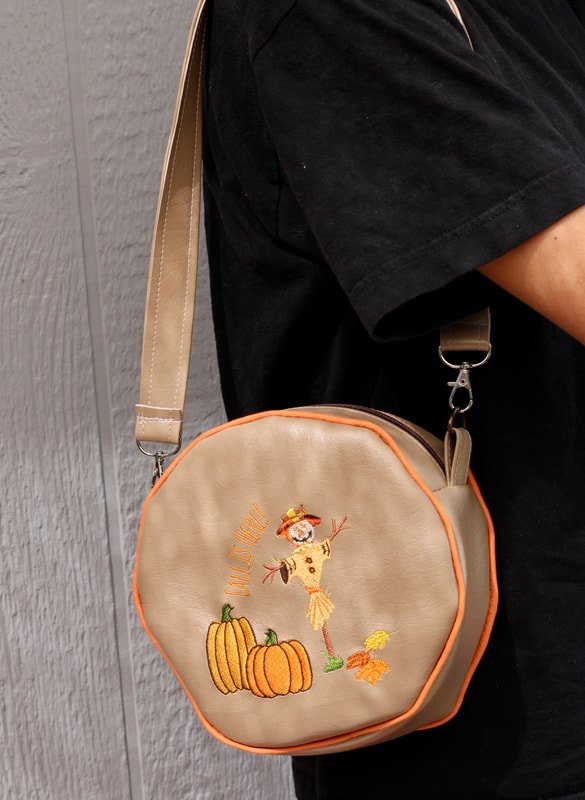
Ugly or not, I’ll still use the bag. Maybe.
Happy fall sewing ya’ll,
Annette

Halloween Sewing Projects
Sew your own Halloween home decor pillows or trick or treat bags. It’s easy to do.

Once upon a time, there was a not-so-old lady who bought some fabric she didn't have any plans for. She saw it online and had to have some. No clue what she'd sew with the fabric, she bought it anyway.
That's the tale of every sewist at one time or another, right? We buy fabric without a clue what we'll use it for. We just love fabric. Give us aallll the fabric!!
Here are some spooky things you can make with your new or old Halloween fabric. Disclaimer: they're not really spooky. ;)
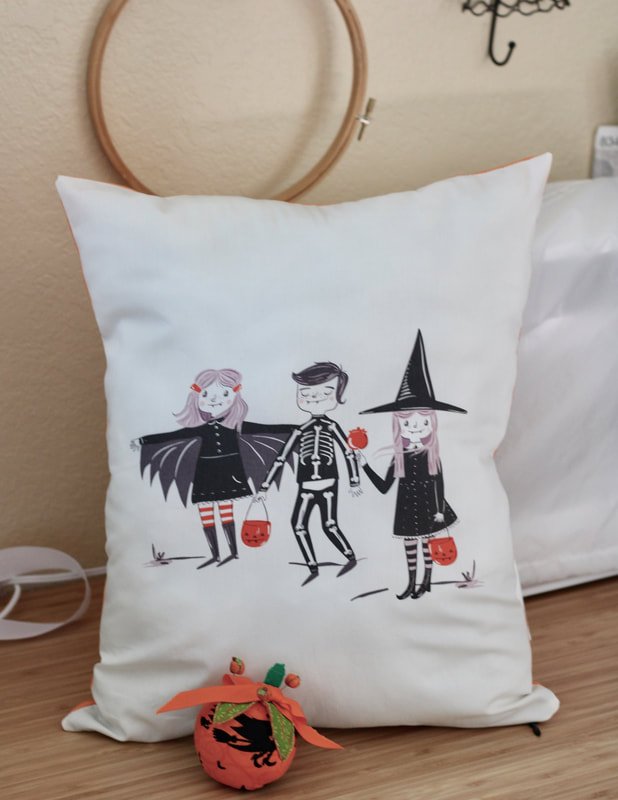
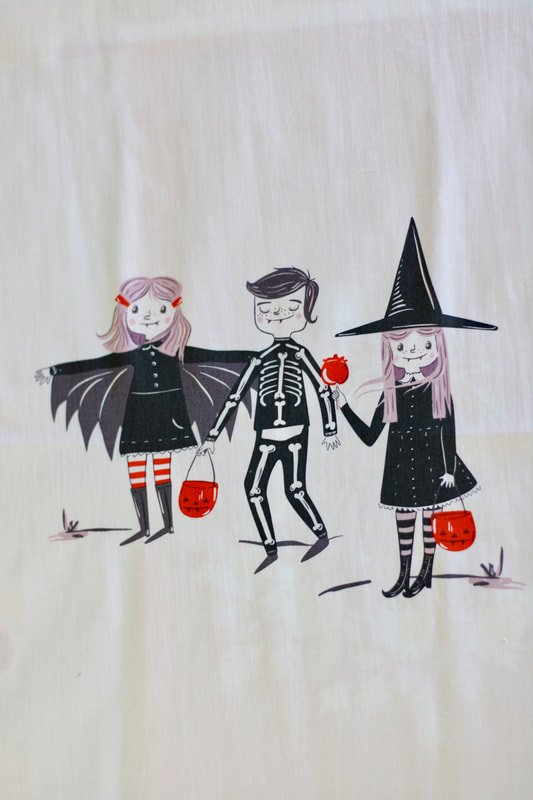
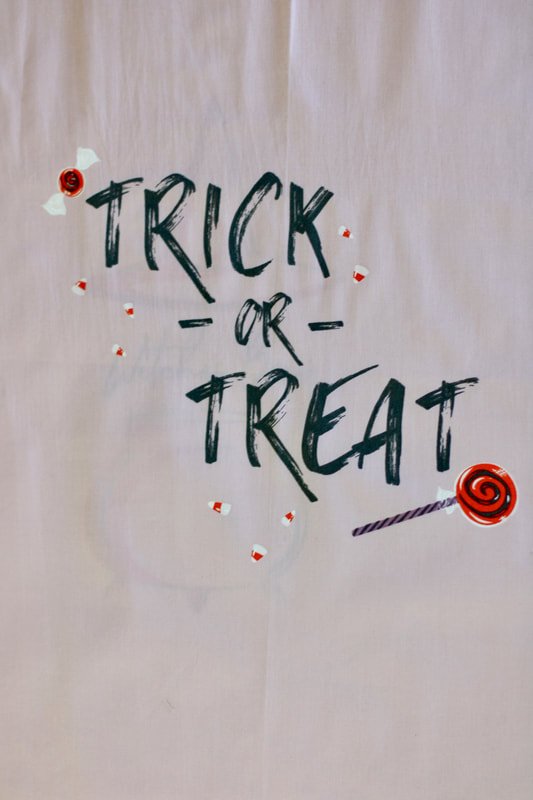

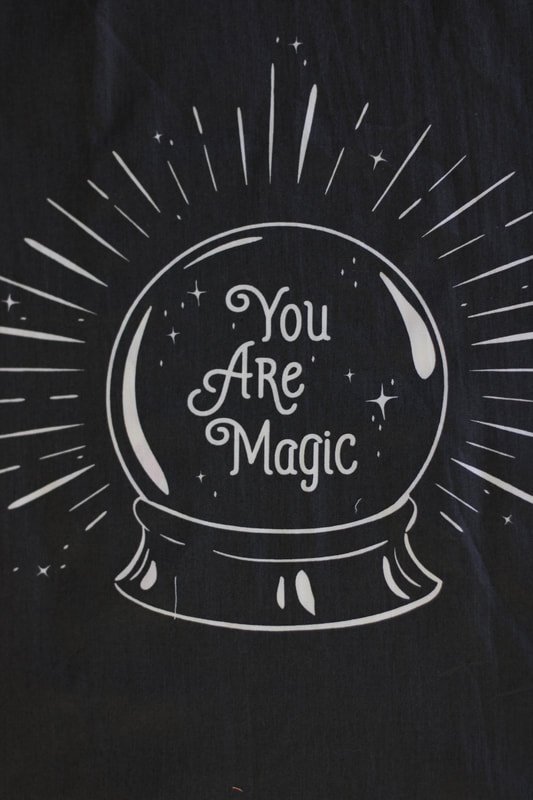
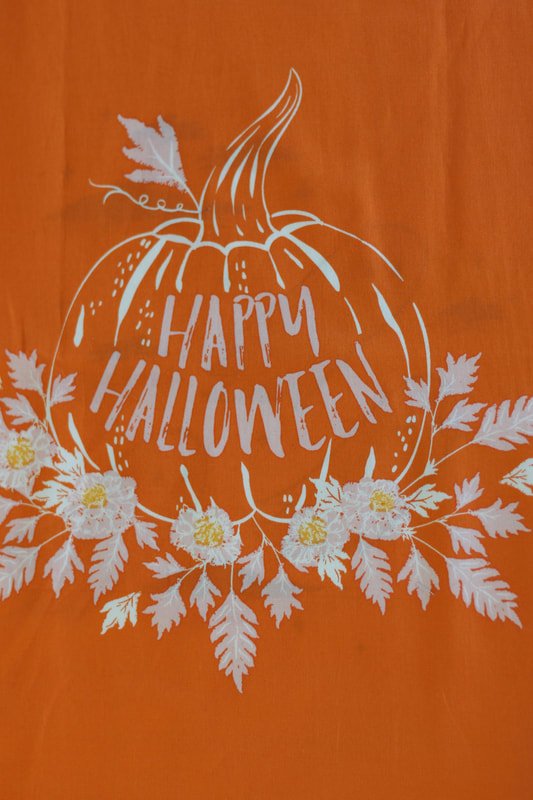
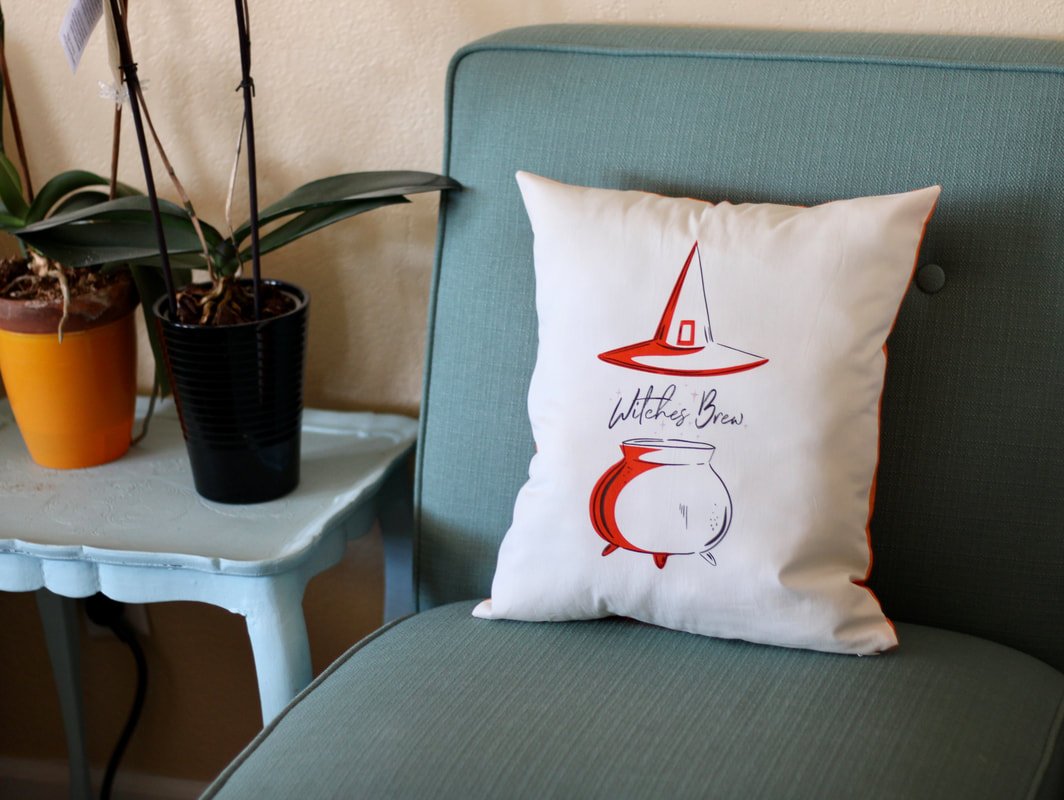
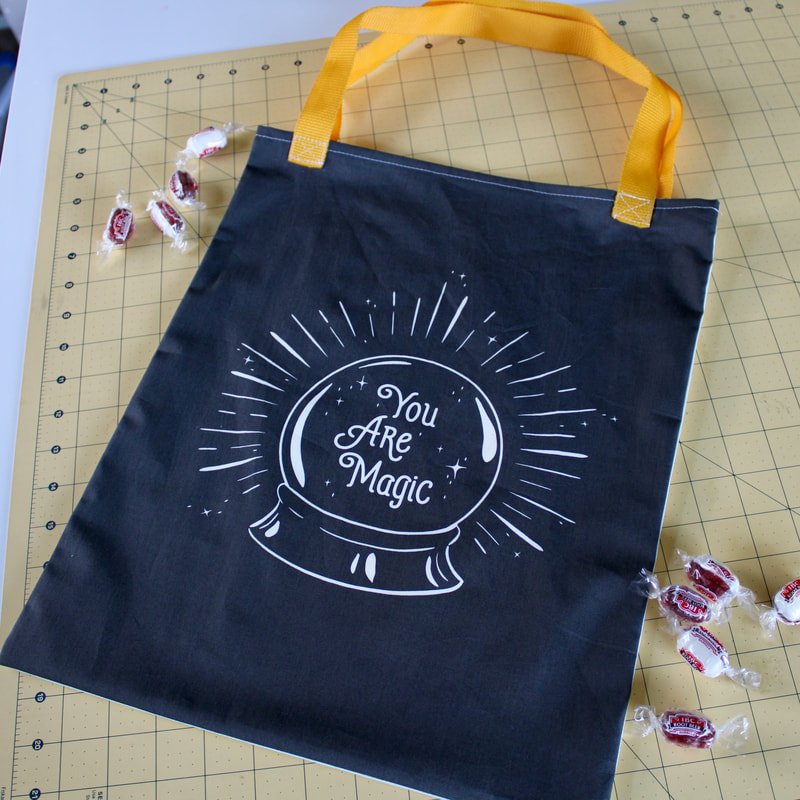
I recently bought a Halloween fabric panel online. The designs were much larger than I anticipated because...online shopping. There are six rectangle designs in the one-yard panel. So, I made two pillows with my favorite ones and trick or treat bags with the other ones. I had orange Kona cotton in my stash which was perfect for the backside of the pillows. These are not lined and are meant to be an easy sewing project.
The fabric is Art Gallery Fabric and from their Spooky and Sweet line. Which one is your favorite design?
Halloween Pillows
You will need:
1/2 yard of Halloween fabric
Bag of fluff to stuff the pillow or a pillow form
Sewing machine and notions
Invisible zipper (or regular if that's what you have on hand)

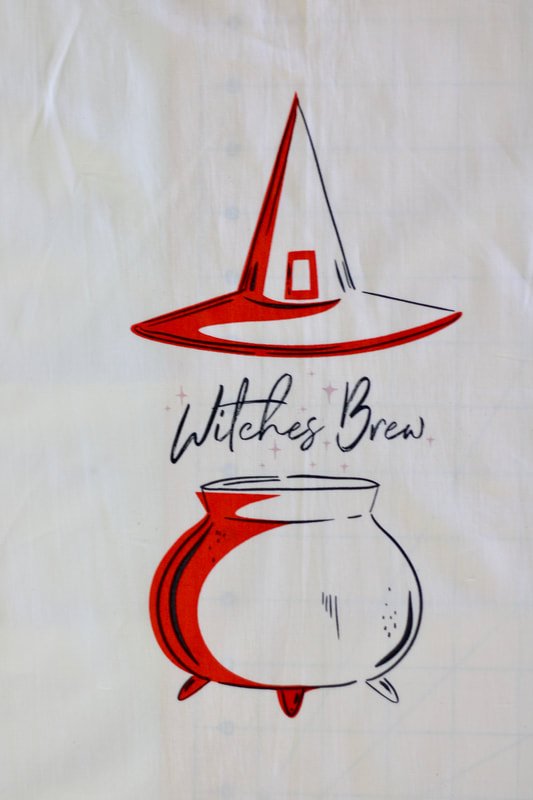
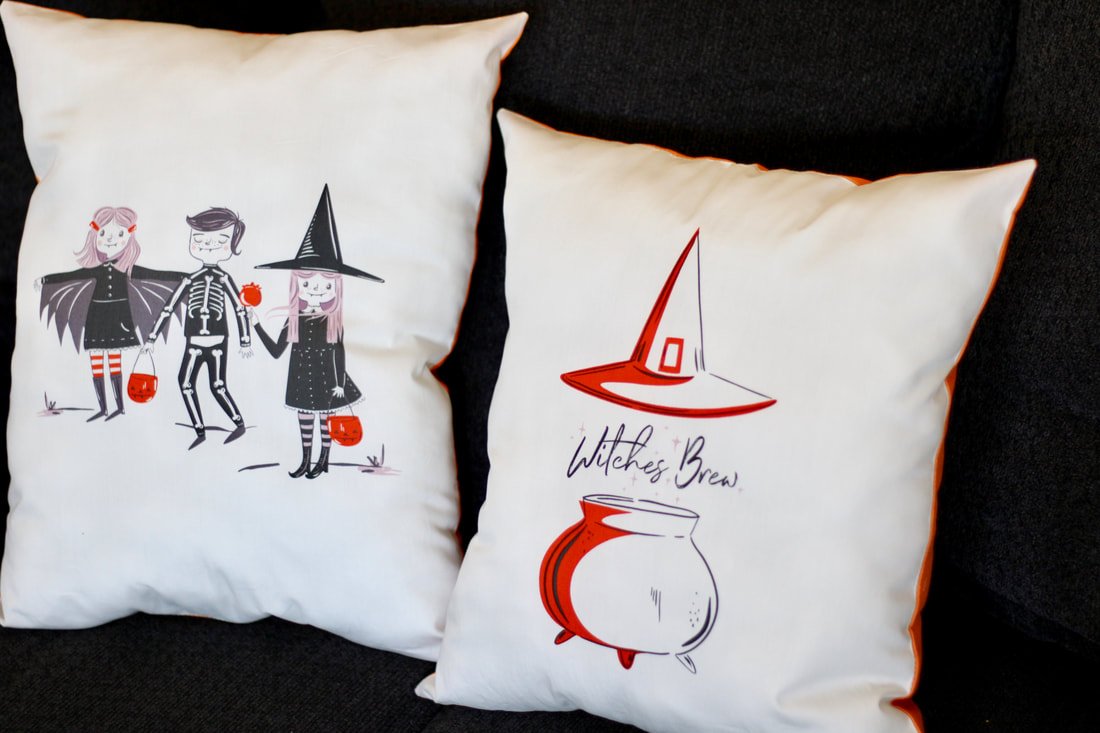
Witch Hat Pillow
I chose the witch hat for one pillow. Pinned a matching invisible zipper in place. See those cute pumpkin pins? My friend made them for me. Squeee!!

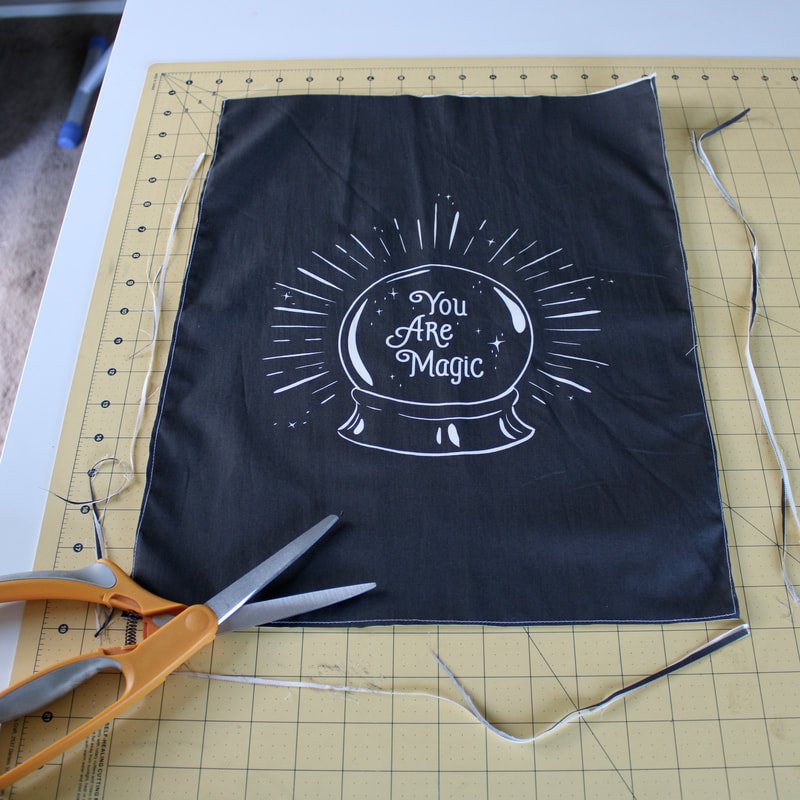
Cutting out the large pieces. Ignore the wrinkles. It was easier ironing each piece individually.
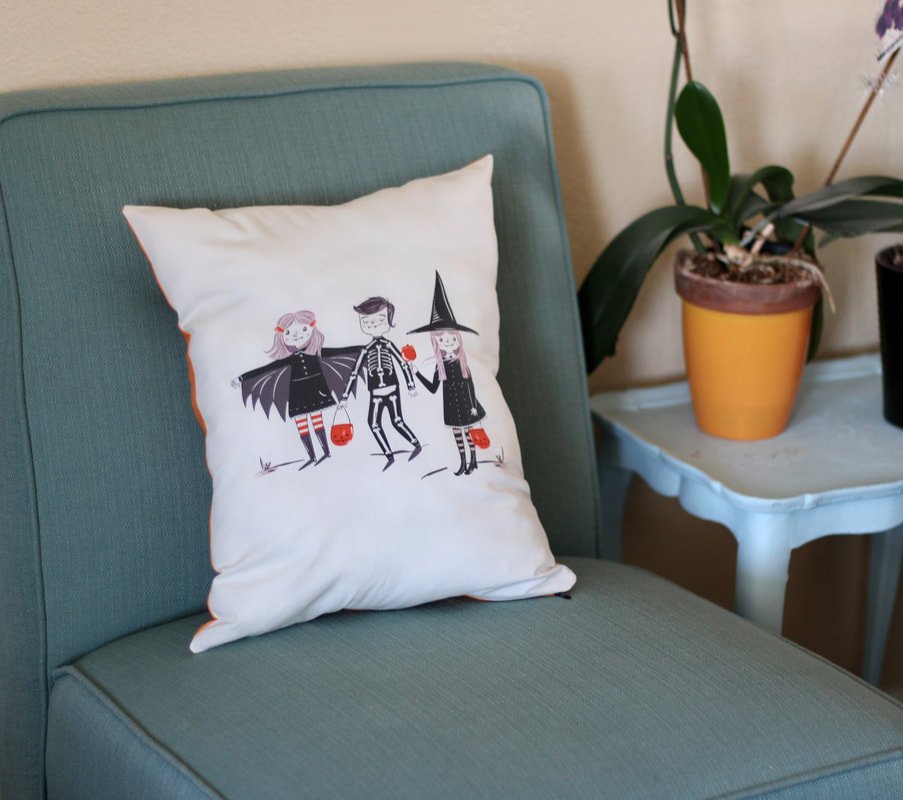
If you have a panel like this, it makes pillow making easy. Just cut out the design you want to make the pillow with. Place it on top of the fabric you want to use for the back, using the rectangle as the pattern. Trace and cut.
If you don't have a design piece like I used, grab a couch pillow and measure it. Write down the measurements on paper and add a 1/2" seam allowance. Use your ruler, chalk marker, and scissors to mark and cut out 2 pieces of coordinating fabric. Place your zipper on the bottom end of the pillow. I used an invisible zipper but, you can use what you have on hand. Buttons are always cute too. Just be sure to add extra length if you choose that route.
This is Halloween sewing, it doesn't have to be fit for a queen. It's supposed to be spooky fun! Turn on some Halloween music and just enjoy the process.

Invisible zippers are supposed to be hidden. This one turned out perfectly, whew!

Sewing the invisible zipper.
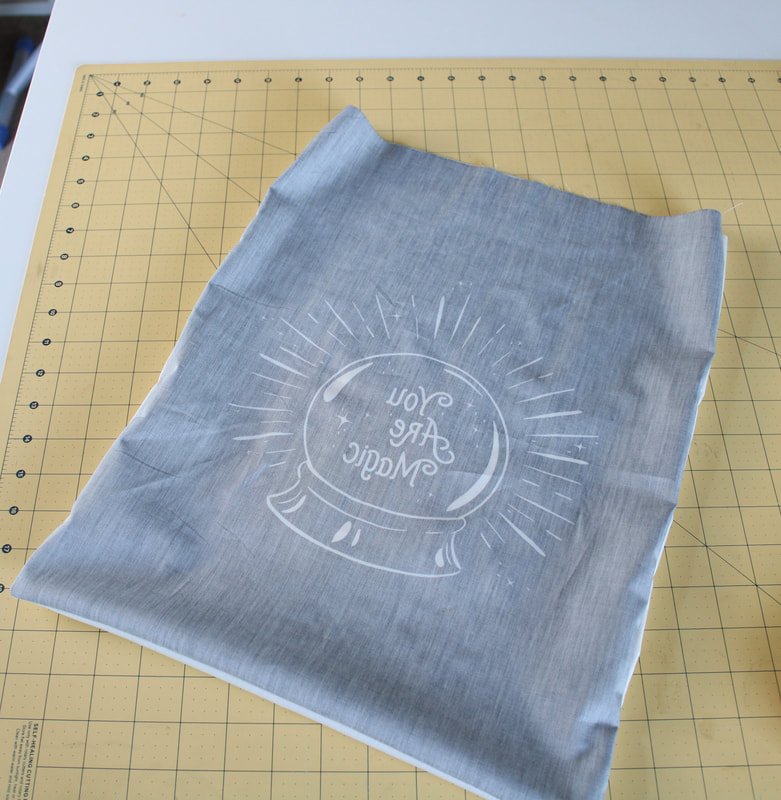
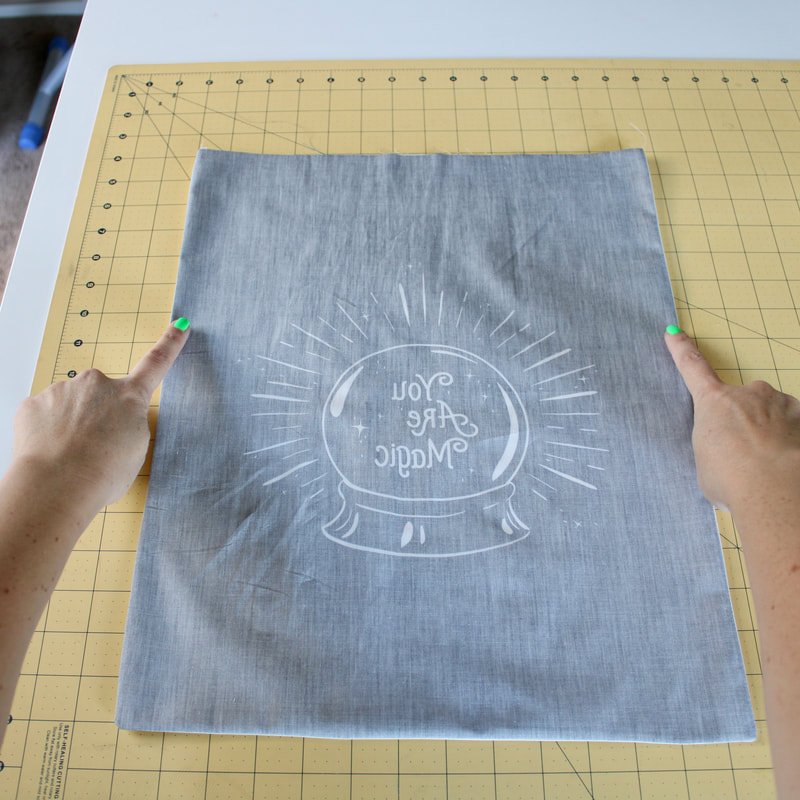
After your zipper is in, check to make sure it is smooth and not catching any fabric. Open it up about halfway. Fold the pillow with RTS (right sides together) matching corners and edges. Pin or clip together. Depending on how long or short your zipper is, you may need to sew the seam a few inches at each zipper end. *If using an invisible zipper, stitch 1/8" away from the zipper seam. This keeps it from puckering and gives a nice finish.
Clip corners and seam allowances if needed. Turn right side out, gently poke out corners with your fingers or blunt end of a chopstick. Go grab the pillow form or bag of fluffy stuffing. I give this job to one of my kids. They love to stuff the pillows. The pillow will turn out like a limp noodle or a stuffed pig, depending on the child. LOL
Trick or Treat Bags
You will need:
1/2 yard or so, of Halloween fabric
Webbing for handles (you can use grosgrain ribbon if you have that)
Sewing machine and notions

Sew the sides and bottom together.
These are quick and painless and I did not line these. They only hold candy for one night so, they don't really need a lining. If you're unsure about the weight of candy from trick or treating, we're reinforcing the seams. You're going to use a french seam finish. Let's get started.
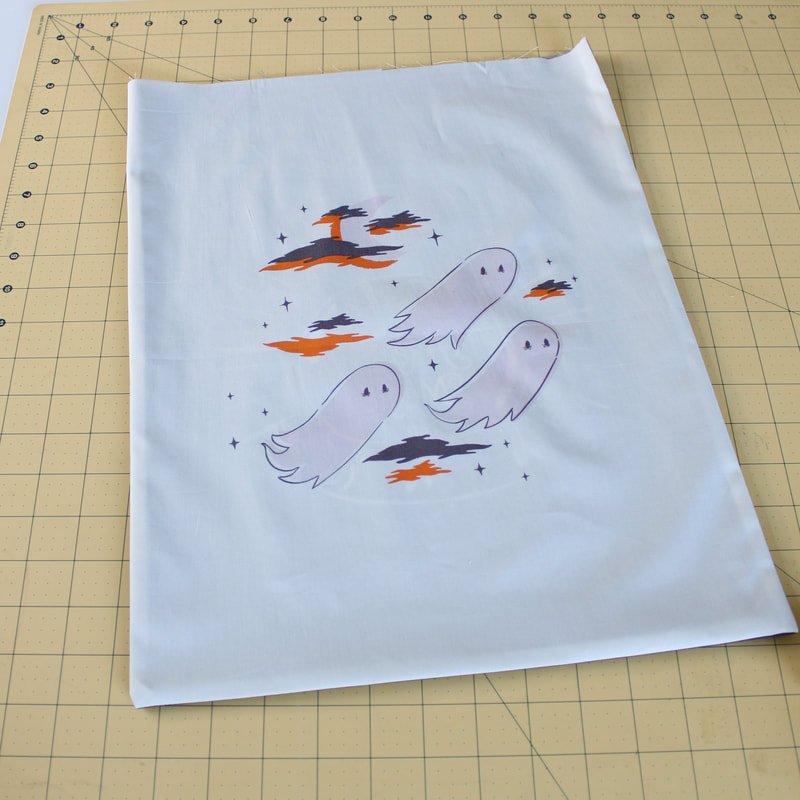
Cut out a rectangle the size you want. Make sure you add a 1/2" seam allowance in your measurements.
My pieces were 14" wide by 17.5" tall. A perfect size for a trick-or-treat bag. Long gone are the days of the pillowcases.
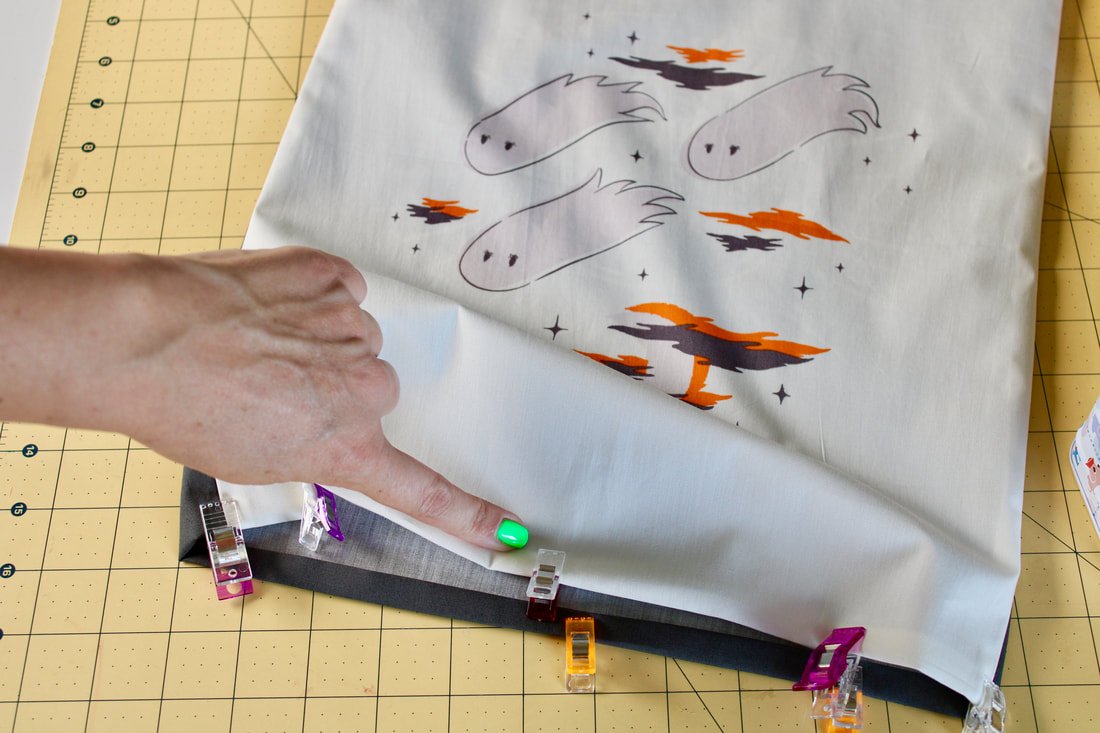
Lay your two bag pieces WST (wrong sides together), I'm not crazy, stay with me. You're going to sew a French seam. It's easy, I promise.
Pin or clip the two sides and bottom edge. Sew with a 1/4" seam allowance, backstitching at the start of one side and finishing up all the way around to the next side.
Turn it inside out (your bag should be inside out). Trim the seam allowances as close to the seam line as you can. Press the seams flat. It's very important to trim the seams allowances, otherwise, you could end up with the raw edges poking out.
Stitch 1/4" seam around the sides and bottom, backstitching at the beginning and end. The raw edges should be fully enclosed now. Press flat.

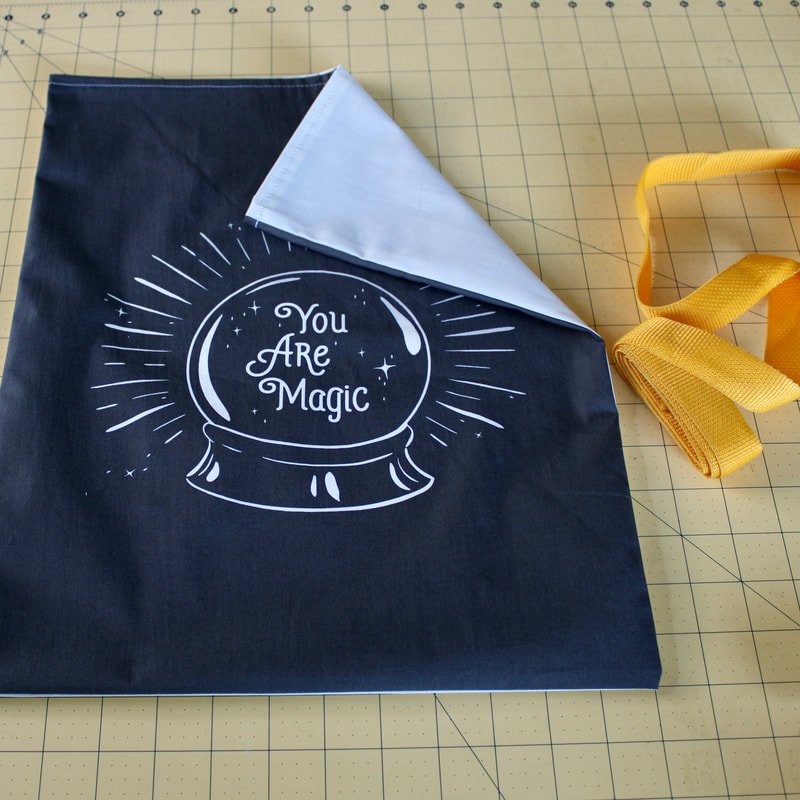
Turn under, and under again for the top of the bag opening.
Take the top edge and fold under 1/4", then under 1/4" again. Topstitch around the whole top. I like to use a 3.0-3.5mm stitch length for this. Press flat.
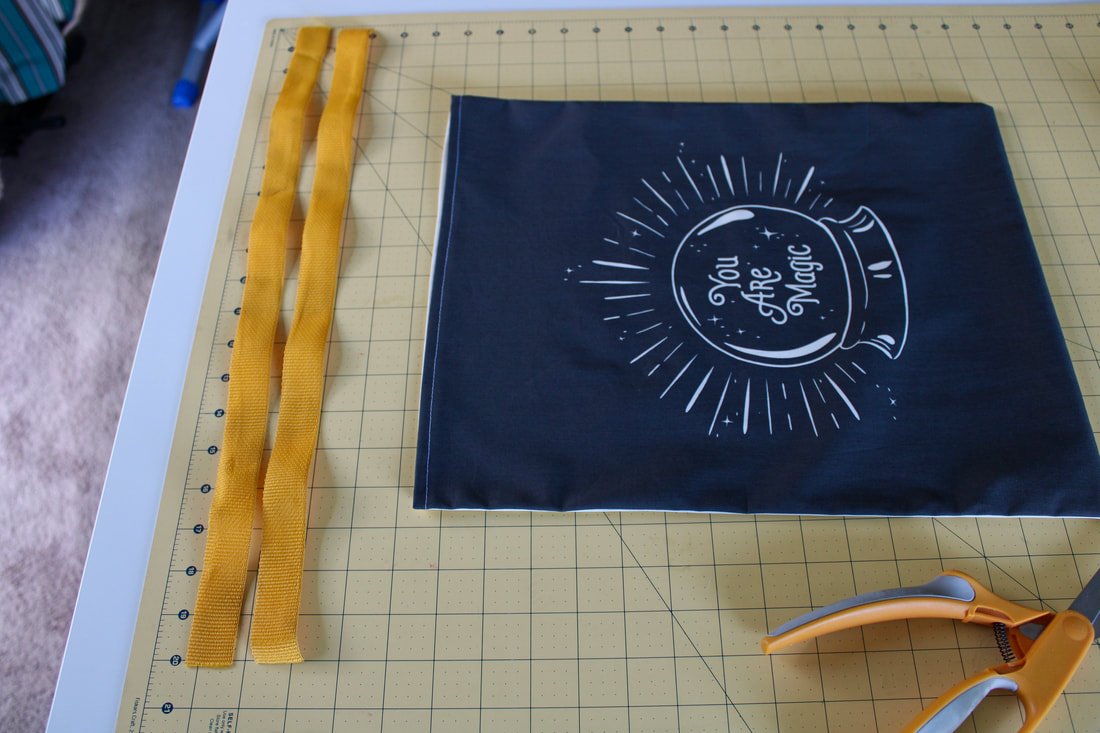
Now for the bag handles.
Measure on your child how long or short you want them. Does your child want shoulder length or handle length only? I cut my handles 20.5" long.
Position the straps about 1.5-2.5 inches in from side seams and pin. Sew a box and X to secure the handle to the bag.
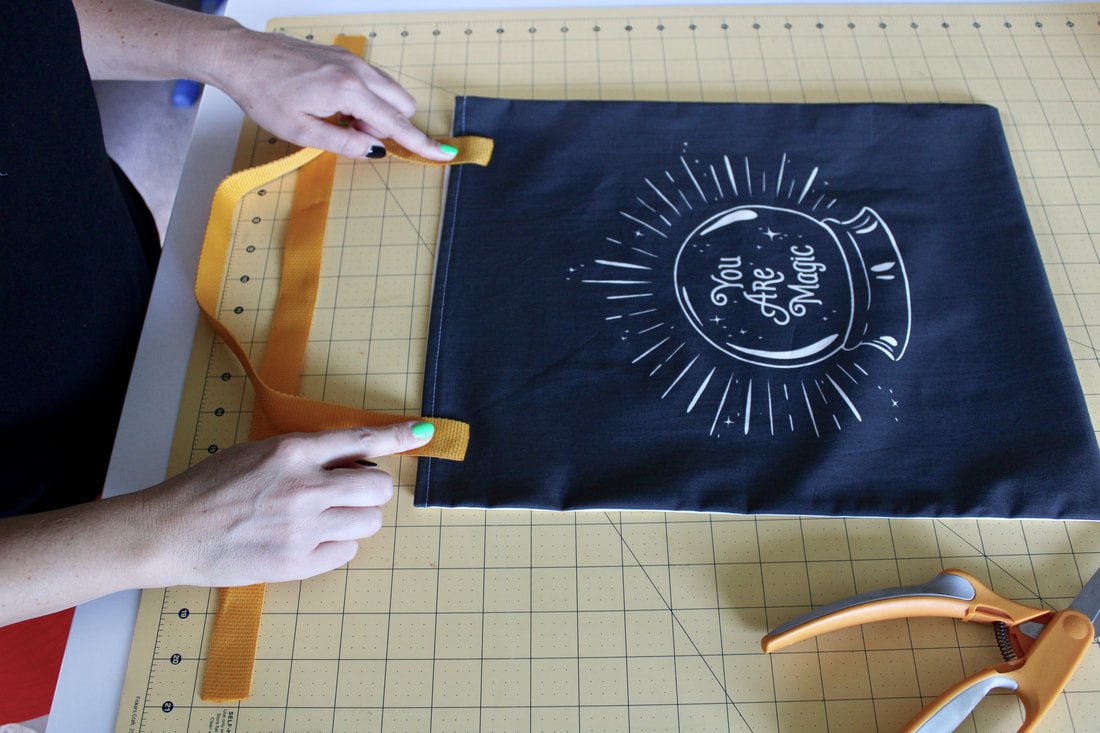
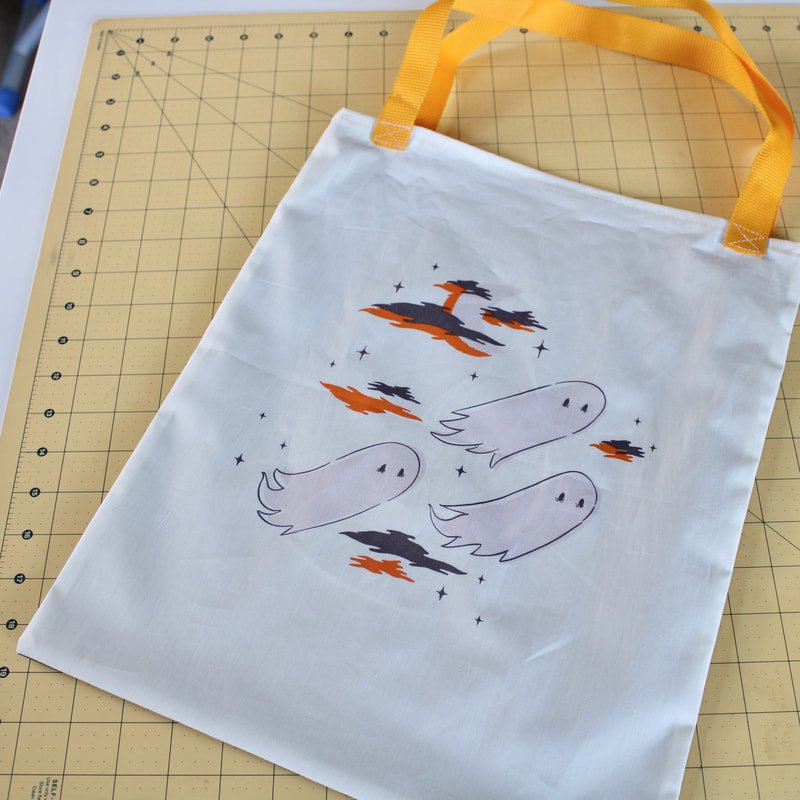
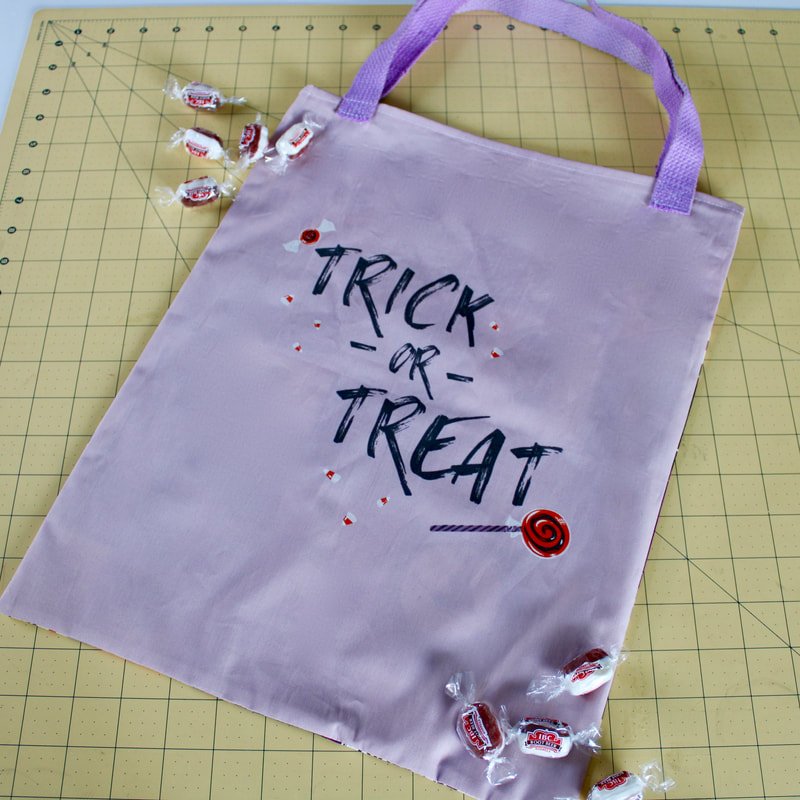
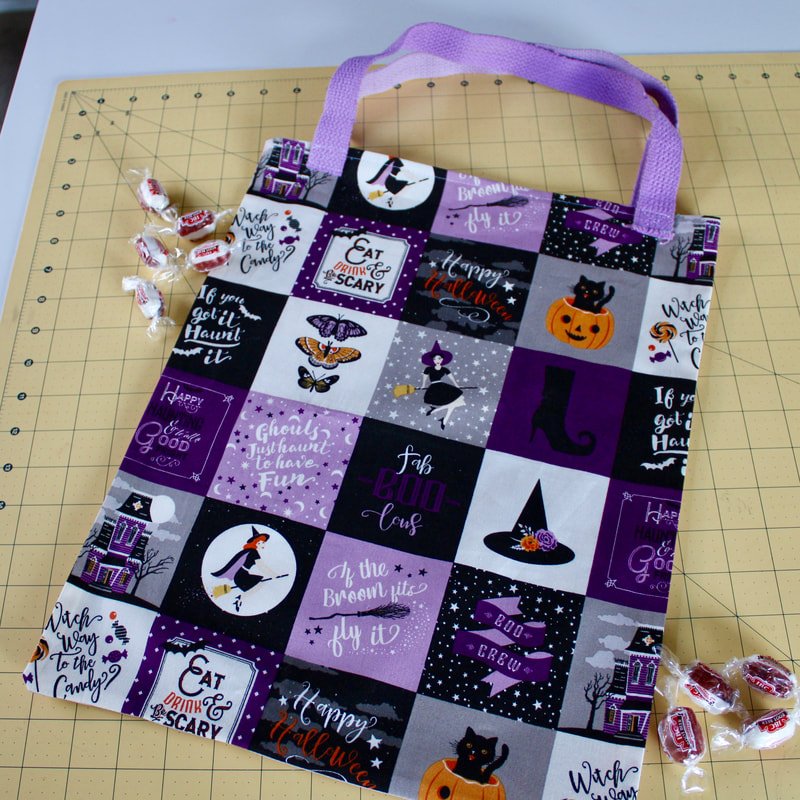
Now you have a sturdy bag to head out and fill with candy with!
If you have smaller pieces of Halloween fabric you could make a crossbody bag or self-tie headband. Or, even a fun little purse. And, if you want a wardrobe piece and have two yards of fabric to use up, check out my skirt post. I have 5 Halloween skirts in my arsenal now. Yikes!!
Halloween looks a little different this year. But, keep the spark alive by finding new ways to celebrate. We're going to do trick-or-treating with an Easter twist. Buckets of candy will be hidden around our property and have a glow stick inside. My kids will have to hunt for their candy this year. My older kids plan on dressing up to scare us as we walk our property. We'll have our usual chili and cornbread dinner and watch a Halloween movie outside unless the weather doesn't participate.
What are your Halloween sewing plans? Please share in the comments below. We all could use some new ideas.
Happy Halloween, sewing friends!
XO,
Annette