
Pattern Reviews, Sewing Hacks, Tips & Free Patterns
The Sewing Blog

Sewing A Barbie Dress
Hi Barbie! Sew your own Barbie dress with Gertie’s new Barbara Bodice pattern from her patreon. It’s an updated B6453 version. Pink and white gingham fabric and this pattern created a replica of the barbie dress from the movie.
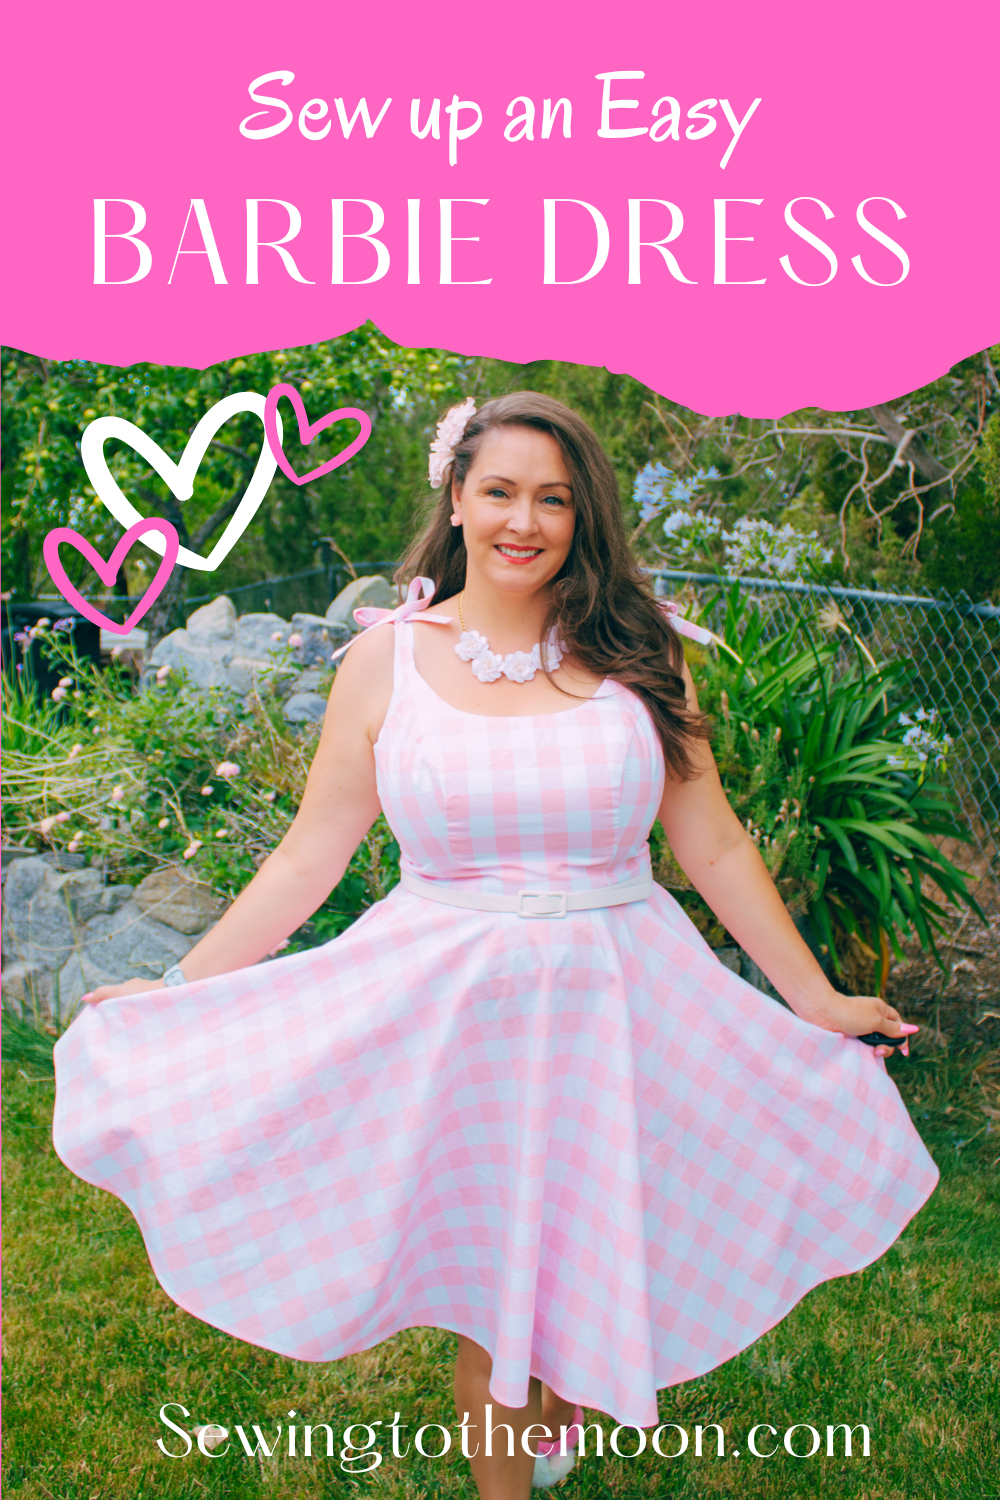
Hi Barbie! Have you noticed the pink phenomenon that is spreading all over the world? It's a whole Barbie craze! And, I'm here for it. Gimme aaallll the pink. Have you seen the movie? I saw it twice. I made a dress and had to share it with you. Yay for Barbie sewing!
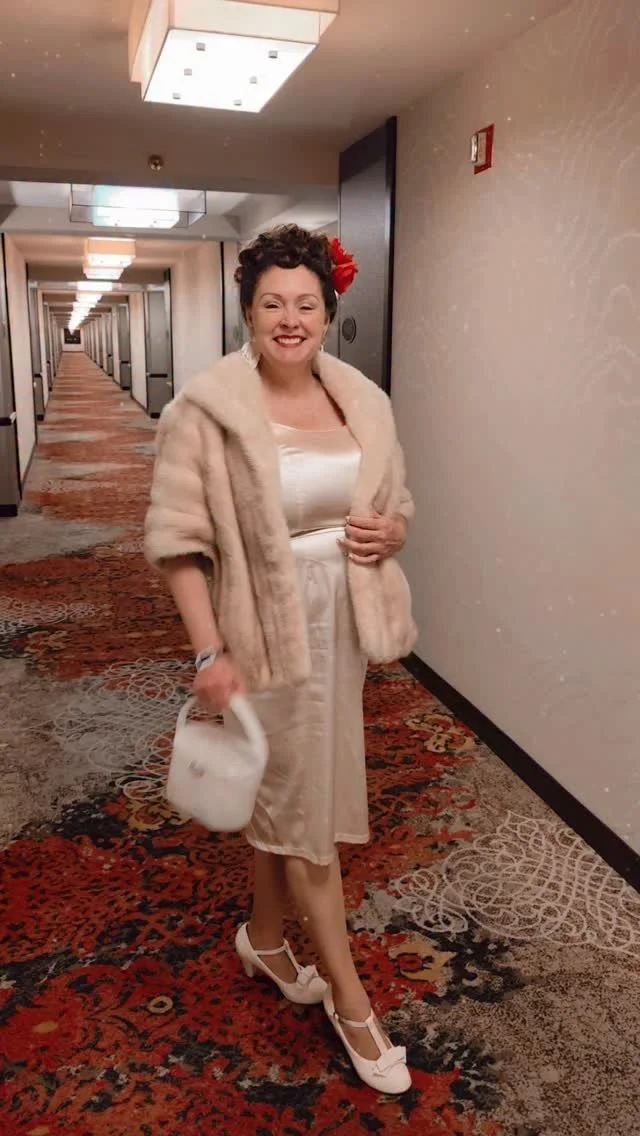
Barbie Dress. Check! Pink fuzzy slippers. Check!
I grabbed the Barbara Bodice pattern from Gertie's Patreon. If you aren't a member, run, don't walk, and join now! She gives so much over there, even at the base level. The Barbara bodice is the updated version of her original Butterick 6453.
This isn't a sew-along, but it's more of a show and tell. I want to show you the Barbie movie-inspired dress. If you've made a Barbie dress, shorts, PJs, or other inspirational item, tag me. I want to see what you made. I've seen a few goth Barbie outfits that are super fun too.
Let's dive in!

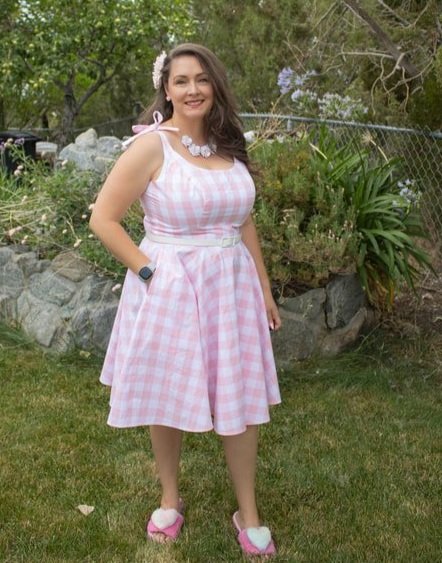
Feeling fabulous!
Barbara Bodice
My thoughts on the Barbara bodice might not be the popular opinion. But, I much prefer the Butterick 6453. I like how the back fits me. It has a simple dart. The Barbara has a 2-piece back pattern. It's fine enough, but seems to be extra.
Barbara has different cup sizes, which is awesome!! No more figuring out your FBA. For the busty gals, this is a huge plus! However, my bodice didn't fit, as flawlessly as the Butterick 6453. I had some extra armpit room, which is weird. I like the FBA I created for the Butterick pattern better. I plan on making another Barbara (I didn't make a mock-up for my Barbie dress) and I'll play with the pattern, fit, and sizing.
Gertie included 2 strap options with the Barbara Bodice. Self-tie straps that are thin, and wide gathered straps, for bra strap coverage. I opted to use the thin self-tie straps, and they covered my wide bra straps well enough.
The Barbara doesn't have any facings, it's fully lined, which I'm a huge fan of! I definitely love the pattern and am a huge fan. Both the Butterick 6453 and Barbara come together so easily and are fun to sew. It's the perfect last-minute dress pattern. But, I'm still on the fence if I'm over the moon happy with the Barbara.
Have you sewn it? If so, have you compared the two patterns side by side? The general consensus I've seen across the interwebs is that the Barbara is wonderful. But, as I've gone down the pattern-making black hole, I've become more of a pattern snob kabob.

Thinner straps that you can tie into a bow. Easy and cute.

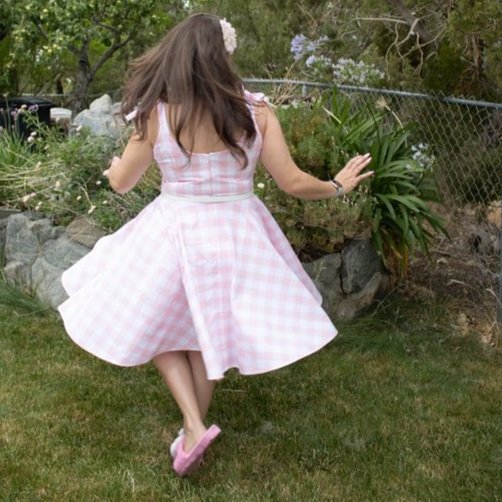
The new scoop back is pretty too.
Skirt Stuff
Gertie also created the Barbie movie skirt pattern to go with the bodice. It's a full box pleat skirt that uses aalll the fabric. When I ordered my fabric, I ordered 4 yards. However, the skirt alone uses over 4 yards. So, I went with plan B.
I opted to draft my own circle skirt, and of course, I added roomy pockets. I actually prefer circle skirts over gathered ones anyway. I have a fuller tummy and appreciate less fabric in that area. Plus, circle skirts are just fun!
I've been learning pattern making as I mentioned above, and I'm taking it one step at a time. If you're interested, check out Tricia, she's the best teacher! And, her motto is "You don't need to be good at math for pattern making". Which I'm all about because mathing is hard. Haha :D

Self drafted circle skirt.
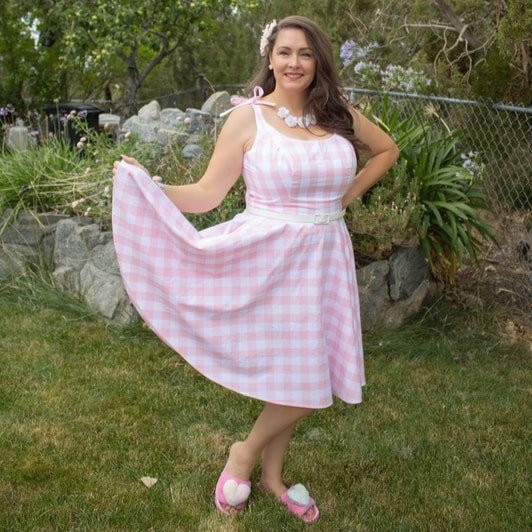
Welp, that's it. Do you love the dress? I sure do. I feel so girly in it and it'll be a February staple as well. I plan on wearing tights and a sweater, or a long sleeve underneath it.
Not a Barbie fan? You can sew a 1950s-style swimsuit instead. It's the Bombshell and it's flattering on everybody.
Have you ever been interested in making a quilt? Read my blog post and you can sew one up in about a week.
Thanks for hanging out today. Happy sewing of all things pink!
XOXO,
Annette

New Look 6446: Sewing Fail
New Look 6446 sewing pattern. This was a sewing fail because I chose the wrong fabric. Sewing is a journey and sewists are constantly learning. After 20+ years of sewing, I still make mistakes.

Sewing is a journey. Whether you've been sewing for a few months or decades. As sewists, we are constantly learning. We have ups and downs. Recently I took a jump and disregarded a golden sewing rule. Yep, I had a sewing fail. I've been sewing for over 20 years and you would think with that many years under my belt, I'd be a super pro. Nope, not the case.
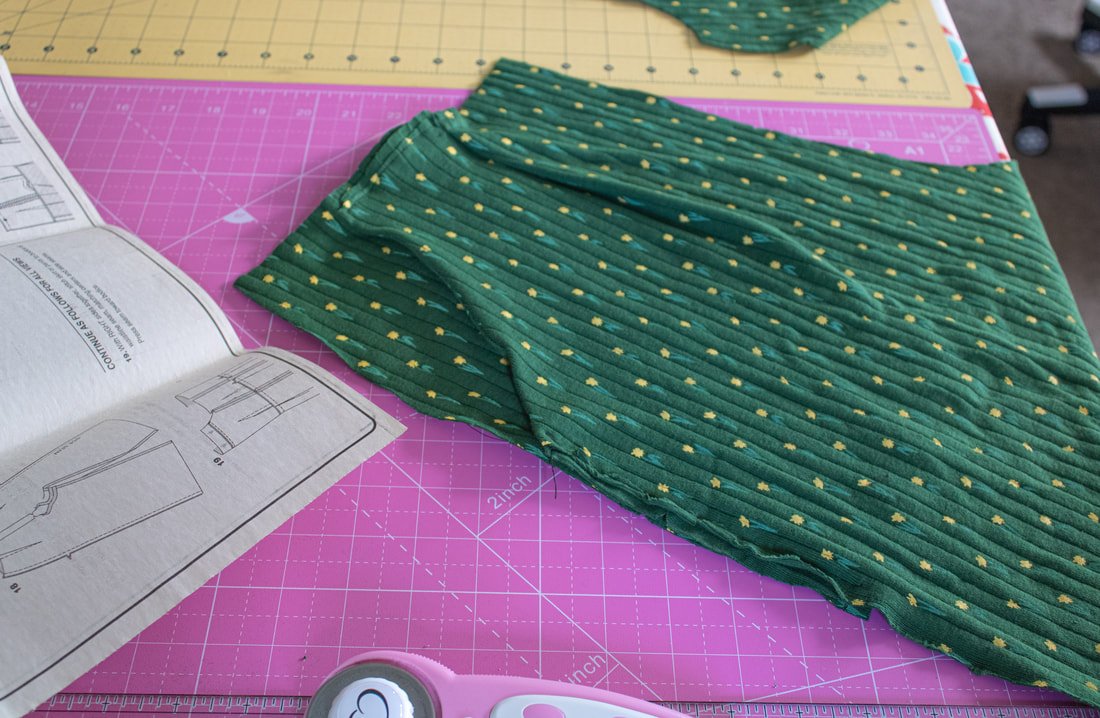
I started with a pattern I've made before. The fit is good but, I went rogue! I used knit fabric for a woven pattern. And the outcome was, well, all kinds of wrong. Here's why you stick with the fabric that the pattern recommends.
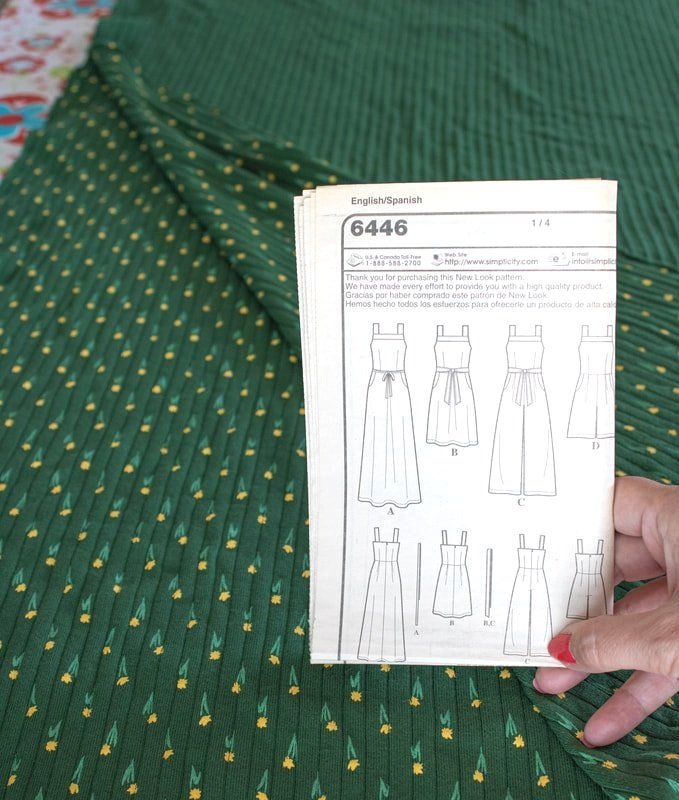
Choose your fabric wisely. When you pick a sewing pattern, the envelope gives you lots of important information. Do not ignore it. Read the fabric recommendations and stick with them, for the most part. I made my first New Look 6446 pattern back in 2020 with a stretch cotton sateen. It turned out beautifully. I wear it all the time and love the fit. I wanted to make another one and figured since the last one turned out, I could use knit fabric for a second one. It would be the ultimate cozy secret pajamas. I was wrong!

I followed the directions to the T. I even followed the layout instructions after I had made a mental note of my directional fabric. The back legs ended up getting cut upside down. Womp womp. Nevertheless, I carried on.
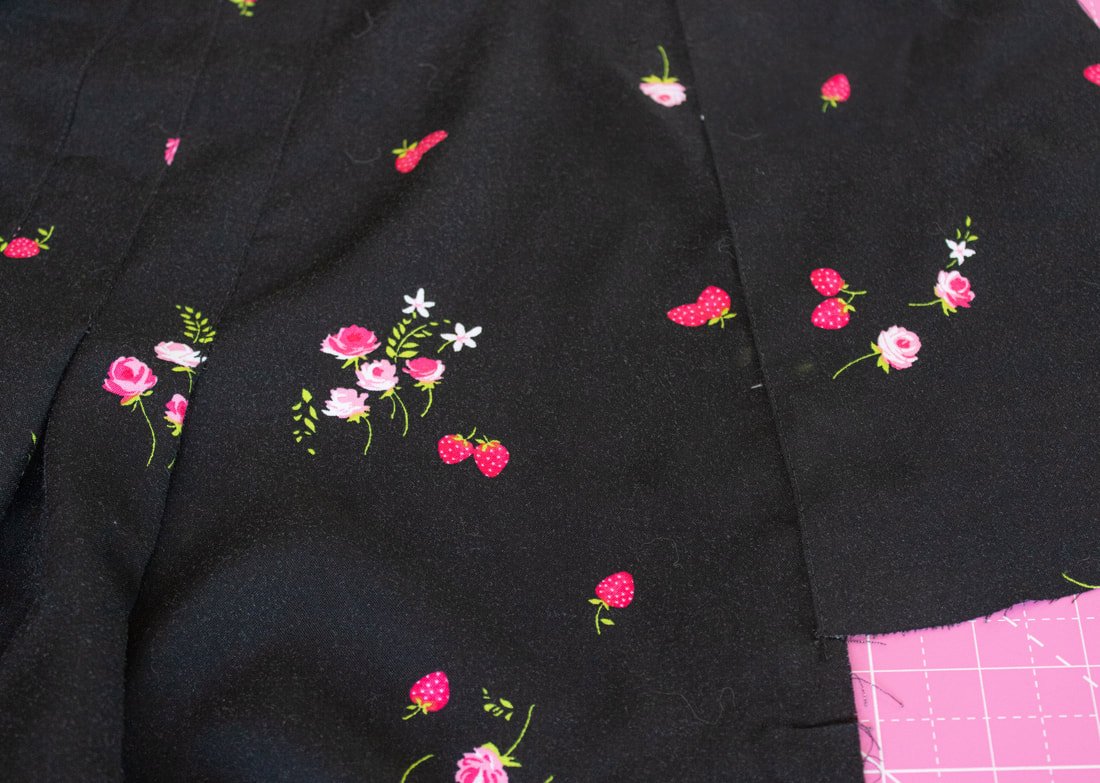
Sewed the darts on the front and back bodice pieces.
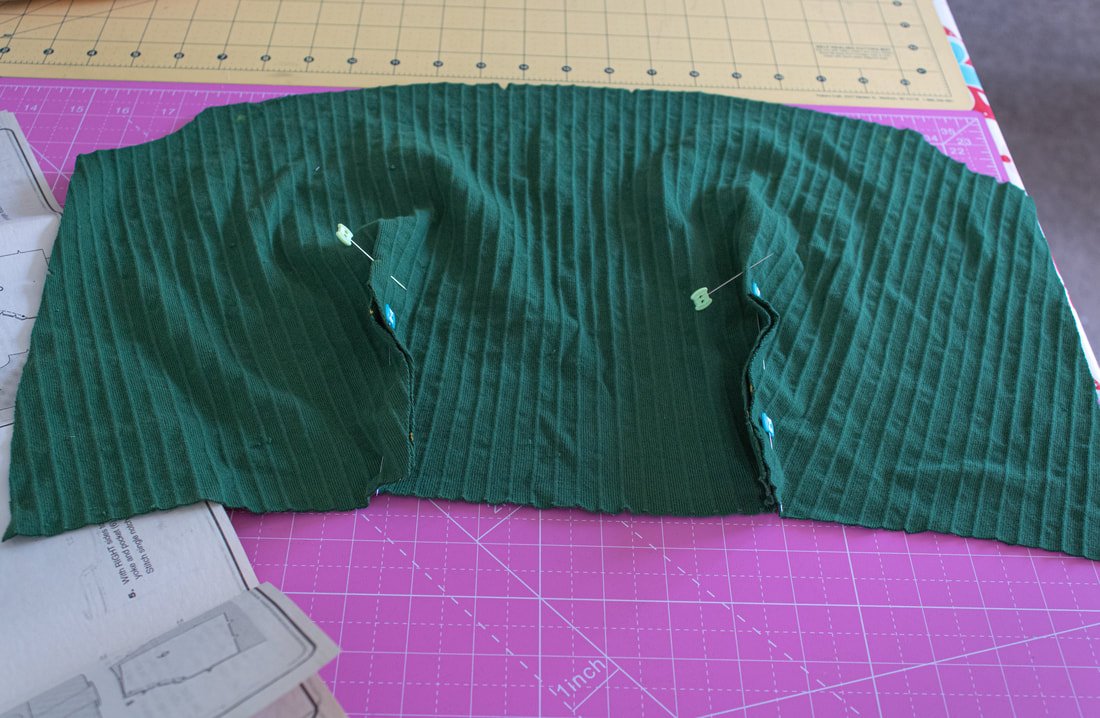
Added the interfacing to the top piece. At this point, I started to realize I had chosen the wrong fabric. the knit didn't like being sewn in this direction. But, I kept going.
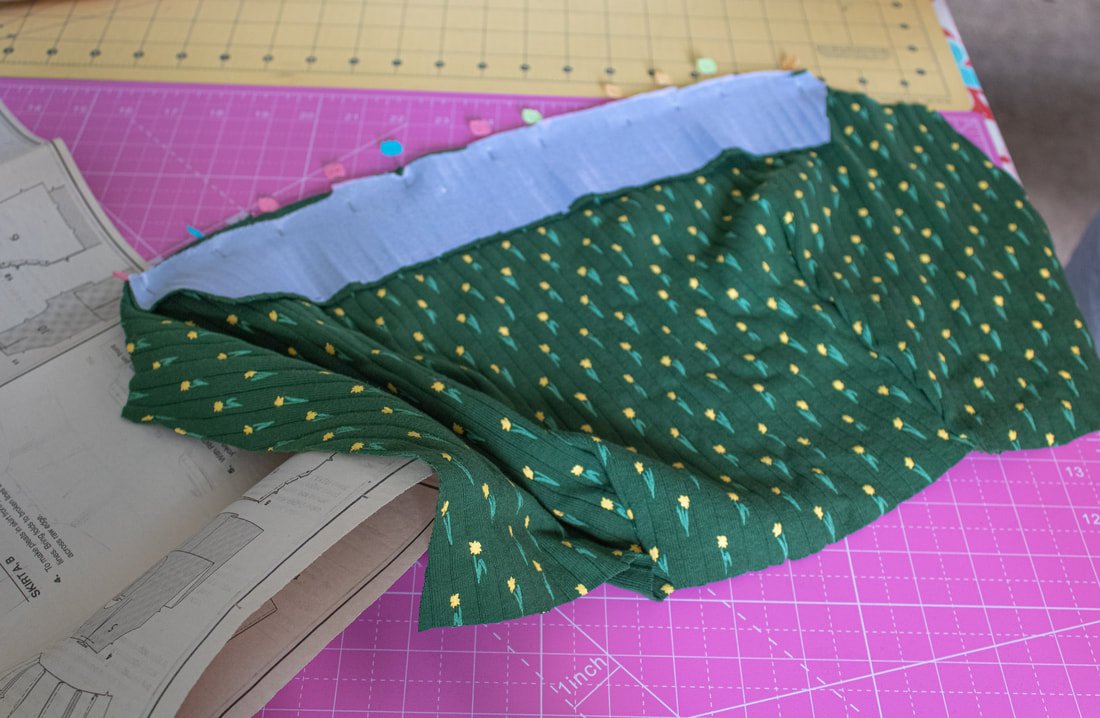
The pocket bags sewed up nicely. This pattern has such nice roomy pockets. I love it!

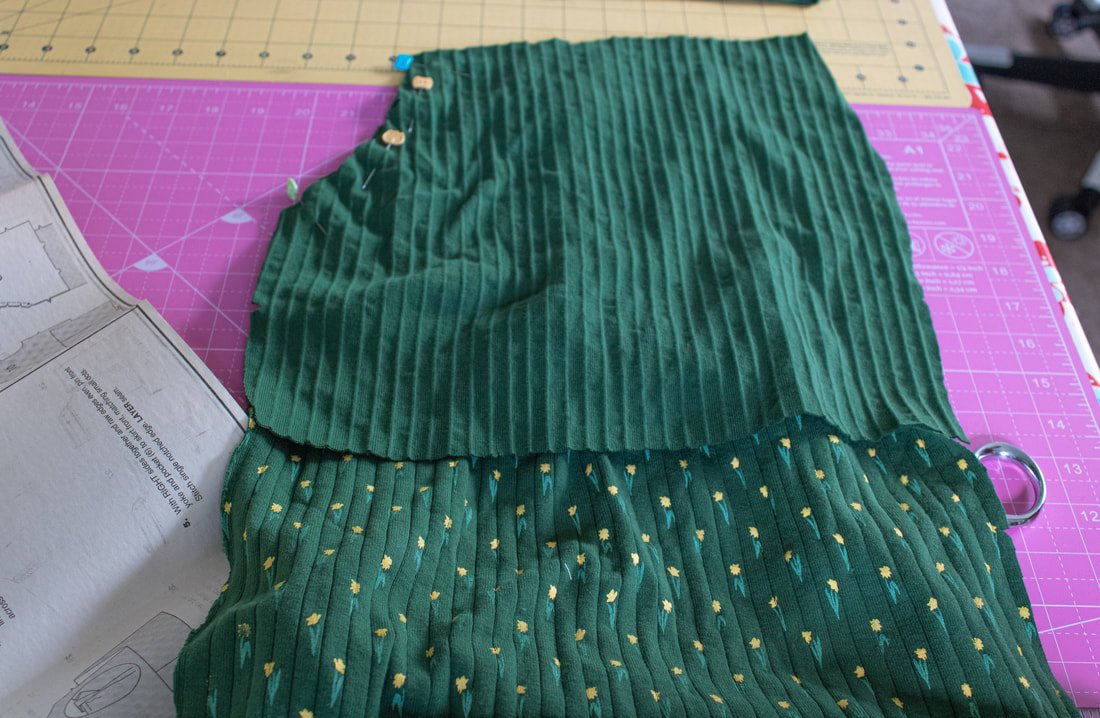
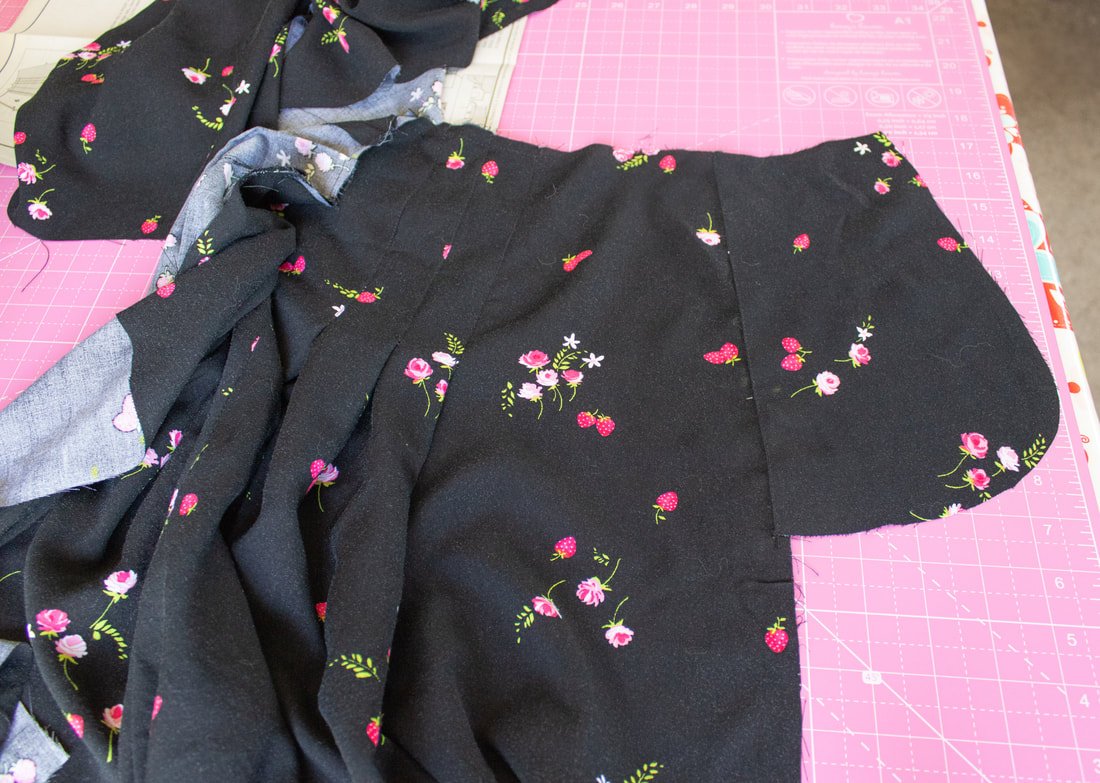
Legs are sewn together.
Pant legs went together easily. I realized I sewed them with upside-down fabric afterward. So far, the only wonky part is the bodice.

Sewed up the crotch seam. I was getting excited because it was coming together nicely.

Pinned the bodice piece to the legs at the waist and sewed. I did notice a little stretching at this seam but thought it was no biggy. Secret pajamas remember!? This is going to be so cozy!

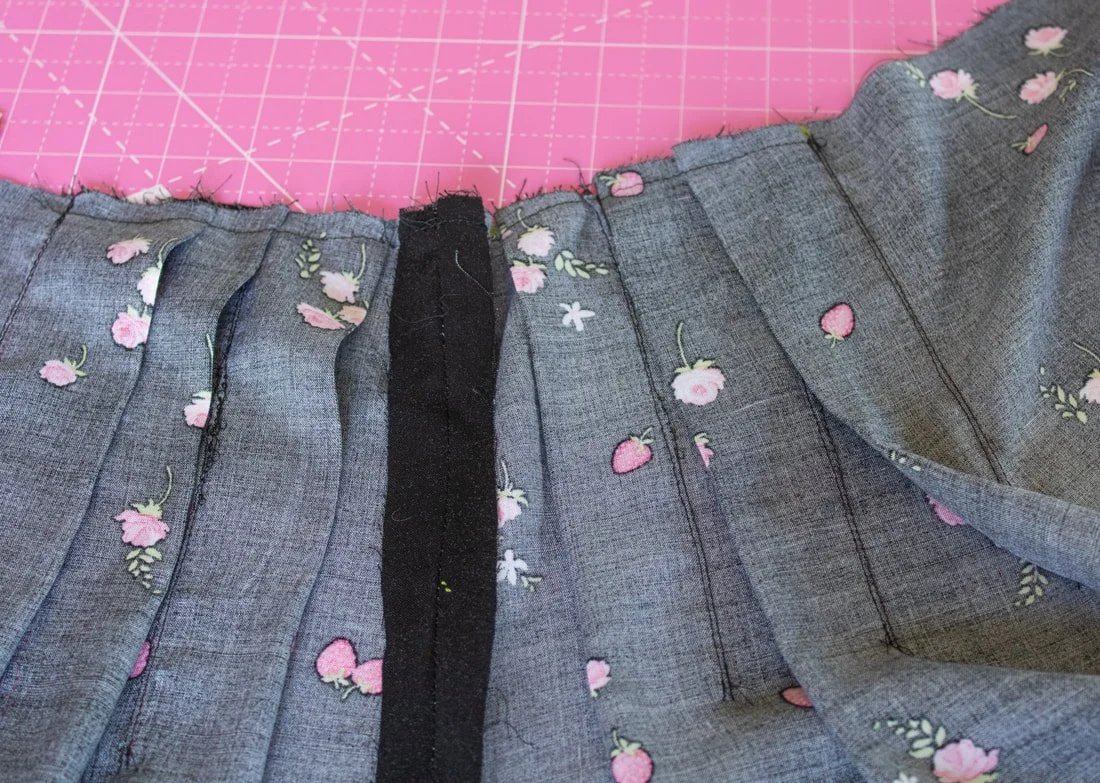
Next up was the invisible zipper. I love sewing these. It feels so wrong the way they go in, but it looks so right after they're in. I buy mine in bulk, so it was either black or white. I chose black, but wish I used a white one. Ah well.

I didn't take photos of the lining, but it's the same as the bodice. It was all stretched out. I attached the shoulder straps and hemmed the legs.
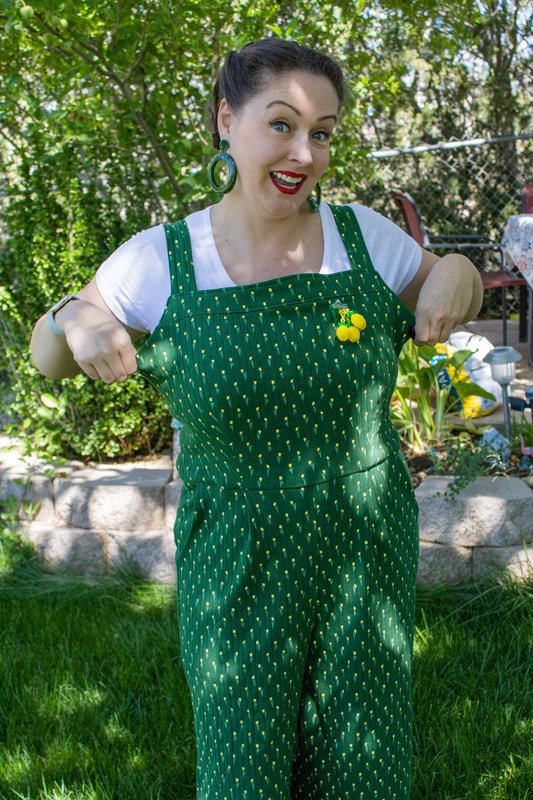
I tried it on and it fit. It fits with tons of extra room! Not good. It's not a baggy-style jumpsuit. It's supposed to be more form fitting. Ack!!
Where I Went Wrong
I chose knit fabric for a woven pattern. Not smart. The amount of ease and sewing pieces were created for a nonstretch fabric. When I made my first one, the fabric had a slight stretch but, wasn't knit. Lesson learned.
I laid my fabric out with the direction in mind, but then left my brain in the kitchen and placed the pattern upside down. So, my back pant legs are upside down. Face-palm, lesson learned.
The rippled top piece was interfaced with stretch interfacing. Not sure if this was a good or bad move. I think it was a bad move perhaps? I also think I should have made the lining with a woven fabric. It would have acted as a stabilizer to keep the knit fabric from stretching out.
Fixables
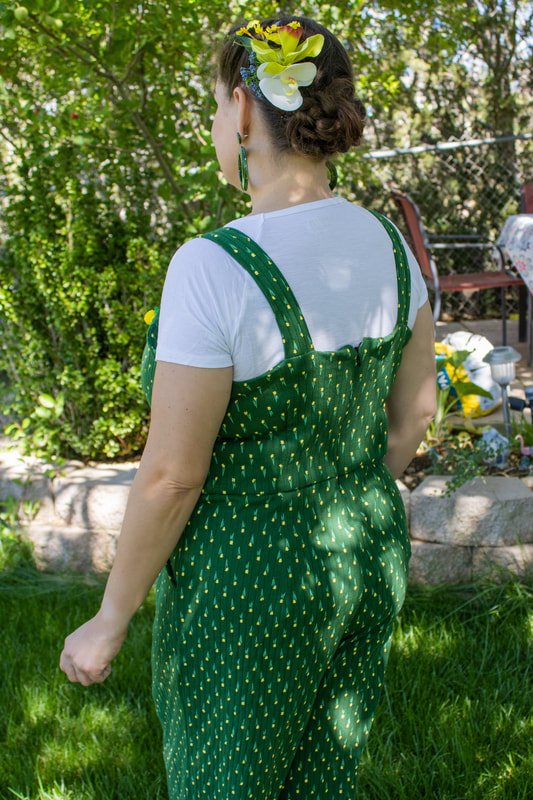
Armhole sagging, gapping, bagging. I will unpick the waist seam and take a "dart" out of each side seam. This will hopefully eliminate the baggy armholes.
I'll take in the waist seam a bit too, it's on the too big side.
A Positive Side
I learned my lesson on fabric choice. I thought I'd be able to get away with using a different fabric, but learned that I, in fact, cannot. I'm glad it was a silly mistake that I can fix. I still love the jumpsuit and plan on wearing it for three seasons. It's super comfortable and looks cute. The upside-down fabric on the backside doesn't bother me as much. The print is small enough that nobody will even notice.
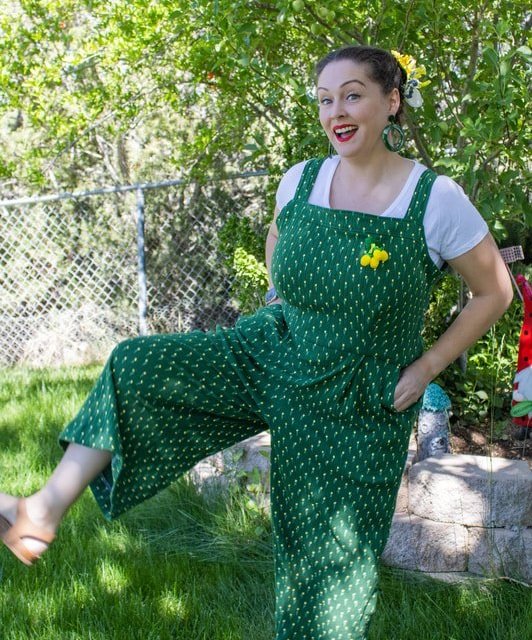
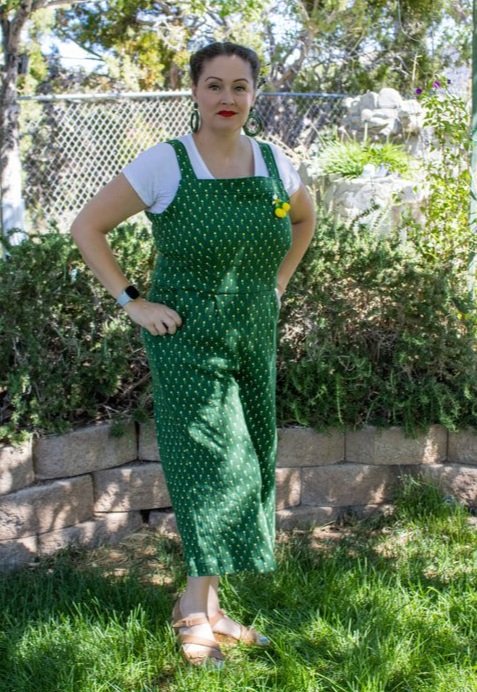

It’s a wonky green thing, but I wear it often. It’s another secret pajama outfit!
What's your most recent sewing fail? Or sewing win!? Let's celebrate both today!! Comment below.
Happy sewing!
Annette


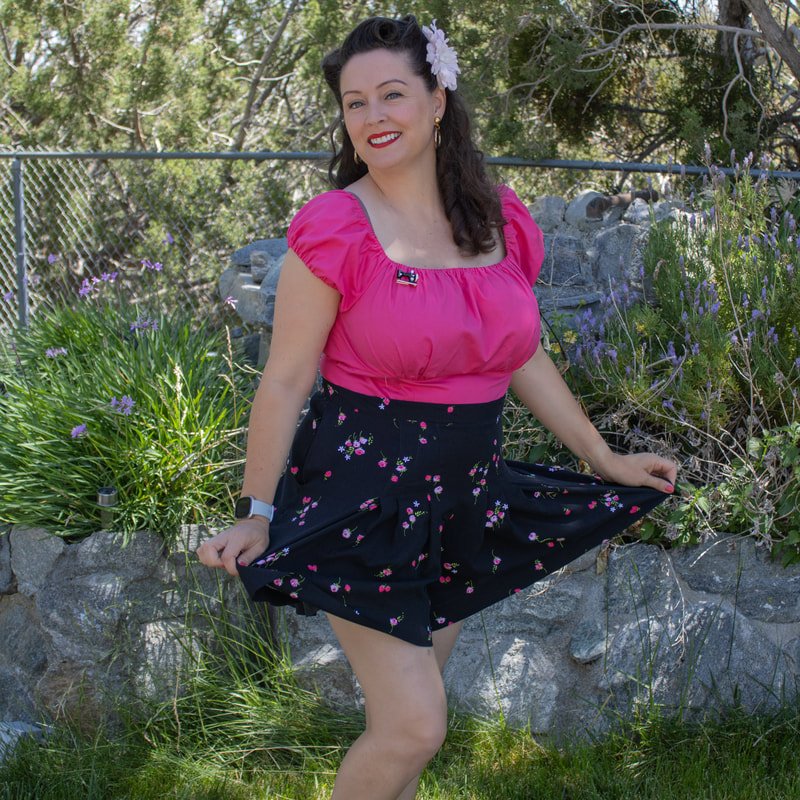
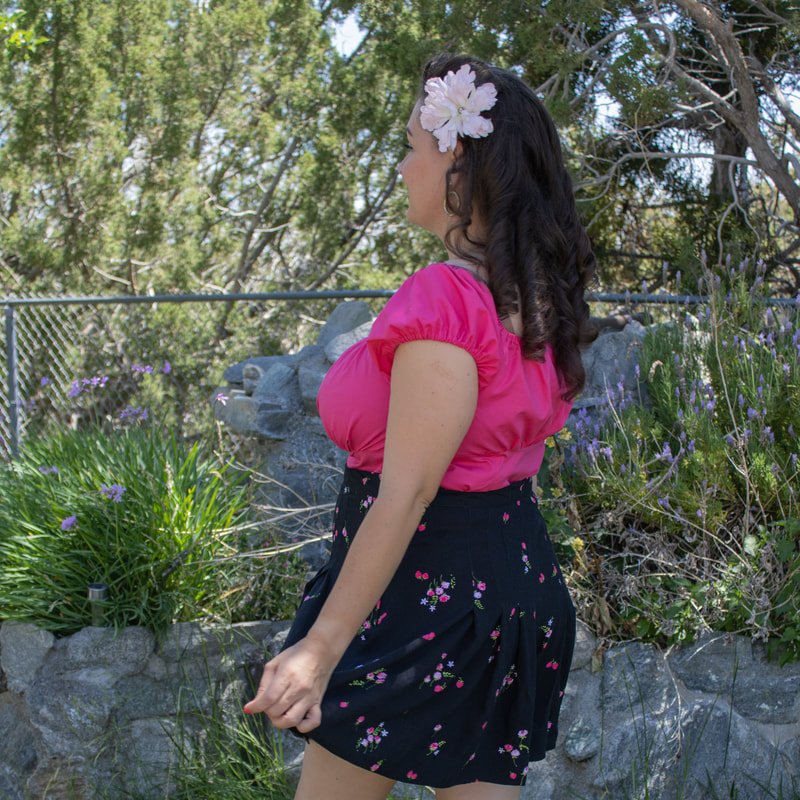
Simplicity 8654 Vintage-Style Shorts
Sew the cutest pair of vintage style shorts with Simplicity pattern 8654. It’s a great pattern with an authentic vintage feel and fit. Uses a lapped zipper, one button, and has a pocket.

Summer is here, and do you know what that means? It's time to tackle your warm-weather vintage sewing patterns. The weather has been cooler lately, but shorts are still a necessity. The Simplicity vintage-style pattern 8654 is a perfect summer sewing pattern. It has swooshy shorts, a cute top, and a fun skirt. I chose to sew the shorts. I have a pair of RTW shorts that are similar, but no longer fit. So, I decided to make my own. The shorts have minimal pattern pieces (4) and take about 2 yards of fabric, more or less depending on your size. Let's get started!

Cut + Trace
Find your size on the pattern. The style is very forgiving in the hips, so I went with my waist measurement only.
Cut the pattern or trace it onto paper. Transfer all your markings. This is especially important for the pleats.
Cut out the fabric pieces and interface your waistband.
Sew, sew, sew!
Match the front pieces together. Pin and sew along the curve.

Sew the inseam curve.
Fold the pleats, matching the marked lines, and sew. Do this with both of the front pieces. Then, repeat the same steps for the back pieces. The pattern instructions were fairly easy for these shorts. No issues to write home (or you) about.

Mark and sew your pleats. The marking is the most important part.

Topstitch the pleats in place.
Your pleats should look like the ones above. Topstitch after you sew them to keep them secure.
Flip over the shorts, and there will be two rows of stitching, like the photo below. So far, pretty easy, right?
After top stitching, you will have 2 rows of stitching. the inside will look like this.
Grab your two pocket pieces. Sew along the edges on a front piece and again on a back piece. This pattern only has one pocket because of the side zipper. If you're feeling brave, you could easily add a second side pocket and insert the zipper in the back seam instead.
Sewing is all about customization. :D
I didn't love how they had you sew the pocket. But, note to self, next time sew it up how I would regularly sew an inseam pocket.
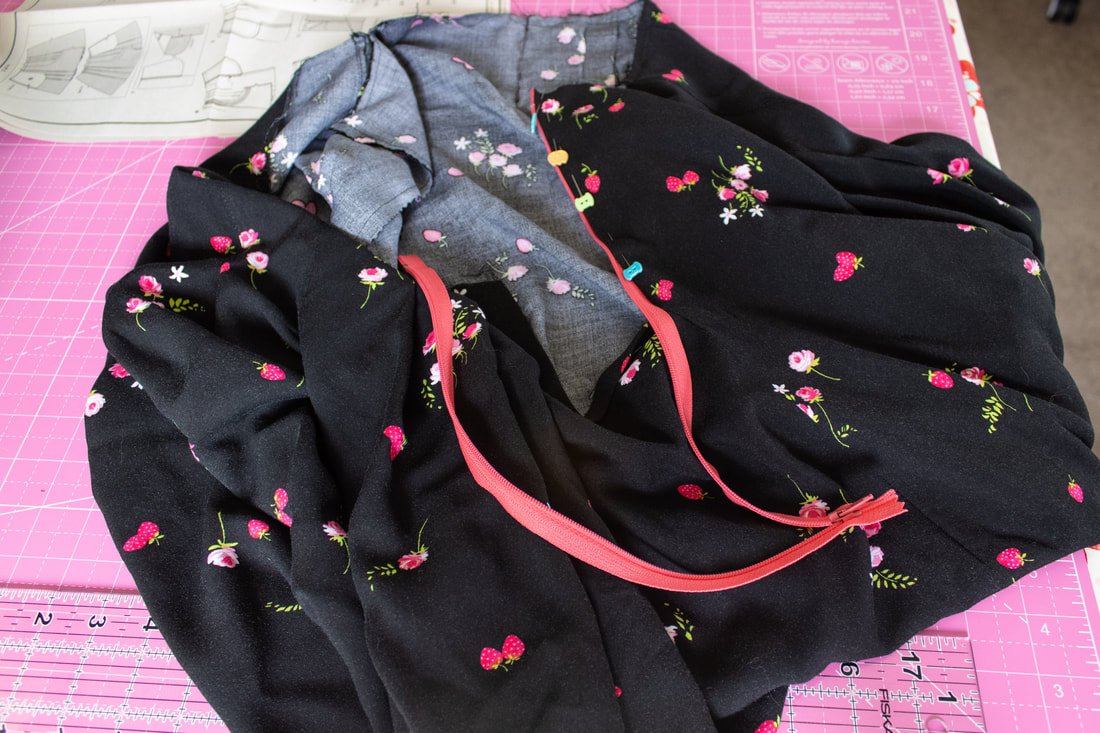
Zipper time! This pattern calls for a lapped zipper, which is a true vintage-style zipper. I am somewhat new to the lapped zipper, as I've only been sewing them for 2 or so years. I'm a huge fan! They take minimal effort and go in pretty easily, with a few tips and tricks.
I use a strip of 1" interfacing for all of my zippers. It helps stiffen up the fabric, and the zipper looks nicer after it is sewn in.
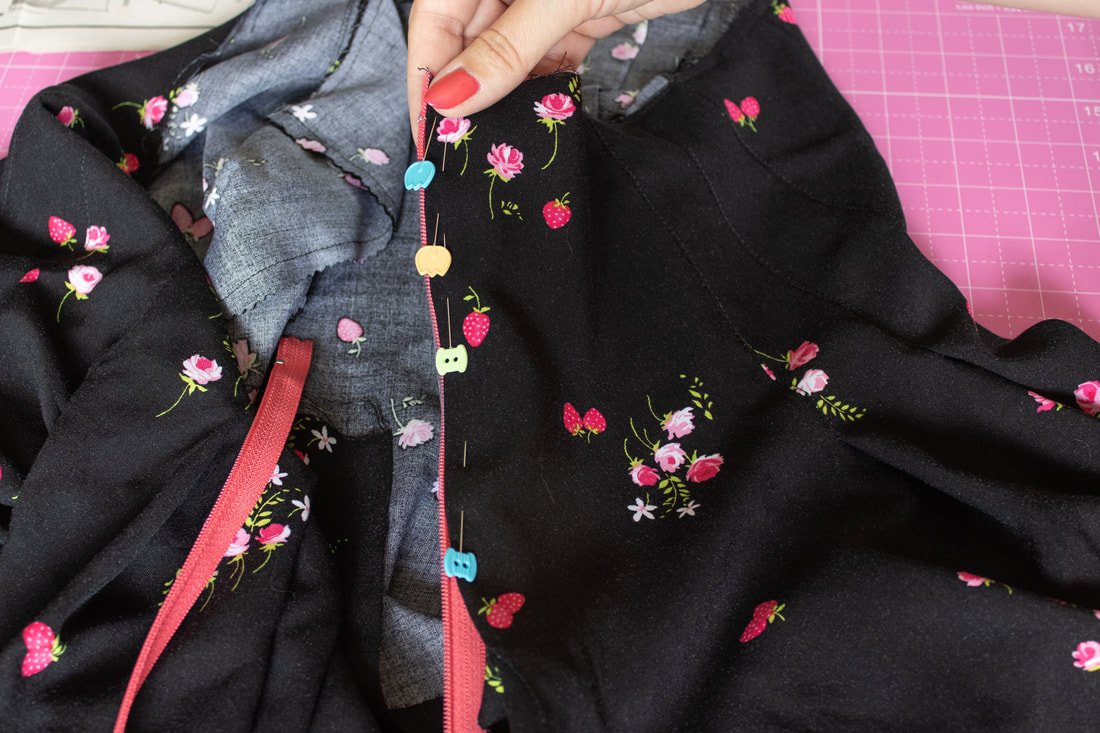
Press the right side under 1/2". Pin the fabric right next to the zipper teeth. Sew, using a zipper foot.
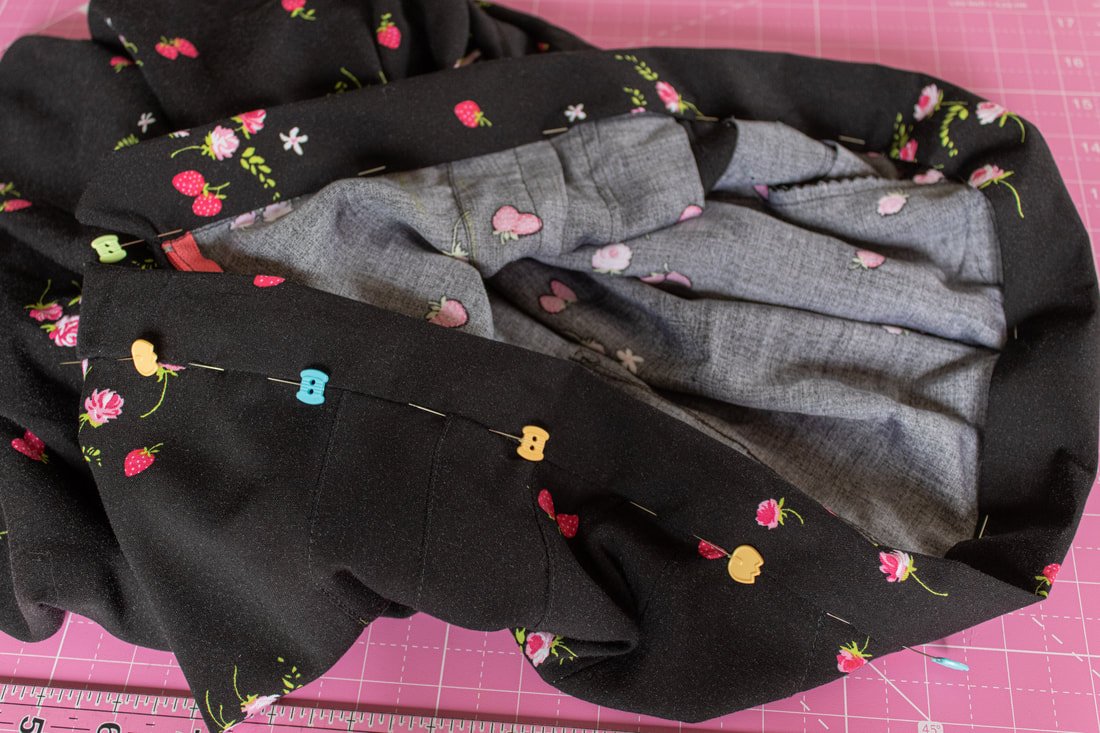
Then, press the left side under 5/8". I close the zipper and pin the fabric to the zipper tape. Be sure to barely cover the right side stitches. Unzip, then sew.

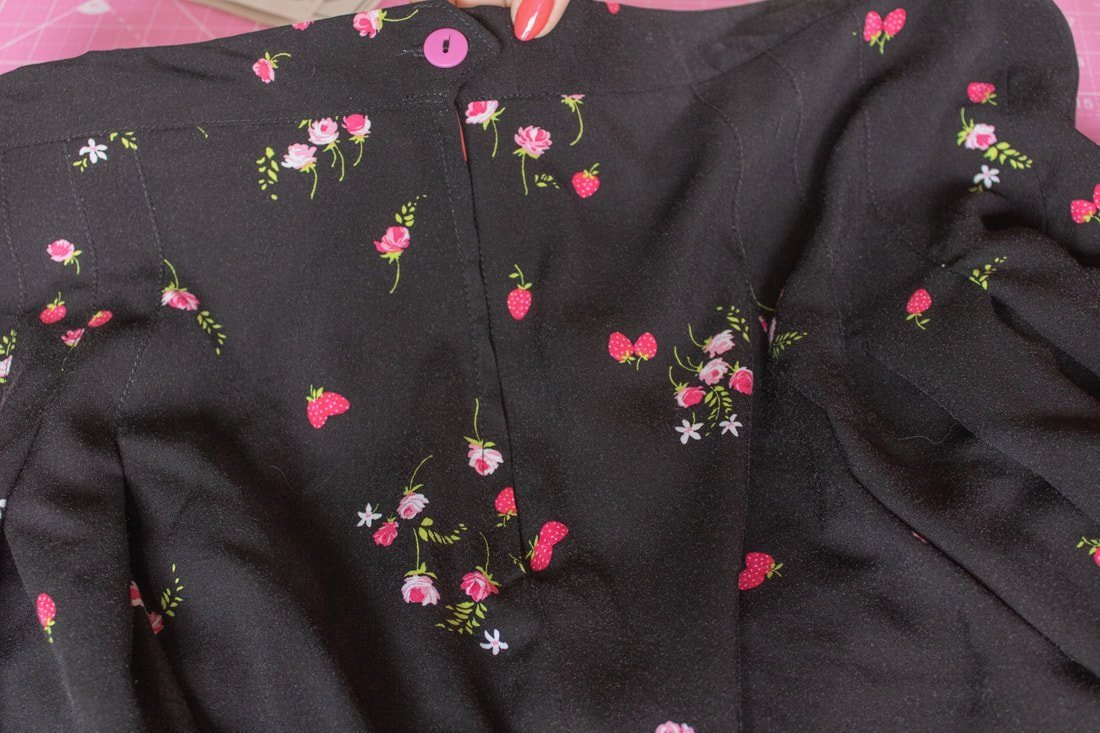
Topstitch the lapped zipper. These are so nice to sew and look nice too.
Time for some waistband action. I sewed a straight size 18 for the shorts and used the size 18 waistband pattern piece, but the waistband was too short. So, I added an extra piece of fabric to ensure the waist band was long enough. I've noticed with a lot of patterns that the waistband always falls short of the skirt, shorts, or pants. ?? Maybe I'm broken, but does this happen to you?
It was an easy fix, luckily. Just make a note of it when you make these shorts.
Pin and sew the waistband to the shorts, making sure to match notches and seams.

Had to add extra fabric to the waistband. Nobody will notice.
After sewing the waistband to the shorts, flip the raw edge over to enclose the raw edges of the shorts. The band will enclose them.
Pin from the outside, right along the seam line, catching the inner fold with the pins. This is my most favorite way of sewing a waistband. It goes quickly and has a clean finish.

Fold over edge, pin, then sew.
Time to hem your new shorts. You can turn the raw edge under 1/4" and then under again, as the pattern instructions say. Or, serge the raw edge, and turn under once, and sew. I prefer to do it this way most of the time. It is quick and easy, and is great for pants or shorts.

Hem the shorts. Turn under and under again. I serged the edge.
Add a label in the back of the shorts. The front looks very similar to the back, so this little addition helps when it's time to get dressed. If you don't have labels, add a fun piece of grosgrain ribbon.

Add a cute label.

Don't forget to add your buttonhole and button. I opted for a fun contrasting pink one. I love my colorful coral zipper too. It mostly matches. Ha!
End Thoughts
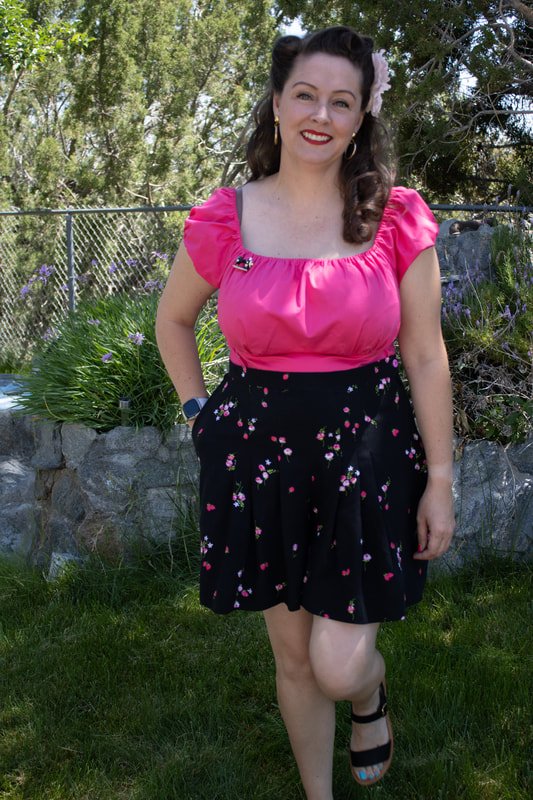
The shorts fit great! I went down a size in my waist because I know the big 4 patterns usually add a lot of ease. My waist is 33-34", and I sewed the size that had a 32" waist. They fit perfectly and have a little wiggle room. The fabric I used is a rayon challis. In my experience, rayon shrinks over time with the first few washings. If it shrinks, I'm good. If not, I'm good. Either way, I'm happy with the size I chose.
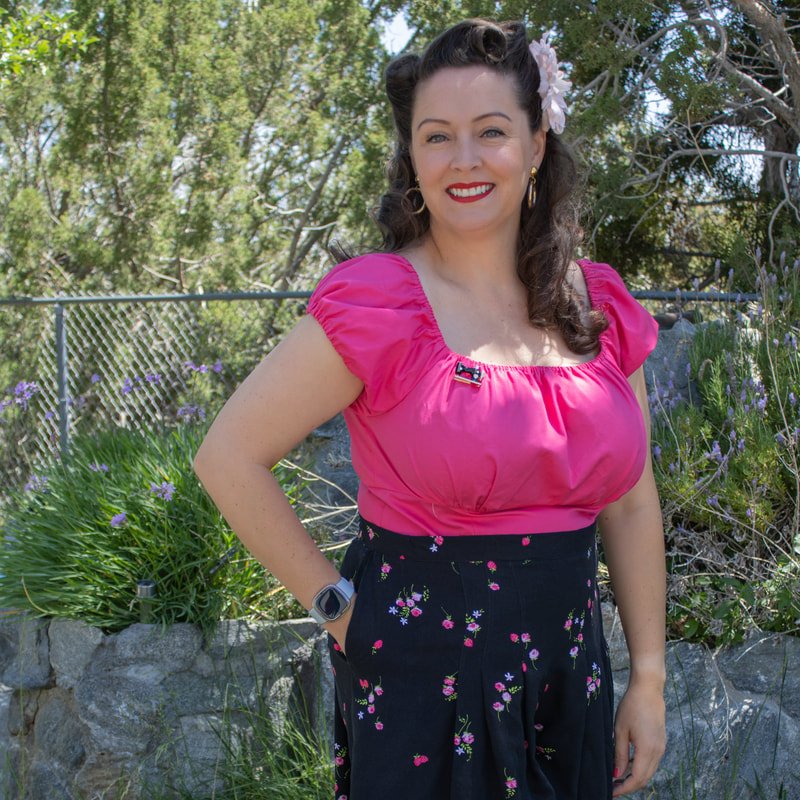
The fabric is a Gertie designed fabric she used to have at Joann stores. It's almost a decade old. I made my first Rita Blouse with it. The leftover fabric was from the yardage I bought all that time ago.
Funny enough, I did not have a top that matched my new shorts. Yes, I have black tops, but I wanted some color. I made a solid bright pink Rita to wear with them. I know, bizarre for me to sew solid fabrics. Because the shorts were so busy, I wanted some simplicity on top.
Next time I make these shorts, I'm going to play with the pleats. I think I'll fold the fabric differently to give them a different look. Maybe a large box pleat?
Thanks for following along. Now, go grab the pattern and get started on your summer sewing.
Are you excited to make these shorts? Have you made them before? Would you make them again?
Happy stitching,
Annette
