How to Sew an Ironing Board Cover

Recover Your Ironing Board in About an Hour
Spruce up your dingy ironing board, it's simple and quick. There's one thing almost every sewist says, "I only iron when I sew." That rings true for me 95% of the time. I'm not a big fan of wrinkles so, I do iron the occasional laundry basket of clothes. However, my ironing board lives in my sewing space. Unless we have people over, it hangs out in sewing land.
There's nothing fun about pressing open seams on a musty crusty ironing board, am I right? I've bought countless pads for my board over the years. They've worked fine enough until they flatten and get ugly. It was time to make my own cover.
After going down the rabbit hole that is Google, I discovered people using felt blankets on their boards or Insul-Bright. You're going to use both for your new cover! No more wimpy covers that leave board indents on your project or, dare I say, laundry.
Your new board will be thick and lofty, oh and it'll look cute too. Yay for pretty things. :D
Are you ready to re-cover your ironing board? Let's do this.

Supply List:
2 yards of pretty cotton fabric, you may end up with some leftover
2 1/2 yards of elastic, 1/2" wide at least
1 wool blanket (buy it new, thrifted, from a military surplus store, or an old one in the closet)
2 yards Insul-Bright
Thread
Sewing Machine
Pins or clips
Iron and ironing board, of course
Ironing boards come in all shapes and sizes. 2 yards for the fabrics should be more than enough. Measure your board length to be sure, don't forget you'll need extra for the seam allowances.
This whole project takes about an hour. You'll be pressing those seams open on a pretty new cover in no time.

Let’s Get Started
Start by removing your old cover and after you've washed it, stuff it inside this floor pillow. ;)
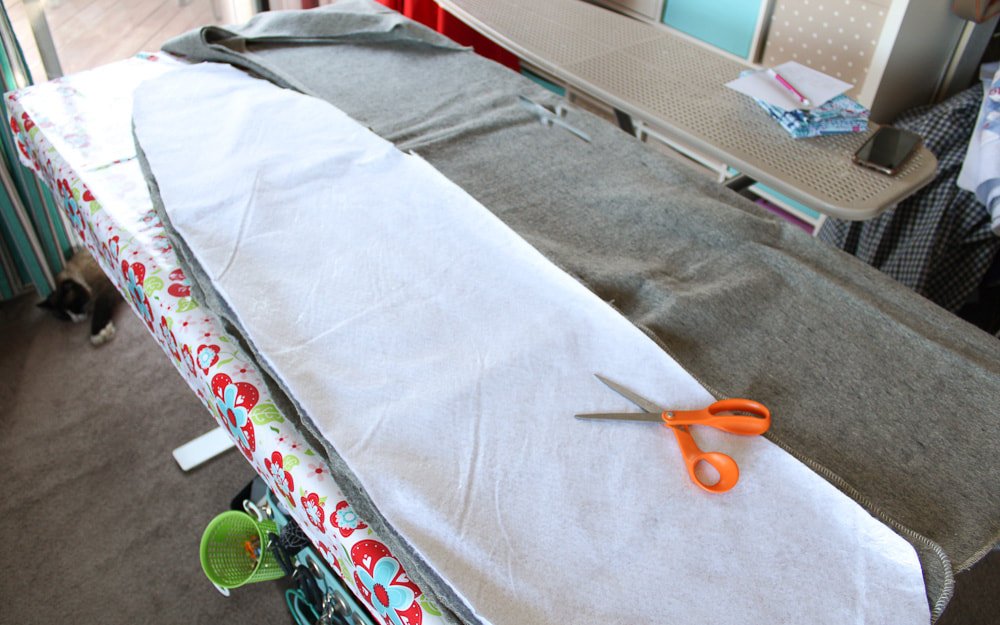
Use the thin foam piece as a cutting guide for the wool and Insul-Bright layers. If you don't have one, just eyeball it. This is an easy project, and it's all about winging it here.
Cut 2 layers from your wool blanket
Cut 1 layer of Insul-Bright batting
I cut the wool and Insul-Bright pieces one inch larger around. Set aside.
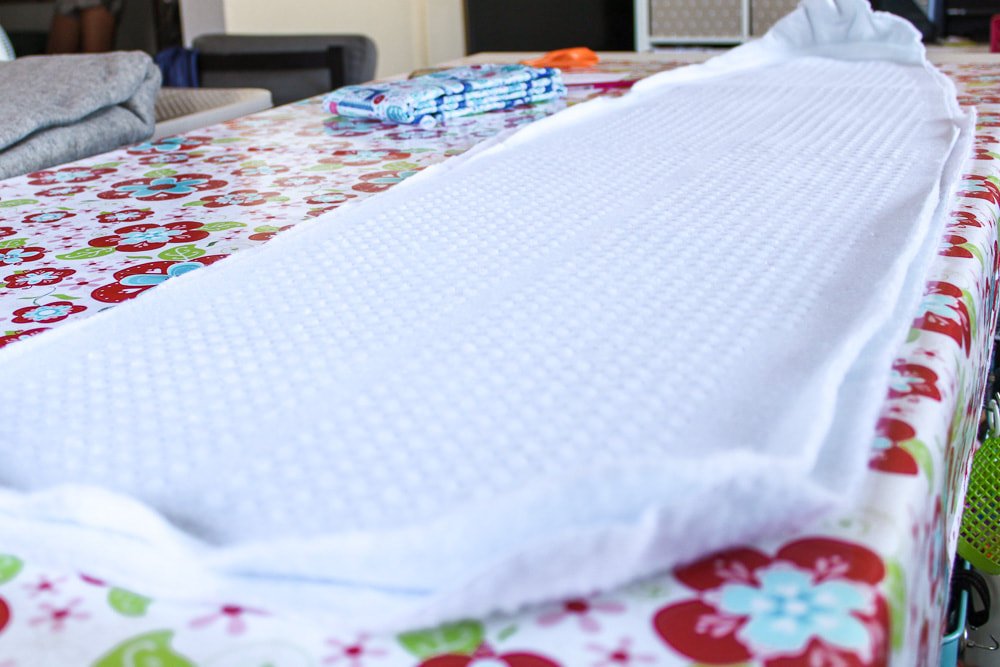
Place the 2 wool layers onto the board, then the Insul-Bright layer on top. Iron over the layers to smooth them out. Look at those wrinkles. Yikes!

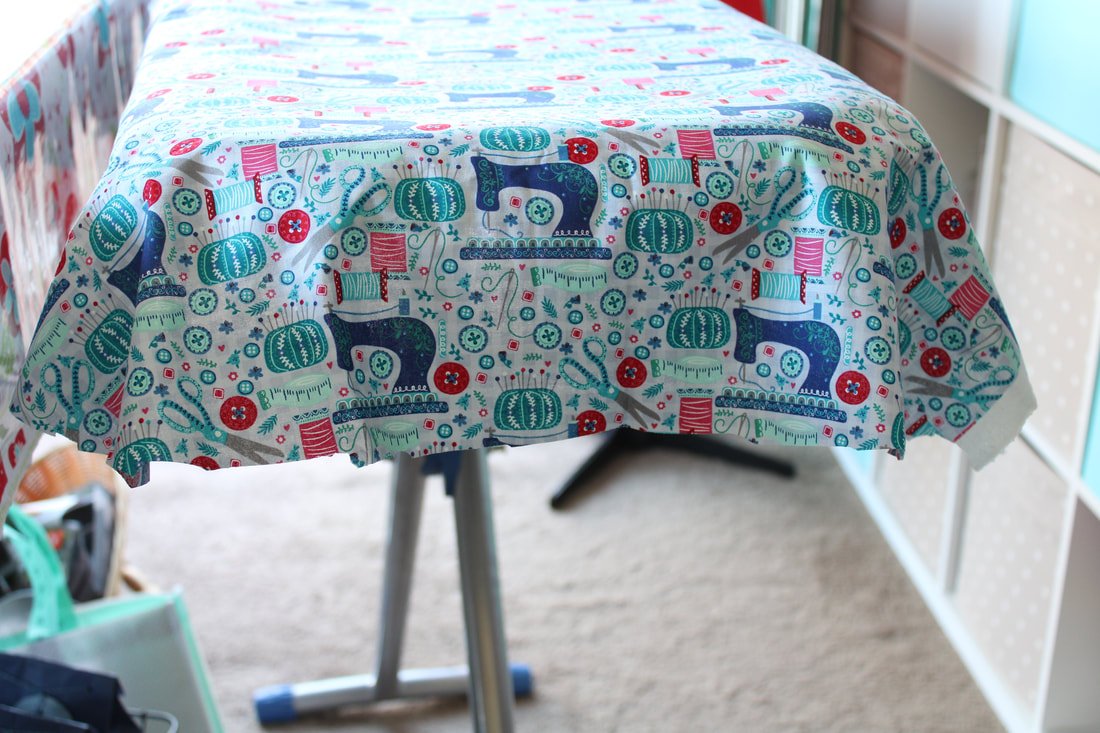
Drape your cotton fabric over the board. You'll want it to hang 4" all around. Give everything a good press, sliding your iron back and forth over all the layers.

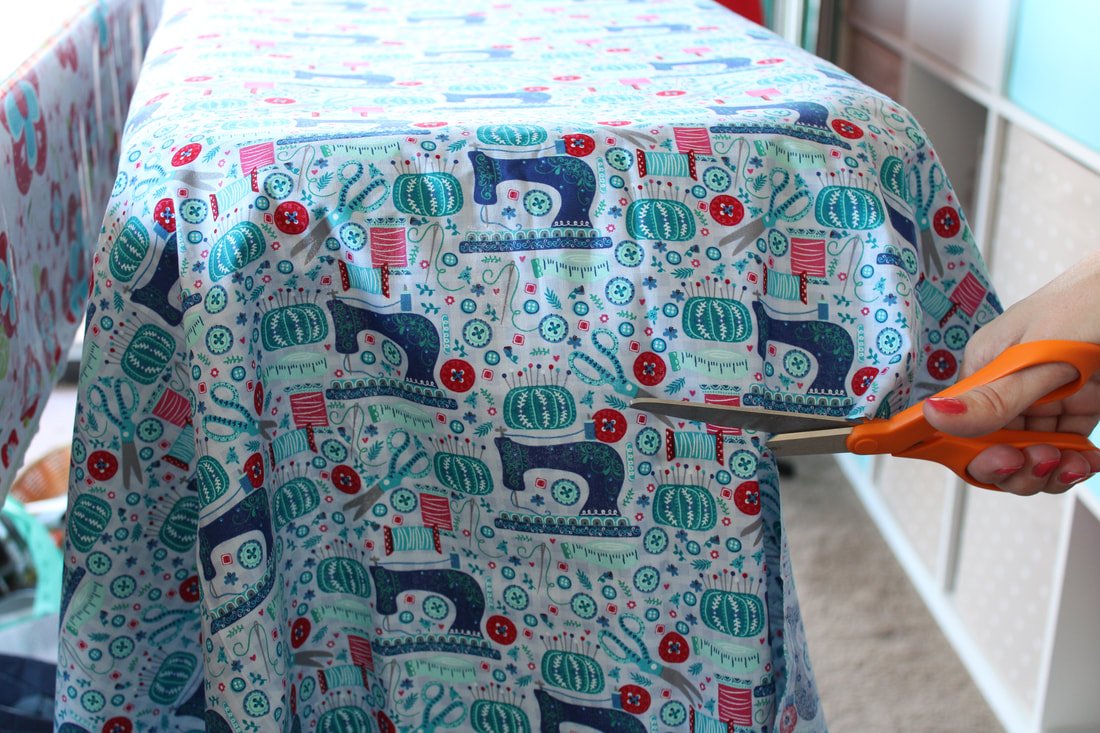
Cut your fabric, it doesn't have to be perfect but, make sure your edges are smooth and not jagged. I'm speaking from experience. ;)
Fold it in half and even out the shape.

Fold the fabric corners onto themselves to create curves. Pin. Do the same thing for the nose of the board as well. Then, pin the long edges 1/2" under.

You could pin the whole cover under 1/2" or not. I found pinning helped but, it's up to you.
Sewing Time
Take your fabric cover to the machine. You're going to sew with a 1/2" seam allowance. Use a 2.5 or 3mm stitch length. It doesn't have to be perfect, the seam will get covered.

Sew using 1/2” seam allowance.
Now, grab your elastic. You're going to sew a zigzag stitch over the seam you just sewed with the elastic on top.
Pull the elastic taught with one hand while gently pulling the fabric behind the machine with the other hand. Use a zigzag stitch and sew. You want to pull the elastic tight enough so it will make the cover fit nicely and snug over your board.

Sew the elastic on with a Zigzag stitch. Place the elastic over your raw seam edge and sew, pulling the elastic as you go.

The zigzag stitching isn’t perfect, but nobody will see it except you. The elastic covers the raw edge of the folded seam.
You will have something that looks like mine up above. If not, grab that seam ripper, grab a cup of tea, and start ripping.
If your fabric doesn't fit snugly enough, clip a piece of elastic and attach it on the underside along a long edge. Clip. Then, pull it toward the other side to get a snug fit. Clip or pin. Take it to the machine and zigzag over both ends. You may have to slide it on and off the board a few times to get a perfect fit.
My old cover came with elastic straps that fit like this, except they had a button. That's where I got the idea. I added two elastic strips under the cover. One at the nose and one at the bum. ;)
Yay!! You just made a cute ironing board cover and it will work much better than any store-bought one.

Add a crosswise piece of elastic to tighten the fit. This will sag over time due to the steam. Add a new piece every year or two.

Maybe I'll like doing laundry again with my new, pretty ironing board cover. Nah, probably not!
I've wanted to recover my ironing board for a while, and I'm so happy I finally did it. With the multiple layers, everything presses nicely and quickly too.
Are you excited to make your ironing board cover? Or is it something you'd rather not make? I'm curious, so tell me in the comments below if it's something you're excited to make.
Thanks for hanging out with me today. Now go sew something fun. :D
Happy ironing,
Annette
Looking for something else? Click through the posts below.
Have a ton of fabric scraps? Want to use them up? Sew a floor cushion.
Are you new to sewing and want to jump right in? Read this Budget-Friendly sewing post here.
Is your machine not working properly? It might need a quick cleaning session, find out how here.
Do you love vintage style and want to incorporate it into your everyday wardrobe? Grab this easy free pattern for a vintage headscarf.
Do you have chickens? Yes! Well, you need an egg apron. Grab the free pattern and tutorial here.