How to Sew Velvet Fabric

Have you always wanted to sew velvet but have been too nervous that you'd ruin the fabric? It's finicky with an iron, let alone a sewing machine right? Wrong. It's easier than you think to sew with. Imagine velvet capes, dresses, and pants!
In the past, velvet has always been a Halloween costume staple around this house. The serger would do all the work for those themed capes and dresses. However, this year, I wanted to dip my toe into something more, dare I say, scary!?
Gertie rolled out her Gardner top on her Patreon, so if you're not a member yet and love vintage fashion sewing, join now! I cannot keep up with all the content and patterns she gives us. No, I'm not sponsored, I just love everything she does for us.
Anywho, back to the Gardner top. The pattern uses knit fabric for the bodice and collar, and sheer or lace for the cutout. I wanted to use some stretch velvet to bump it up a holiday notch. Sequin and velvet scream holiday festivities, so I picked red and green velvet with matching sheer fabrics.
But, before we get into sewing the fabric, let's get your machine set up.
Sewing Machine Tips

These part of my pin feed system. These accessories came with my machine.
I have a Brother PQ1500SL sewing machine. You can read all about it here.
It has a pin feed system that is made for sewing tricky fabrics like velvet. I'm going to show you how to get that set up. If you have a different machine with a pin feed system, refer to your manual to learn how to set yours up.
If you don't have a pin feed system, I suggest reading your manual, as well. But, in a pinch, lower your feed dogs and it might be okay to sew the velvet. I'm just sharing how to do it on my machine because the internet lacked what I was looking for.

See the pin sticking up near the feed dogs? That pin moves the velvet from underneath, similar to how the feed dogs work, but it is more gentle. No velvet will be harmed during sewing.
Use a stretch or sharp needle. This will gently pierce the fabric instead of tearing through it.

Turn the feed dogs to the red position. This lowers them almost fully and engages the pin feed mechanism at the same time.

Raise the presser foot to the red position. This keeps the velvet from being crushed while getting sewn together.

Now that the settings are changed, you have a brand new needle in, and the correct presser foot on, it's time to sew on some scrap fabric.
Grab some scraps of your velvet and practice sewing on them. Sew 2 and 3 layers together using different stitch lengths. I found 2.5mm worked best for my velvet. You might need a longer or shorter stitch length. When I increased the length, my stitches got wonky. Once you get the stitch length sorted out, you should be good to go.
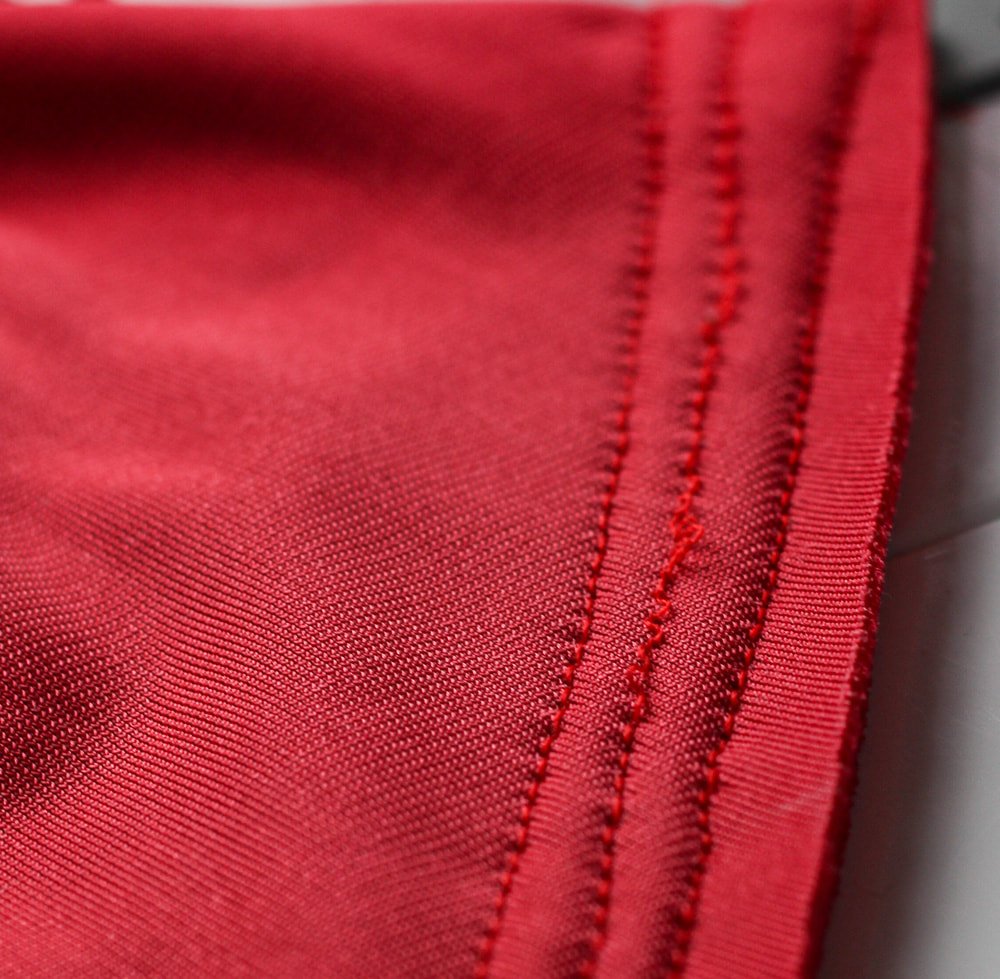
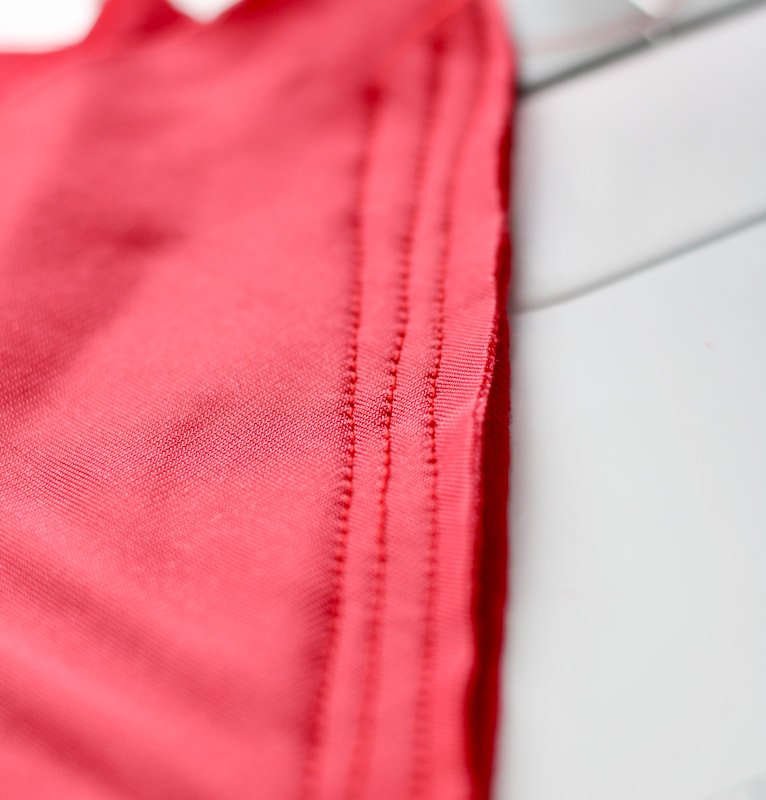
I sewed a few rows just to be sure the stitching was the correct length.
Extra Tips
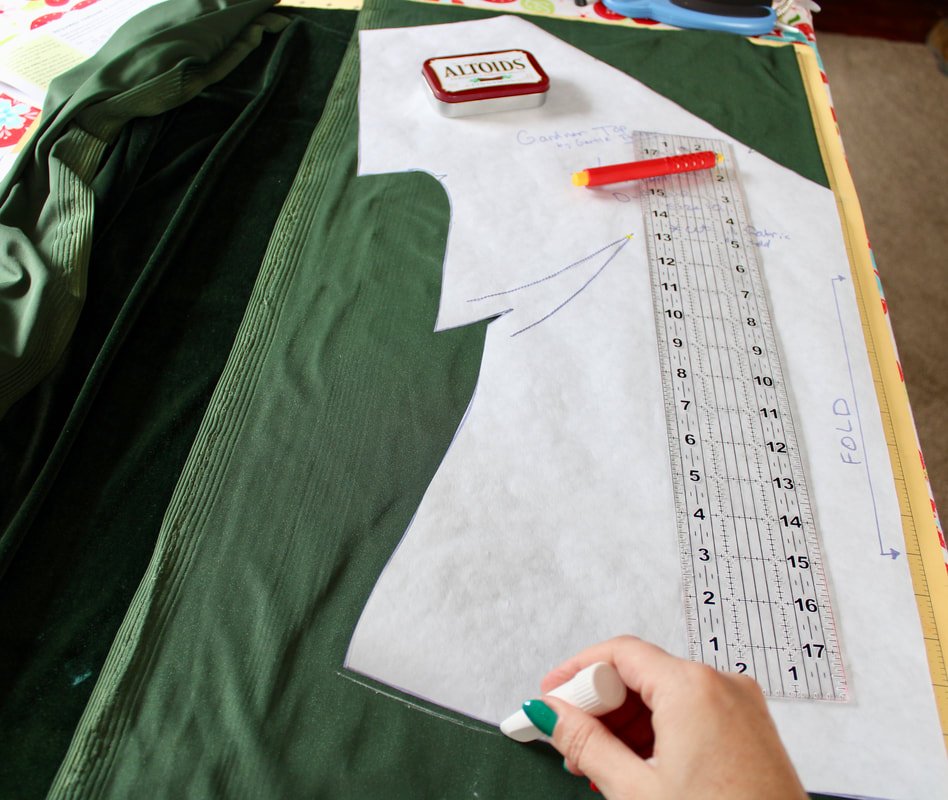
When cutting velvet, make sure the nap is going down. You can test this by running your hand up and down to find the smooth direction.
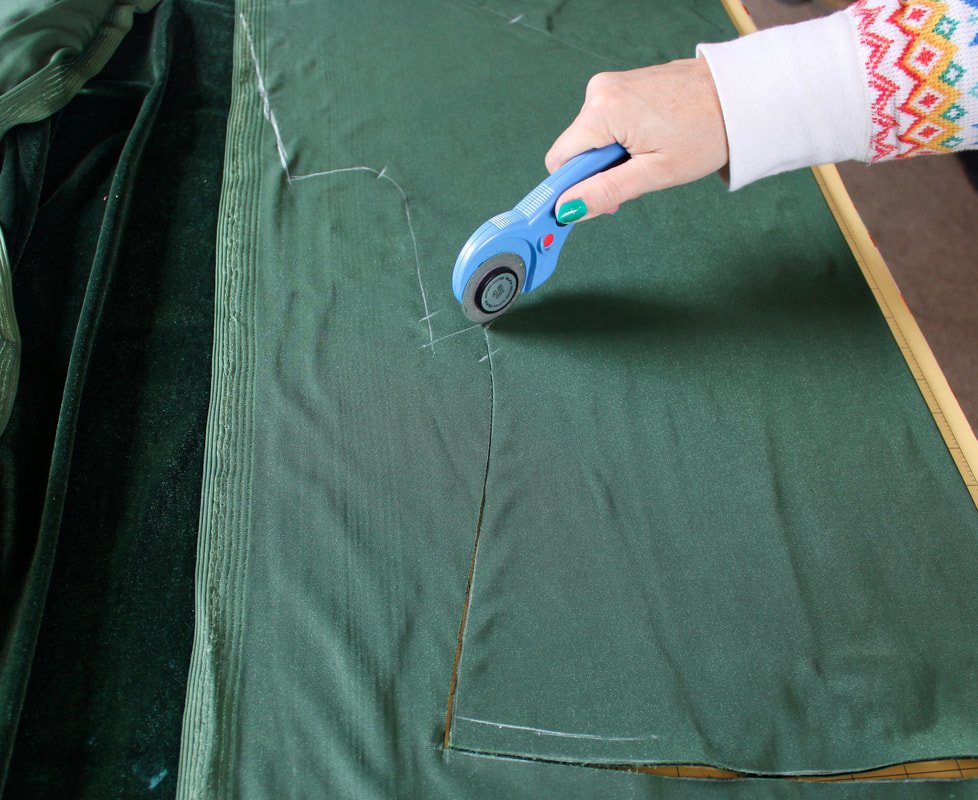
Use a rotary cutter when possible to cut out your pattern. You can use sharp scissors, but a rotary cutter and mat make it easy and painless. ;)
Trace and cut with the fuzzy side down. It's easier to mark the back of the fabric with a chalk pen.
Use a walking foot if you don't have a pin-feed foot system. It will keep the fabrics from shifting.
NEVER iron velvet. If the 80s taught us anything, it’s to never iron velvet. Haha
Velvet patterns require sew-in interfacings only. You can't use fusibles.
Your hems need to be zigzag stitched. Velvet has a natural stretch so, you want to avoid using a straight stitch for the hem.
Use a stretch, ballpoint, or microtex needle. I mentioned it above, but, thought it was worth mentioning again.
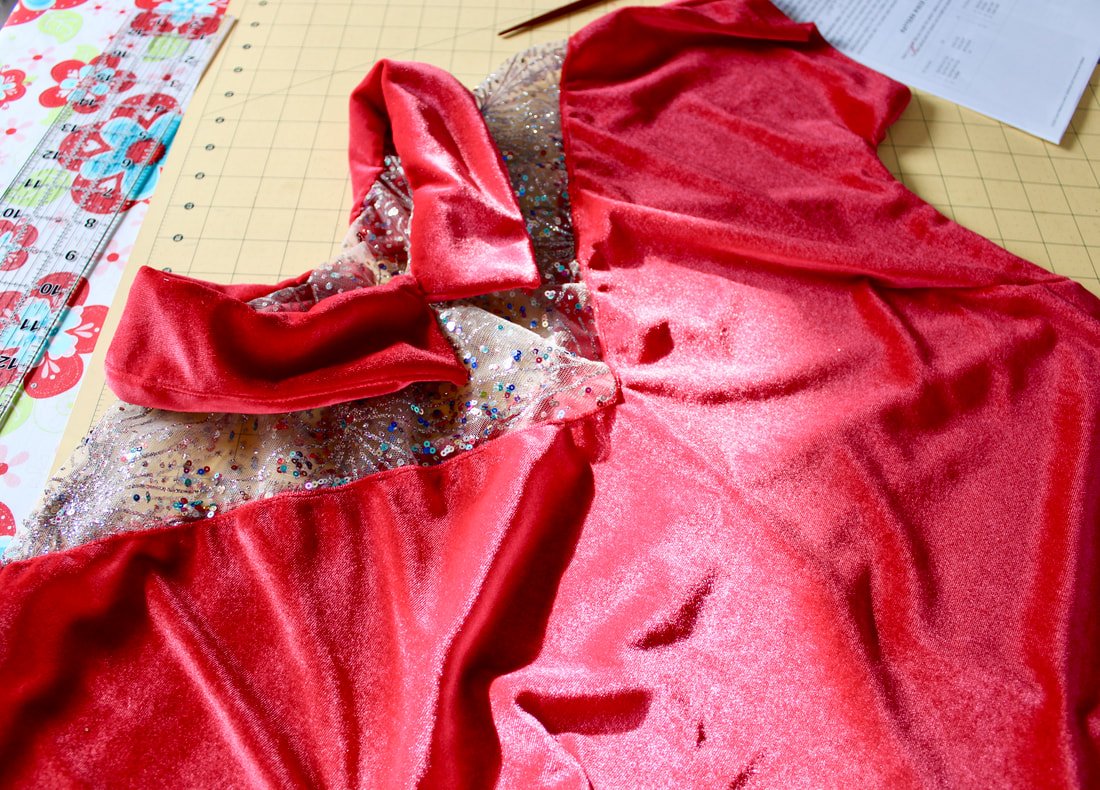
If you'd like to see the process for my Gardner tops, read that post, here. I finished them just in time for NYE. I wore the red one for New Year's Eve. The green one is perfect for wearing during fall through the chilly spring days.
Good luck sewing all of your upcoming velvet patterns. I hope these tips helped you out and made it look less intimidating.
Happy velveting,
Annette

Trying to decide what to ew next.