
Pattern Reviews, Sewing Hacks, Tips & Free Patterns
The Sewing Blog

Simplicity 1587 1940s Vintage-Style Dress
I love my newest 1940s dress made with the Simplicity 1587 pattern and fabric from JoAnn. It has an authentic feel and style to it.

Howdy doodily! It’s been some time since I last wrote a blog post. I do have an excuse though, I had to switch platforms from one host to another and that was soul-sucking in itself. Then, I decided to update each and every blog post. Why!? Why would someone do that? Annnd, after that was all said and done, I enrolled in another photography class at the local college- which was brain cell killing as well. Oh, and to top it all off, I thought it was a good idea to open up a photography business. Yep, I’m officially a photographer now. I do portraits. I’m not your typical portrait photographer though. I create photos with magic and whimsy in them. If you’re in Southern California (or Monterey County, where I often travel) and are interested in photos, or know someone who might be, I invite you to check out my site. Whew! It’s been a huge whirlwind but, I’m finally hopping back into the sewing life. So, here we go!
Let’s start with a dress I made 1.5 years ago. I needed a dress for a friend’s wedding in San Diego. I wanted something with a 1940s feel to it. I had a pattern and bought two different fabrics. I loved the pattern so much, that I wanted to make two dresses. Spoiler alert: I didn’t end up making my first pattern choice.
Cue the Rabbit hole of sewing. And, patterns. And, muslins.

The First Dress
This dress was made in a short amount of time so, I didn’t photograph the whole process. This blog post is more of a “this is my dress I made” rather than a tutorial on how to make the dress.
I started with a Sew Over It dress pattern I had in my stash for years. Years, I tell you. I made a muslin and did a FBA and it didn’t fit. I thought I did something wrong, and made a whole new FBA and muslin. Nope, it still didn’t fit right. Something was way off. I went to the trusty ole Youtube and Google machine and found that most sewists had a similar issue. It fit funky. So, I went back to the drawing board and pattern rabbit hole.
The Final Dress
I discovered the Simplicity pattern and snagged one in my size range at ye olde JoAnn. I made a quick bodice muslin and it fit! So, I whipped the dress up in less than 24 hours. Ha! I told you I needed it for a wedding. This is the first garment I’ve ever sewn in a short time frame. I finished it minutes before leaving for the wedding.
The only issue I had was the yoke. Yokes can be finicky sometimes and this was no exception. I sewed it and ripped it out a few times. In the end, I didn’t care about the puckers anymore. Shhh, don’t tell the sewing Gods.
It has an easy pleated neck tie, gathered sleeves, a drop waist, and is comfy. It’s not the most flattering or form fit, however, it does look like a true 1930-1940s vintage style dress. I paired it with some 1940s-style booties from Payless Shoes Source, RIP. Looking back, I wish I had worn some different shoes. But, San Diego along with all of southern California was getting dumped on by all the rain in the world that weekend, so boots were worn out of necessity. Puddles and ballet flats don’t pair well.
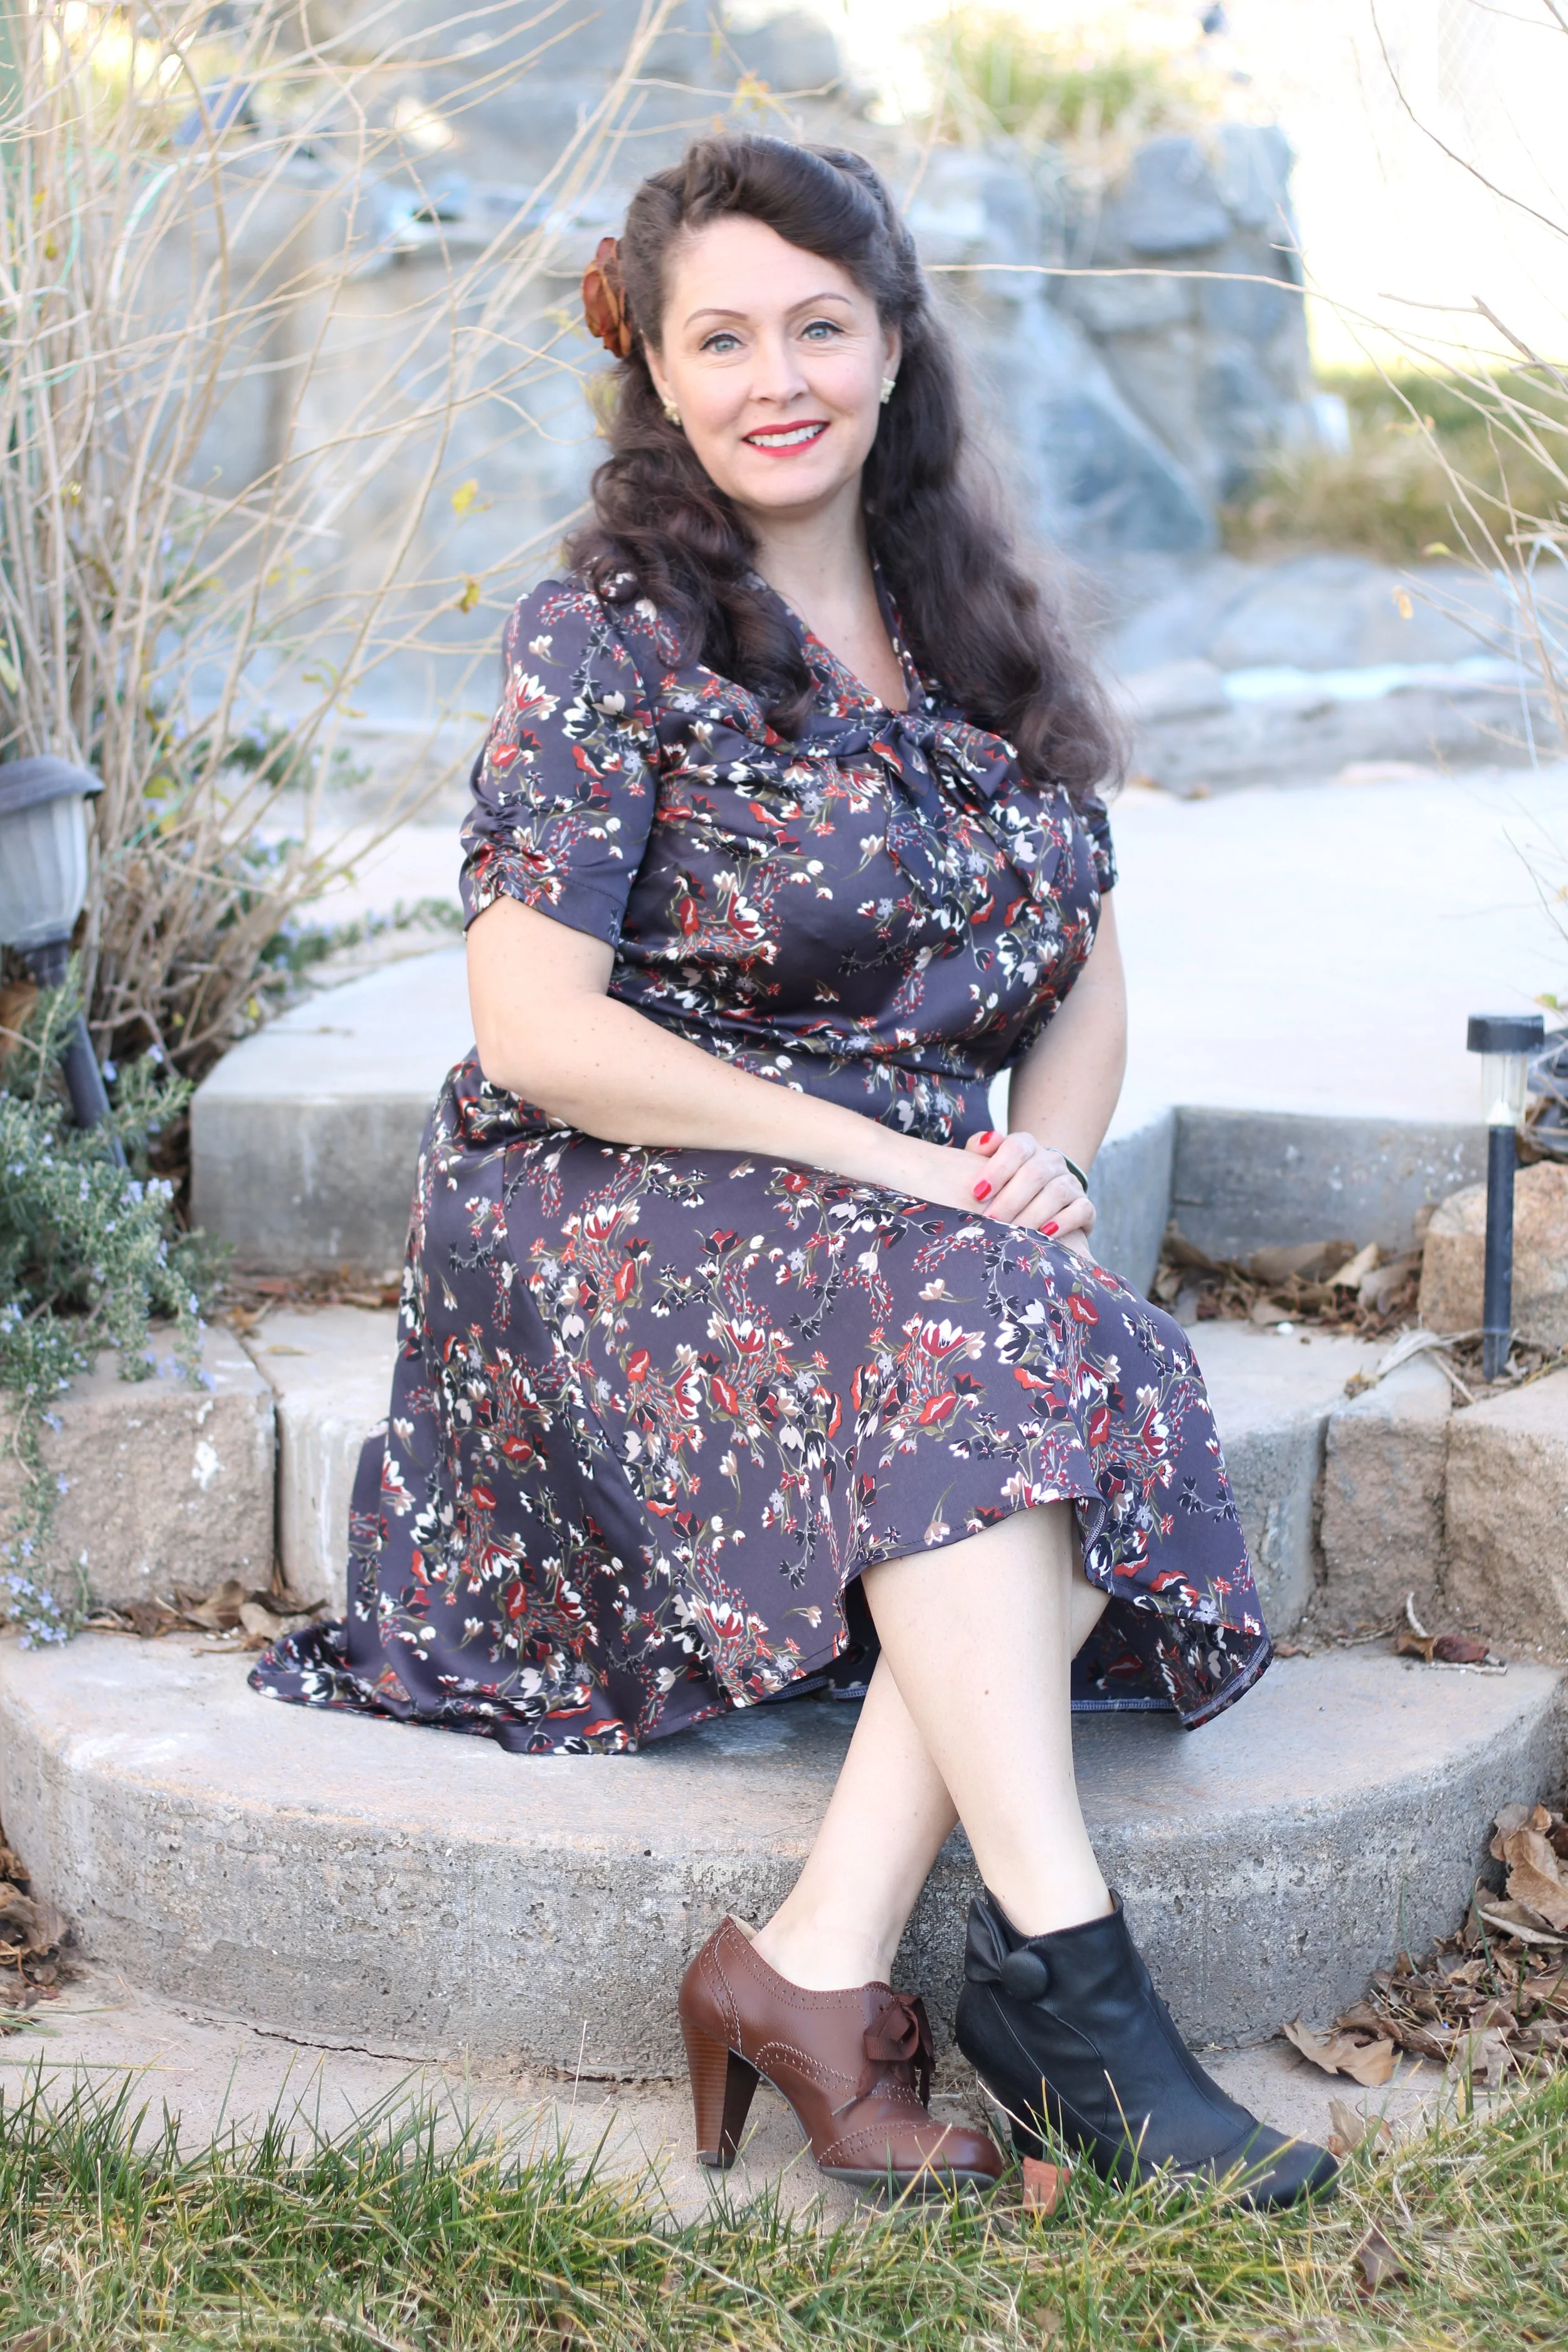
Ignore my 2 different shoes. I was deciding which one to wear and forgot to change before taking some photos.

Awkward pose and view of the cute necktie.

Look at the easy gathered sleeve. You make this with a small piece of elastic.

The cute peephole button in the back. I love this dress! The button is a burgundy covered button I had in my button jar.

Hope you give this dress pattern a try if you’re searching for an authentic 40s-style dress. It is easy to sew and fits well.
No, I never did make the second dress with my other fabric (both were purchased from JoAnn). Maybe that’ll be next up on the sewing table, right after I finish a new purse, more flared shorts, and wide-leg trousers. Ha!
Please share in the comments your favorite 1940s dress pattern. I’m always on the lookout for new ones.
Thanks for popping by,
Annette

Simplicity 8654 Vintage-Style Shorts
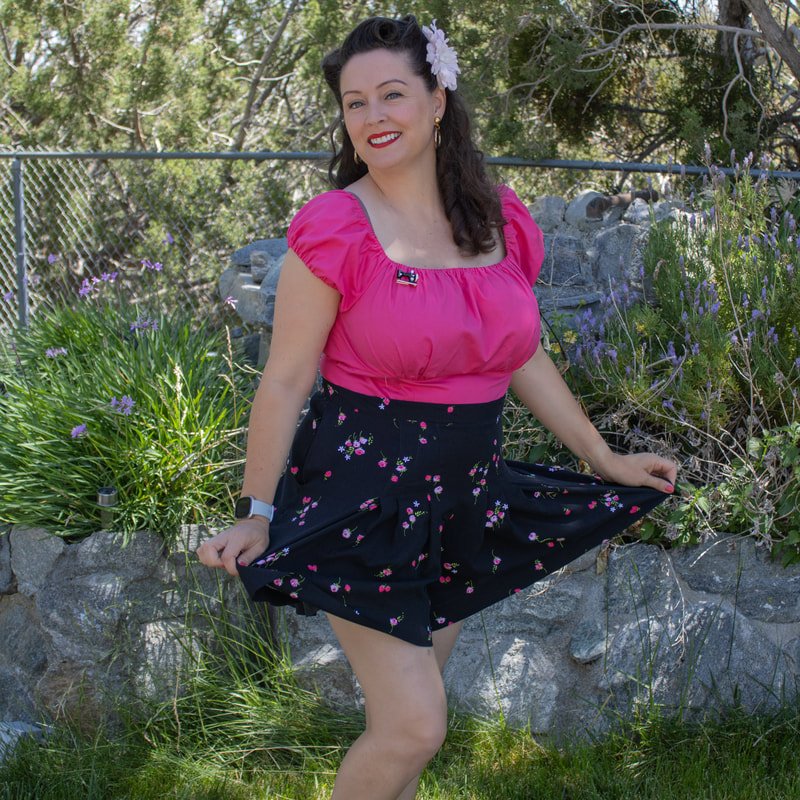
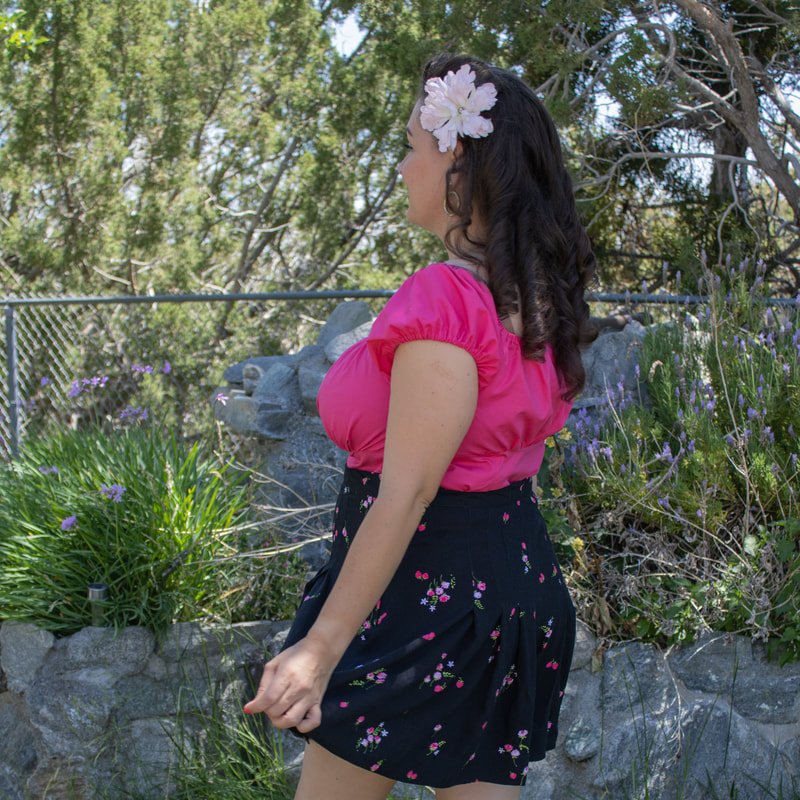
Sew the cutest pair of vintage style shorts with Simplicity pattern 8654. It’s a great pattern with an authentic vintage feel and fit. Uses a lapped zipper, one button, and has a pocket.

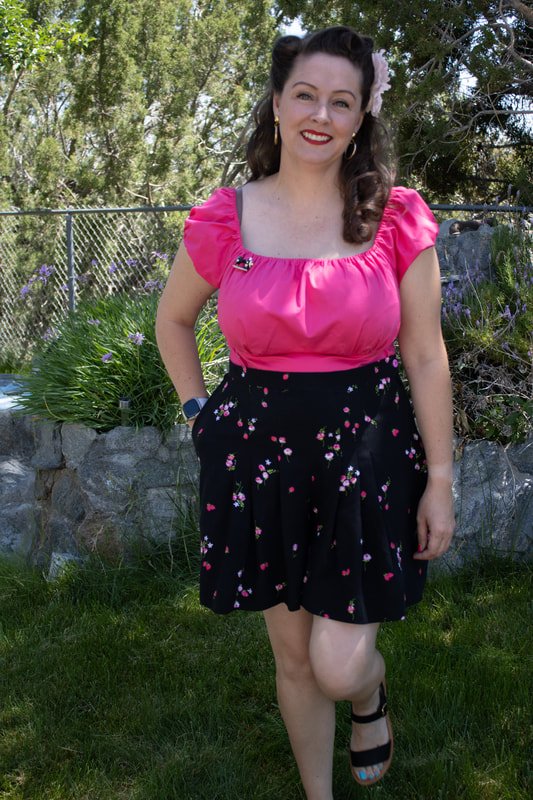
Summer is here, and do you know what that means? It's time to tackle your warm-weather vintage sewing patterns. The weather has been cooler lately, but shorts are still a necessity. The Simplicity vintage-style pattern 8654 is a perfect summer sewing pattern. It has swooshy shorts, a cute top, and a fun skirt. I chose to sew the shorts. I have a pair of RTW shorts that are similar, but no longer fit. So, I decided to make my own. The shorts have minimal pattern pieces (4) and take about 2 yards of fabric, more or less depending on your size. Let's get started!

Cut + Trace
Find your size on the pattern. The style is very forgiving in the hips, so I went with my waist measurement only.
Cut the pattern or trace it onto paper. Transfer all your markings. This is especially important for the pleats.
Cut out the fabric pieces and interface your waistband.
Sew, sew, sew!
Match the front pieces together. Pin and sew along the curve.

Sew the inseam curve.
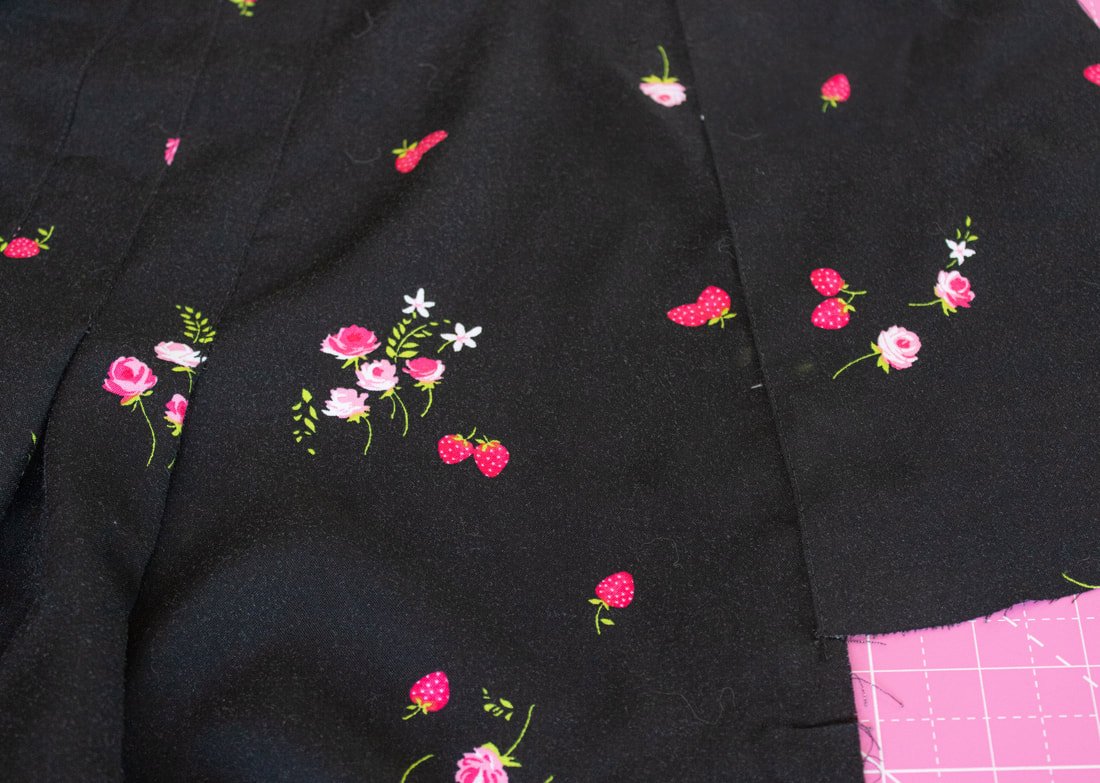
Fold the pleats, matching the marked lines, and sew. Do this with both of the front pieces. Then, repeat the same steps for the back pieces. The pattern instructions were fairly easy for these shorts. No issues to write home (or you) about.

Mark and sew your pleats. The marking is the most important part.

Topstitch the pleats in place.
Your pleats should look like the ones above. Topstitch after you sew them to keep them secure.
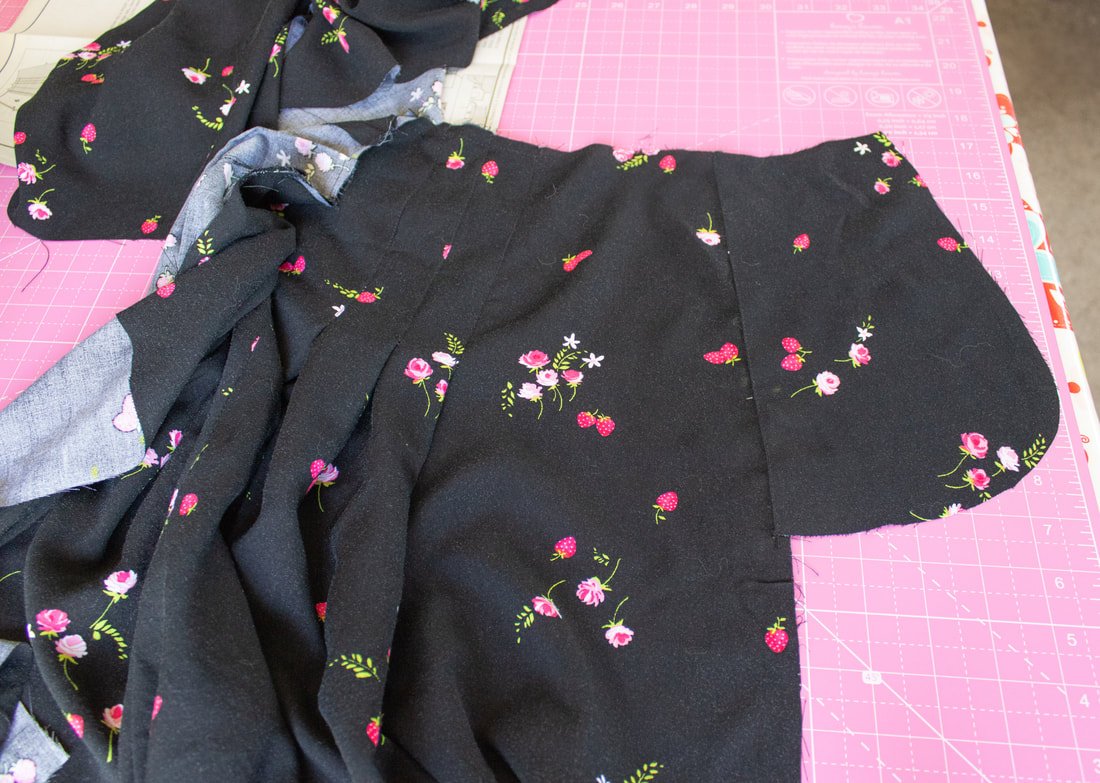
Flip over the shorts, and there will be two rows of stitching, like the photo below. So far, pretty easy, right?
After top stitching, you will have 2 rows of stitching. the inside will look like this.
Grab your two pocket pieces. Sew along the edges on a front piece and again on a back piece. This pattern only has one pocket because of the side zipper. If you're feeling brave, you could easily add a second side pocket and insert the zipper in the back seam instead.
Sewing is all about customization. :D
I didn't love how they had you sew the pocket. But, note to self, next time sew it up how I would regularly sew an inseam pocket.
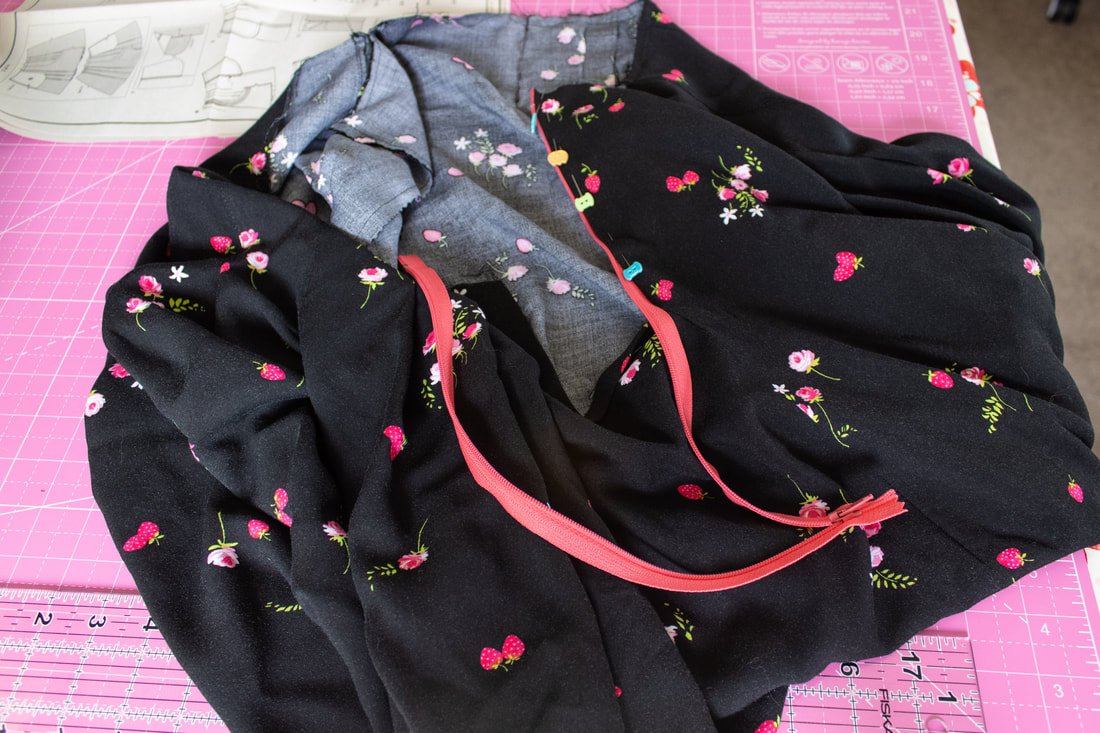
Zipper time! This pattern calls for a lapped zipper, which is a true vintage-style zipper. I am somewhat new to the lapped zipper, as I've only been sewing them for 2 or so years. I'm a huge fan! They take minimal effort and go in pretty easily, with a few tips and tricks.
I use a strip of 1" interfacing for all of my zippers. It helps stiffen up the fabric, and the zipper looks nicer after it is sewn in.
Press the right side under 1/2". Pin the fabric right next to the zipper teeth. Sew, using a zipper foot.
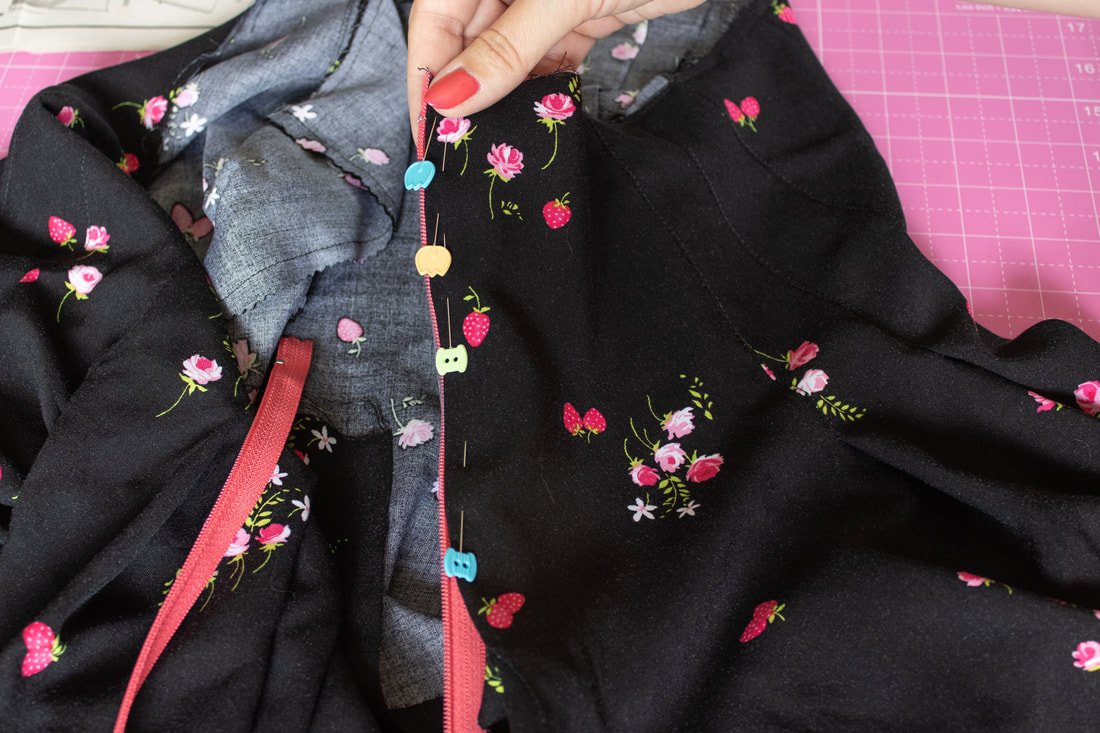
Then, press the left side under 5/8". I close the zipper and pin the fabric to the zipper tape. Be sure to barely cover the right side stitches. Unzip, then sew.

Topstitch the lapped zipper. These are so nice to sew and look nice too.
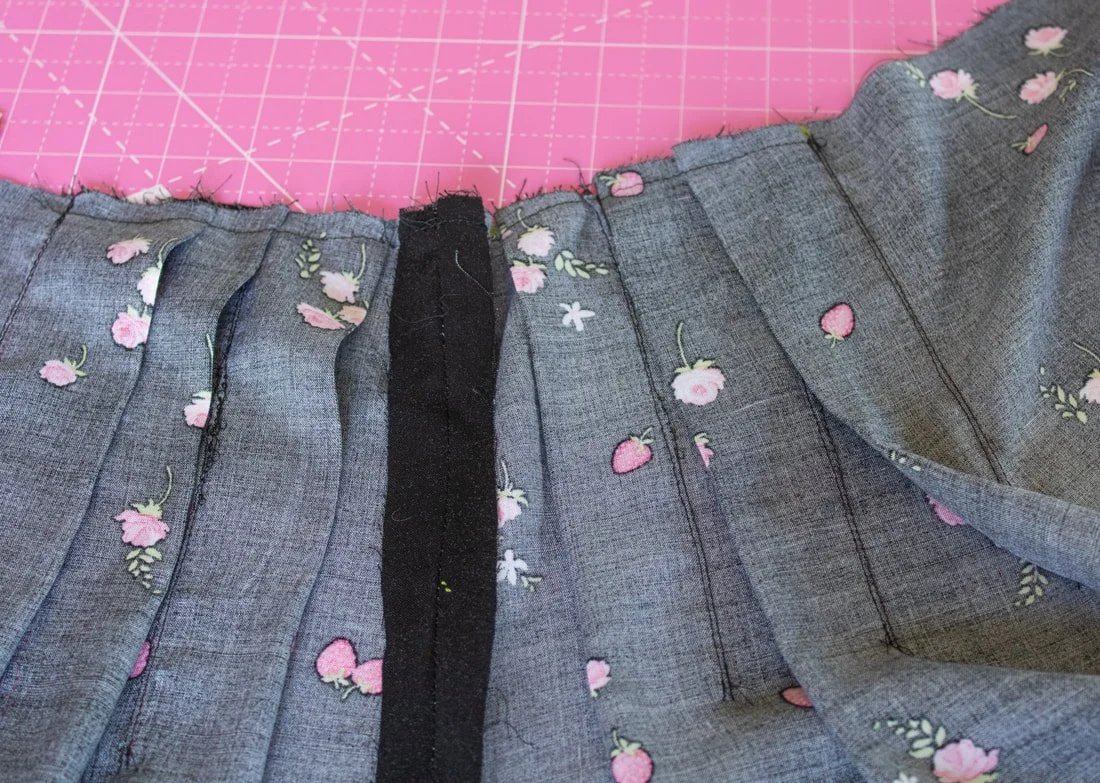
Time for some waistband action. I sewed a straight size 18 for the shorts and used the size 18 waistband pattern piece, but the waistband was too short. So, I added an extra piece of fabric to ensure the waist band was long enough. I've noticed with a lot of patterns that the waistband always falls short of the skirt, shorts, or pants. ?? Maybe I'm broken, but does this happen to you?
It was an easy fix, luckily. Just make a note of it when you make these shorts.
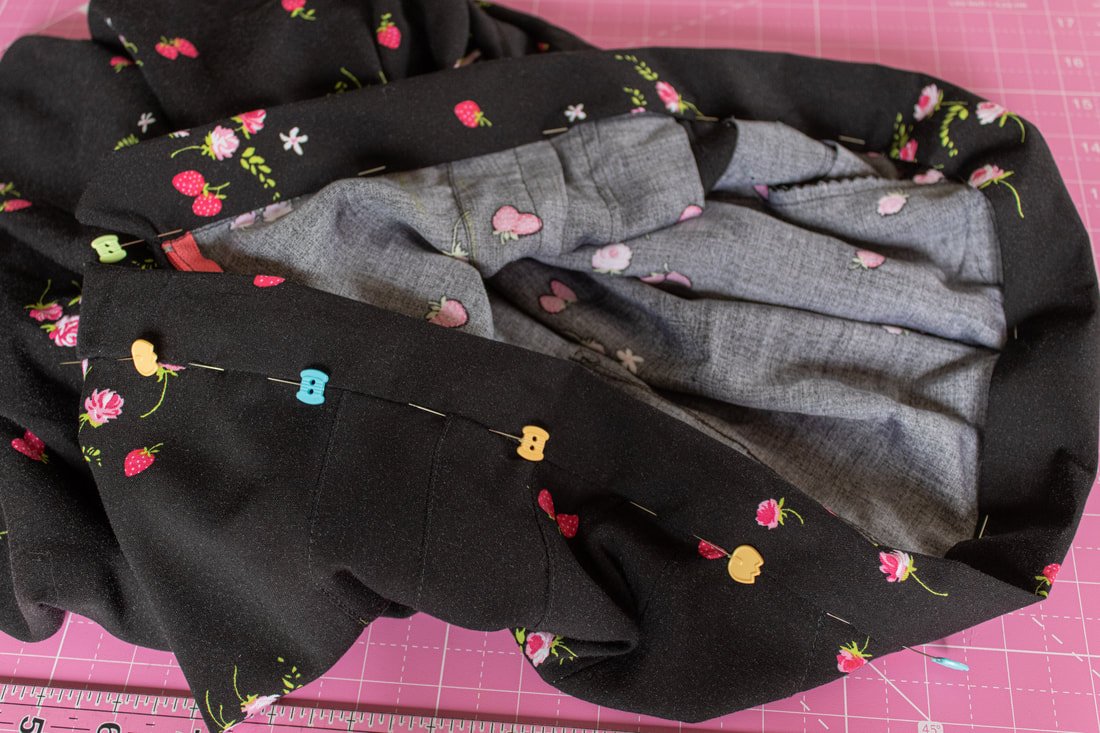
Pin and sew the waistband to the shorts, making sure to match notches and seams.

Had to add extra fabric to the waistband. Nobody will notice.
After sewing the waistband to the shorts, flip the raw edge over to enclose the raw edges of the shorts. The band will enclose them.
Pin from the outside, right along the seam line, catching the inner fold with the pins. This is my most favorite way of sewing a waistband. It goes quickly and has a clean finish.

Fold over edge, pin, then sew.
Time to hem your new shorts. You can turn the raw edge under 1/4" and then under again, as the pattern instructions say. Or, serge the raw edge, and turn under once, and sew. I prefer to do it this way most of the time. It is quick and easy, and is great for pants or shorts.

Hem the shorts. Turn under and under again. I serged the edge.
Add a label in the back of the shorts. The front looks very similar to the back, so this little addition helps when it's time to get dressed. If you don't have labels, add a fun piece of grosgrain ribbon.

Add a cute label.

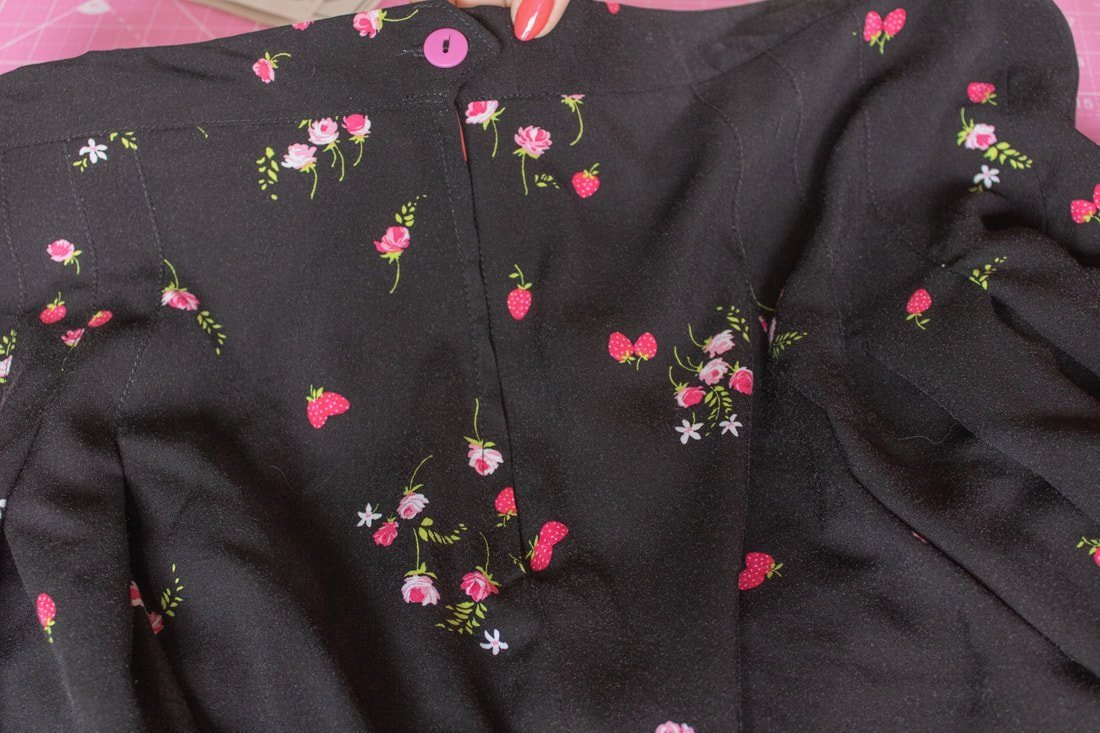
Don't forget to add your buttonhole and button. I opted for a fun contrasting pink one. I love my colorful coral zipper too. It mostly matches. Ha!
End Thoughts
The shorts fit great! I went down a size in my waist because I know the big 4 patterns usually add a lot of ease. My waist is 33-34", and I sewed the size that had a 32" waist. They fit perfectly and have a little wiggle room. The fabric I used is a rayon challis. In my experience, rayon shrinks over time with the first few washings. If it shrinks, I'm good. If not, I'm good. Either way, I'm happy with the size I chose.
The fabric is a Gertie designed fabric she used to have at Joann stores. It's almost a decade old. I made my first Rita Blouse with it. The leftover fabric was from the yardage I bought all that time ago.
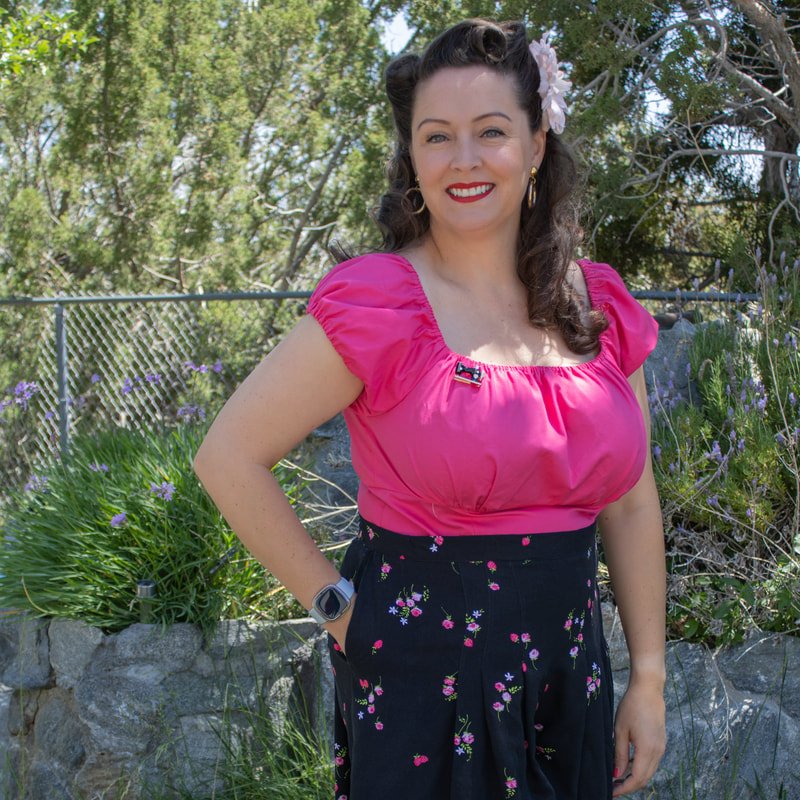
Funny enough, I did not have a top that matched my new shorts. Yes, I have black tops, but I wanted some color. I made a solid bright pink Rita to wear with them. I know, bizarre for me to sew solid fabrics. Because the shorts were so busy, I wanted some simplicity on top.
Next time I make these shorts, I'm going to play with the pleats. I think I'll fold the fabric differently to give them a different look. Maybe a large box pleat?
Thanks for following along. Now, go grab the pattern and get started on your summer sewing.
Are you excited to make these shorts? Have you made them before? Would you make them again?
Happy stitching,
Annette


Gardner Top by Gertie
Sew the GArdner top by Gertie at Charm Patterns. It’s one of her Patreon exclusives and it’s a beautiful top. It uses knit fabric, sheer fabric, and a single button. It’s easy and could be for an adventurous beginner. It is casual yet elegant.

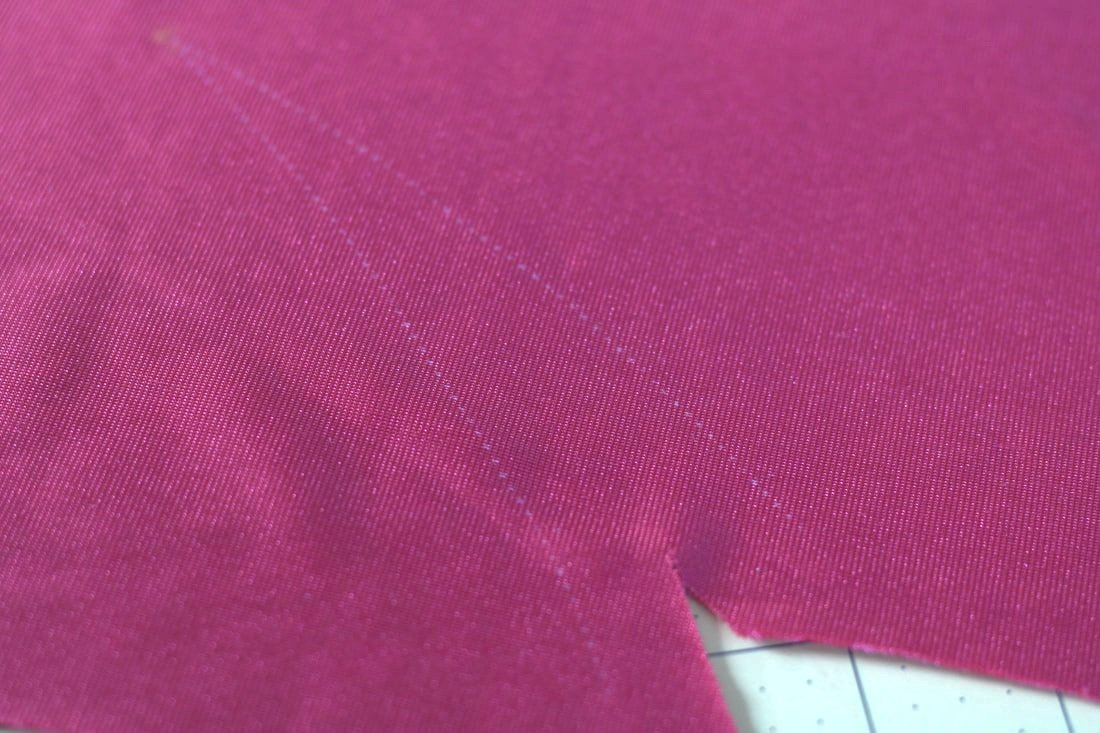
The holidays call for fancy fabrics and sequins. Don't you agree? There's just something fun about wearing sparkle during the festive month of December, isn't there? Add soft velvet and, I'm in! If sewing velvet scares you, read this post. I share my sewing machine and tips for tackling tricky fabric.
These Gardner tops fulfilled my fancy holiday fabric needs. The fabric was originally for vintage-style turbans. I've wanted to make velvet ones for quite some time. I only had 1 yard of each and was lucky that the one yard worked out. Whew! I changed direction at some point and decided to make Gardner tops instead. The matching sequin fabric went with the red one, and the sheer floral went with the green one.
As usual, I don't go into depth with Gertie's Patreon patterns because I value her as a creator. However, I like to share tips and photos that show you my process along the way. If you're interested in this pattern, join her Patreon membership. She shares new patterns each month and so much more!
I made one Gardner top following the exact directions and another collar-hacked version. This post is full of photos. Let's go!
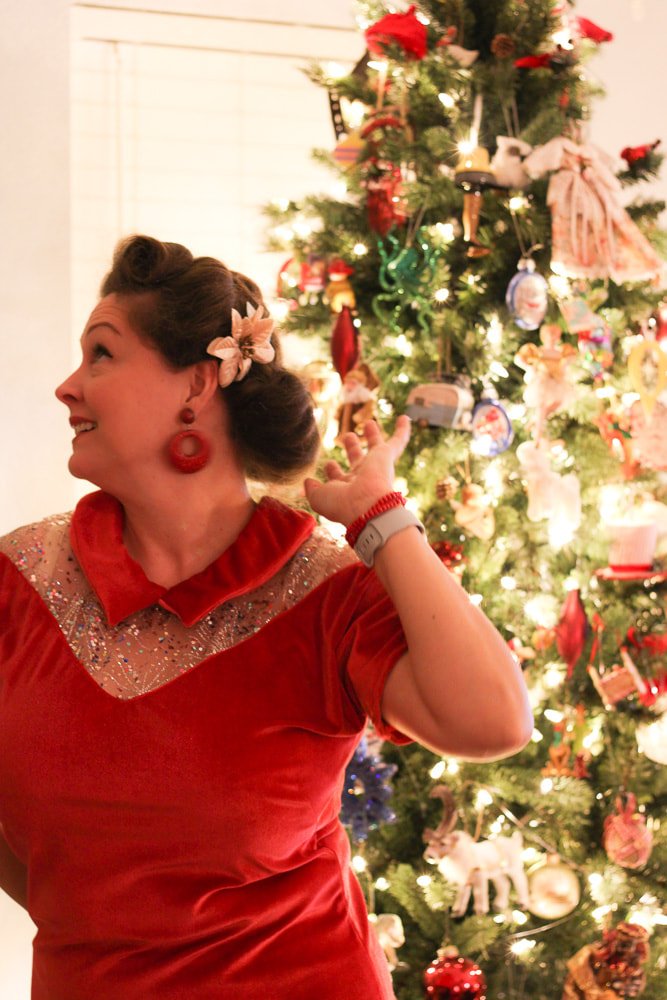
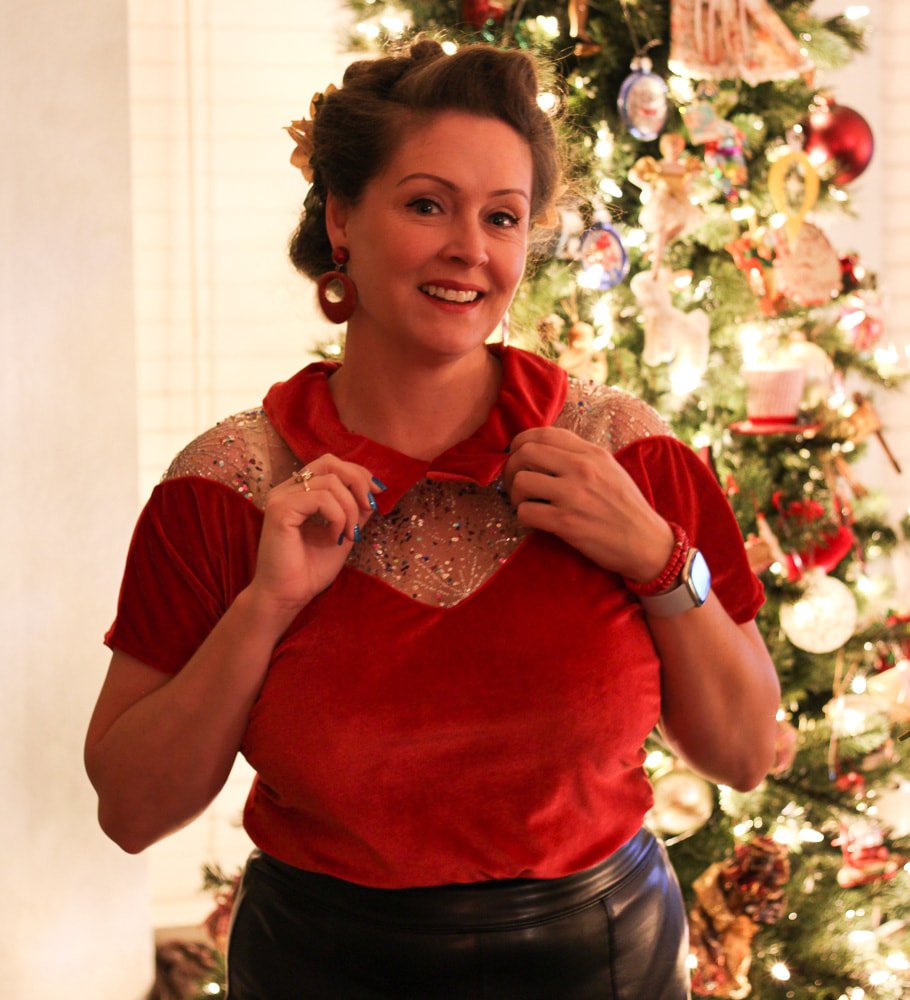
Red Gardner Top (Original Pattern Version)

Red Garner Top
Start your top by tracing the darts onto the front. I prefer old-school wax paper and a tracing wheel system for this part.
Staystitch the front and back necklines. Sewing from the shoulder towards the center prevents the neckline from stretching out. Never skip this step.
After you sew up the darts, cut them open. If sewing your top with velvet, don't press the seam open.

Cut dart open.
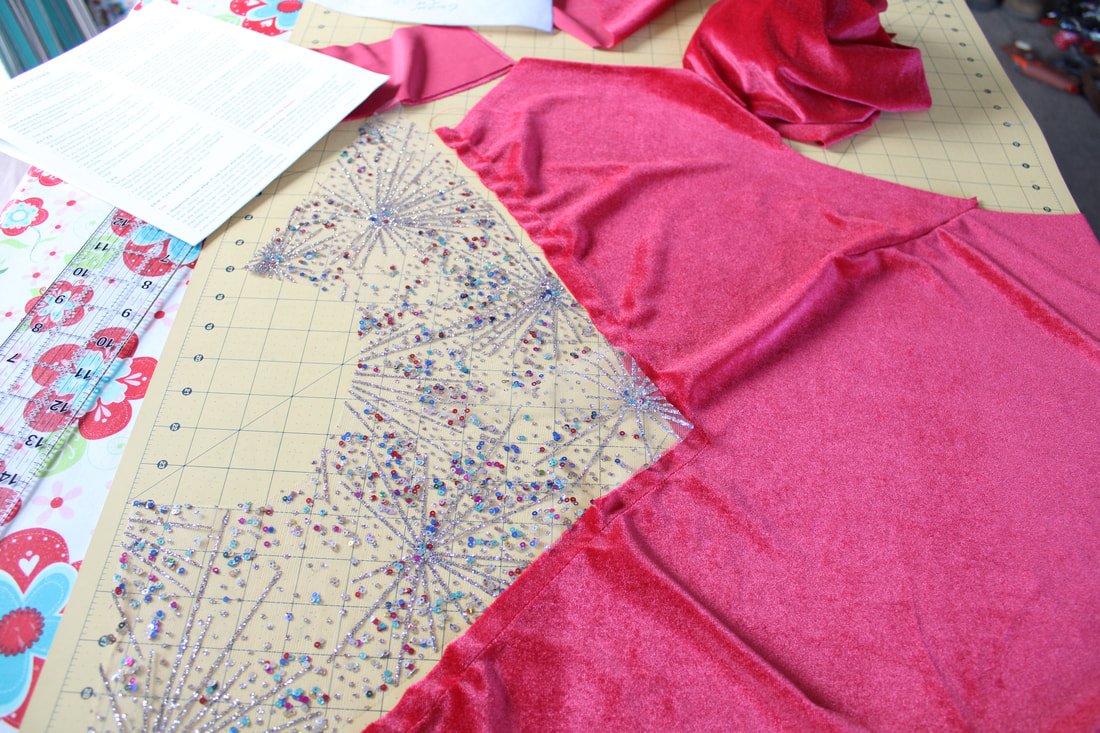
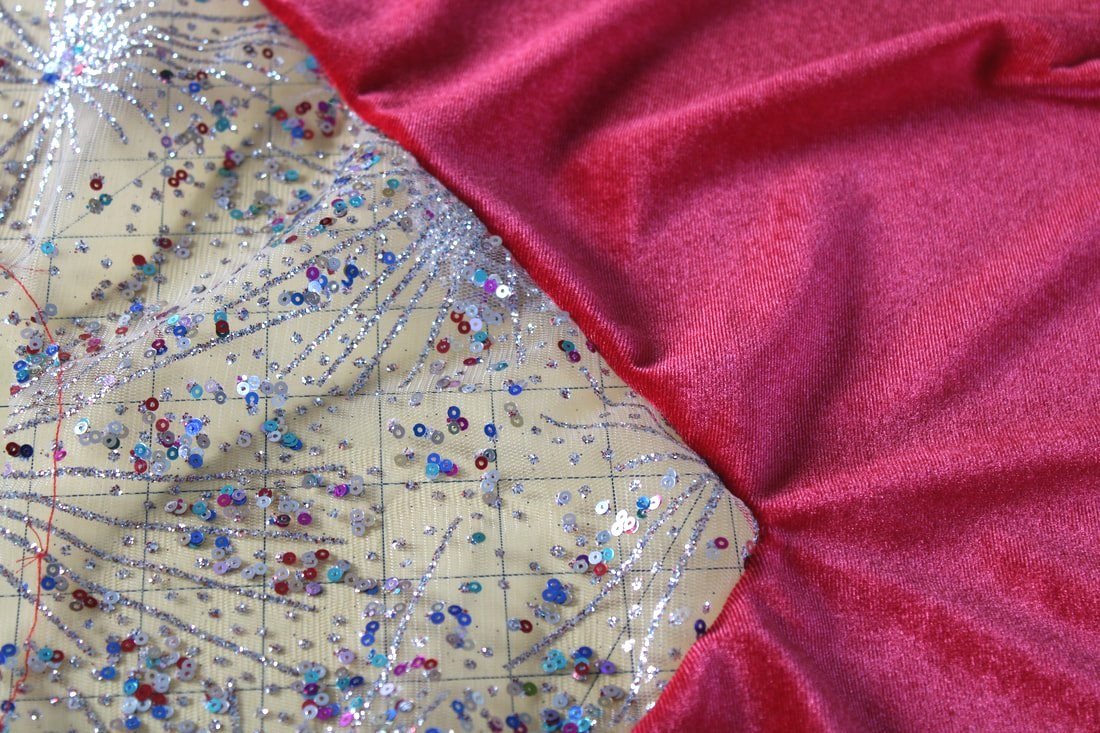
The sheer fabric is full of glitter, sequins, and all the sparkles. Perfect for holiday festivities.
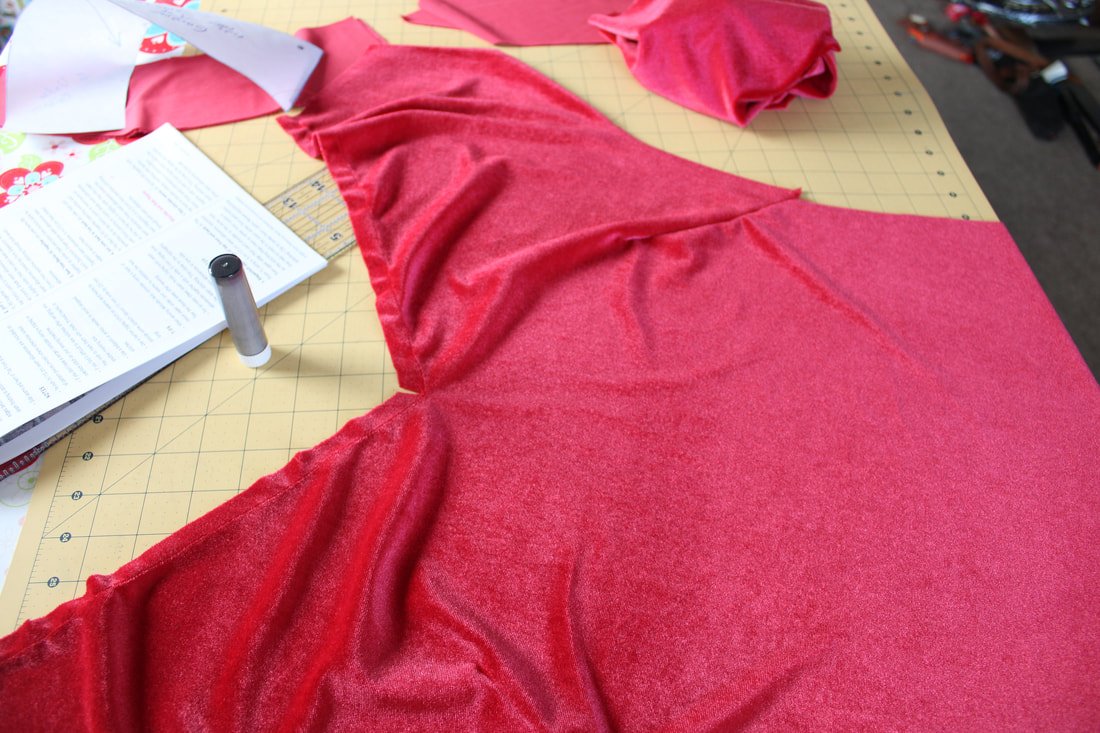
Yay, no puckers!
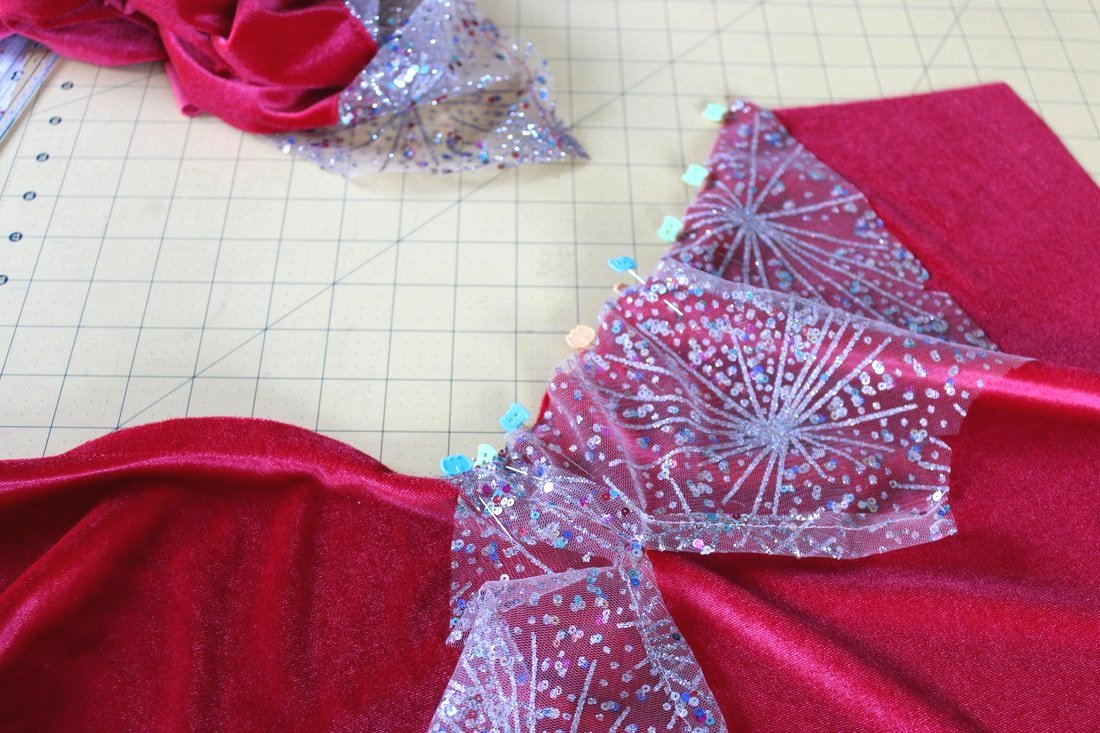
If you go slow while sewing and make sure your seams are clipped, you shouldn't get any puckers in the V-shaped front. If you do get puckers, unpick that section and re-sew.
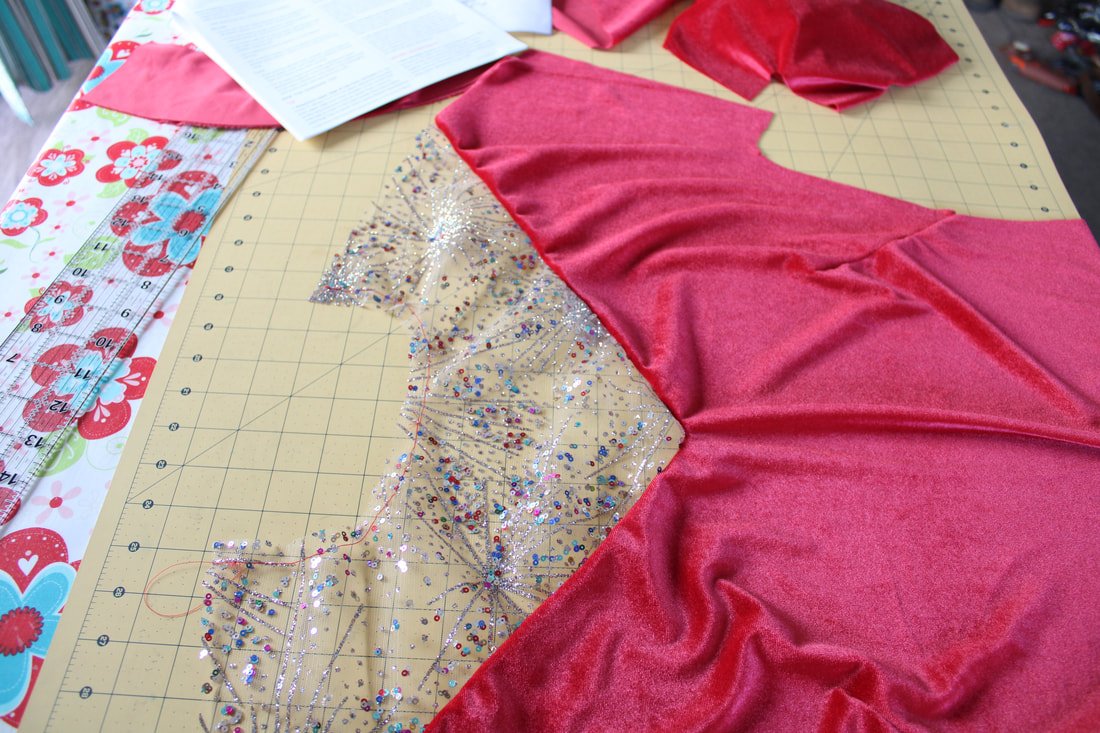
Sew up the back sheer keyhole area. Use thread that blends in with your fabric or skin tone.

Attaching the back sheer piece onto the back bodice went smoothly. It felt easier to sew than the front. But, follow the same process.
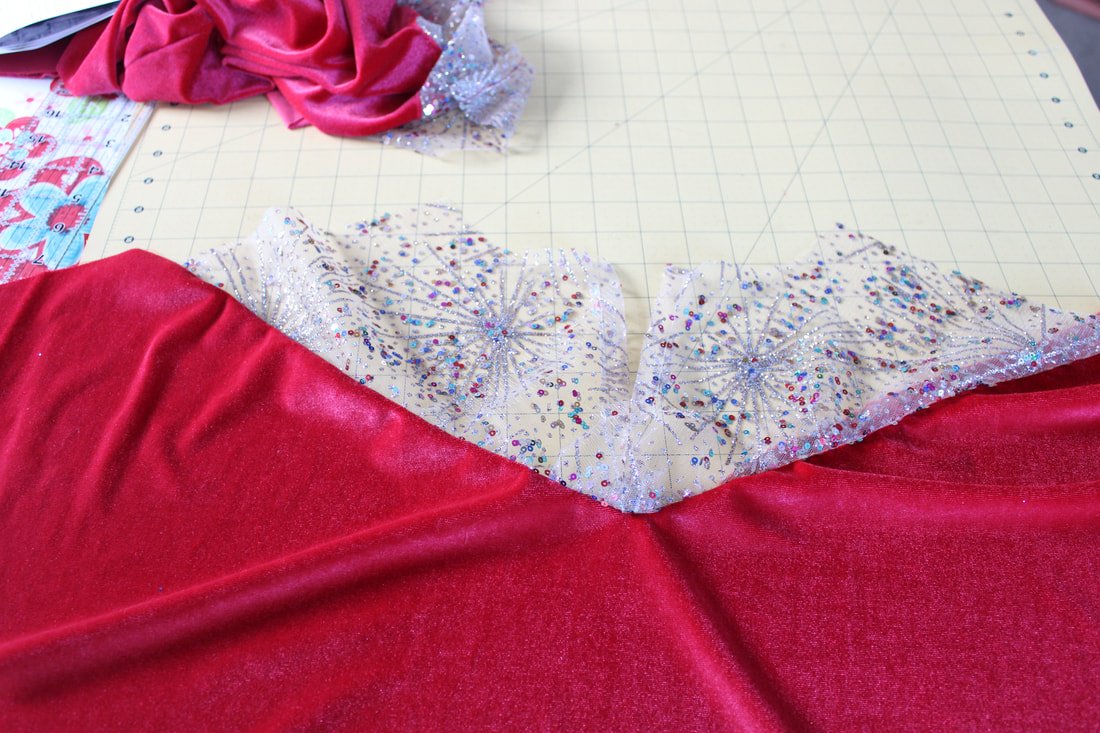
Wah-la! I love how the sequin fabric looks with this red velvet. So festive and fun. Don't you agree?

Make sure you top stitch to keep all the layers flattened on the front and back.

The Collar
The collar was easy to sew, but it was tricky with velvet. I used sew-in interfacing that worked nicely. It went in smoothly, but I had a hiccup when I made the green top. You'll see below how I went in another direction with it.

I did a few hand stitches to keep the collar together. All in all, it worked, but I wouldn’t want to sew another velvet collar in the future.
The sleeves and hem were easy to finish. I love this pattern and see many more Gardner Tops in my future.

All that's left is to sew on the hook and eye at the keyhole.
I love the fit. I could have gone down a size, but I didn't want it to be too tight. This was a wearable muslin, and you never know until you make it. I love it despite the semi-itchy sequin fabric. Haha

I wore the red one to ring in the New Year. It had just enough sparkle to make me me feel festive.
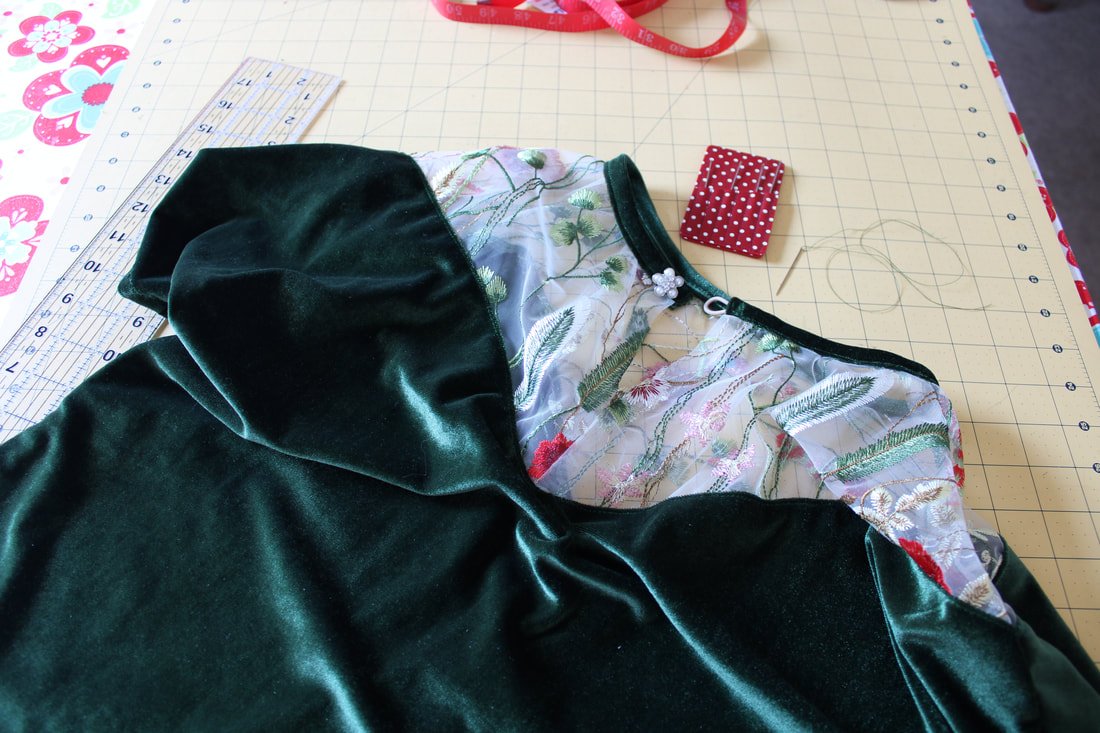
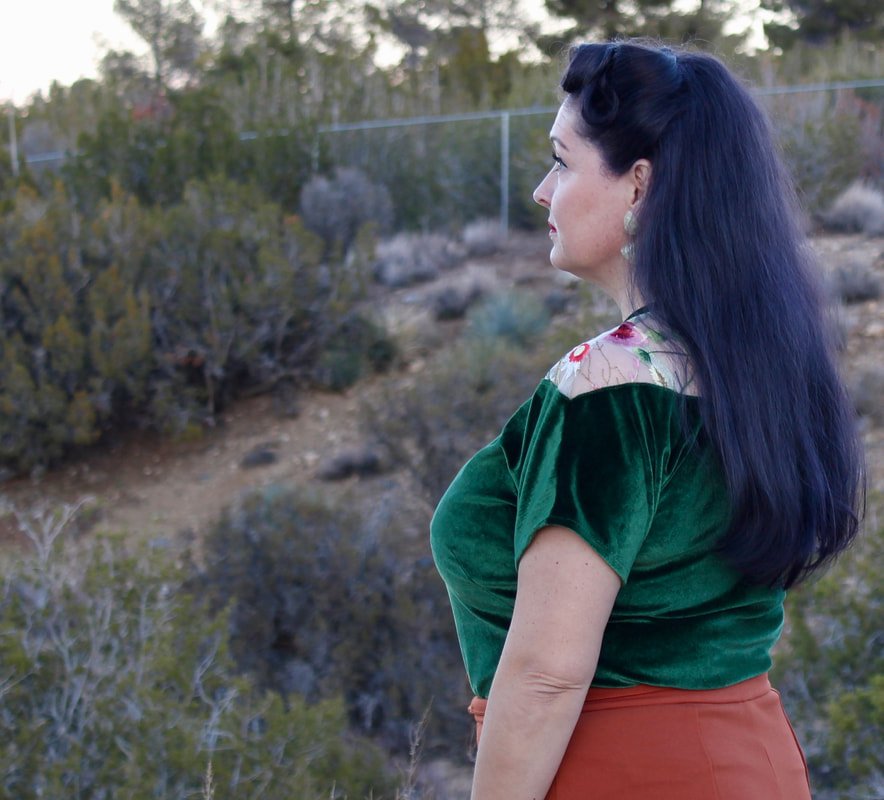
Green Velvet Top (Hacked Collar Version)
I didn't intend this Gardner top to be different, but I tried to fuse interfacing strips on the collar, and it didn't work in the end. So, after ripping out the collar, I ended up with a collar band and button. I wanted to show up in case you had a collar issue or just wanted to do a collar band instead.
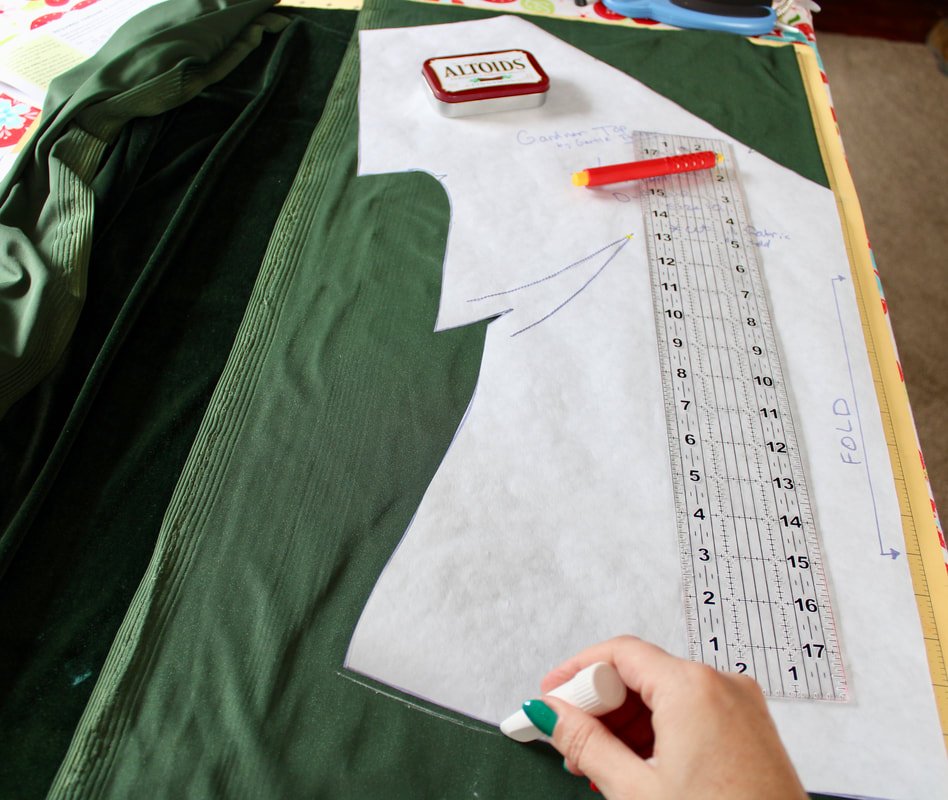
I traced both tops with my favorite chalk pen by Clover.
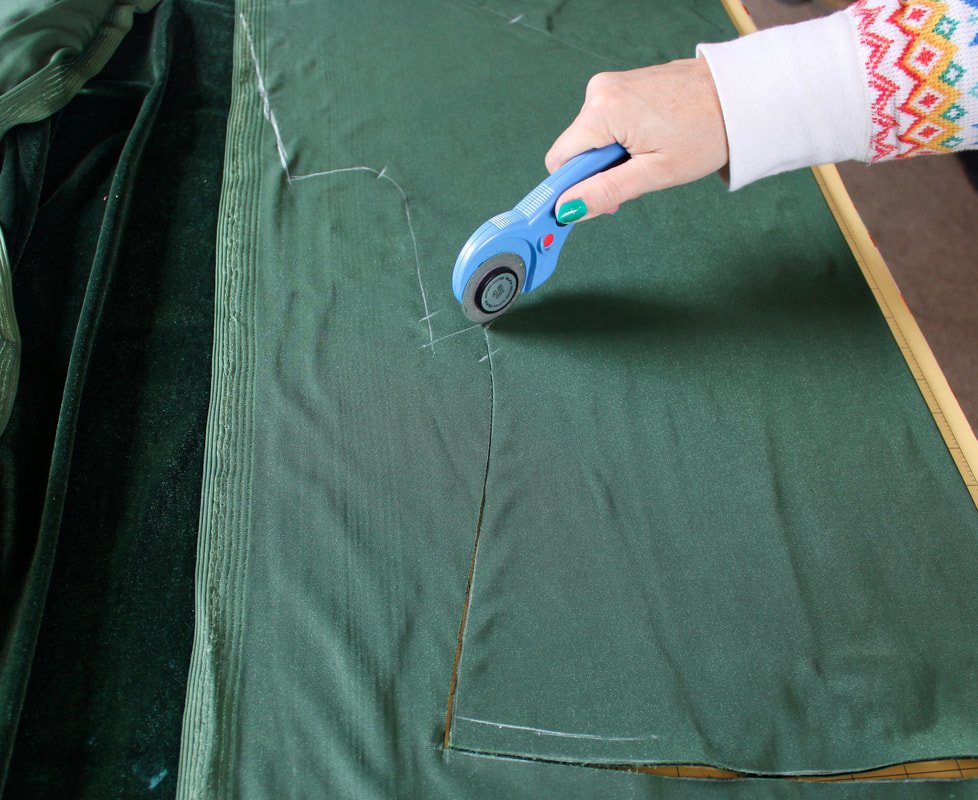
Cut both tops with my rotary cutter and mat. This keeps the velvet from stretching out.

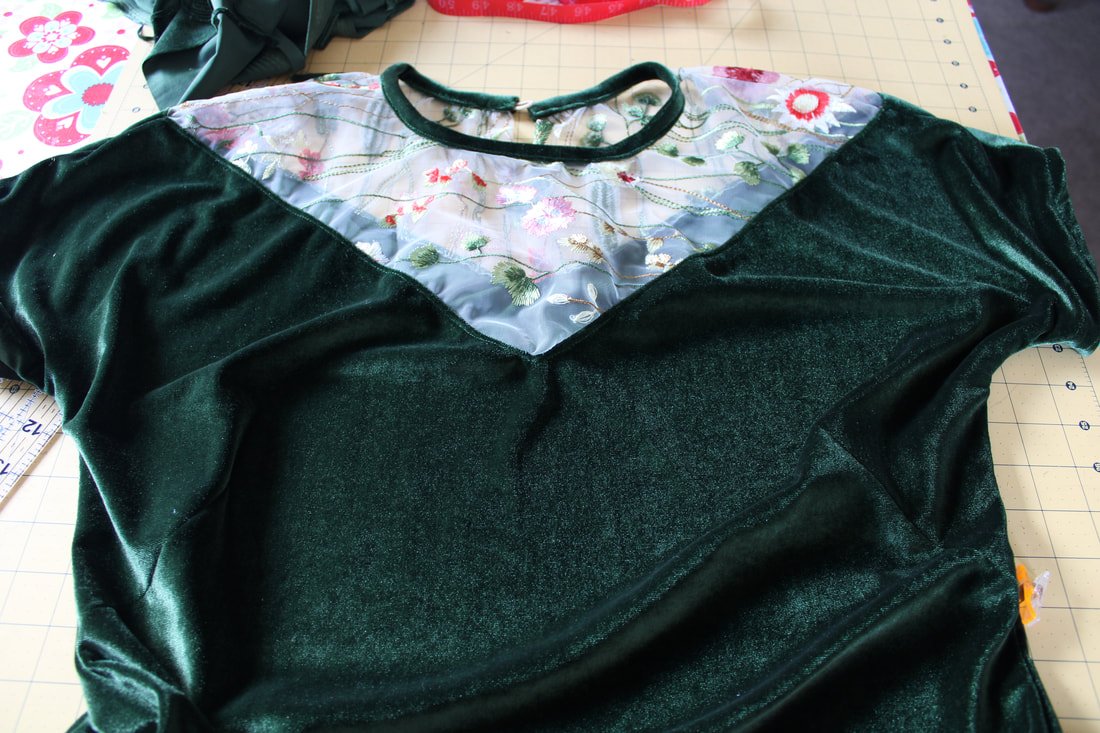
Green Velvet Gardner
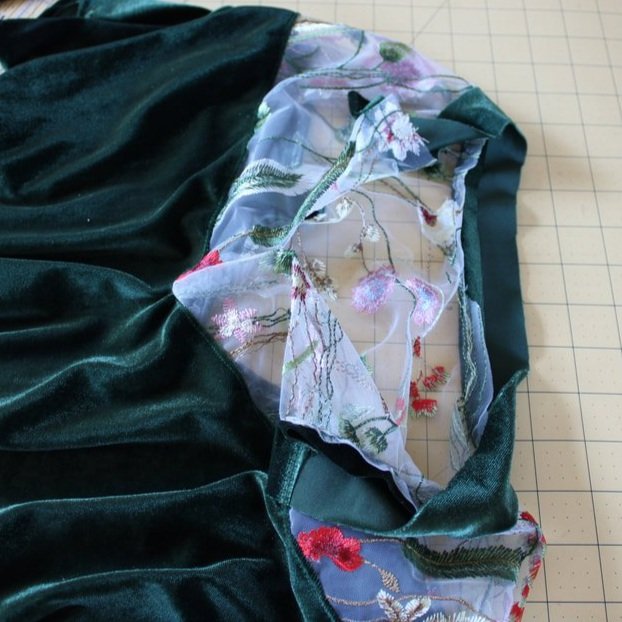
I only had 1/2 yard of the sheer fabric, so I had to change the direction of the print to fit this top. The front has the vines running horizontally while the back is going vertically. Nobody will notice unless I point it out. I wanted to show you just in case you run into this issue, too. ;)
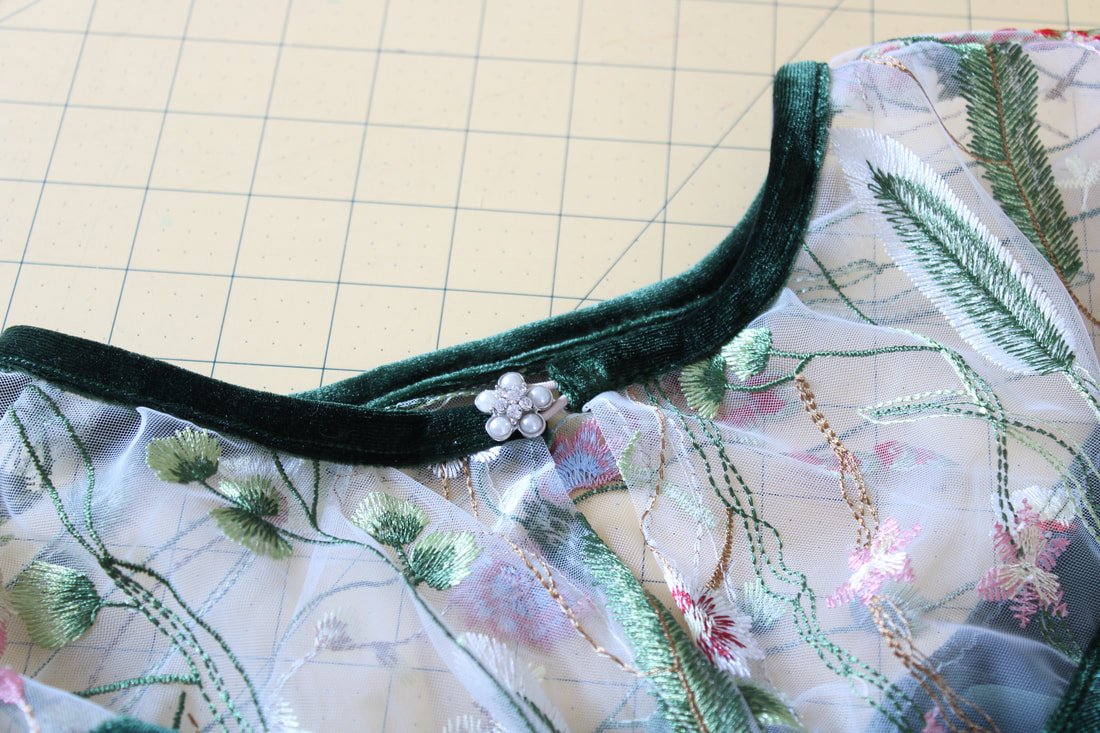
Collar Band Hack

I shared on Instagram my collar flub but didn't take any photos with my camera. So, instead, you're only seeing the band option.
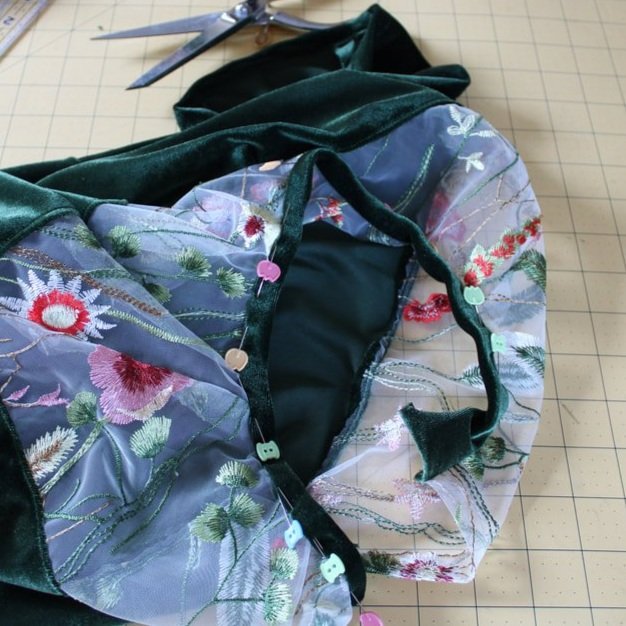
I measured around the collar opening and cut a strip that same length plus 1" by 3" wide.

I folded the raw short edge under, pinned the long raw edge to the sheer fabric, and sewed with a 1/4" seam allowance.
Fold the other long edge over and under, then pin and stitch on top. Stitch from one end to the next, making sure to close up the folded side. I stuck a small hair elastic in one end, for the button loop.
Hem the sleeves and bottom hem using a zigzag stitch after turning up once.
I picked the sparkliest button I had in my big button jar. I wish it was gold but, it works well enough.
What do you think? Do you like the original collar version or the hacked band version better?


I can't decide if I love the sparkles and red velvet or the florals and green velvet better. They're both so beautiful and fun!
Don't you just love this top? My favorite part is how the sheer sits on the shoulder. It's flawless and so feminine. It's also fancy and comfy to wear. I love how quickly the band came together, where as the collar took a little more time. But, I do love both versions.
Thanks for hanging with me today. Go join her Pattern and get this beautiful pattern along with tons of others.
Happy sewing and happier pattern hacking,
Annette