Rosie the Riveter Headscarf
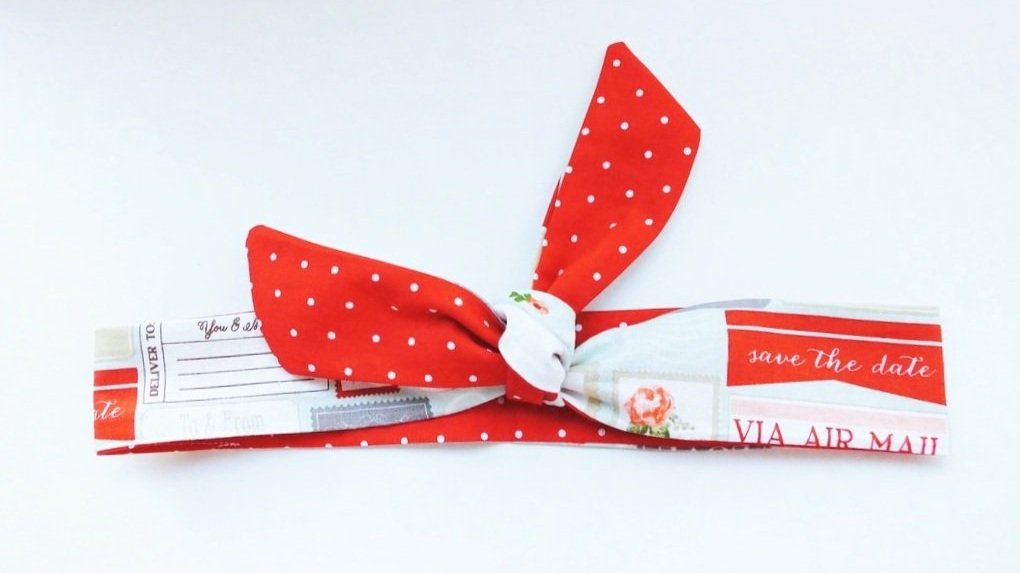
When getting ready, is your hair the last thing you do? Laziness can set in hard when doing your hair, amiright? But, it can still be cute when done quickly. I want to share with you an easy hair scarf pattern and tutorial. Great for beginner sewists or seasoned ones. We could all use a little help in the hair department when we’re short on time. ;)
You'll look cute as a button if you’re having a bad hair day. Or maybe you want to sew up something quick and easy to give to a 1950s-loving friend? This is the perfect project either way.
Materials You’ll Need:

1/4 yard of cotton fabric
Ruler
1/2 yard of contrasting fabric
Chalk pen, or other marking tool
Matching thread
Measuring tape
Sewing machine
Chopstick, unsharpened pencil, or other turning tool
Scissors or rotary cutter and mat
Pins or clips
Instructions
Measure your head or the person you are making the headscarf for. Write it down to use as a size reference.
Take your outer fabric and cut a long strip of the outer fabric measuring 36" by 2-4" wide (your choice). You can add or take away length and width at this point. This is the starting size that I prefer.
Use your chalk marker to trace the rectangle shape onto the wrong side of your fabric. You can use scissors or a rotary cutter and mat to cut out the fabric.
Cut an angle off the short ends from top to bottom, this is easy... just eyeball it. (The angle will give the scarf some style when it's on your head and tied.)
Iron the 2 strips nice and flat to get all the wrinkles out.
Sew with RST, pivoting at corners. Leave a 2-3” gap for turning out scarf.
Place the fabrics RST (right sides together) and pin, pin, pin. I left a 2-3" gap about 1/3 of the way on one side for turning out. This is important. Mark with pins where your opening is.

Trim the corners. Be careful not to cut through the stitching. This will make turning out easy and the corners will be crisp.
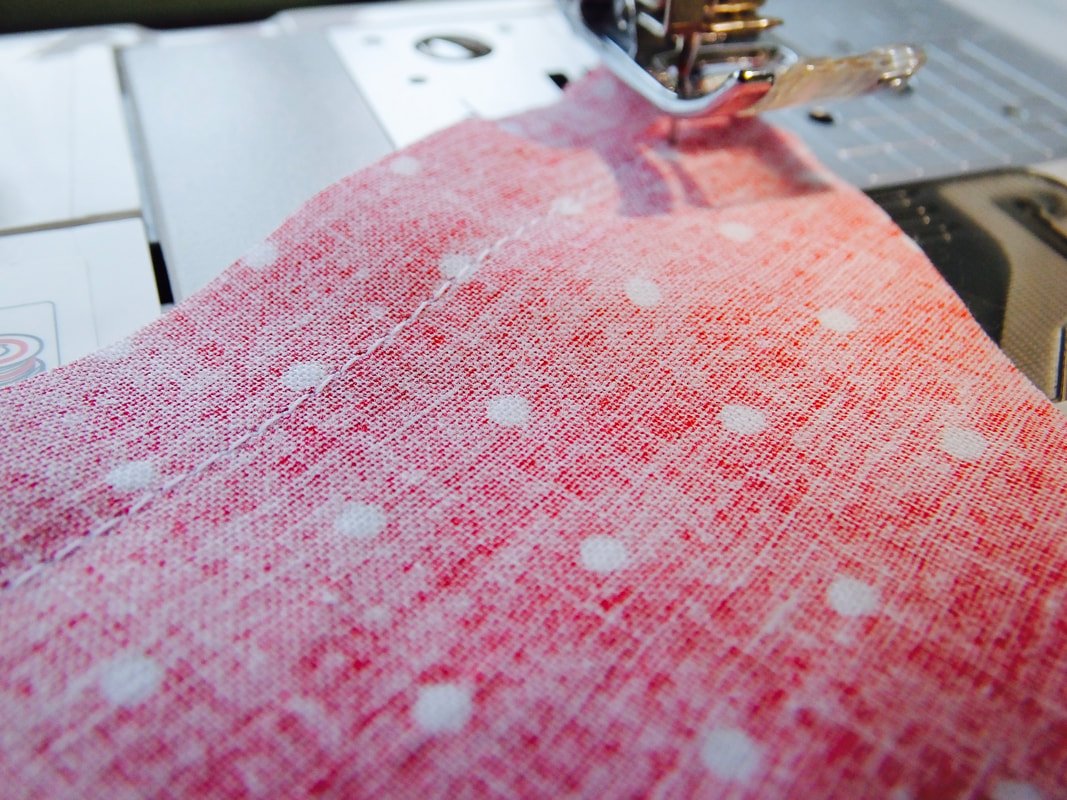
Sew with a 1/2" seam allowance and 2.5mm width. Start at the end closest to you and backstitch. Take your time, this is a long seam, and you want it to be straight.
When you get to the corner, stop sewing, leave the needle down in the fabric, and put the presser foot up. Pivot your fabric. Put the presser foot back down and continue sewing until you reach the long side again. Repeat the pivot method.
Sewing, sewing, just keep sewing. When you've come back to the gap you left, backstitch. If you forgot to leave a gap, no big deal. Pull out the seam ripper and take out a couple of inches of your seam. Take a few seconds to check your stitching. Make sure both pieces of fabric are stitched together and you don't have any accidental openings.

Trim edges to make turning easier.
Use sharp scissors to trim away the excess fabric at your corners. This will take away the bulk and give you nice, crisp corners.
After everything is trimmed everything, grab a chopstick!
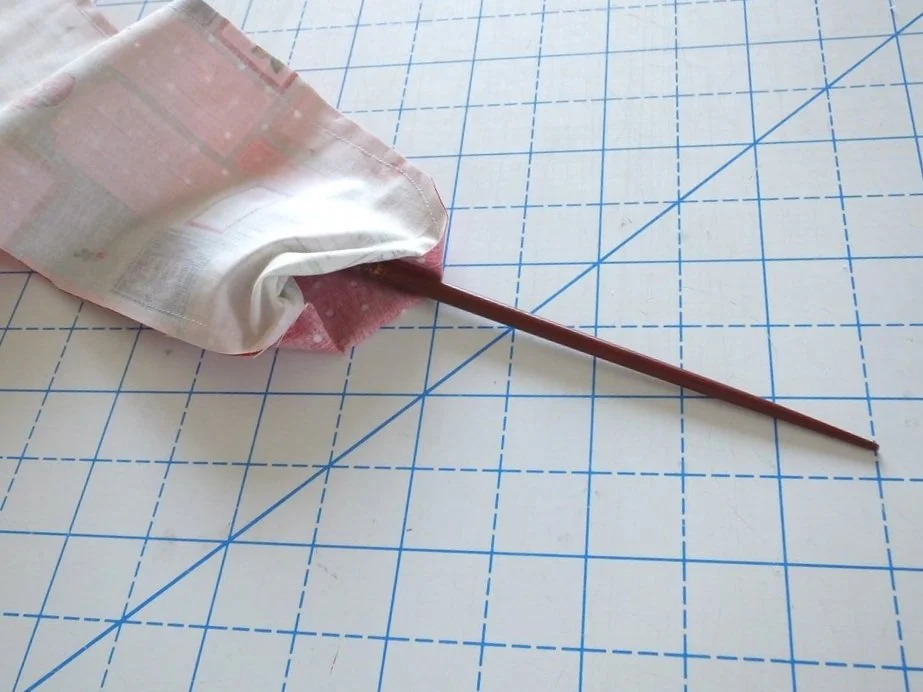
Start by poking the blunt end into a corner.

Use a chopstick or other blunt end tool to help turn your scarf.
It's time to turn the scarf right side out. Take the larger end of the chopstick, wiggle it into a corner, and gently slide the fabric over it. Once you get this tricky part done, it makes turning out easy.

Almost done. We just need to press and close the gap.
It's starting to look wearable. Woohoo!! If yours looks similar to this, yay! If not, uh-oh.

Iron your head scarf flat. If you need to, spritz water on the whole thing and iron away. Wrinkles be gone!

Ta-da! Looking good.
Now, stitch the opening closed. Fold the raw edges under making sure they are flush with the seam. Pin the opening closed. Take the scarf to your machine and topstitch the seam closed. Stitch 1/8" from the edge. Backstitch at the beginning and end. It will look like the photo below when it's finished.

Top stitch the opening closed, backstitch at the beginning and end.
Yay!! It's finished. Where will you wear your new scarf first? Super easy, right? You can whip up quite a few of these from one yard of fabric. They make great gifts for others as well.
To Wear the Scarf:

Place on head, comfortable. Cross the ends over each other and tie.
1. Place the center at the back of your neck and pull the ends up towards the sky at an angle
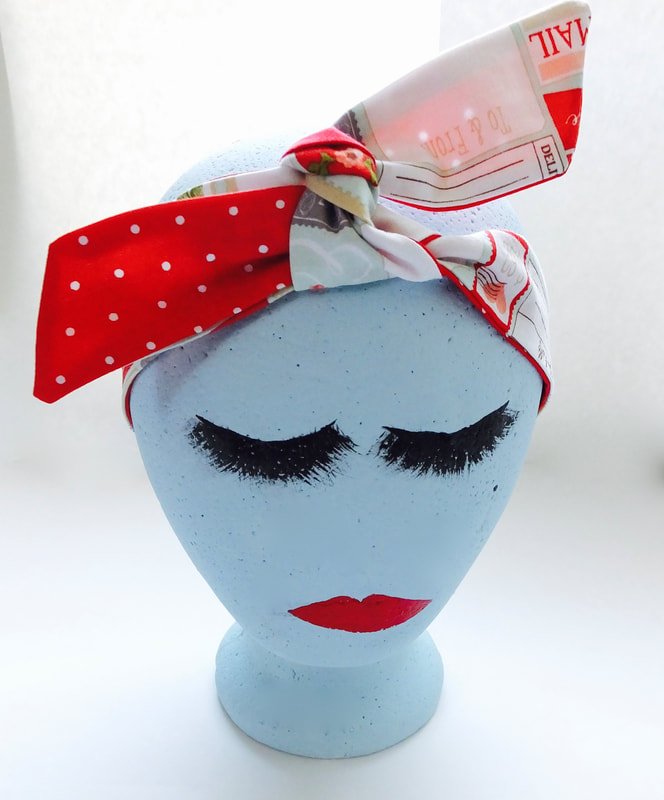
Tie into a loose double knot. Add bobby pins above your ears if needed.
2. Tie a loose but, not too loose knot where you want the scarf to sit.
3. Complete the knot and add bobby pins to the sides of the scarf. The pins keep it from sliding off your hair.
Your 1950s Rosie the Riveter hair scarf is complete!
When you make one, tag me on Instagram. I want to see your version! @sewingtothemoon
If you have any questions or comments, leave them below.
Thanks for hanging out today, and happy sewing!
Annette

Fold your scarf into a heart shape. Yes, I have this kind of time. Haha