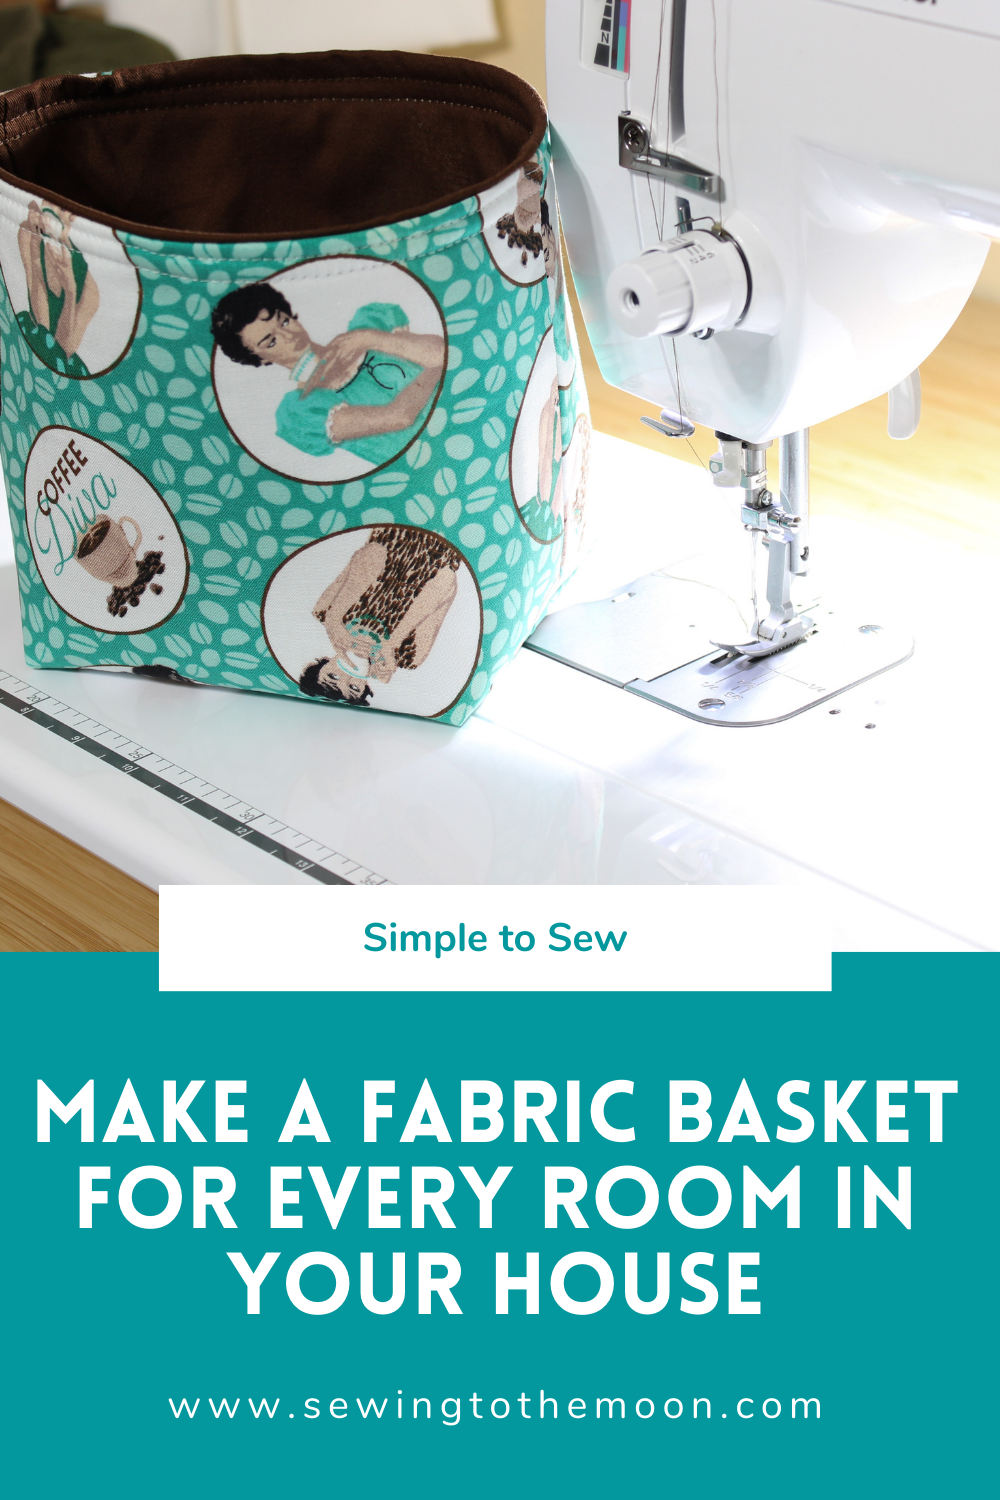
Simple to Sew: Fabric Basket
Sew a fabric basket to store your little and bigger items. They're great for snacks in the pantry or corralling makeup items on the bathroom counter. Let's get organized!
Have you caught the organization bug lately? You've cleaned your house and now need homes for all the random little things? With the world starting to open back up, you are probably having visions of people coming over. I bet you're thinking about all the backyard parties as well. Or not. Either way, everyone could use some easy storage ideas for their home.
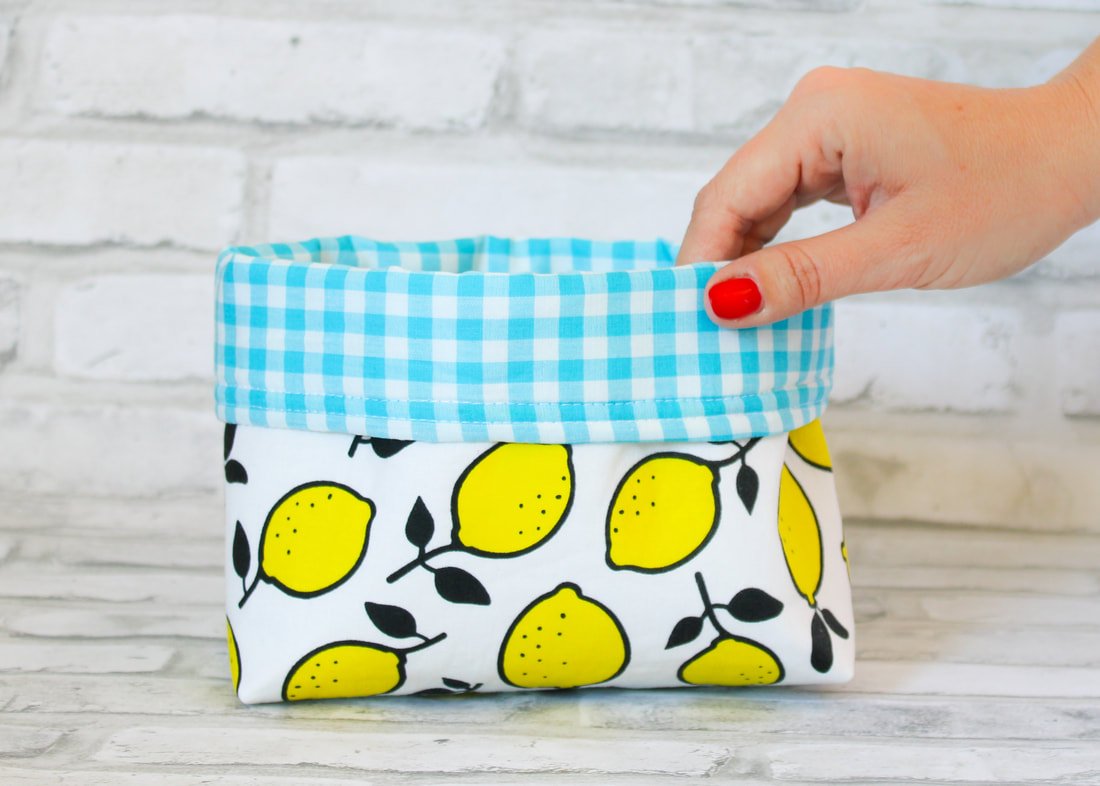
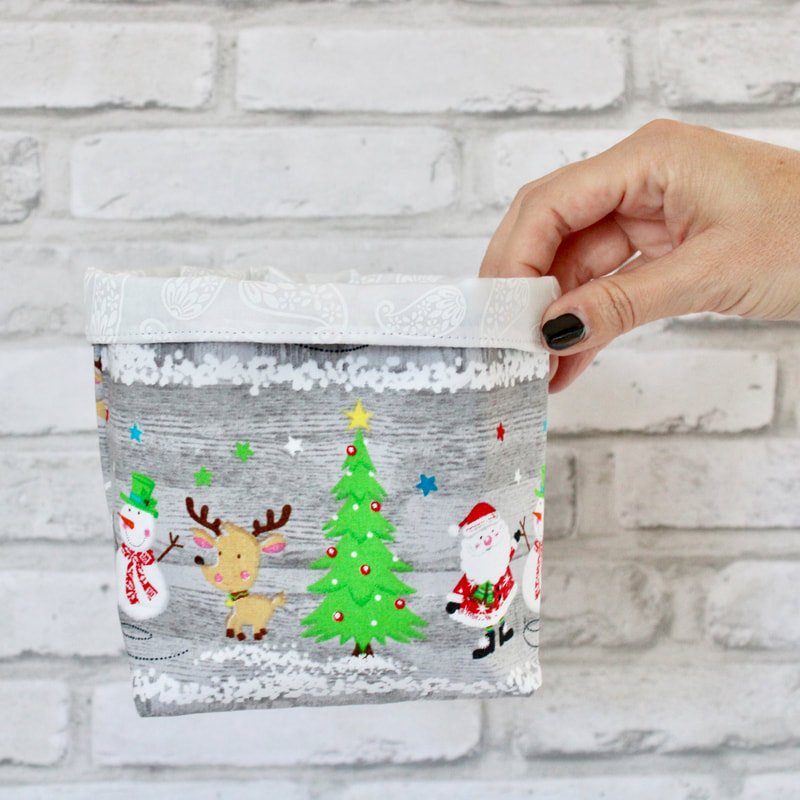
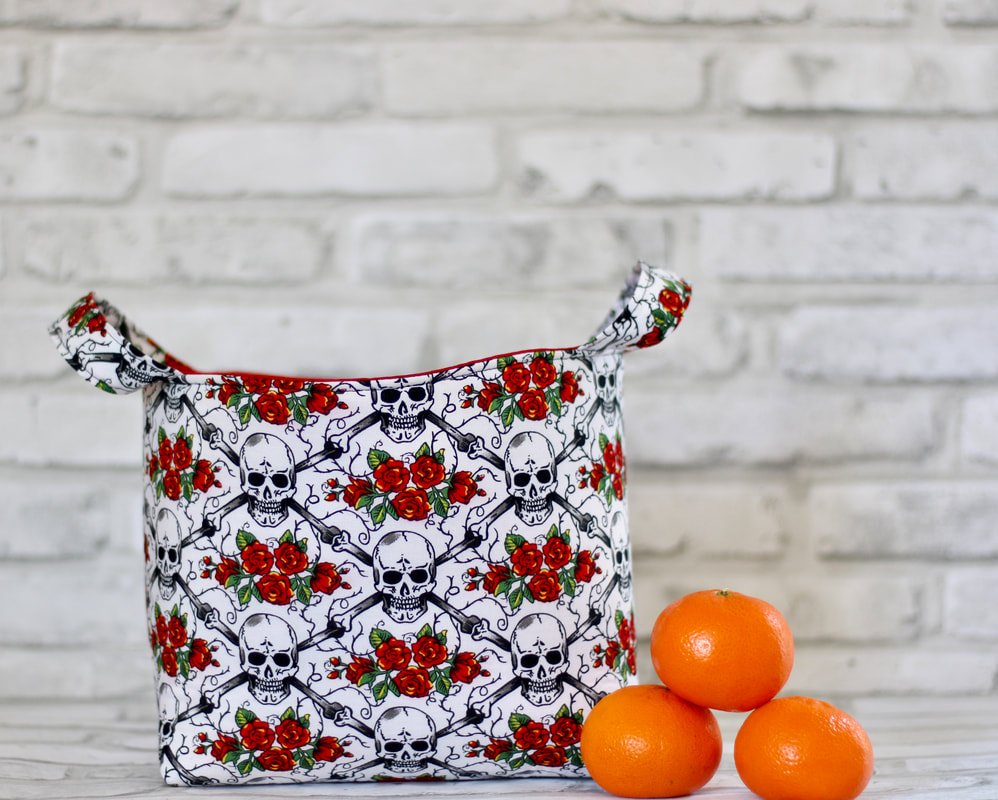
Fabric baskets or bins are the perfect small storage remedy. Keep some hand sanitizer inside a cute basket for your visitors. Make one and fill it with snacks for a new neighbor. Use them in the craft room for thread spools or fabric scraps. Or, make some fun home decor baskets for your kitchen and keep fruit inside.
Pick out fun fabrics from your stash or purchase new styles you love. These simple to sew, fabric baskets are 100% customizable. Soon, every room will have a fabric bin. Once you make one, you'll want to make more. I promise! Yay for getting organized!
Let's get started.

Supply List:
Sewing Machine
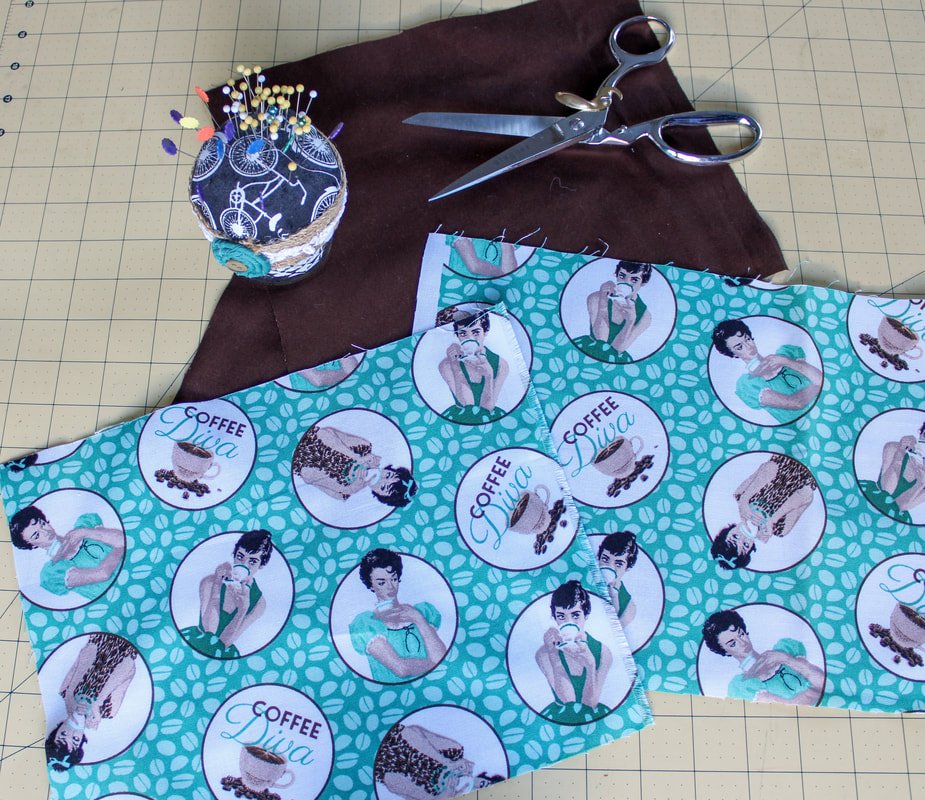
1/4 yard (minimum) fabric for outer
1/4 yard fabric for lining
Fusible or sew-in fleece interfacing
Iron and ironing board
Matching or contrasting thread
Pins or clips
Scissors
All your other sewing notions you love
If you're looking for budget-friendly sewing options, read this post. It's long and has tons of information. If you're brand-spankin' new to sewing, start there. It's a great in-depth post even if you're a seasoned sewer.

Fabric Choices:
You want a medium to heavy-weight fabric to make fabric bins with. The fabrics listed below are great options but, experiment with what you have on hand too. Make these entirely your own. One fabric I don't recommend is stretch knit.
Canvas
Denim
Quilting Cotton
Home decor fabric
Upholstery fabric
Linen
Oilcloth and vinyl (I don't use interfacing for these fabrics)

Sew a Fabric Basket:
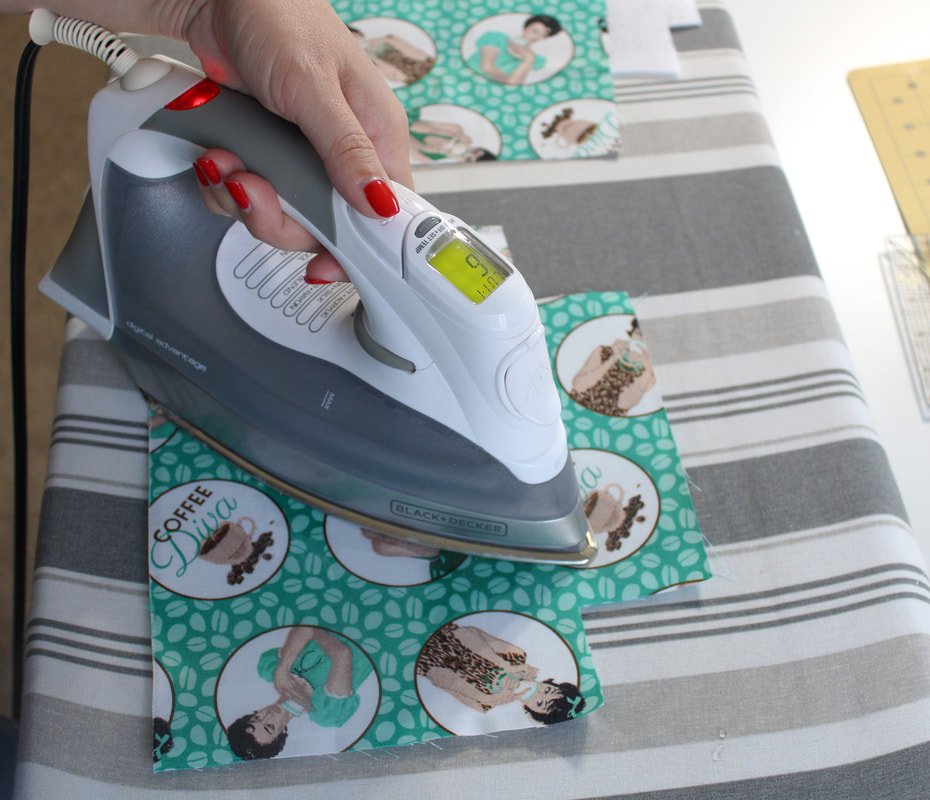
Prewash and iron your fabric. *If you are using oilcloth or vinyl, skip this step.
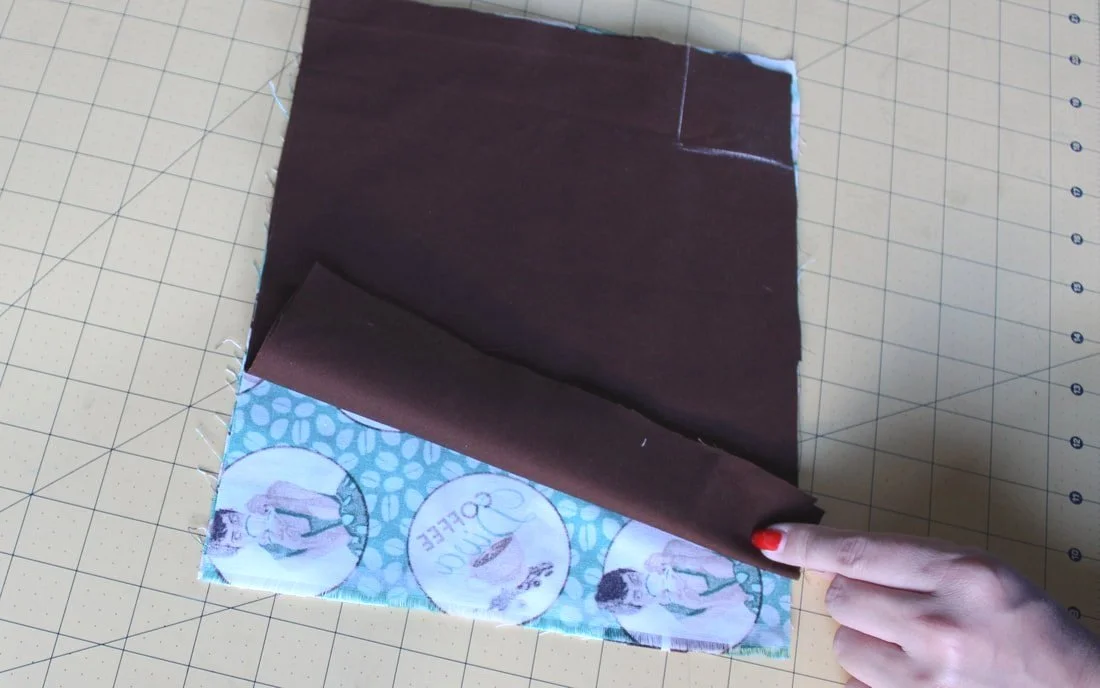
Cut 2 rectangles of your outer and 2 of the lining fabrics. Each should measure 10" wide by 8" tall. Of course, you can change this measurement. Make them longer or shorter, taller or wider. This just gives you a starting point.
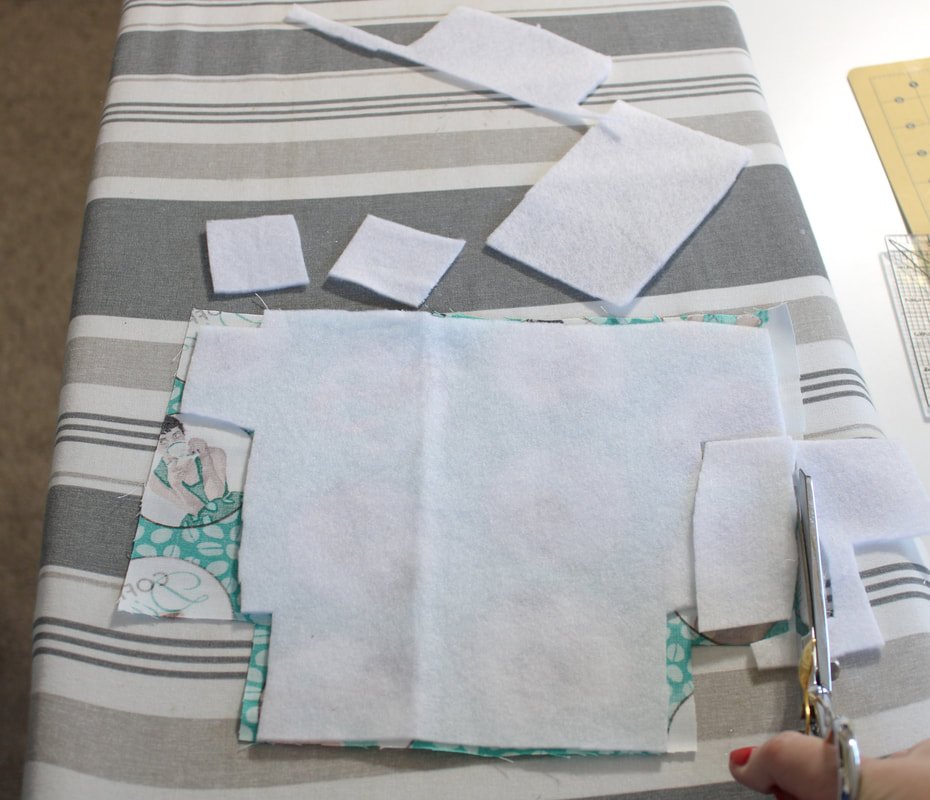
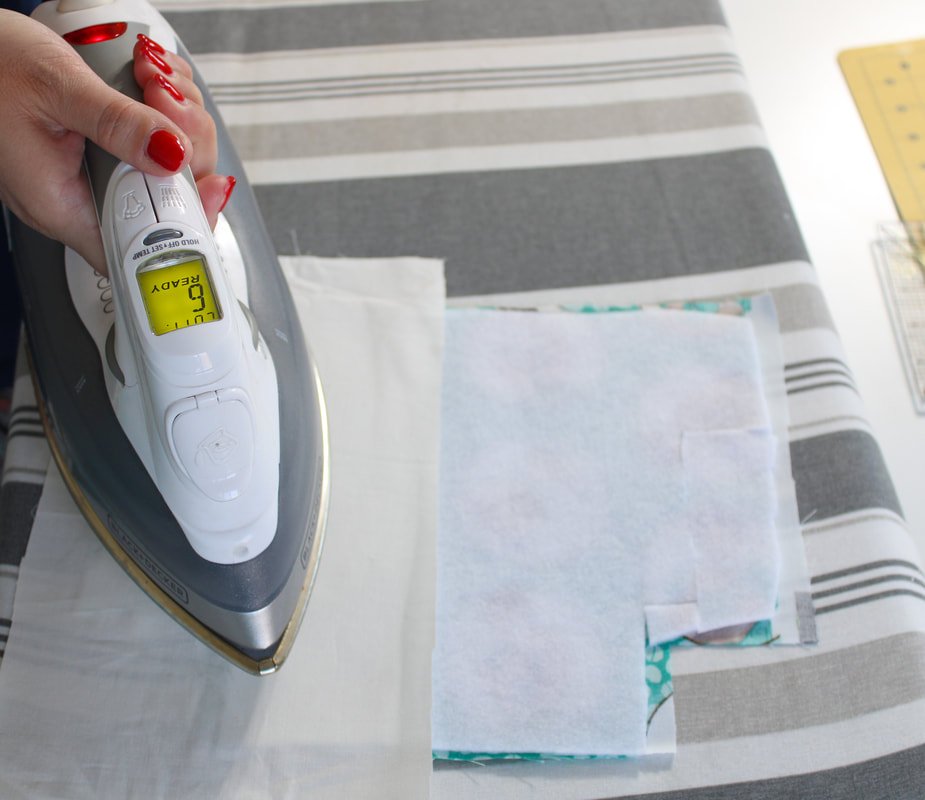
Interfacings: Cut your interfacing and add to your fabric following the package instructions.
This is where you can experiment. Use lightweight, heavyweight, or fleece interfacing.
When I make a smaller basket with denim or canvas, I tend to not add interfacing.
When sewing with quilting cotton, I use fleece or a medium-weight fusible. Find what works best for you.
Foam interfacing is really nice to use. It costs more but, creates such a nice finish and look.


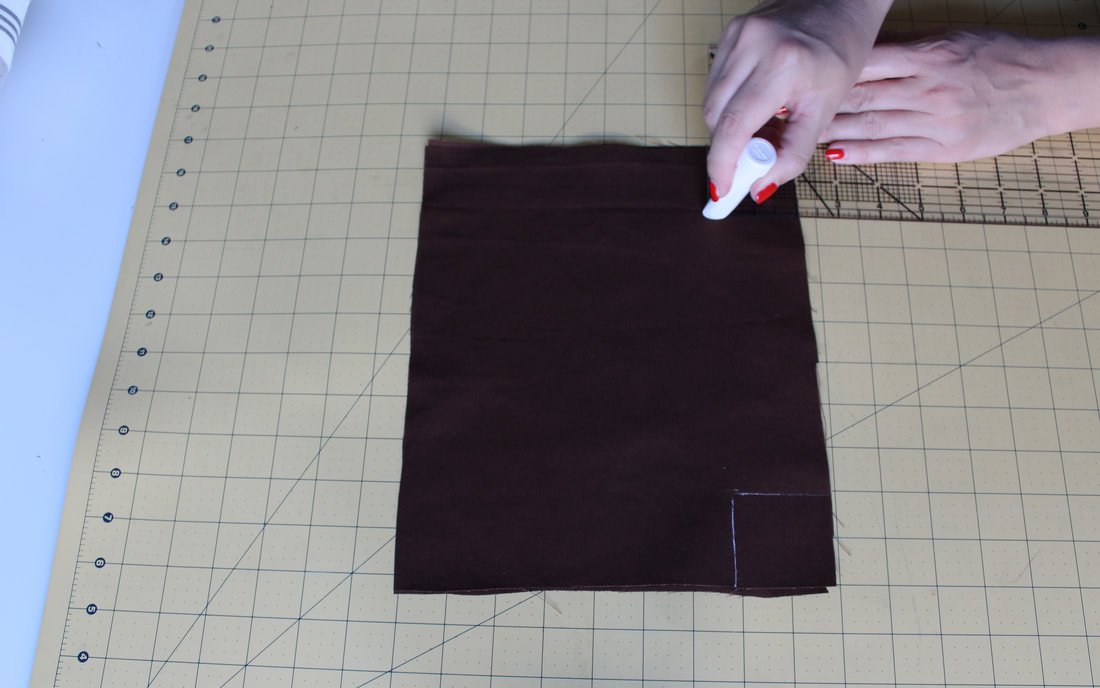
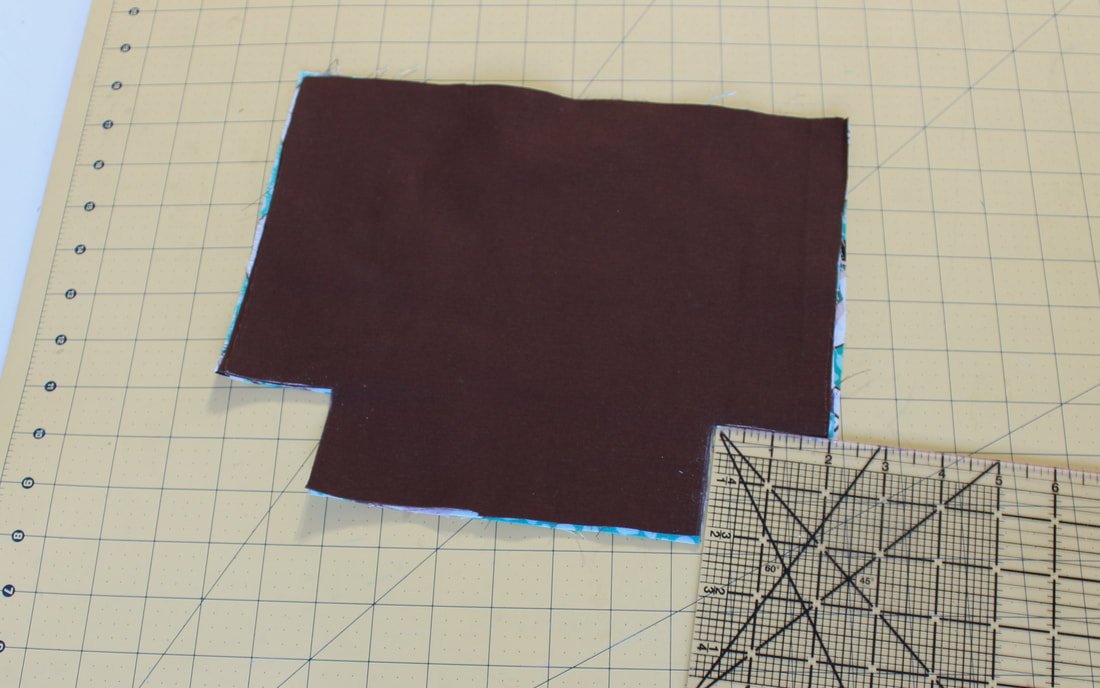
4. Cut squares into your fabric pieces. For the measurement above (10"x8") you'll measure a 2" square. Using a quilting ruler makes this part easy. If you don't have one, just mark 2" from the bottom and sides. *I like to place all 4 layers together to cut the corners. When I go to pin the sides and bottoms, I match the corners up. This ensures even corners.
If your basket is smaller, make a 1.5" square. If it's larger, mark a 2.5" or 3", and so forth.
I'm sure there's a science to it but, I can't really math. LOL
How am I a sewer, you ask? I don't know. ; -)
Interfacing Hack: Piecing it Together
Add interfacing to the outer fabric.
Here's a quick tip on interfacing if you don't have a big enough solid piece.
If you're short on interfacing, piece it together like a puzzle. I do this more often than I'd like to admit for my projects. So, shhh, don't tell anyone. You can't tell from the correct side. Thinner pieces should overlap slightly while thicker interfacings should butt up next to each other.

Use a whole piece of fusible fleece. If you don’t have enough, follow the hack below.
Cut and puzzle your smaller pieces together. Use a press cloth on the fusible side and press. This takes a little bit more time, but it works in a pinch.
After your fabric pieces are cut, interfaced, and corners cut out, you're ready to sew!

You can’t tell the difference between the full piece of interfacing or the puzzled one.
Time to Sew
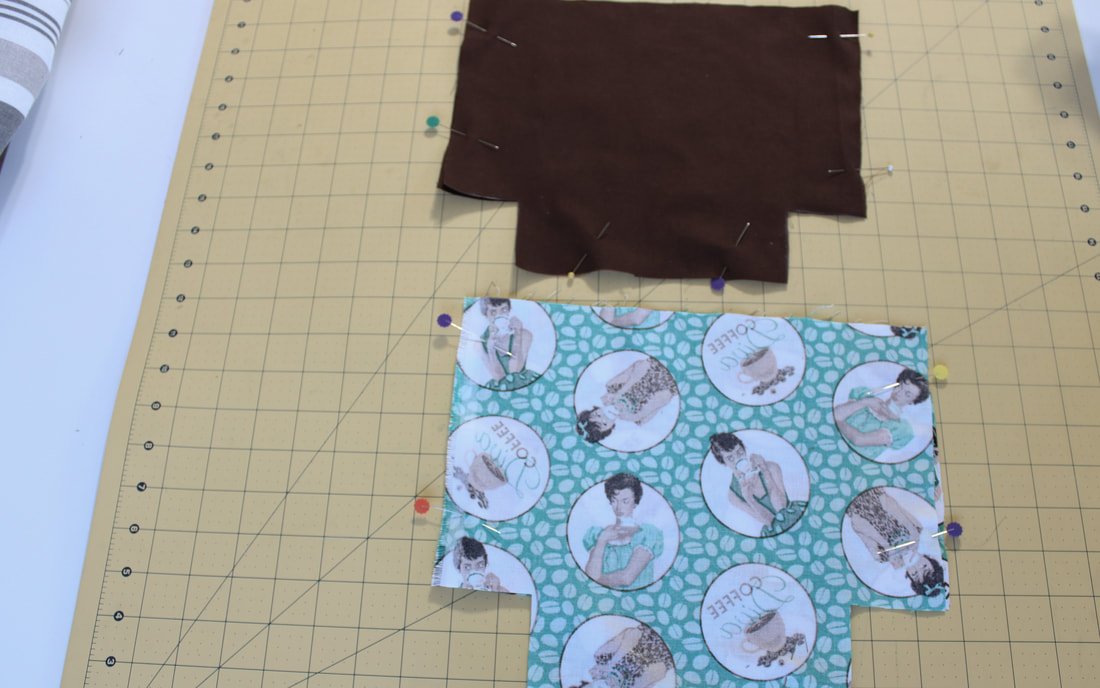
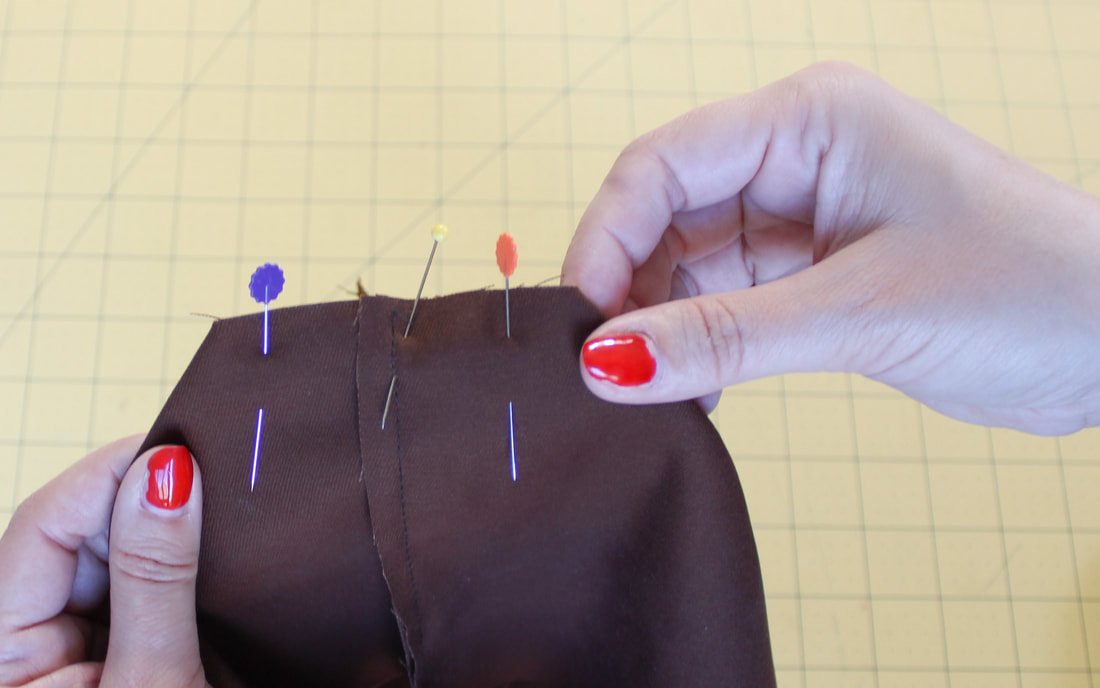
Place the two lining pieces RST and pin/clip together.
Place the two outer pieces RST and pin/clip together.
Use a 1/4" seam allowance, and sew each side and bottom together, backstitching at the beginning and end.
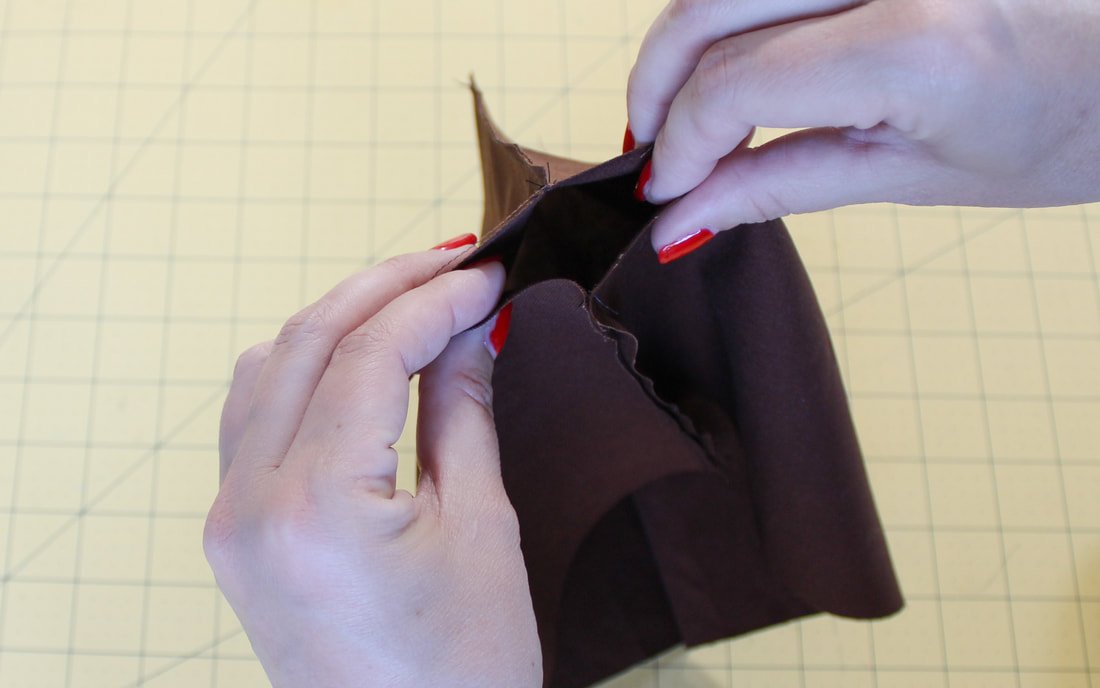
Now, sandwich the corners together to form the boxy bottom. Pinch them in the opposite direction so, the seams you just sewed are on top of each other. Pin together. It should lie flat if your cutting is exactly a square. Match up the side seams nicely because you will see them.
Sew across the small corner area with a 1/2" seam allowance. Backstitch at the beginning and end. Trim your seam allowances.

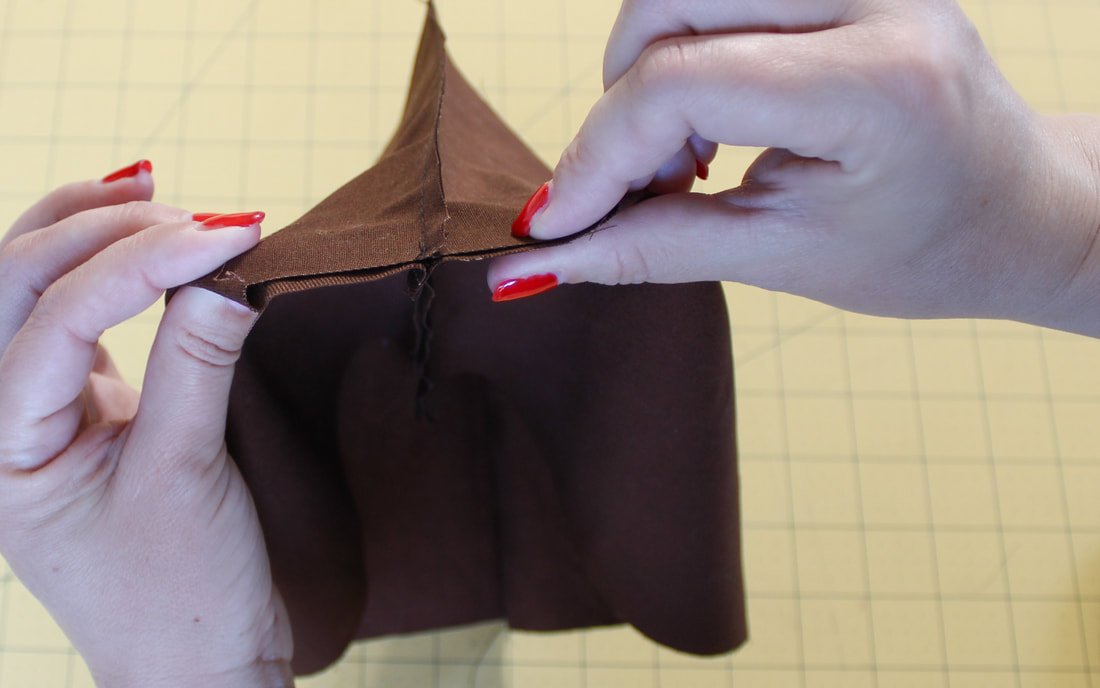
Do the same thing with the outer fabrics.

Press the side seams open as well as you can.
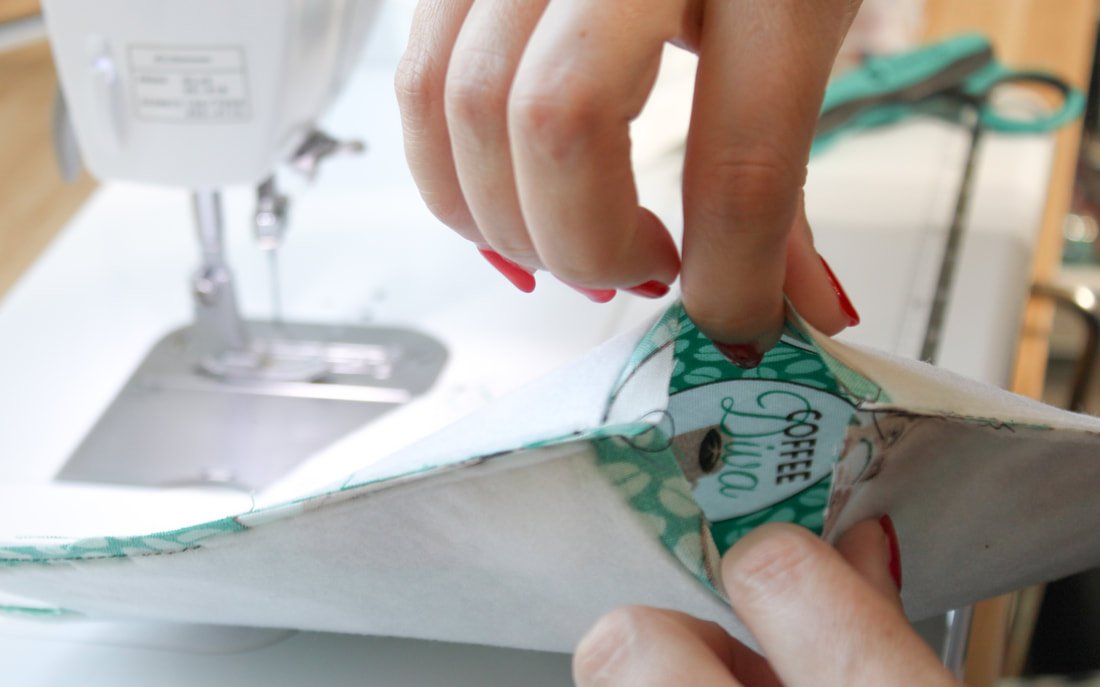
6. Turn the lining right side out. Place the lining piece inside the outer piece. The right sides should be touching each other. Pin together at the side seams first, then continue to pin around the whole top of the bin. Leave a 4" gap for turning out. You can do this at the back or along a side seam area.
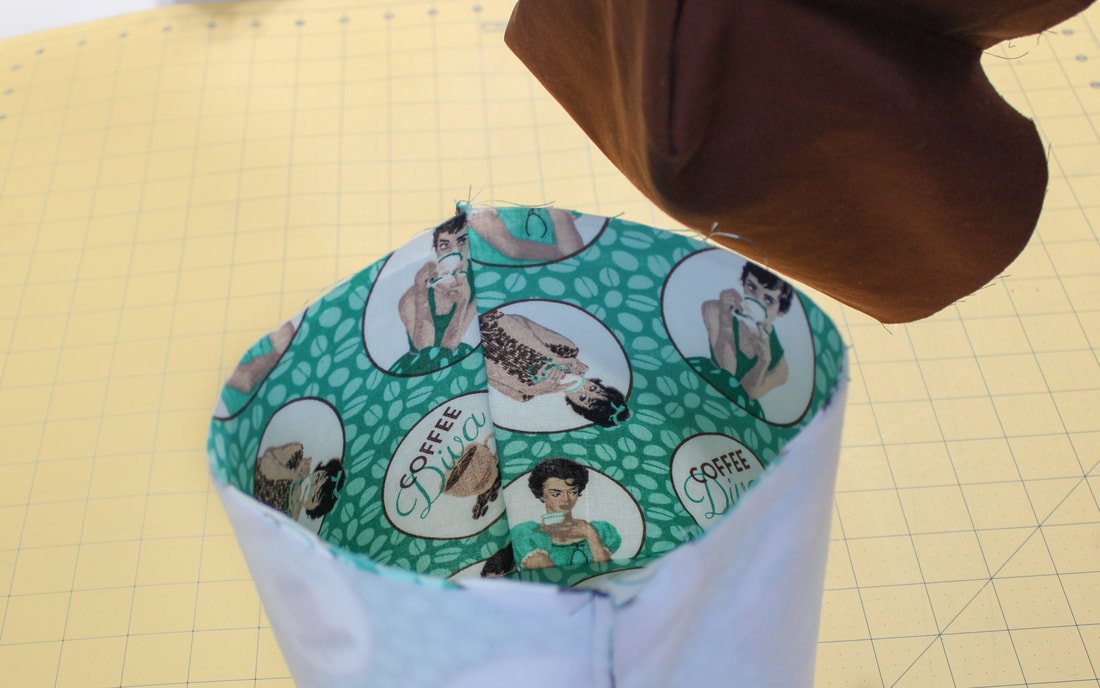

Sew the fabric basket top, leaving a gap open for turning.
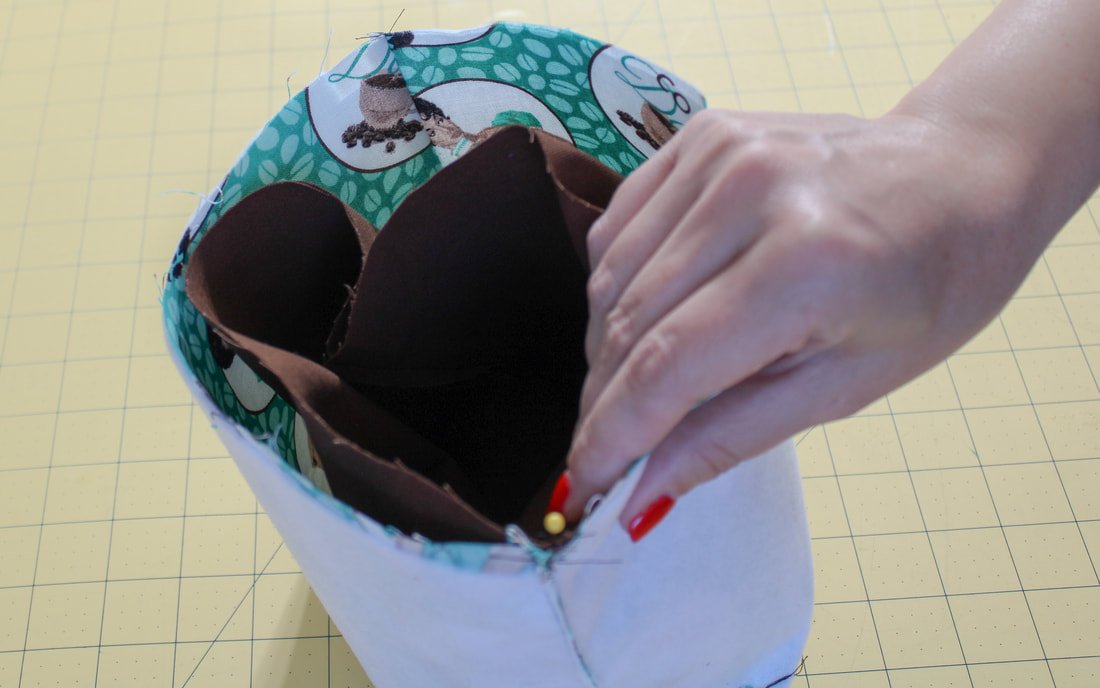
7. Using a 1/2" seam allowance, sew around the whole top making sure to catch both layers. Backstitch at the beginning and end of the opening.
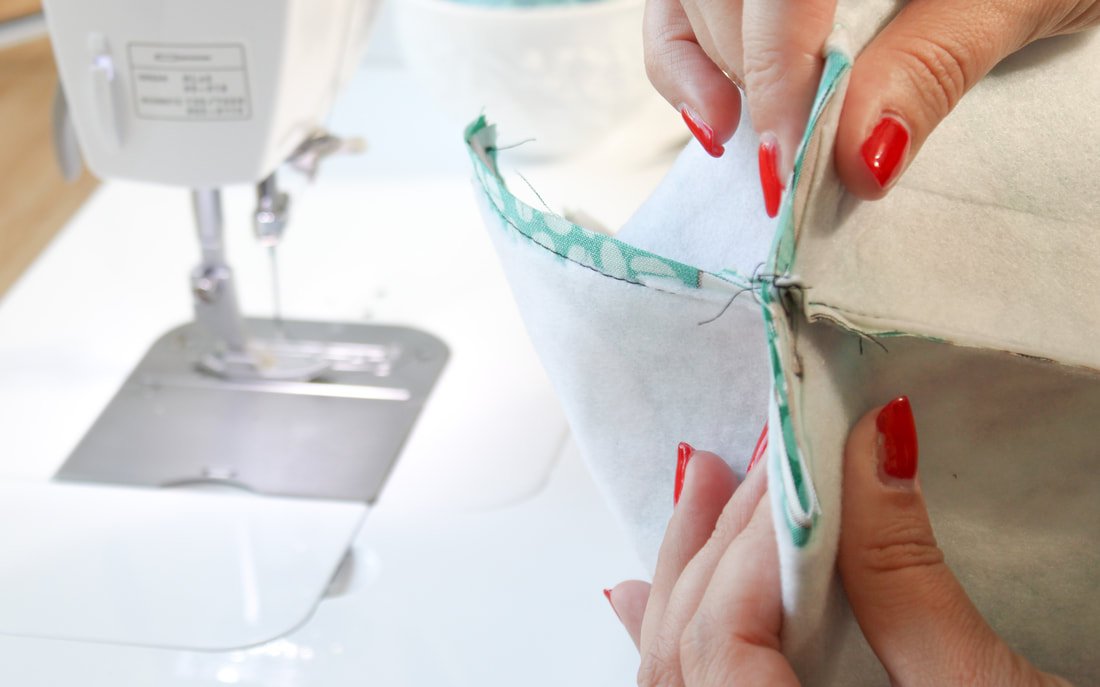
8. Turn the fabric basket out. Reach inside and gently pull out the lining through the gap you left open. Then, reach inside and grab the outer fabric and pull it out, gently. This is a little more difficult because of the thicker interfacing. Just be patient and keep pulling it out through the opening.
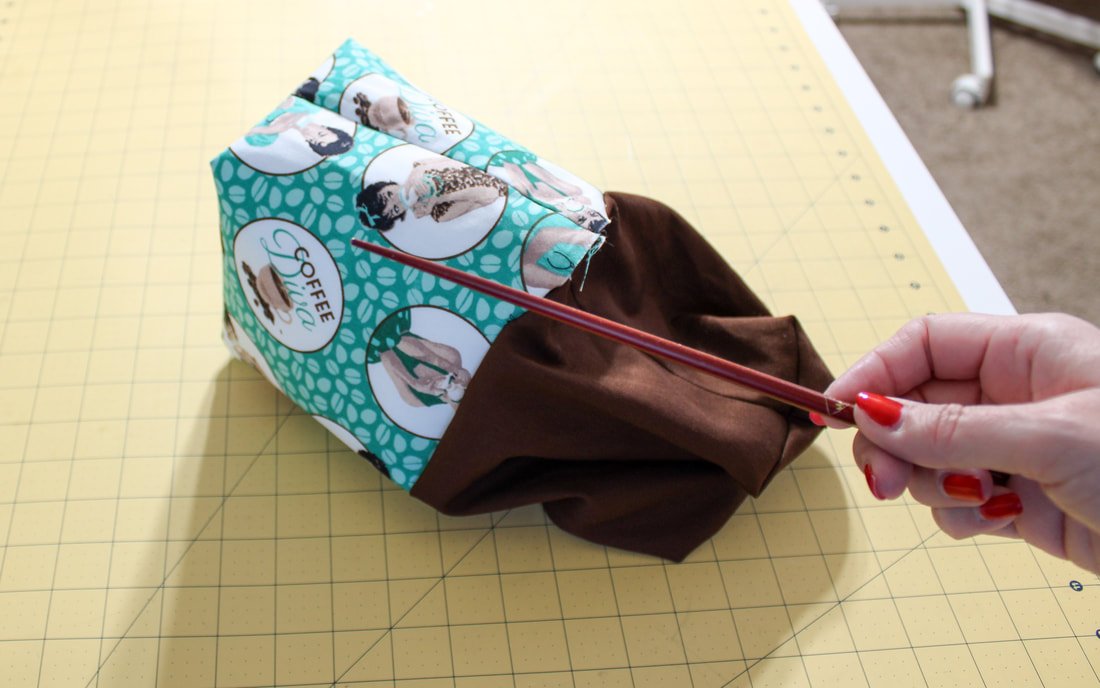
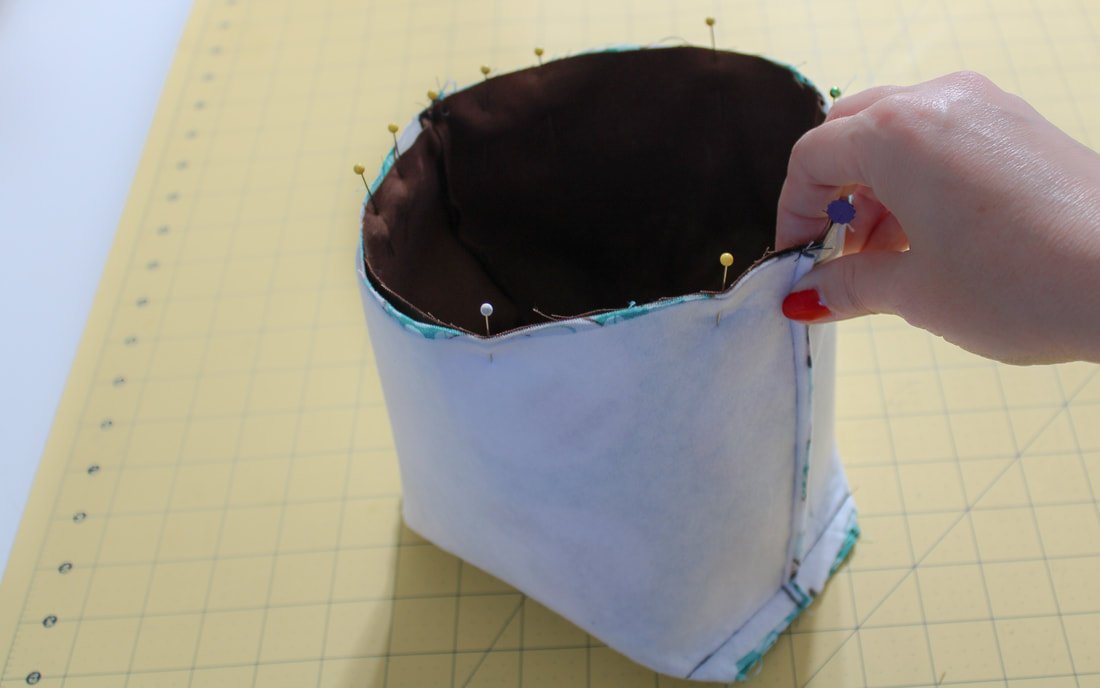
Poke out the corners using a chopstick or blunt end of a pencil. I love using my chopstick for poking out corners. My dad brought it back for me, from China, when he visited 20 years ago. It's a near and dear to me, sewing notion. :-)

Pull the lining out.

Tuck the lining into the fabric basket.

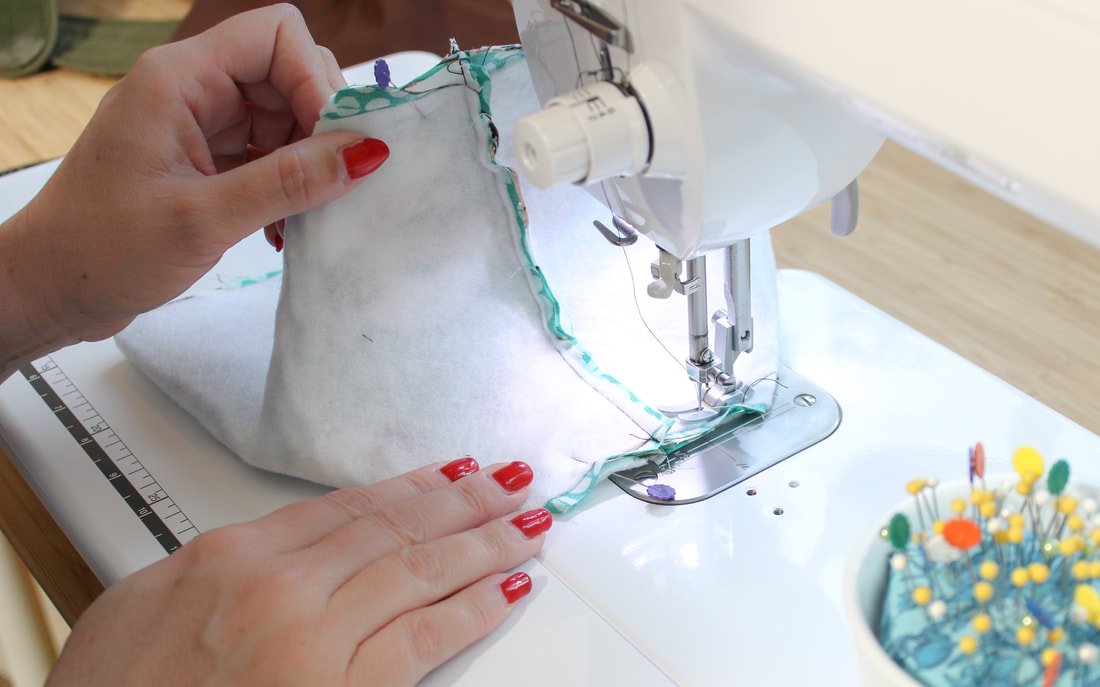
Press, then pin.

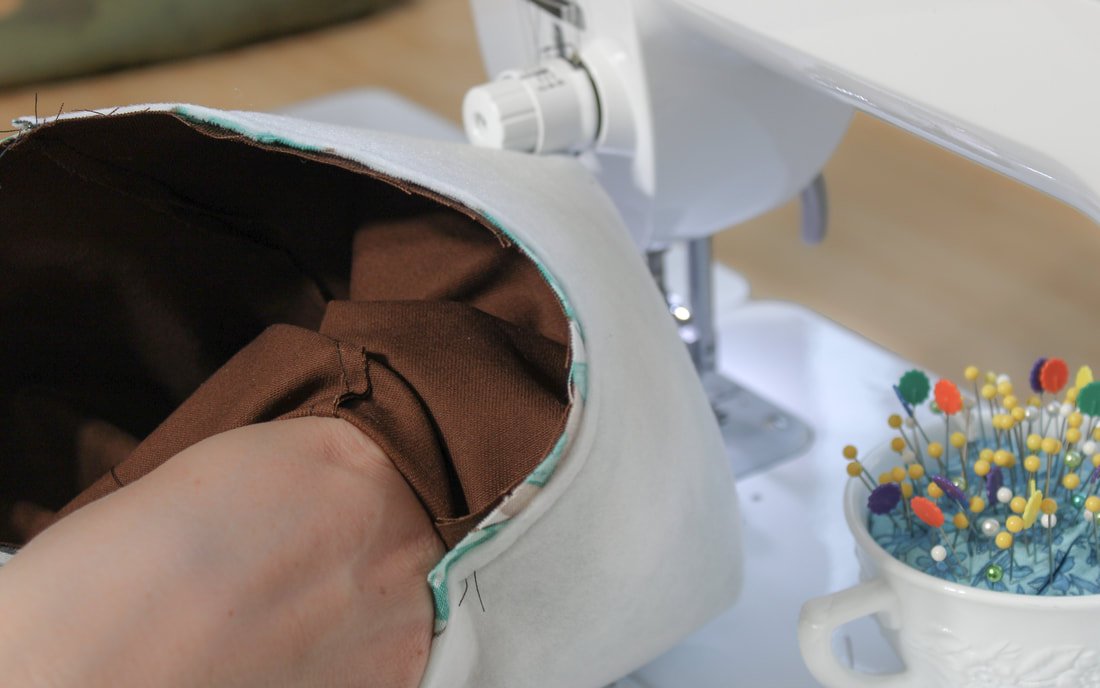
Topstitch. I used a second row of stitching for this particular fabric basket.
Check your seams. Make sure everything is neat and tidy. No interfacing is sticking out or fabric that wasn't sewn in, accidentally. No puckers either. If anything is happening that you don't love, grab that seam ripper.
9. Push your lining back down into the basket. Press the top edge with your iron to flatten out the seam bulk.
10. Last step! Pin the opening closed, and topstitch around the whole top. You can even do a second row of stitching using the edge of your pressure foot as a guide.
That's it. You're done! Go fill it up with whatever fun things you have that need a home.
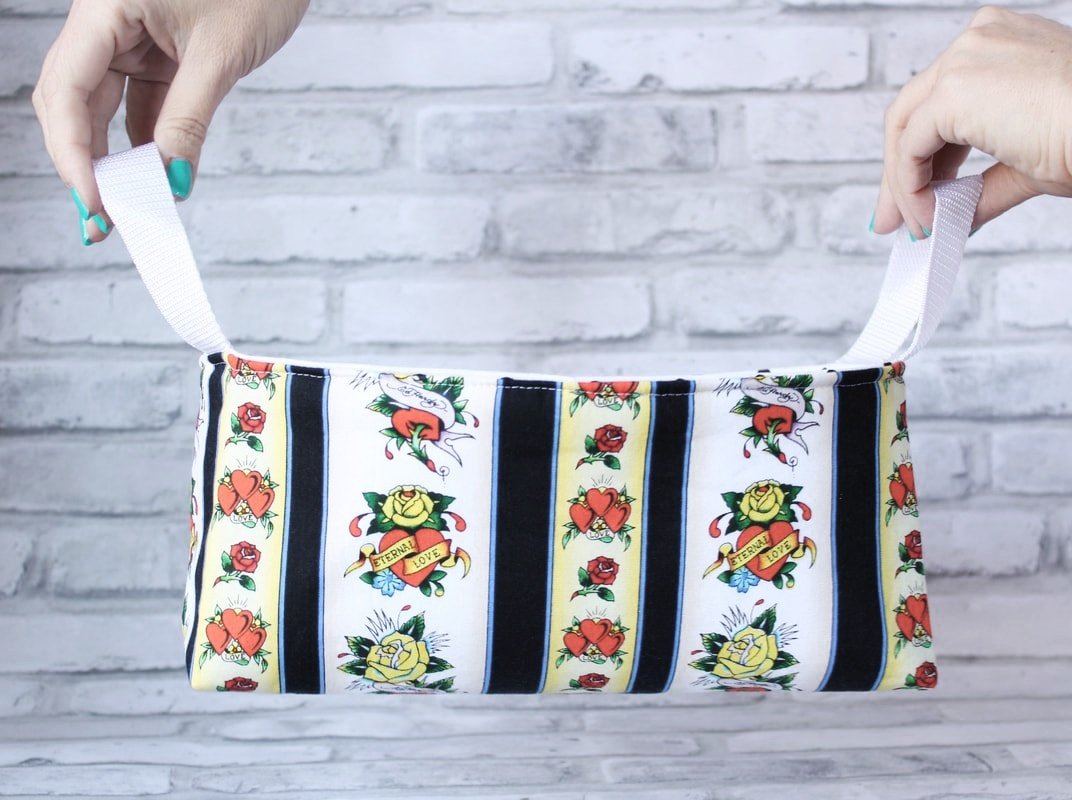
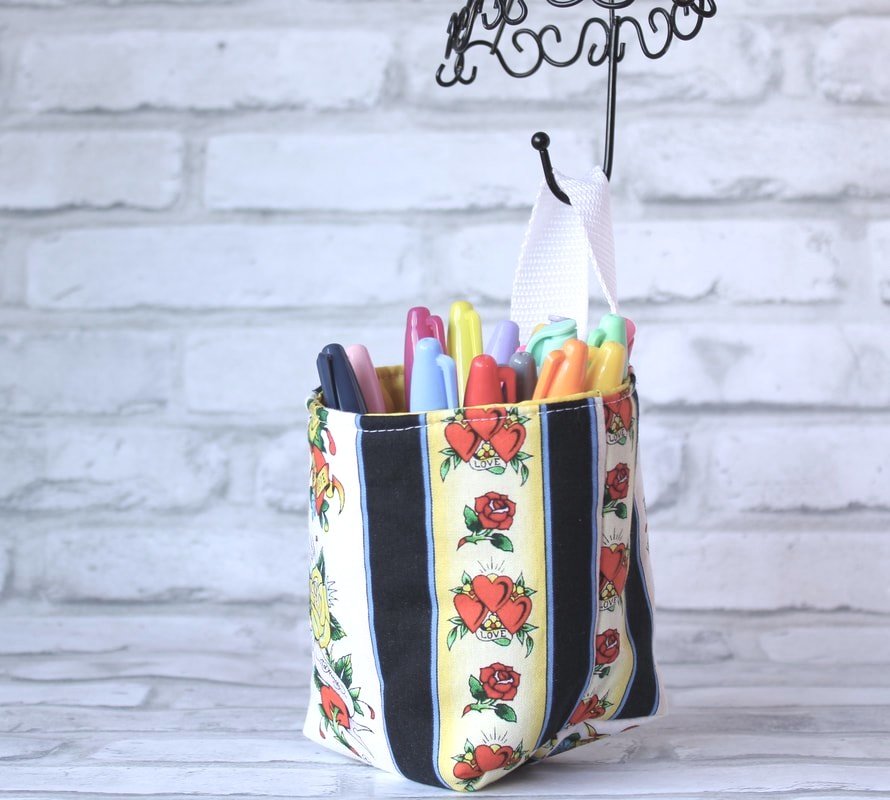
It looks like a lot of steps but, it's not. Once you make a simple fabric basket, you'll want to make more. They're great for storing all the little things and big things. Just follow the interfacing guide above and experiment with different fabrics and sizes. You can add handles or loops for hanging too. Make an extra-long loop on a bin to use for a trash bin inside your car. There are endless possibilities for these little baskets of fun.
Share in the comment section what you plan to use them for.
XO,
Annette
More Options
Play with sizing. Make them tall. Make them short. If you're unsure if the sizing will work for your needs, use scrap paper to staple the pieces together. Add a handle or two. These are meant to be customized for your own use. Have fun with them!