Pattern Reviews, Sewing Hacks, Tips & Free Patterns
The Sewing Blog
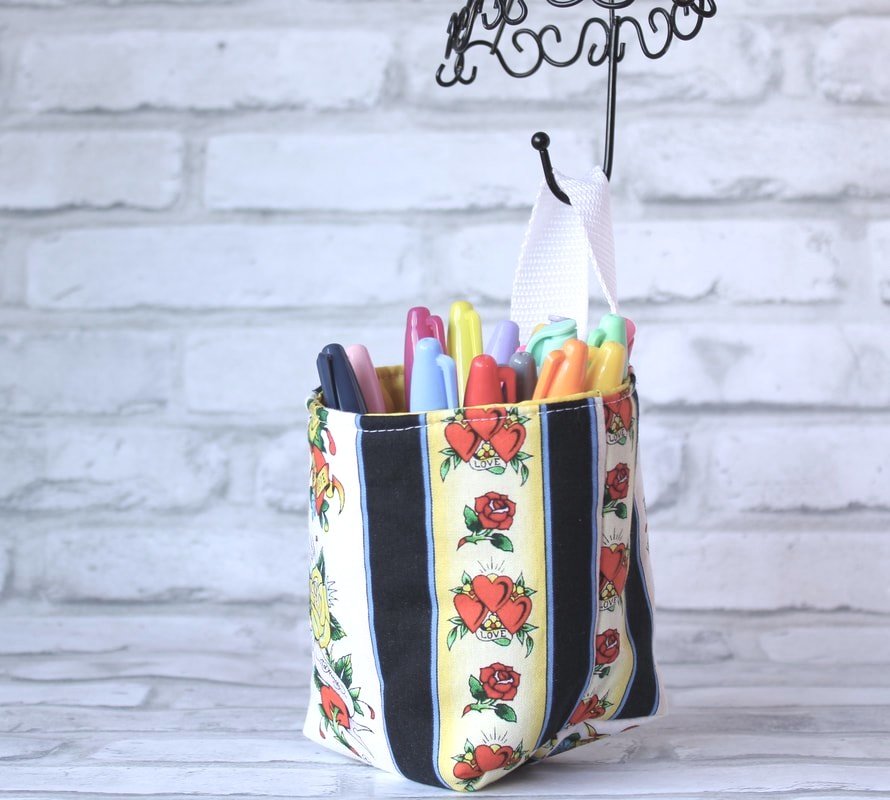
Simple to Sew: Fabric Basket
Fabric basket sewing tutorial. Sew a little bin to keep your items inside. Great for every room in the house. Free pattern and sewing tutorial.
Sew a fabric basket to store your little and bigger items. They're great for snacks in the pantry or corralling makeup items on the bathroom counter. Let's get organized!
Have you caught the organization bug lately? You've cleaned your house and now need homes for all the random little things? With the world starting to open back up, you are probably having visions of people coming over. I bet you're thinking about all the backyard parties as well. Or not. Either way, everyone could use some easy storage ideas for their home.
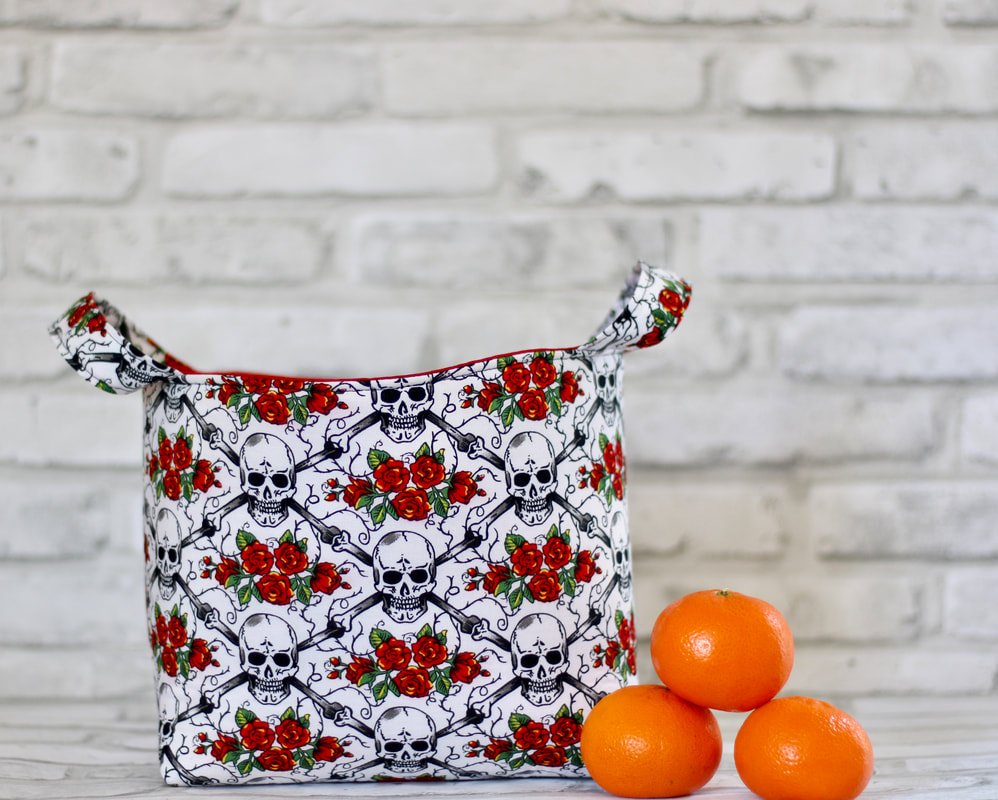
Fabric baskets or bins are the perfect small storage remedy. Keep some hand sanitizer inside a cute basket for your visitors. Make one and fill it with snacks for a new neighbor. Use them in the craft room for thread spools or fabric scraps. Or, make some fun home decor baskets for your kitchen and keep fruit inside.
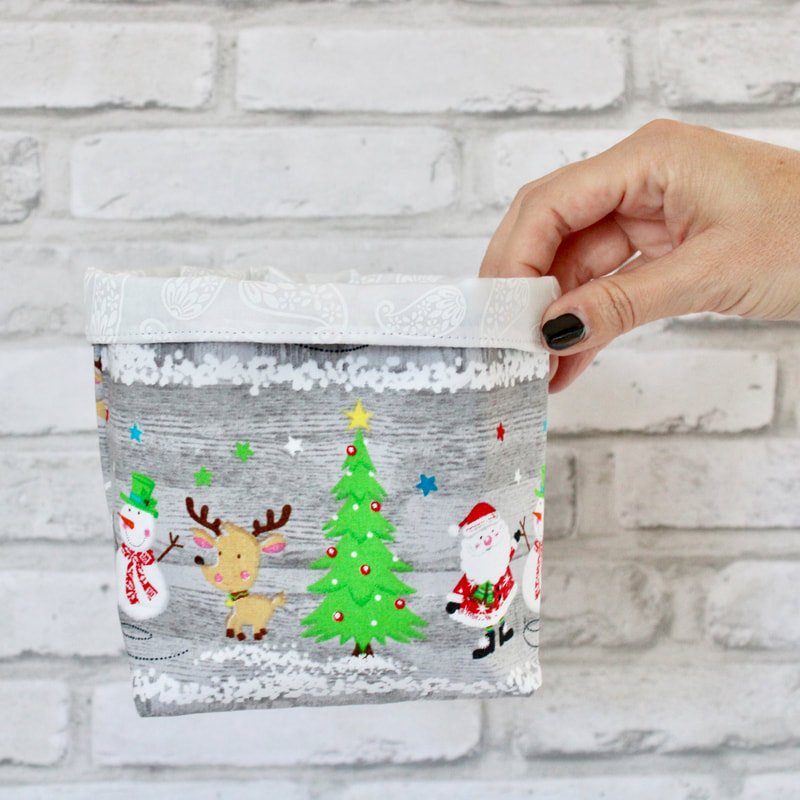
Pick out fun fabrics from your stash or purchase new styles you love. These simple to sew, fabric baskets are 100% customizable. Soon, every room will have a fabric bin. Once you make one, you'll want to make more. I promise! Yay for getting organized!
Let's get started.
Supply List:
Sewing Machine
1/4 yard (minimum) fabric for outer
1/4 yard fabric for lining
Fusible or sew-in fleece interfacing
Iron and ironing board
Matching or contrasting thread
Pins or clips
Scissors
All your other sewing notions you love
If you're looking for budget-friendly sewing options, read this post. It's long and has tons of information. If you're brand-spankin' new to sewing, start there. It's a great in-depth post even if you're a seasoned sewer.
Fabric Choices:
You want a medium to heavy-weight fabric to make fabric bins with. The fabrics listed below are great options but, experiment with what you have on hand too. Make these entirely your own. One fabric I don't recommend is stretch knit.
Canvas
Denim
Quilting Cotton
Home decor fabric
Upholstery fabric
Linen
Oilcloth and vinyl (I don't use interfacing for these fabrics)
Sew a Fabric Basket:
Prewash and iron your fabric. *If you are using oilcloth or vinyl, skip this step.
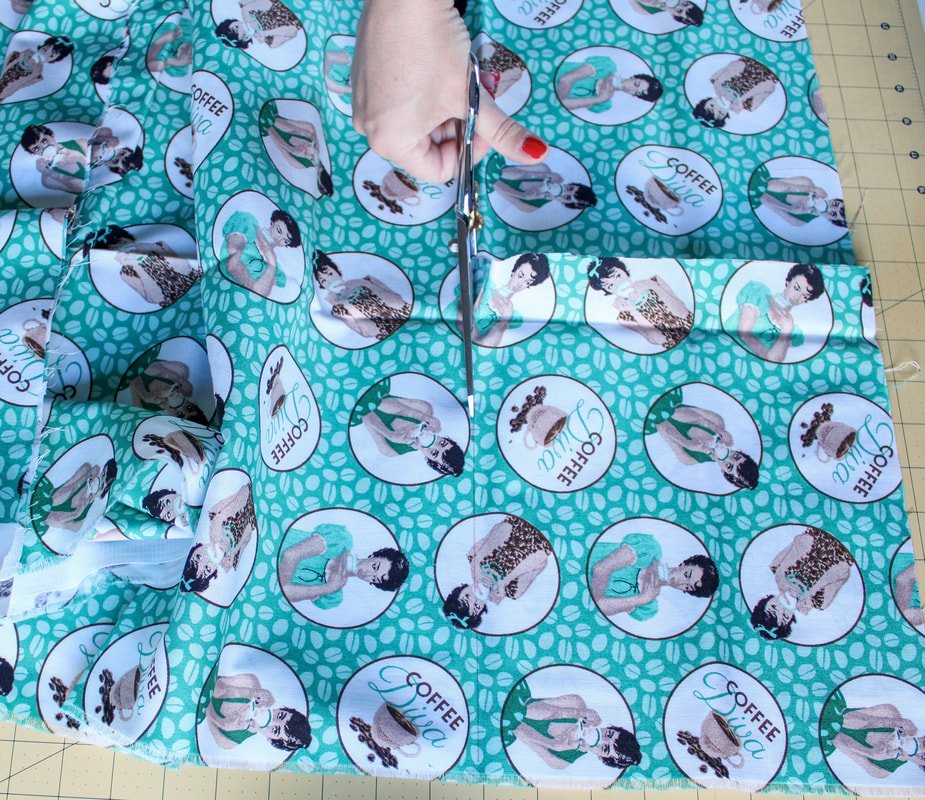
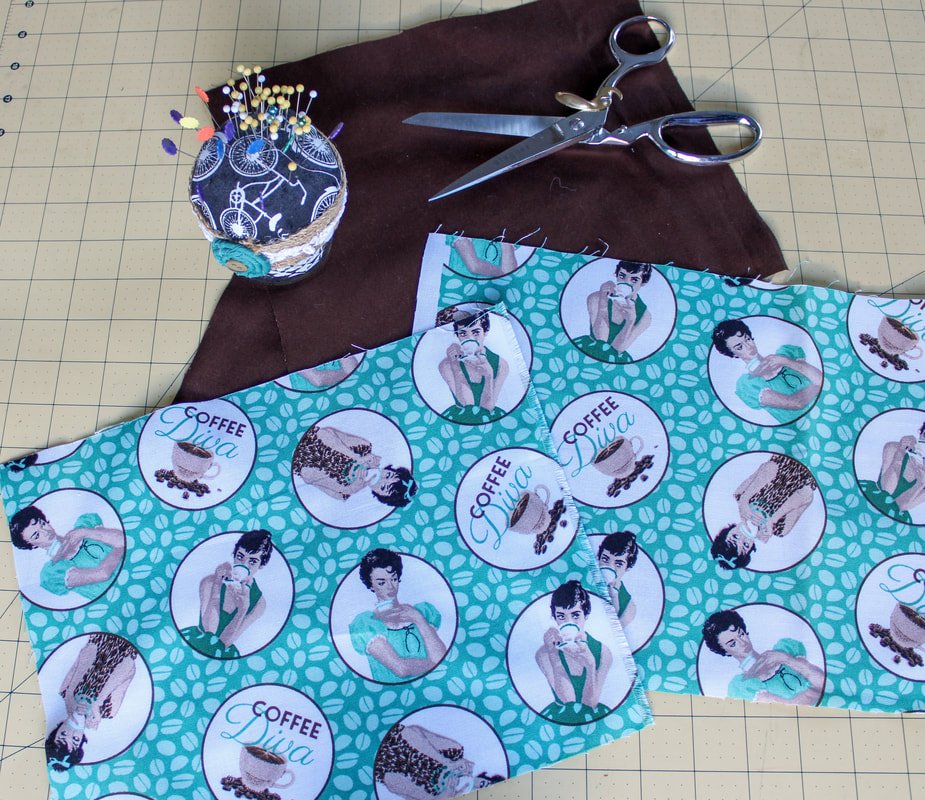
Cut 2 rectangles of your outer and 2 of the lining fabrics. Each should measure 10" wide by 8" tall. Of course, you can change this measurement. Make them longer or shorter, taller or wider. This just gives you a starting point.
Interfacings: Cut your interfacing and add to your fabric following the package instructions.
This is where you can experiment. Use lightweight, heavyweight, or fleece interfacing.
When I make a smaller basket with denim or canvas, I tend to not add interfacing.
When sewing with quilting cotton, I use fleece or a medium-weight fusible. Find what works best for you.
Foam interfacing is really nice to use. It costs more but, creates such a nice finish and look.
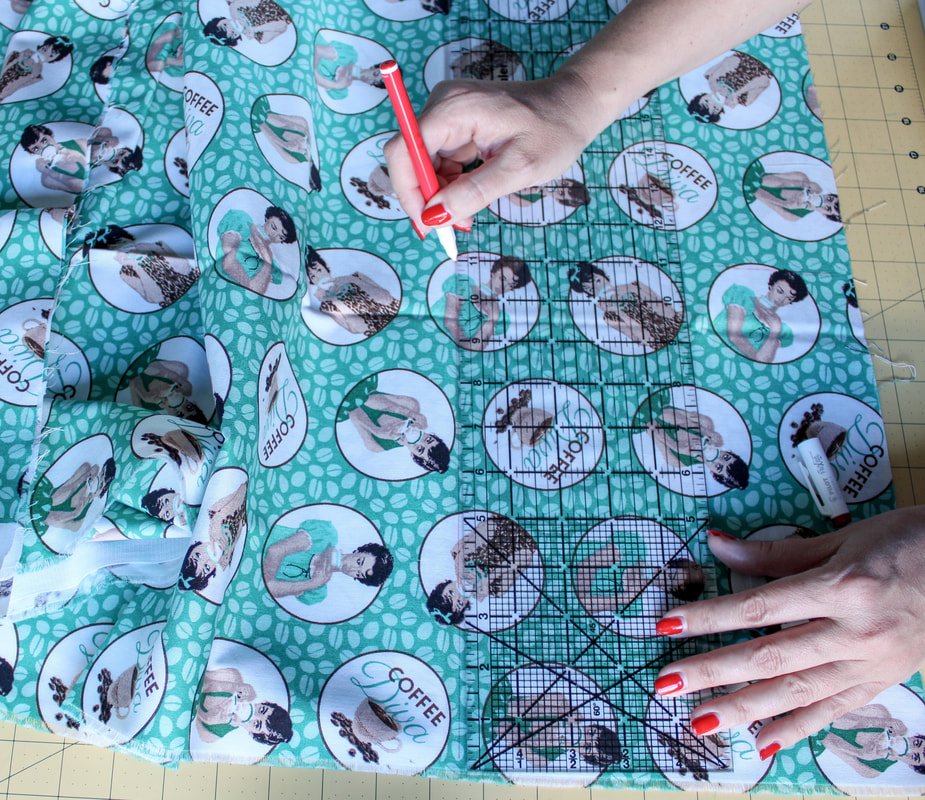
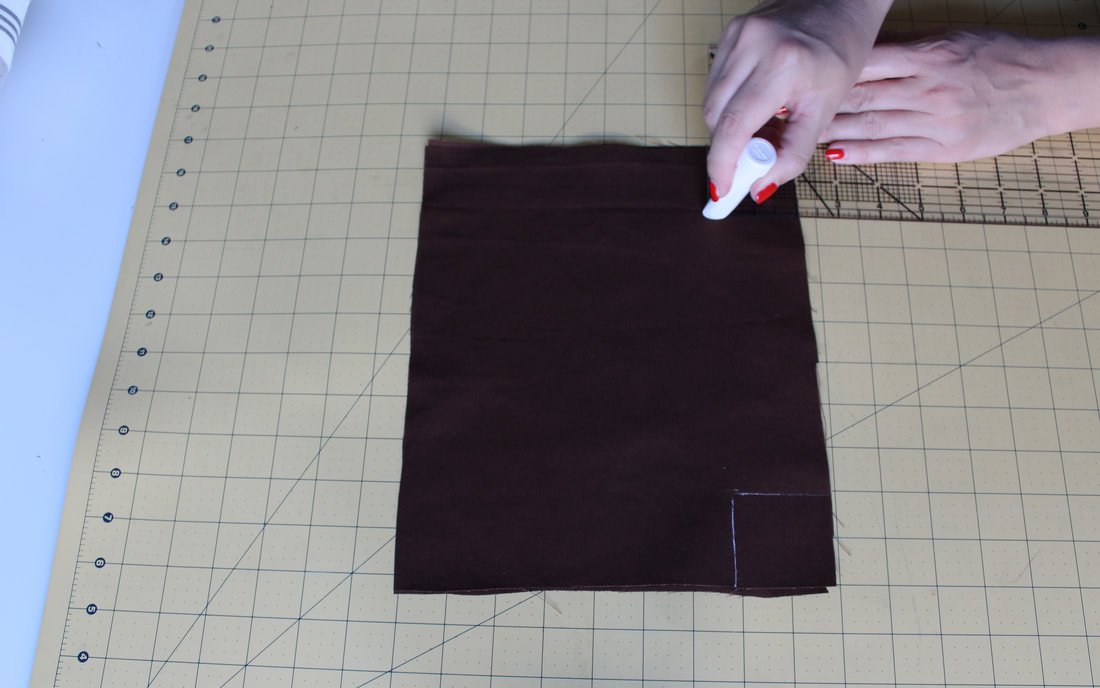
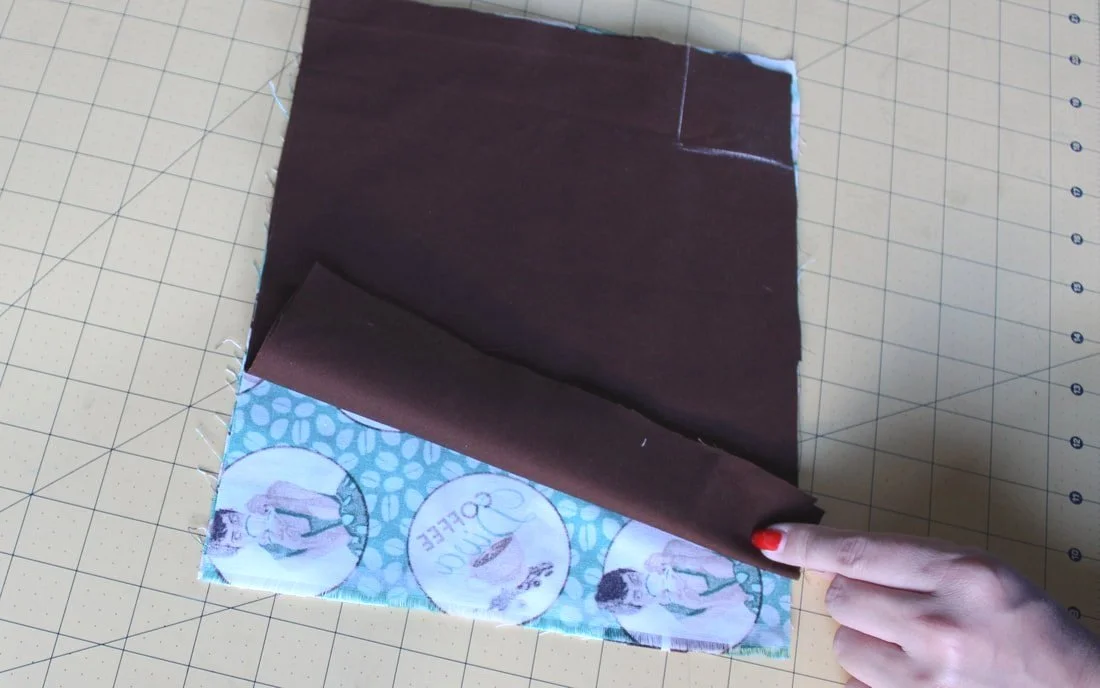
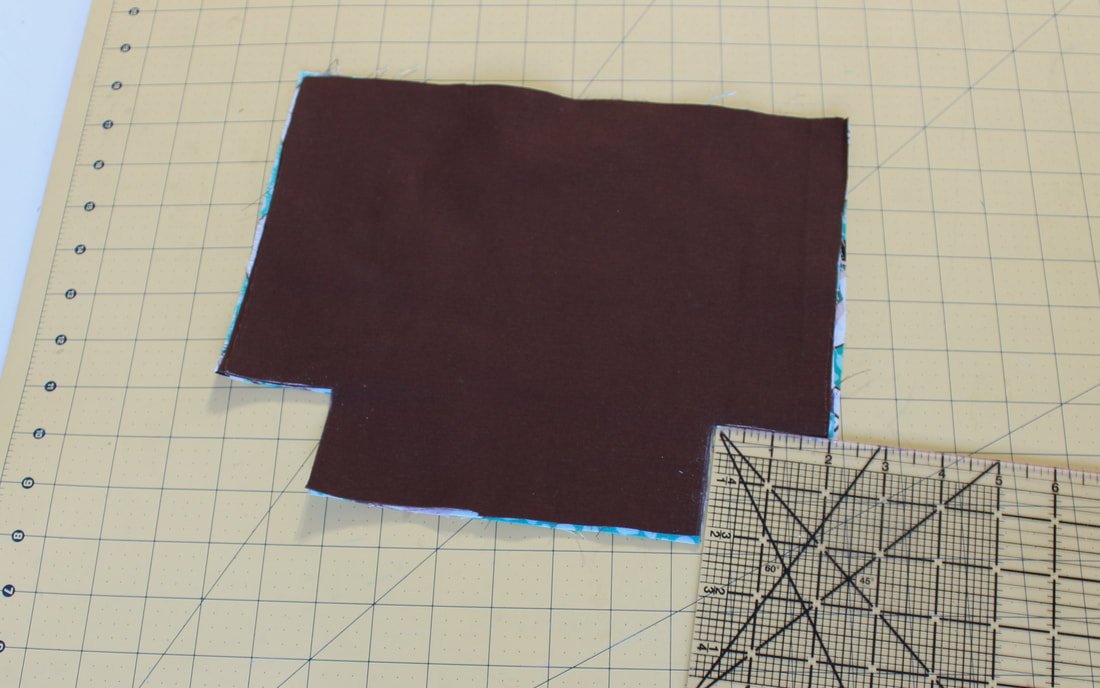
4. Cut squares into your fabric pieces. For the measurement above (10"x8") you'll measure a 2" square. Using a quilting ruler makes this part easy. If you don't have one, just mark 2" from the bottom and sides. *I like to place all 4 layers together to cut the corners. When I go to pin the sides and bottoms, I match the corners up. This ensures even corners.
If your basket is smaller, make a 1.5" square. If it's larger, mark a 2.5" or 3", and so forth.
I'm sure there's a science to it but, I can't really math. LOL
How am I a sewer, you ask? I don't know. ; -)
Interfacing Hack: Piecing it Together
Add interfacing to the outer fabric.
Here's a quick tip on interfacing if you don't have a big enough solid piece.
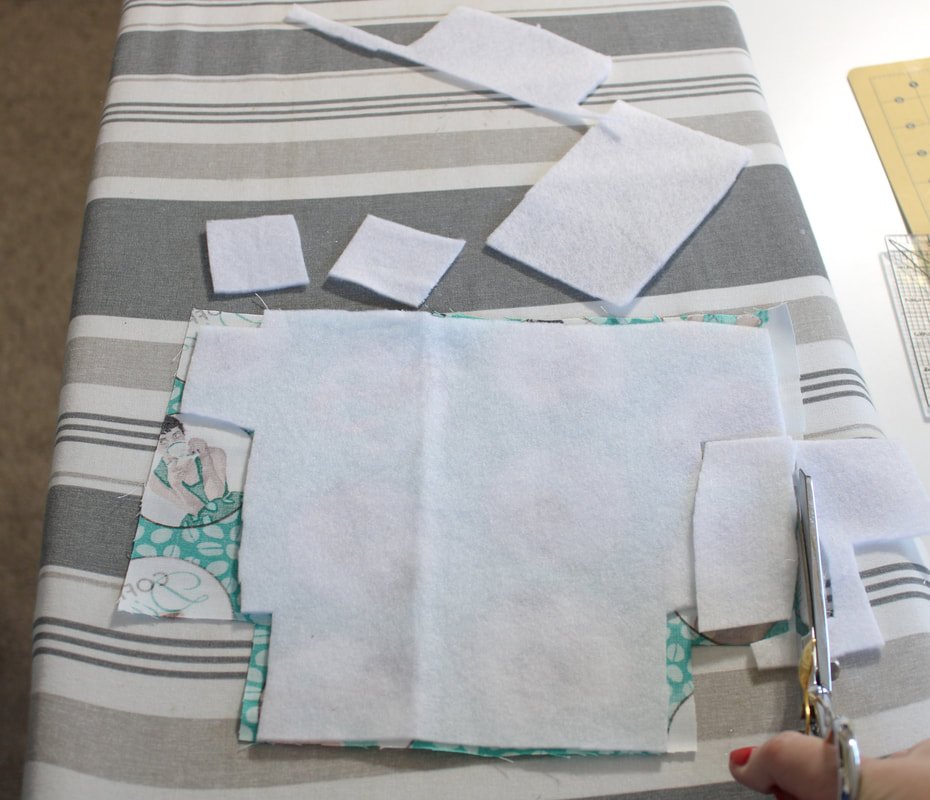
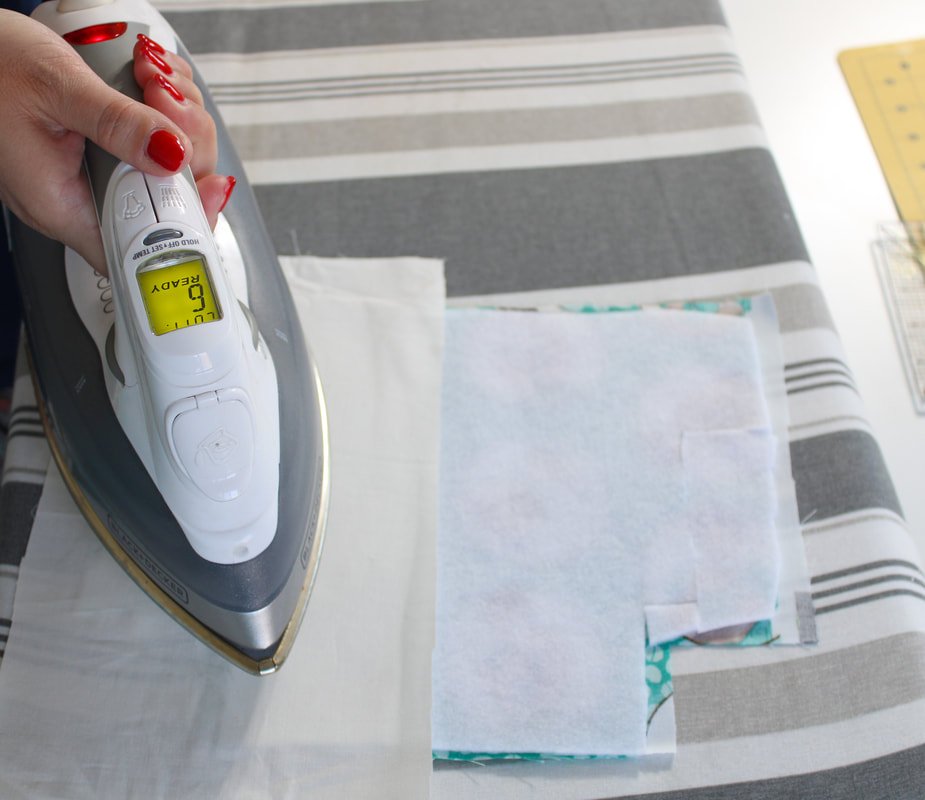
If you're short on interfacing, piece it together like a puzzle. I do this more often than I'd like to admit for my projects. So, shhh, don't tell anyone. You can't tell from the correct side. Thinner pieces should overlap slightly while thicker interfacings should butt up next to each other.
Use a whole piece of fusible fleece. If you don’t have enough, follow the hack below.
Cut and puzzle your smaller pieces together. Use a press cloth on the fusible side and press. This takes a little bit more time, but it works in a pinch.
After your fabric pieces are cut, interfaced, and corners cut out, you're ready to sew!
You can’t tell the difference between the full piece of interfacing or the puzzled one.
Time to Sew
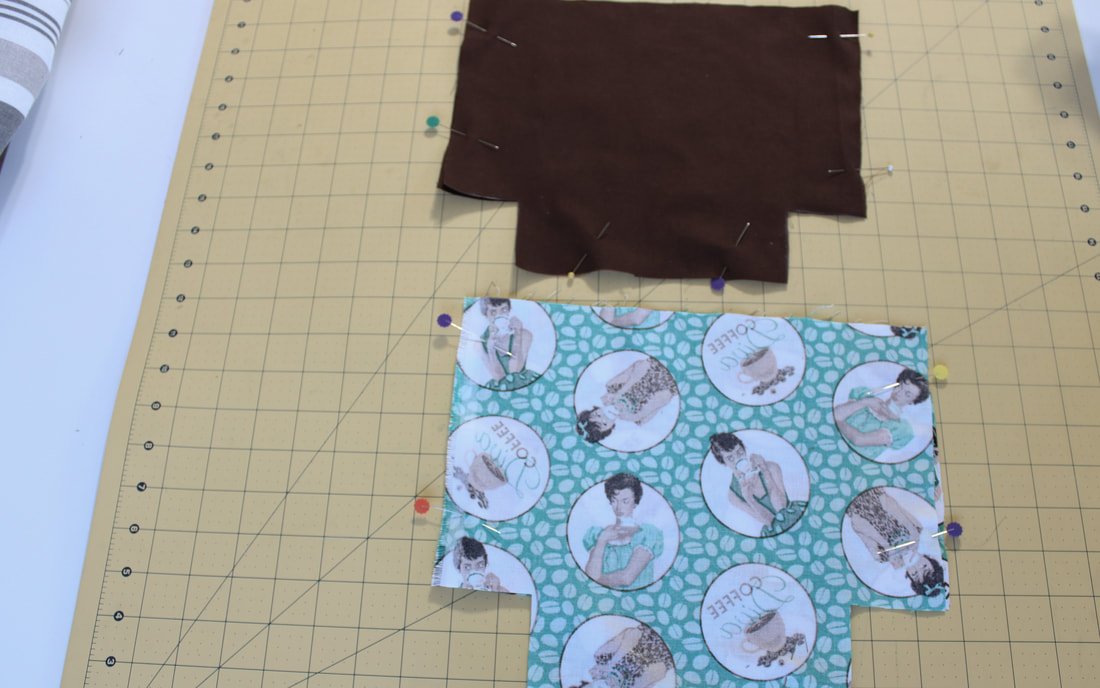
Place the two lining pieces RST and pin/clip together.
Place the two outer pieces RST and pin/clip together.
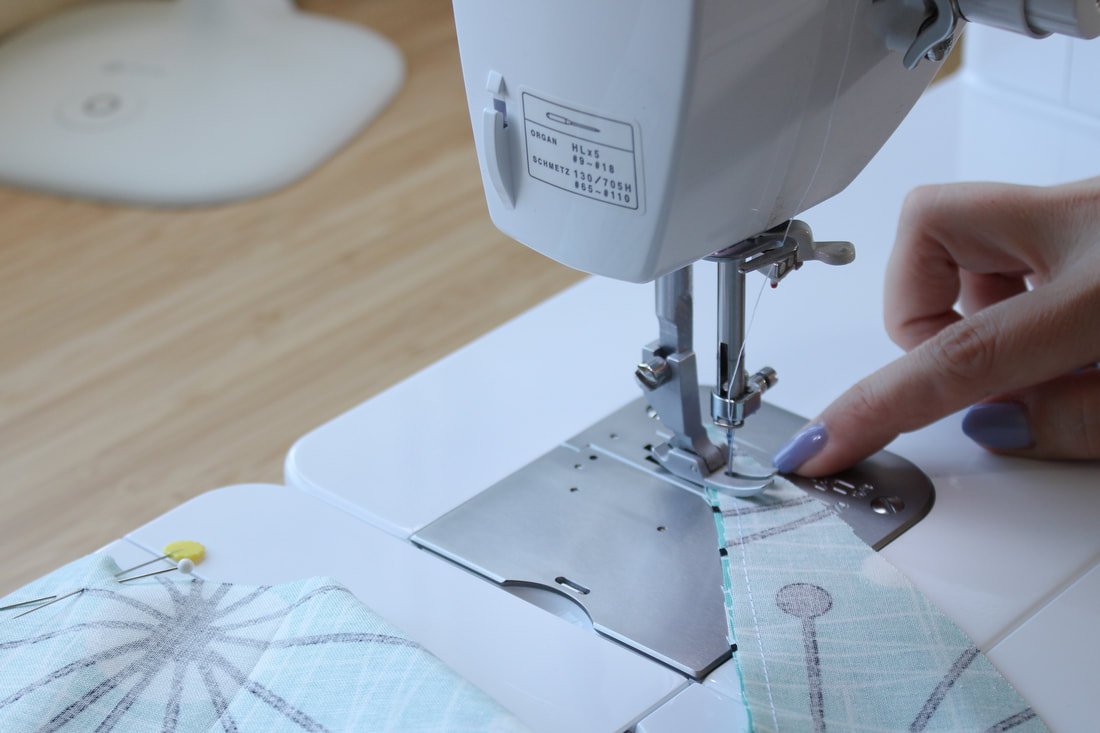
Use a 1/4" seam allowance, and sew each side and bottom together, backstitching at the beginning and end.
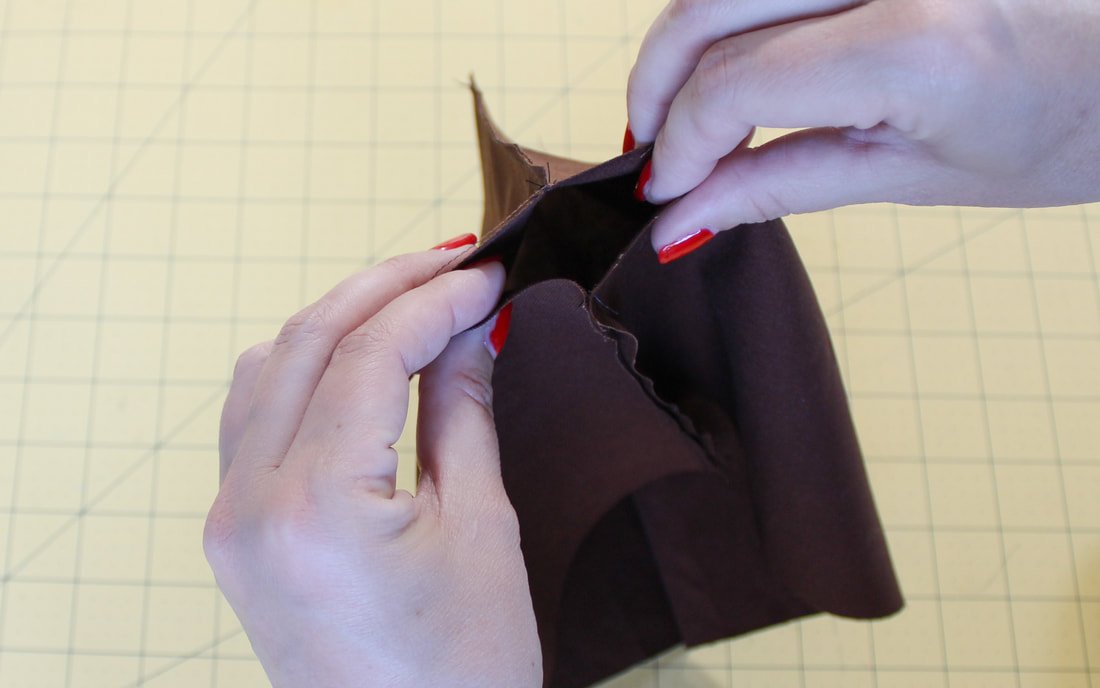
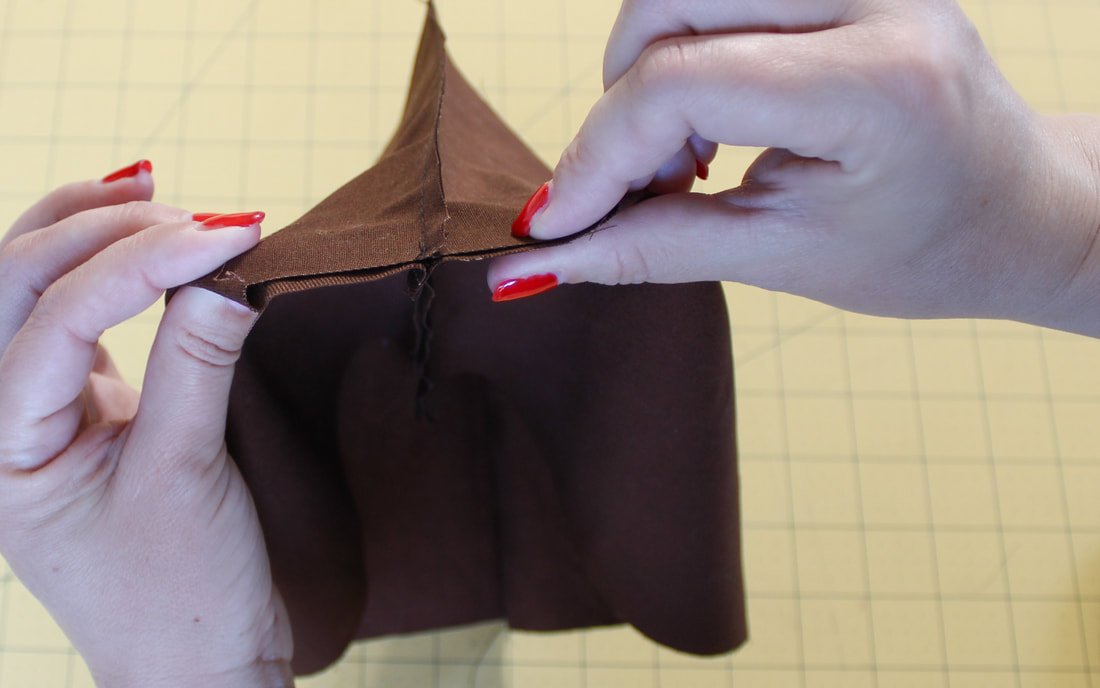
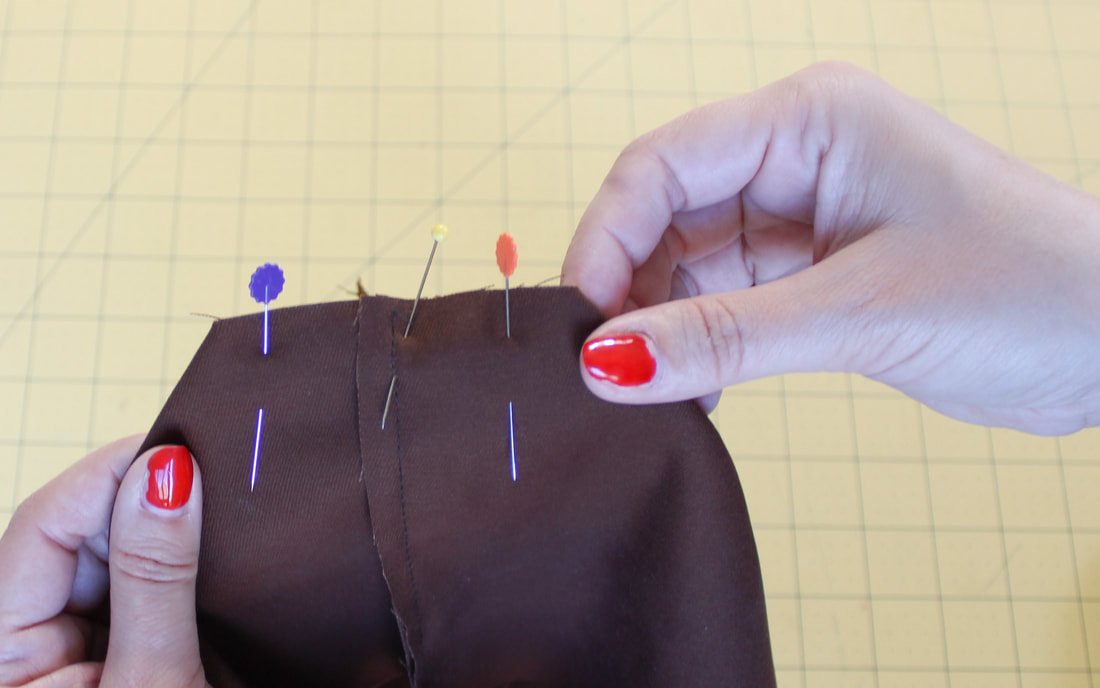
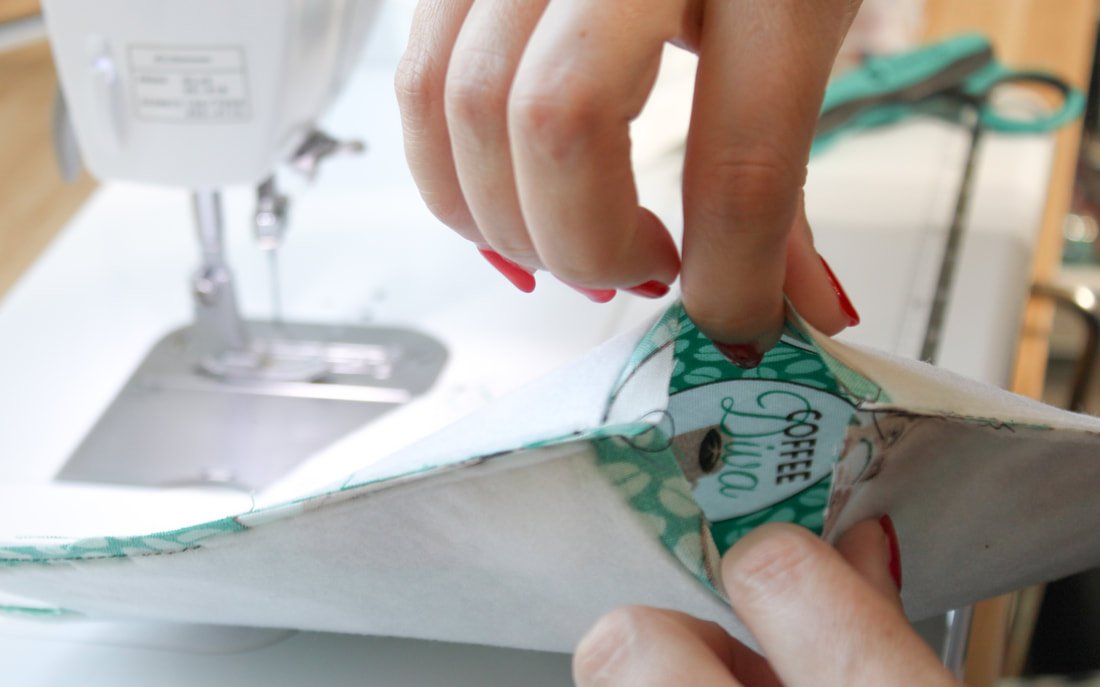
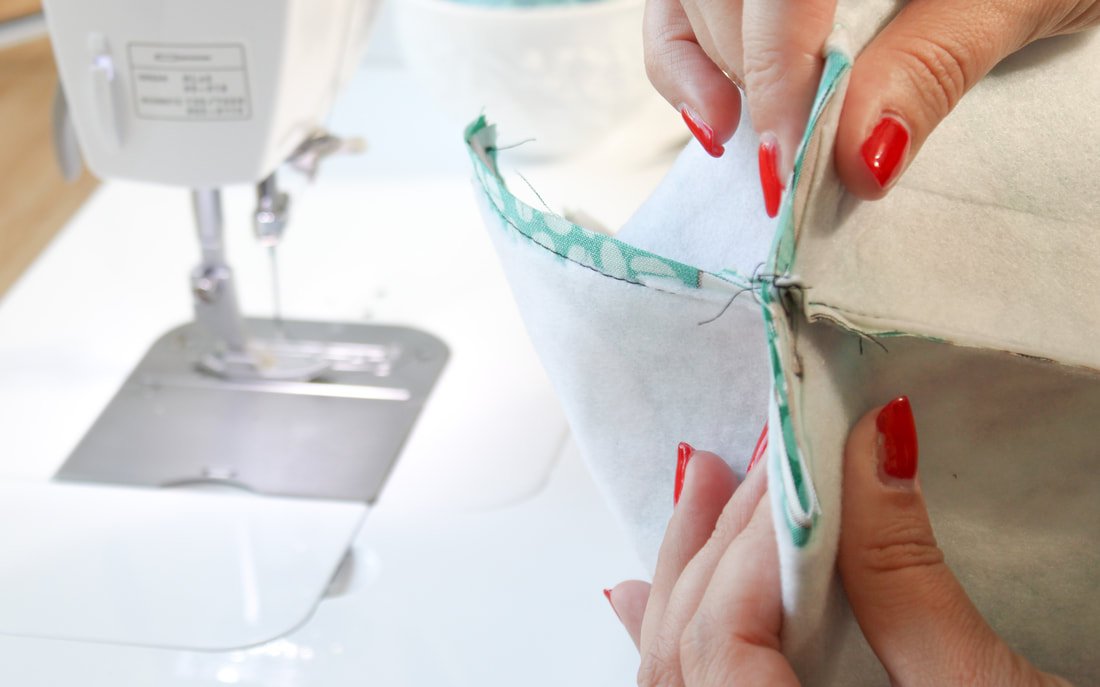
Now, sandwich the corners together to form the boxy bottom. Pinch them in the opposite direction so, the seams you just sewed are on top of each other. Pin together. It should lie flat if your cutting is exactly a square. Match up the side seams nicely because you will see them.
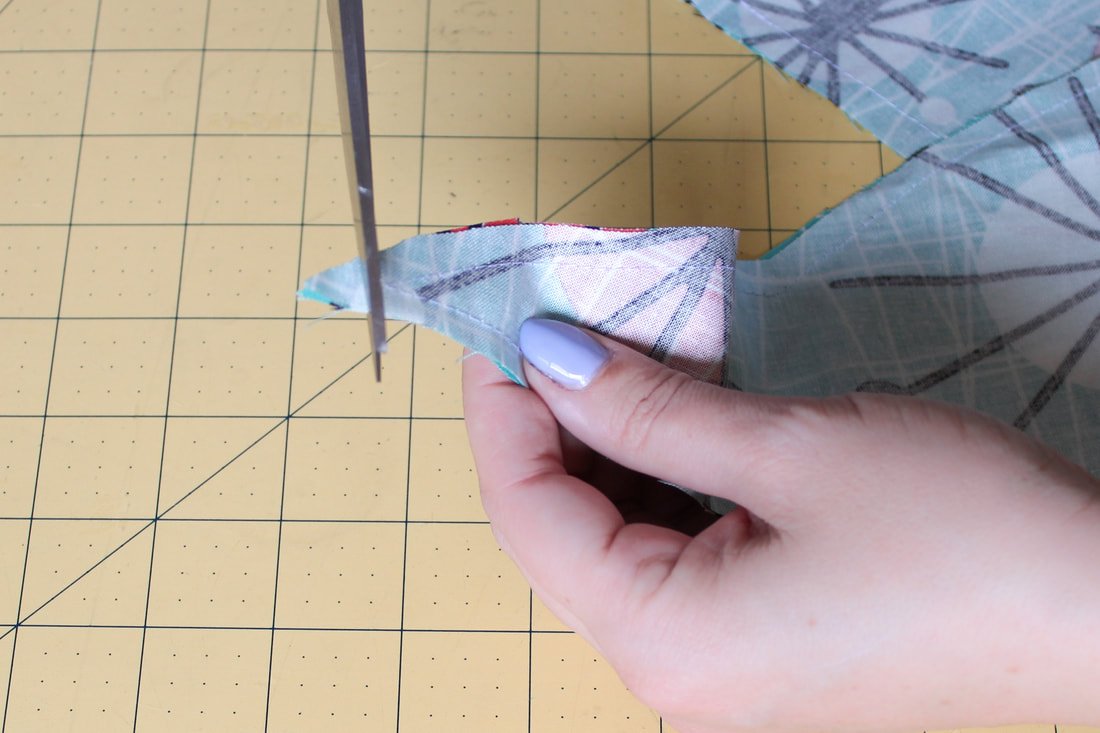
Sew across the small corner area with a 1/2" seam allowance. Backstitch at the beginning and end. Trim your seam allowances.
Do the same thing with the outer fabrics.
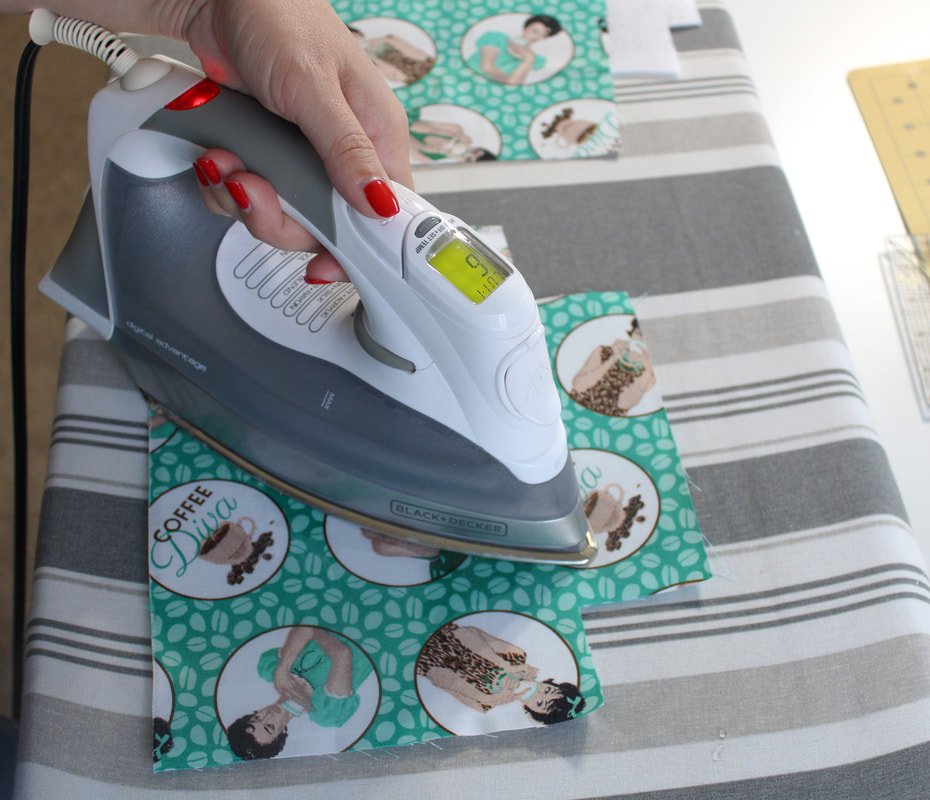
Press the side seams open as well as you can.
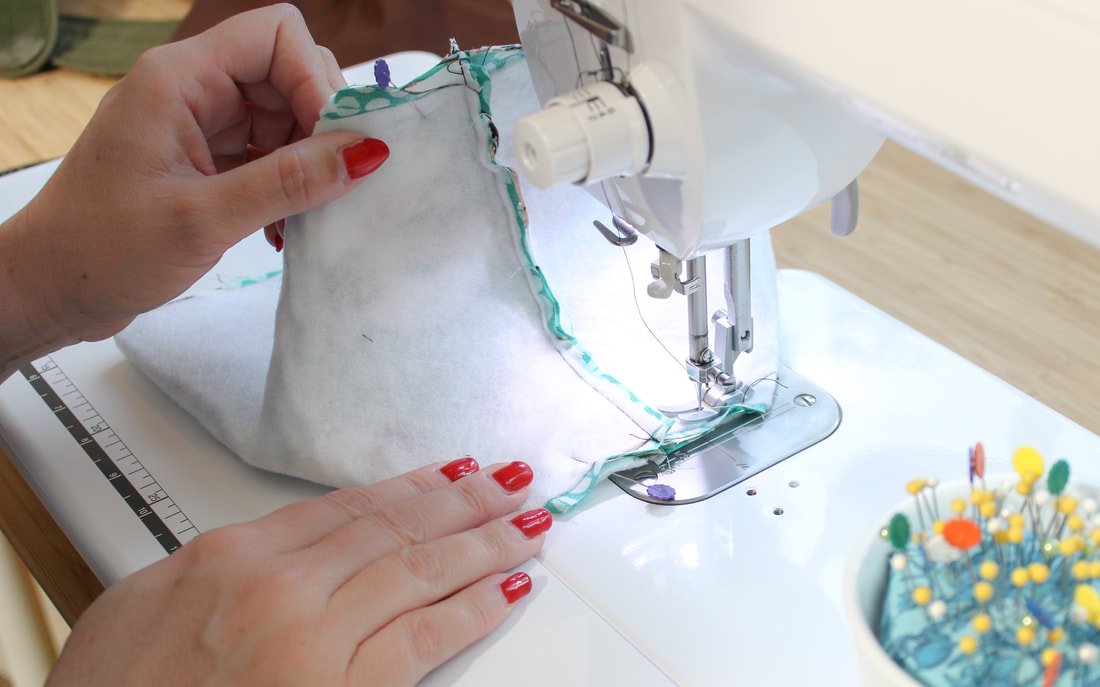
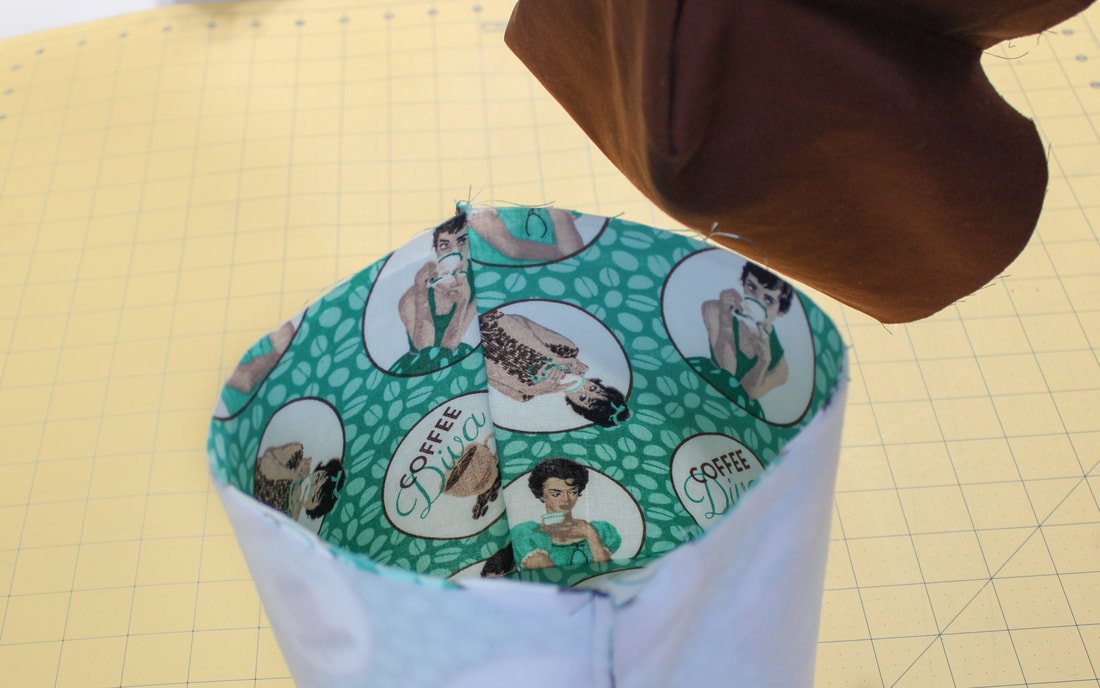
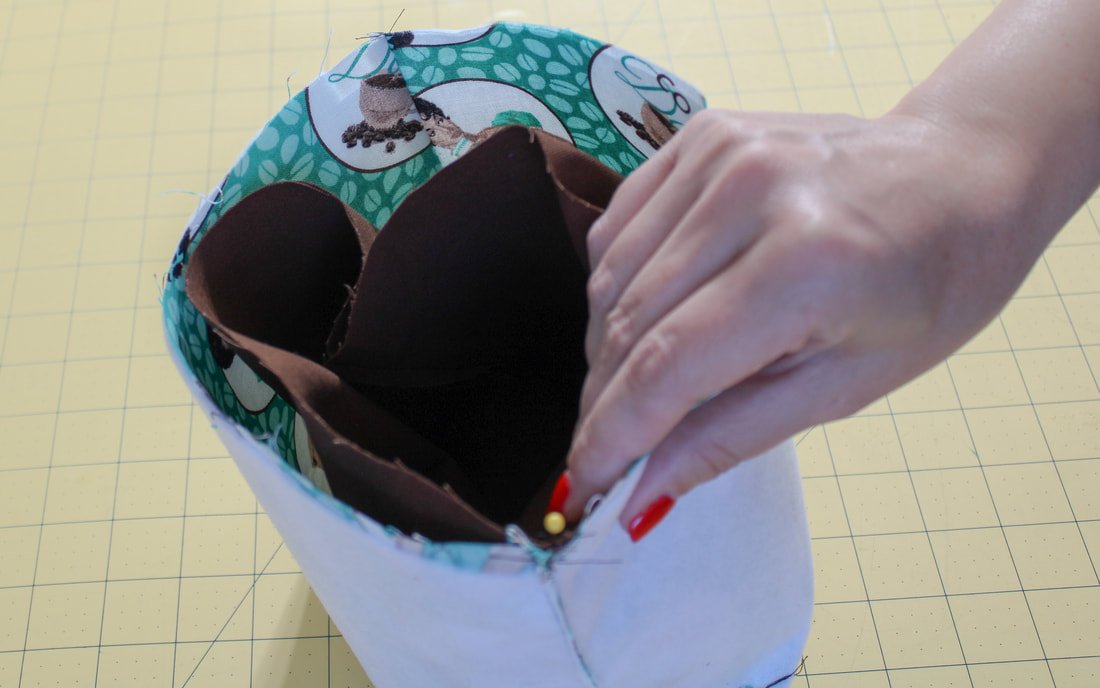
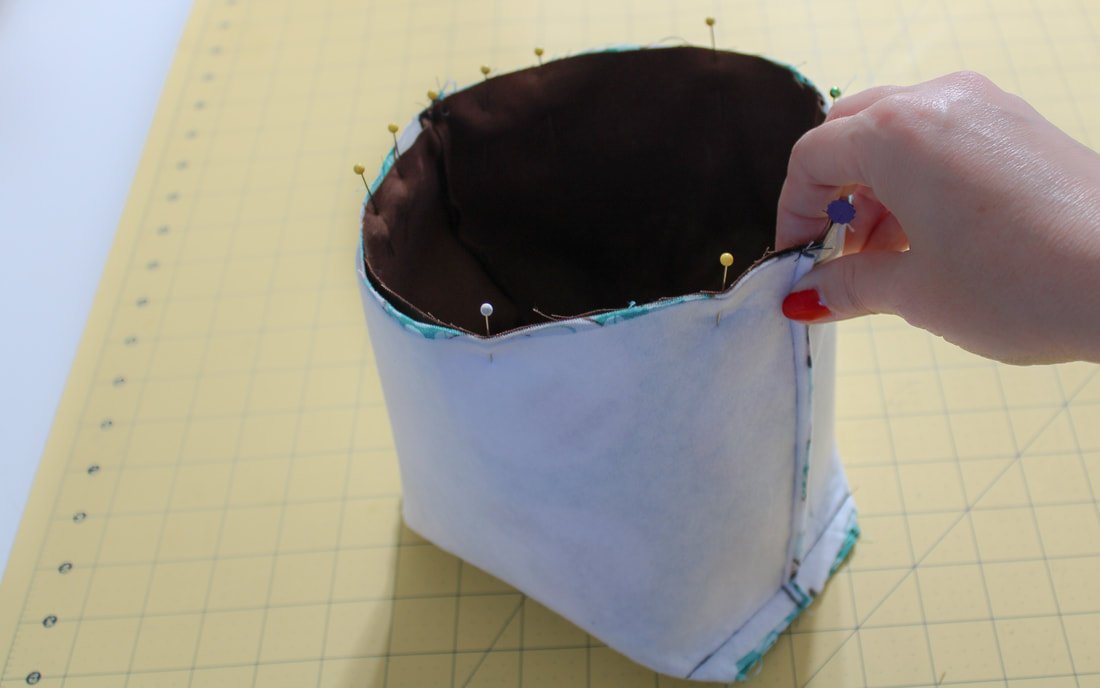
6. Turn the lining right side out. Place the lining piece inside the outer piece. The right sides should be touching each other. Pin together at the side seams first, then continue to pin around the whole top of the bin. Leave a 4" gap for turning out. You can do this at the back or along a side seam area.
Sew the fabric basket top, leaving a gap open for turning.
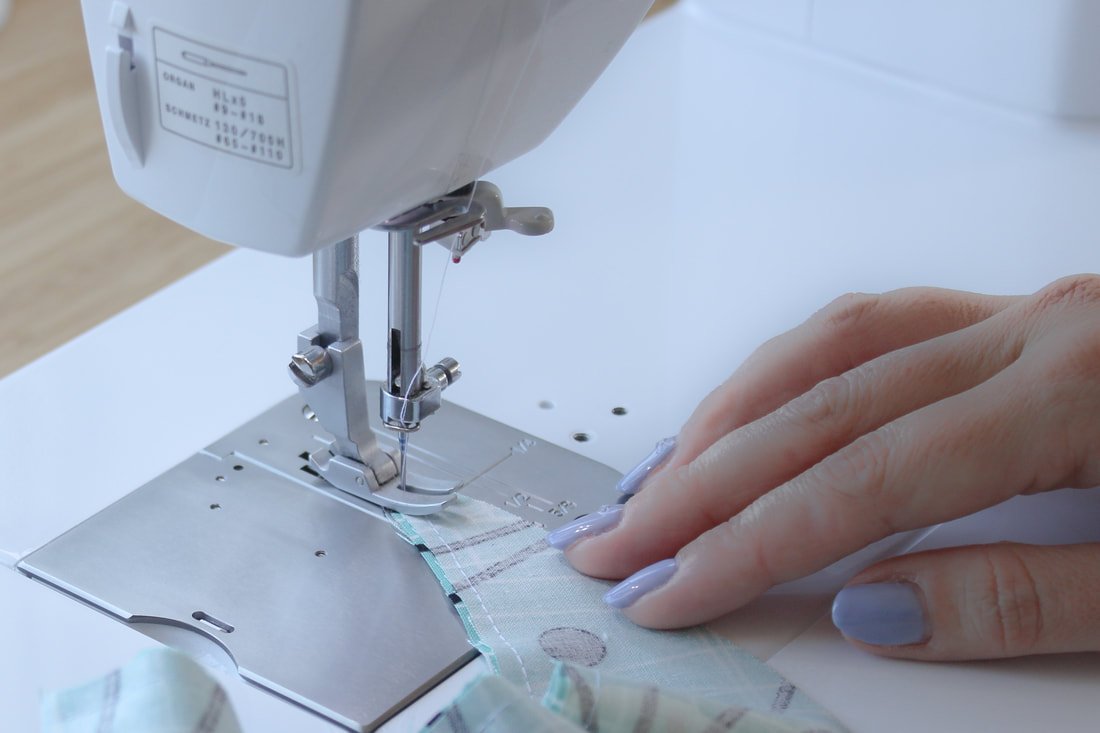
7. Using a 1/2" seam allowance, sew around the whole top making sure to catch both layers. Backstitch at the beginning and end of the opening.
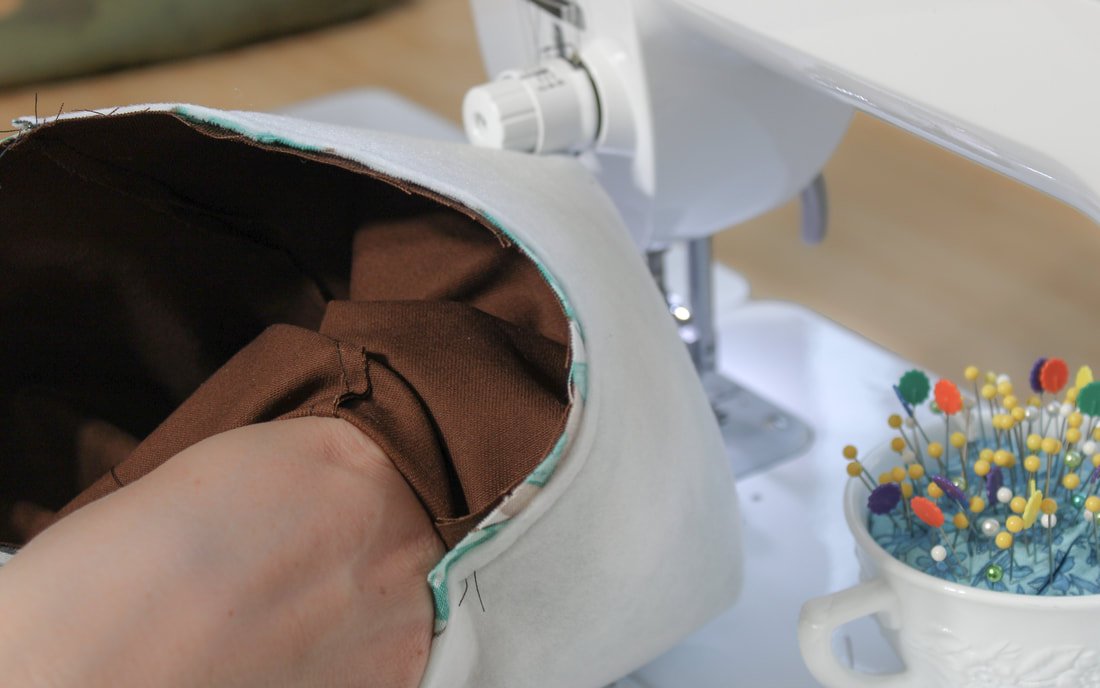
8. Turn the fabric basket out. Reach inside and gently pull out the lining through the gap you left open. Then, reach inside and grab the outer fabric and pull it out, gently. This is a little more difficult because of the thicker interfacing. Just be patient and keep pulling it out through the opening.
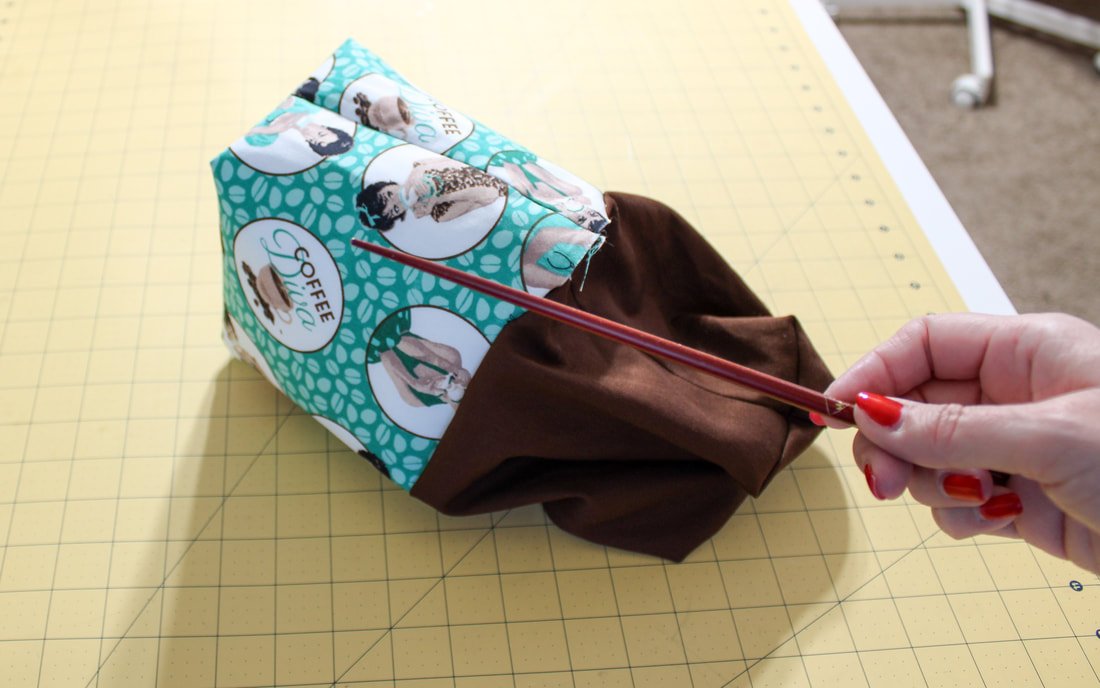
Poke out the corners using a chopstick or blunt end of a pencil. I love using my chopstick for poking out corners. My dad brought it back for me, from China, when he visited 20 years ago. It's a near and dear to me, sewing notion. :-)
Pull the lining out.
Tuck the lining into the fabric basket.
Press, then pin.
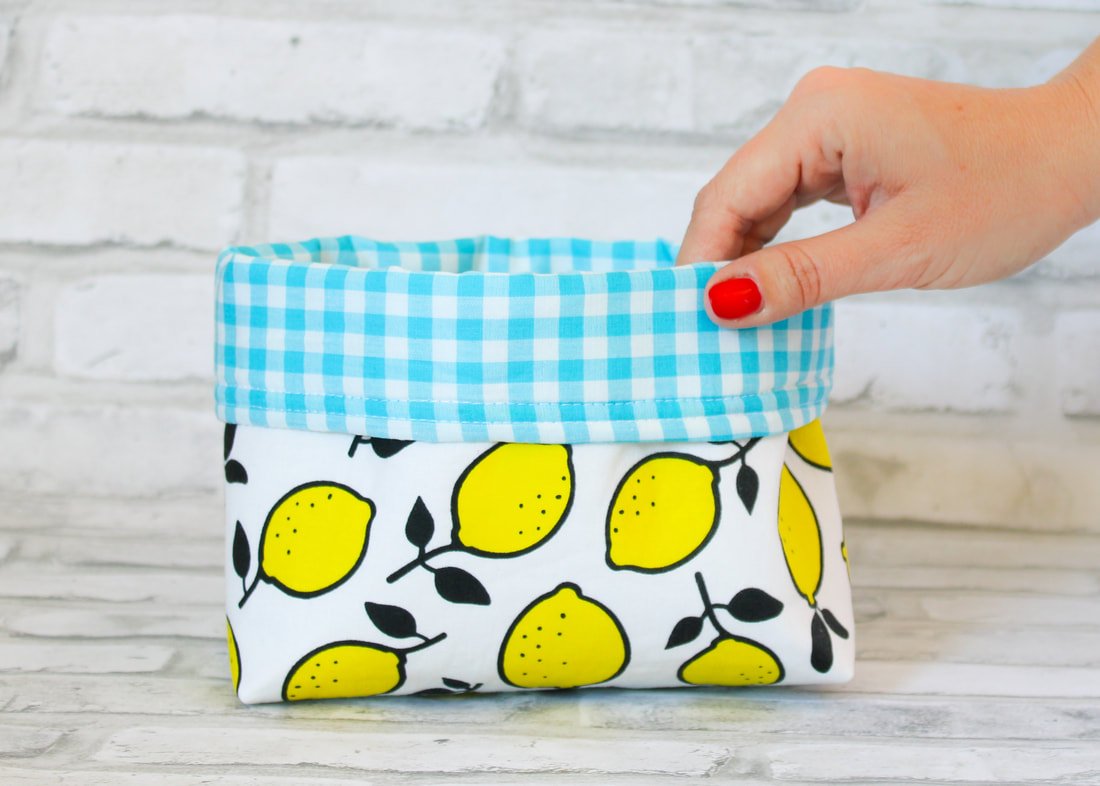
Topstitch. I used a second row of stitching for this particular fabric basket.
Check your seams. Make sure everything is neat and tidy. No interfacing is sticking out or fabric that wasn't sewn in, accidentally. No puckers either. If anything is happening that you don't love, grab that seam ripper.
9. Push your lining back down into the basket. Press the top edge with your iron to flatten out the seam bulk.
10. Last step! Pin the opening closed, and topstitch around the whole top. You can even do a second row of stitching using the edge of your pressure foot as a guide.
That's it. You're done! Go fill it up with whatever fun things you have that need a home.
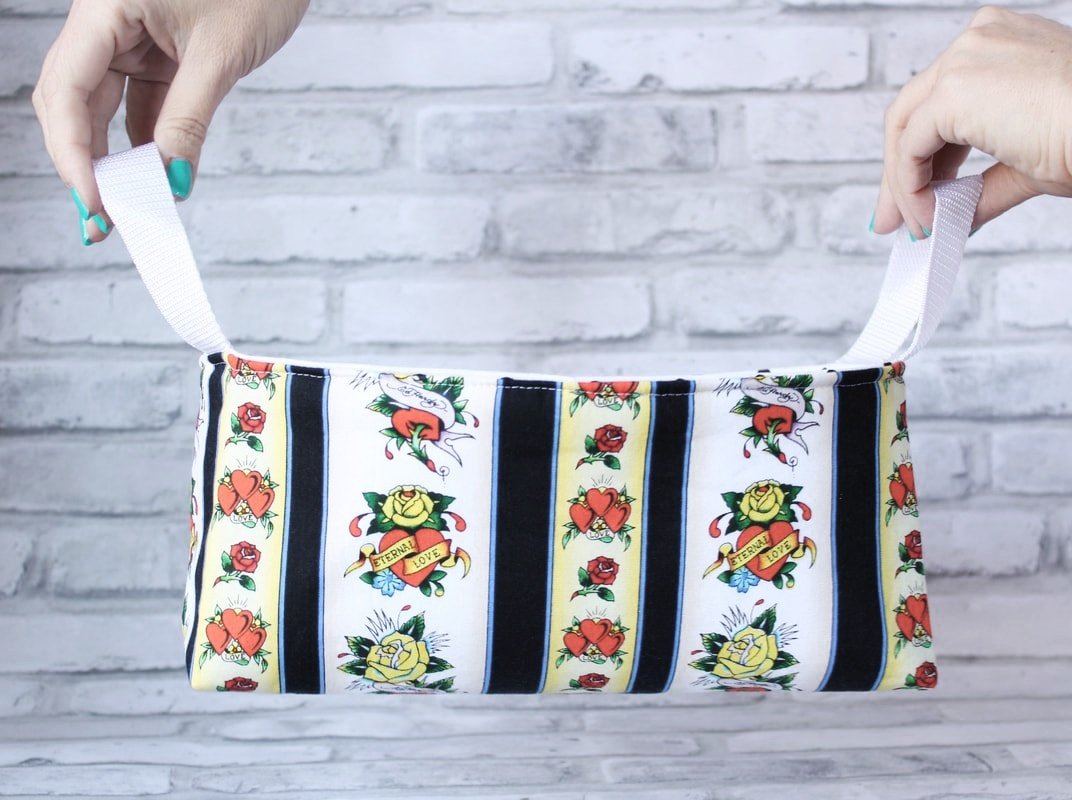
It looks like a lot of steps but, it's not. Once you make a simple fabric basket, you'll want to make more. They're great for storing all the little things and big things. Just follow the interfacing guide above and experiment with different fabrics and sizes. You can add handles or loops for hanging too. Make an extra-long loop on a bin to use for a trash bin inside your car. There are endless possibilities for these little baskets of fun.
Share in the comment section what you plan to use them for.
XO,
Annette
More Options
Play with sizing. Make them tall. Make them short. If you're unsure if the sizing will work for your needs, use scrap paper to staple the pieces together. Add a handle or two. These are meant to be customized for your own use. Have fun with them!
Easy Vintage Hair Scarf Sewing Pattern
Sew a quick and easy 1950s rockabilly hair scarf. Vintage style pinup scarf to elevate your style. Beginner-friendly sewing pattern to wear at your next car show.
Do you love the vintage pinup look but don't know where to start? Grab some pedal pushers, a black fitted top, and this sewing pattern! You're about to get your vintage style on.
This pattern is the straw that broke the camel's back- in a good way.
I have quite a few patterns I want to share, but I lack the technical know-how to get them to you. This is the pattern that made me search the interwebs, far and wide on how to create a PDF. And, here it is! Finally, a downloadable pattern that was made just for you!
This wide hair scarf is made for good hair days, bad hair days, and for curly-haired gals, too! I see you (I am a curly girl). Toss your hair up in a messy bun, and you'll be cute as a button when you wear this retro-inspired hair-scarf. This isn't a lifesaver, but it's definitely a hair saver. Ha!
If this thicker style headband isn't your cup of tea, I have a post on a narrower one, over here. It can be worn with your hair up or down. You can tie it around your neck, or wrist, or use it as a purse accent when tied in a bow. The size is completely customizable too, lengthen or shorten it to your desired size
Okay, let’s get started on the Wide Hair Scarf Pattern.
*UPDATE: I have given 1500+ free patterns, and to help pay for my website, I’ve added the pattern to my Etsy shop. It’s the same cost as a coffee. If you still want to sew it and can’t afford a coffee, send me an email. ;) I’m not heartless.
What You'll Need:
1/2 yard of cotton fabric
Sewing machine
Matching or contrasting thread
Chopstick or other turning tool
A smile, because you're making something cute :)
Let's get sewing!
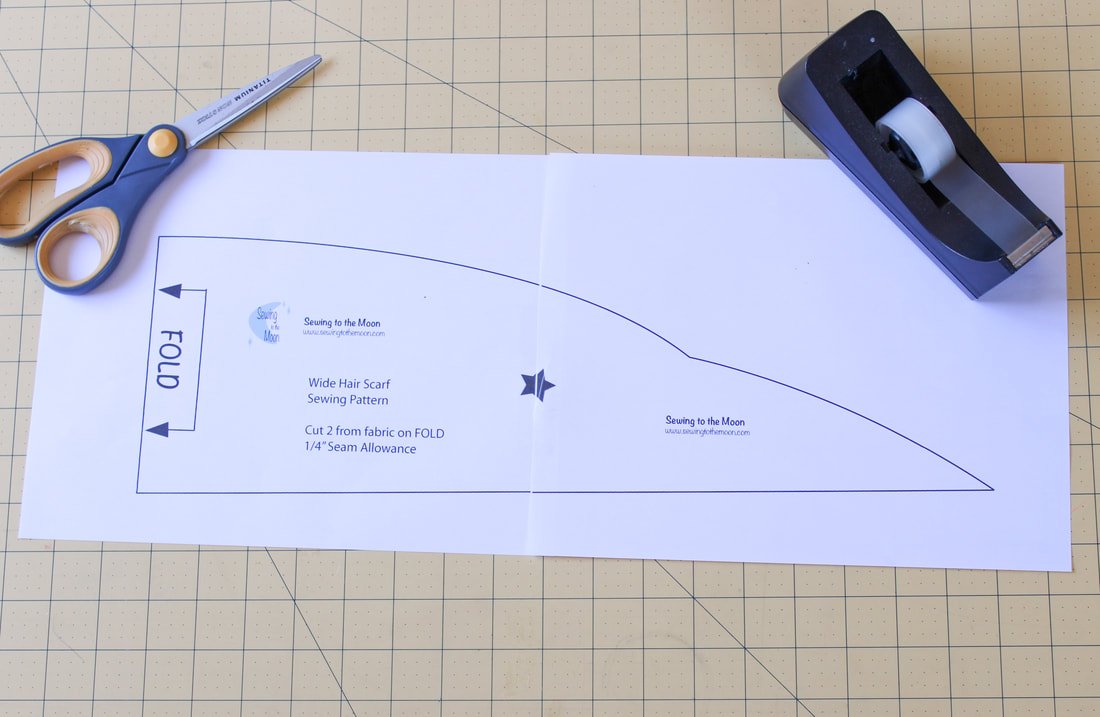
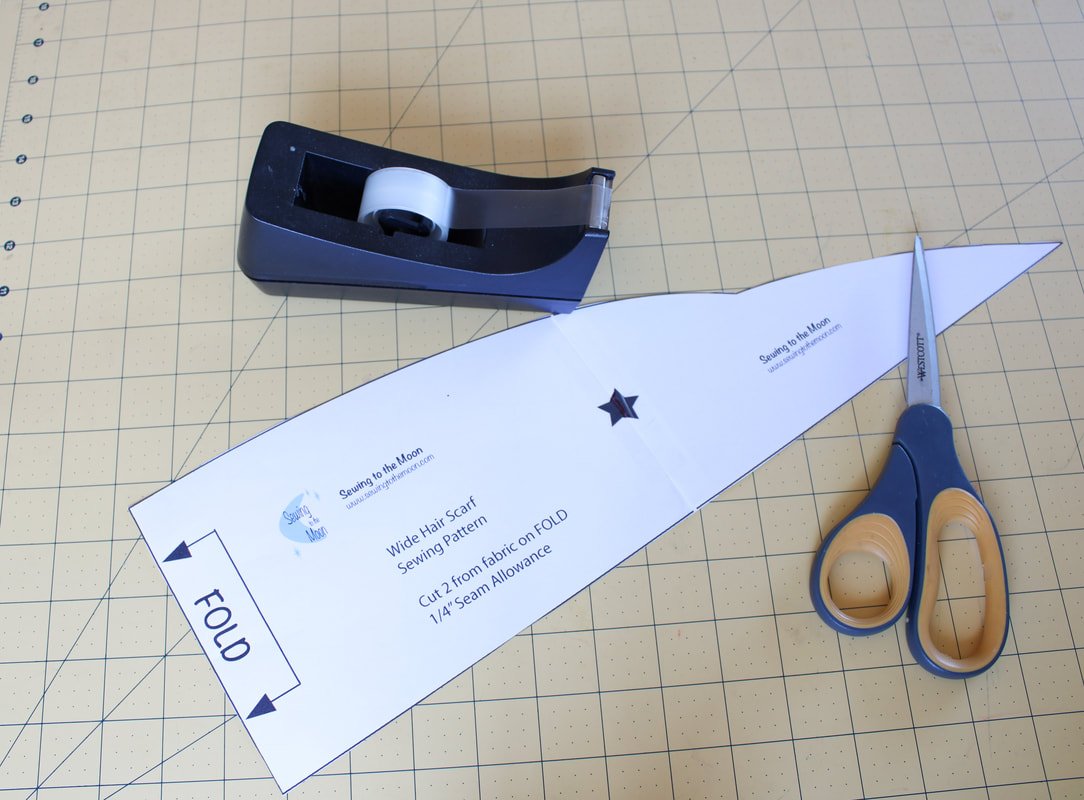
Download the PDF pattern, print it out (*do not scale or resize), and tape it together.
This will now be your pattern piece. Make sure to match up the star points.
Cut out the pattern along the lines and set it aside. It will resemble a plague mask. Haha ;)
*The pattern will print out on 2 horizontal pages. They are made to overlap a bit to create the pattern. Match the star and you'll be good to go. No scaling or anything is necessary. If you'd like to trim off a thin sliver of paper to match the star up perfectly, you can. That's what I did.
Like I said above, I’m brand new to PDF pattern making.
PDF Stuff
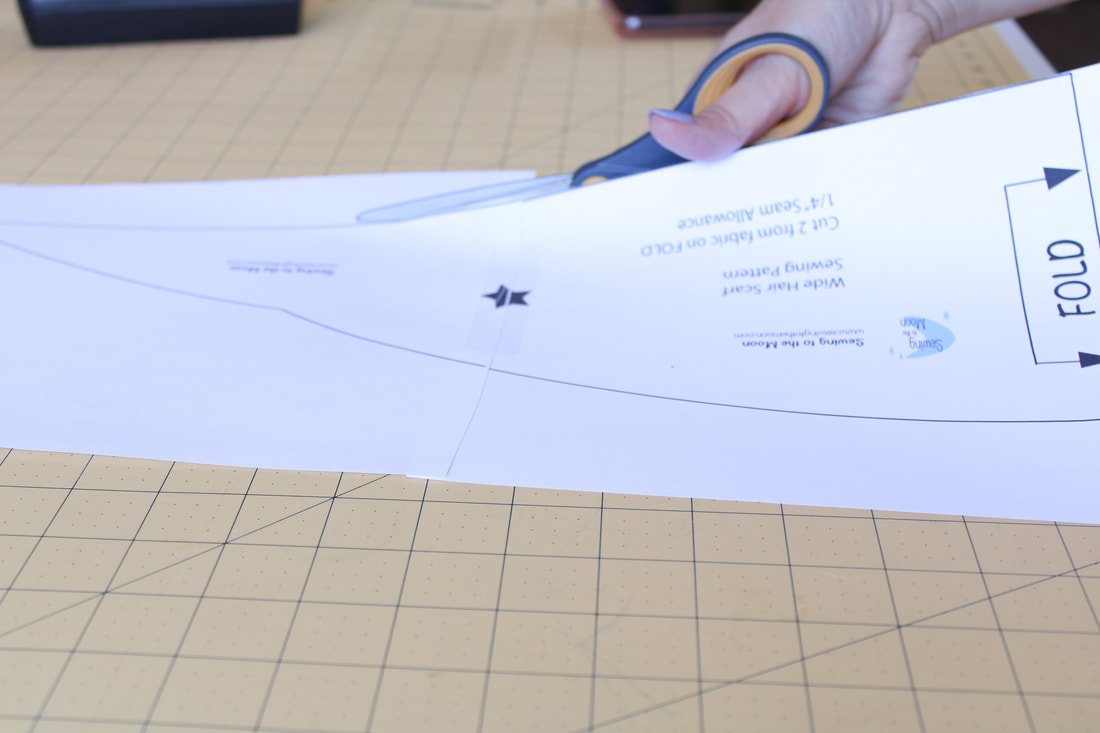
You might have to trim a thin slice of paper for the star to fit perfectly.
Cut along the line.
Once it’s cut, it’ll resemble a plague mask.
Fabric Stuff
Next, wash, dry, and iron your fabric if you haven't already. This is totally optional.
What fabric(s) did you choose? Did you go with a solid color or a fun novelty print?
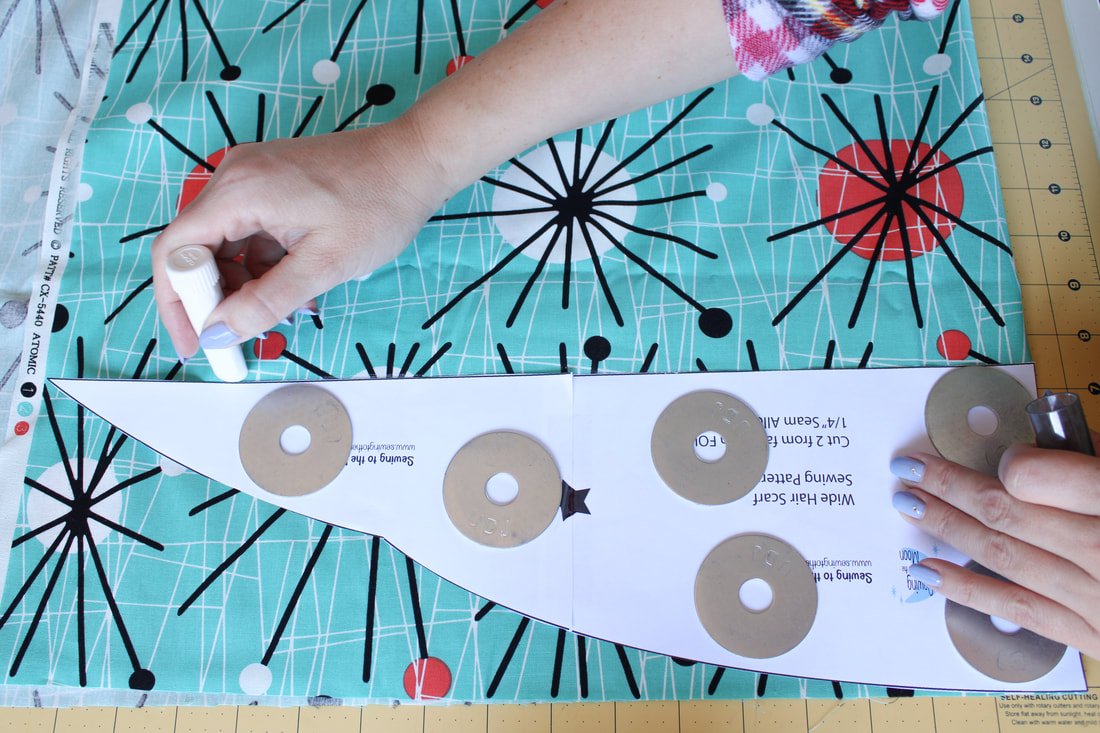
Use pattern weights to hold the pattern down. Trace around, then cut it out.
Grab your scarf pattern piece and lay it on top of your folded fabric. Line up the folded edge of the fabric with the pattern side that says FOLD. You can do this with RST or WST; it won't make a difference for this pattern.
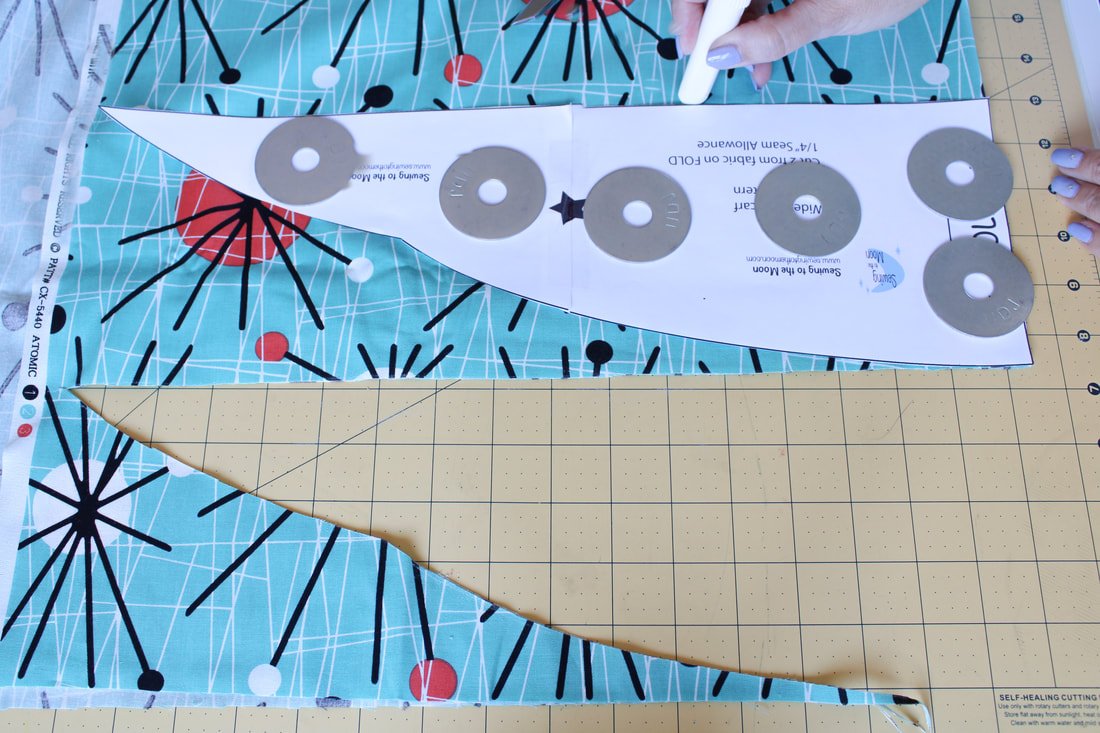
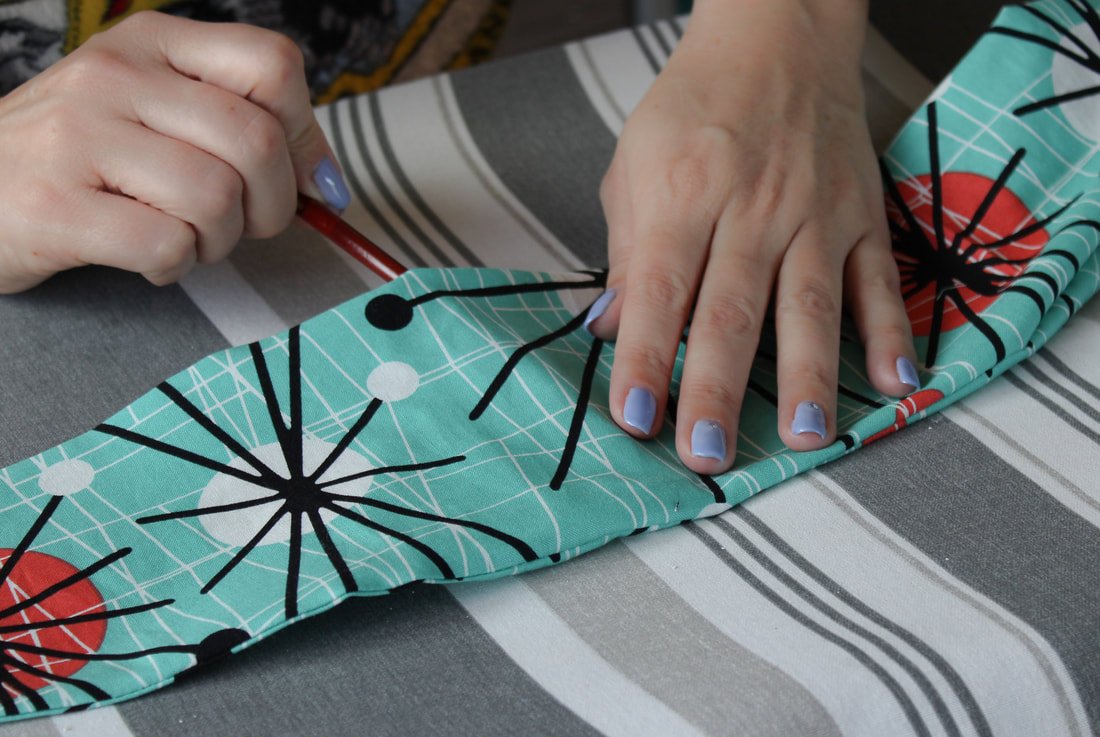
Use pattern weights to hold the piece down while you trace out the shape. Use an air-soluble pen or a chalk pen to trace. Cut along the lines.
Repeat the steps for the other side. You are tracing an outer and inner piece of fabric for your hair scarf. Cut.
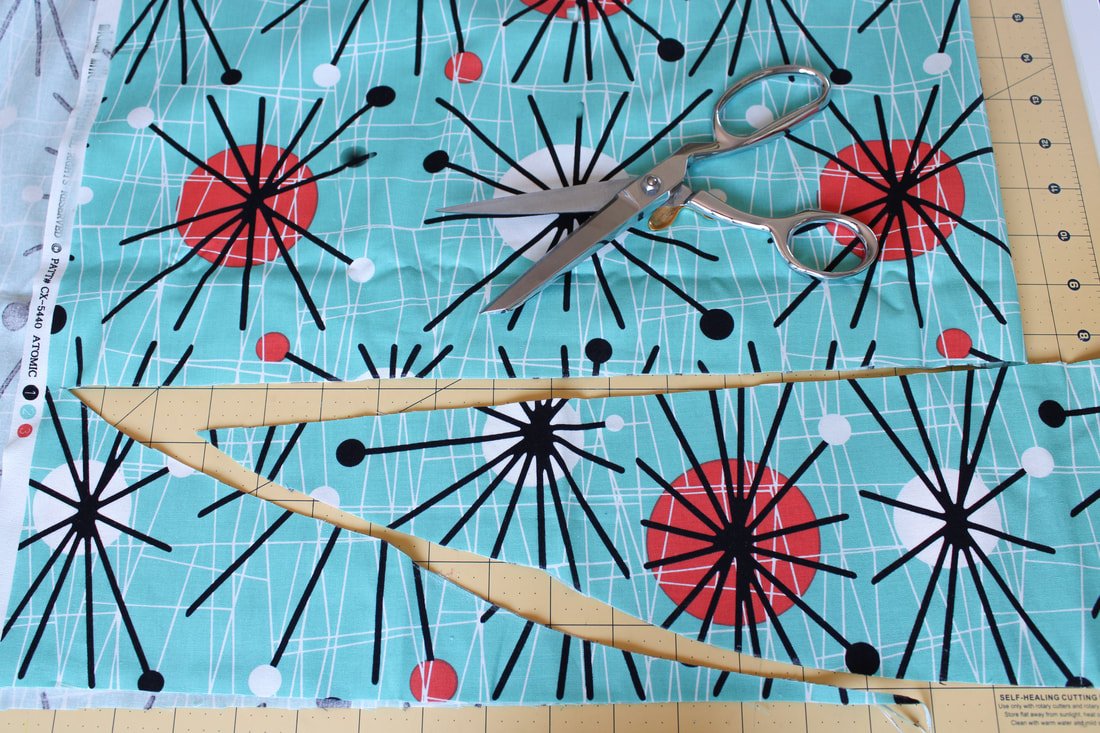
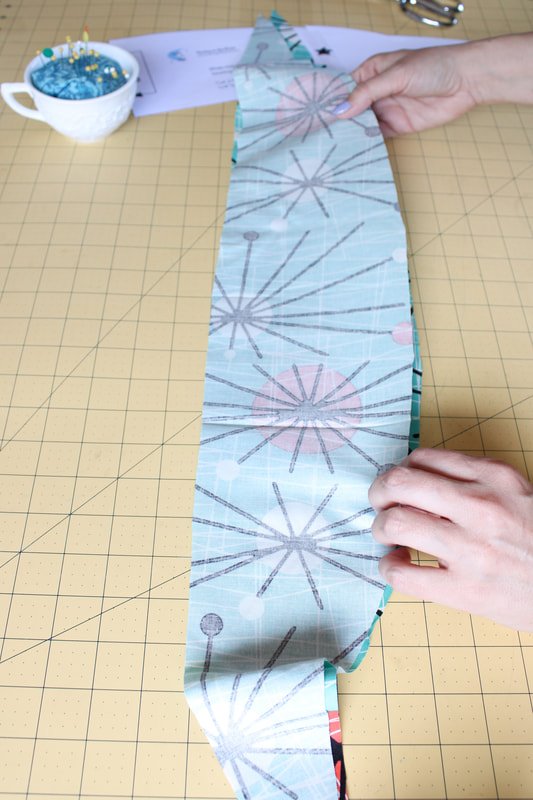
You should now have 2 pieces of fabric cut out.
Weird plague mask fabric pieces.
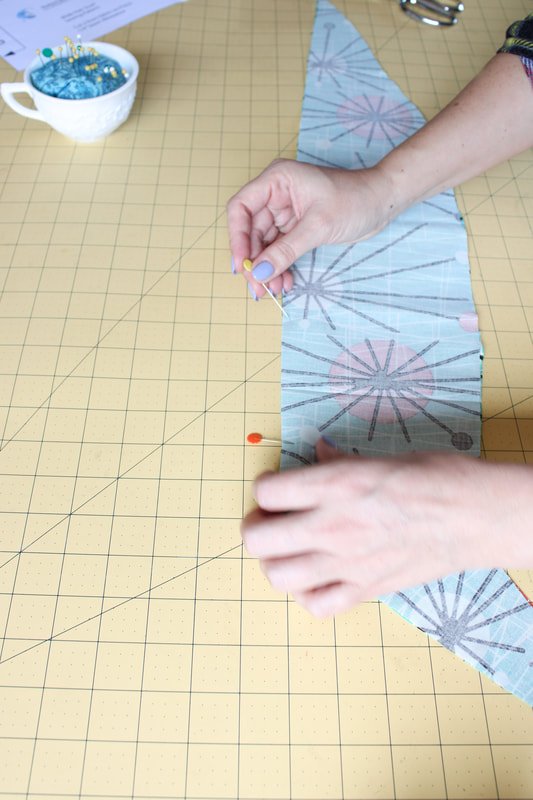
Now take the pieces and place them right sides together. Use pins or clips to hold them together.
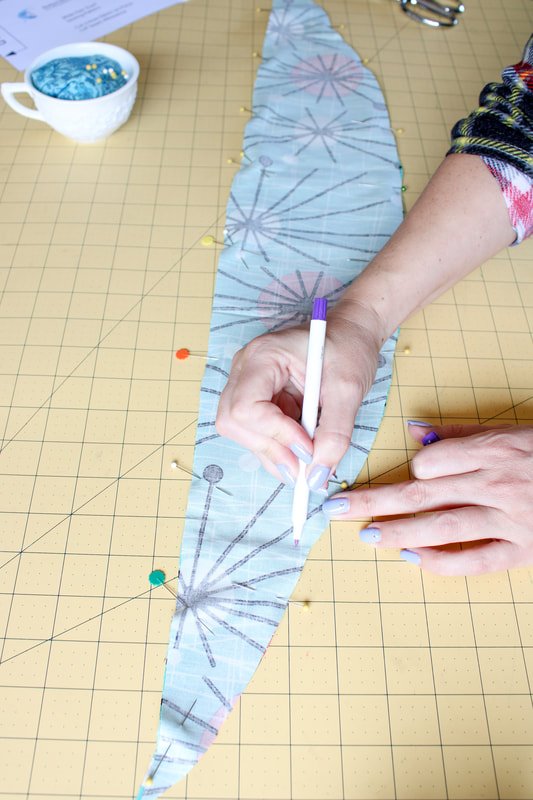
Mark a 3" gap where the pattern piece indicates. This area will not be sewn so, you can turn the scarf out afterward.
I took an air soluble pen to mark the pivot point on the scarf. This isn't necessary, but it helped. The pivot point is where the scarf gets narrower.
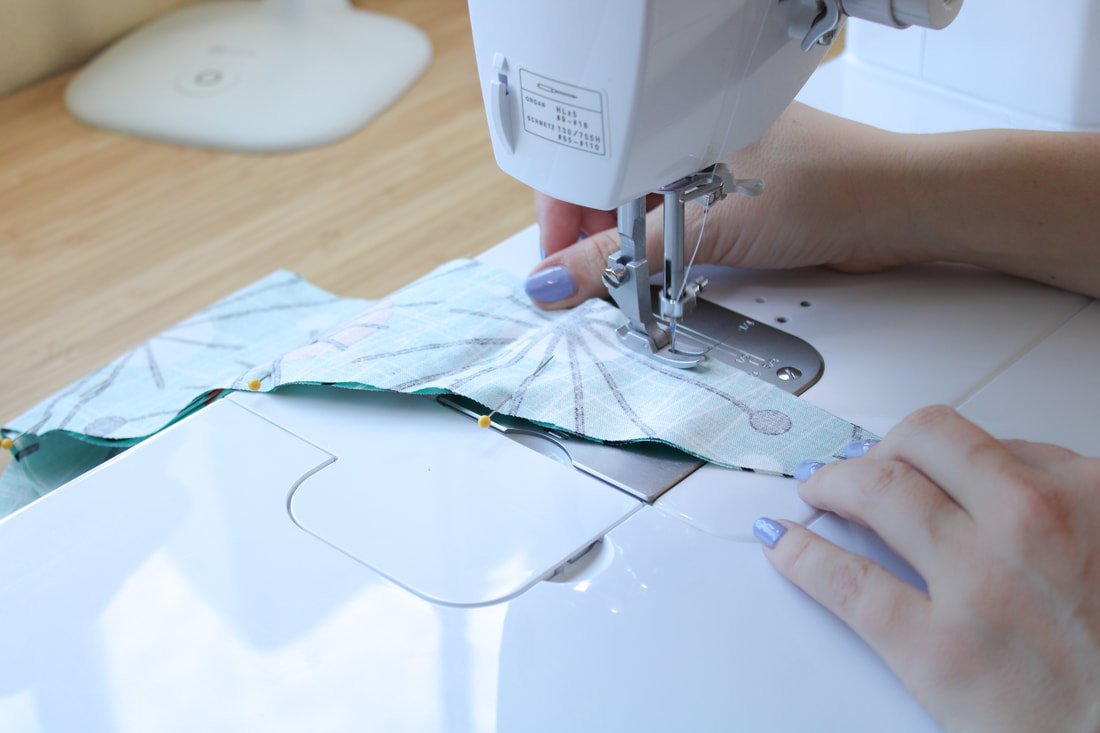
Time to sew! Use a 2.5 or 3mm stitch length.
Seam allowance is 1/4"
Go slow, this gets tricky at the pointy ends
When you get to the pointy corners, leave the needle down, lift the pressure foot, and turn your fabric. If it's not quite at 1/4" mark, go back and hand crank a stitch or two. Continue sewing all the way around until you come to the 3-inch gap. Backstitch.
Clip your corners, carefully!
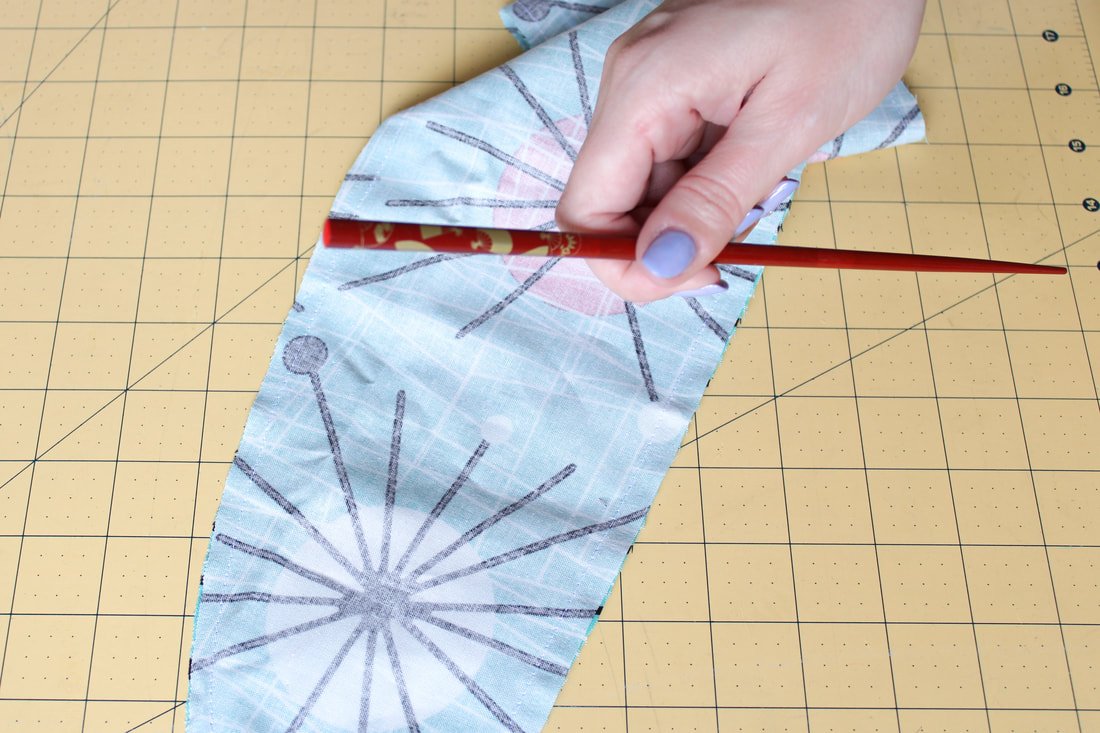
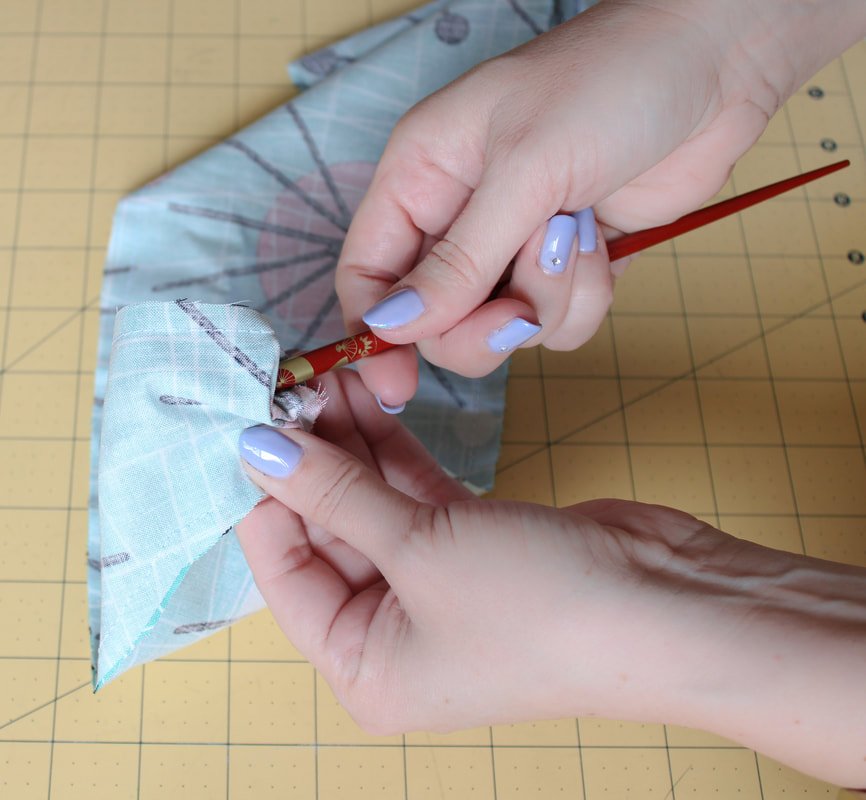
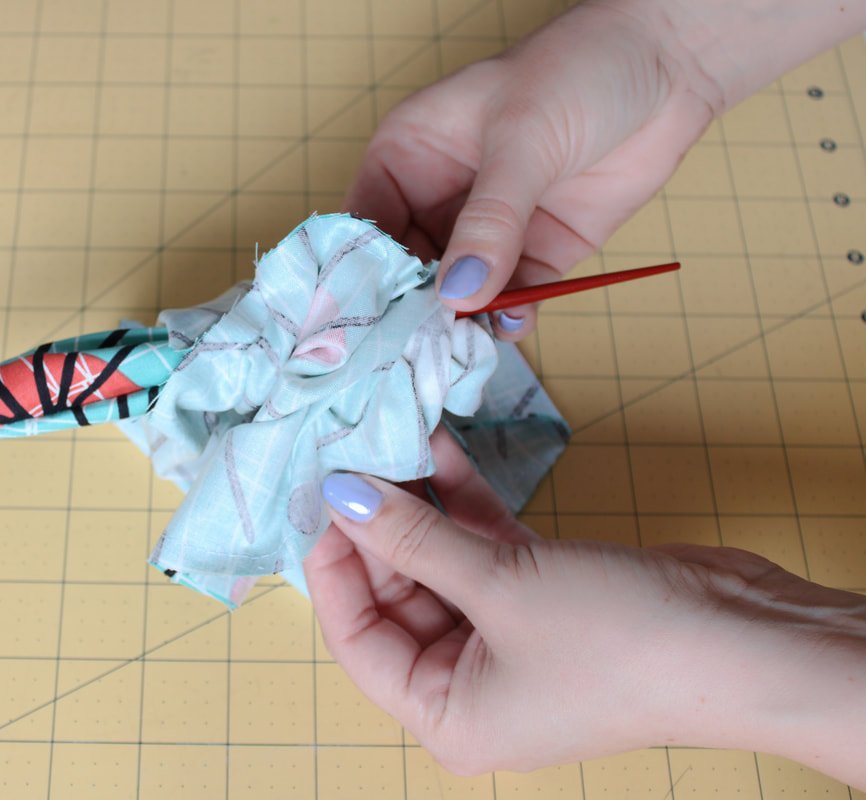
Time to turn the scarf out. Grab a chopstick or any other turning tool.
If you're using a chopstick or pencil, poke the blunt end into the pointed fabric corner. Slowly pull the fabric down around the chopstick until you can easily push it through to the gap opening. Repeat for the other side.
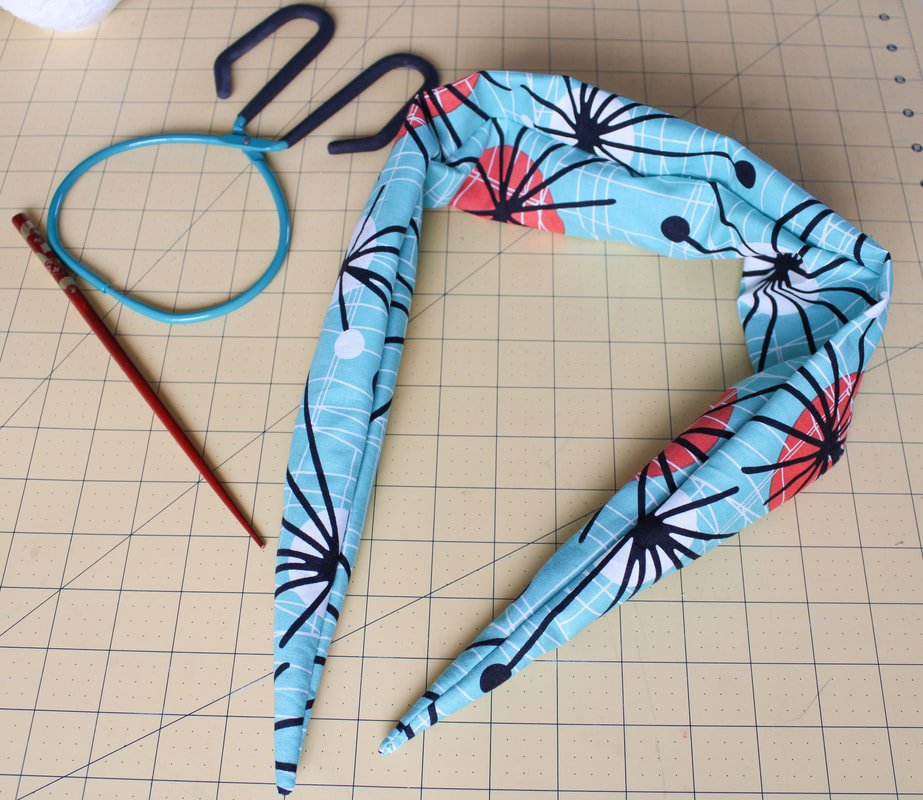
It should look like the last photo above, once it's turned out! Huzzah! The rest is downhill from here.
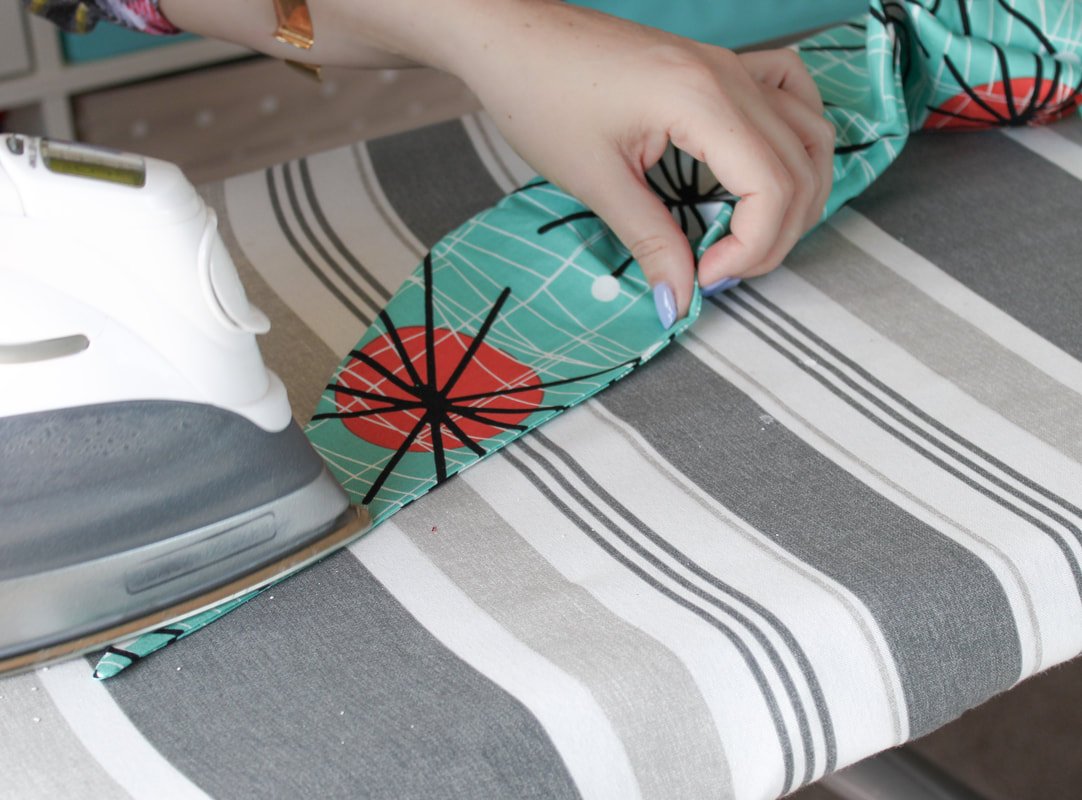
Iron time!
Roll the seam out. Using your fingernail helps this process. You can also take the chopstick and slide it under the seams while pushing the seam out and open as well. It'll take some finagling, but it's well worth it in the end. This is the hardest part of making this 1950s vintage-style hair scarf.
Back to the sewing machine to topstitch the gap closed.
Topstitch 1/8" from the edge, backstitching at the beginning and end. If you'd like to topstitch around the whole hairscarf, you can.
Clip any loose threads.
Press the scarf again. And, you're done!
Topstitch the opening closed.
Clip those little threads.
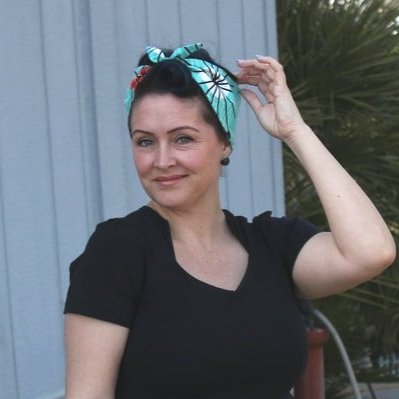
Ta-da! It’s finished and ready to be worn.
To wear the scarf:
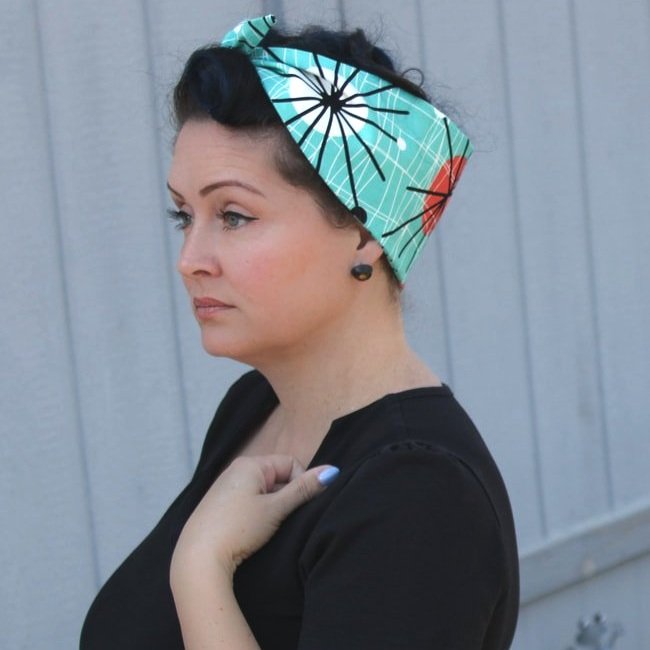
Place the wide part at the back of your head just covering your hairline. The curved side will frame your face.
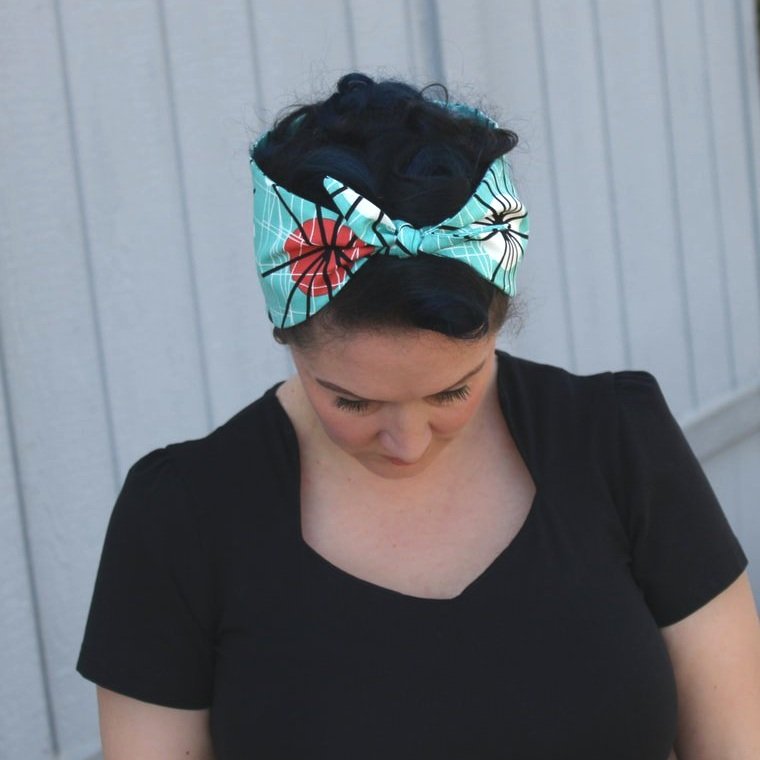
Pull the pointy ends upwards, covering the tops of your ears, and tie in a knot on top of your head.
This is perfect for messy hair days and curly-haired girls too.
To create a cute car show look, pin large curls on top of your head, tie this scarf up, and wear it with a pretty dress.
If you're going for a 40s style, you can pair the scarf with wide-legged trousers and a boxy button-up top. This hair scarf is for anyone looking for a quick and easy retro hairstyle!
So, what do you think of the pattern? It was easy, right? Do you plan on making as many as you can for the summer? I wear my hair up most summer days and this thicker style is what I've been yearning for! Easy & cute hair... yes, please!!!
If you make one or ten, please tag me on Instagram. I want to see them aallll! Use the hashtag #sewingtothemoonScarf
Let me know in the comments below if you've made this or plan to. I seriously can't tell you how overly excited this whole process made me. :D
Thanks for all the love and support on social media and on here! Sewing people are the best people.
Happy sewing,
Annette
Sewing the Ginger Jeans
Sew your own high waisted pair of jeans. The Ginger jeans sewing pattern by Closet Core is great. It’s beginner-friendly as well.
Ginger Jeans! I made a pair and love them. These were fun to sew and I learned a few things along the way.
Living in comfy clothes seems to be the new norm. Cozy pants especially. Fleece-lined leggings, flowy lounge pants, soft cotton harem pants, and PJ's of course. Gimme all the couch surfing pants.
Jeans don't really fit into the cozy pants category but, I'm going to talk about them anyway. Jeans are something I rarely reach for when I get dressed in the morning (afternoon?). If I do wear jeans, I reach for my Calvin Klein high-waisted skinny jeans. They fit my body like a leather glove. So, when my friend told me about the January Jeans sew-along, I jumped on board!
The Jeans Fitting Journey
This post is a little different than my usual pattern posts. Hundreds, if not more, Ginger Jeans tutorials already exist. So, I wanted to do something different. I'm taking you through my jeans-fitting journey. Beware though, it's gonna get ugly before it gets pretty.
The January Jeans sew along was hosted by some lovely ladies in the UK, on Instagram. They set up a Slack app group for all of us to post and share photos to. We had live Zoom calls every Monday and then we were put into smaller Zoom groups. It was a whole jeans journey. We helped each other with fit issues and got feedback on our own jeans.
If you've ever wanted to dabble in jeans sewing, you really need to get the fit correct. Here we go!
Materials Needed
First, you need a pattern. I chose Closet Core's Ginger Jeans pattern in View B. It's a skinny leg, high waist pattern. My favorite style of jeans. But, you might want a low rise, wide-leg style. Scour the interwebs for a pattern that fits your specific taste.
2-3 yards of Denim (check what % of stretch you'll need too)
Cotton fabric for pocket linings
Interfacing
A jeans zipper (*it needs to be a metal jeans zipper so the pull will lay flat against the pants/ your body)
Denim thread, regular thread, topstitch thread (optional)
Jeans needles
Fabric for a muslin (preferably denim)
Jeans button
Rivets (optional)
Awl and hammer for inserting buttons and rivets
Rulers, a chalk marker, scissors or rotary cutter, etc.
Sewing machine
Patience and time
Serger for finished seams (optional)
Make a Muslin
Jeans sewing is an easy process. I've made a few pairs of “jeans” from Gertie's book, Gertie Sews Vintage Casual. However, this was my first time making a zipper fly and I was a little bit intimidated. Sewing your muslin fabric is a great way to practice a new skill or technique. It wasn't hard at all!
I really do recommend sewing a muslin first. It's a trial run. You can rip out seams, cut fabric to make space for your hips and legs, and practice topstitching. Use it as your "scratch piece of paper." Through my first muslin (that I made with 0% stretch fabric), I found that the so-called high waist wasn't high enough for me. My first adjustment would be to add length to the rise.
The first muslin fit, almost. I cut out a straight size 12. I like to cut one size that is the closest to my measurements and go from there.
The jeans were snug around my bum and tummy area. An easy adjustment would be to grade up to a size 14 or 16 in the waist area. However, I knew I was going to add height to the tummy area.
Here’s what I did:
Added 1.5" to the length of the rise, to create an authentic high-waist pair of jeans.
Full tummy adjustment. This adds room for those of us with mom bellies or bloaty bellies -that's a very technical term. ;)
Took out length in the legs but, not more than an inch. I'm short but, I have long legs. Thanks to weird genetics!
Low bum adjustment. Although, I didn't end up needing this in the end.
Second Muslin
Yes, if your first muslin was a total bust, do a second one. You could easily unpick seams and go from there. However, I was changing the pattern, so I needed a second muslin. The second would be a wearable muslin pair of jeans. I grabbed some clearance denim, made my adjustments to the pattern paper, cut the new fabric, then sewed the second pair with the adjustments.
And WOW! What a difference from the first muslin. I loved the waist height. I loved what the full tummy adjustment did for me. I did not love the low bum adjustment because it added excess fabric in my rear and in the back of my thighs. You can see all the bulk in the photos below. This pair was cut in a size 12 just like my first muslin. You can see how my pattern adjustments really changed the fit.
Leg Twist Hack
I had a serious leg twist issue with one leg. I followed the cutting directions to a T, too. I cut on the single layer and alternated each leg just like the pattern recommended. Ugh!
I unpicked the inseam and side seams and sewed them back up. No more annoying twisty leg. So, if you do have this issue, I recommend unpicking the seams. Sew the inseam by starting at the cuff of one leg and go up. Backstitch at the crotch seam. Then, sew the other leg by starting at the cuff and sew up to the crotch. This may or may not be the correct way but, it fixed my issue.
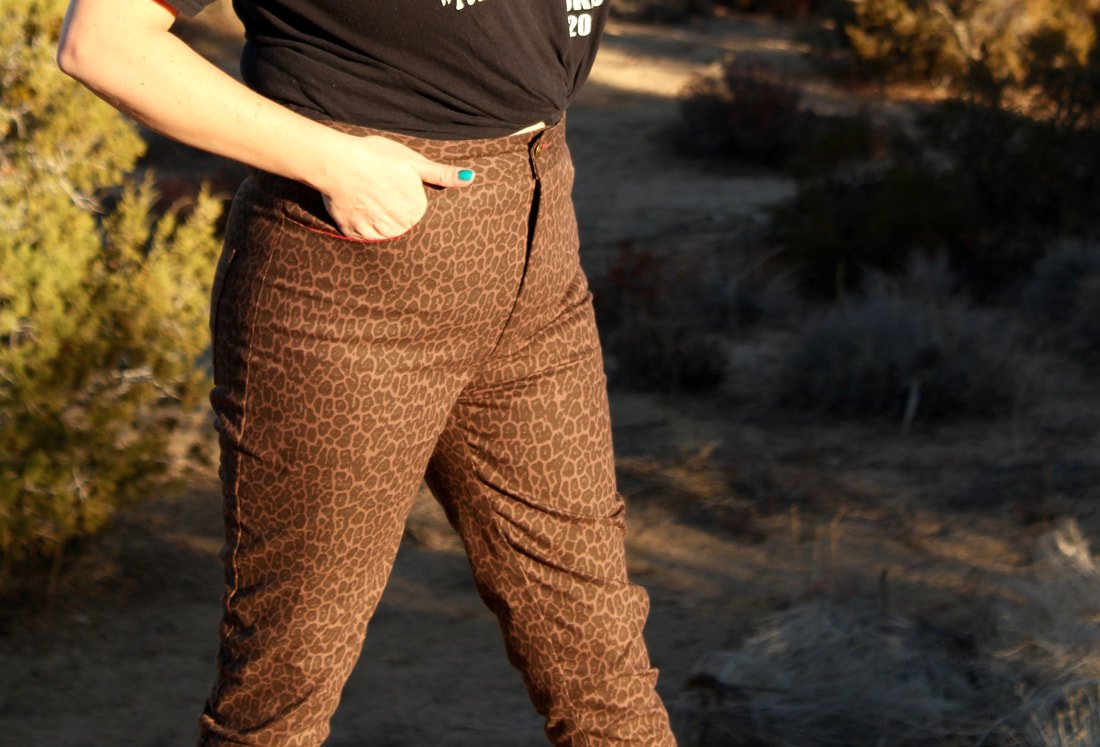
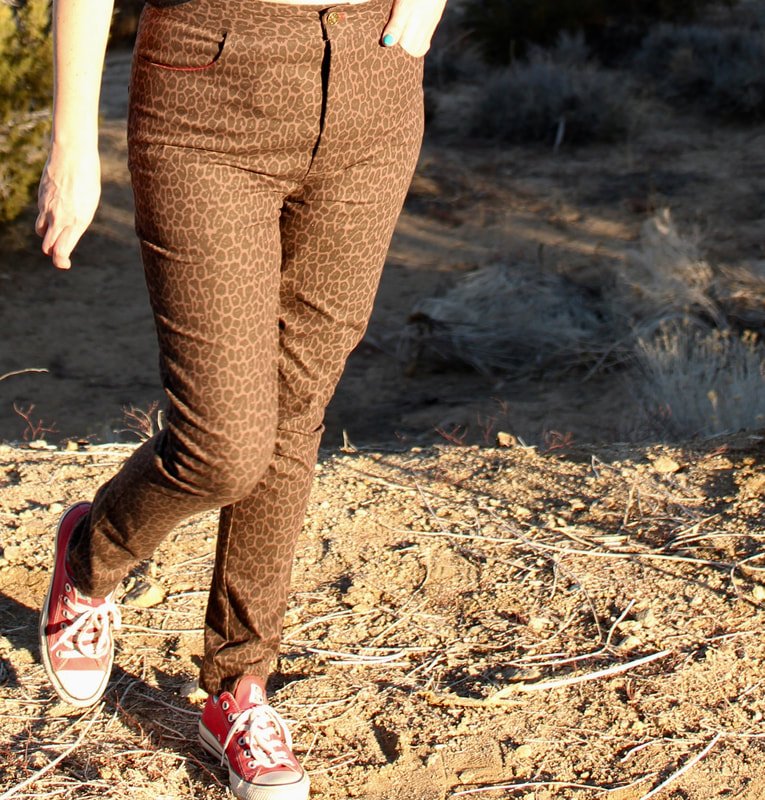
Photos below are of my wearable muslin pair of Ginger Jeans. I've worn these around a few times and they fit well enough. The denim only has 1% stretch while the pattern calls for a 2%. They are a little stiffer than I'd like but, no seams have popped open when I bend over. Yet! LOL
I actually like the fit of these better than my final pair. Shhh, don’t tell anyone.
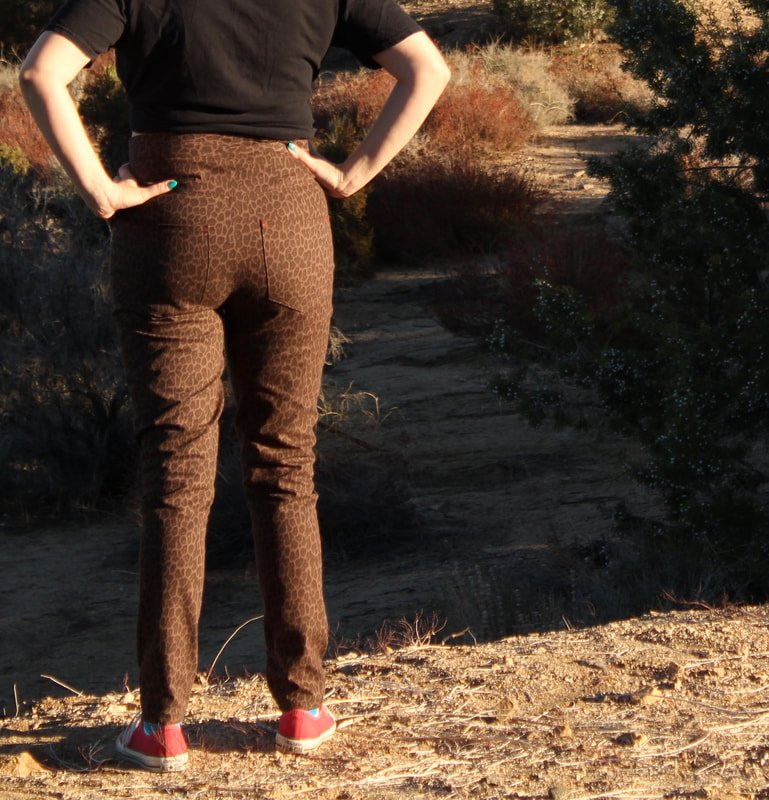
One back pocket is lower than the other but it didn't bother me enough to re-do it. Shhh, it'll be our little secret. ;-)
There is extra fabric and bagginess on the back thighs because of the low bum adjustment. It wasn't needed. I guess I have a high bum. Who knew? Hahaha!! And again, it didn't bother me enough to rip open the seams and fix it. This pair was supposed to fall into the "good enough" category. And they do just that.
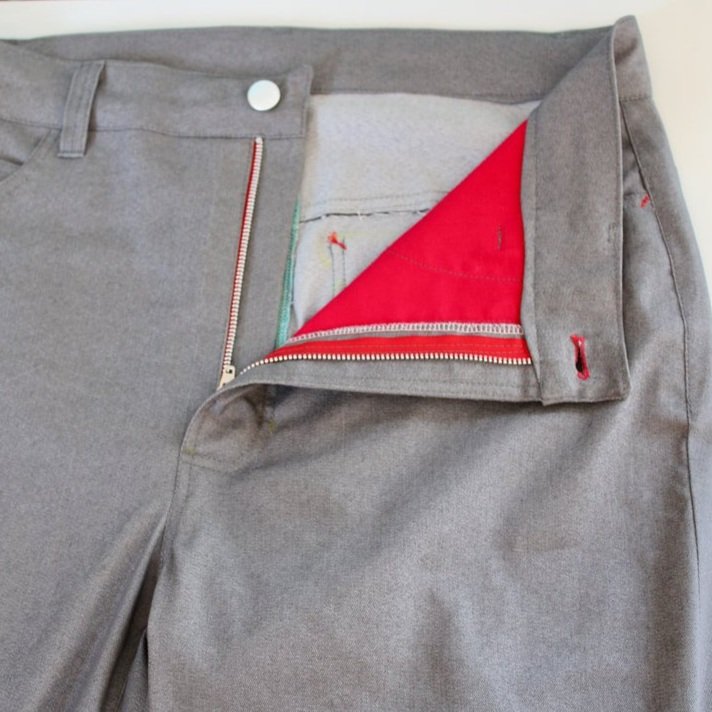
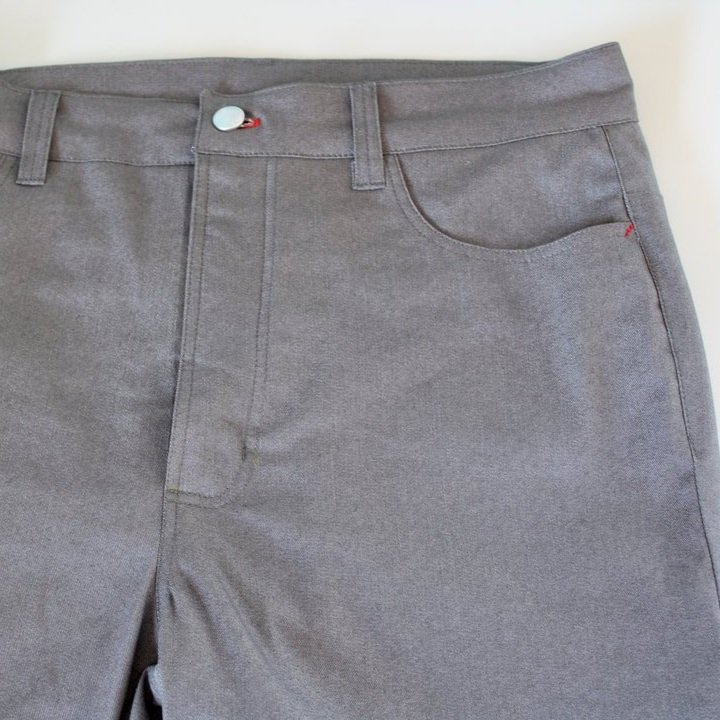
Red cotton fabric was used for the pockets, you can see it peaking out a bit. I also did red bar tacks in place of rivets.
Whew, I hope you're still with me. Now, it's time for the final pair!
Final Pair of Ginger Jeans
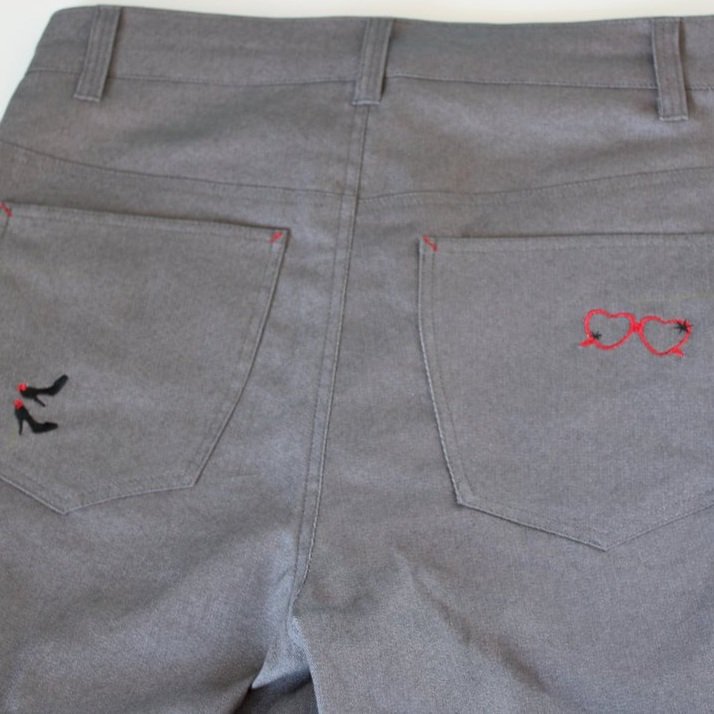
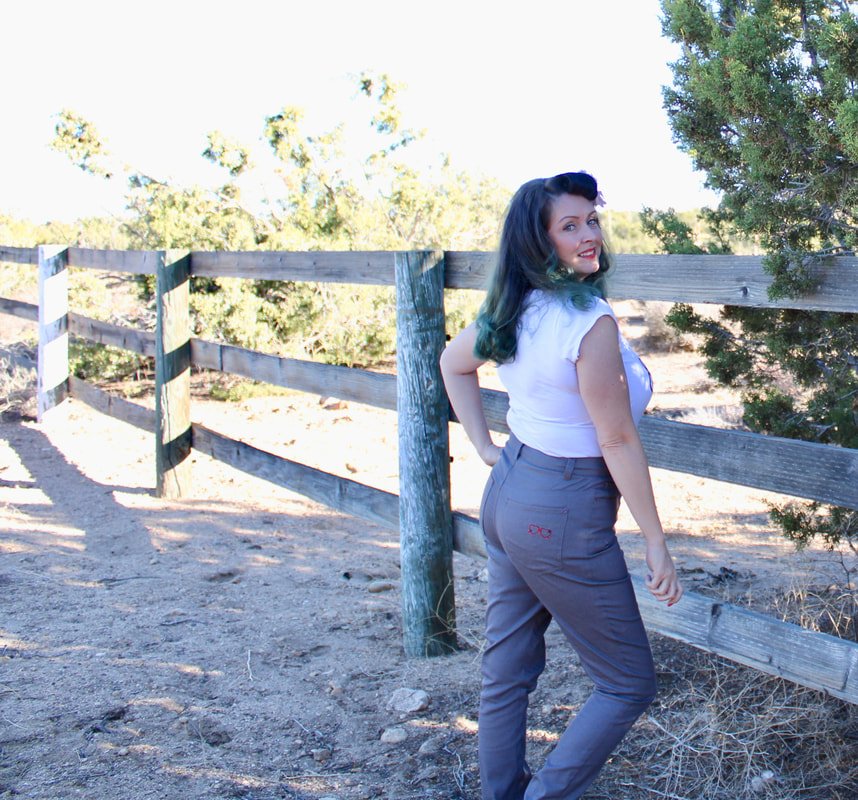
I chose dark grey denim for my final pair of Ginger jeans. I love a red accent too so, I used red topstitching in place of rivets and made red pockets again.
For the final pair, I did the adjustments that seemed to work best for my body.
Full tummy adjustment
Added 1.5" to the rise to create an authentic high waist
Shortened my leg length by 1 inch
Placed the pockets higher to accommodate the rise adjustment
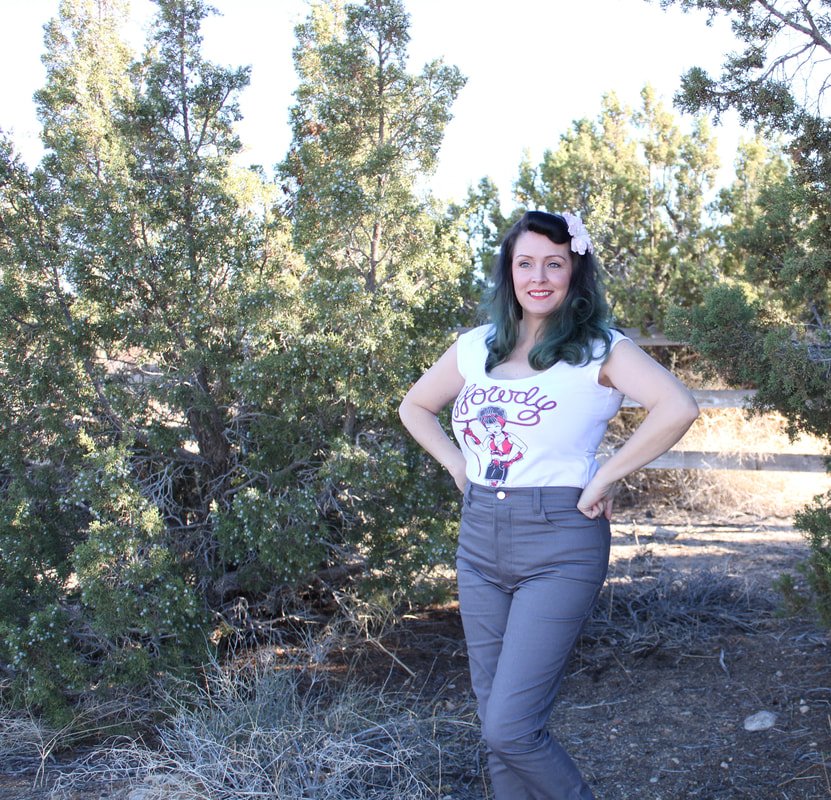
I love the fit so much! My bottom half isn't very curvy due to my apple-shaped figure. Therefore, these jeans fit so much better than any RTW pair I've ever owned. They fit my legs and waist perfectly. I'm truly happy with the fit.
I’m pretty excited about my new jeans!!
Pastel Denim
This pastel peachy denim will make a perfect pair of Spring jeans. I might even roll the hem up and wear them with flats. A flowy white top and large straw hat too, yes, please!
I love the 3D stitching on this denim. It's not something I've ever seen. I'm not sure if I'll do a white or pastel yellow contrasting thead.
Now that you followed me through my fitting fun, are you going to make your own jeans? I really do encourage you to make a pair. I've made pants before but they didn't have all the stitching detail. These taught me more about fitting your own body and how perfecting the fit really does make all the difference.
If you're still on the fence about jeans making, maybe these trousers are more your speed. They're wide-legged and flattering on everyone.
Or, would you rather stick to an easier project? Sew up a little something here, here, or here.
Either way, go sew something! You deserve it! :D
Happy jean sewing,
Annette


